In this section we list the activities to be solved in the following table:
| Checklist | Estatus |
|---|---|
| Documented the workflow(s) and process(es) you used | Finished |
| Described problems encountered (if any) and how you fixed them | Finished |
| Included original design files and source code | Finished |
| Included a "hero shot" of the result | Finished |
This is a free week and we can do something different. My final project is a lamp that helps children who suffer from nyctophobia, I'm looking to project images that help them feel safe and loved, so I thought I'd make a lithophane.
The lithophane consists of projecting light on a semi-transparent material that has different thicknesses. Thanks to these differences in thickness, darker areas are created than others. The darkest areas are those with the greatest thickness and the thinnest areas are the lightest and those that allow light to pass through the material that has been used. Let's get started!
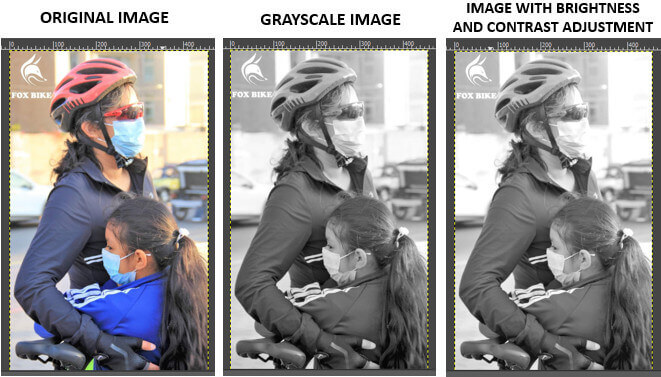
Among the photos I have with my daughter, I found one in which the two of us shared a special moment because it was our first bike ride together after being in quarantine due to COVID-19. So I decided to use that photo to create the lithophane.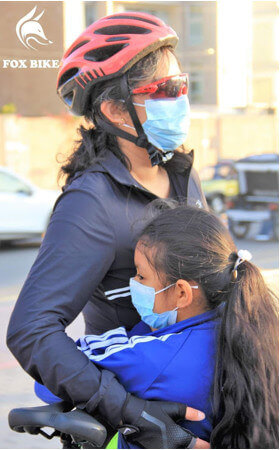
The first thing I have to do is convert the color photo to a grayscale format, for this I used GIMP.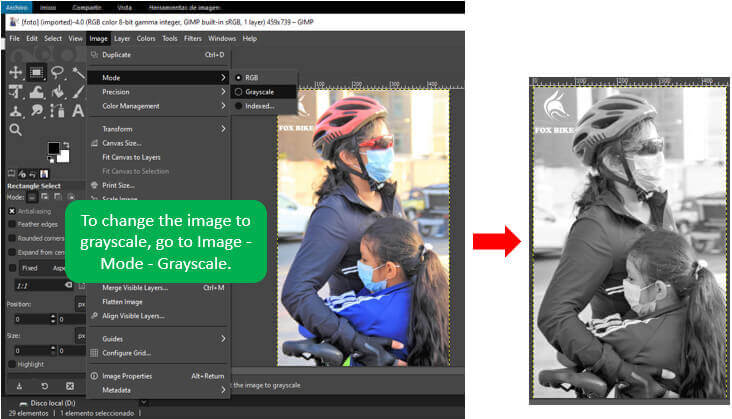
Now it is necessary to adjust the brightness and contrast to limit the depth of the image. I set the brightness to 20 and the contrast to 7.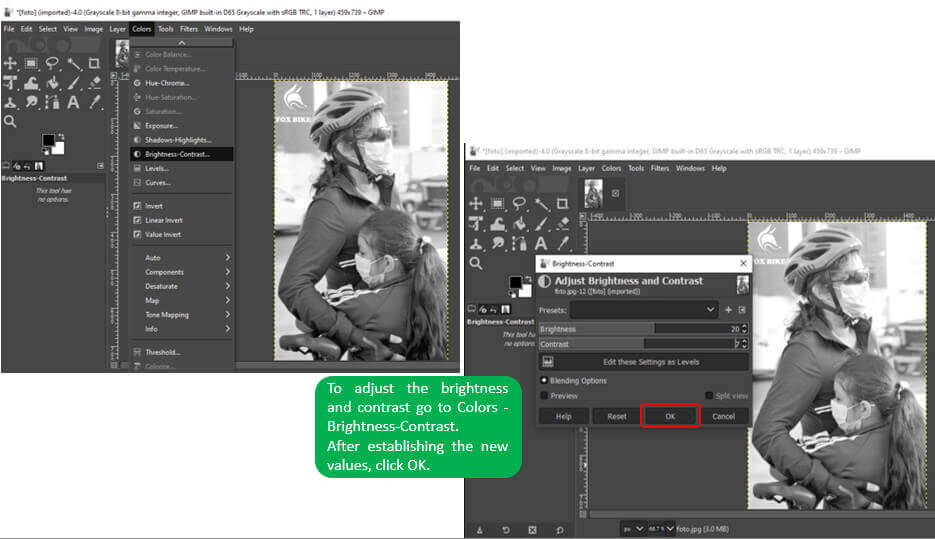
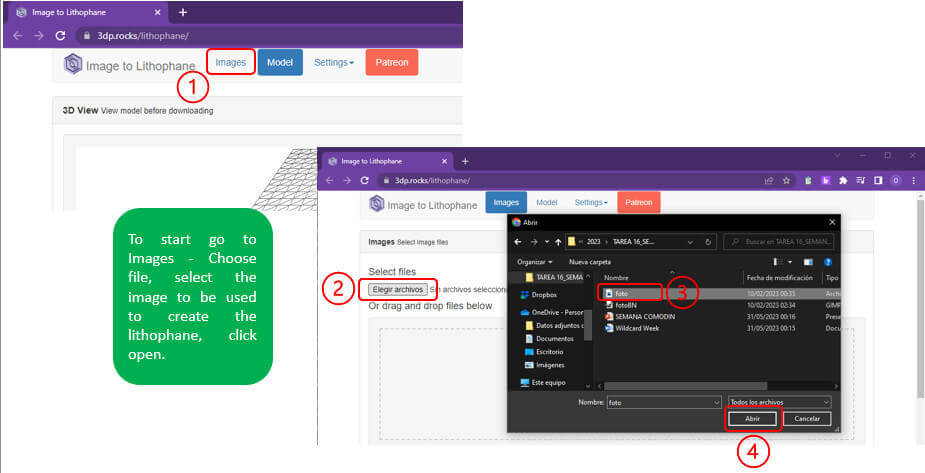
The next step is to obtain the STL file of the lithophane, for this I use the online software 3dp rocks lithophane.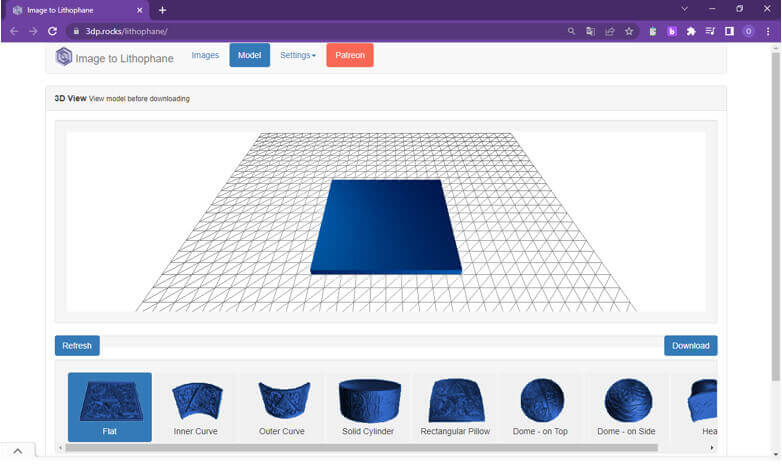
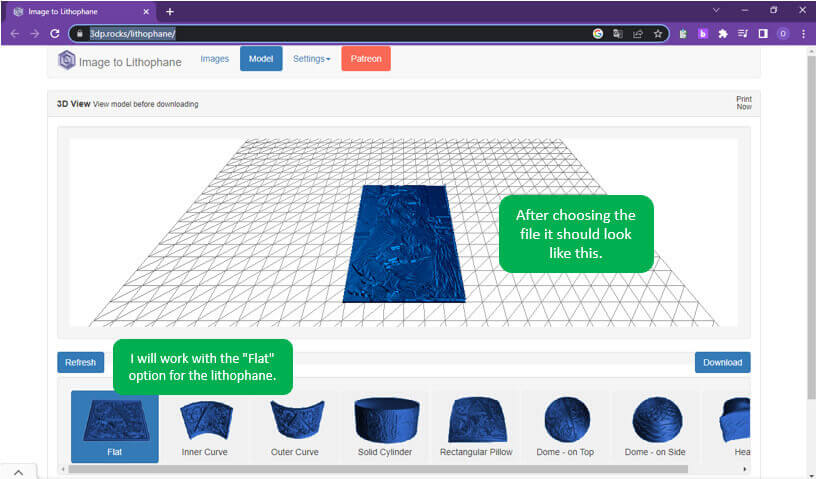
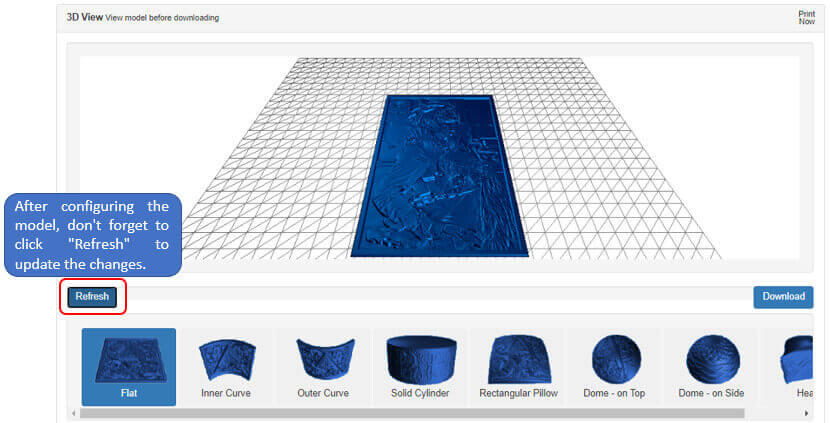
After selecting the image and the shape of the lithophane, we must configure both the model and the image. For the model setup we will enter the following parameters: lithophane size at 150mm, sheet thickness at 3mm, a frame at 3mm, thinnest layer at 0.4mm (according to the diameter of the 3D printer nozzle). We left the support and curve options at zero.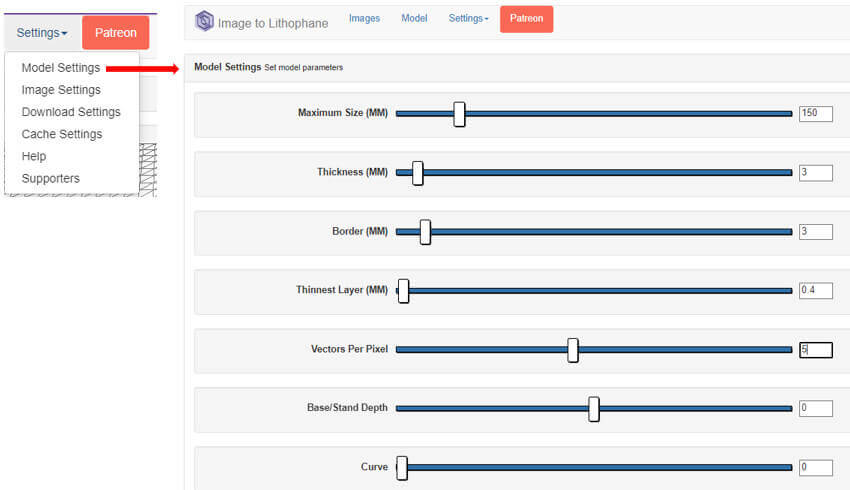
 For the configuration of the image, we must make sure to choose the positive image option (the positive lithophane thickens the places that are darker so that light does not easily pass through), leave the other options as shown below.
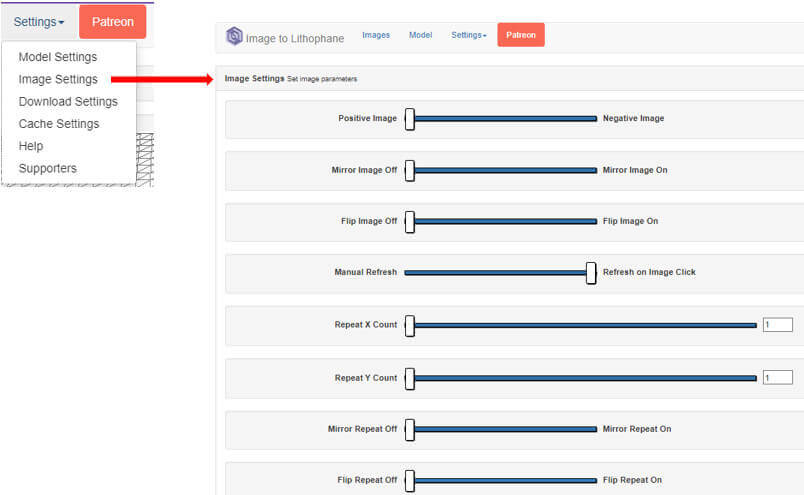
Finally we verify the download settings, they should be as follows: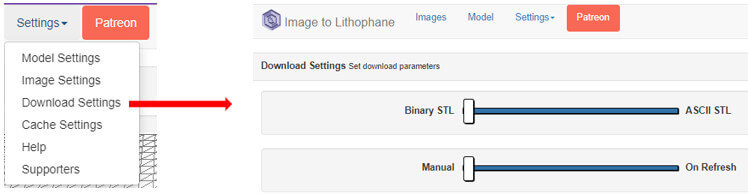
After configuring all the parameters we download our file in STL format.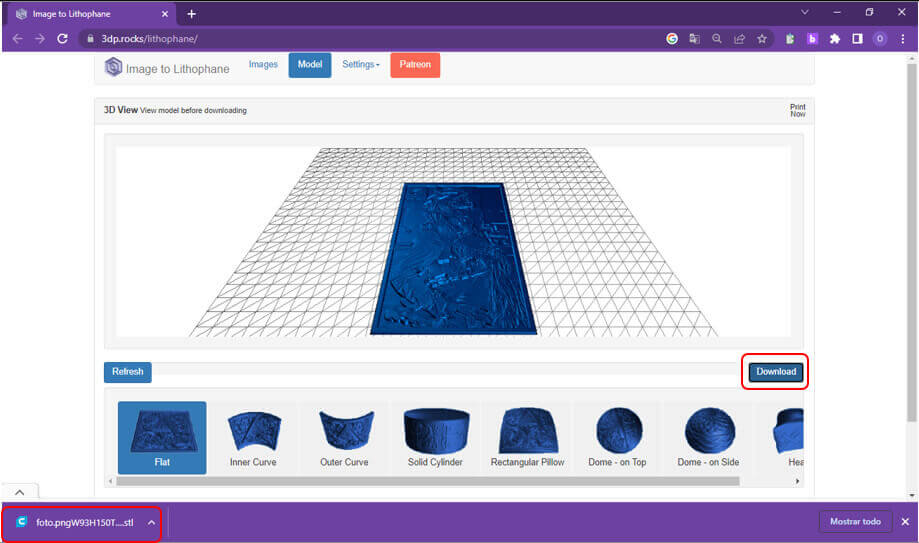
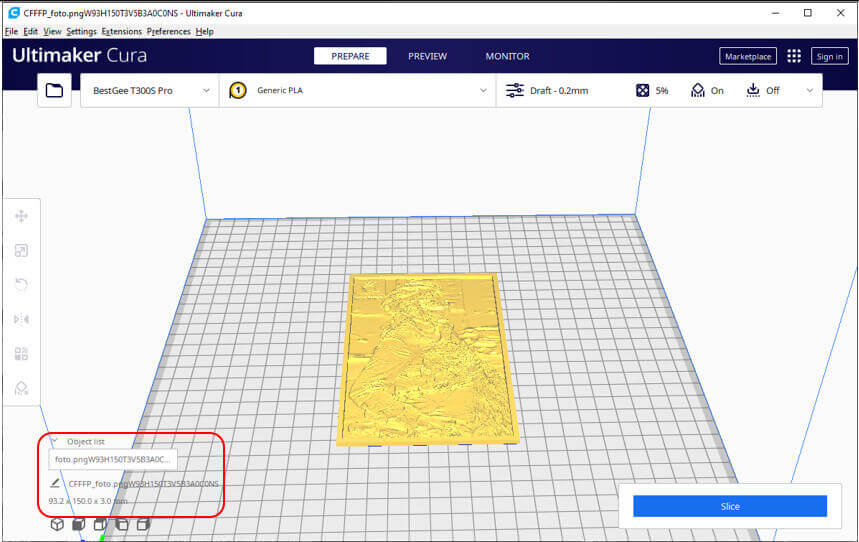
Once the STL file has been downloaded, we will proceed to open it in the CURA software, this software was used in the 3D printing task.
We configure the parameters to generate the file; profiles at 0.1, filling at 40% and with adhesion. Then click on “Slice”, finally download the G-code file that we will take to the 3D printer.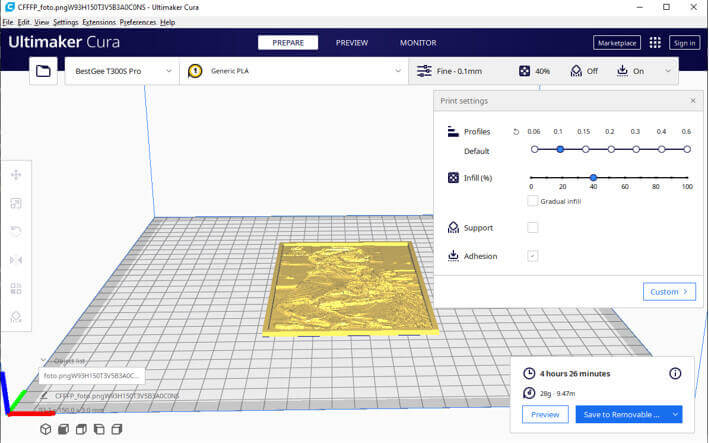
According to what was done in the week of 3D printing, we prepare the printer to start printing the lithophane.
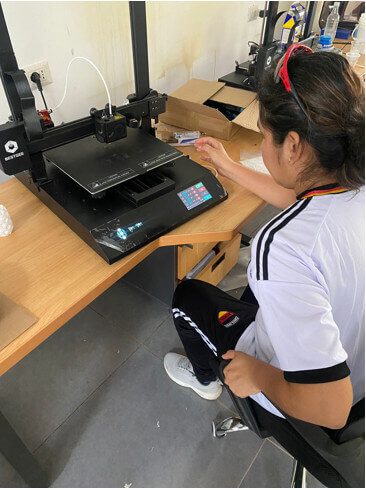
As they say the third time is the charm, on the third attempt the lithophane was ready!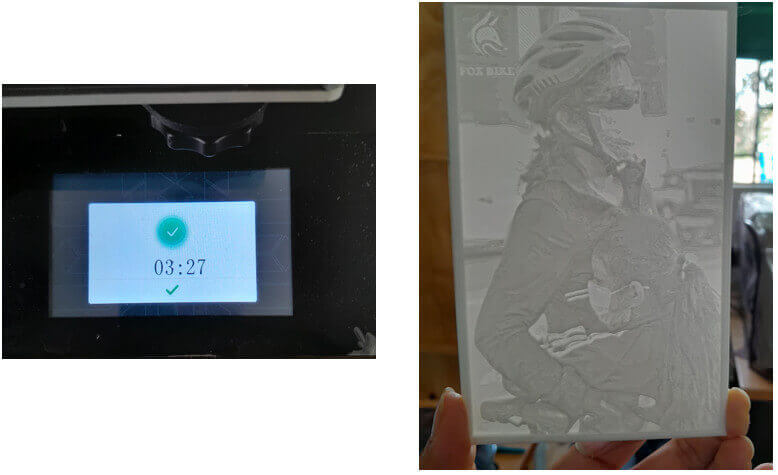
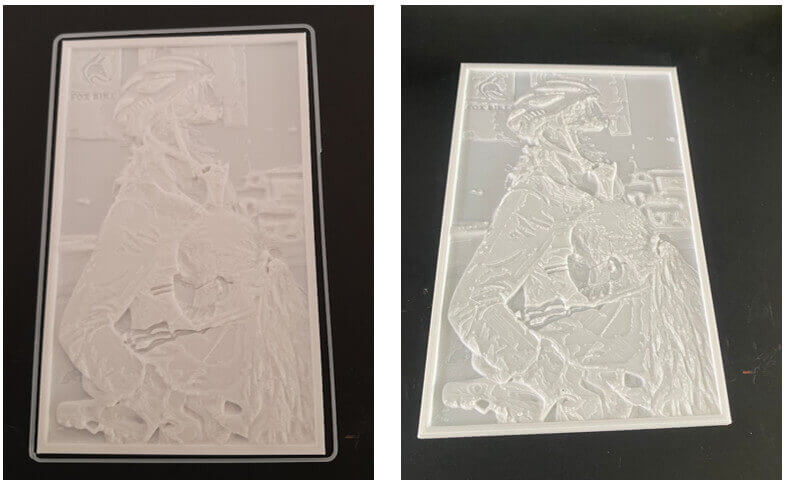
Comparison between the three printed lithophanes.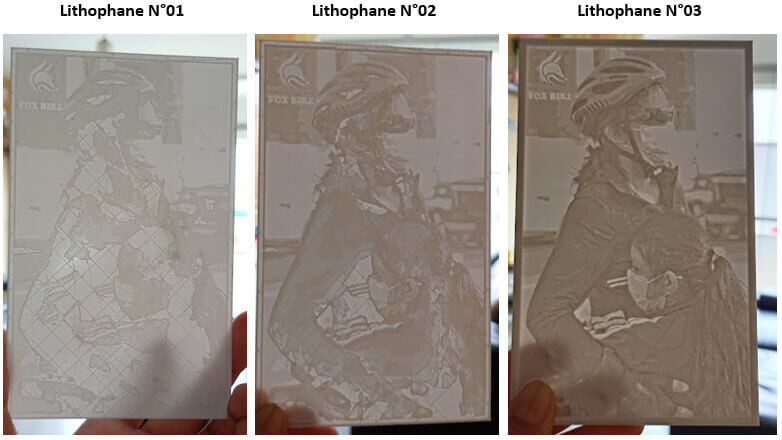
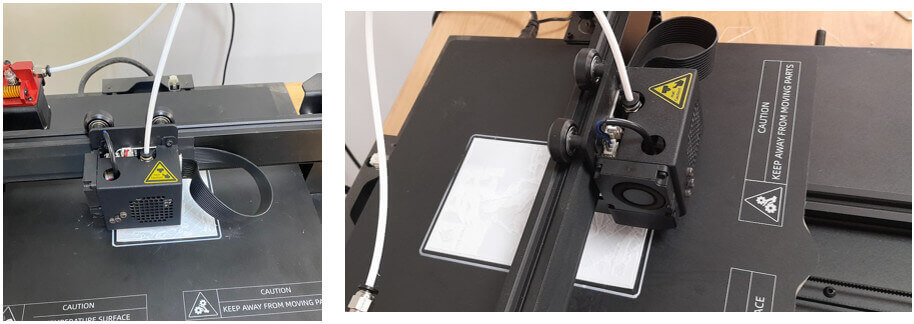
The first two impressions did not go well, as can be seen in the images. The print starts normal but as it progresses, the filament gets cold and doesn't stick with the rest of the print.
After checking the printer we found the fault: malfunction of the temperature sensors and nozzle obstruction. Changing these elements, the 3D printer is ready.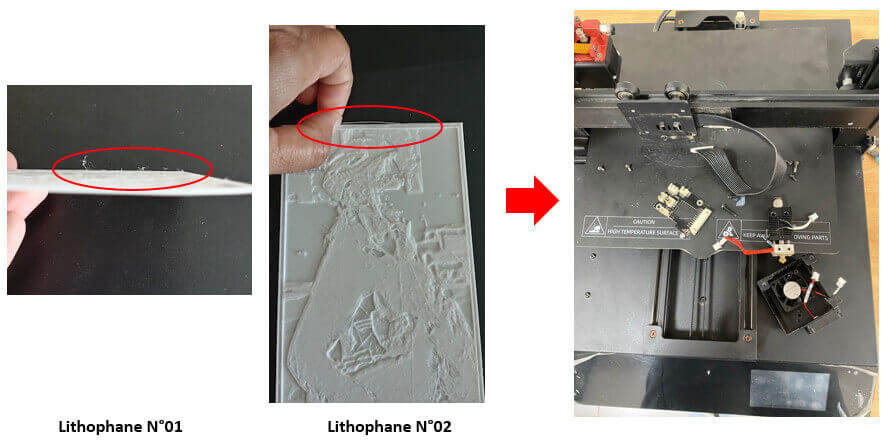
This is how the lithophane will look in the lamp.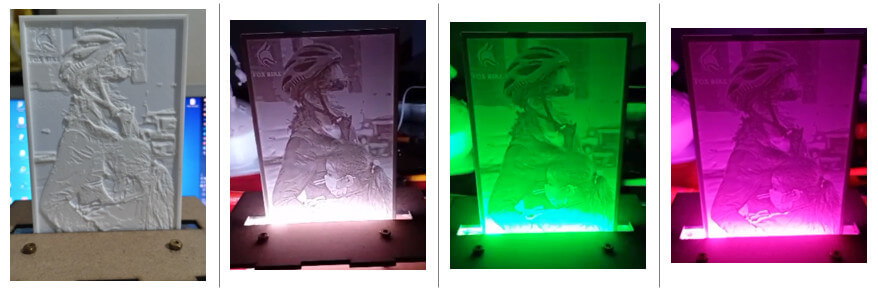
created with
HTML Website Builder .