LASER MIDI HARP
What's is?
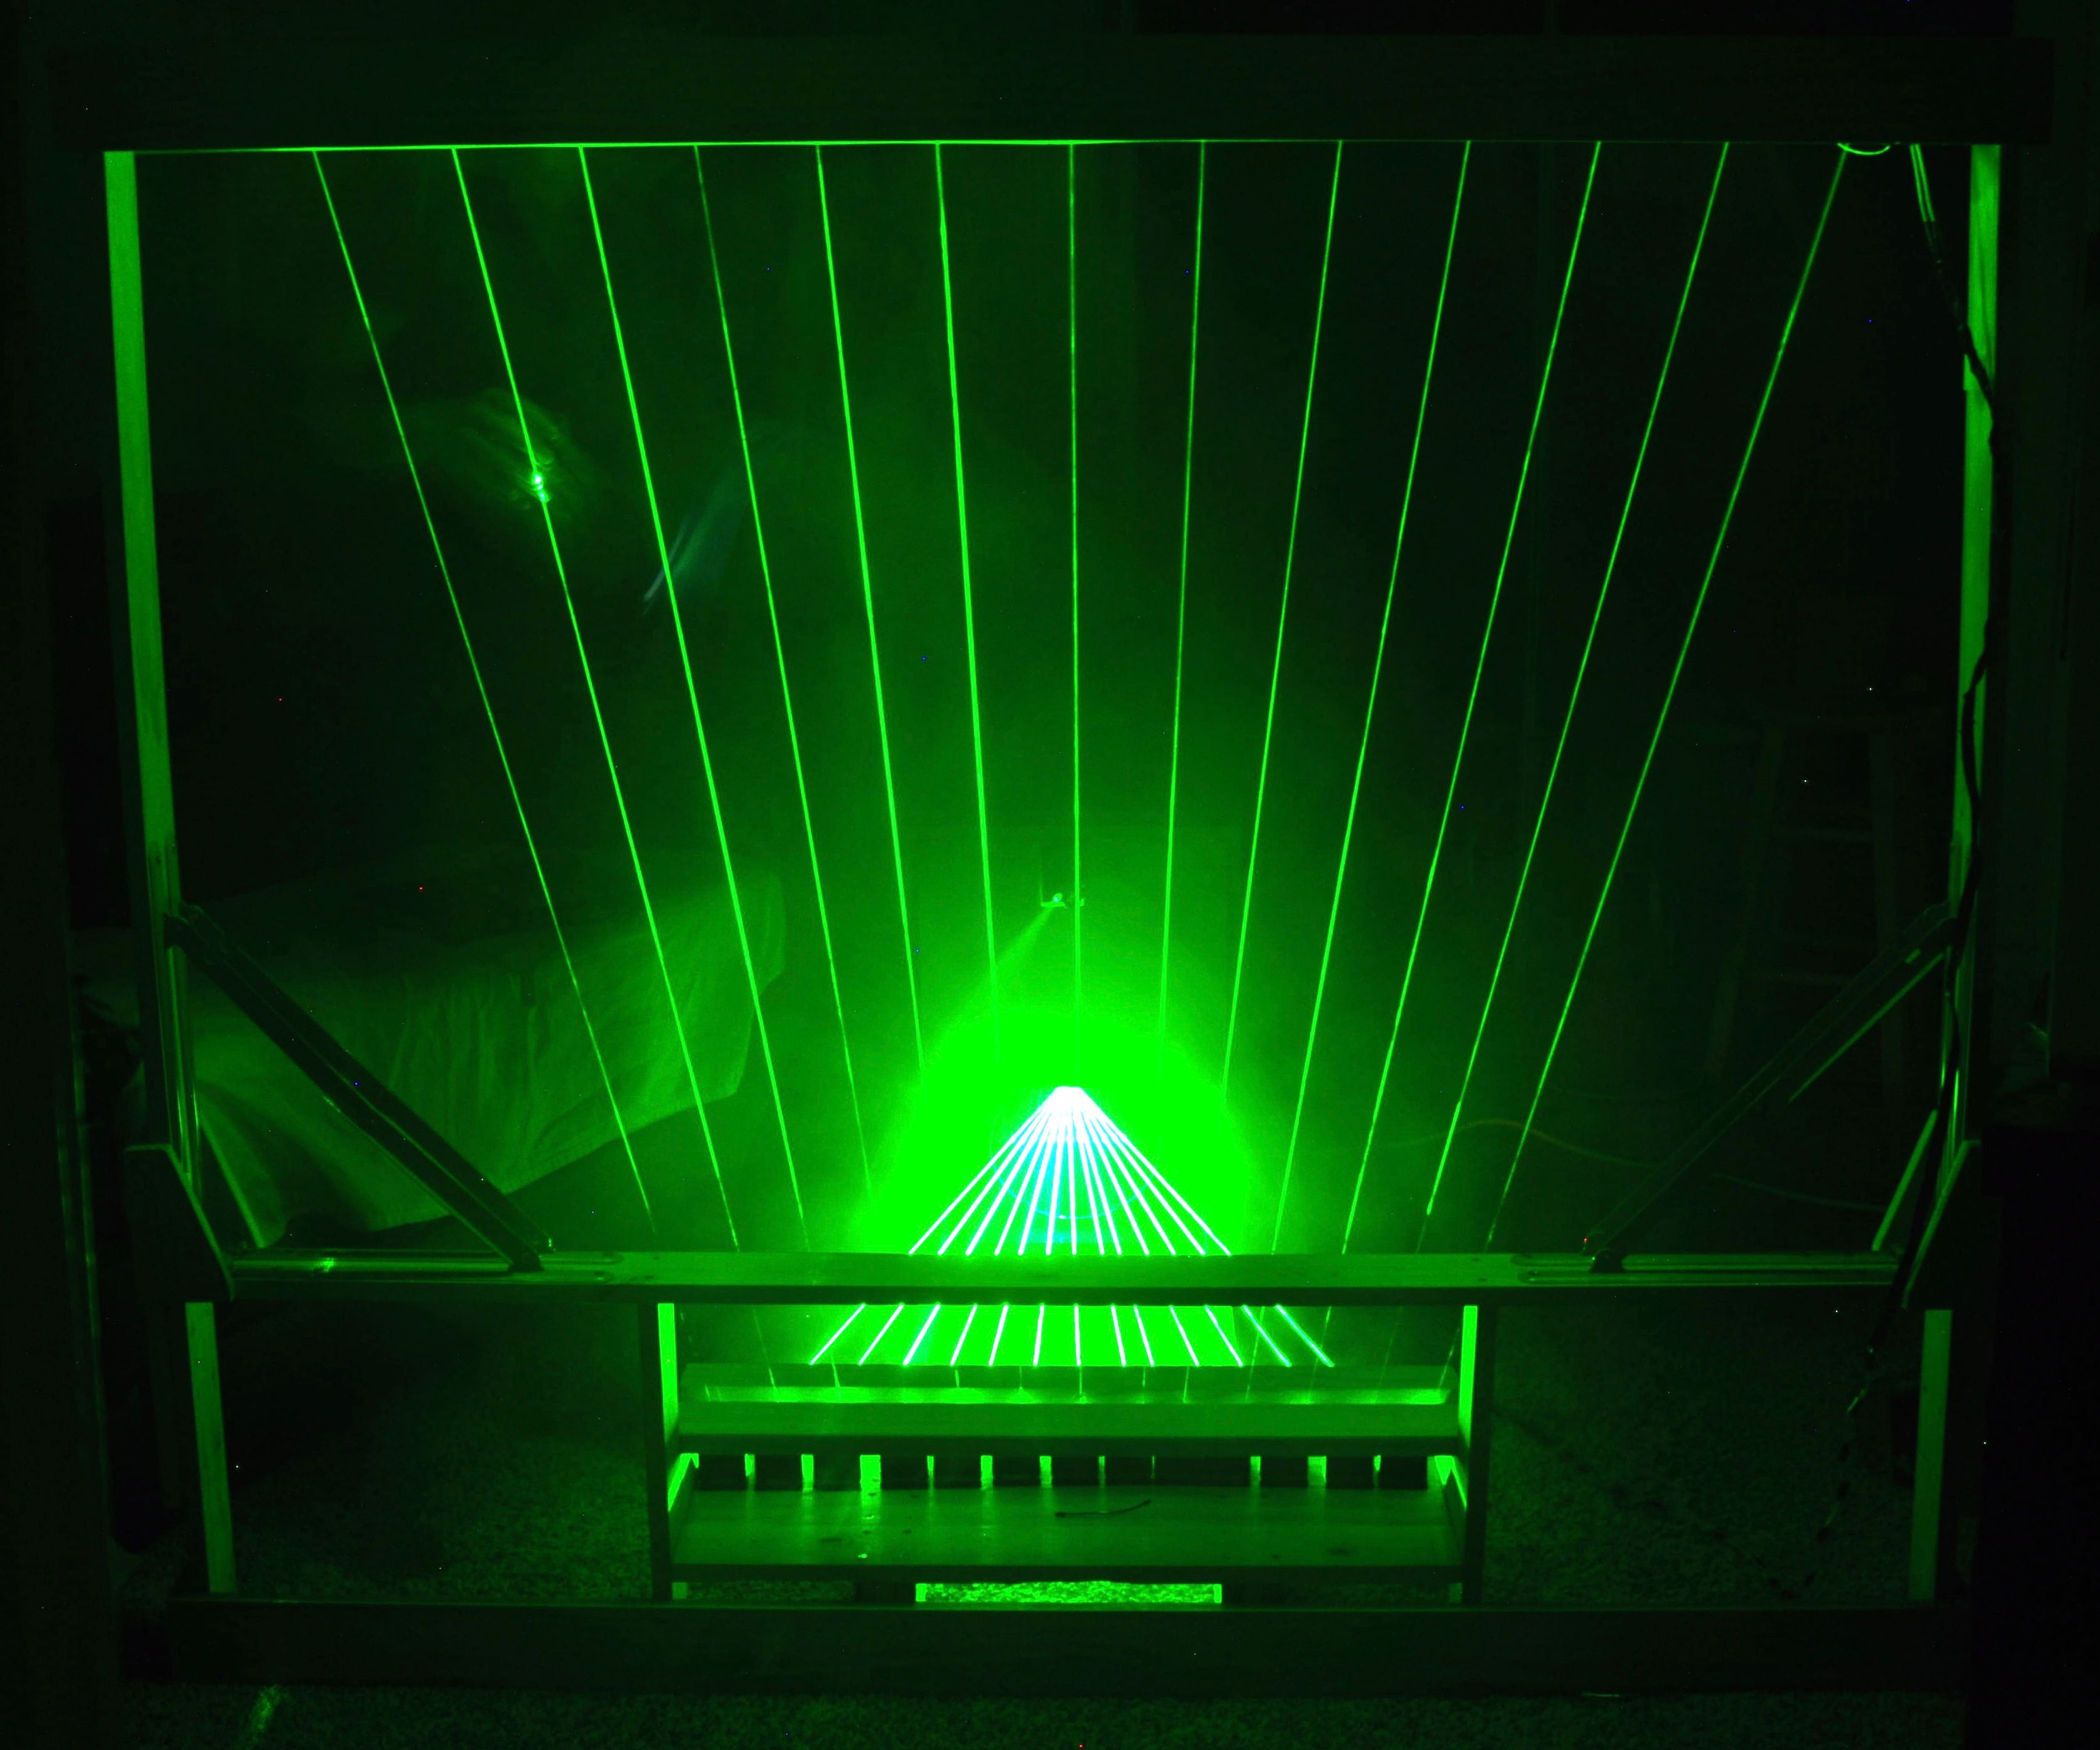
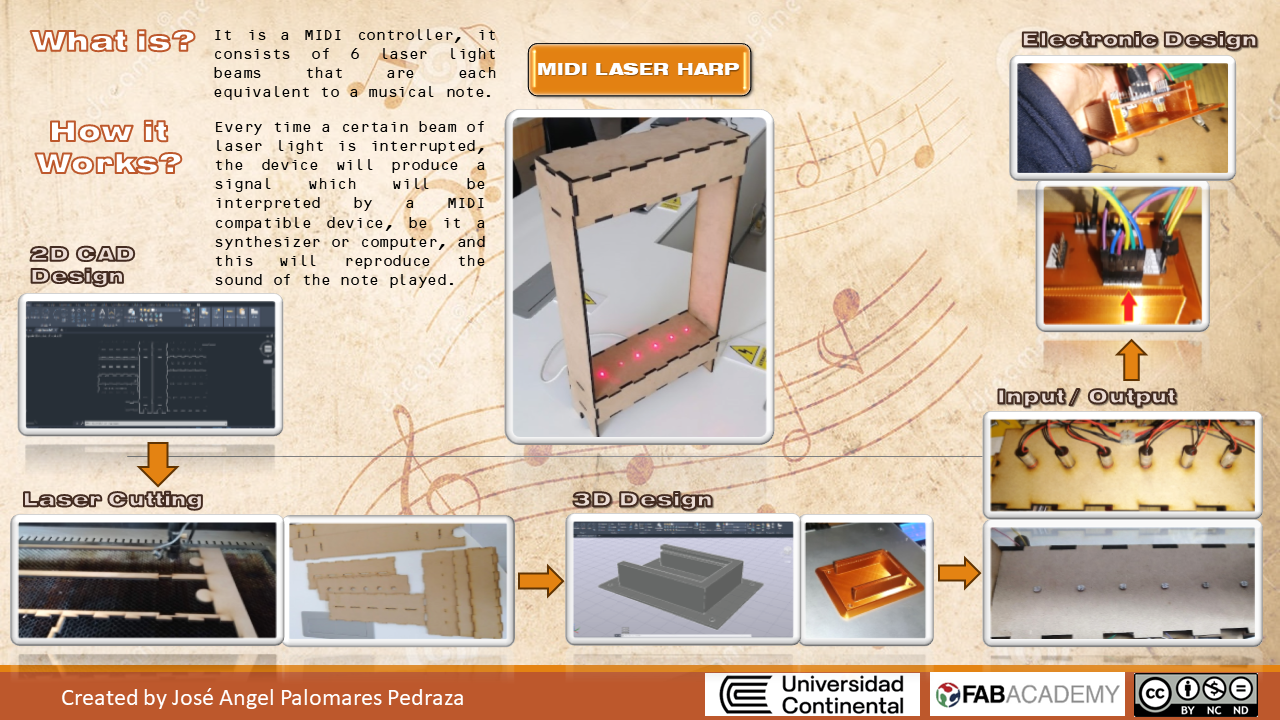
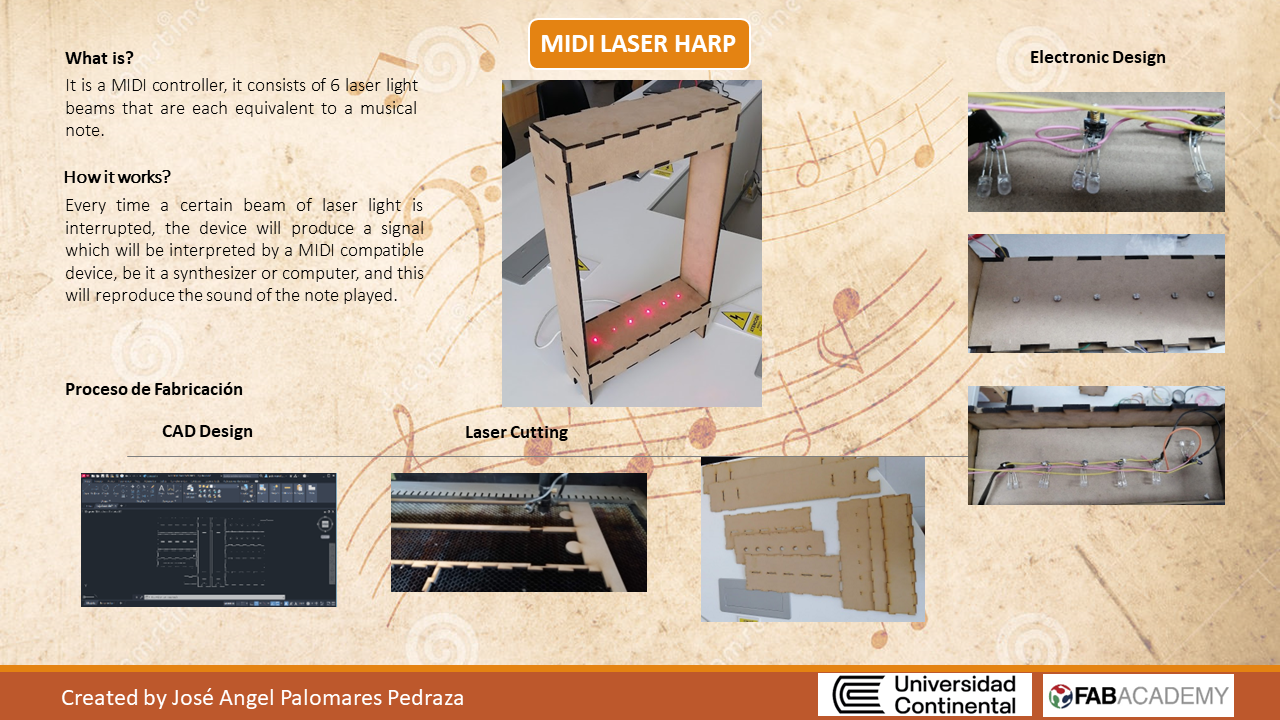
The MIDI Laser Harp is a MIDI controller consisting of 6 light beams lasers each equivalent to a musical note.
How it works?
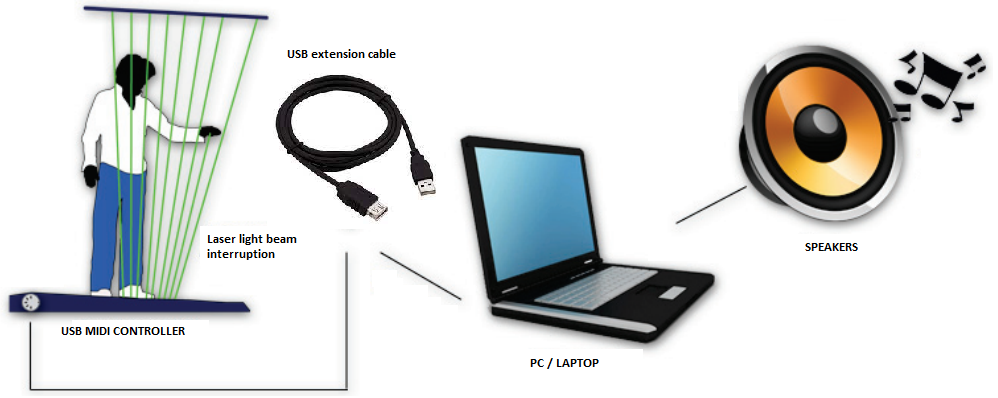
Once the user interrupts a certain beam of laser light, the device will generate a signal which will be interpreted by a MIDI compatible device, either a computer or a synthesizer and this in turn will play the sound of the note played. Since the device works with the MIDI standard, the user will be able to customize the sounds that will be generated when you play the notes to your liking. Thus, the laser harp will be able to sound like a piano, a battery, even like an accordion using a computer or synthesizer compatible. This mechanism opens up a great number of possibilities that the harp can offer in its interpretation thanks to the use of MIDI.
It is explained below by means of an operating diagram. General MIDI Laser Harp:
Inspiration:
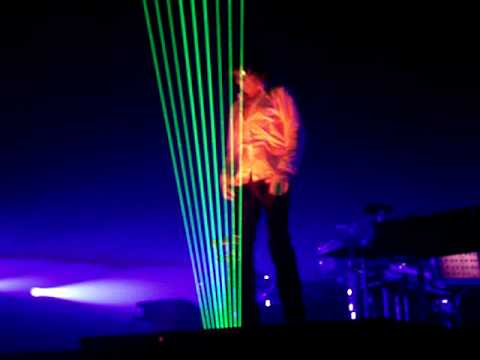
Jean Michel Jarre, French electronic musician, performing an amazing light and laser show.
My goal is make a MIDI instrument using microcontroller, LDR, and MDF, easily and cheap. Can be used for academic purposes, teaching music with no contact even.
Components:
This is the list of component I will use.
01 x FabDuino controller
01 x USB Serial Interface
06 x 5mW Laser pointer
06 x LDR sensor
AWG 22 color Cables , jumpers
01 x 60x60 cm MDF (5.5 mm depth)
Description:
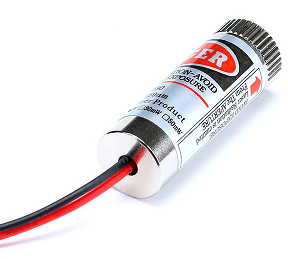
First, I got some cheap laser pointers. Those have red light. Wavelength 650nm, 5mW power.
These laser modules have two cables, one black and one red, being ground (GND) and power (+5V) respectively.
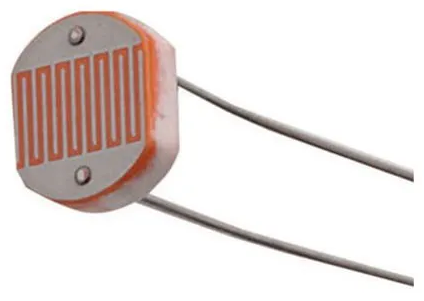
We are going to need 6 units of these LDR sensors, they can be connected in any position, since they are a resistor that only varies its value with light.
I used 5V power supply to test each laser. Even the power source from Fabduino could energize all lasers!
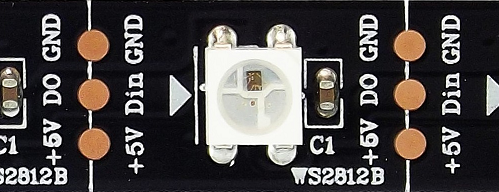
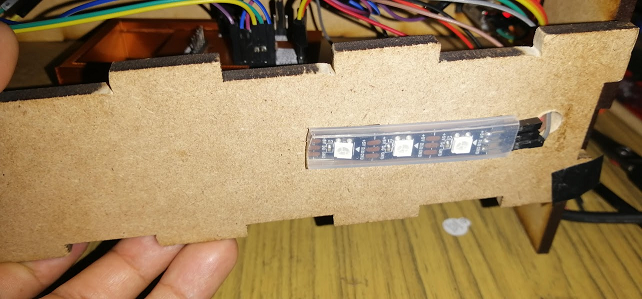
As an output indicator use an RGB LED controlled by the WS2812B IC using only one output pin.
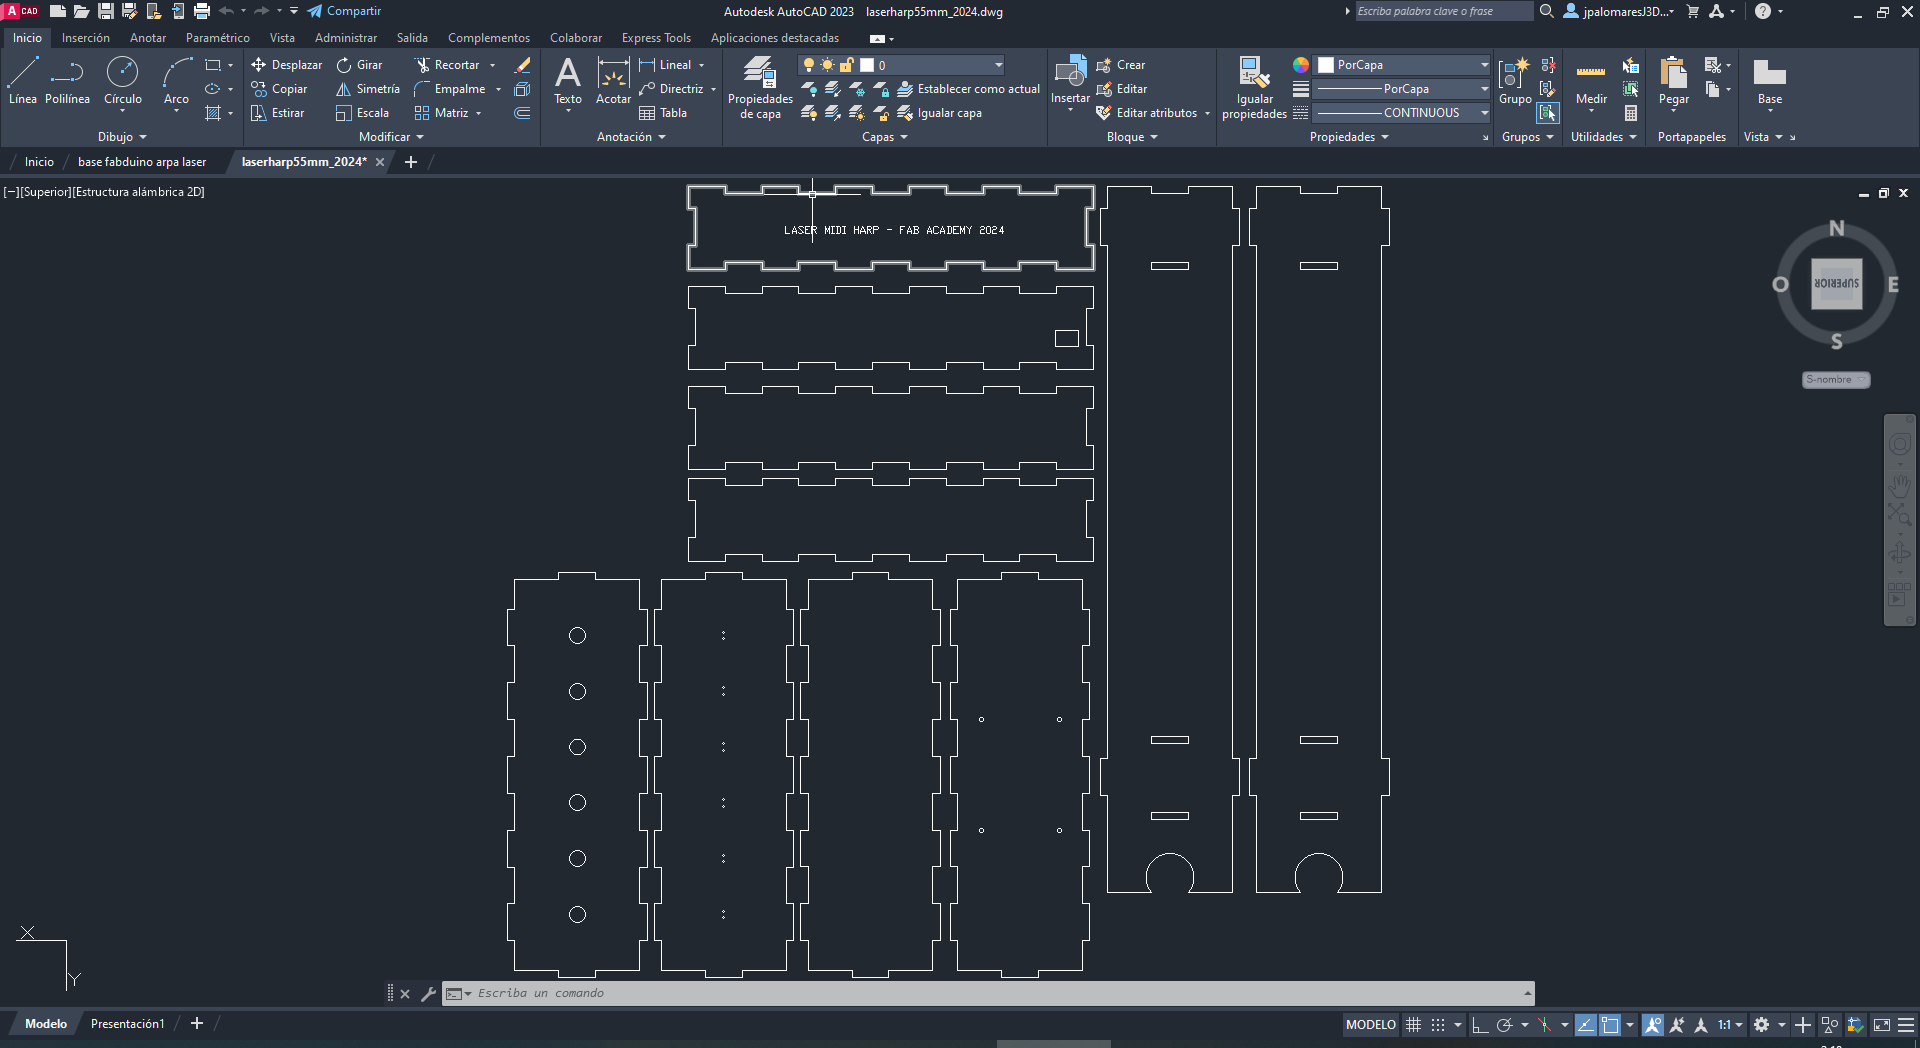
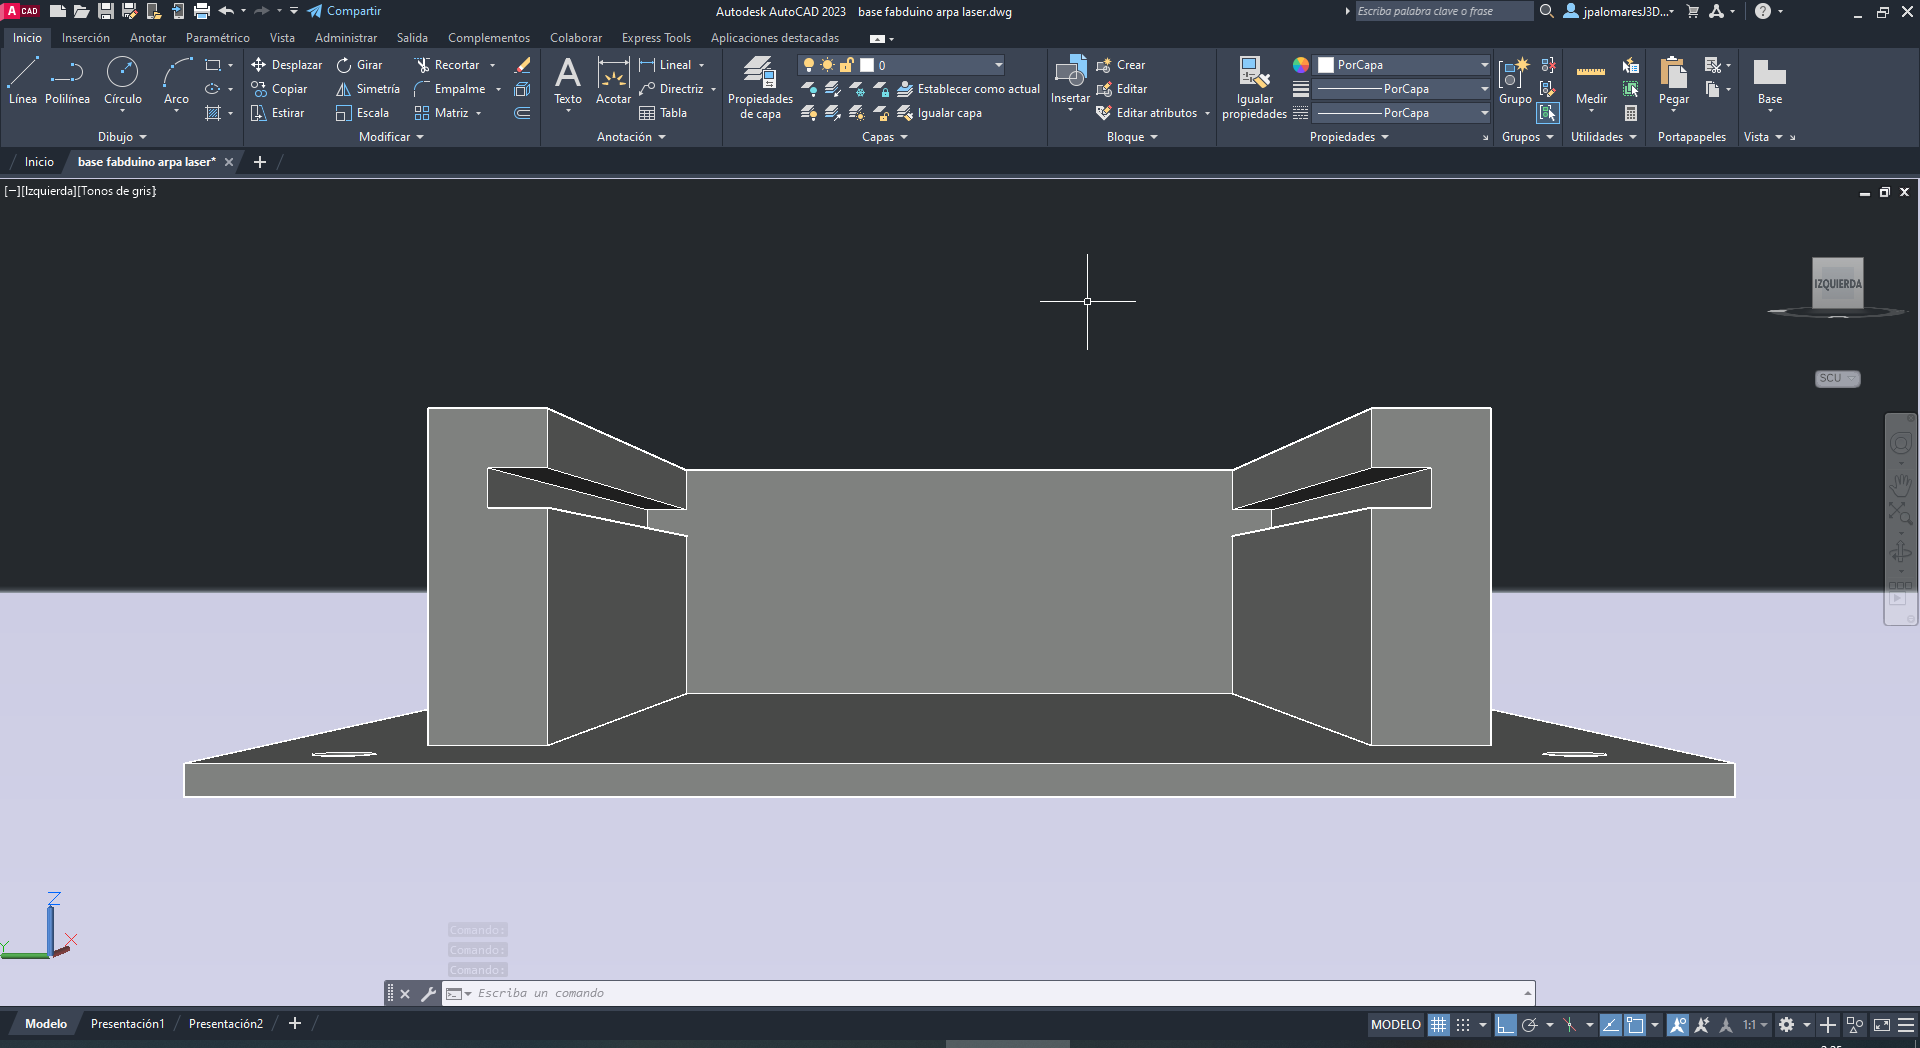
Next, I designed a structure to support those lasers using Autocad software.
MDF Plans
The structure was designed in Autocad software, a DXF file was generated. I used 3mm MDF structure but I realized it was so unstable. The I try with 5.5mm MDF and got better stability.
Next I used RDWORKS software to generate GCODE for the machine for laser cut. I set power 60% and speed 30%, for 5.5 mm depth.
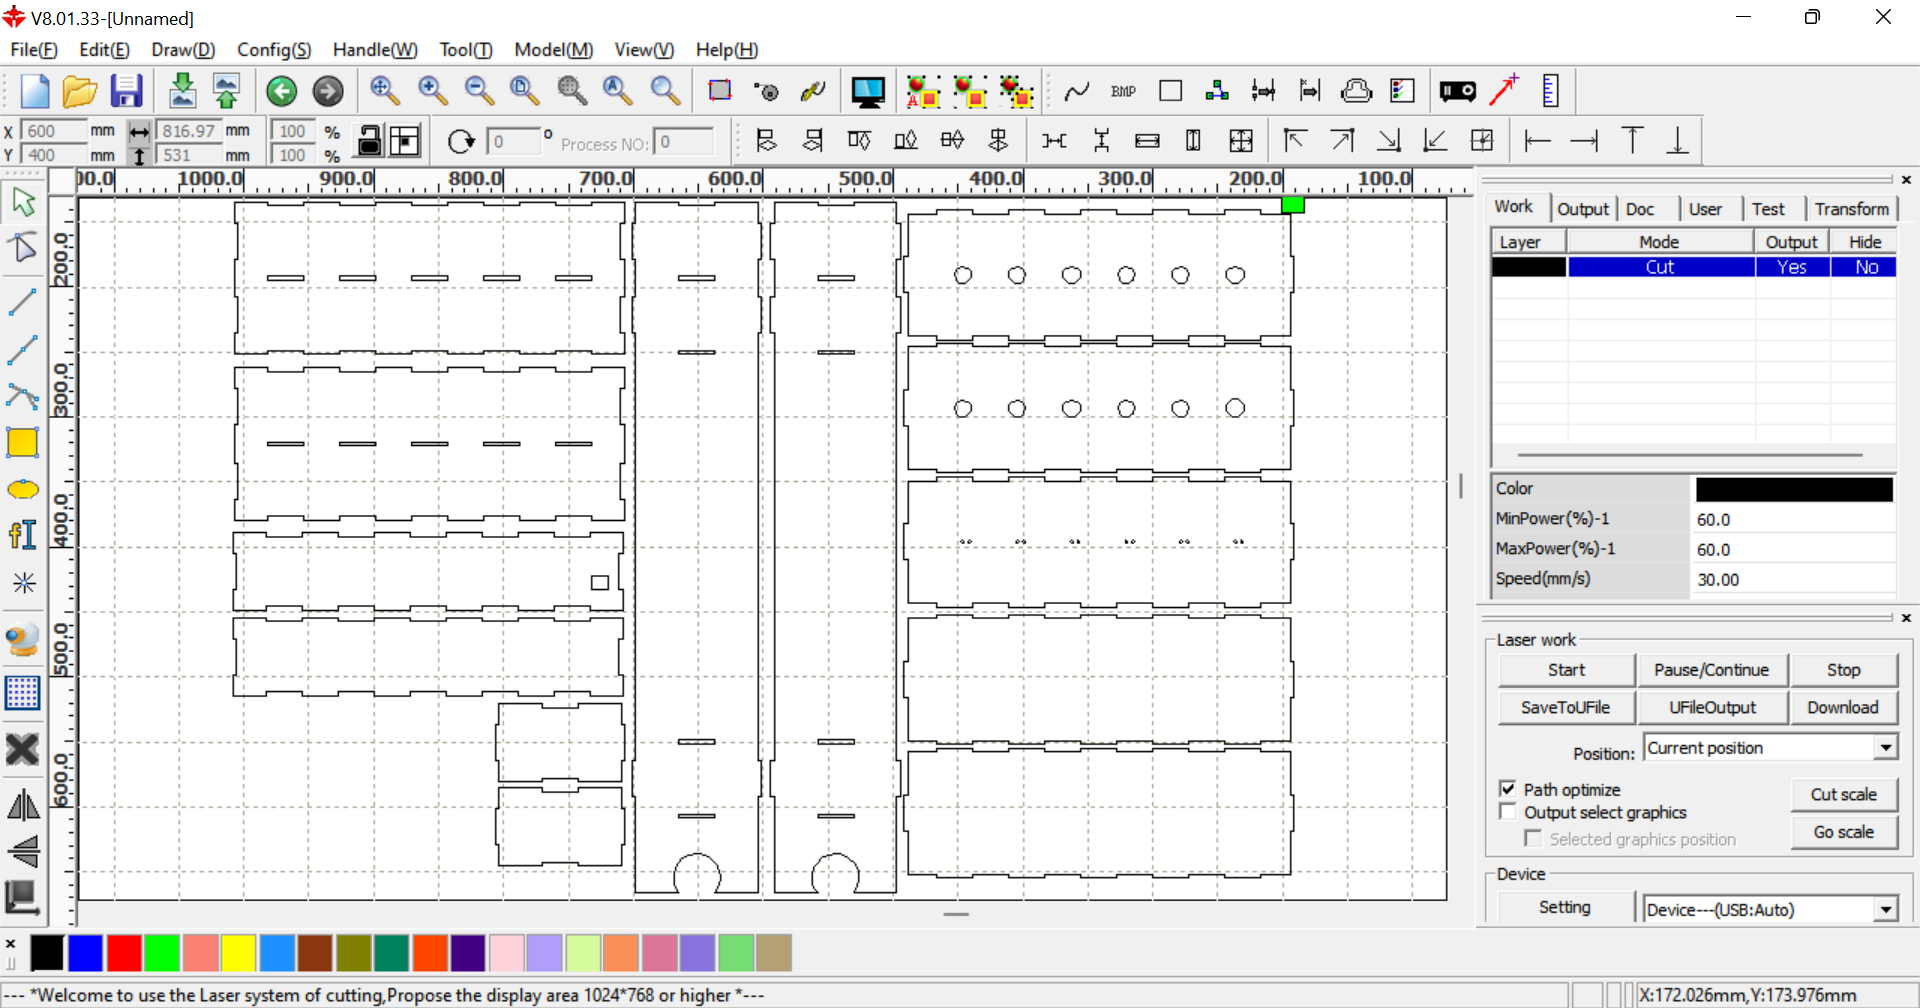
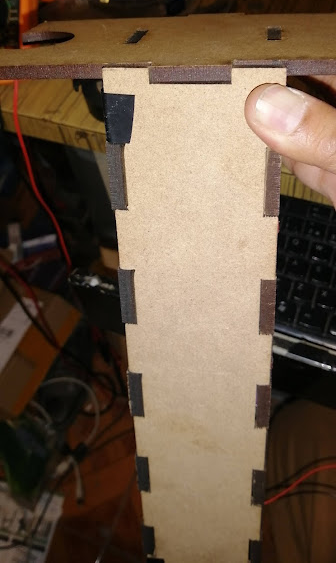
Then, the laser cut machine did the job!
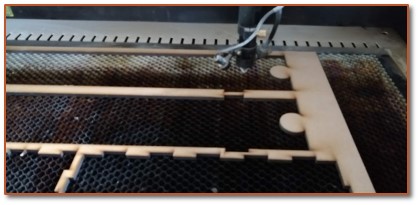
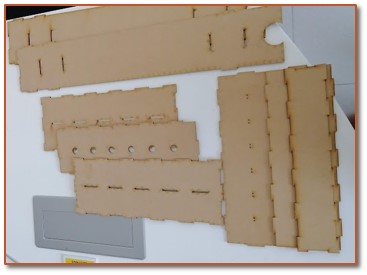
The pieces were ready to assembly!
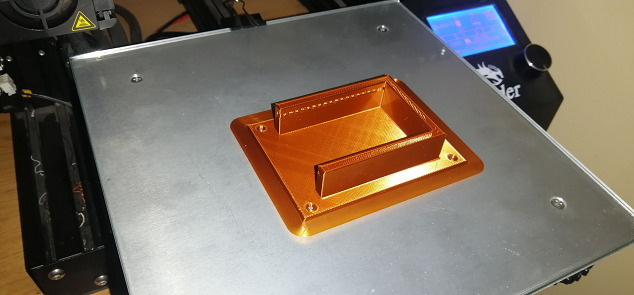
3D Base Support
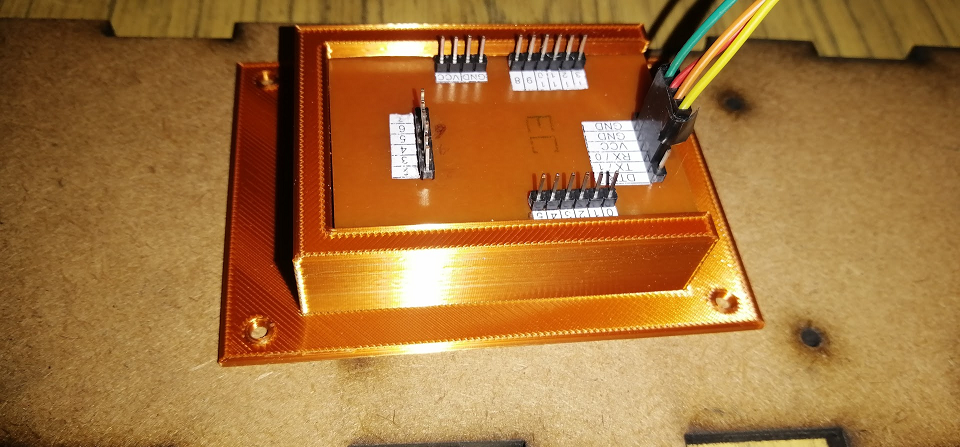
To secure the Fabduino board to the MDF base I have designed a 3D structure, in such a way that it has a slot to insert the board and fit correctly. It was printed in PLA material with 20% infill. In addition, it has 4 holes to place bolts and nuts.

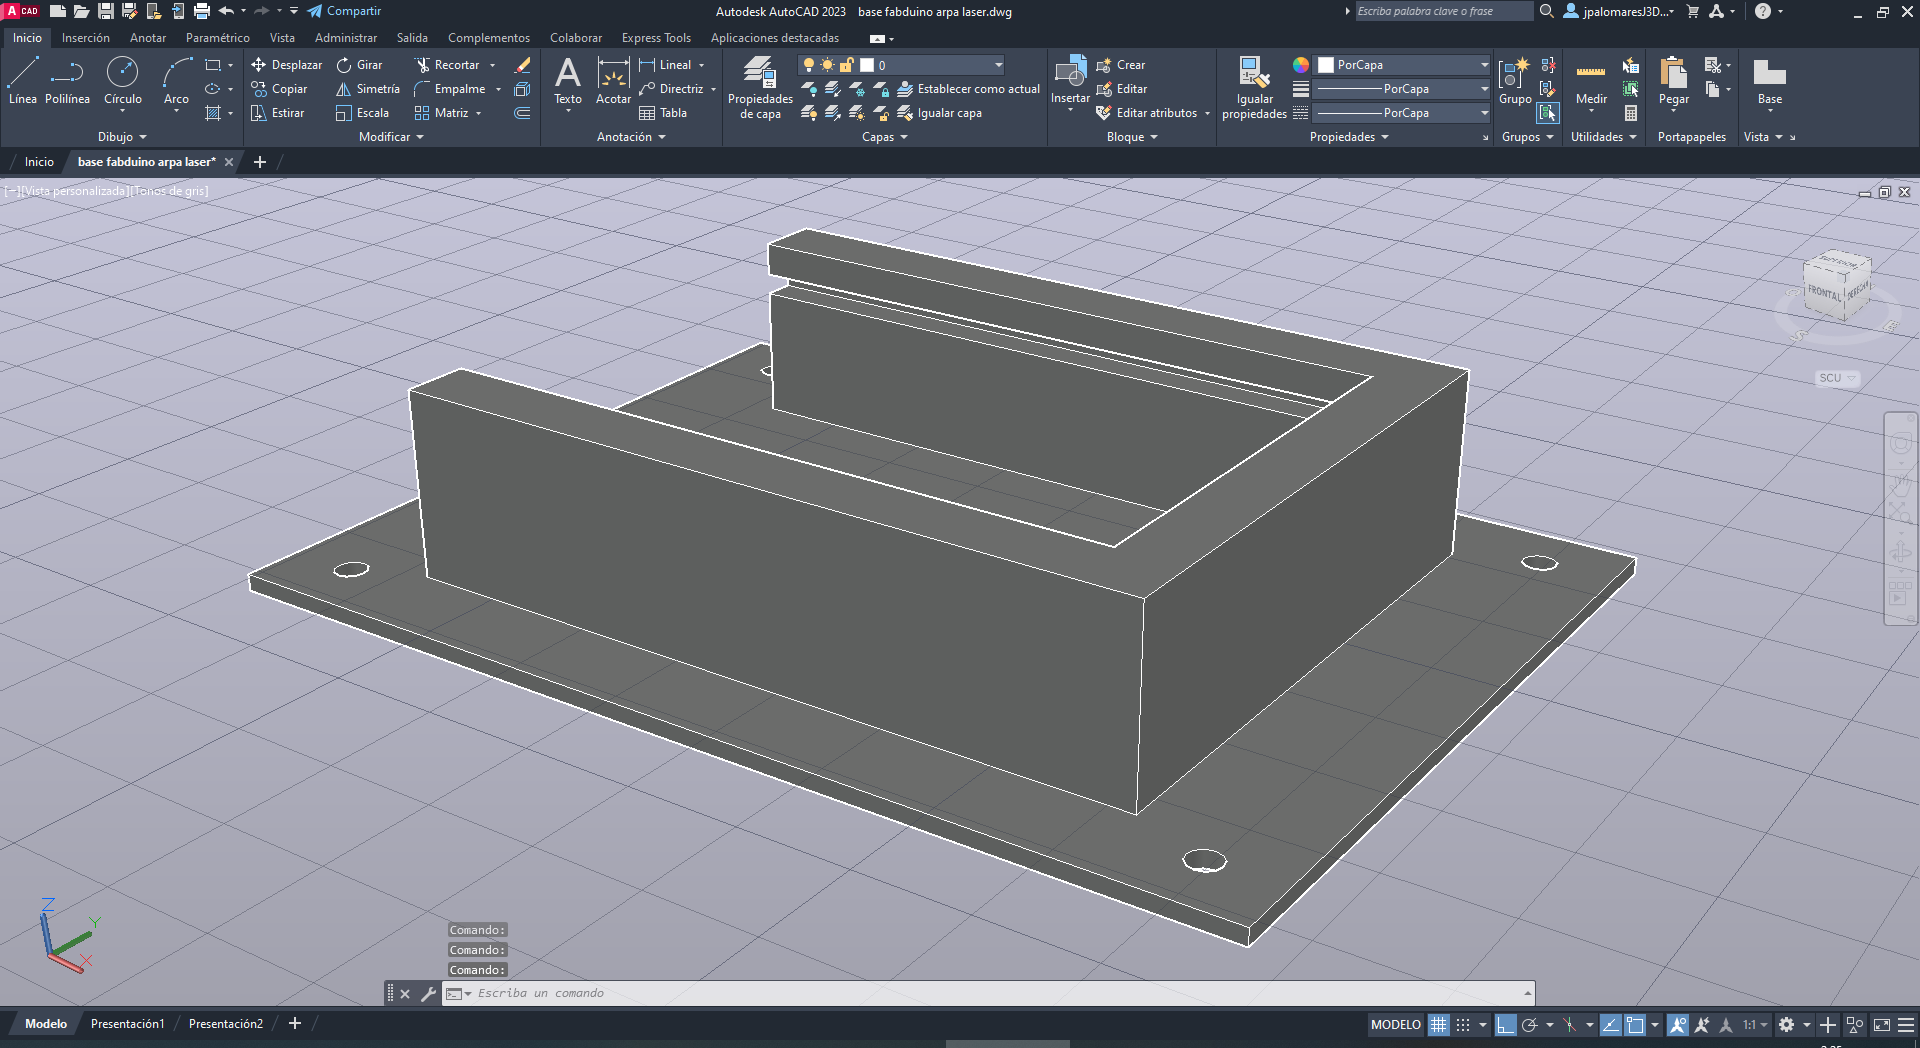
So, I proceeded to print the piece.
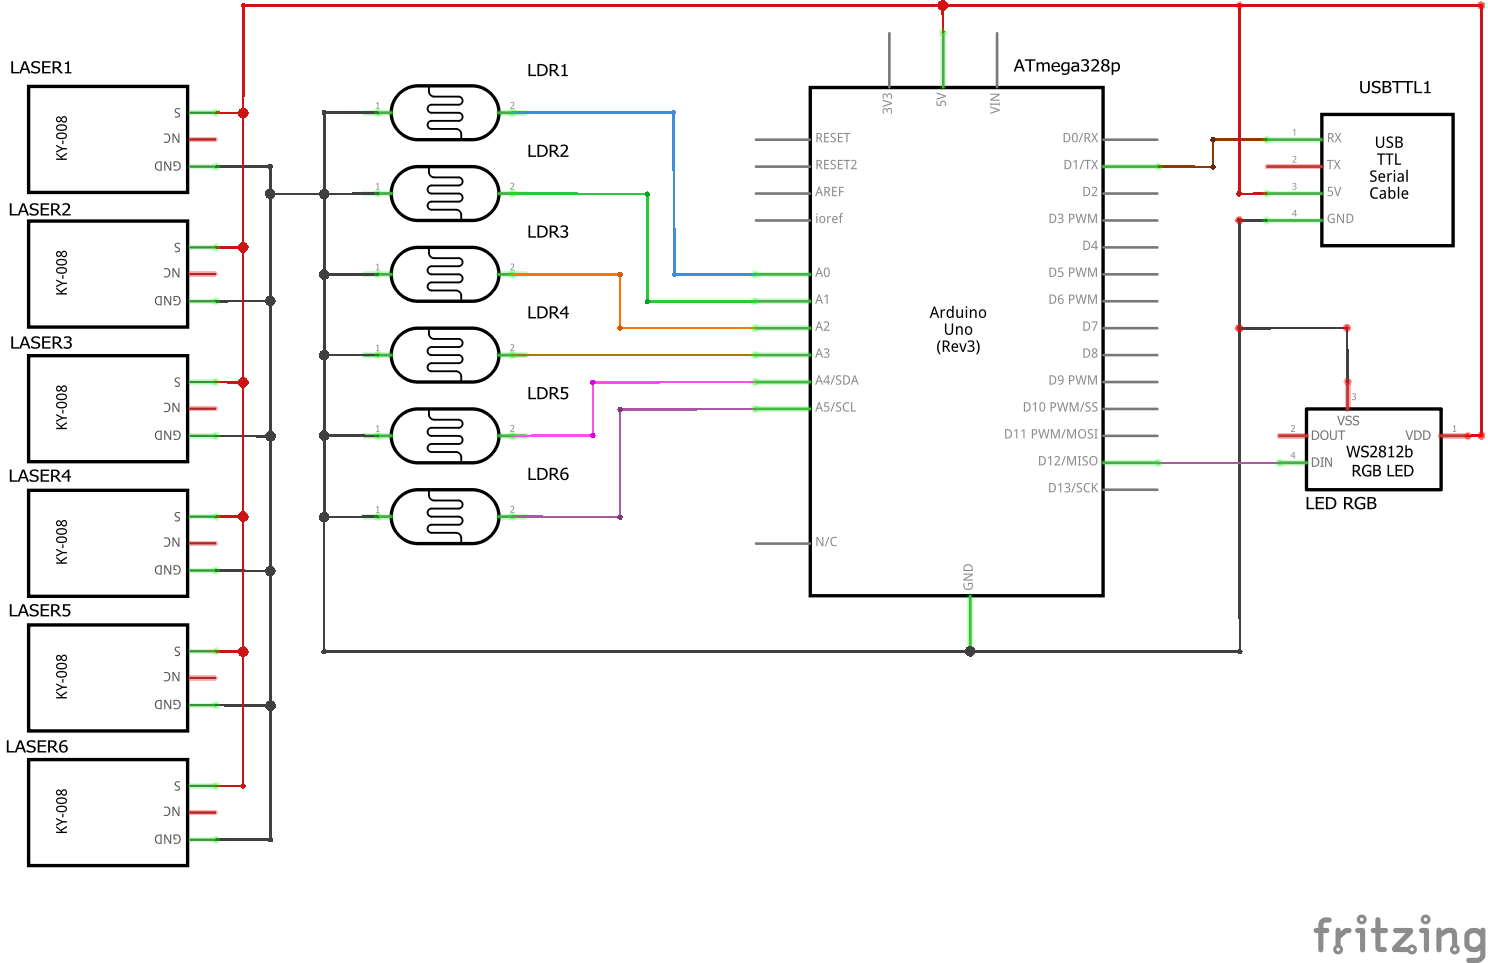
Circuit
The circuit presented consists of 06 laser modules connected in parallel (+5V and GND) powered directly from the Fabduino board. The LDR sensors are also connected to a common ground, and each pin is connected to the analog port of the Fabduino, from A0 to A5. In order to send data to the PC, the UART port of the Fabduino (Rx and Tx pin) is used.
The connections is shown below.
Fabduino
Controller used in this project: FabDuino, Atmega328P SMD.
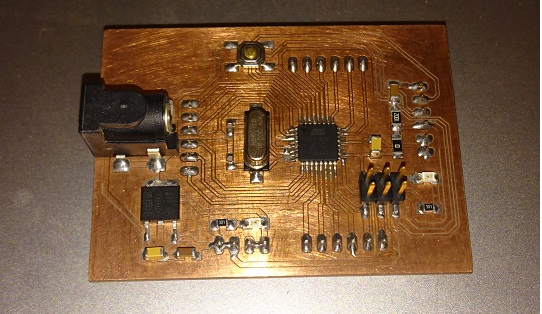
Front view
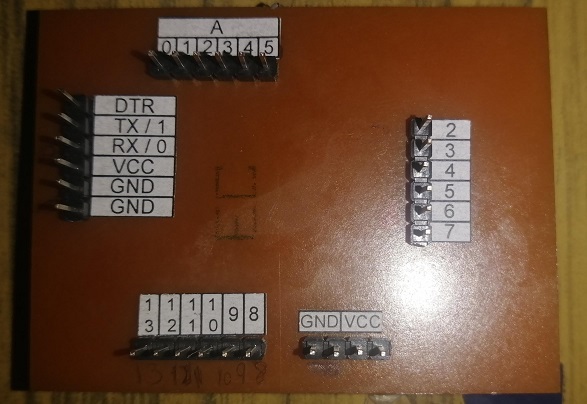
Back view
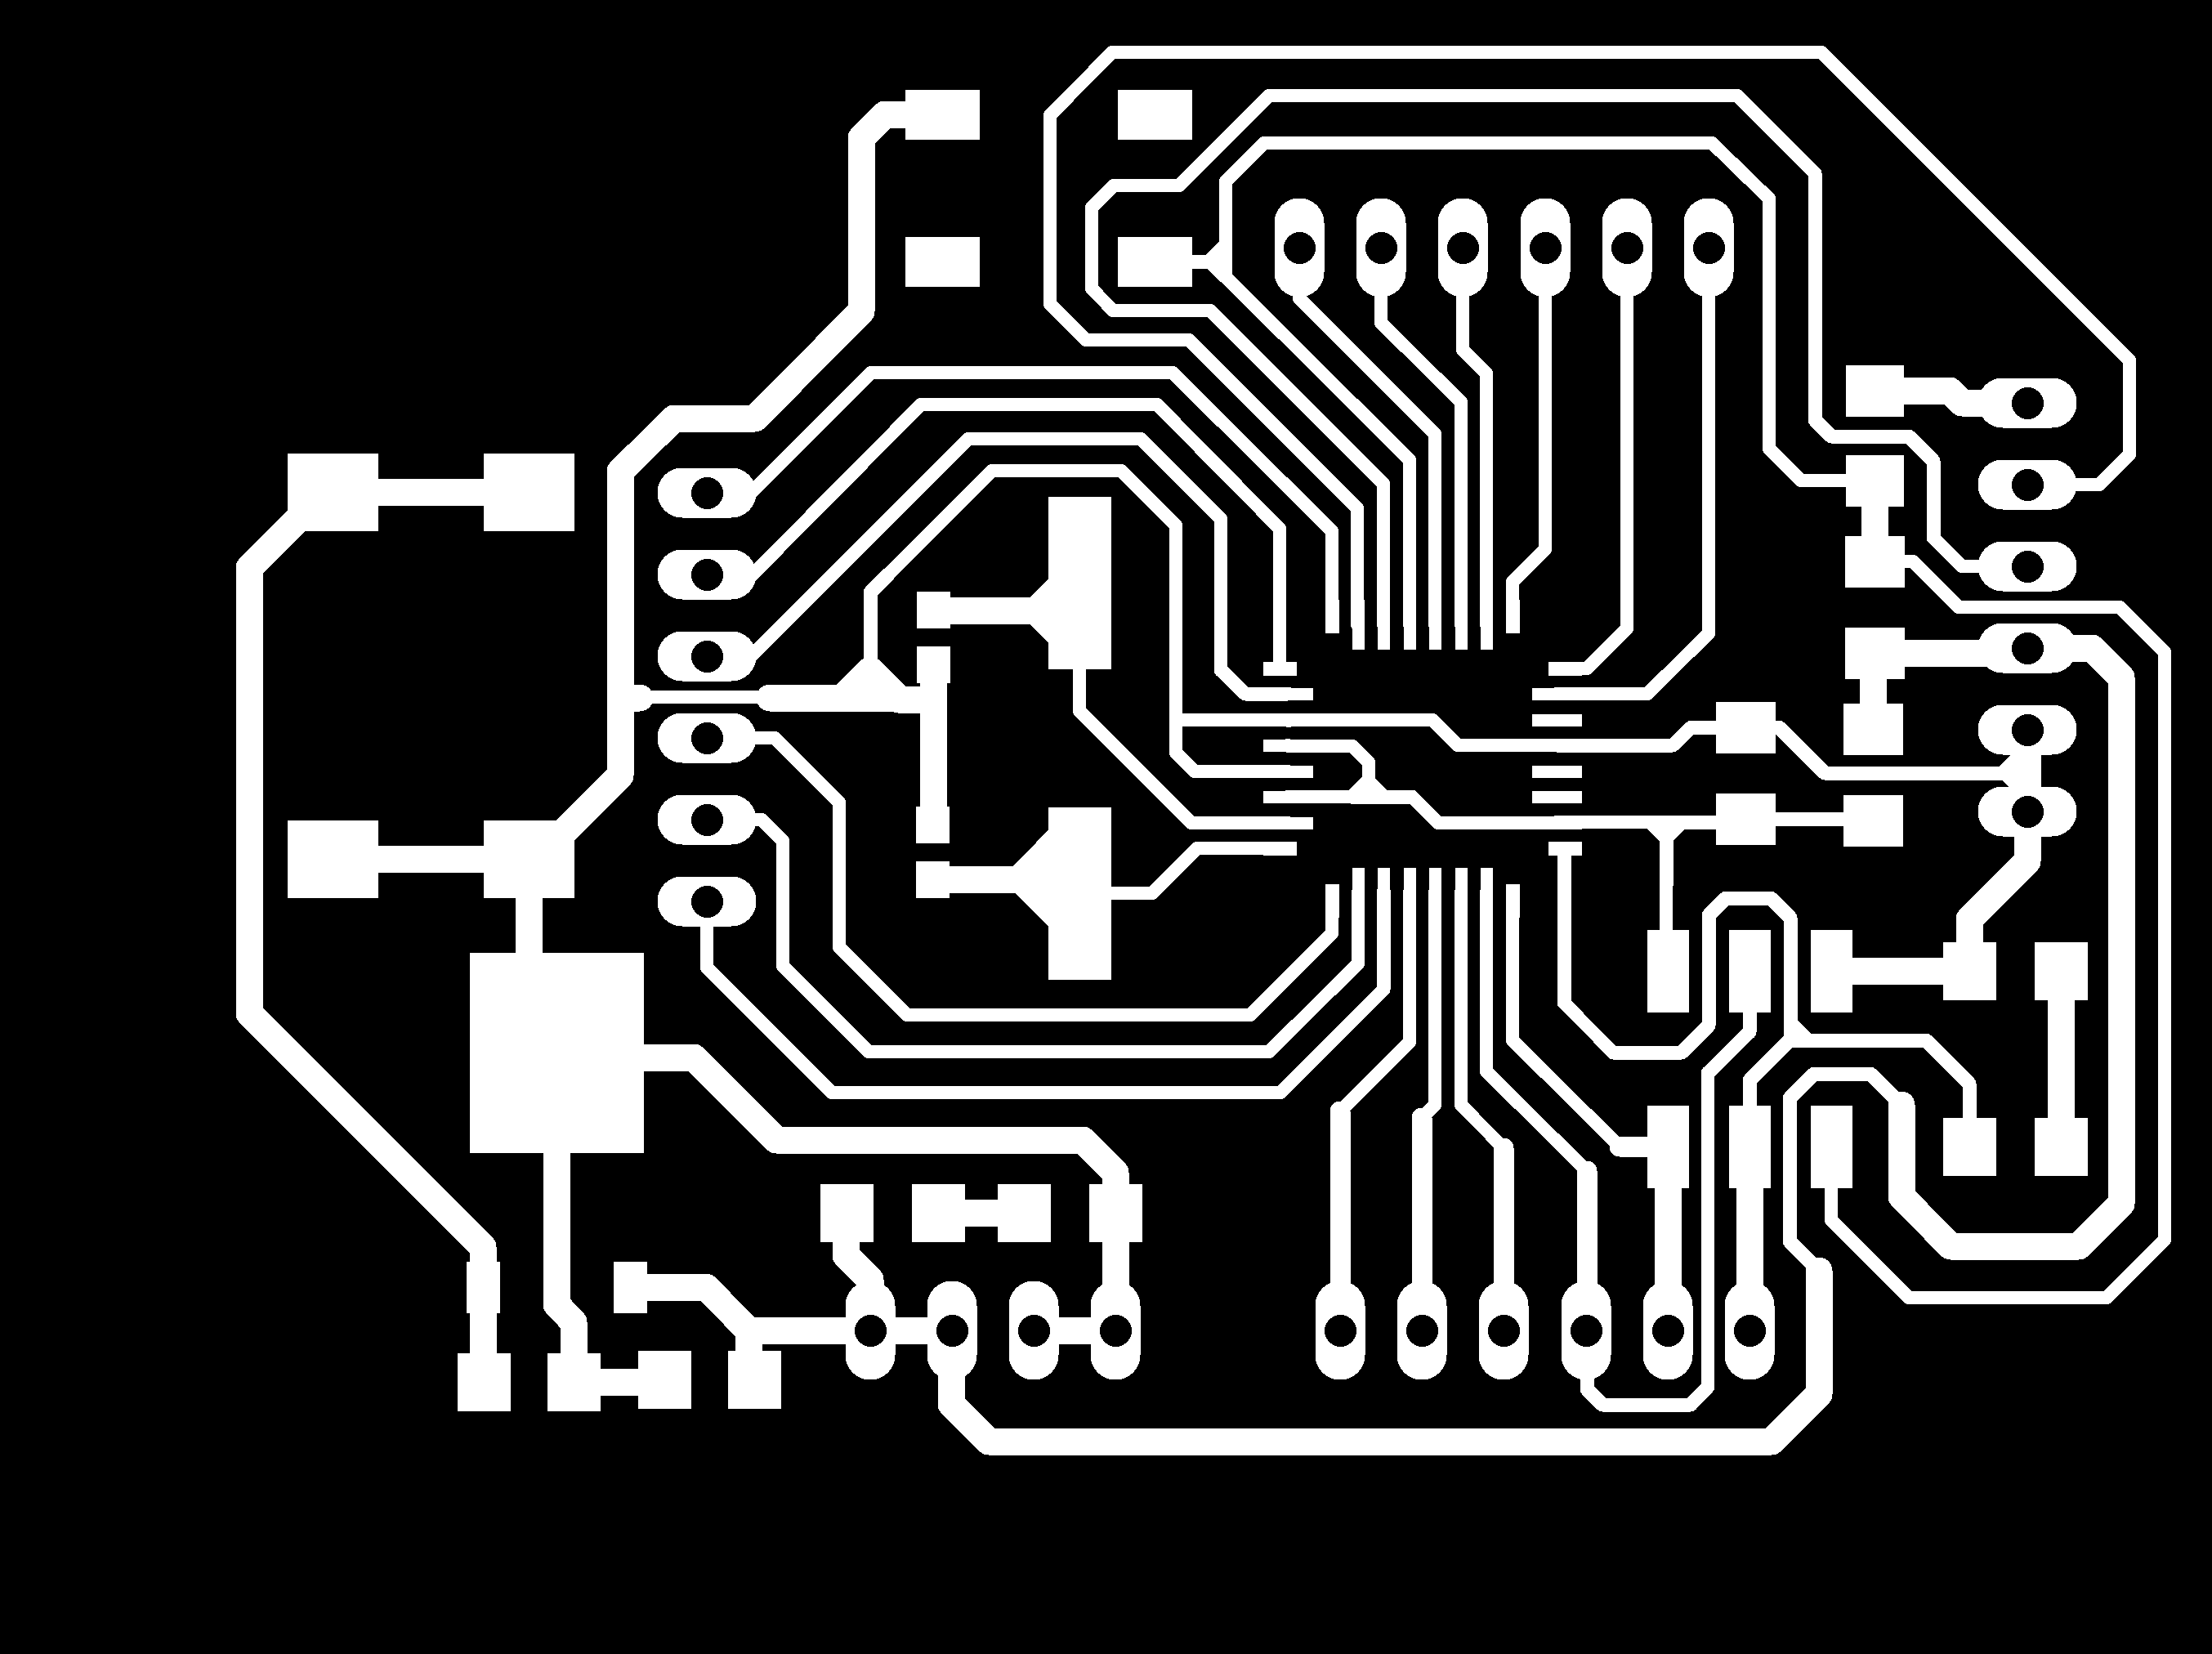
PCB black and white
Connections and assembly structure
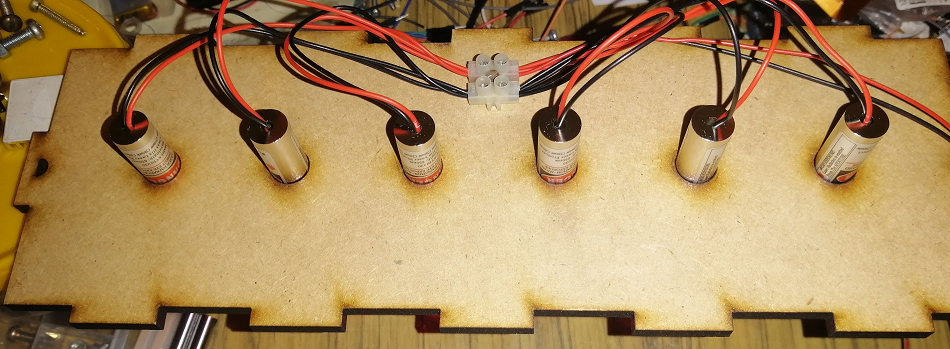
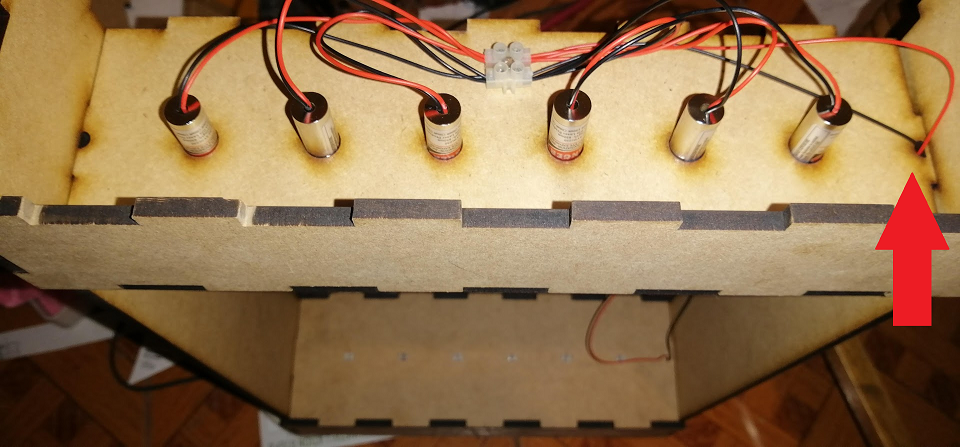
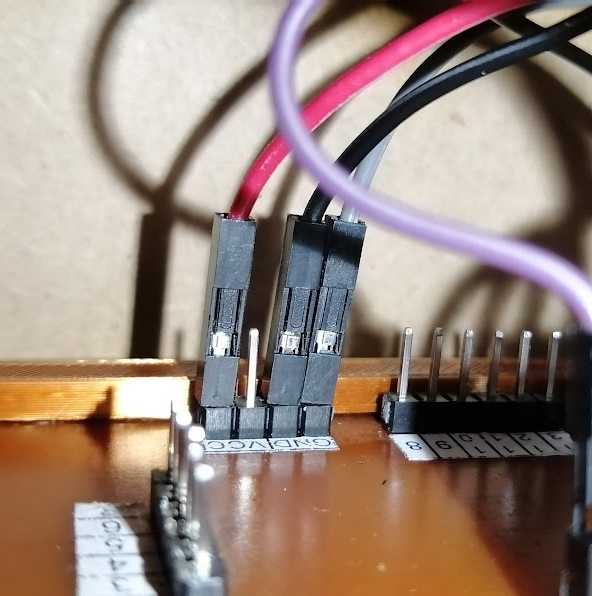
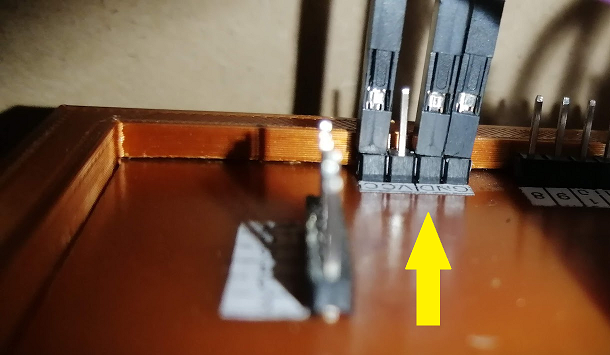
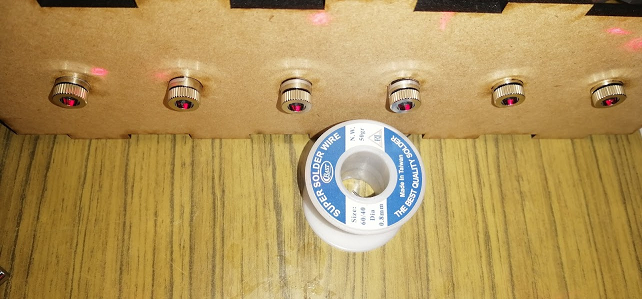
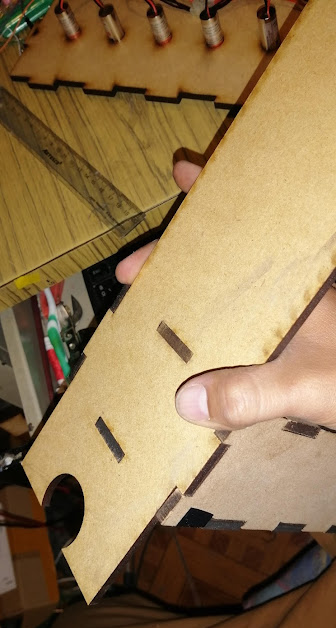
Step 1: Take the piece that contains the 06 largest holes. We join the common ground points (black cables) in the terminal block hole, in the same way the red +5v points (red cable), as shown in the following image.
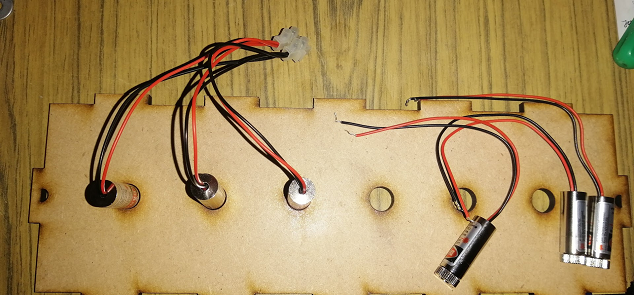
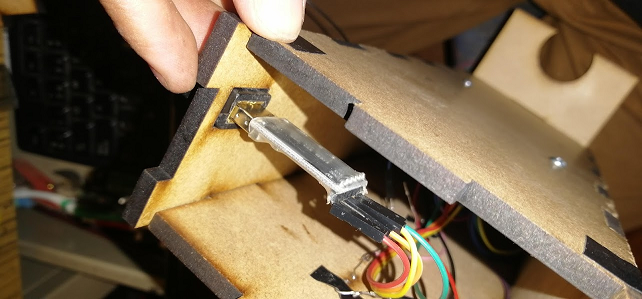
Next we insert the laser modules into each hole. photo We leave connected a pair of long 80cm cables for +5v and GND.

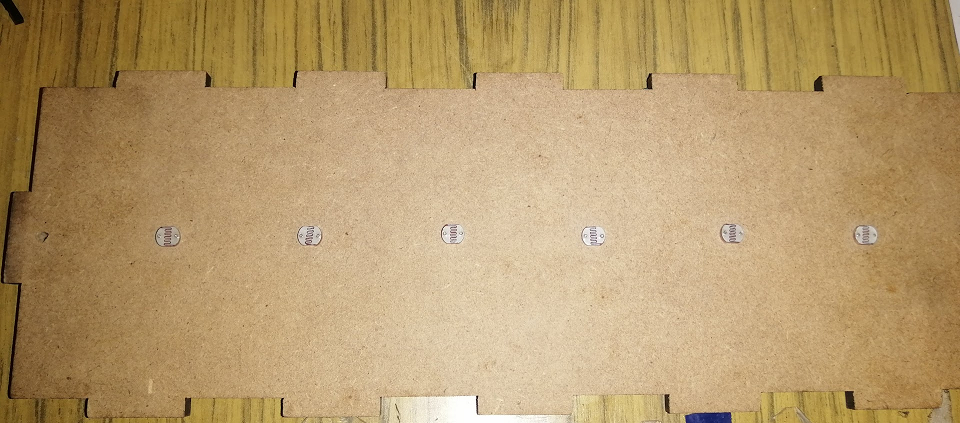
Step 2:
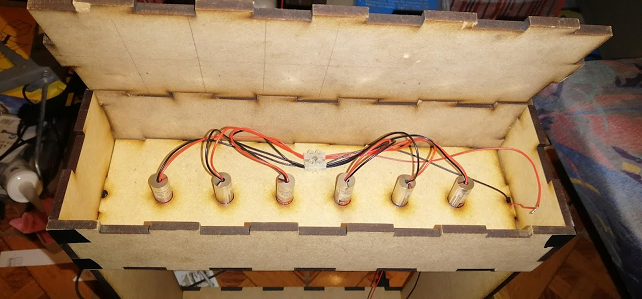
Take the piece with small holes. We place the LDR sensors in each pair of holes. To secure them we use a little hot silicone. photo LDR sensors use a common pin that is ground (GND), therefore we must join them at a single point.
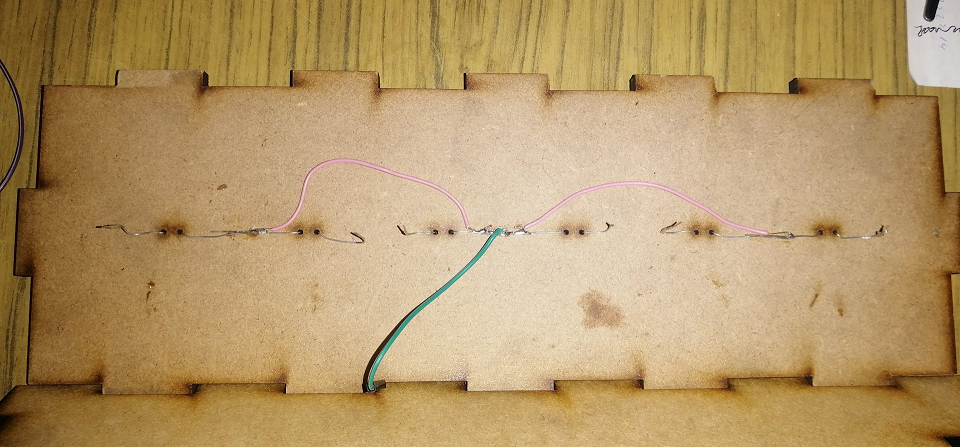
Next, we must place an independent cable on each pin of the LDR sensor in such a way that each one will be connected to the analog port of the Fabduino (A0 to A5).

Step 3:
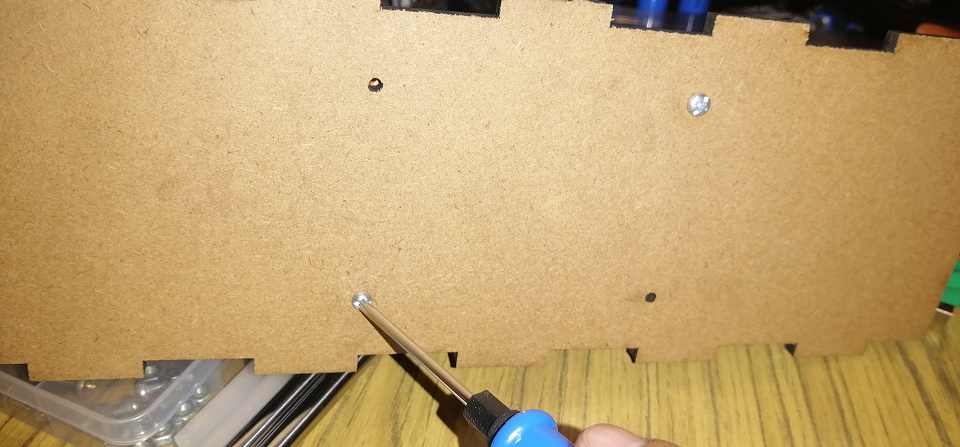
Take the base piece of the controller, which is the one with 04 holes to place the 3D piece that will be the base support of the Fabduino board.
We fasten the piece to the MDF base using M3 bolts and nuts.

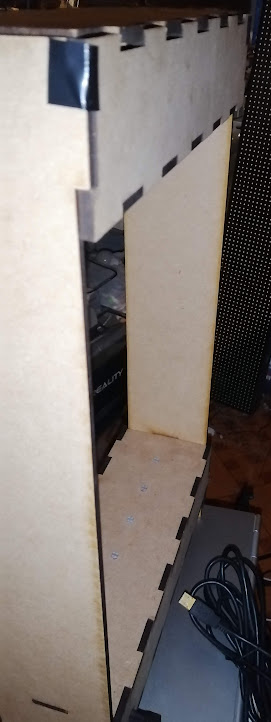
Step 4:
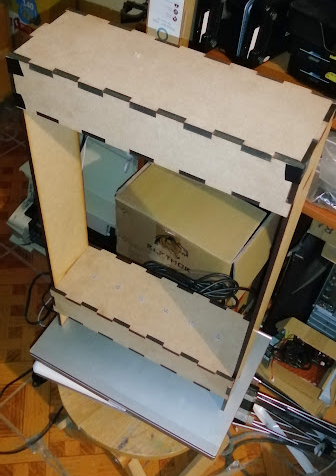
Now we proceed to assemble the structure starting from the sides and from the top.
We pass the red and black cables of the laser modules through the hole on the side downwards where the LDR sensors are located.
Step 5:
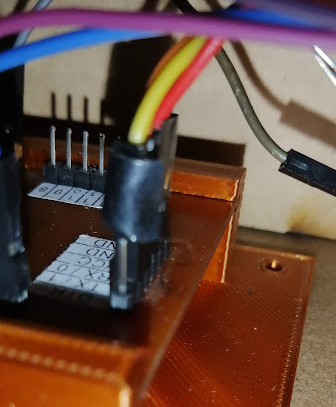
Now we can make the connections to the Fabduino board.
We start with the laser modules that are connected to VCC (+5V Red) and GND (Black).
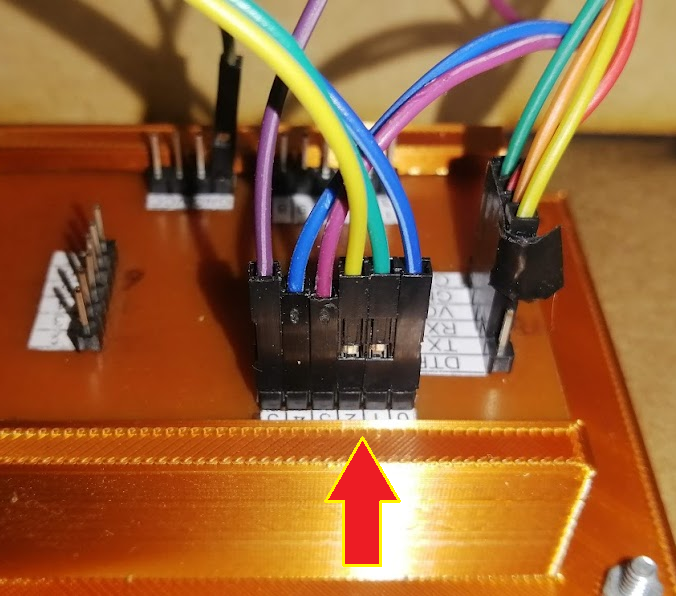
Next, we connect the independent cables of the LDR sensors to the analog port, in order from A0 to A5, from left to right. Also the Ground common port to GND
Finally we connect the USB serial adapter to the UART port of the Fabduino.
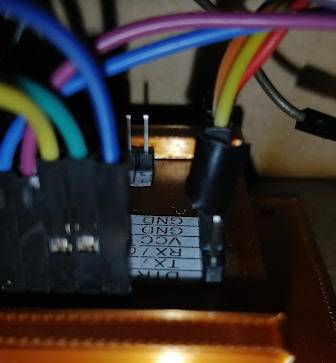
We attach the female USB extension to the MDF structure to be able to connect the USB serial adapter.
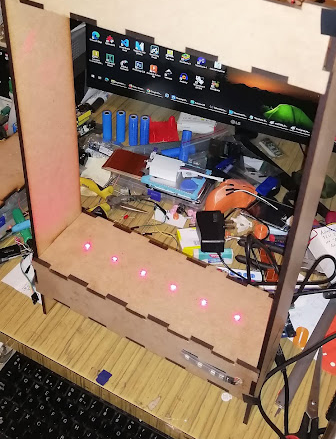
Step 6:
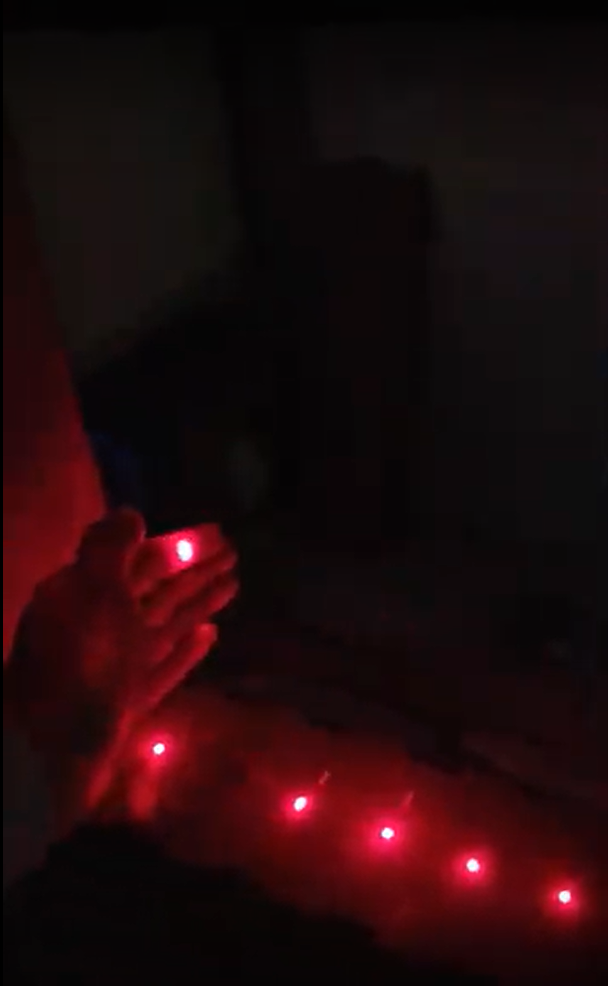
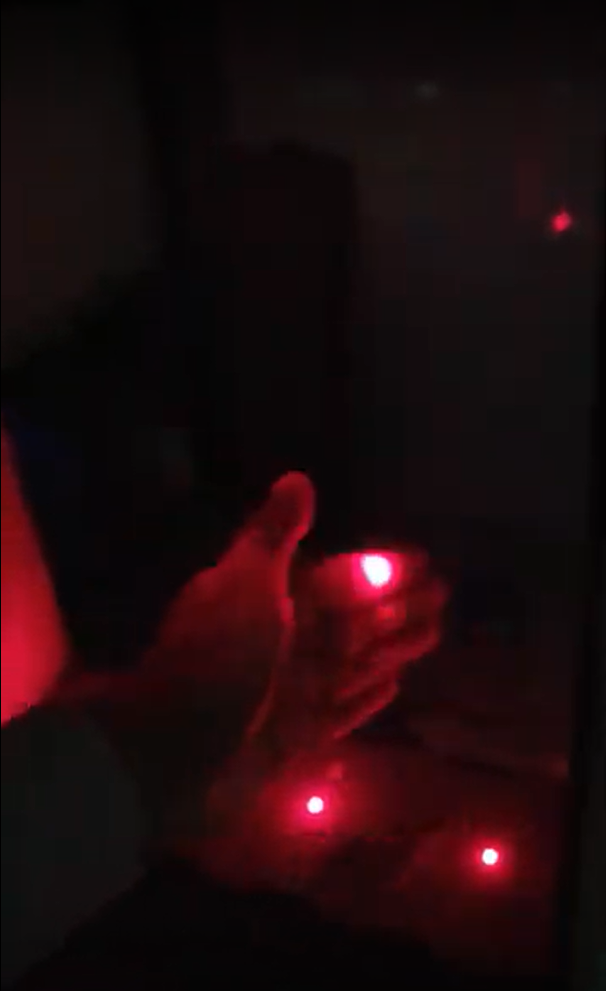
To turn on the instrument, the USB cable must be connected to the PC.
Verify that the laser modules turn on.
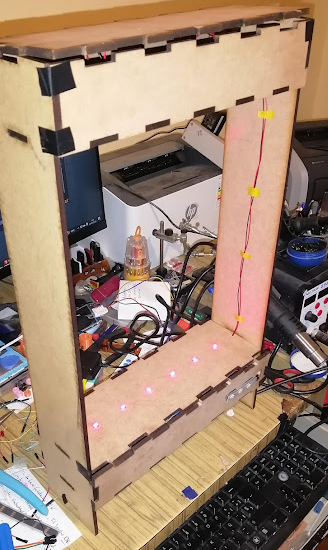
Step 7:
Finally, place the side pieces on the right and left sides.

Place the bottom and top covers.

Final views
Code / Firmware
//code by Chris Ball - chrisballprojects.wordpress.com
//modified by Angel Palomares, works 100%
#include <Adafruit_NeoPixel.h>
#define PIN 12
#define NUMPIXELS 1
Adafruit_NeoPixel pixels(NUMPIXELS, PIN, NEO_GRB + NEO_KHZ800);
const int notes=6; // set up number of notes
boolean notePlaying[notes]; //note states array: keeps track of whether a MIDI note is "on" or "off"
int scale[notes]={0,2,4,5,7,9}; //major scale
int beginNote=0X3C; //starting note value (default middle C)
int threshold=40; //value which analogRead() must cross for a midi note to be triggered
boolean midiMode=true; //set this to "true" before uploading MIDI firmware
// http://hunt.net.nz/users/darran/weblog/52882/Arduino_UNO_MIDI_USB_version_02.html) to 16u2
void setup(){
if(midiMode){
pinMode(A0, INPUT_PULLUP);
pinMode(A1, INPUT_PULLUP);
pinMode(A2, INPUT_PULLUP);
pinMode(A3, INPUT_PULLUP);
pinMode(A4, INPUT_PULLUP);
pinMode(A5, INPUT_PULLUP);
pinMode(2, OUTPUT);
pinMode(3, OUTPUT);
pinMode(4, OUTPUT);
pinMode(5, OUTPUT);
pinMode(6, OUTPUT);
pinMode(7, OUTPUT);
Serial.begin(115200); //midi USB baud rate = 115200
pixels.begin();
}else{
pinMode(A0, INPUT_PULLUP);
pinMode(A1, INPUT_PULLUP);
pinMode(A2, INPUT_PULLUP);
pinMode(A3, INPUT_PULLUP);
pinMode(A4, INPUT_PULLUP);
pinMode(A5, INPUT_PULLUP);
pinMode(2, OUTPUT);
pinMode(3, OUTPUT);
pinMode(4, OUTPUT);
pinMode(5, OUTPUT);
pinMode(6, OUTPUT);
pinMode(7, OUTPUT);
Serial.begin(9600); //for testing values
pixels.begin();
}
}
void loop() {
for(int i=0;i
if((analogRead(i)>threshold)&&(notePlaying[i]==false)){ //note on & CC messages
int note=beginNote+scale[i];
midiMessage(0x90, note, 65);//, 100);
notePlaying[i]=true;
pixels.setPixelColor(1, pixels.Color(i*50+100, i*50-100, i*50));
pixels.show();//}
}
if((analogRead(i)
int note=beginNote+scale[i];
midiMessage(0x80, note, 65);//, 0);
notePlaying[i]=false;
pixels.setPixelColor(1, pixels.Color(0, 0, 0));
pixels.show();
}
}
}
void midiMessage(int commandByte, int channelByte, int data1Byte)//, int data2Byte)
{
if(midiMode){
Serial.write(commandByte);
Serial.write(channelByte);
Serial.write(data1Byte);
}else{
if(commandByte==0x90){
Serial.print("Note On message: note ");
}else if(commandByte==0x80){
Serial.print("Note Off message: note ");
}
Serial.print(data1Byte);
Serial.print(", velocity ");
}
}
In the program code we have to verify that the line "int threshold=40; " where 40 is the analog threshold value. According to our light conditions we can adjust that value
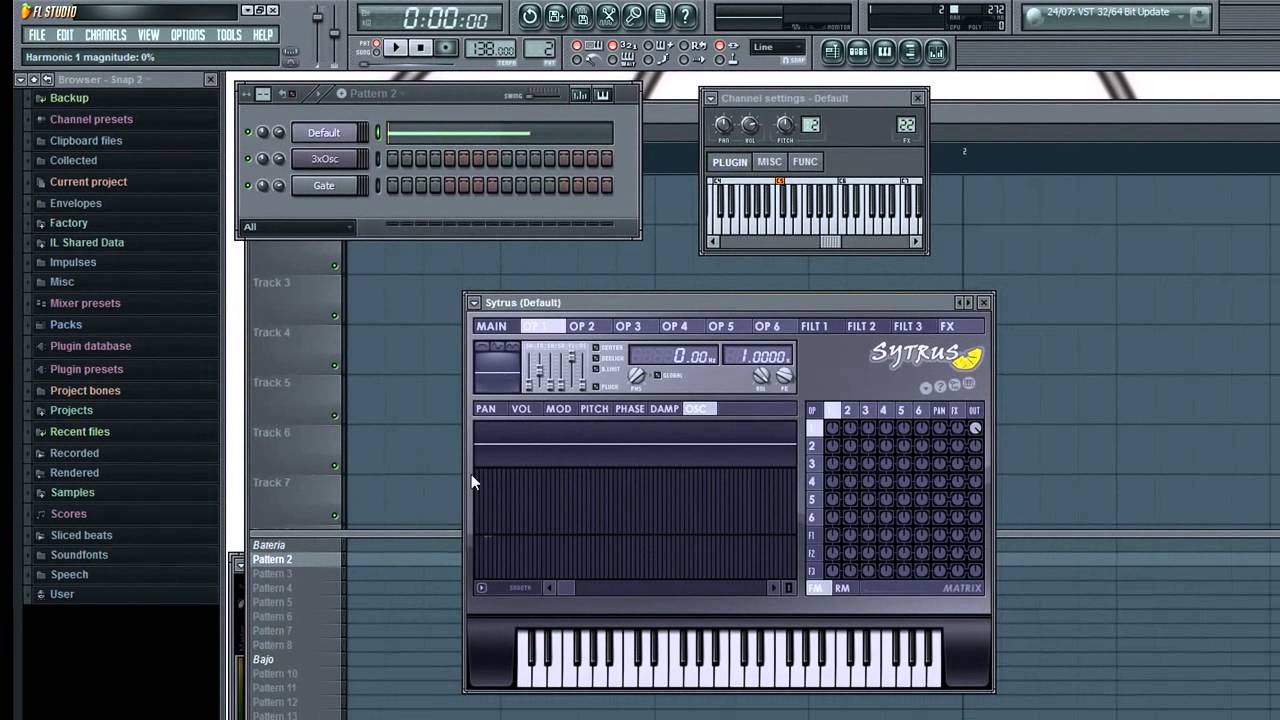
Software for PC
For a real test I used the lastest version of FL studio. This demo version has a MIDI sequencer and free VST plugins for live MIDI playing.
Software Link: https://www.image-line.com/fl-studio/
Downnload Link: https://www.image-line.com/fl-studio-download/
Other programs used for this project are explained below. (Hairless MIDI and Loopmidi)
Testing
Final assembly and testing.
Simulation:
My project was simulated on Proteus software. My design is shown next.
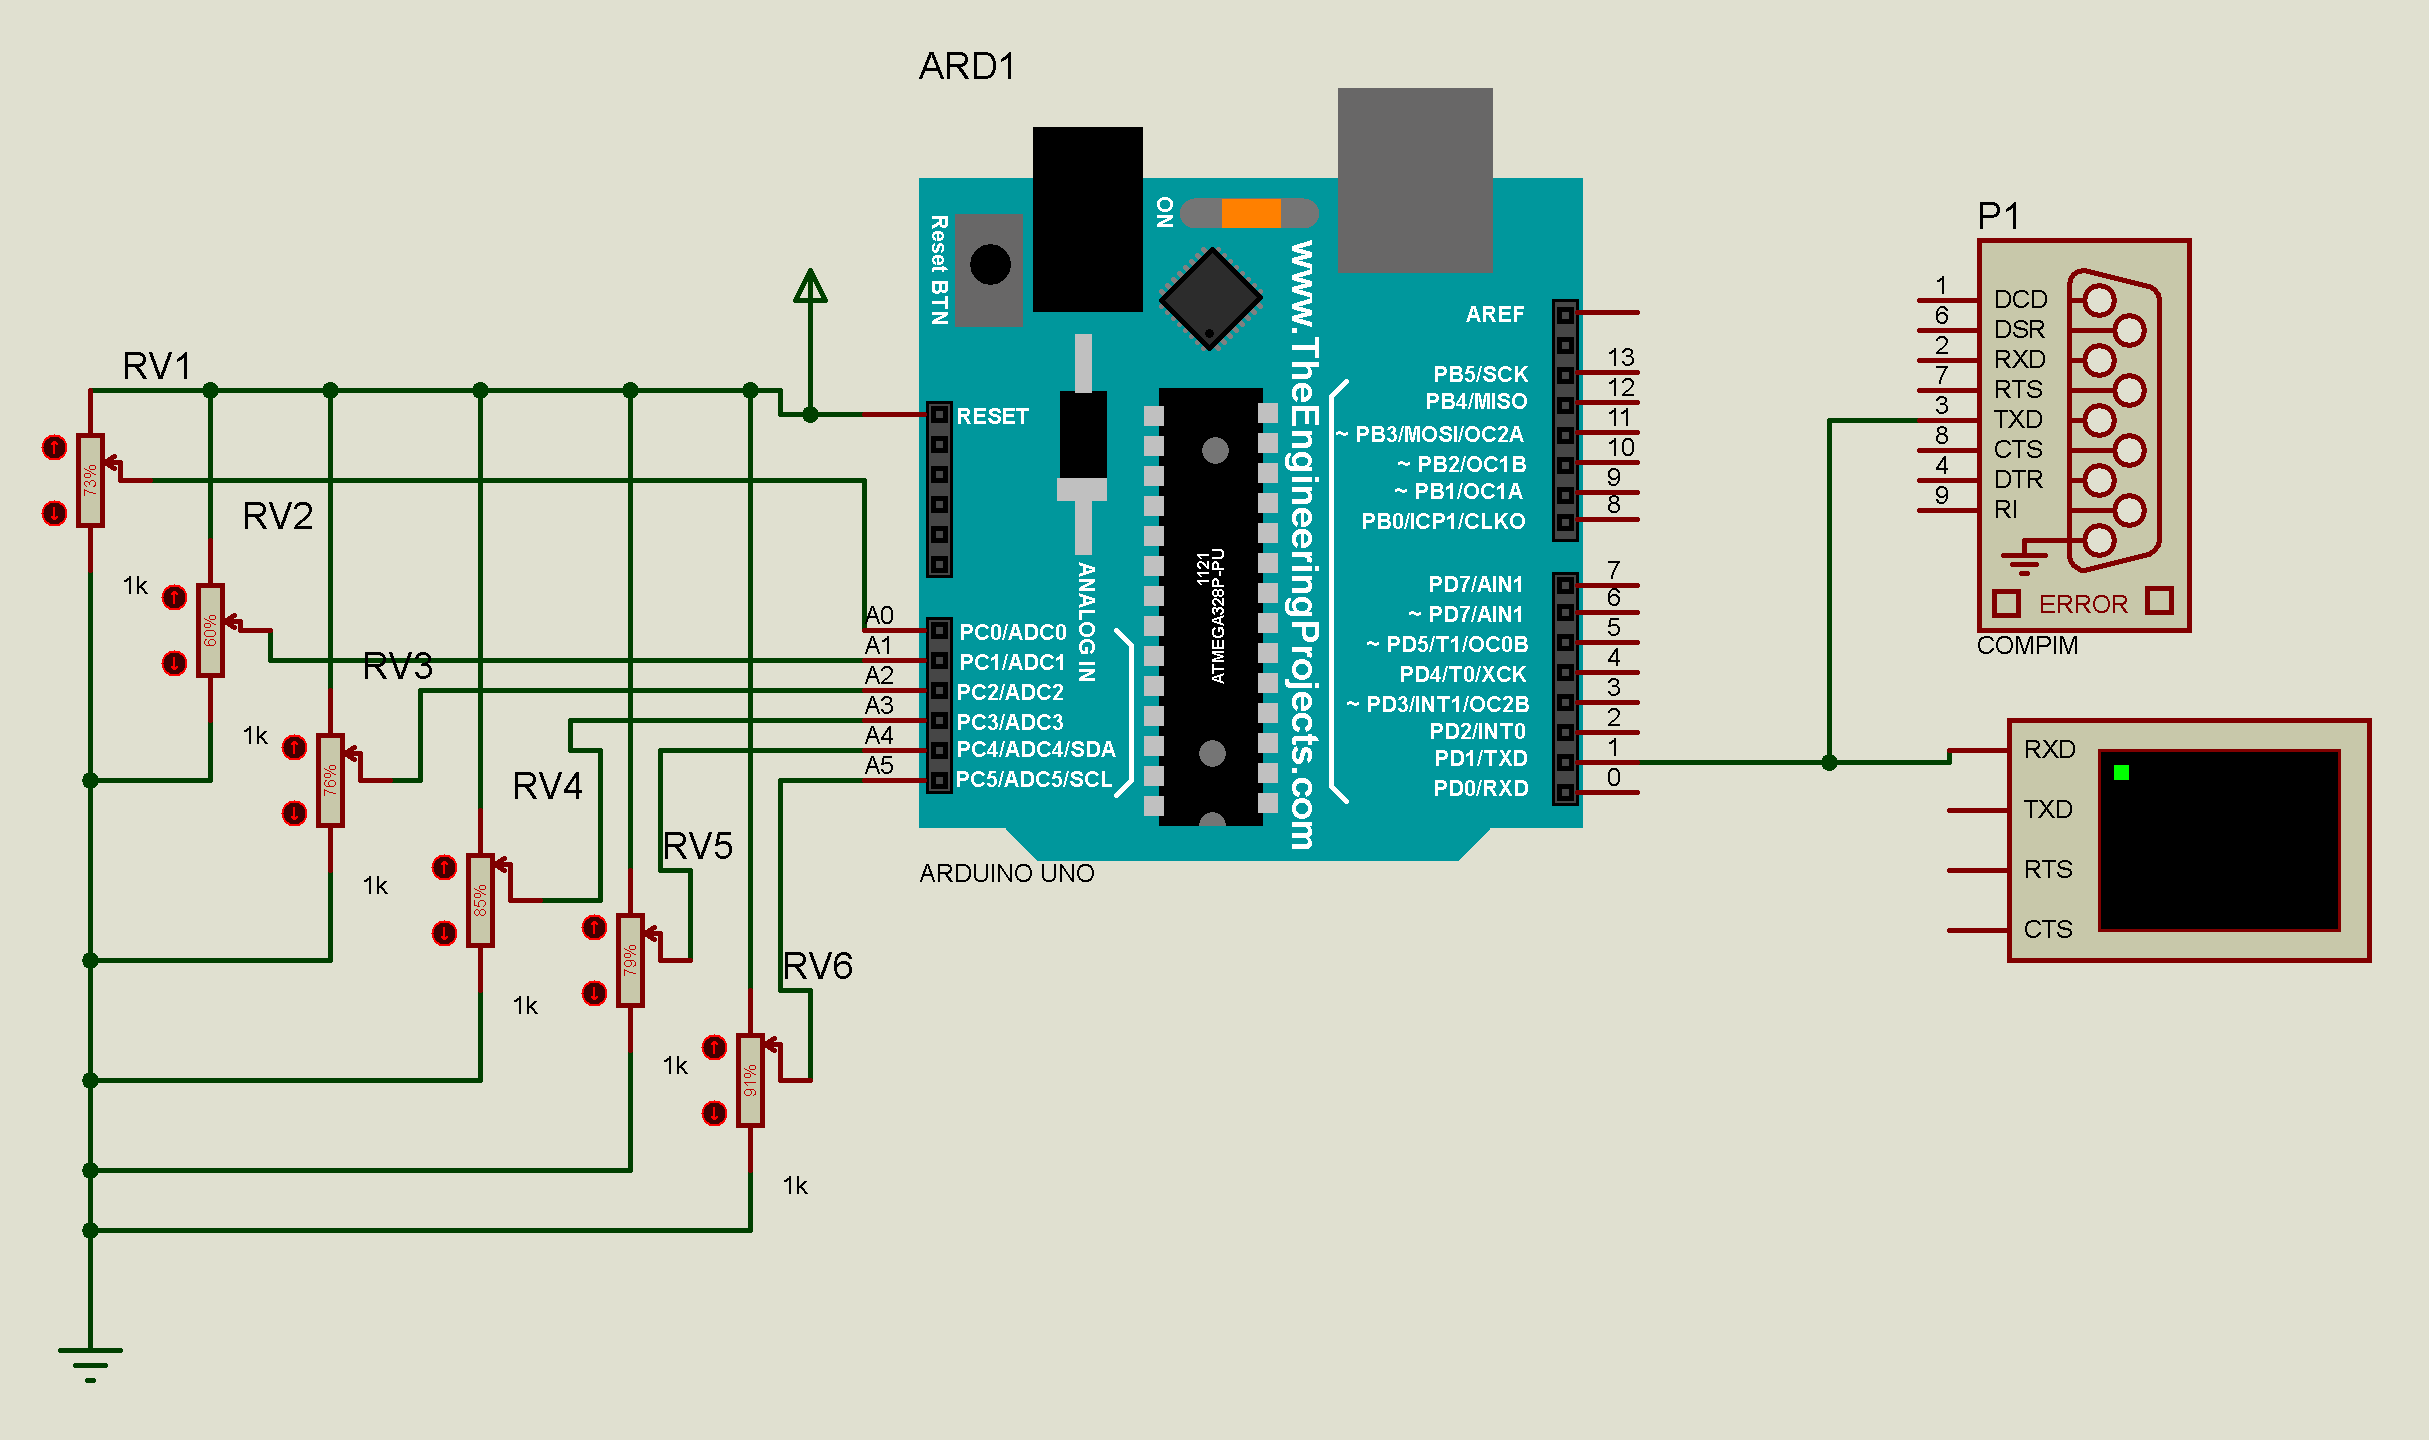
ATmega328P uses the 06 ADC ports to emulate the harp cords. There's a threshold to calibrate. When the value is more than 512 of ADC, it's play the note. The serial terminal shows the midi commands sent (in HEX).
A COM PORT was added to the simulation.
Virtual Serial Port software was installed to add a virtual COM PORT
Download Link: https://www.virtual-serial-port.org/es/downloads.html
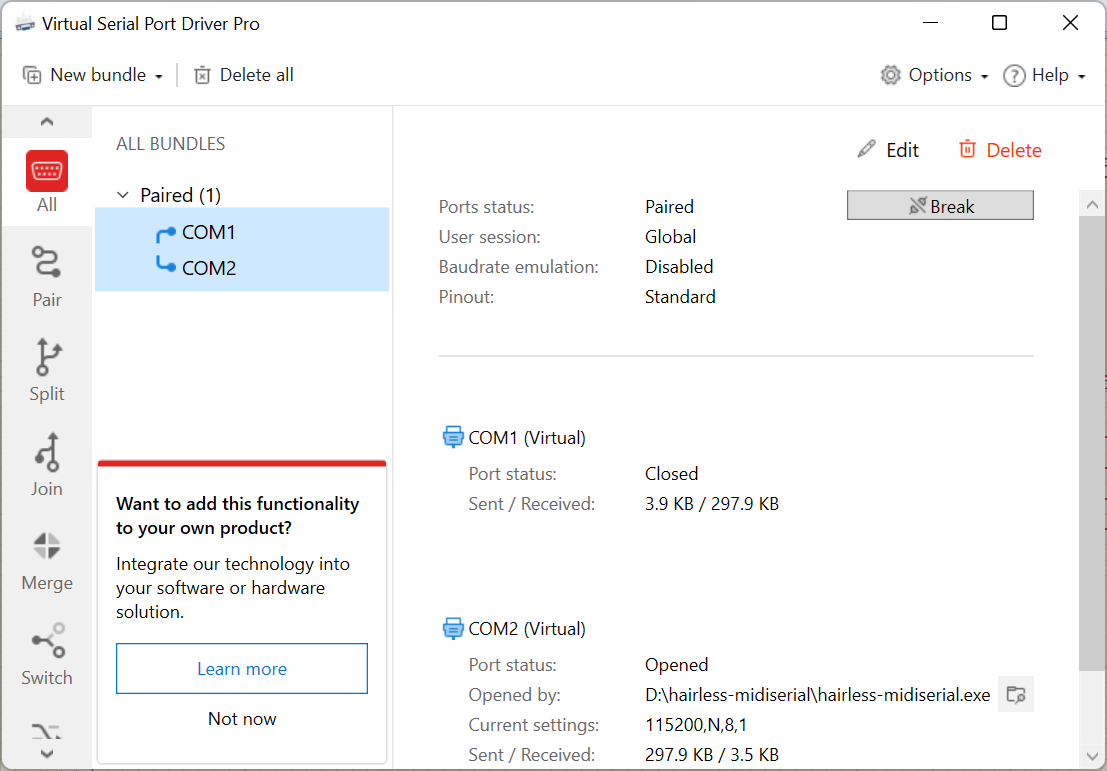
Select Pair Ports, in this case COM1 and COM2.
Then select COM PORT from Proteus and check its parameters.
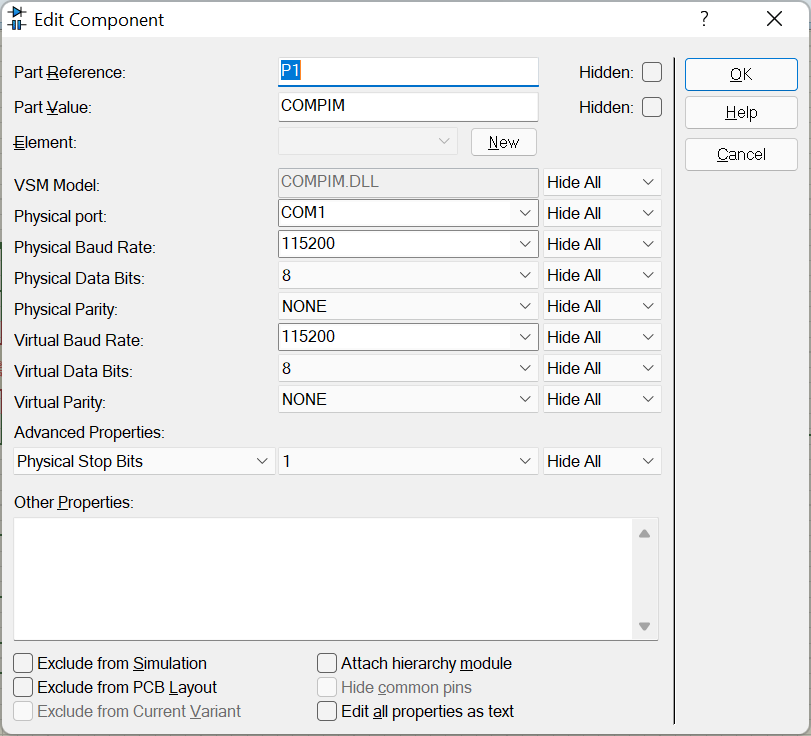
Check the baud rate, set 115200 baud. Select COM1.
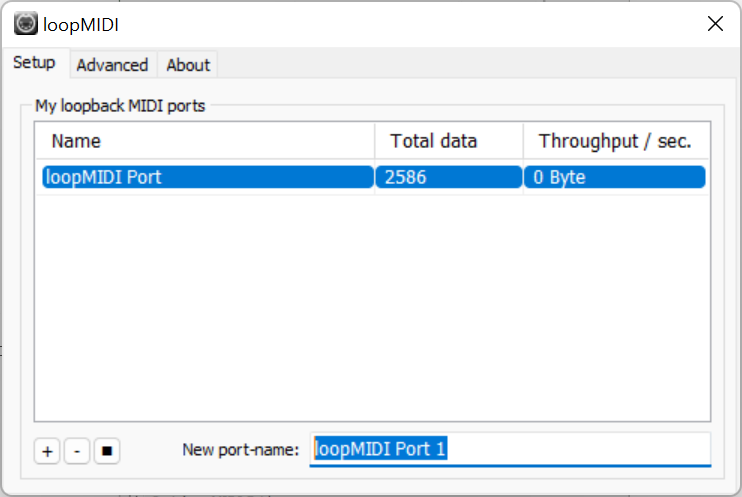
Then, install LoopMIDI, and add a port, set whatever name.
Download link: https://www.tobias-erichsen.de/software/loopmidi.html
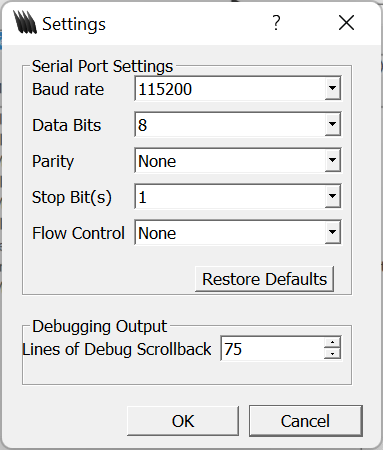
Then, install Hairless MIDI to bridge serial interface to MIDI OUT.
Download Link: https://projectgus.github.io/hairless-midiserial/#downloads

First, select COM1 (Virtual port), then Select loopMIDI Port on MIDI OUT. Go to File - Preferences and set the baudrate to 115200. Click OK.
Then, install Virtual Midi Piano Keyboard and configure MIDI connections.
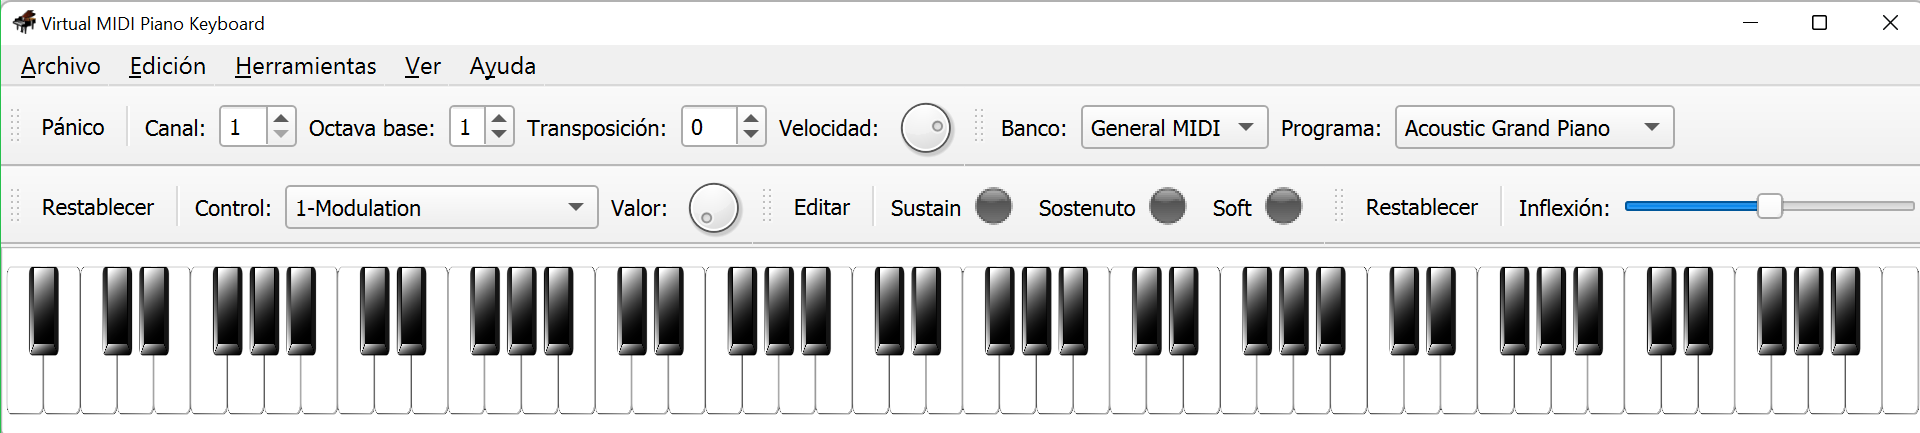
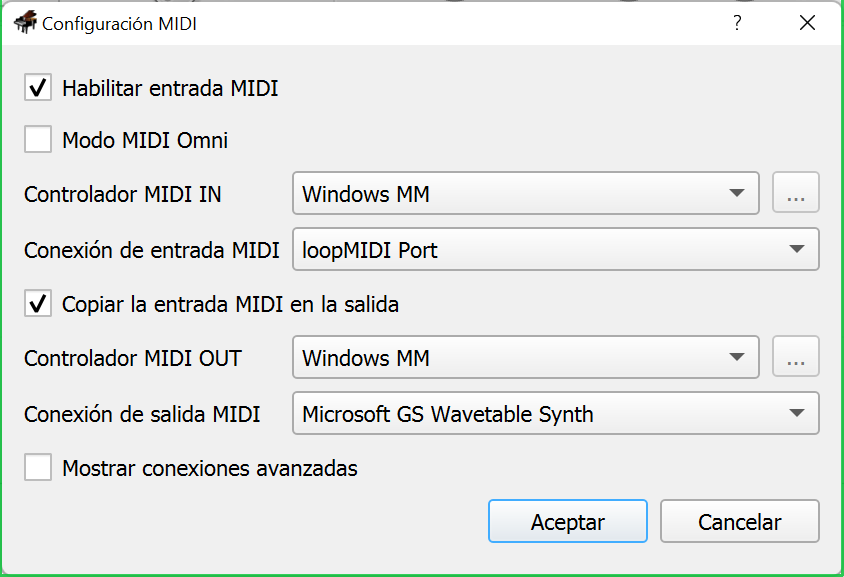
Enable MIDI IN, select loopMIDI Port, check copy MIDI in to output. Select Microsoft GS Wavetable Synth on MIDI OUT.
Finally, start the Proteus Emulation and change the ADC value.
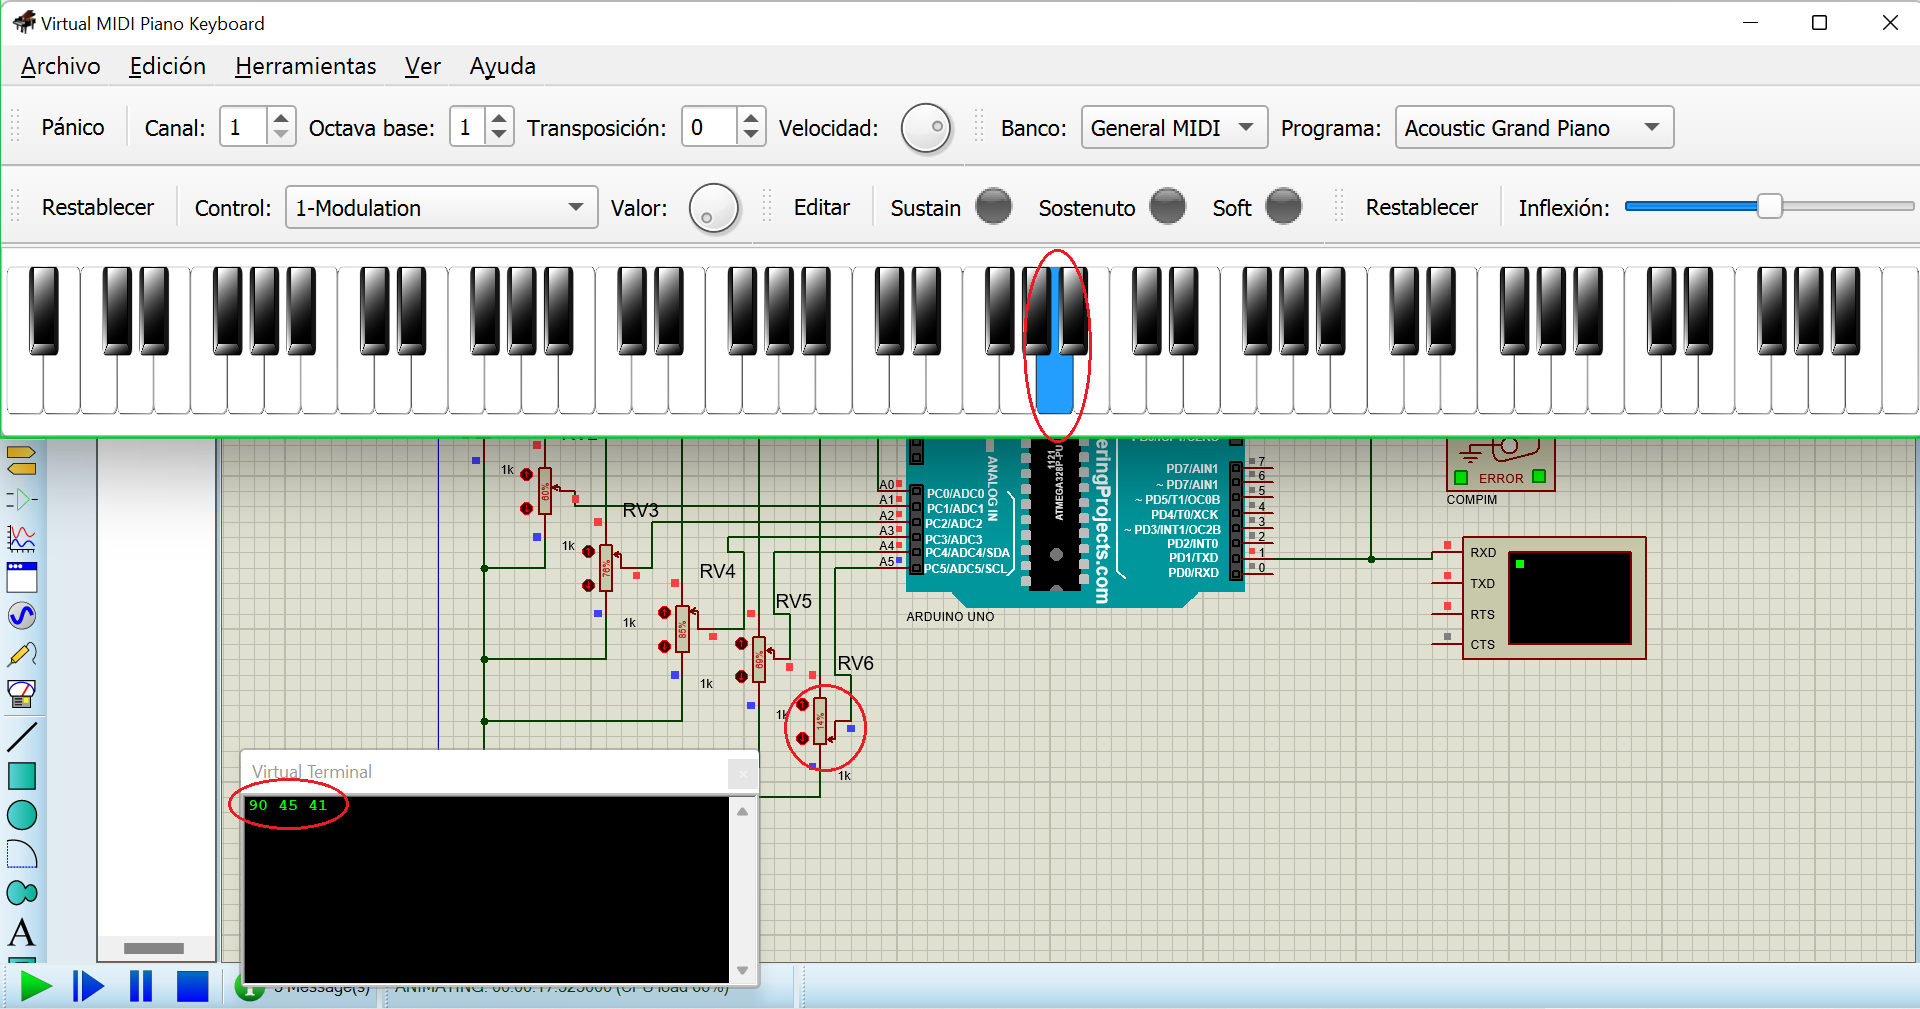
When the value of ADC is less than 512, then a MIDI message was sent to serial TX and play the selected note.
Slide / Infographic