3D Scanning and printing
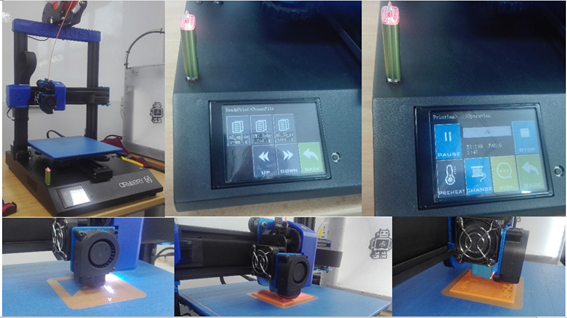
For this week we will deal with 3D printers, we will use the “artillery genius” printer,
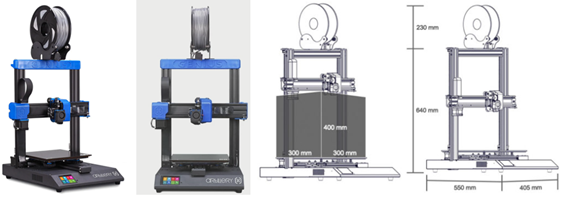
Technical functions of the Artillery GENIUS 2021
Ultra-quiet stepper driver, Synchronized Dual Z system, Touchscreen control, Large print size: 220x220x250mm, max print speed: 150mm/s, fast AC bed heating, high traverse speed, power loss detection and recovery, filament runout detection and recovery, high precision print quality, up to 50 micron, direct drive titan style extruder to support flexible materials.
Which have the following characteristics:
|
|
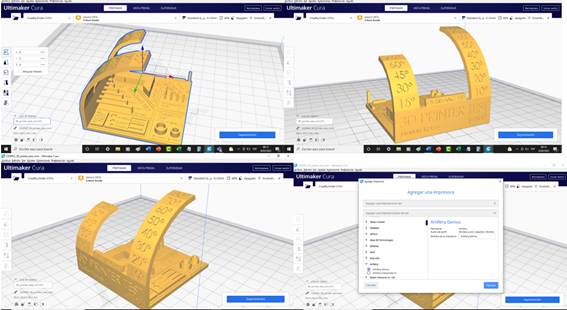
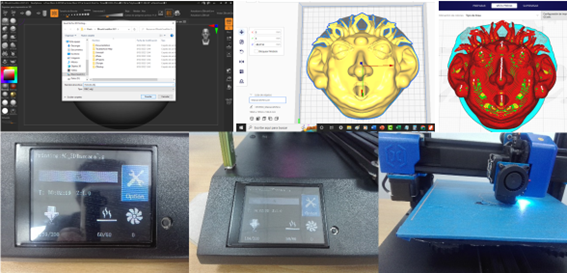
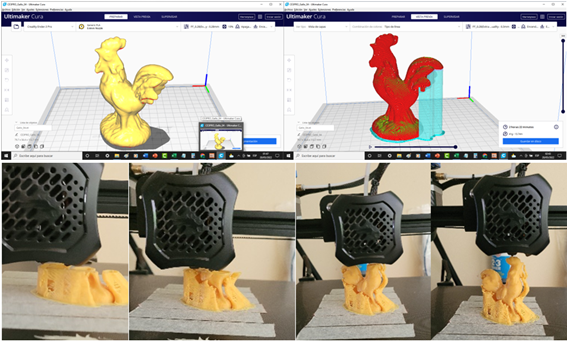
To work on this assignment and see its behavior with angles, print size and bed test, we will use a template known as "printer test mini" that we can download from: https://www.thingiverse.com/thing:2806295, a Once the model is downloaded, we open it in the Ultimaker Cura program to be able to print it. First, we add the printer to this program and configure the data as in the following images.

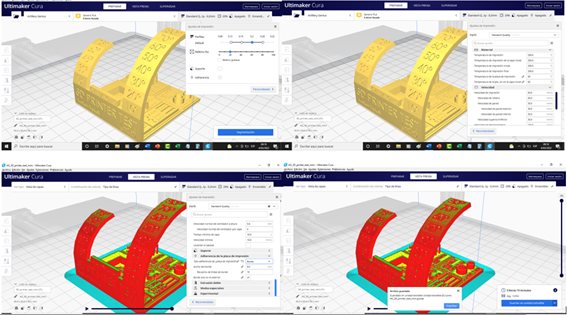
Once our template is ready, we print it and take the measurements to verify according to the model.
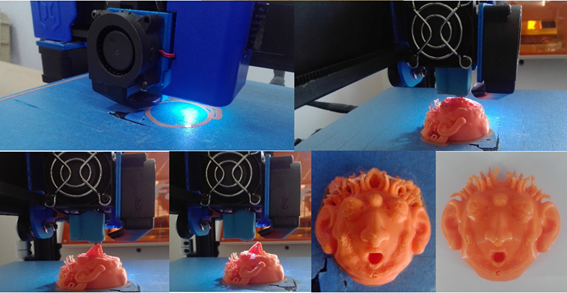
First we load the Gcode file that the ultimaker CURA program gives us to our USB, we load it on the machine and send it to print, the printer bed has a paper protection that helps the product to stick well to the bed and so there is no "warping".
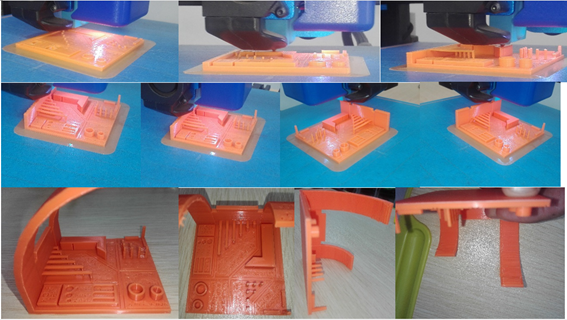
Once printed, we observe how it looks and see some details such as the printing of the curve requires supports because the material did not join well, some threads of material are observed, it may be because the retraction needs to be improved or it may be a lot of temperature, now we will take our measures:
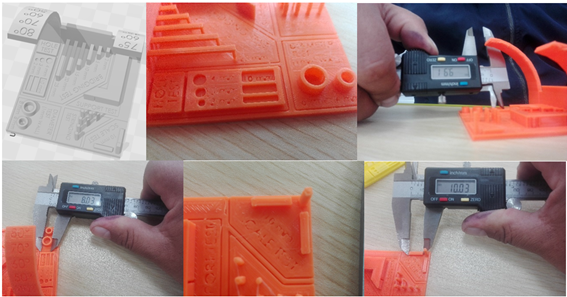
We note that to have a real size and being very demanding 😉 we would have to print the piece by scaling in the ultimaker cura so that it impresses us with the exact size.
I will design and print a 3D object: (Personal Assignments)
Now we all make a design, for this I will use a software called "Zbrush core mini 2021" that caught my attention to make characters and faces, it will be my first practice.
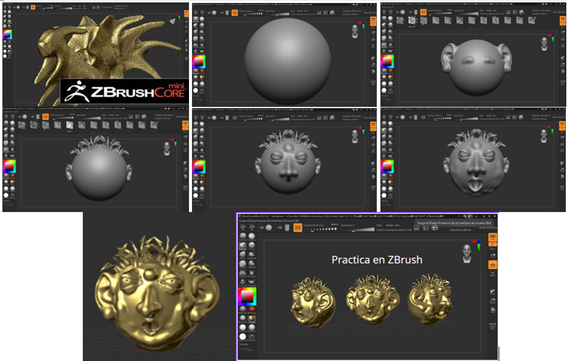
Now we download it to print and open it in Ultimaker CURA, after scaling it so it doesn't take too long and giving it the right parameters like print temp 200, hot bed 60°C, infill 20, quality 0.2, print speed 50mm/s and the rest we leave by default, we are ready to print.
Now we will work with the 3D scanner:
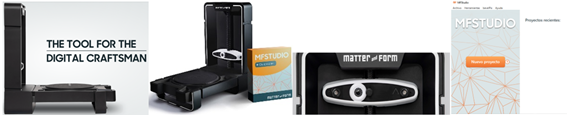
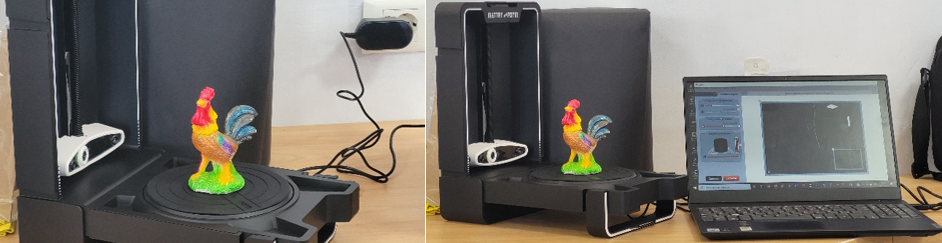
For this opportunity we will work with the matter and form scanner, the +Quickscan function captures the geometry in just 65 seconds! Packaged together with 3D Scanner V2, MFStudio and +Quickscan produce quick and rewarding results that allow you to set up a scan and watch the object materialize on screen like magic. You'll find yourself experimenting and learning to master 3D scanning in no time.
Get great results quickly and easily. (https://matterandform.net/scanner)
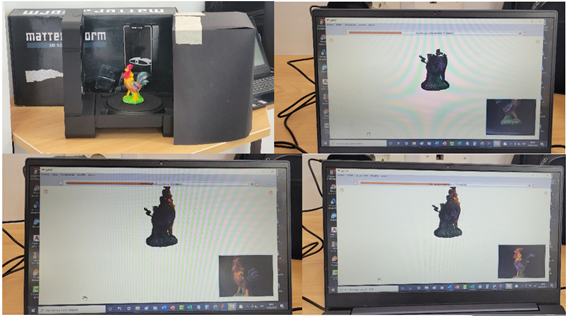
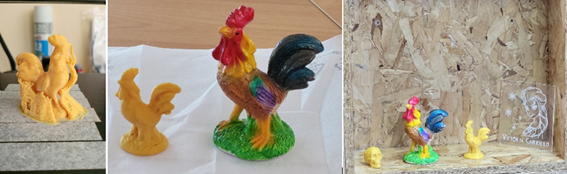
His way of working seemed difficult at first but with a couple of practices we already managed to use it, I will scan and reproduce a rooster. To do this, we first place it in the machine and connect it to the computer and the scanner's own software and perform our first scan.
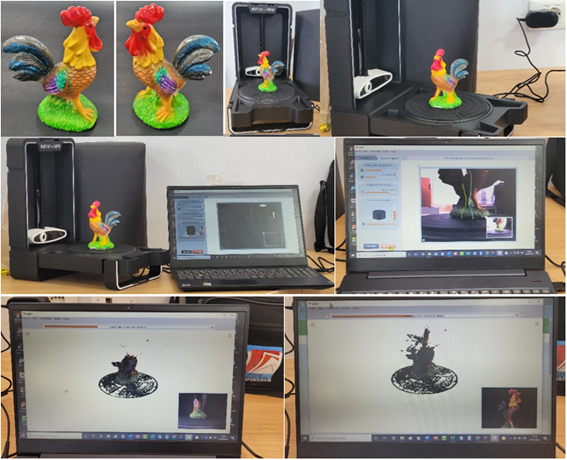
As we can see, it generates a lot of noise, so we cover it from external light to obtain better results, although it does not stop having noise in the image.
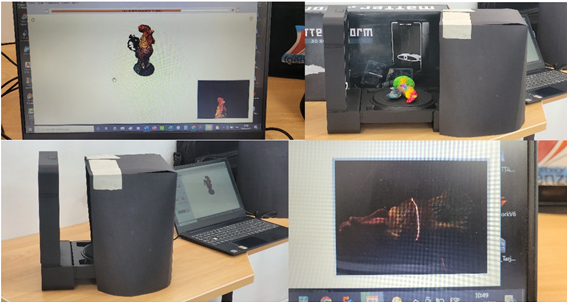
To have good results we will take 4 samples and seeing the total we have to clean the noise in the image, which is the task that takes the most time until it is just enough to send it to a 3D editing software.
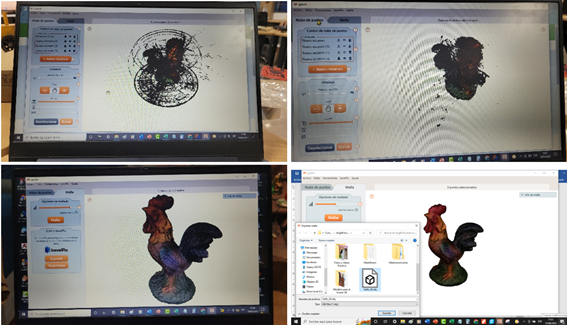
Once exported to an object, we configure it in the 3D printer and reproduce it.
To finish, we clean it, show the final product and place it in our display case.
created with
Website Builder .