DESING ASSISTED BY COMPUTER
Computer-aided design, commonly known as CAD, is the use of computers to assist in the creation, modification, analysis, or optimization of a design. These tools can be basically divided into 2D drawing and 3D modeling programs. The 2D drawing tools are based on vector geometric entities such as points, lines, arcs and polygons, which can be operated through a graphical interface. 3D modelers add surfaces and solids.
It allows:
• Streamline the design process, improve visualization of subassemblies, parts and the final product.
• Avoid costly mistakes.
• Reduces costs as additional prototypes are not needed.
• Get easier and more robust design documentation, including geometry, dimensions, and bills of materials.
• Easily reuse design data and best practices.
• Make changes to ideas quickly and easily by electronic file transfer.
• The manufacture of the product is developed in an easier way.
In order to develop 2D images, a difference must be made between vector images and Bitmaps, both have their advantages and also their limitations, but both formats can be used to print our creativities.
Bitmap images, also called bitmaps or raster images, are made up of a group of tiny pixels. From a distance, these pixels appear to coalesce into a clear image. Bitmaps have no limit and can be very complex. However, when we increase the image beyond its original size, it loses quality and pixels can begin to be noticed. Photographs are the most common type of bitmap. The most common file extensions that store this type of images are: JPEG, PNG, TIFF or PSD.
Vector images are made up of “vectors” or mathematical formulas. This is a very simple format, but also somewhat limited in the amount of detail that we can include. Unlike bitmaps, vector images can be enlarged without limit and without losing any print quality. Logos and typefaces are the most common vectors. The most common file extensions to store vector images are: EPS, AI, PDF and SVG.
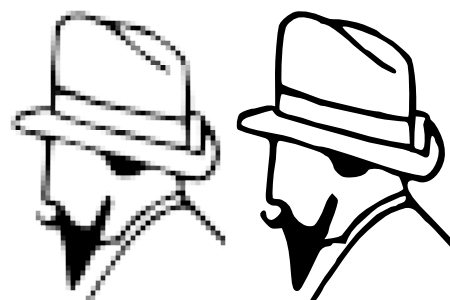
Photos are always bitmaps. It is possible to convert a bitmap image to a vector image, but during the process there is always a loss of detail.
Part 01: Logo creation.
We will use the INKSCAPE program to be able to demonstrate the vectorization of a raster image.
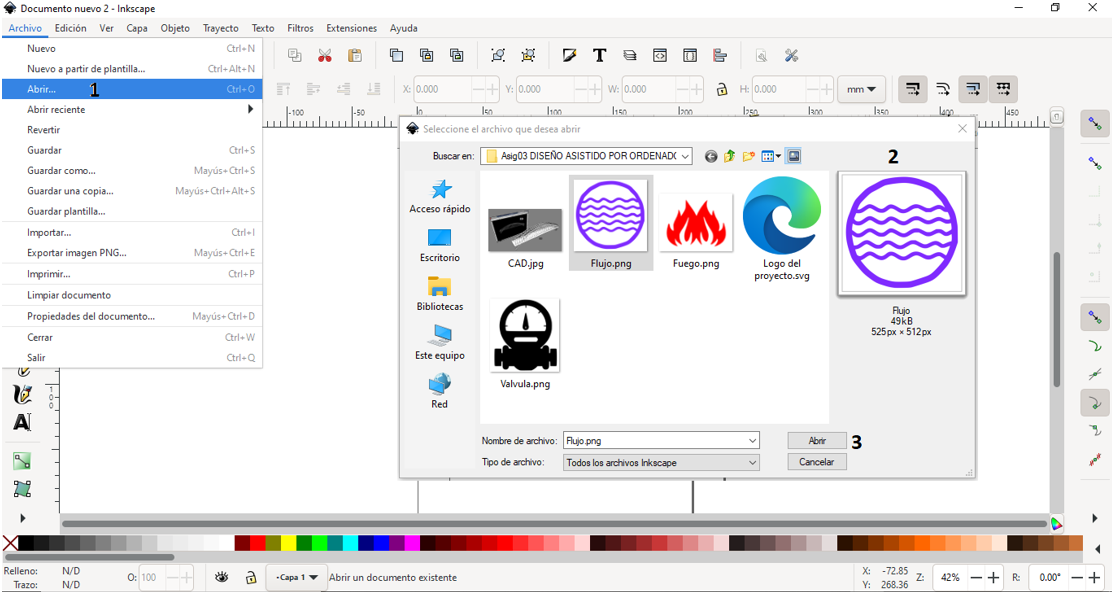
1.- After installing the program, we select File/Open, a window will open where we will select the bitmap image (raster) to vectorize.
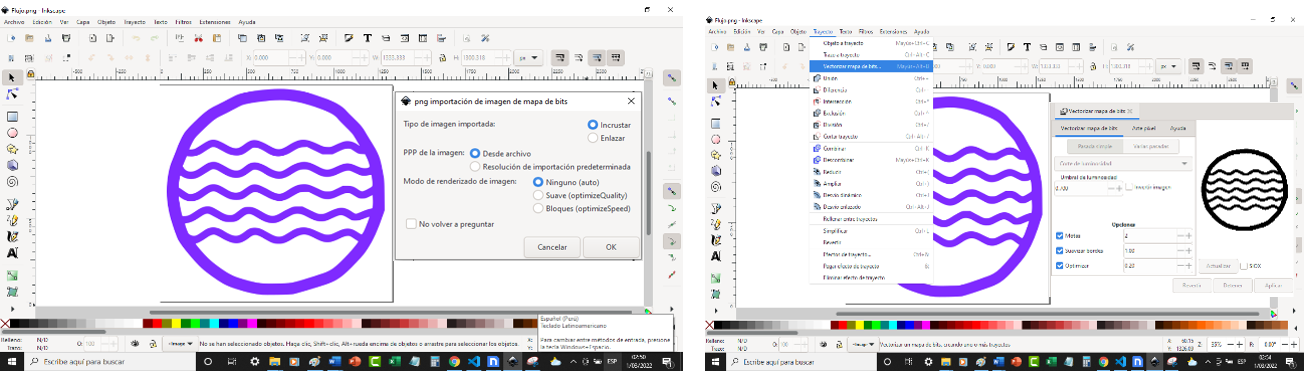
 A window will appear where we will accept the default options and we will have the image in the program.
Now we select the image and go to Path / Vectorize bitmap, where it will show us a window where we will adjust the brightness threshold, which is the main thing, with the help of the preview (Update button) we apply the vectorization as appropriate.
By clicking on the apply button, we will have the vectorized image, normally black, both the stroke and the fill. If we want to change the color of the fill and stroke, we can use the color palette at the bottom, obviously previously selecting the already vectorized image.
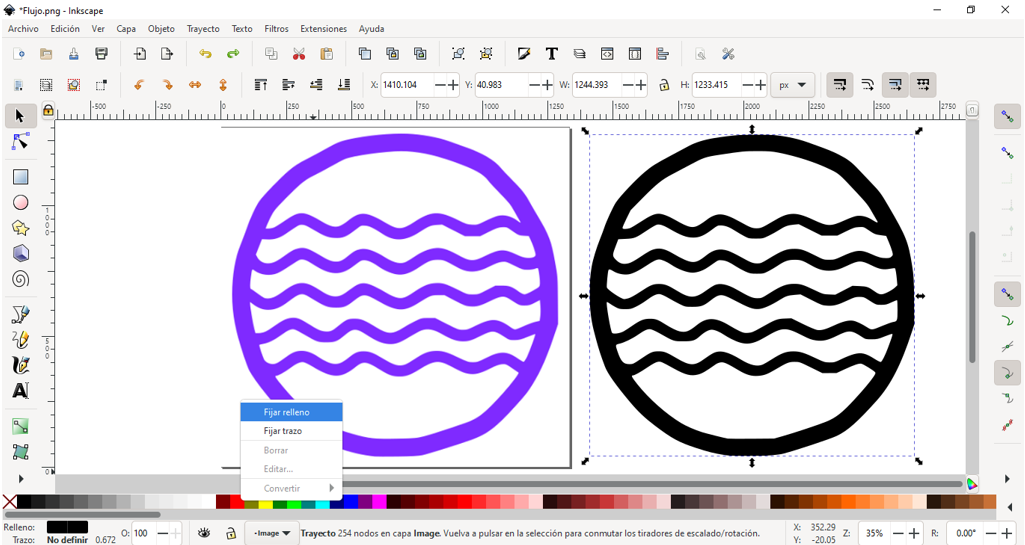
In the same way we selected some images, we vectorized them and gave them color to generate a logo for our final project.

Part 02: Vectorized Image:
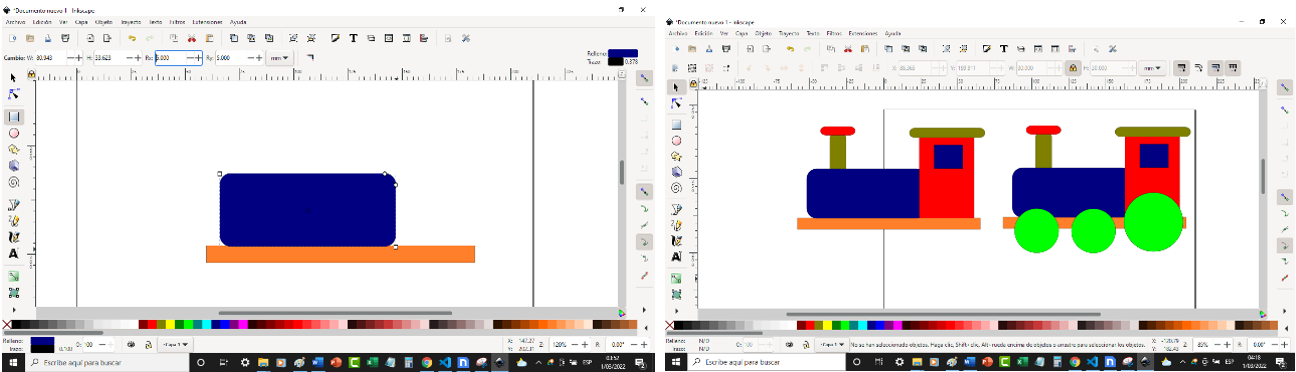
Inkscape can also directly draw vectorized images, for this we will draw a locomotive with basic shapes.
We select the rectangles and squares tool to draw the base, with the properties of the upper part we can determine the size and the rounded corners.
Finishing up with the rectangles, we can now work with the circle tool, ellipses and arcs for the rims.
3D part: Design of our structure.
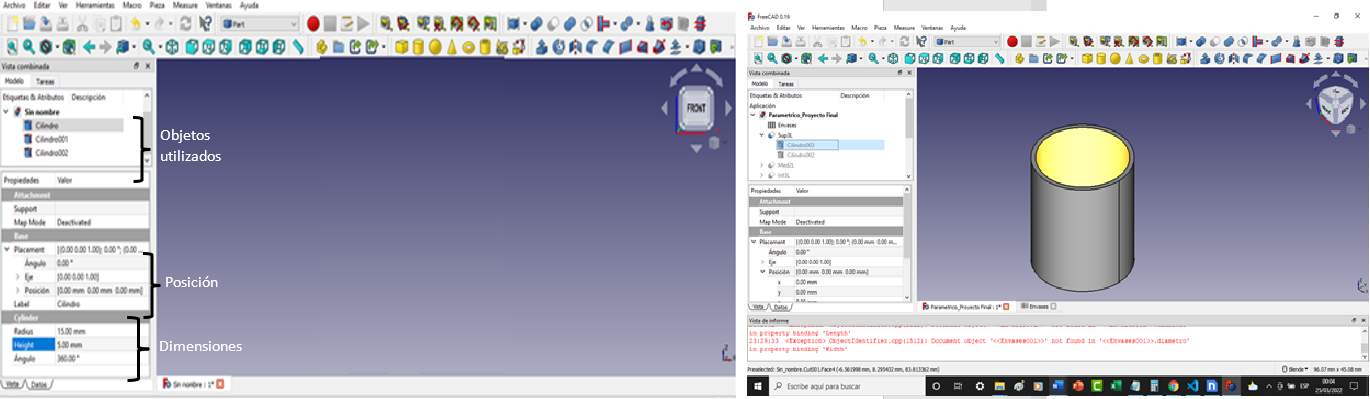
Based on what has already been practiced, we will now generate in 3D with the FreeCAD program our module proposal for the final project. We represent the containers by subtracting two cylinders. (Which would be the first container).
We generate 3 containers of the same dimensions and we consider them bases where they will perch, these bases are created from solid cubes with different dimensions. The walls are also cubes.
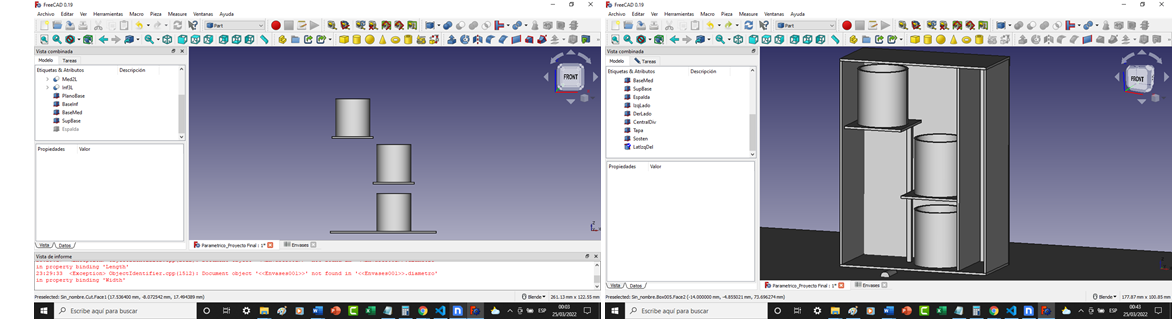
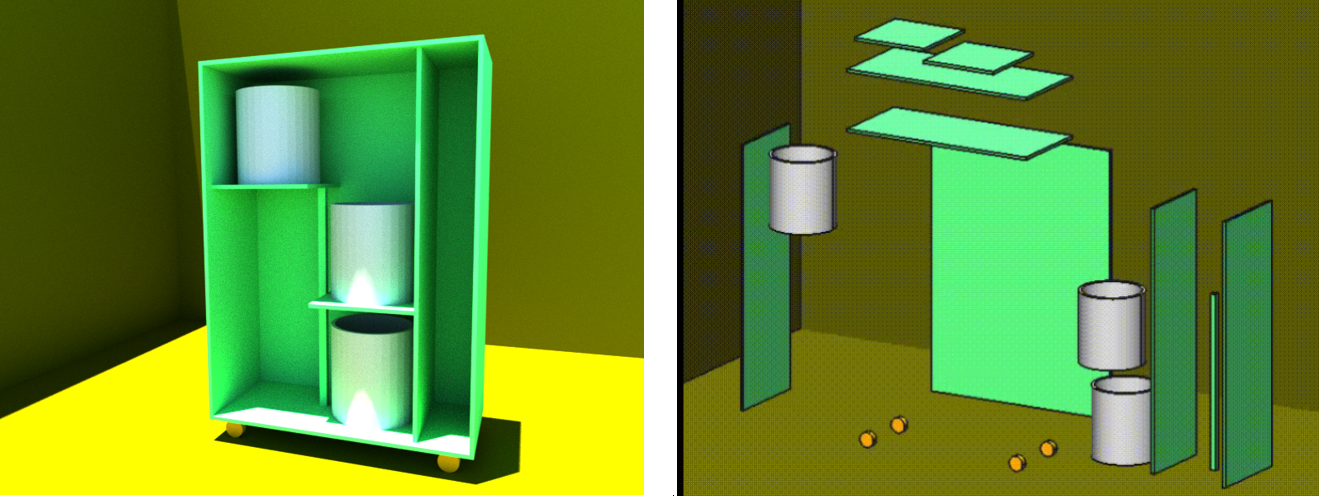
We make the rims with cylinders, we put walls on it and color it to later illuminate it and thus we have.
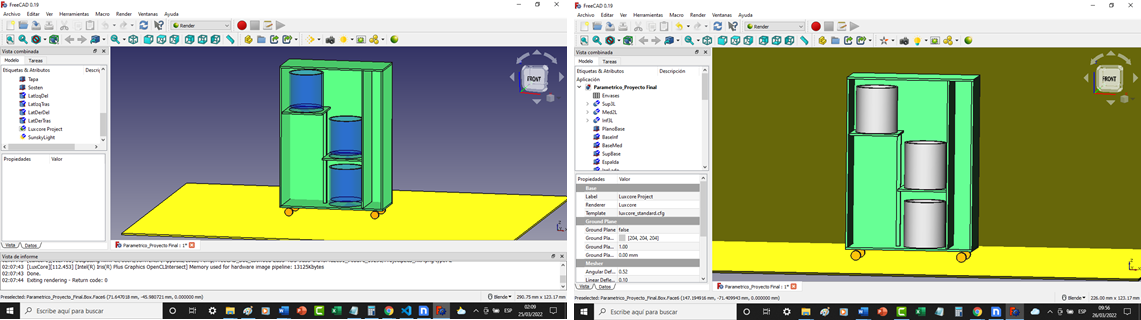
When rendering we can appreciate it as it would be seen in reality, we will also make the exploded animation with the Exploded Assembly complement.

created with
Free Website Builder .