To fulfill this assignment we will consider it in four parts.
Part 01) Personal Website Design:
We have decided to use Nicepage for our personal website as it is a very intuitive easy to use drag and drop website builder, which allows us to create professional websites using templates developed by the creators that are of high quality that help us to create our website. web page that will serve to show the progress of our project in this FabAcademy training. To use nicepage we first google the home page and visit it to download the installer.
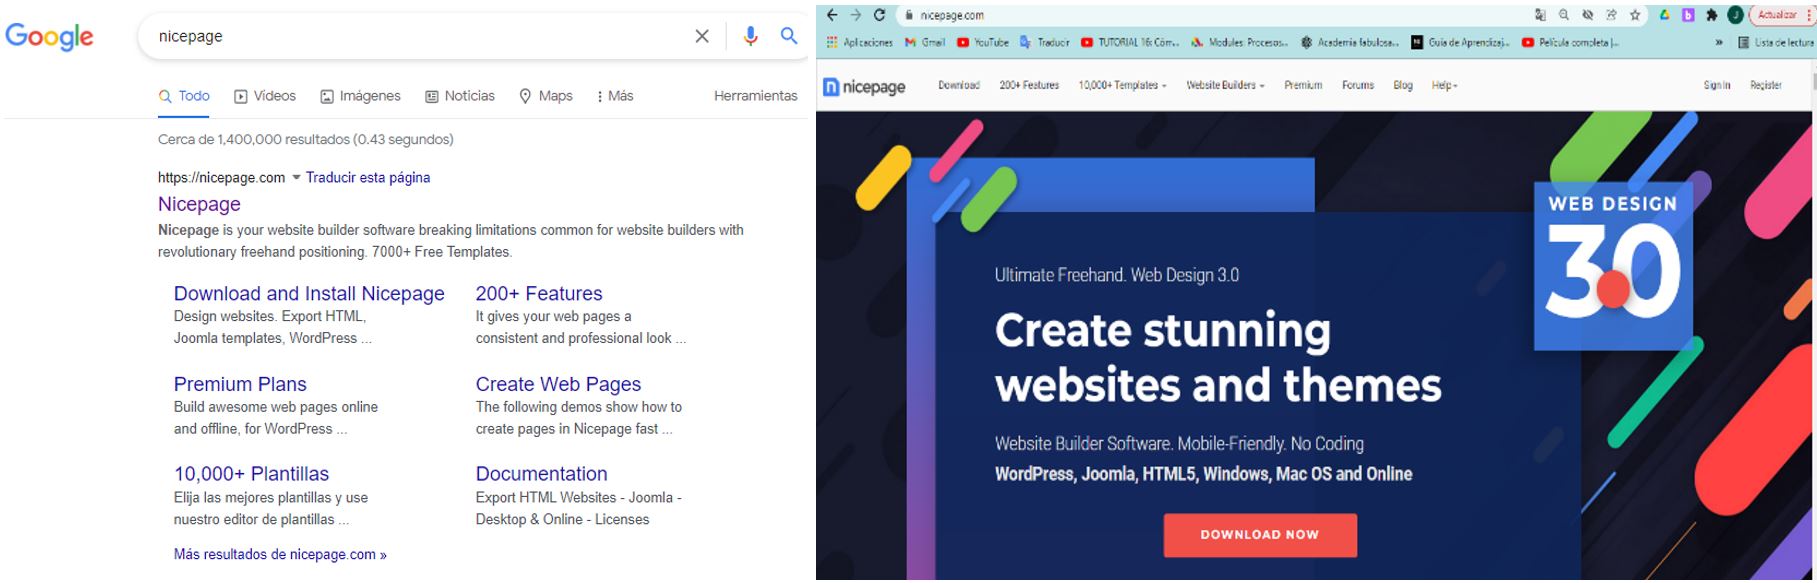
We click on the DOWNLOAD NOW button and it sends us to the next page, you can see that we can download it for different operating systems,
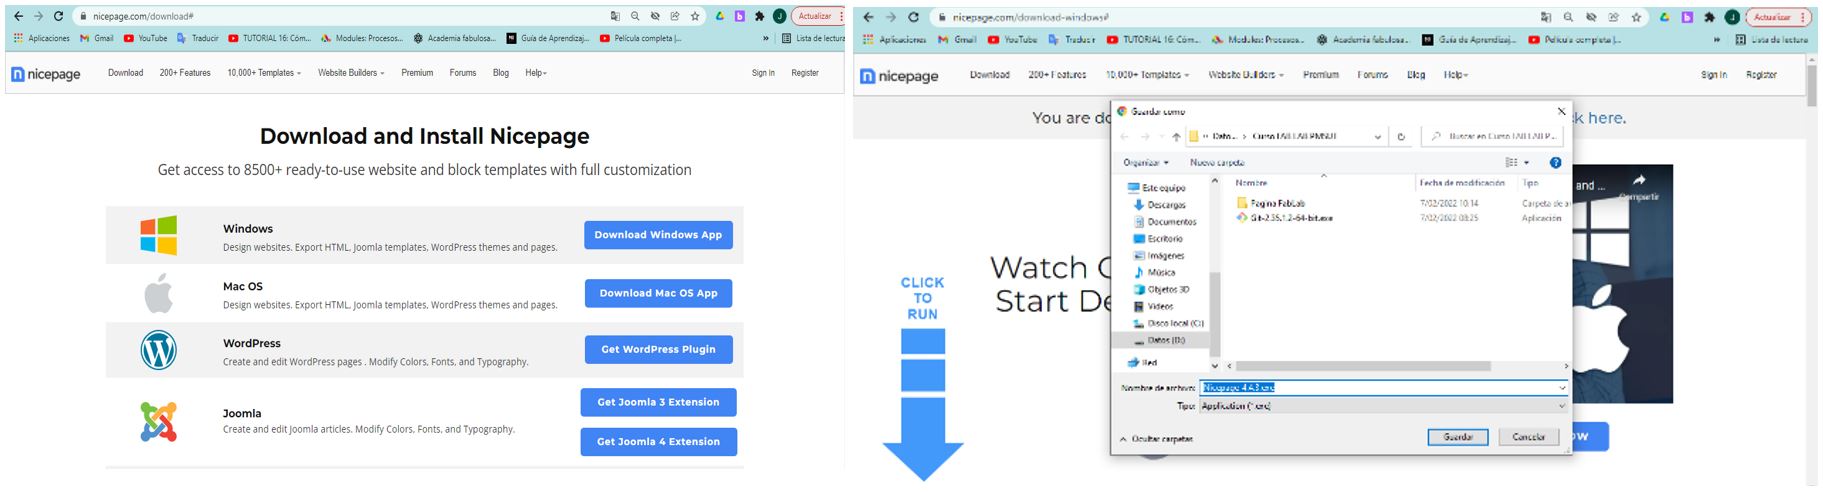
in my case it will be for Windows, we download and install everything by default.
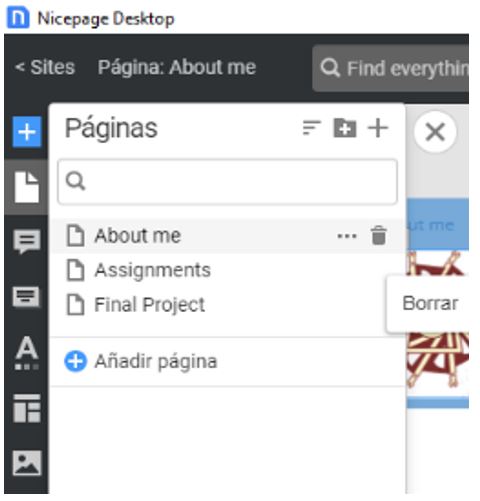
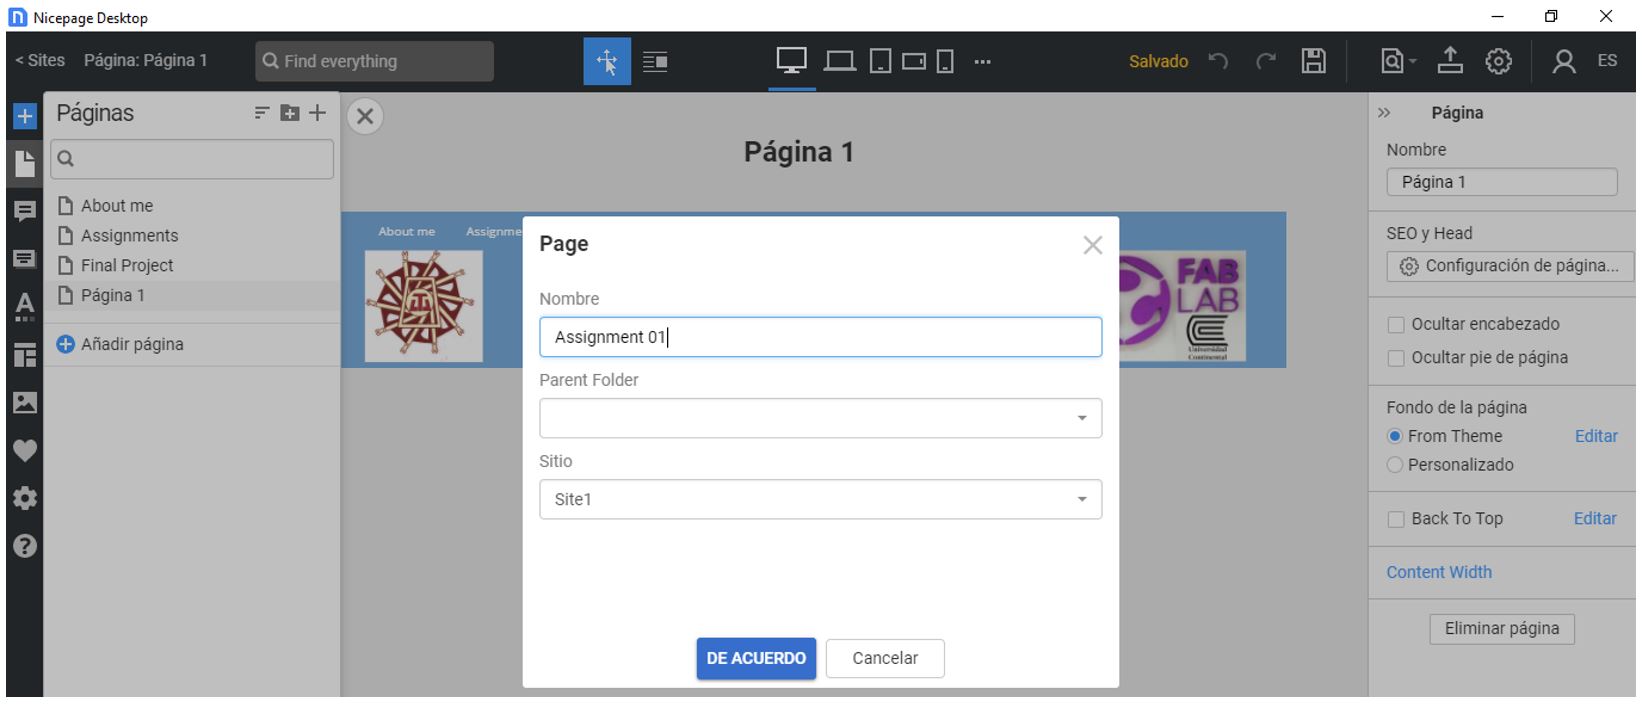
Once installed, first we generate the necessary pages, clicking on the plus sign ADD PAGE you put the name you want in our case About me, assignments and Final Projects. You can delete the rest from the garbage can icon that is shown next to each page.
Once the pages are determined (which you can add later if necessary), the header is developed that will be repeated on all the pages, when you click on any element, be it from the header or another place, it presents you with a small editing menu for format the images (such as the logo), the texts (such as the title or descriptions).

Our header would be finished, in the same way we work with the footer.
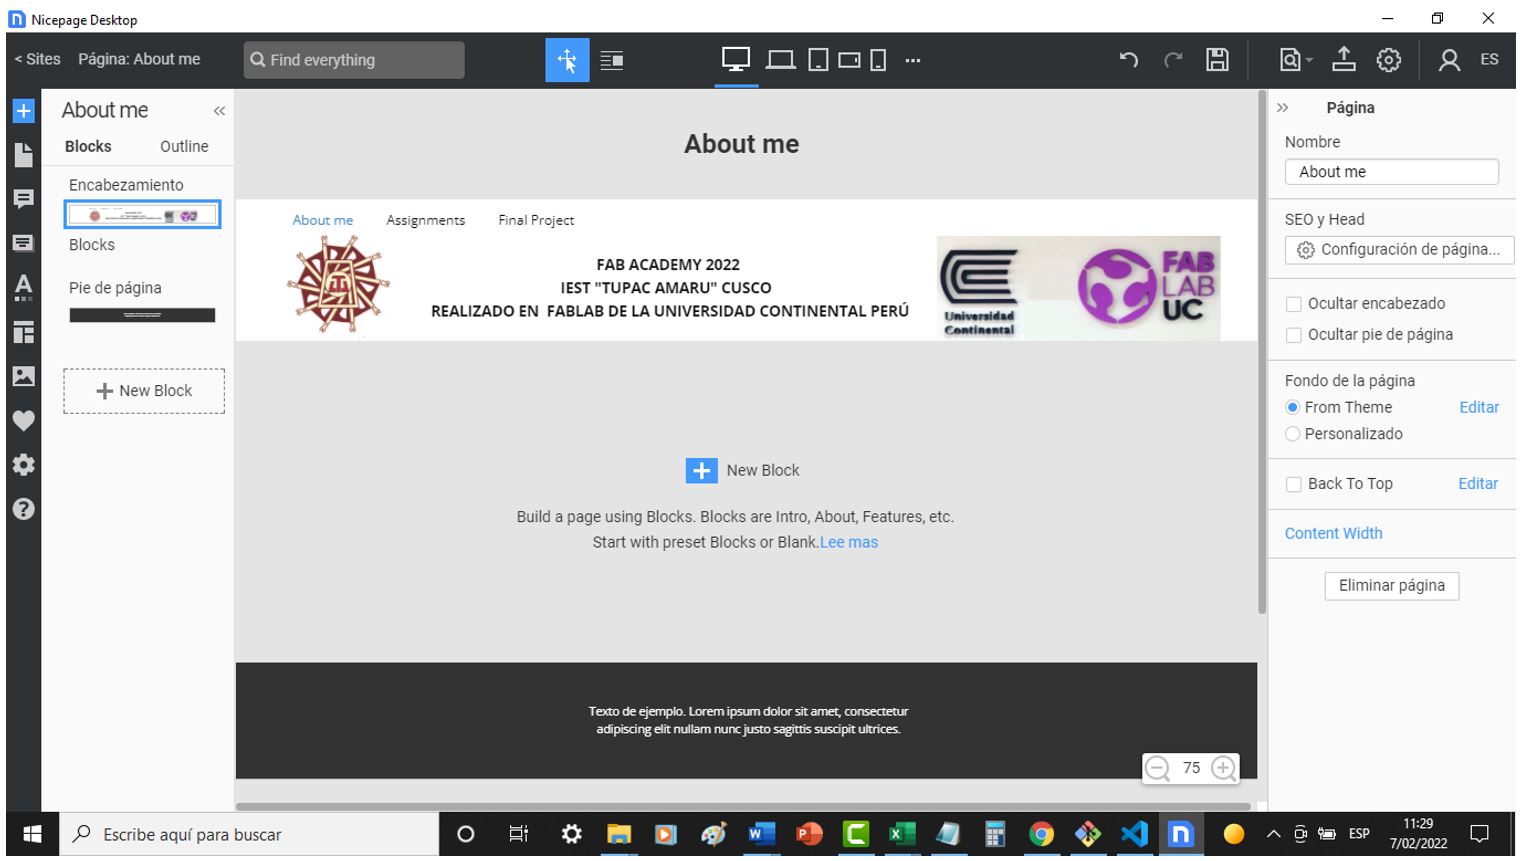
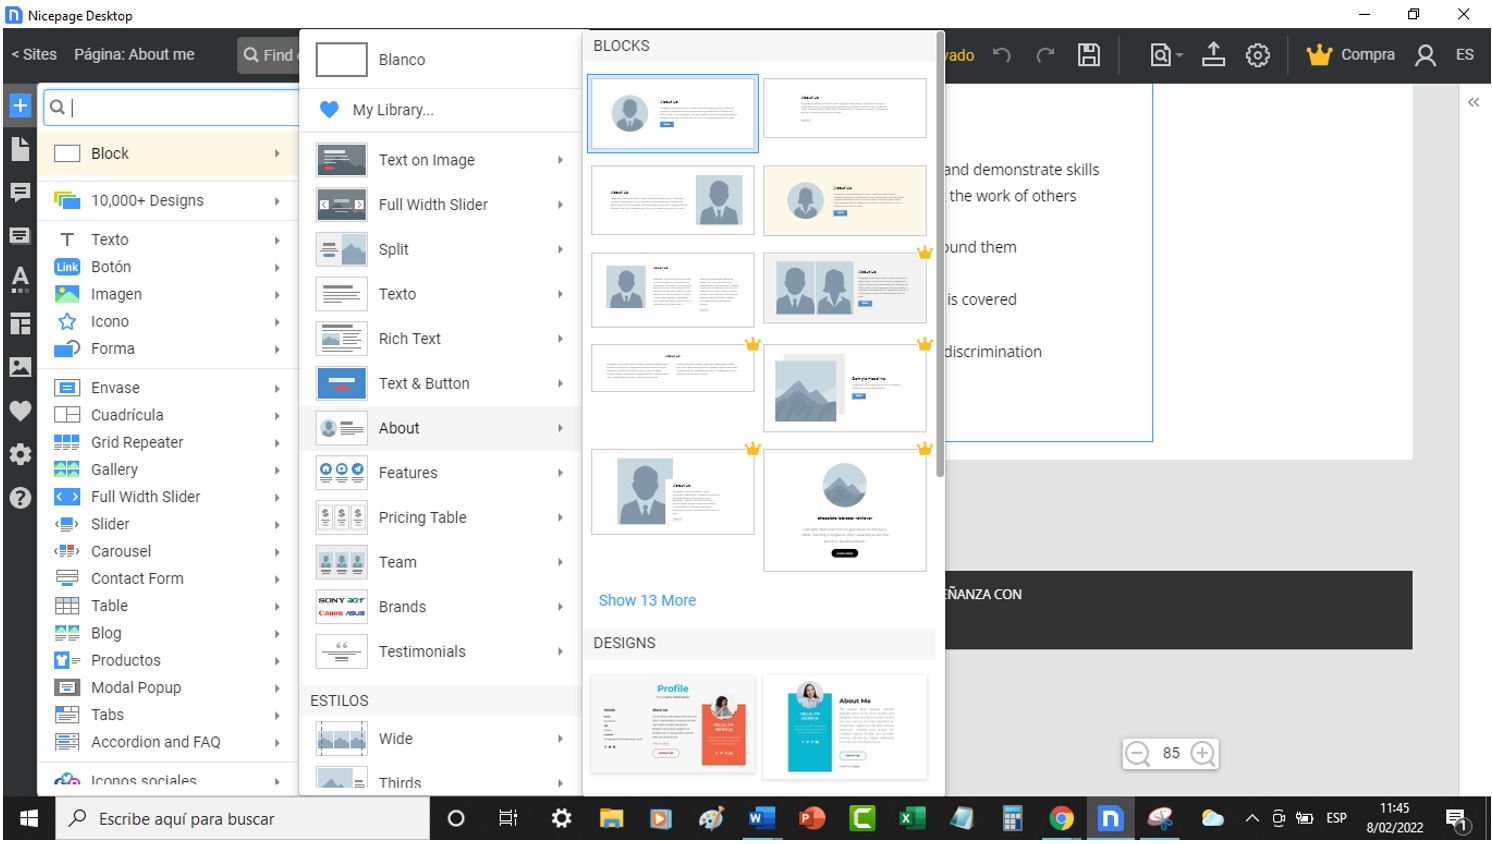
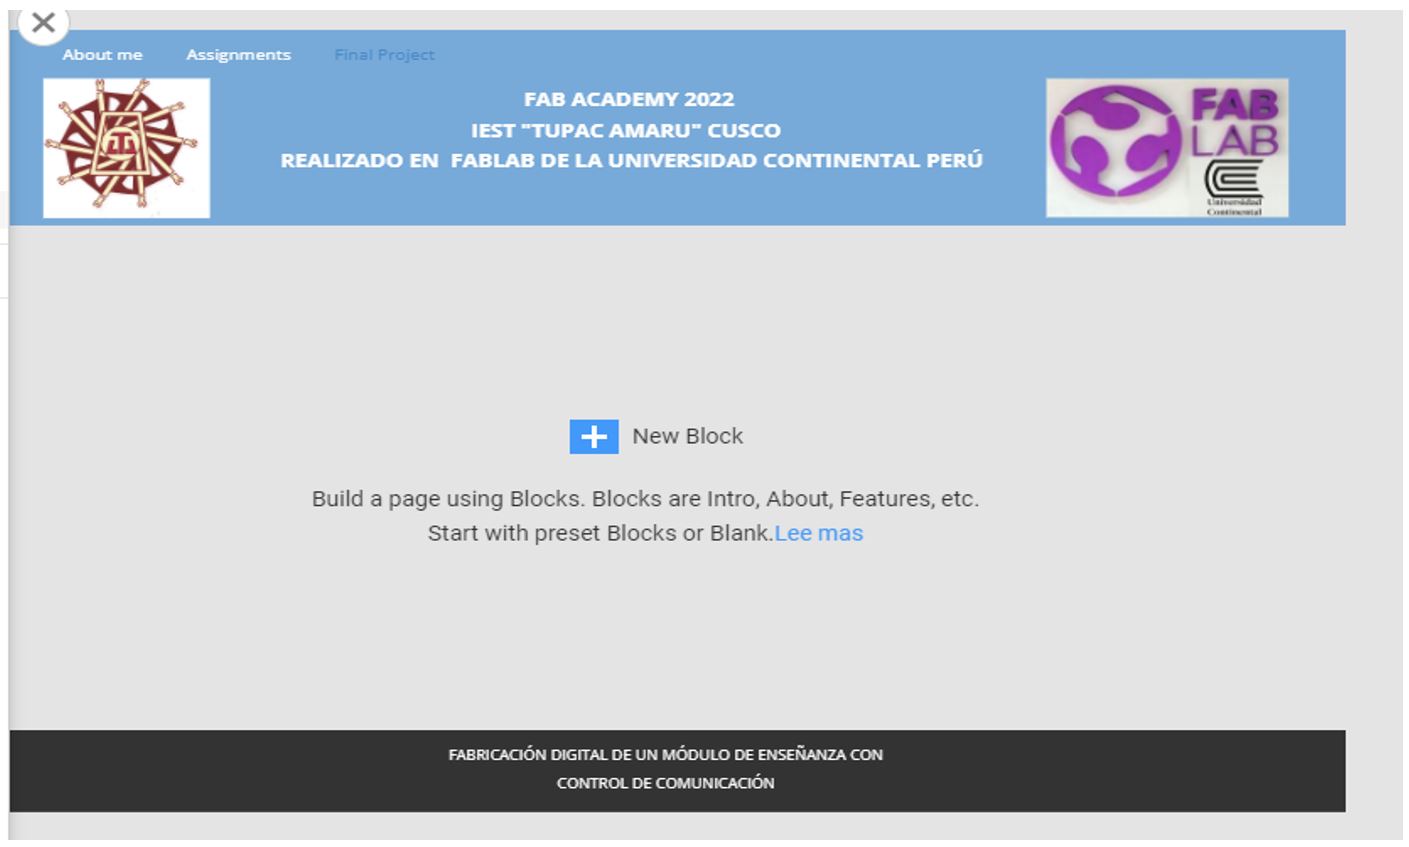
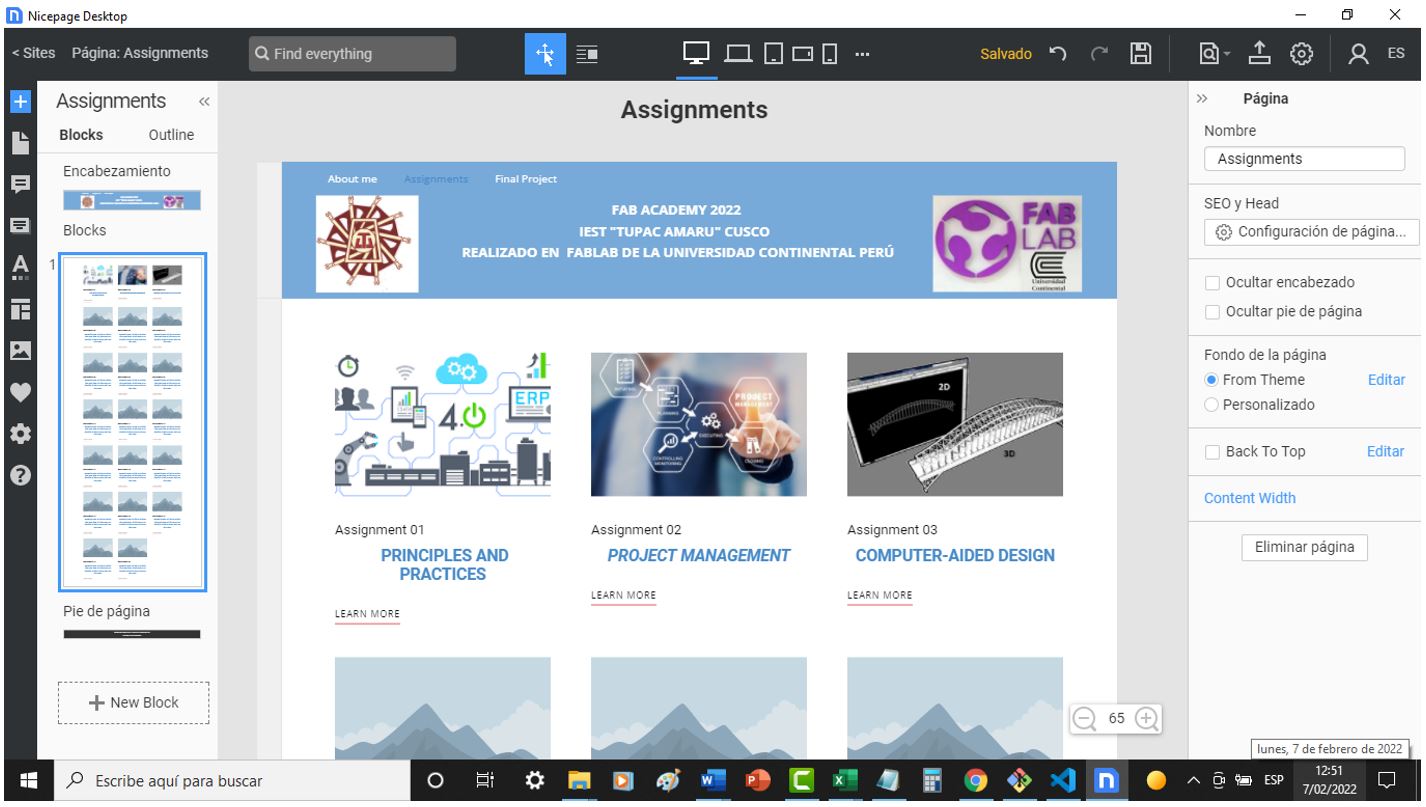
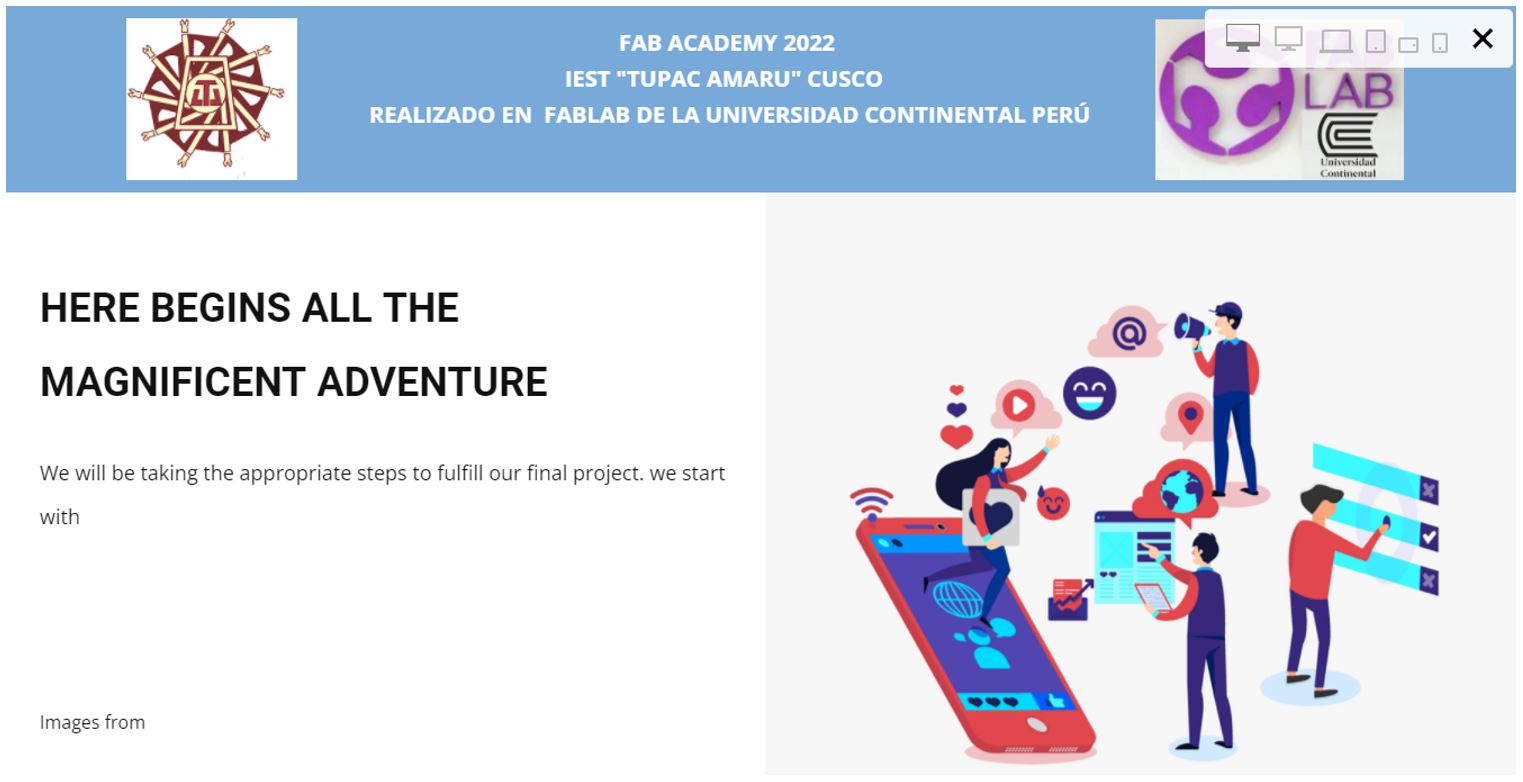
For the central part we add a block that we select from the models predefined by nicepage. To do this, we click in the central part on the blue button “+ NEW BLOCK”, to select the block that you like the most, in our case it is the one in the image.
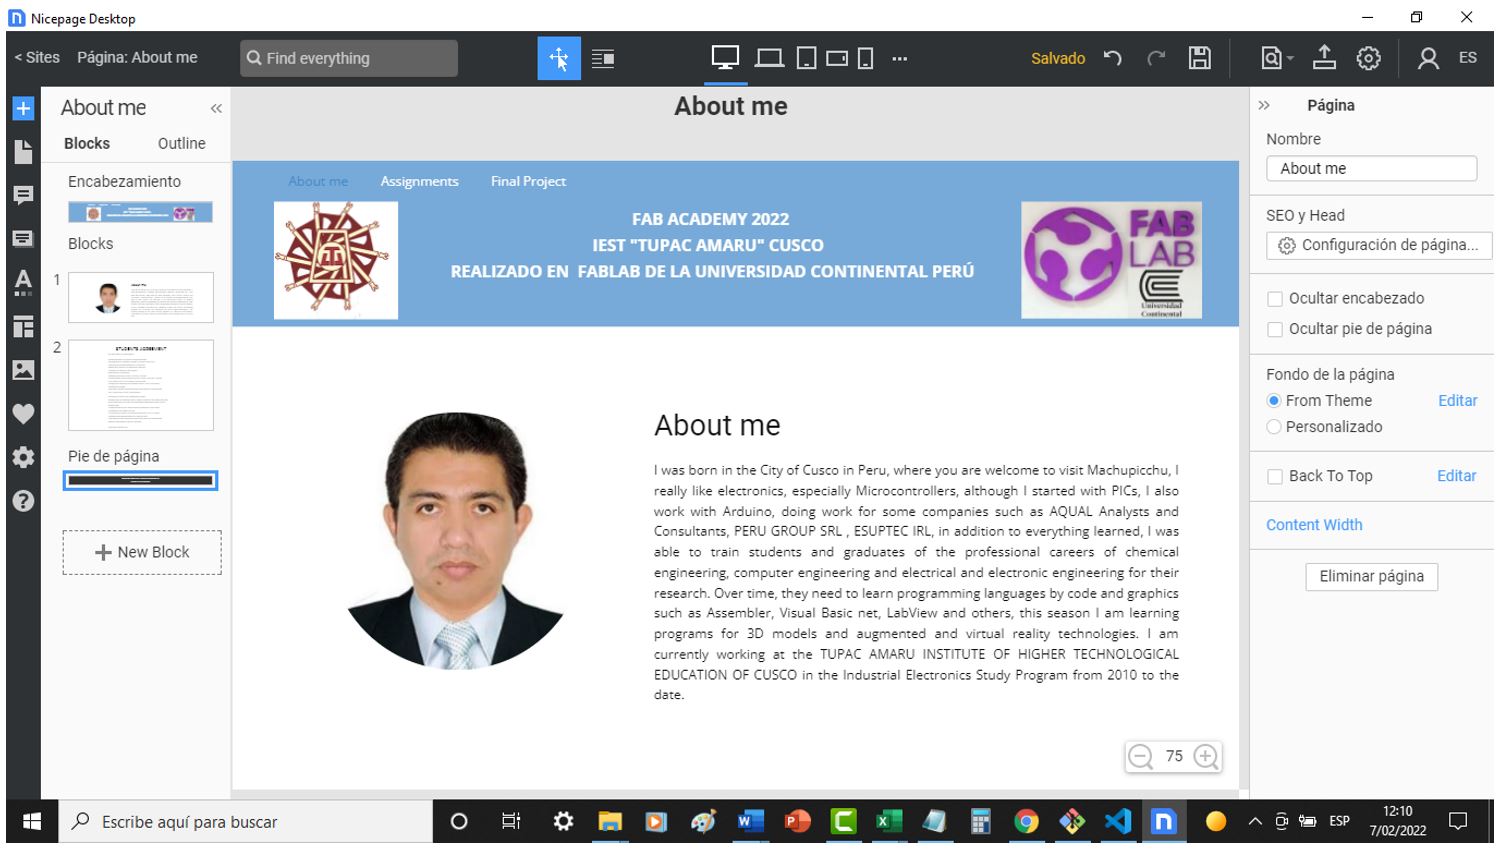
And after editing it we would have:
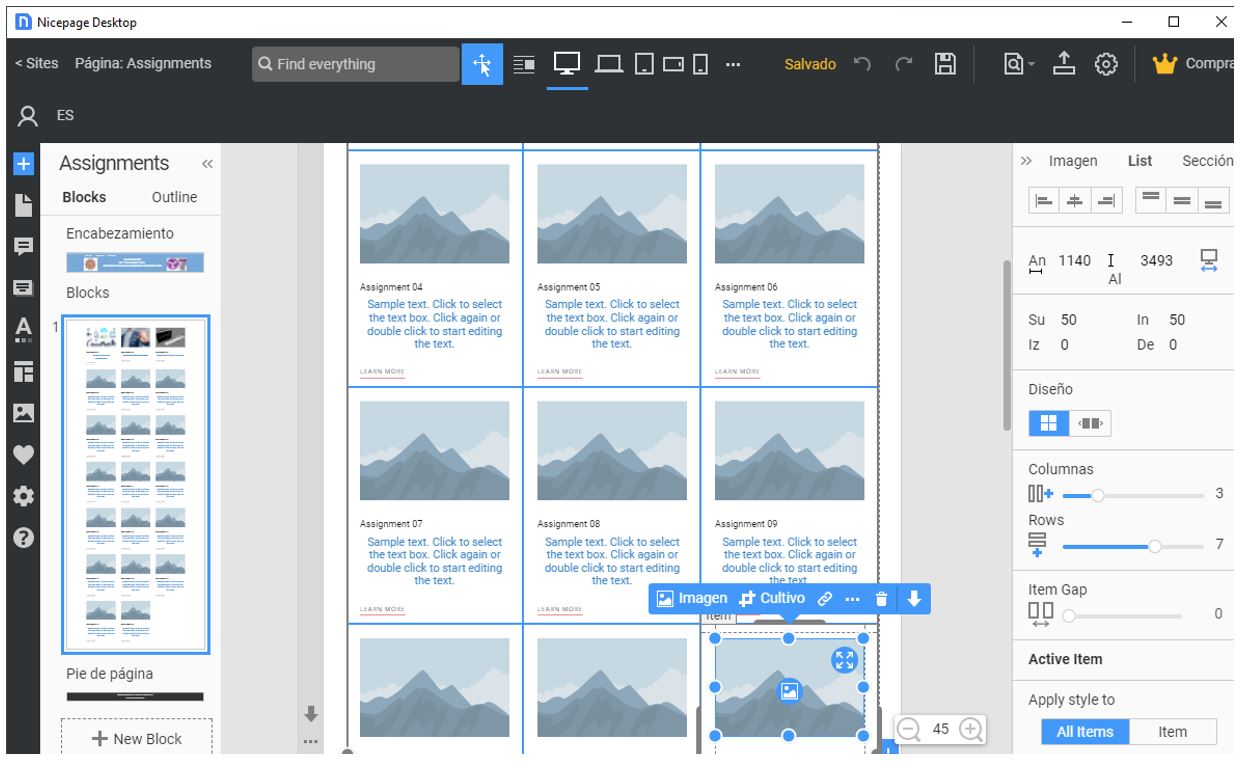
Then we go on to develop the sections of the assignments within the assignments page.
We click on New Block (central part of the window), a group of blocks will open where you must select the one you want for the presentation, in our case it was the one in the figure.
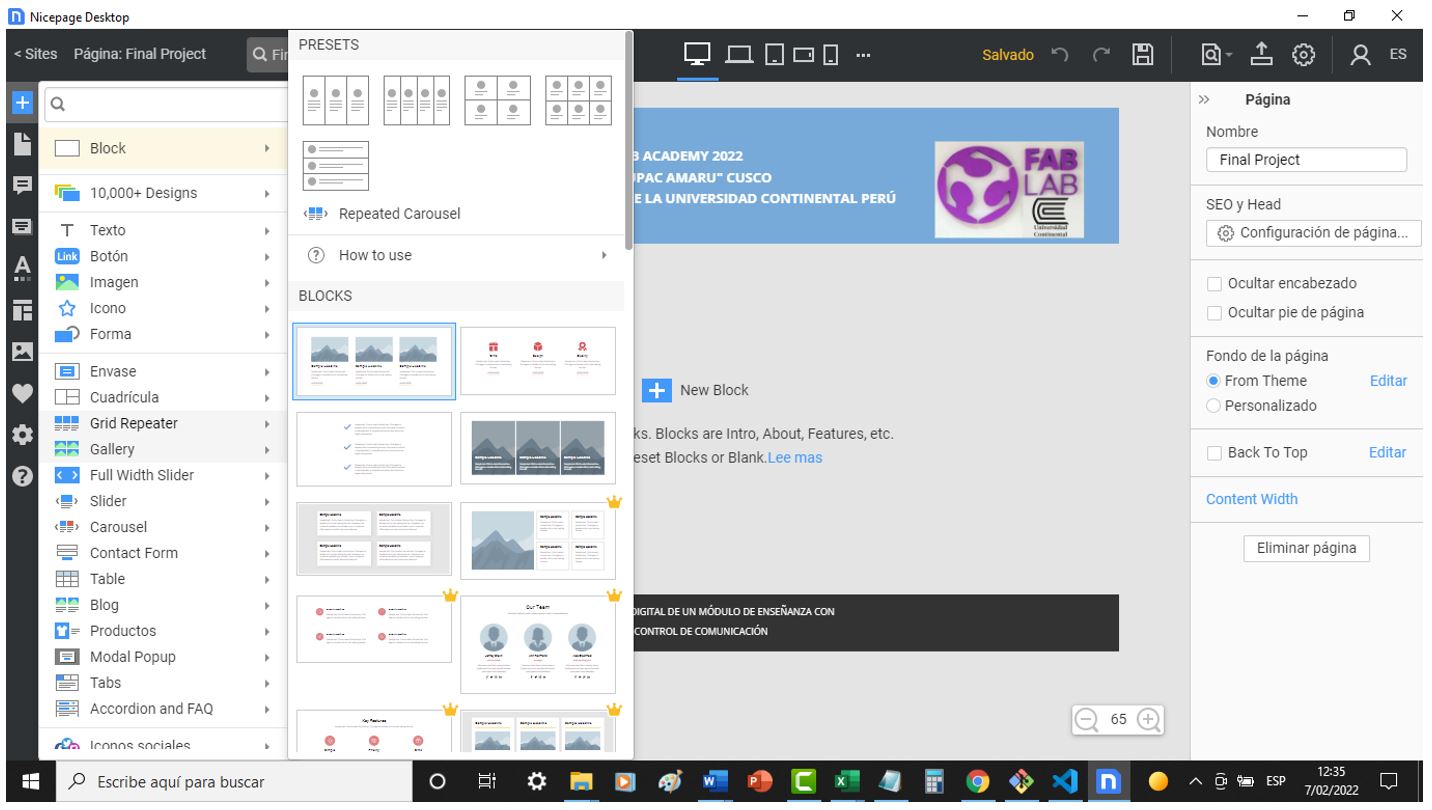
You can determine the number of sections on the right side, for example, in my case it is 7 rows and 3 columns you can adjust it to your liking, so you can also edit the name of each one.
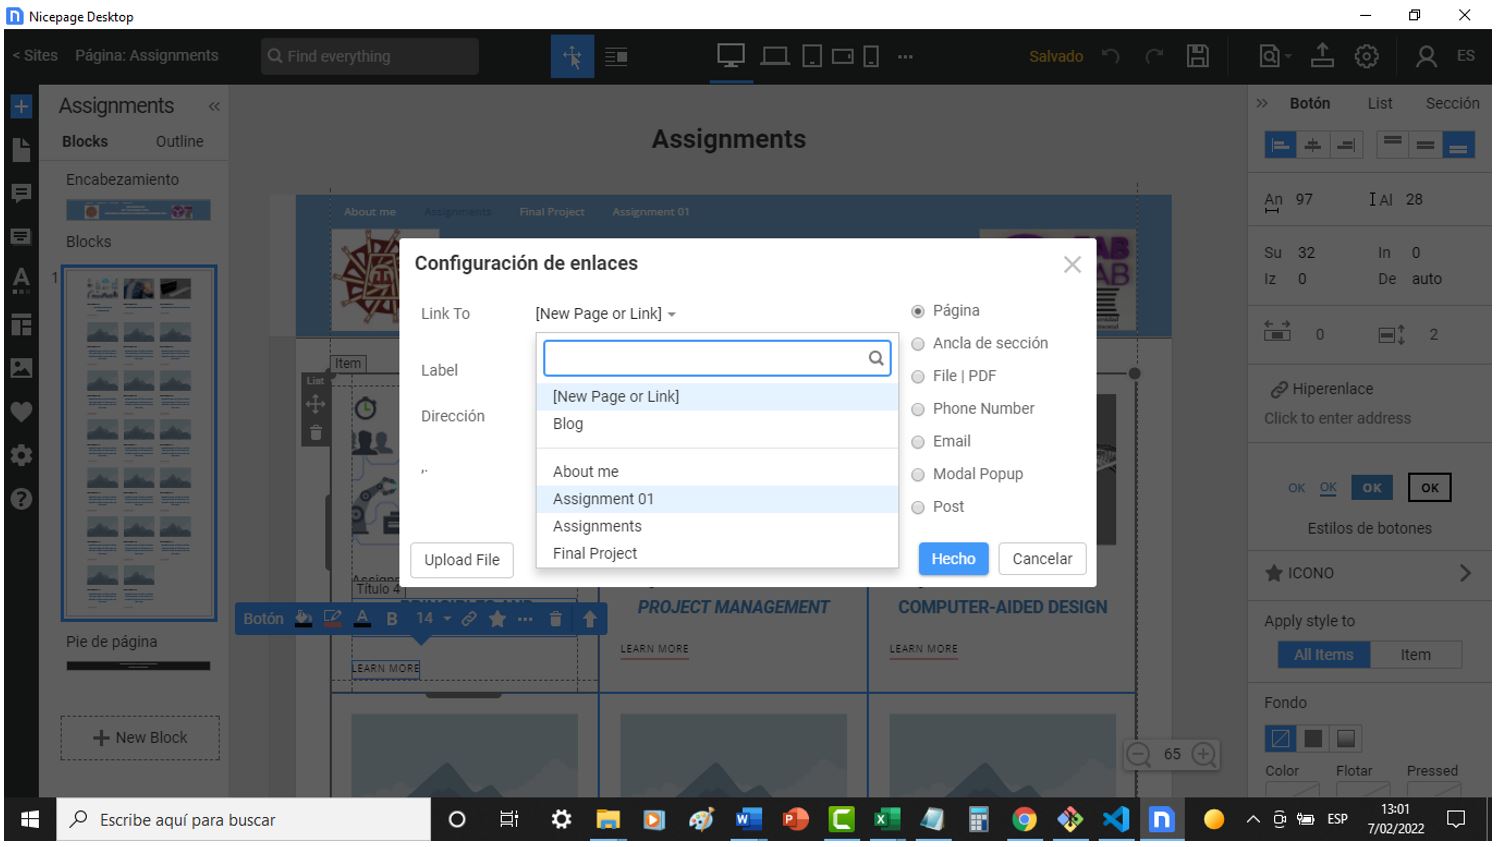
The same steps are done to develop any window. If we want to link with other windows we do the following.
1.- We create a new page and change the name.
2.- We click on the assignments page (for this example) and we click on the “LEARN MORE” that we want to link and we click on the image of the chain.
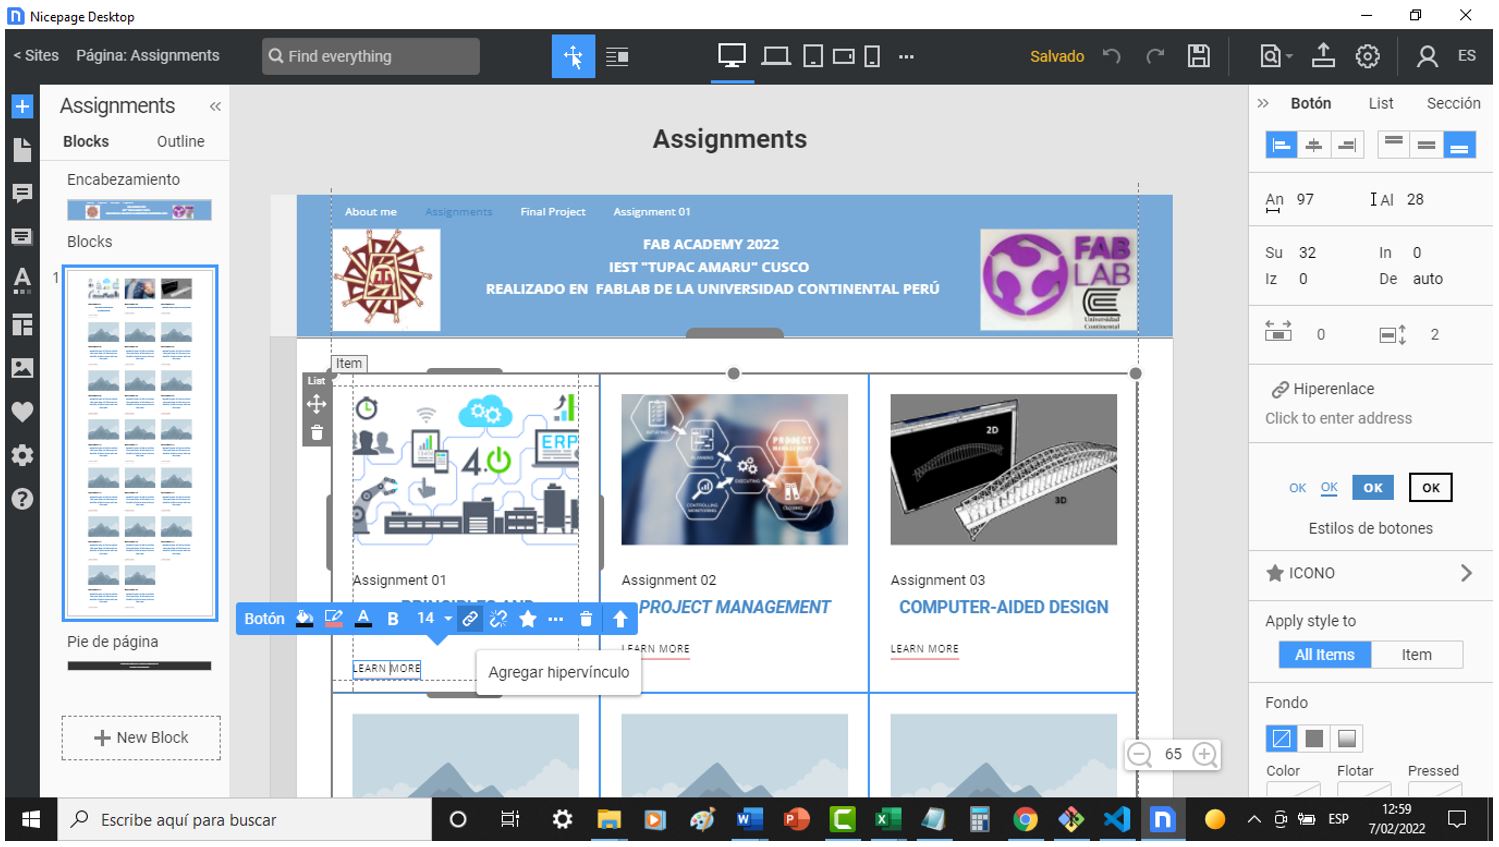
3.- The newly created page is searched for and done.
And ready, to be able to test if the created page is correct at any time you can select "Quick preview" from the advance button that has a magnifying glass as an icon.

Part 02) Sync fabcloud account with Gitlab:
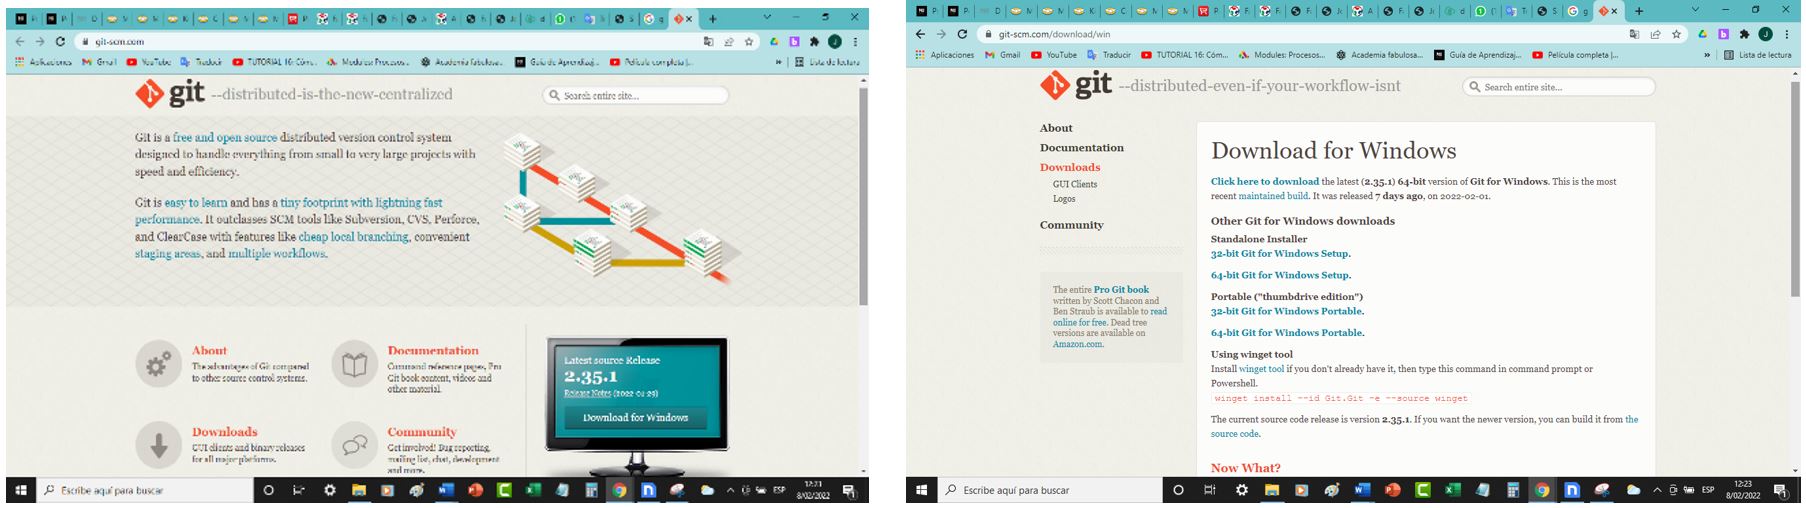
For this part we will start by downloading and installing git which is a version control software designed by Linus Torvalds, thinking about the efficiency, reliability and compatibility of application version maintenance when they have a large number of source code files, the installation it is done with default values according to the operating system and transfer.
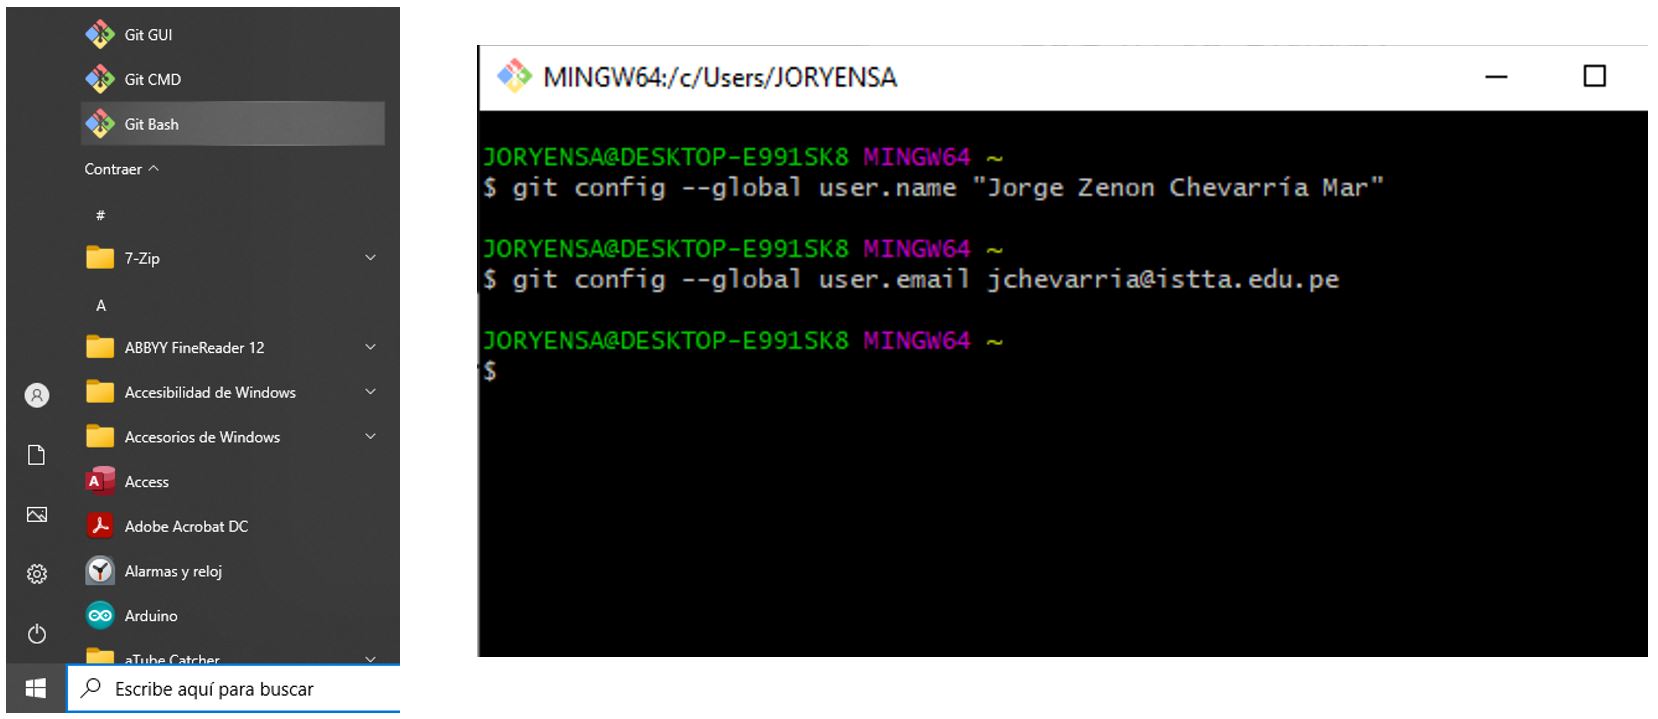
Once installed, we open GIT BUSH, to identify ourselves in the next window you will have to enter your personal data, normally the full name of the participant and email with which I previously generated a user in GITLAB.
Part 03) Generate a local remote clone repository for GITLAB repository:
We start by installing VISUAL STUDIO CODE by default from: https://code.visualstudio.com/Download
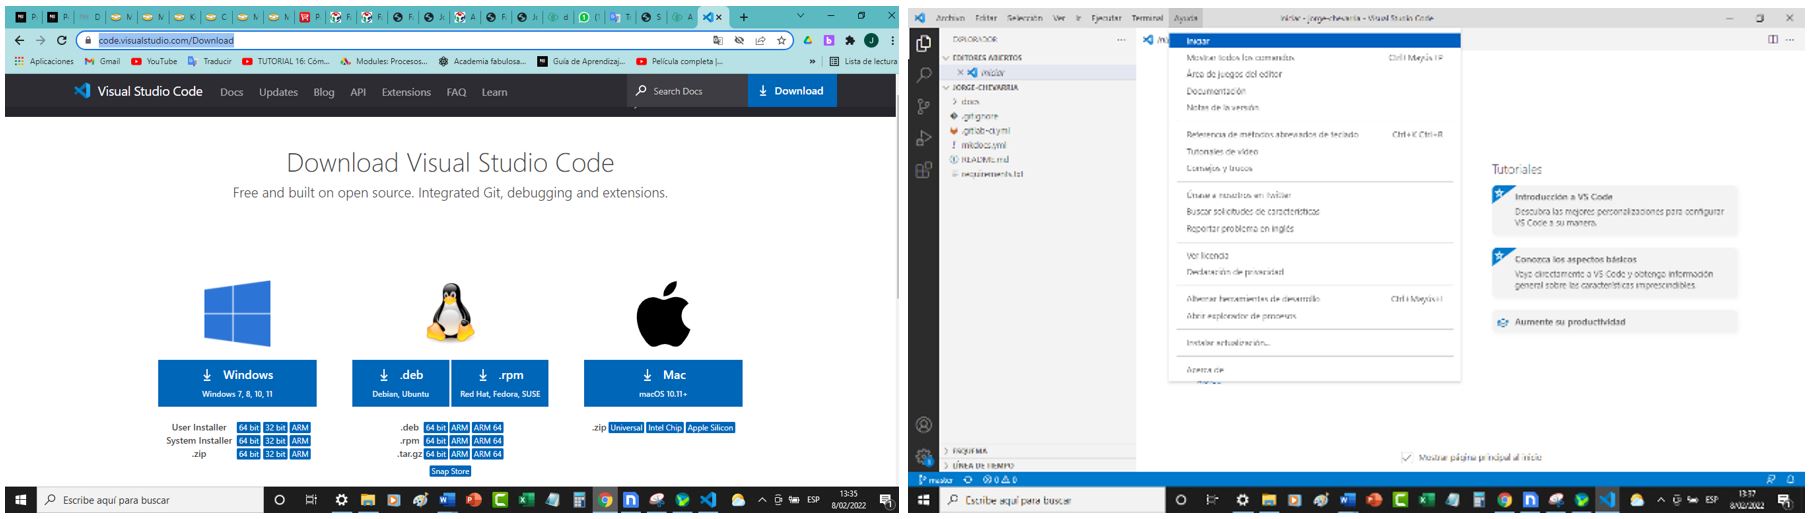
Once installed, when opening in the help menu we select start. To then select clone Git repository (clone a remote repository to a local folder).
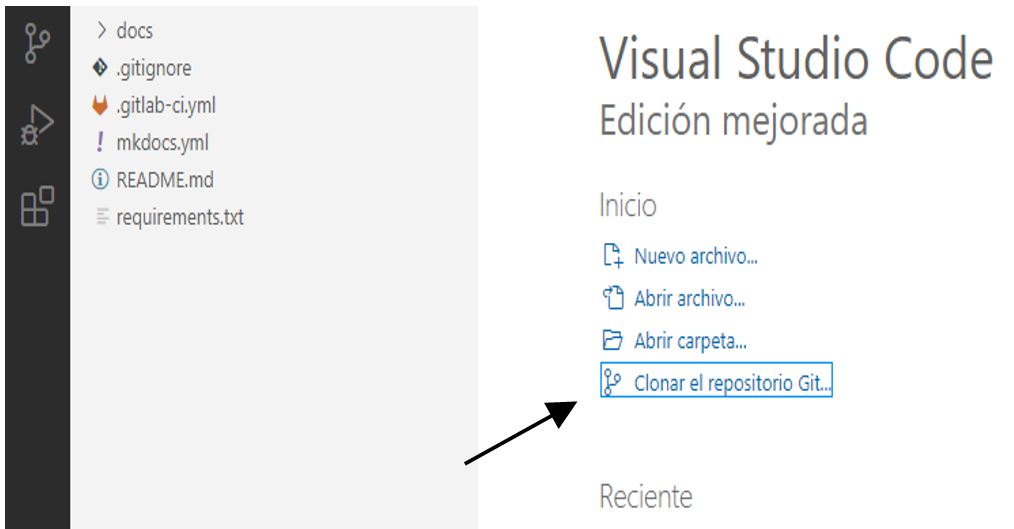
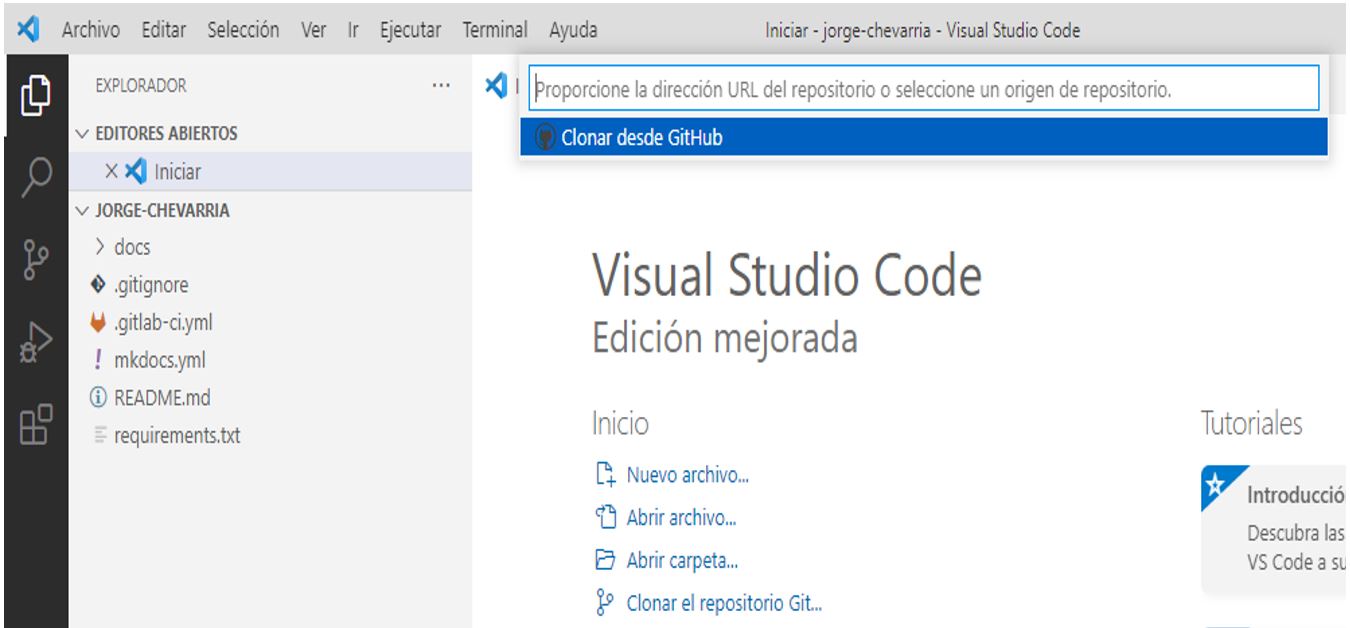
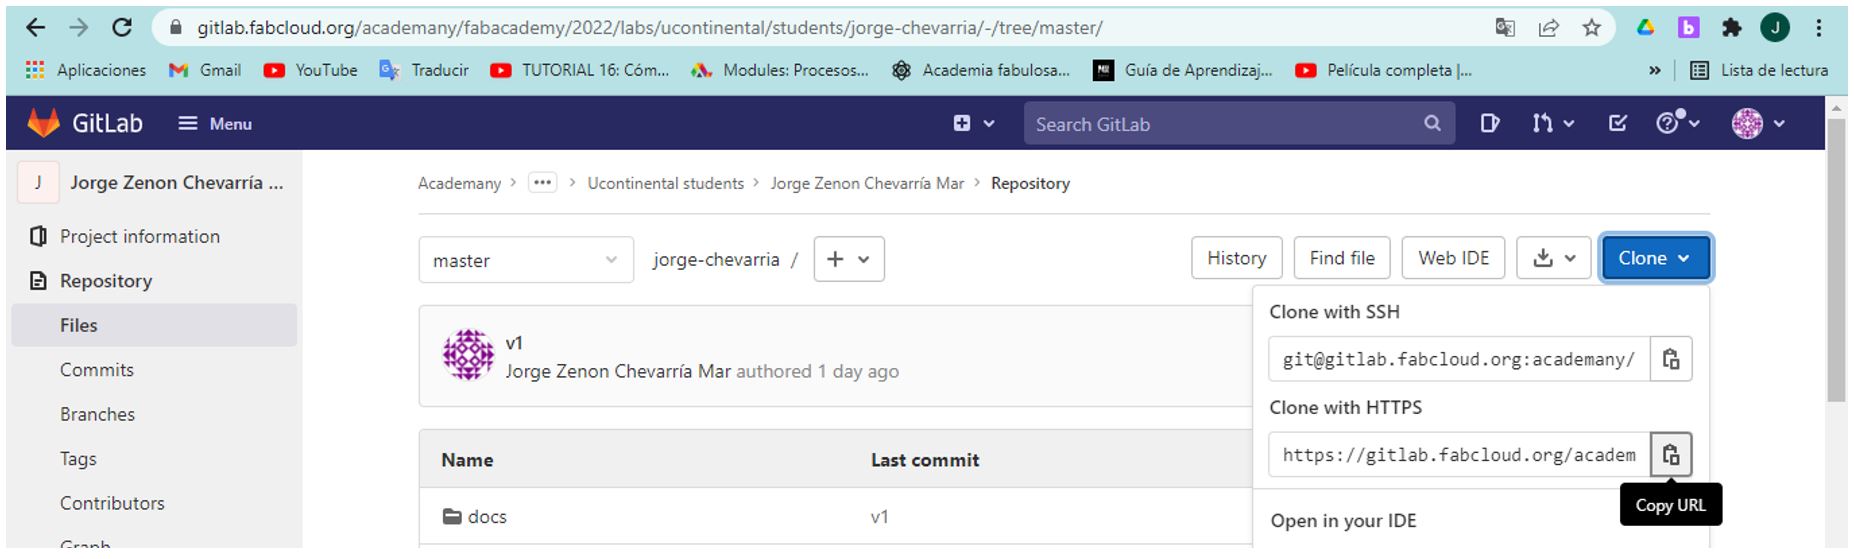
It asks us “Provide the URL of the repository or select a repository source. Which we will remove from our GITLAB account by clicking on the “clone” button.
Once we have obtained the address of the cloned repository, we return to visual studio code and paste it in the respective field.
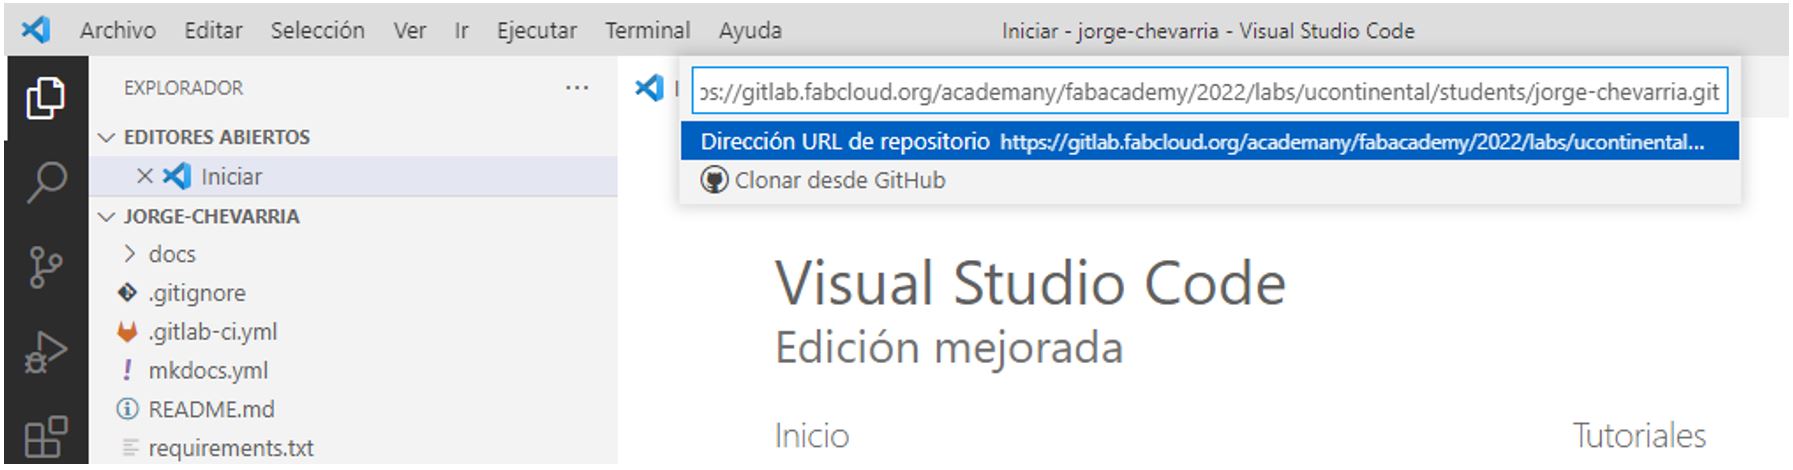
We click on the blue line "URL Address" which allows us to generate our local repository in the folder that you want but that is not in the C:/, we wait for the process to finish, in the lower right part we click on the “Open” button.
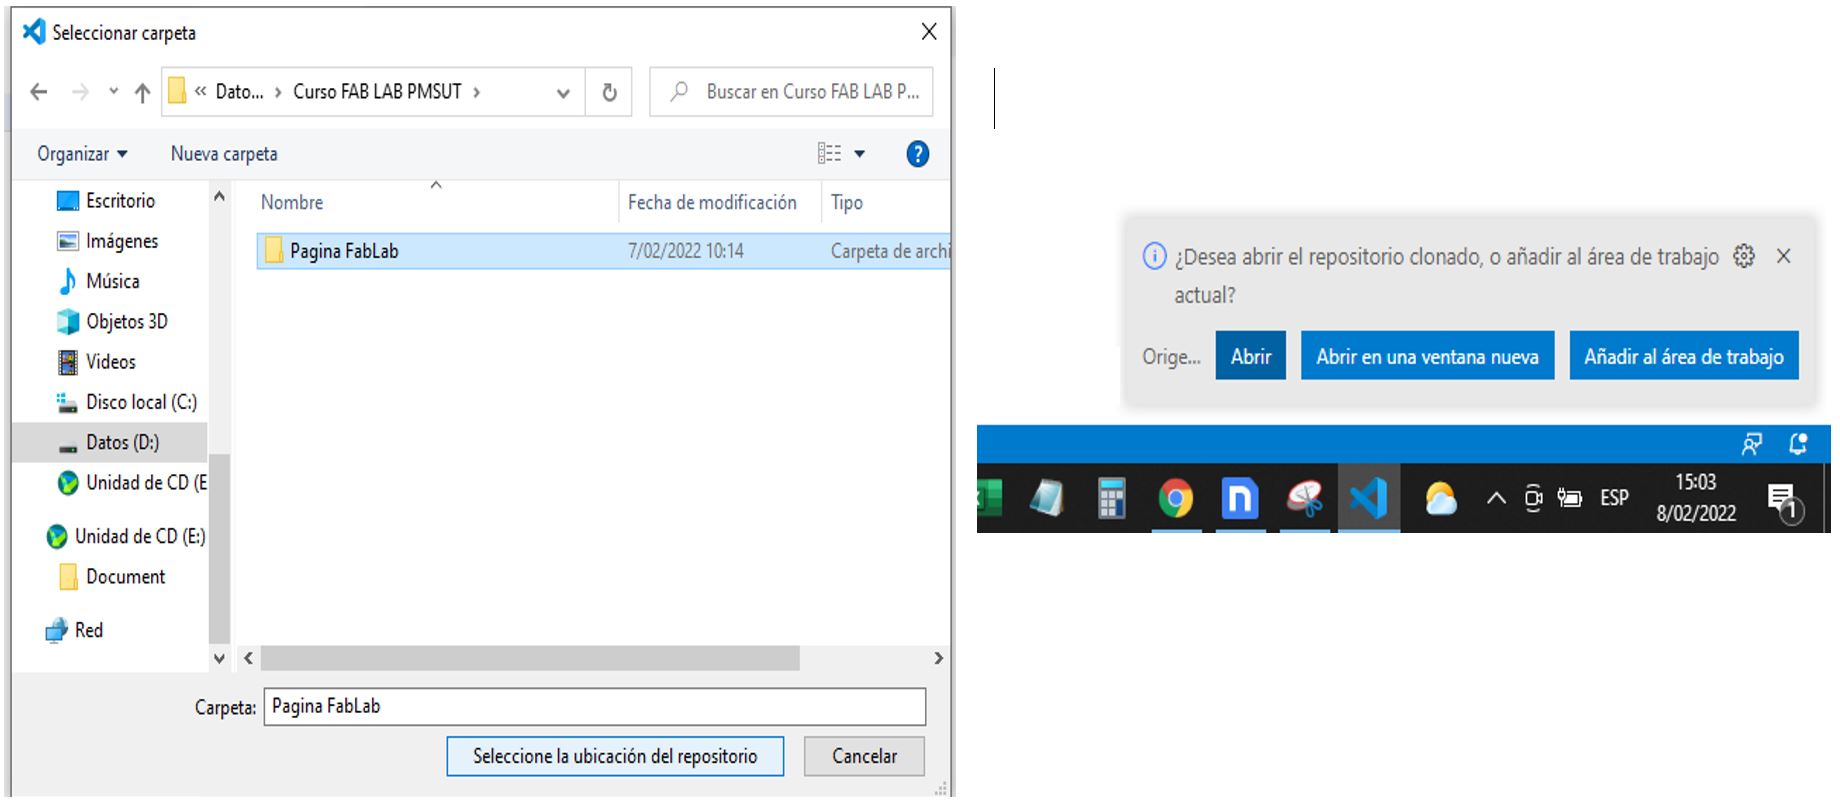
Up to this point, the repository components will be observed on the left side.
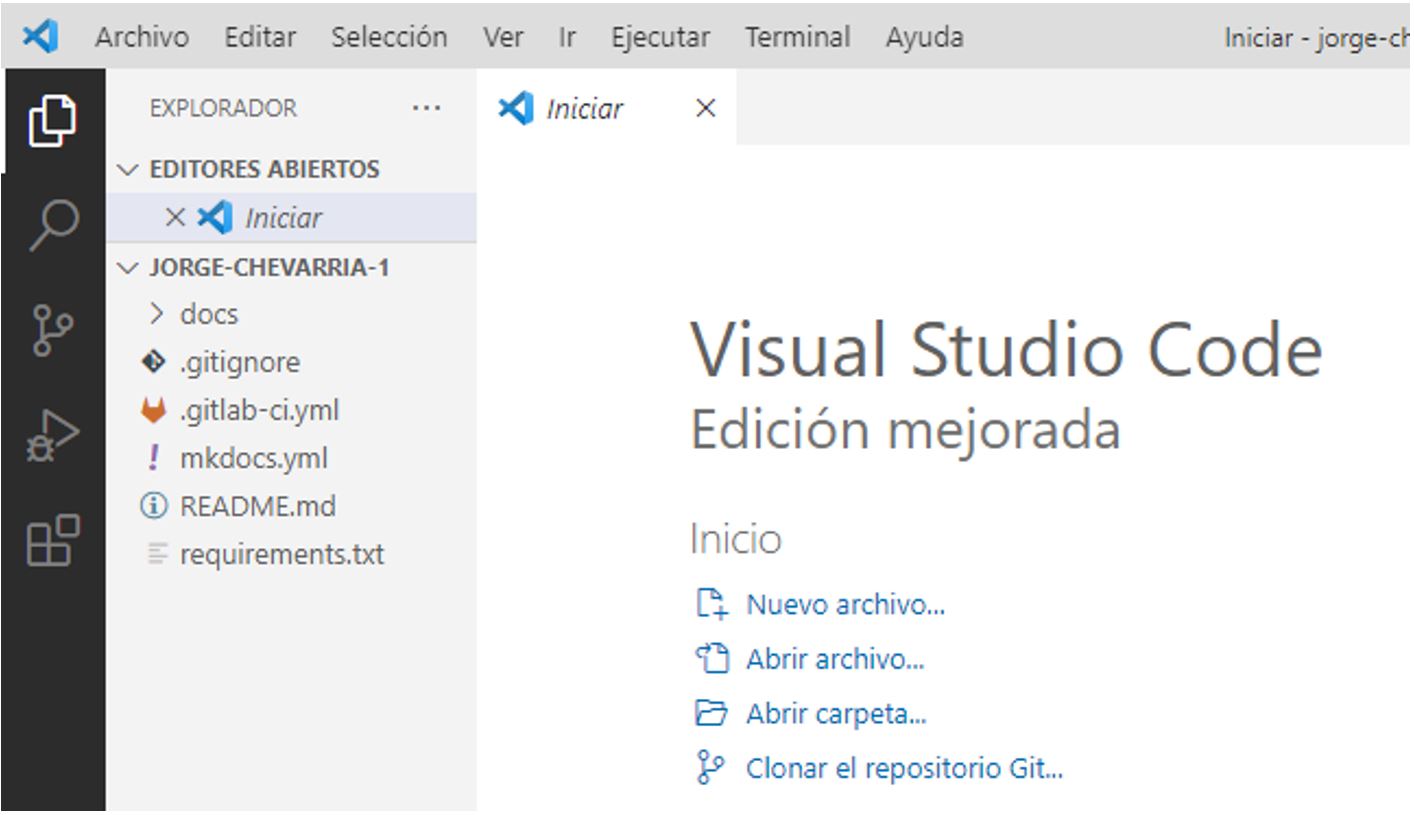
Part 04) Update of the personal web page in the GITLAB repository :
Now we enter the folder where our local repository is, there you will find a folder with your name and within it a folder called "docs", which we delete.

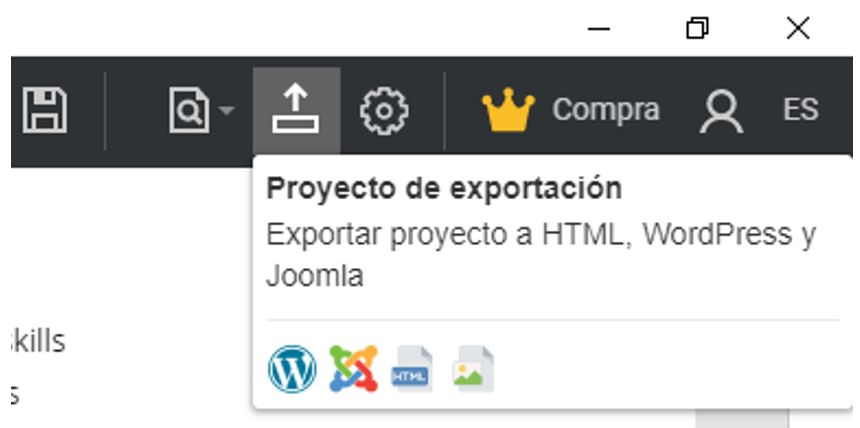
Now we go back to the nicepage program where our personal web page is to be able to EXPORT IT to HTML. We click on the Export Project button and it will open a new window.
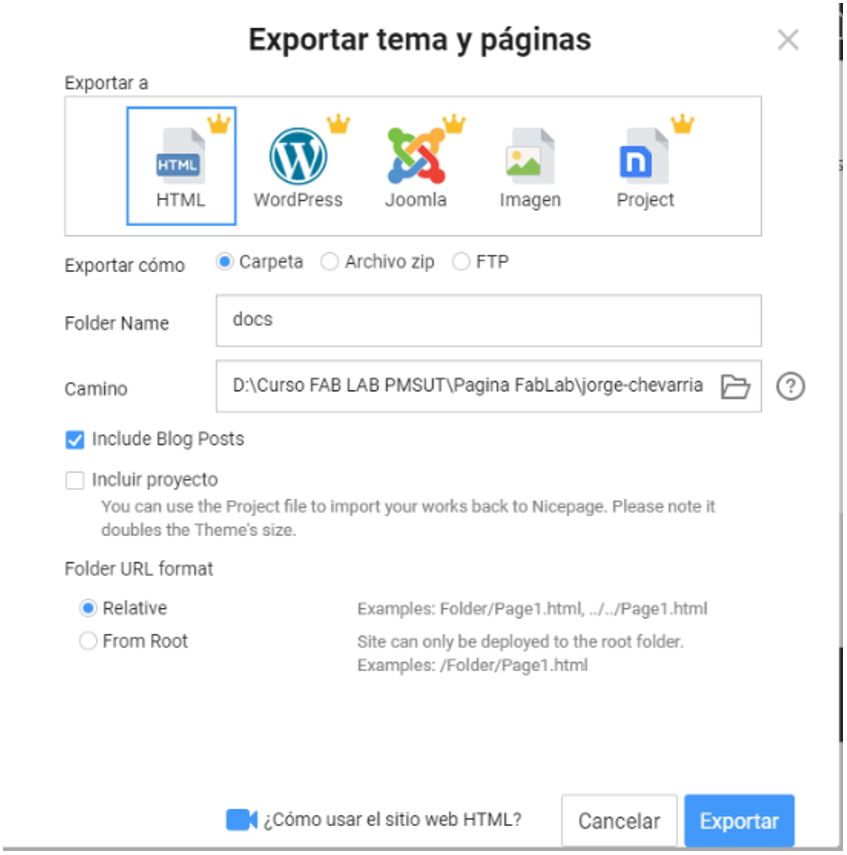
We select HTML, we give it in Folder Name: “docs” (in lowercase), and we select the location where the “docs” folder was located, to finish we click on export.
Once exported you will see that the docs folder has been created again, if you wish you can overwrite it.
If we now go to Visual Studio Code you will see that changes were generated which must be updated in GITLAB, for this we click on the button that has a bubble with a number of updated files.
We click on it to show us the updated files and we will see a check icon at the top (confirm) when we click it, it shows us a message that we will accept.
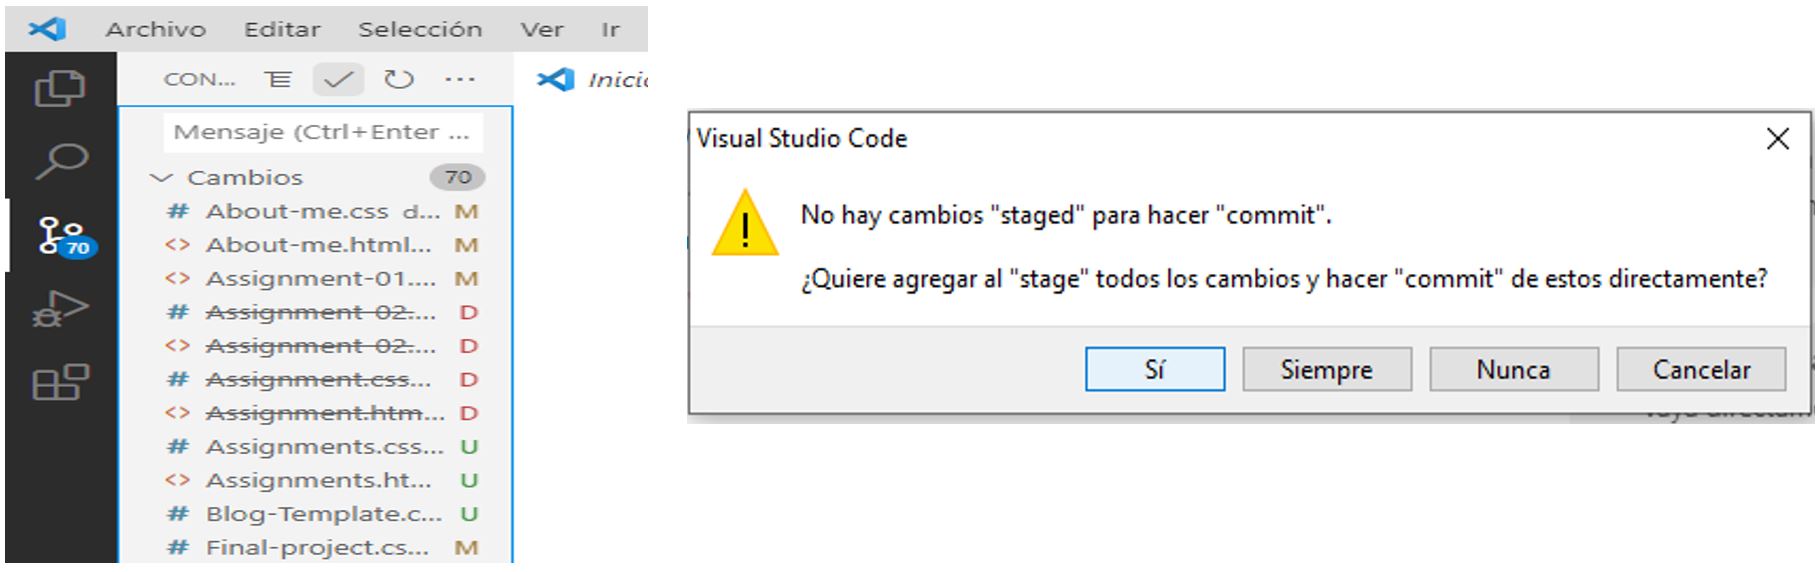
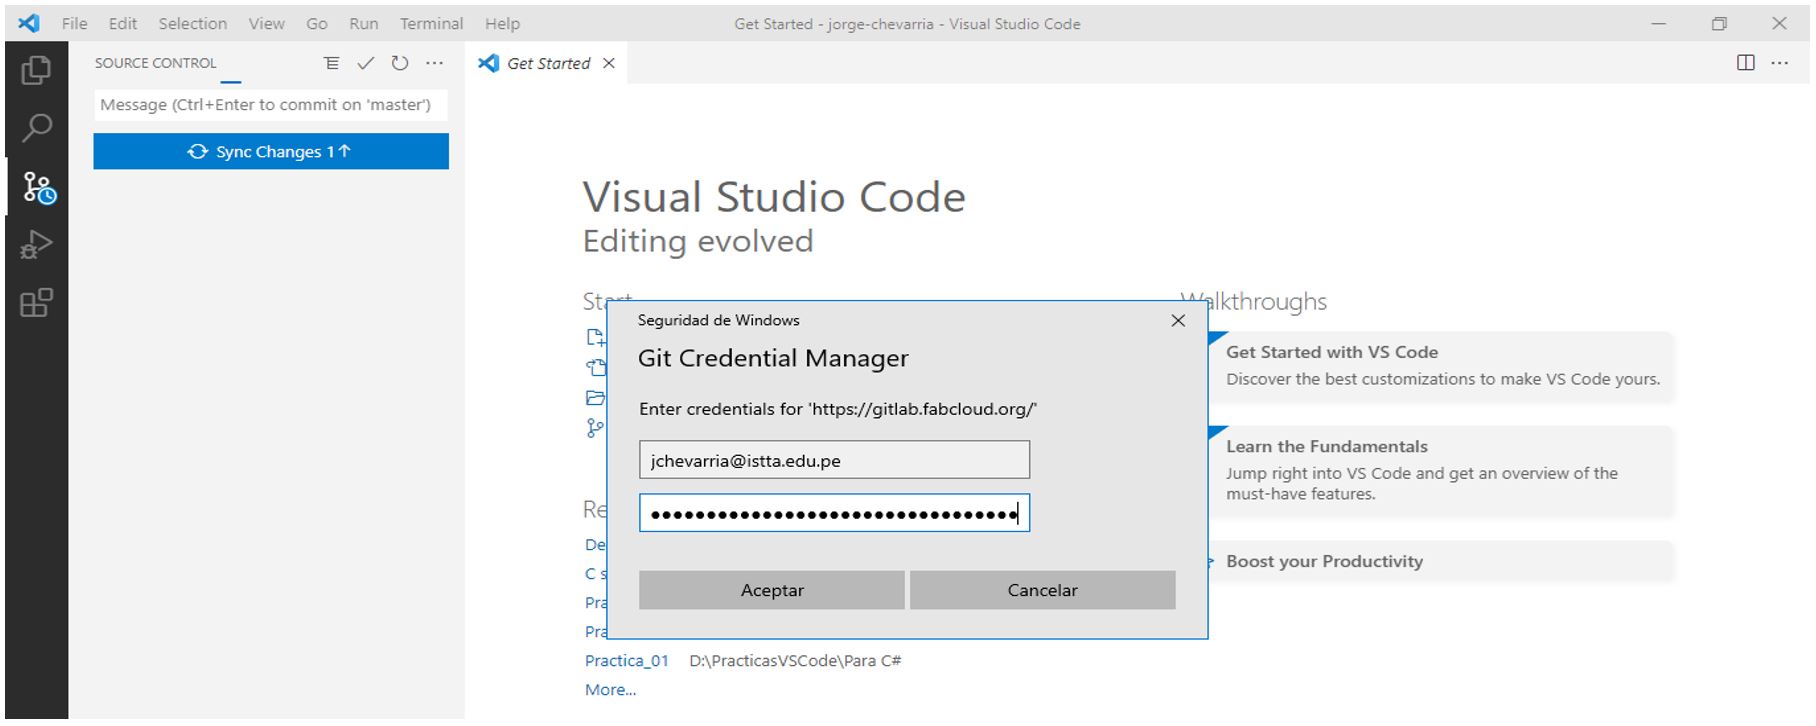
A message will appear only the first time for you to authenticate with your GITLAB account data.
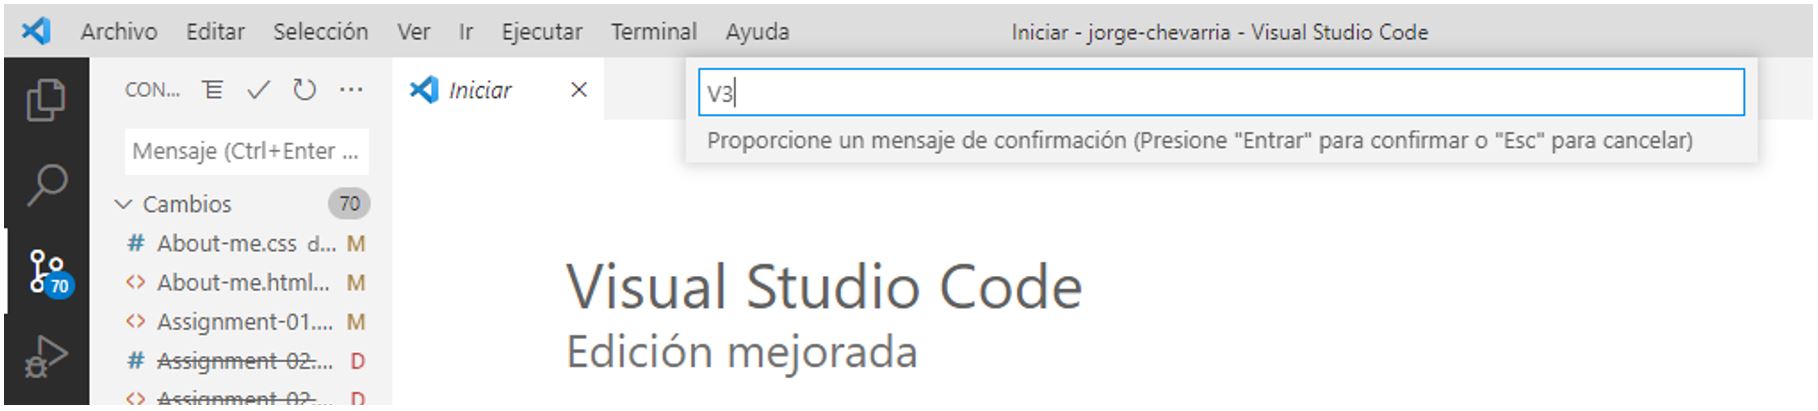
At the top to update the data in the GITLAB to update the version enter some text and press enter, you will see that the data will be updated.
Finally, check your personal page from any browser and it will have been updated. good luck keep going.
created with
Best Free Website Builder .