Analysis of the CNC Maslow System and Structural Design.
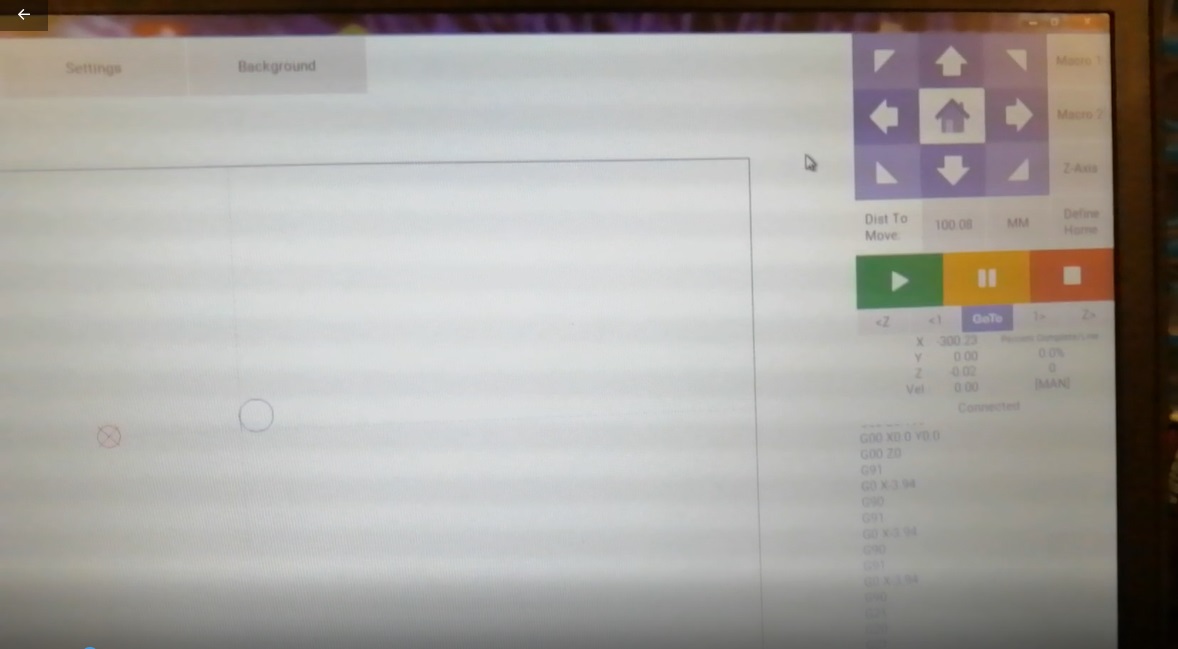
Firmware installation, calibration and commissioning
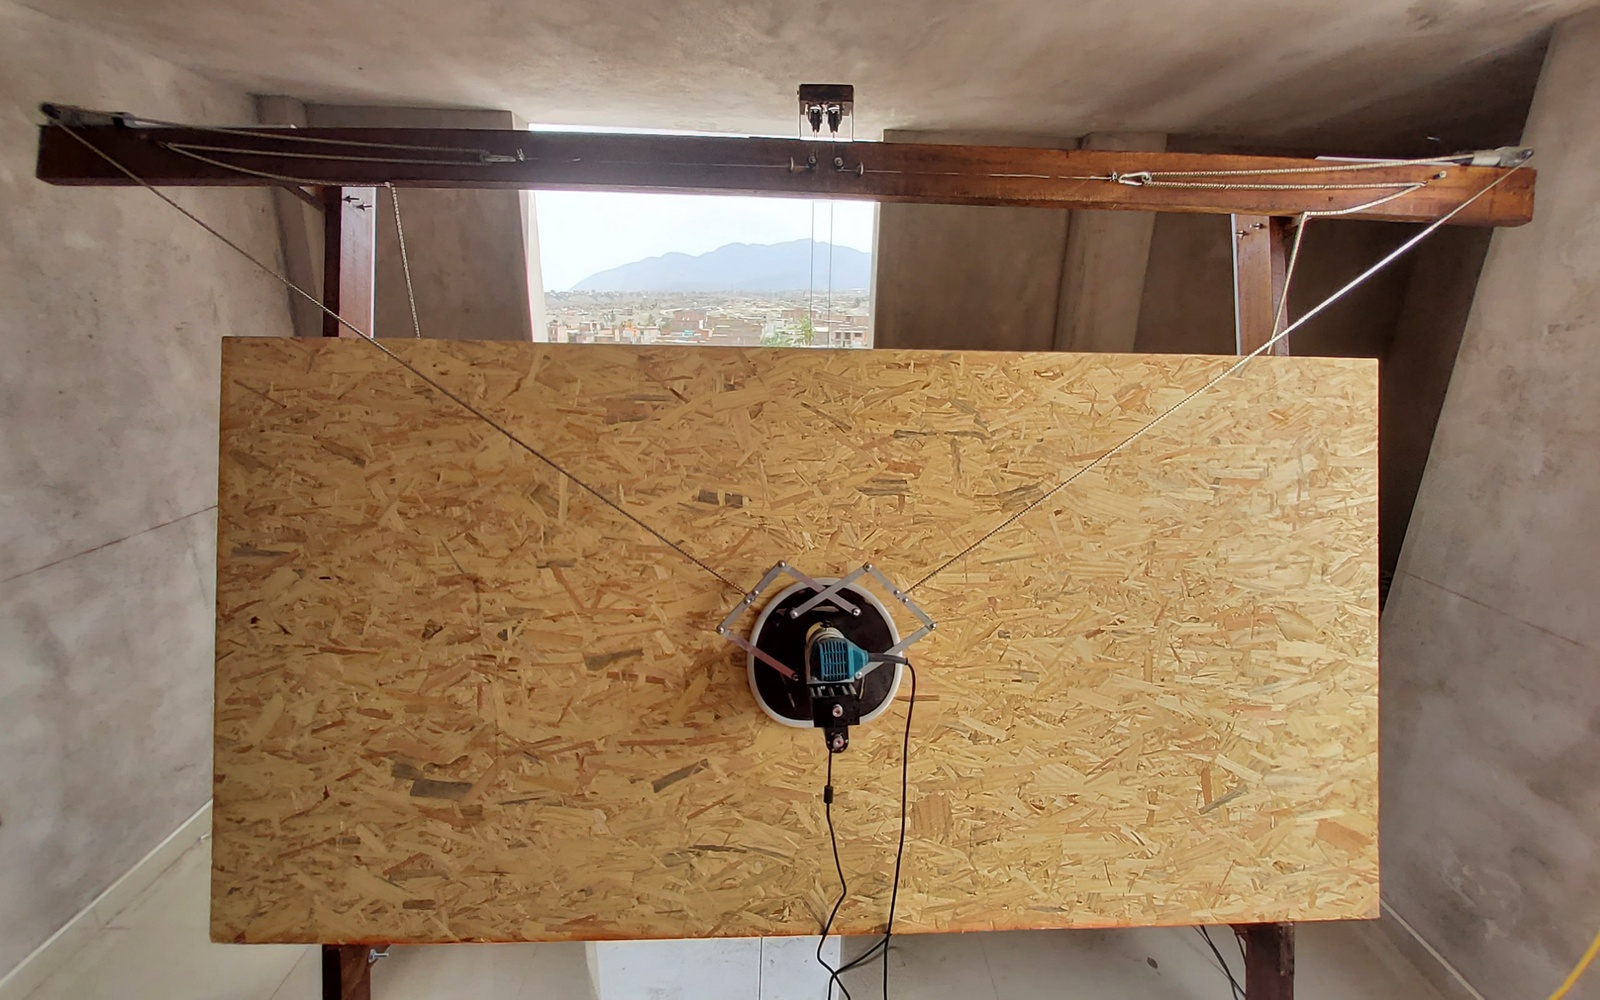
Pedestal design for control system
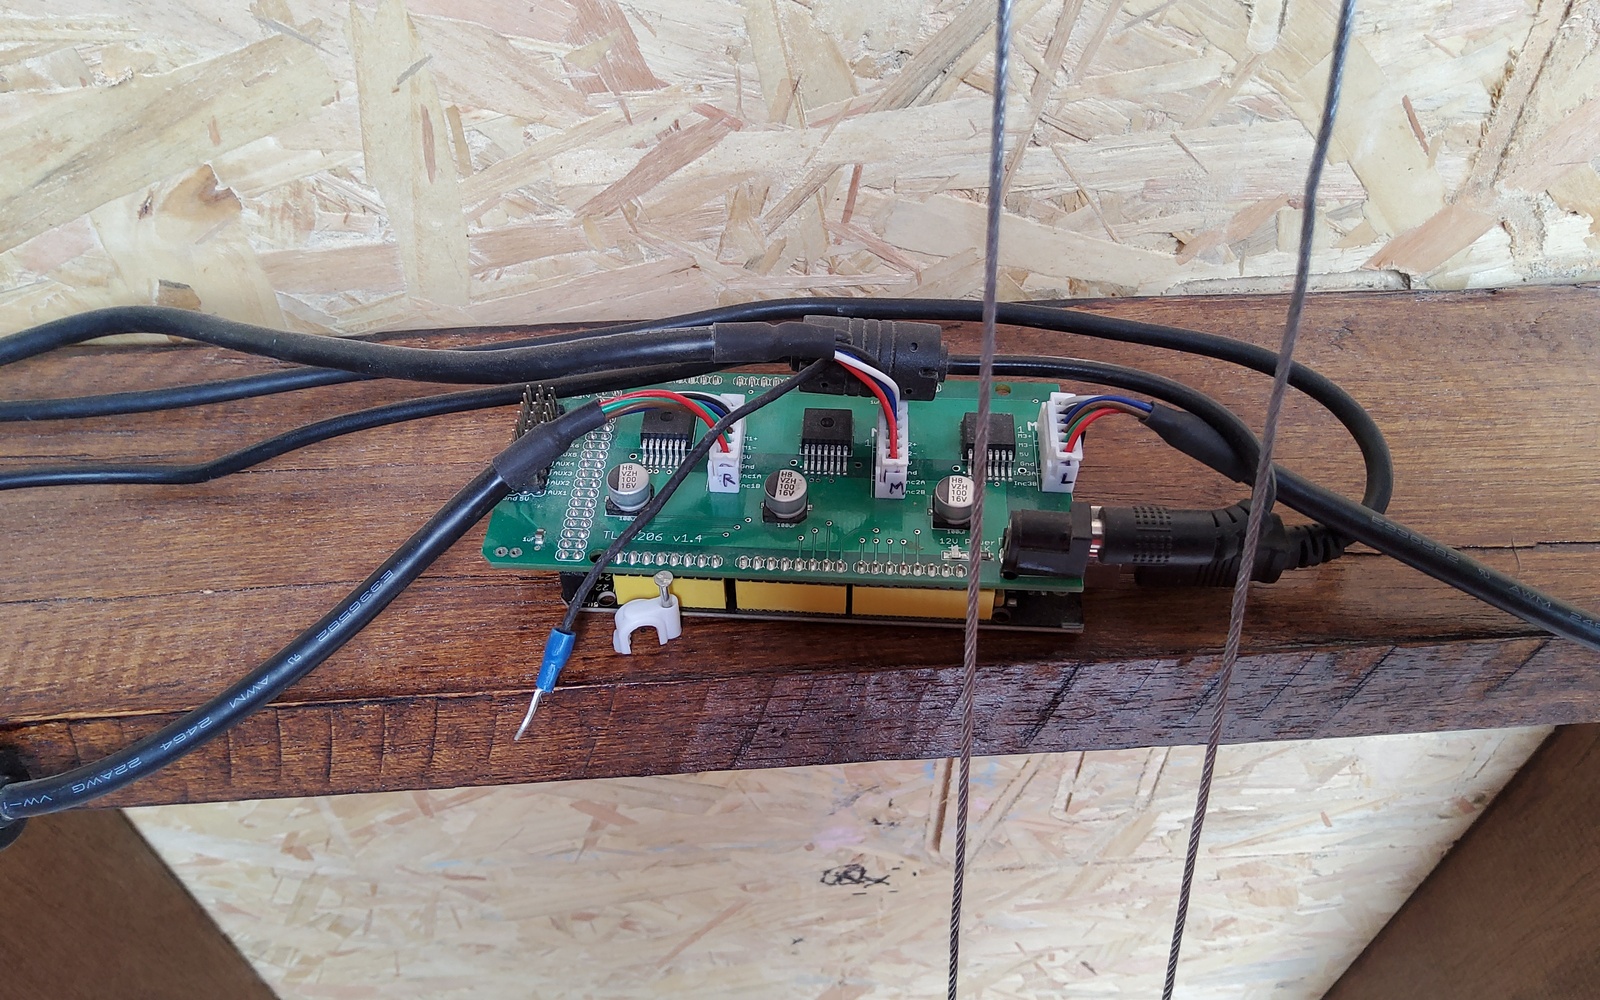
Case design for control card and connection analysis
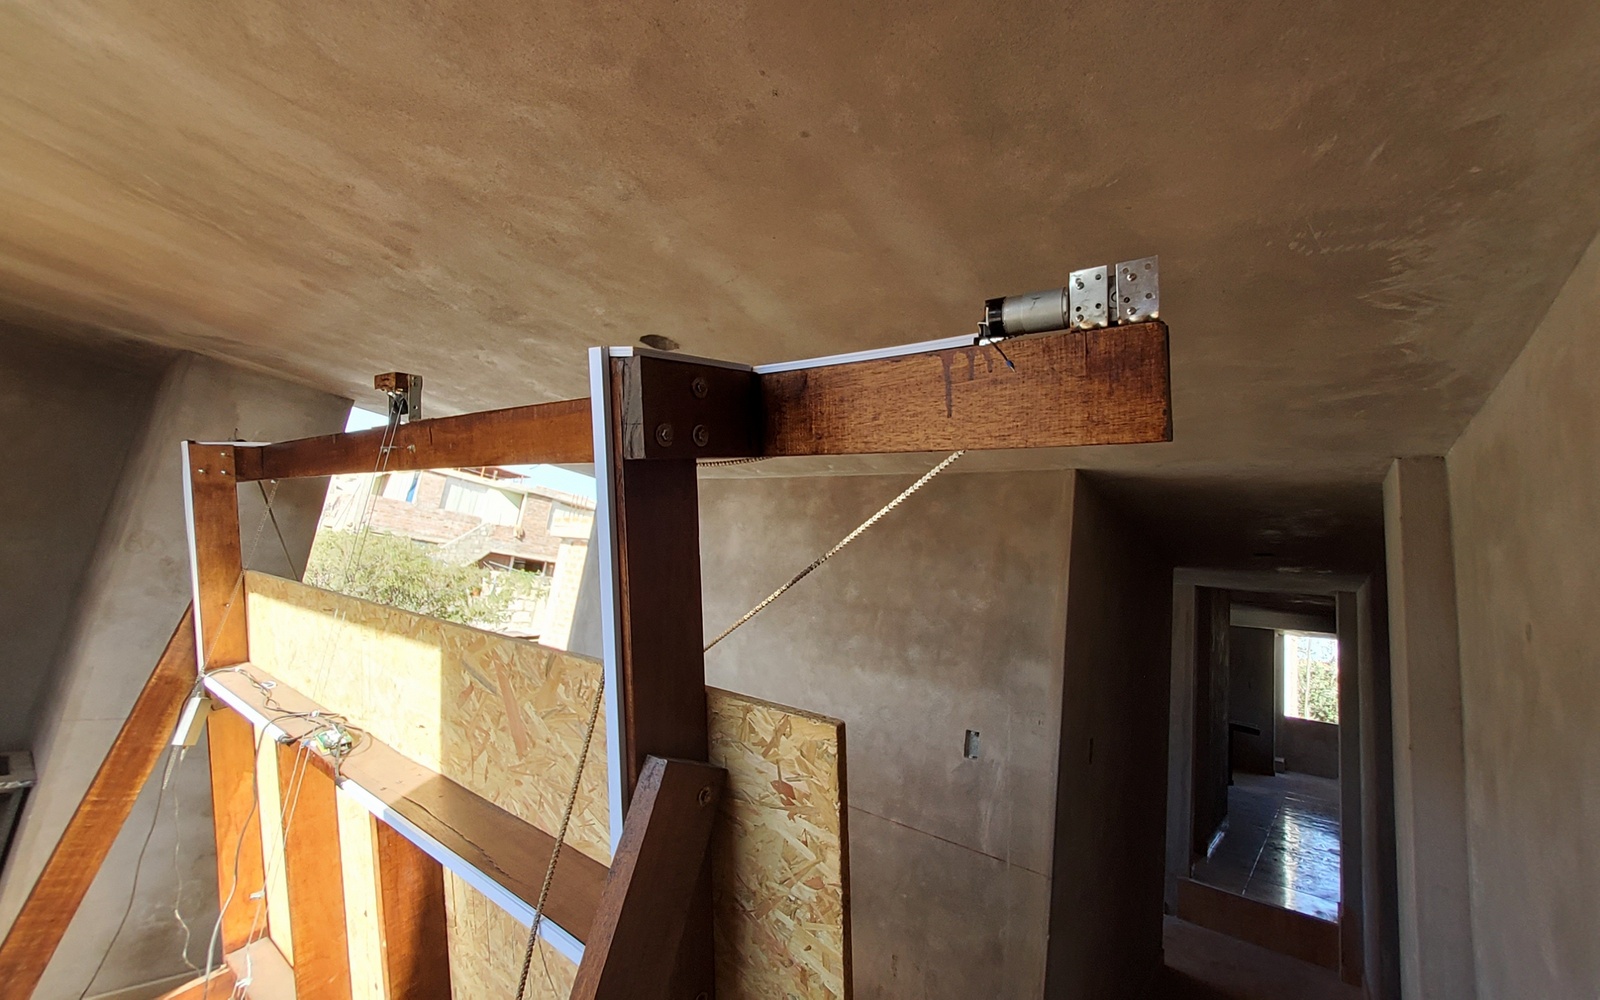
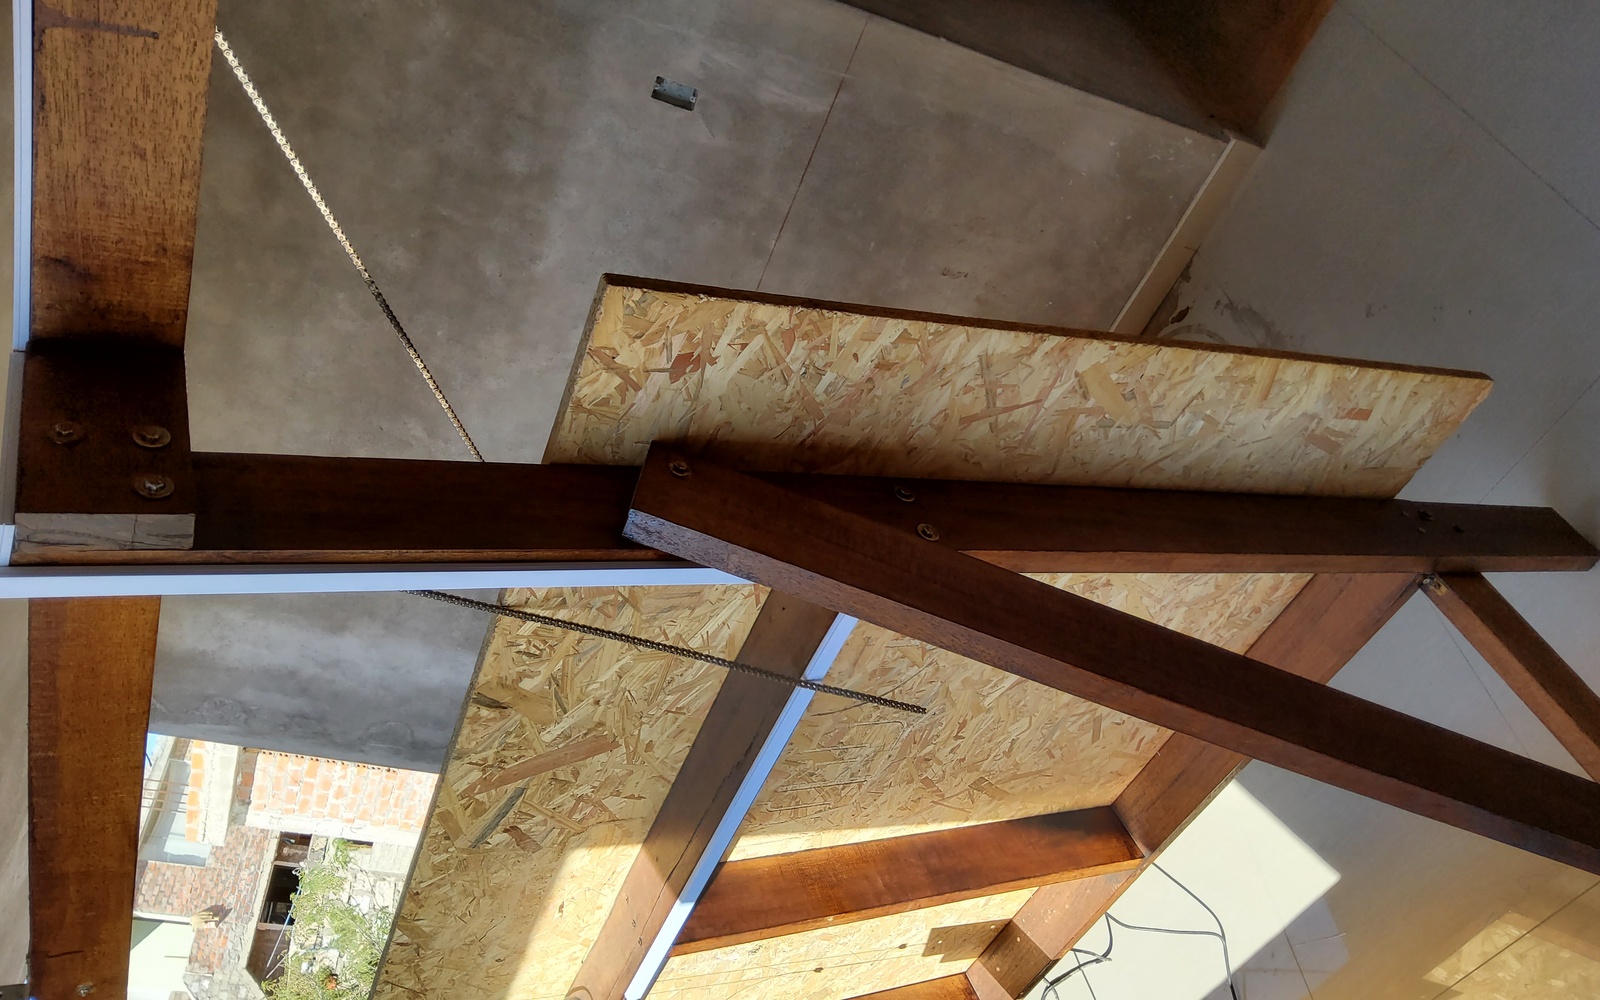
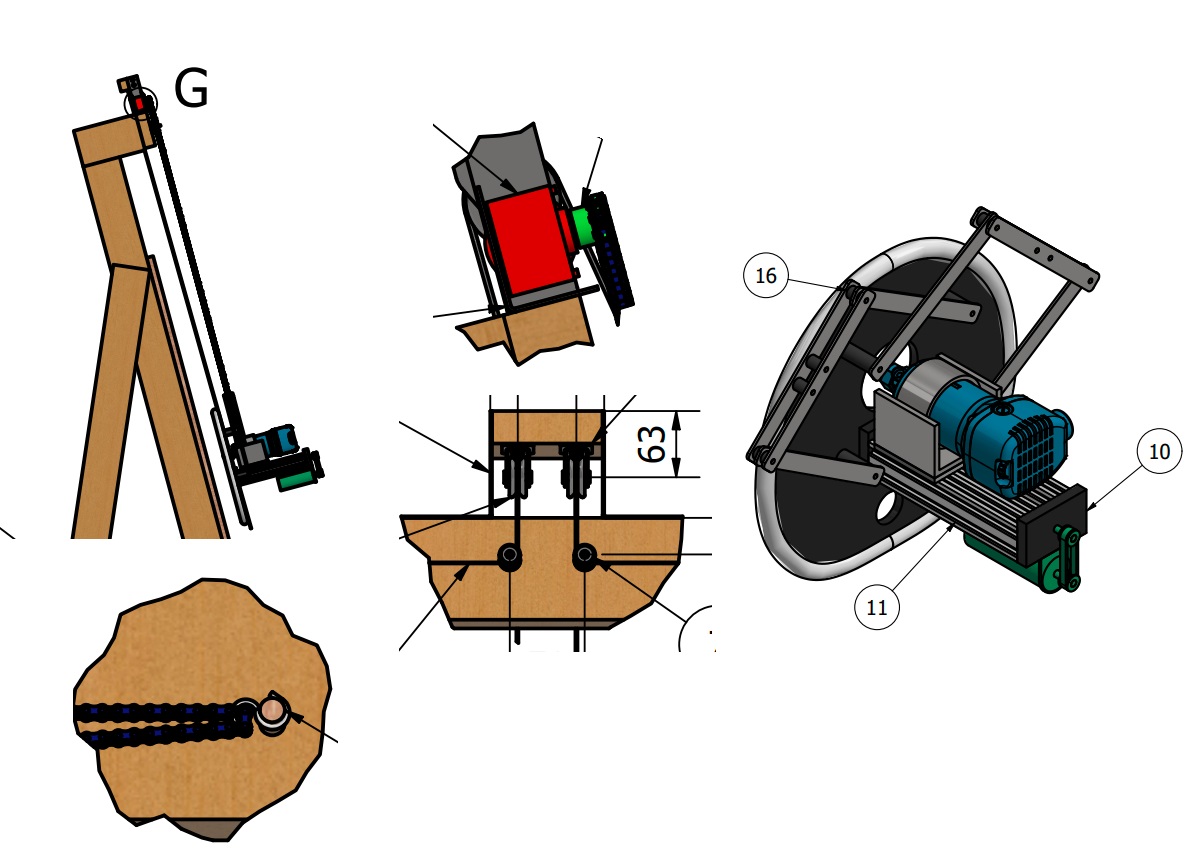
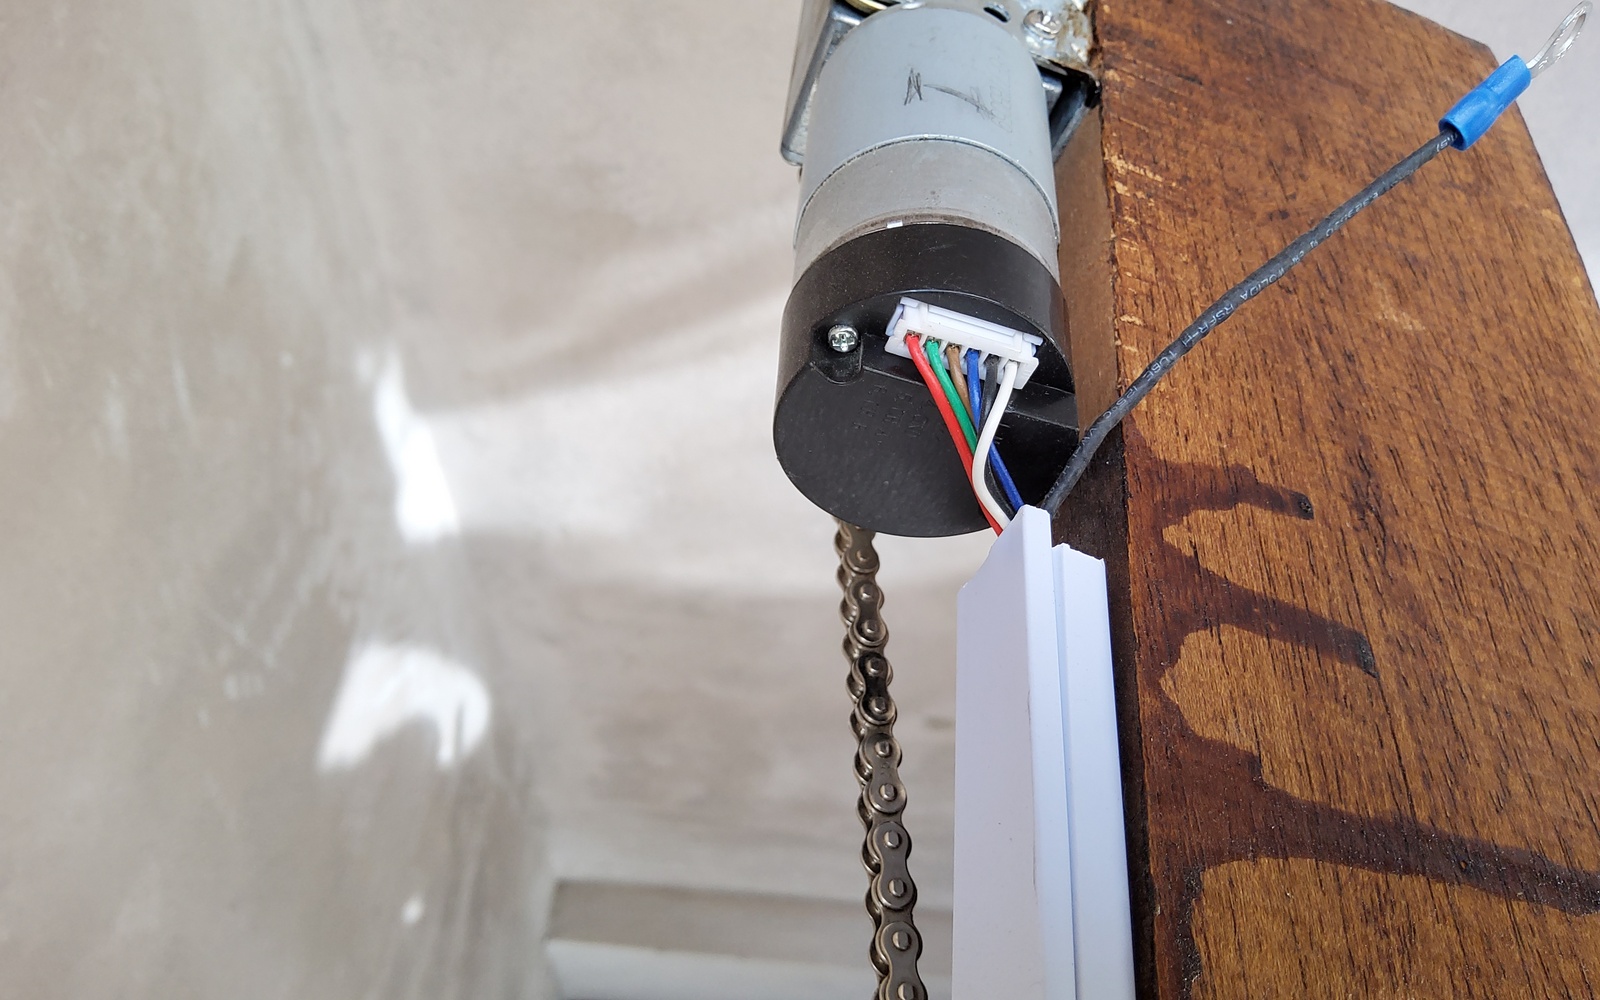
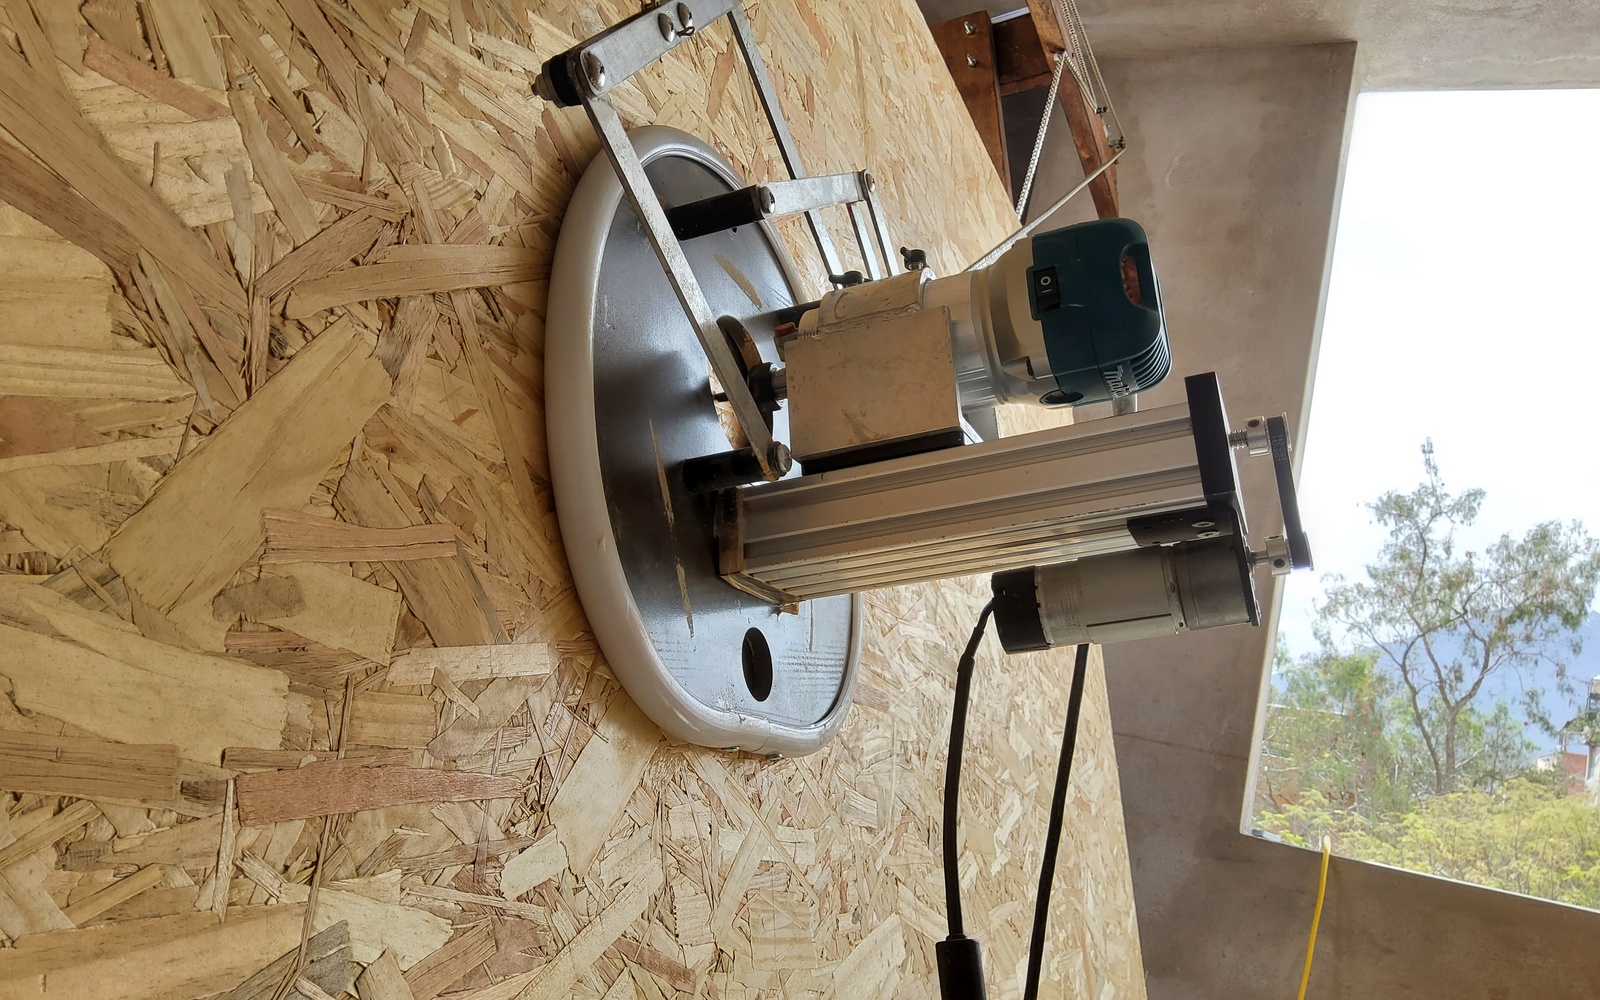
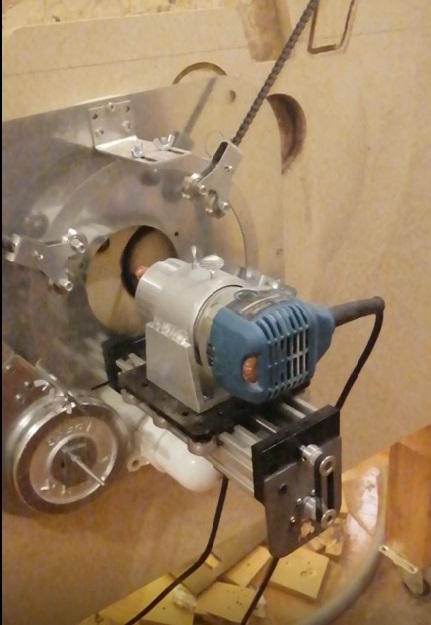
Idler Pulley System Design
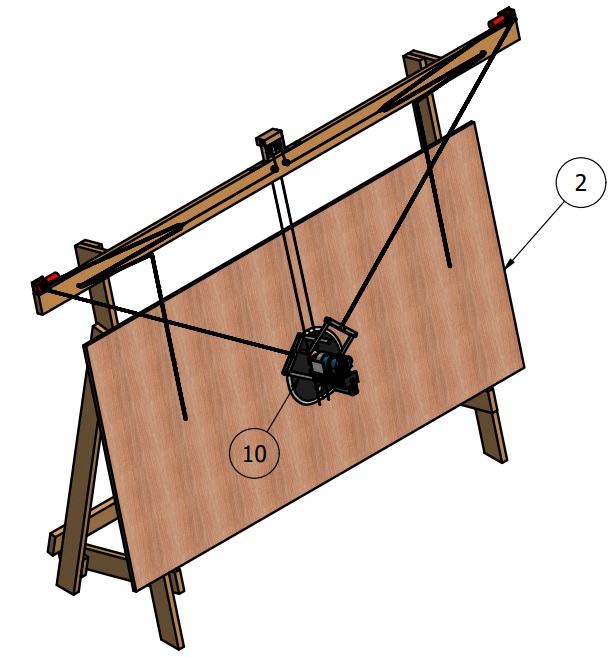
Drawing of plans of the mobile head
In our educational institutions there is a growing demand for maker spaces that are portable and easy to operate in careers related to architecture and engineering and we believe that a Maslow CNC will allow us to satisfy this need.
SIn architecture, they will be able to develop real-scale urban planning projects in engineering, it will allow them to add improvements in their design and functionality. This will be a first step!

- Alberto Torres proposed the black box model.
- Systems and subsystems were recognized.
- Individual contributions were assigned for each student
- Directions and coordinates
- Control of process
- X,Y and Z displacements
- Workpiece support