I was looking forward to this week before, it's a week that allows us to do something new of our choosing, that's why I chose to learn Soft Robotics.
Learning:
- Individual Assignment
- Design the Mold
- Fabrication with 3D Printing technology
- Creating the Silicone Mold
- Blowing air into the mold
Individual Assignment
Design the Mold
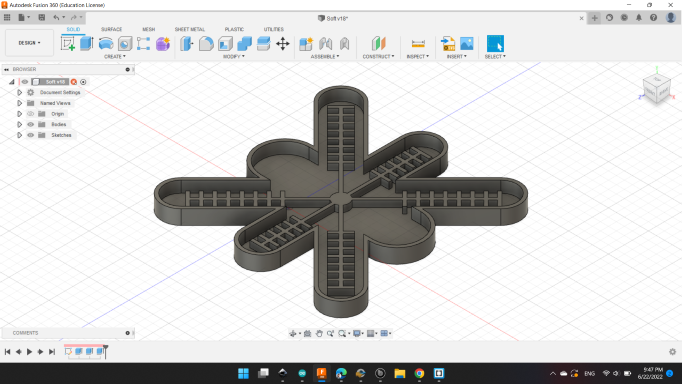
I started with my friend Fusion 360.
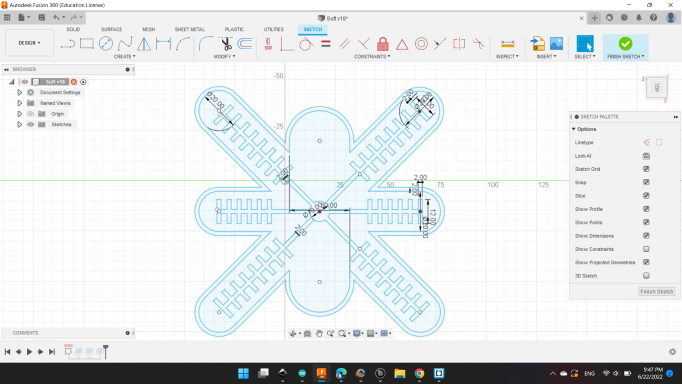
I wanted to design a soft robotic a little bit different from the traditional one. Looks close to my HEXI Robot. So, 6 parts as legs and the front & back sides.
I started with design the chambers, each ont is 12mm tall and 2 mm in width.
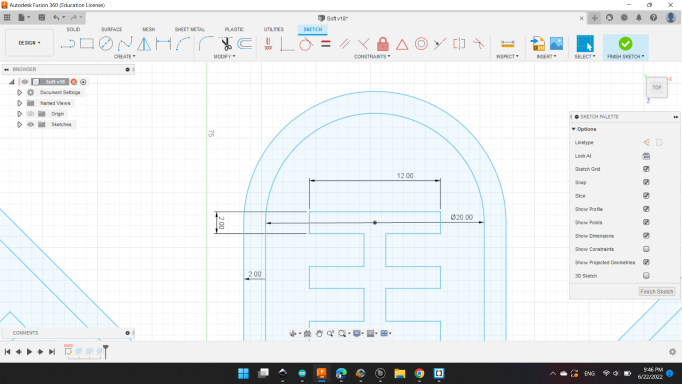
Then I design the 6 legs.
I extruded the chambers with 4 mm high.
And the frame with 7 mm.

Finally extruded the base to be one body at the end.
Here's my mold 😁.
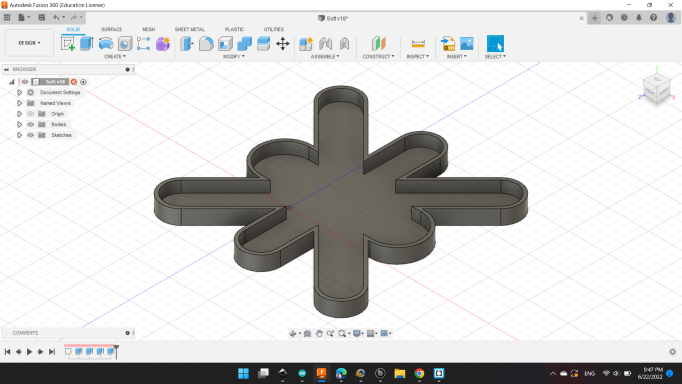
Also, I made another mold to be used as the bottom side of the silicon, I will explain later.
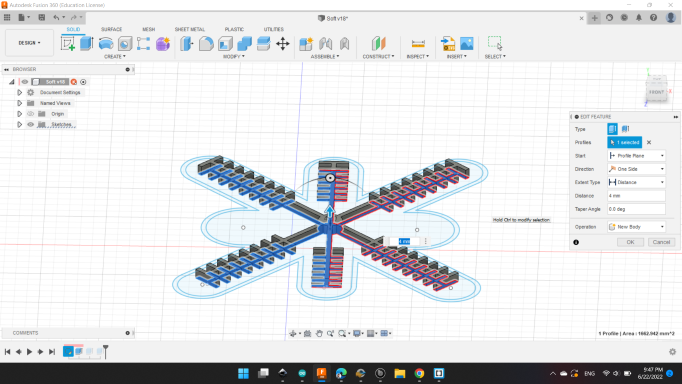
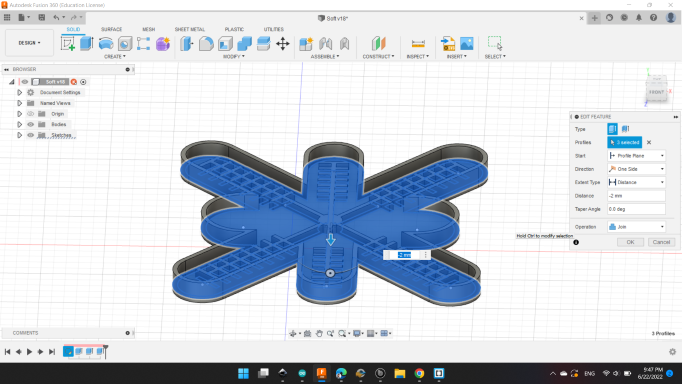
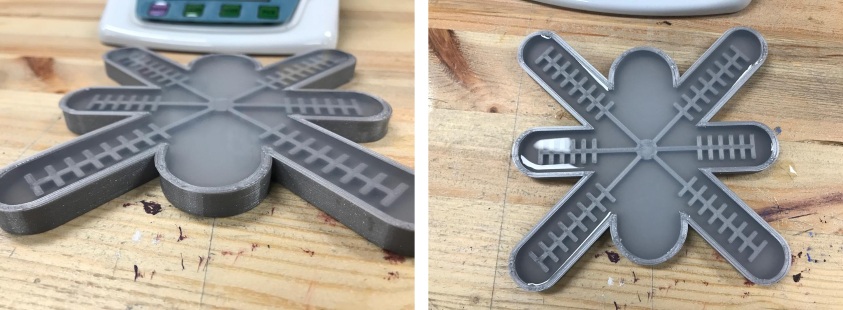
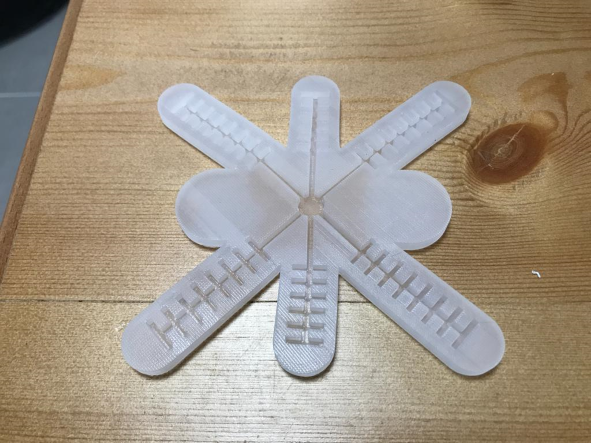
Fabrication with 3D Printing technology
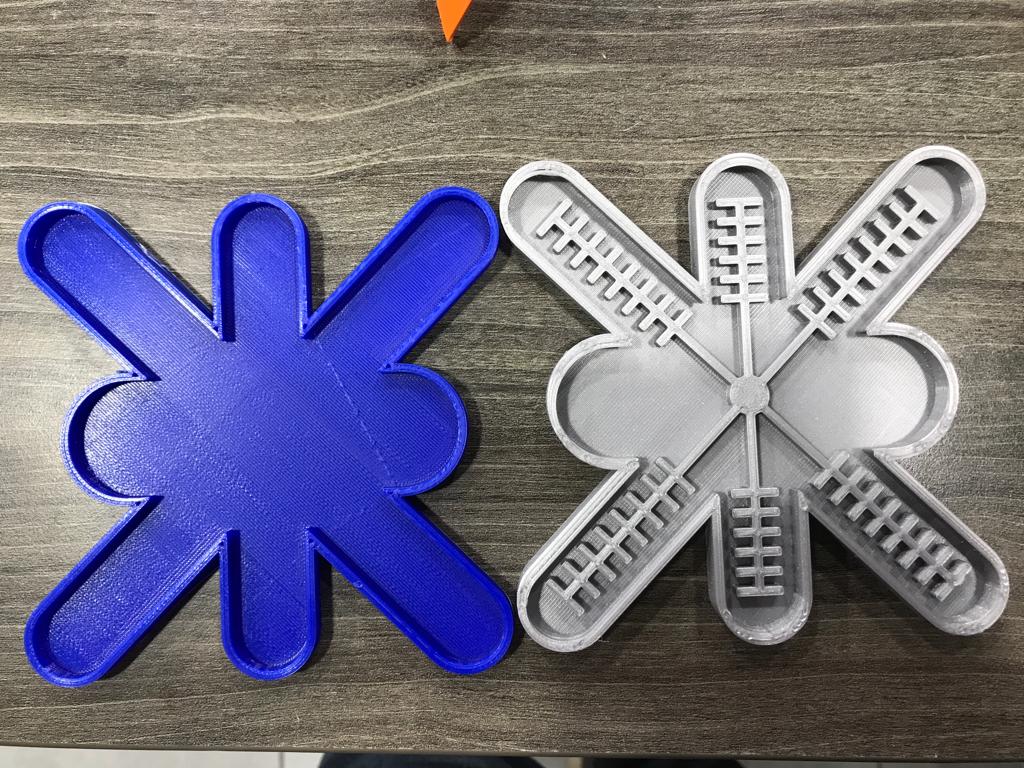
After 7 hrs and a little bit, The two molds were ready.
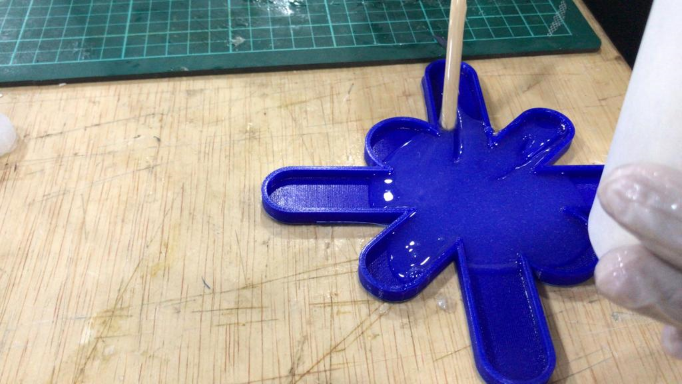
Creating the Silicone Mold
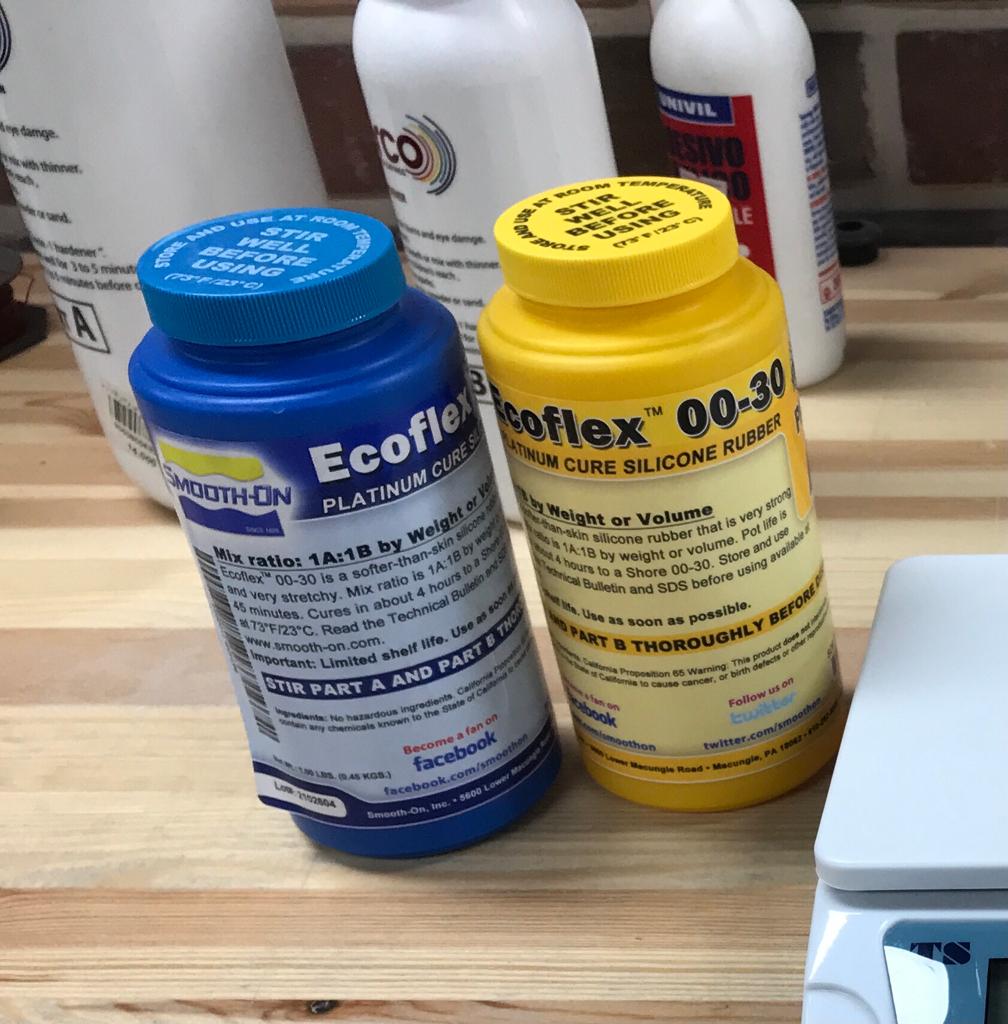
I used Ecoflex™ 00-30 as the silicon for my robot.
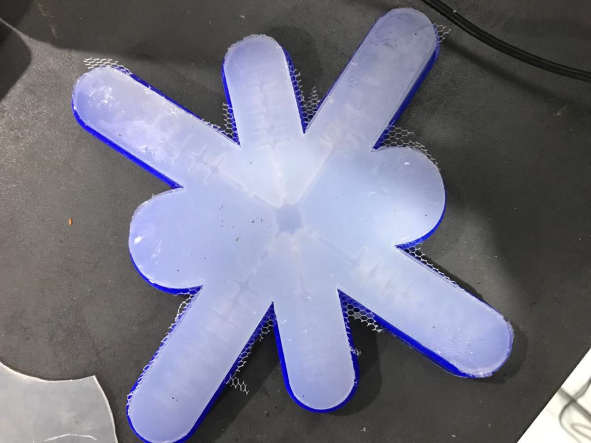
And after carefully pouring, here is the view of the first mold with silicone. The other mold, I will pouring after the first one be ready.
After few hours, the first robot became ready 🙂
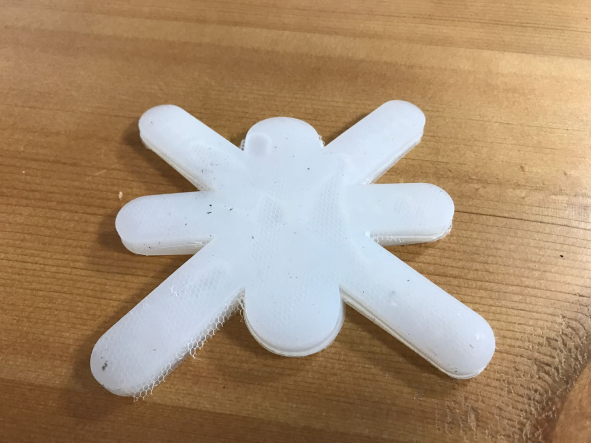
Next, I poured a simple layer of silicone into the second mold.
Then I added a piece of fabric to bend the robot in one direction and not the other.
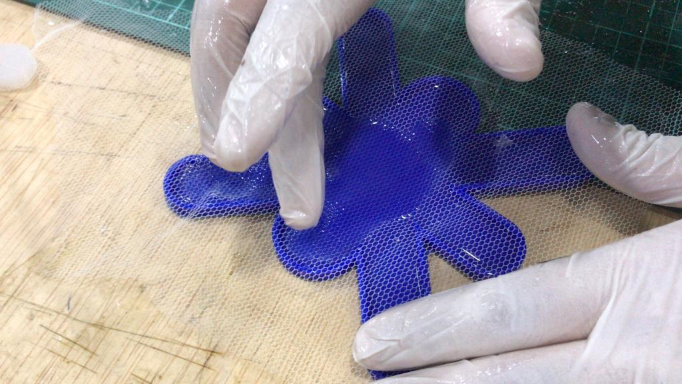
After that, I put the silicone from the first mold on top of the fabric so that they fuse together.
After few hours also, my HEXI Sofot Robot became ready 🙂
Blowing air into the mold
I used Hand Rubber Pump to blow the air into the robot.
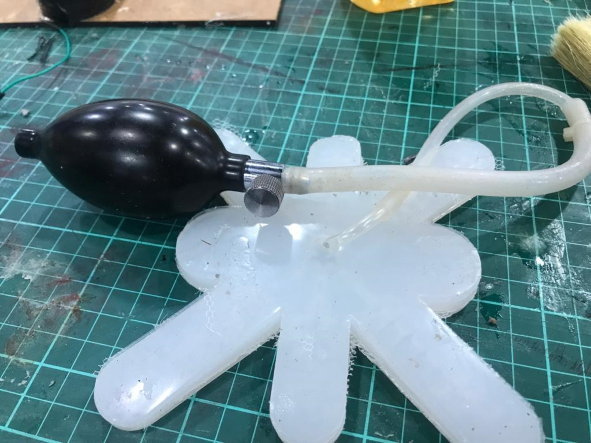
I had some air leakage, so I sealed the holes with the same material (Eco Flex), and the results good 🙂
You can download my files here: