In the first week, we were asked to either build our own website or use a ready-made website that was provided to us.
I had little knowledge of programming languages, and when I was in FabLab Irbid I tried building a website. So, I decided to build my own website! I'm so excited about what it will look like in the end!
Two of the core languages for building web pages are:
HTML (Hypertext Markup Language) and CSS (Cascading Style Sheets).
HTML provides the structure of the page and CSS the layout. Along with graphics and scripting, HTML and CSS are the basics of building web pages and Web Applications.
HTML
I started learning HTML and for the first time from ![]() , I made my website from scratch, for that, I faced many problems, then I understood programming. I felt happy while working on my website.
, I made my website from scratch, for that, I faced many problems, then I understood programming. I felt happy while working on my website.
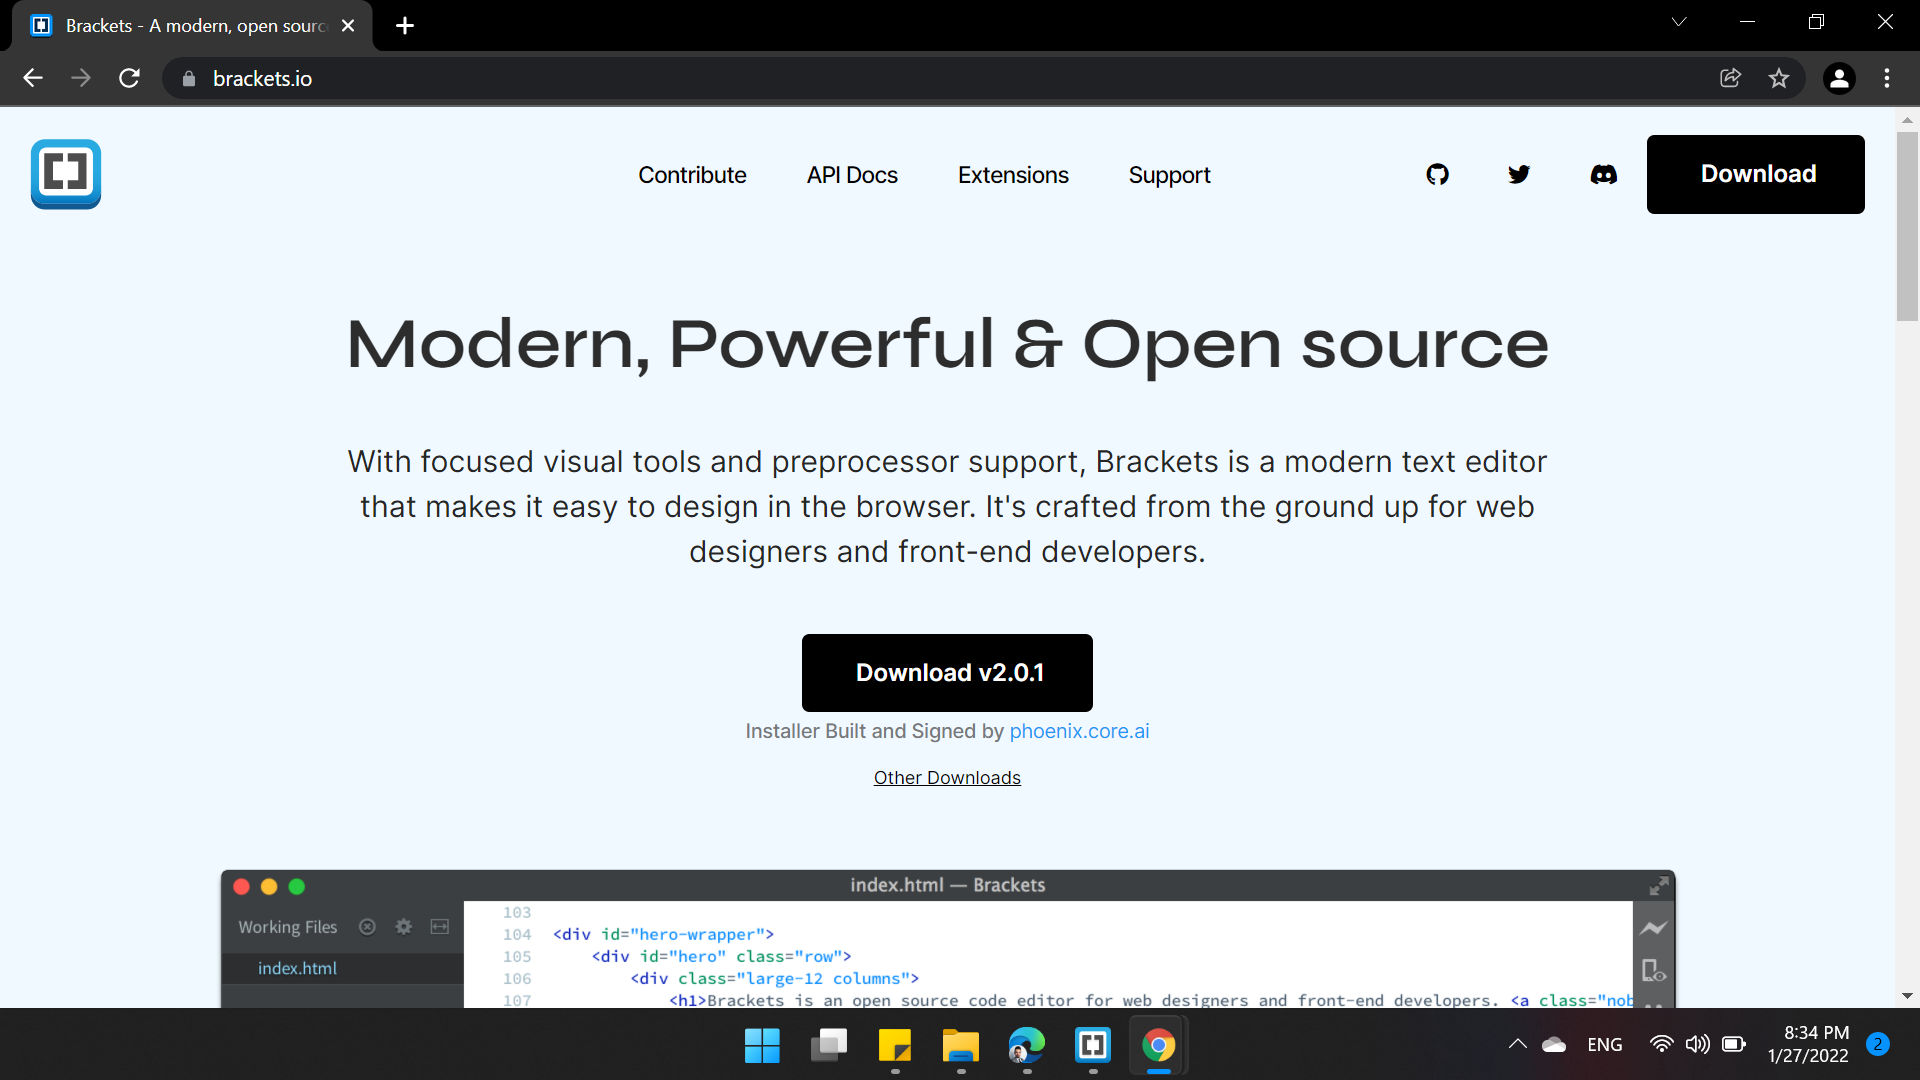
Also, I learned the ![]() Brackets software to write my website. It's so easy to understand and use it.
Brackets software to write my website. It's so easy to understand and use it.
A simple HTML document looks like this (At first, I used Notepad to write cods).
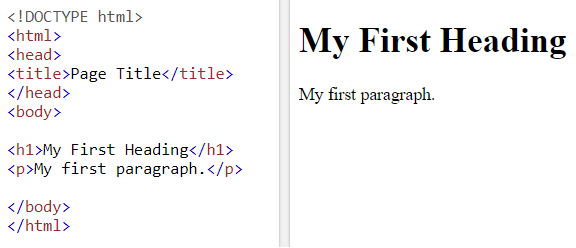
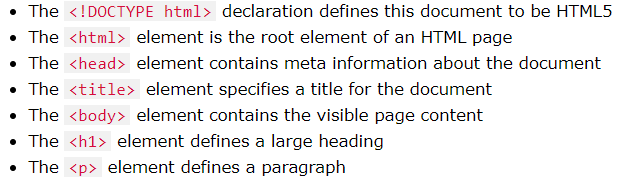
HTML tags are element names surrounded by angle brackets, The first tag in a pair is the start tag, the second tag is the end tag, The end tag is written like the start tag, but with a forward slash inserted before the tag name.
The above steps are to start HTML, the same steps apply for each page.
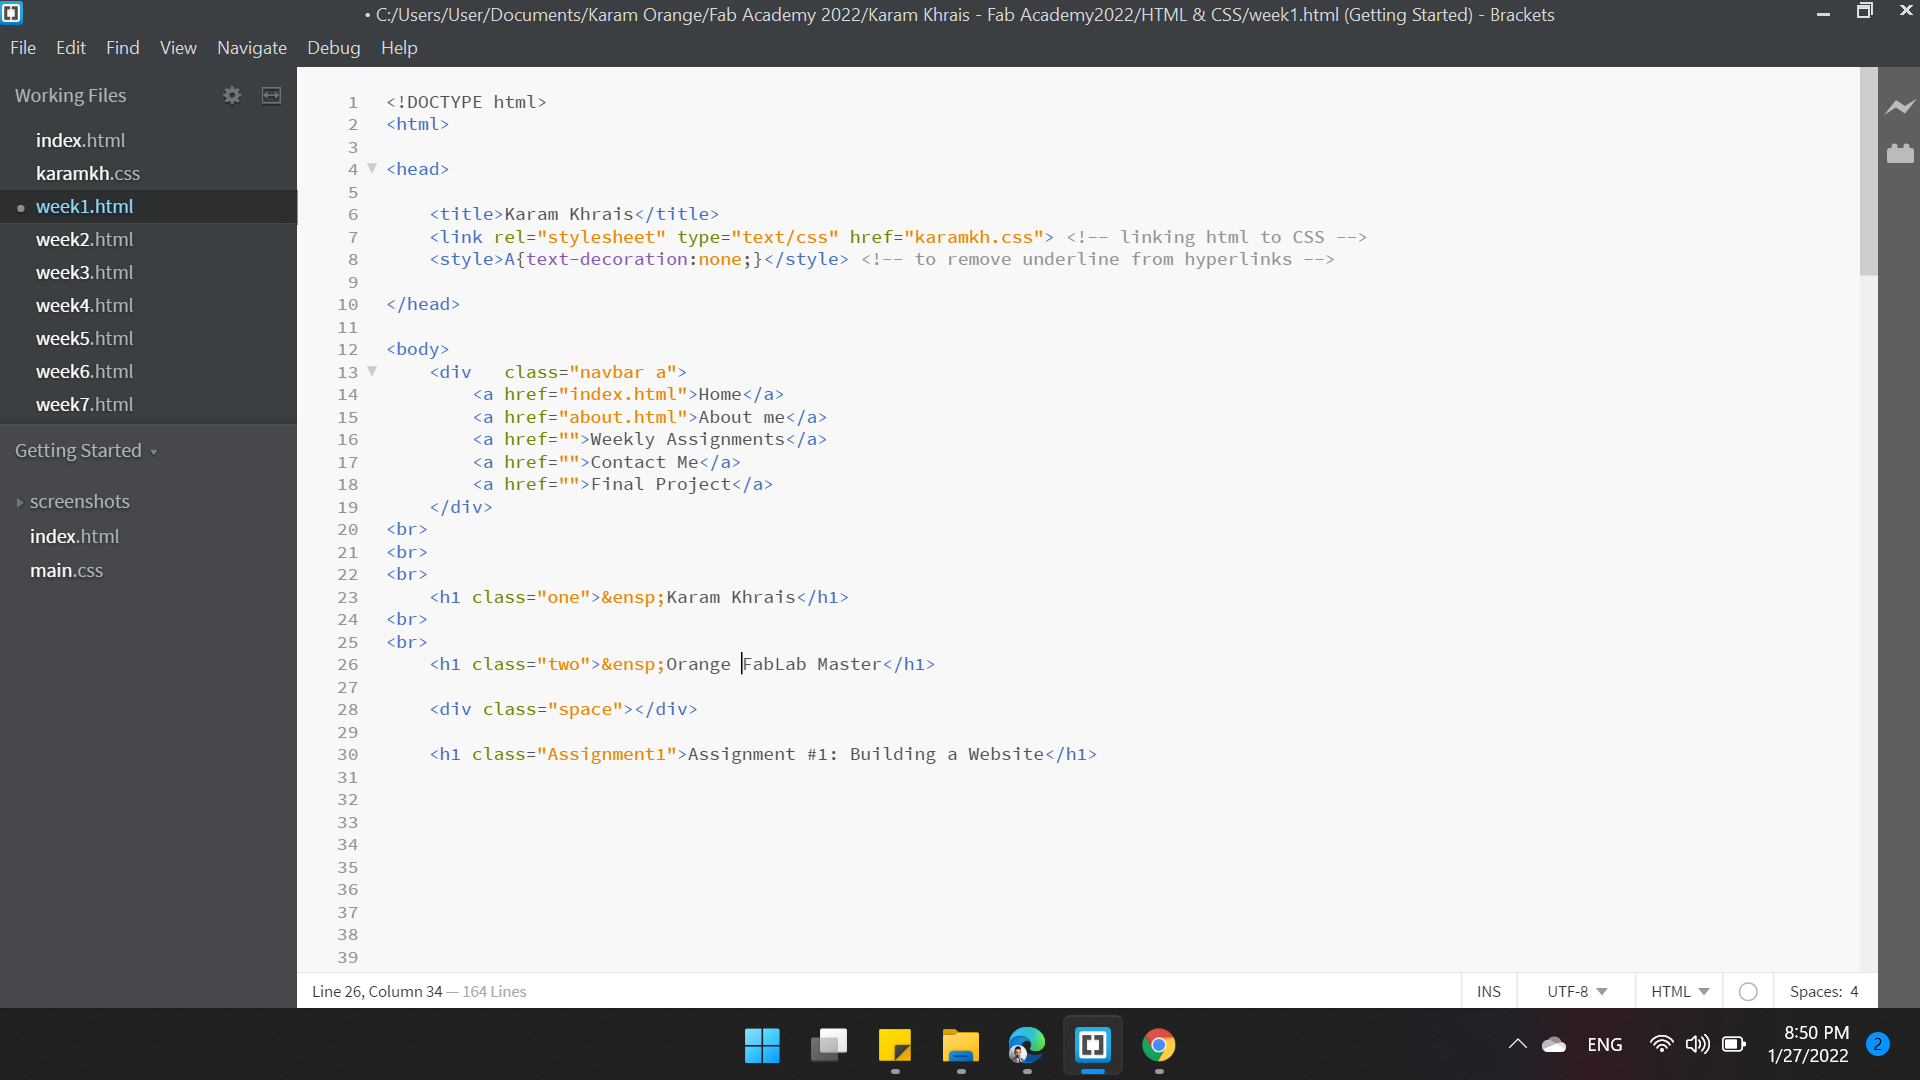
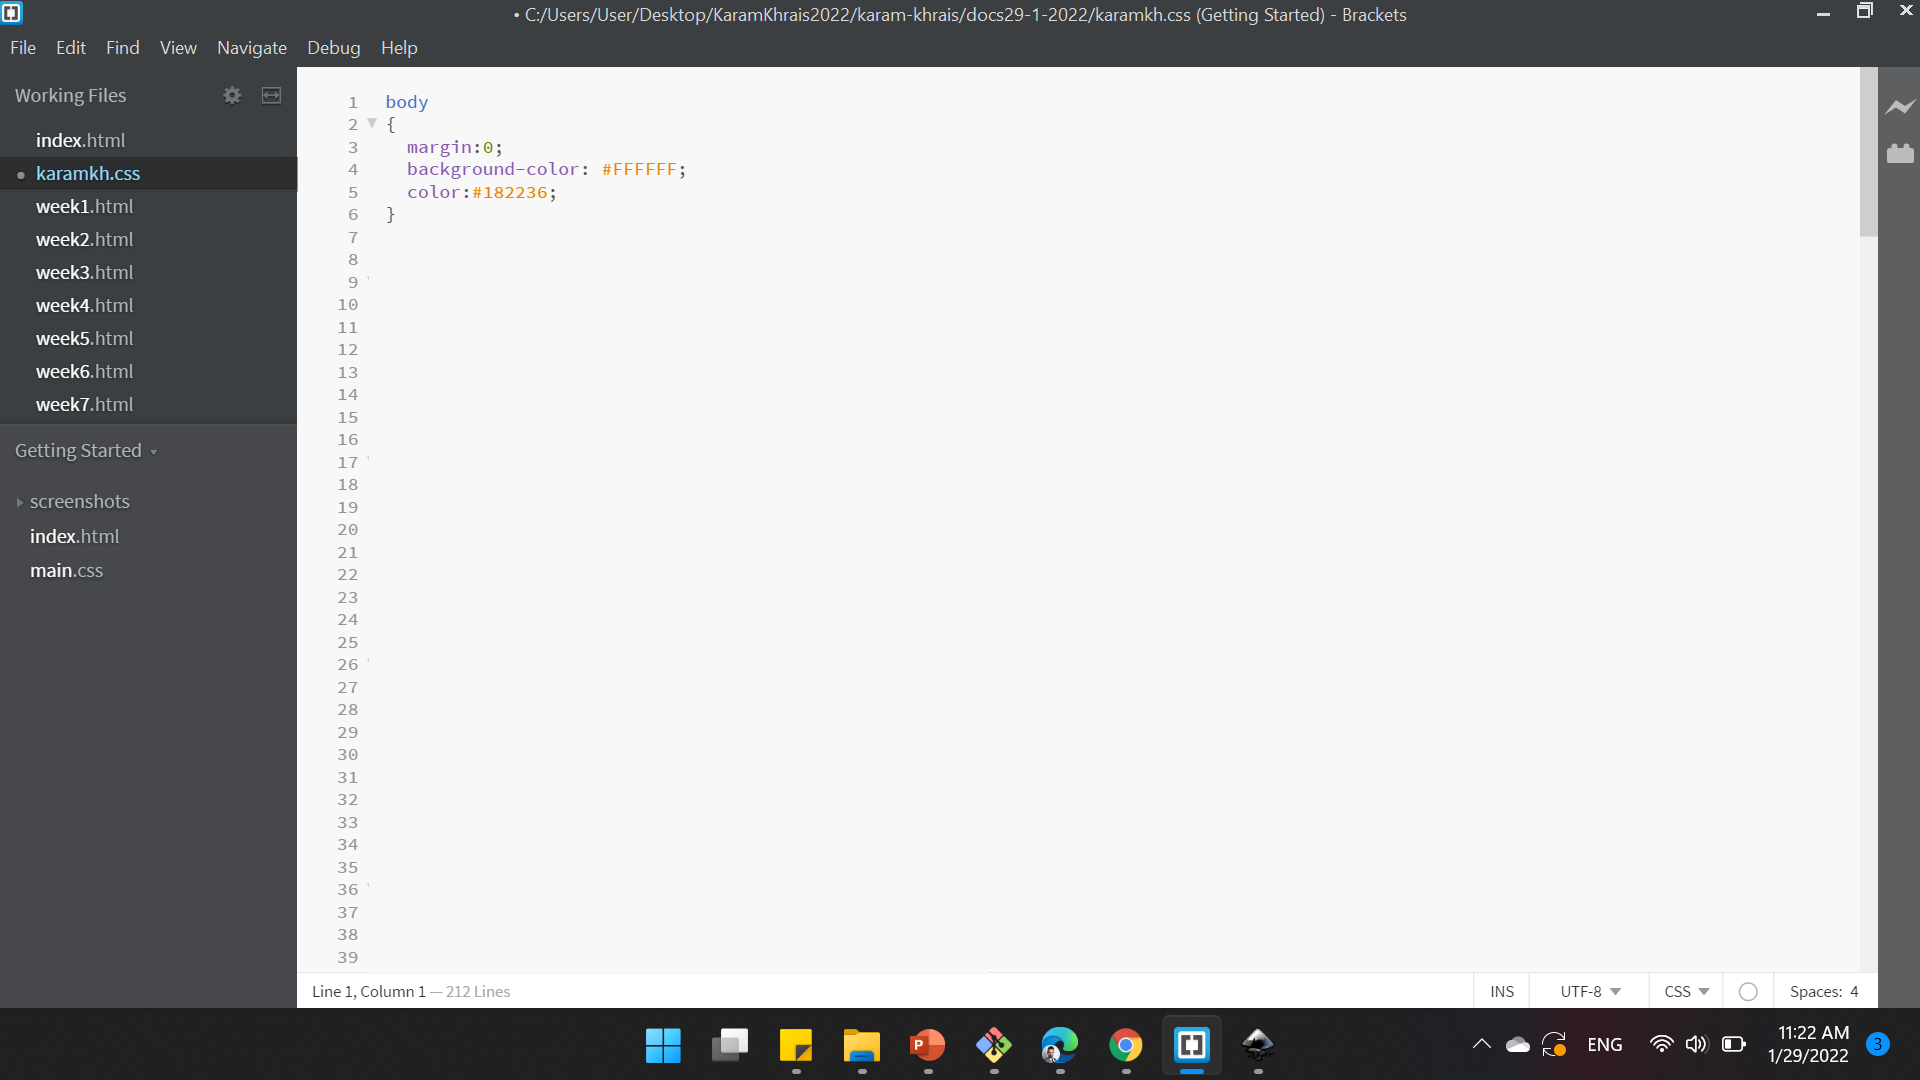
Image above shows Brackets software, where my homepage of my website.
On the left side of the image, there is a list containing files (.html) and a file (.css). On the main screen, there is the code for my home page.
The title of my website is Karam Khrais | FabAcademy 2022 where is writing as follows <title>Karam Khrais | FabAcademy 2022</title> inside the <head>.
An external style sheet is used to define the style for many HTML pages. With an external style sheet, you can change the look of an entire web site, by changing one file! to use an external style sheet, you need to write <link rel="stylesheet" href="karamkh.css"> inside the <head> too.
The link (karamkh.css) is my (.css) file where describes how HTML elements are to be displayed on screen. I will explain it later.
To have a horizental line along the page you need to use <hr>.
CSS
The CSS file as I said is used to define the style for many html pages like background, colors & fonts.
There are two attributes use to define styles: class and id.
The class attribute is used to define equal styles for elements with the same class name, and the id attribute specifies a unique id for an html element (the value must be unique within the html document).
In CSS, to select an element with a specific class, write a dot (.) character, followed by the class of the element, and to select an element with a specific id, write a hash (#) character, followed by the class of the element.
I decide to make a navigation bar at the top of each page. By using some code, colors and formatting in CSS, it looks as it is now.
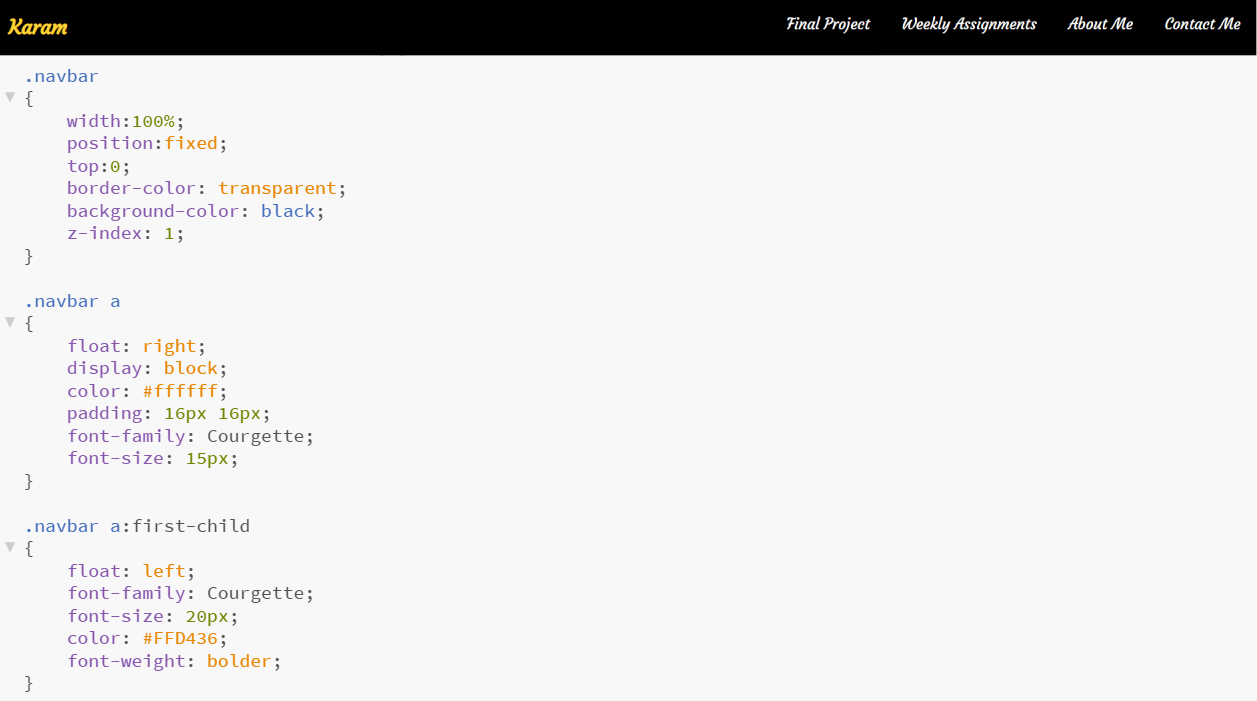
Before I started designing my site, I took a look at the sites of previous people at Fab Academy past years, and I liked Nadine's website in Fab Academy 2018. The way the weeks were displayed and distributed on the page looks so cool!
I changed a bit to look what it is now. By using div tag, I customized the blocks look and when the mouse over an elements.
I wanted to add some dynamically code that is written using a Javascript language. But honestly, I've never used this language before.
Searched the internet if it was possible to add these codes without using Javascript, and indeed I found what I was looking for, I am very happy!
I wanted to add the button that take you to the top of the page, I think its name "Scroll Back To Top Button" or something like this. I added an arrow image, and linked with css code. Yeah! it's working.

GIT Lab
I have never used Gitlab, it was difficult and complicated at the beginning, but in the end, I found it easy.
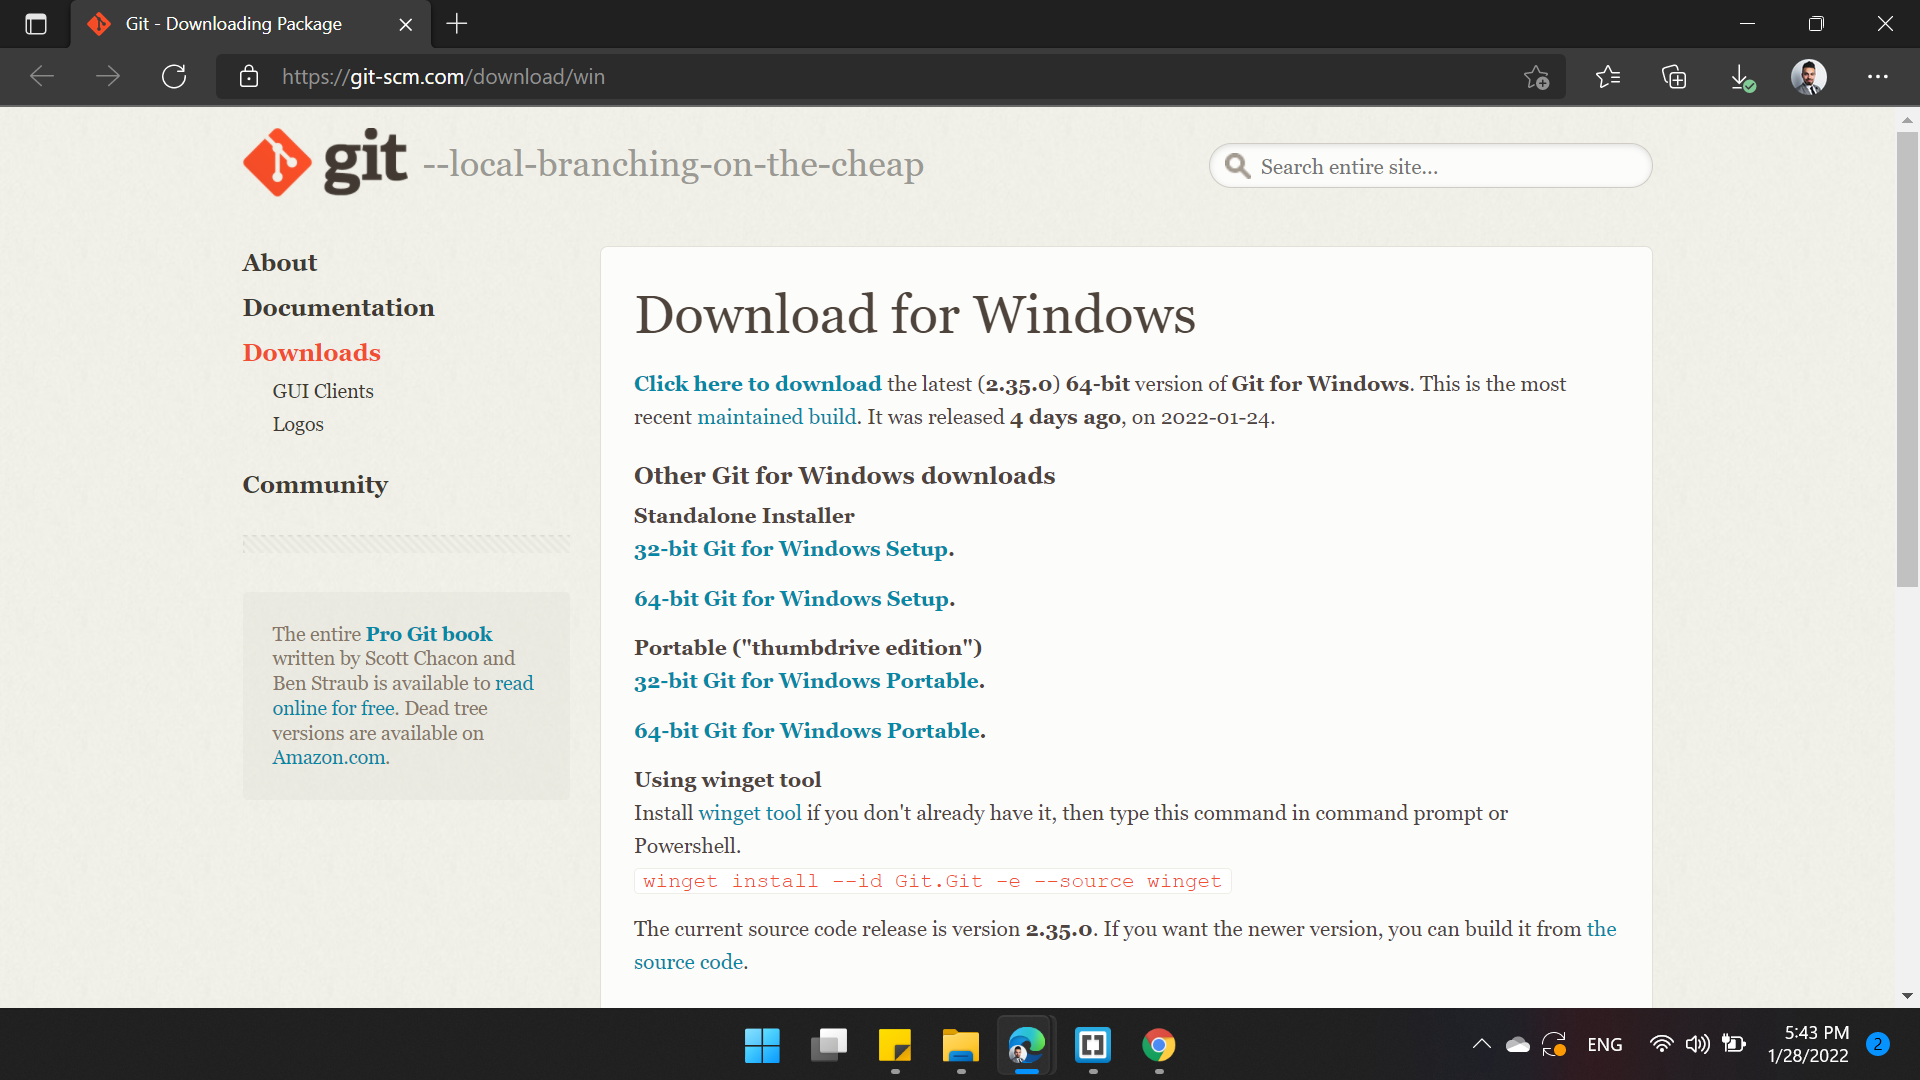
First, I installed the software from ![]() for Windows operating system.
for Windows operating system.
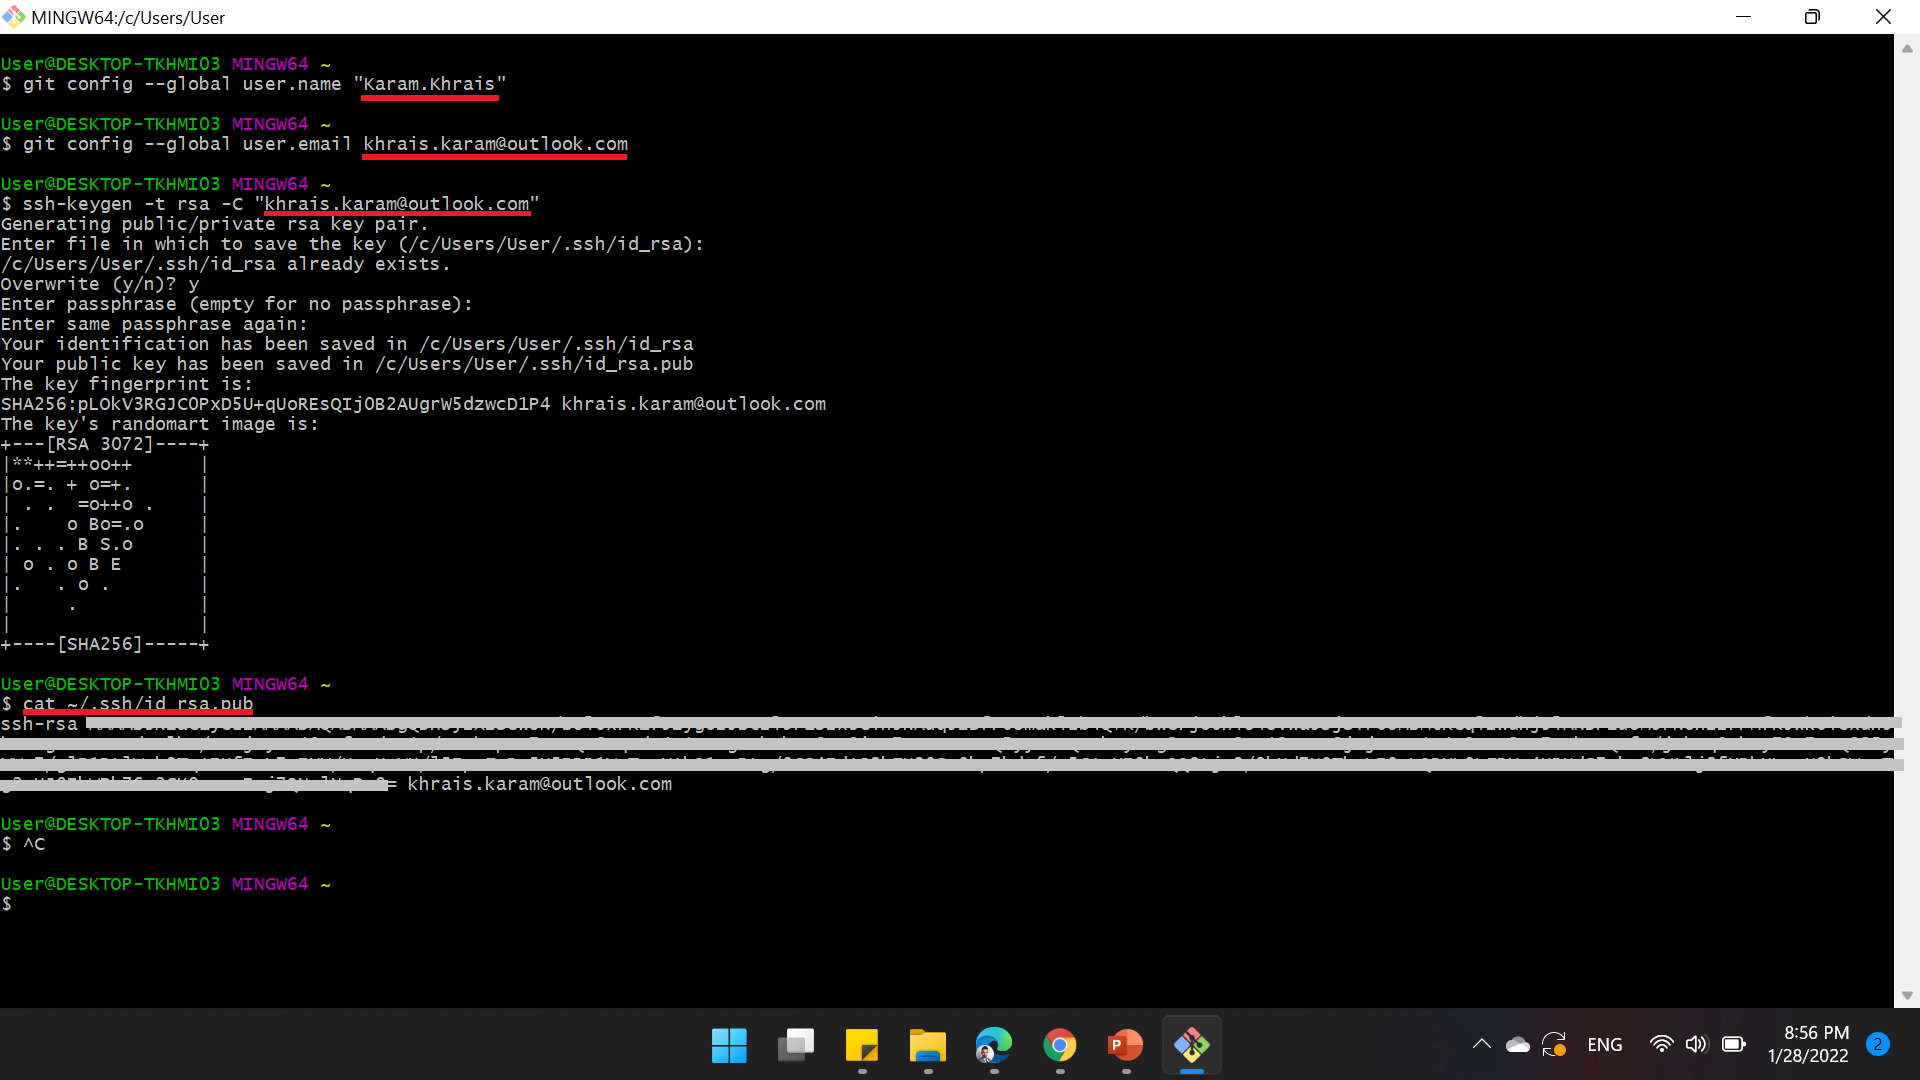
Then I opened Git Bash and set it up by using the below commands:
- Configure username: git config --global user.name "your username"
- Configure email: git config --global user.email your email
- Generate SSH Key: ssh-keygen -t rsa -C "your email"
- Access the public key: cat ~/.ssh/id_rsa.pub
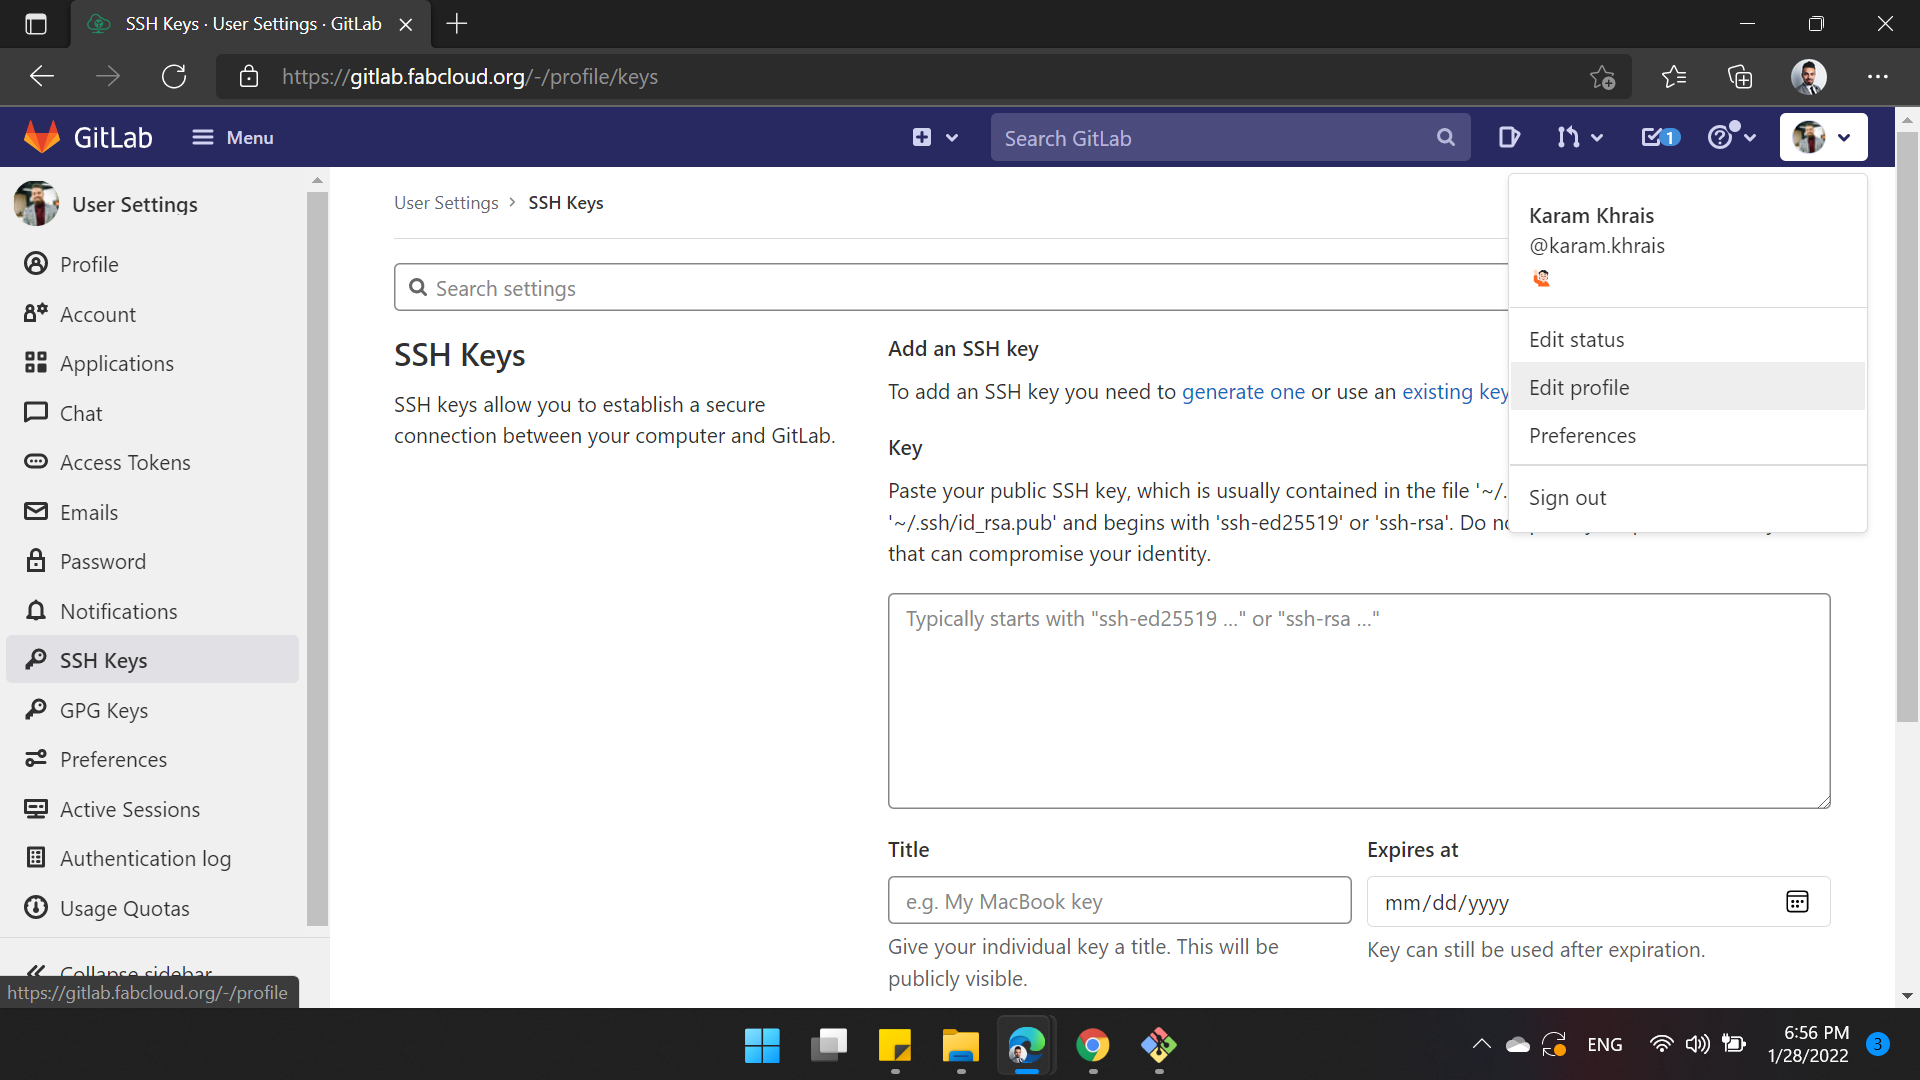
And then I took the generated key and added it to my GitLab repository as shown below:
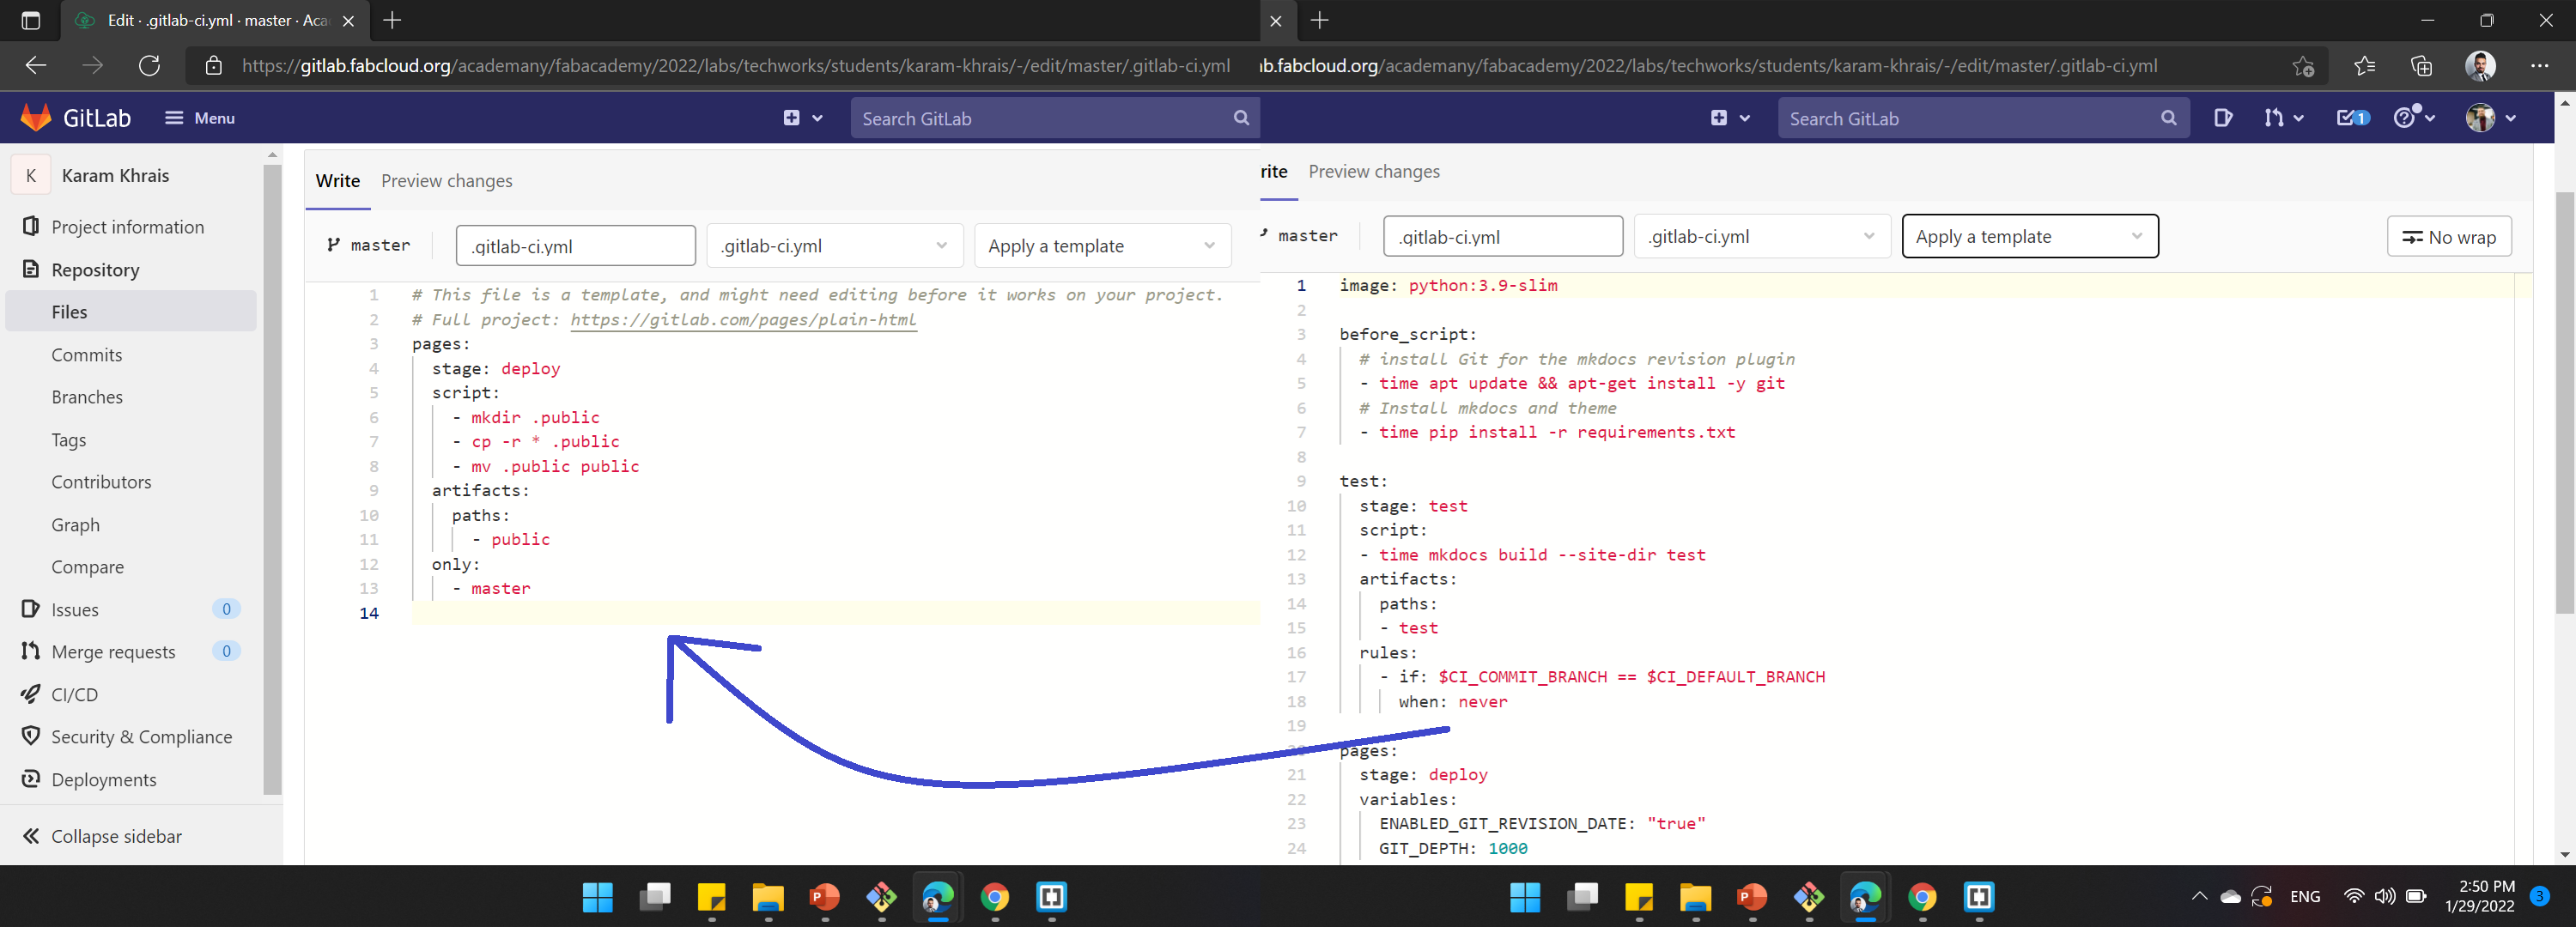
Next, I modified the .yml file that exist in my account before git clone from the gitlab as seen below:
In order to arrange my work, I created a new folder on my desktop named "KaramKhrais2022". This will be the local working directory.
Using the GIT Bash, navigate to the folder using the following commands:
- cd desktop: Refer to the desktop.
- cd KaramKhrais2022: Refer to the file.
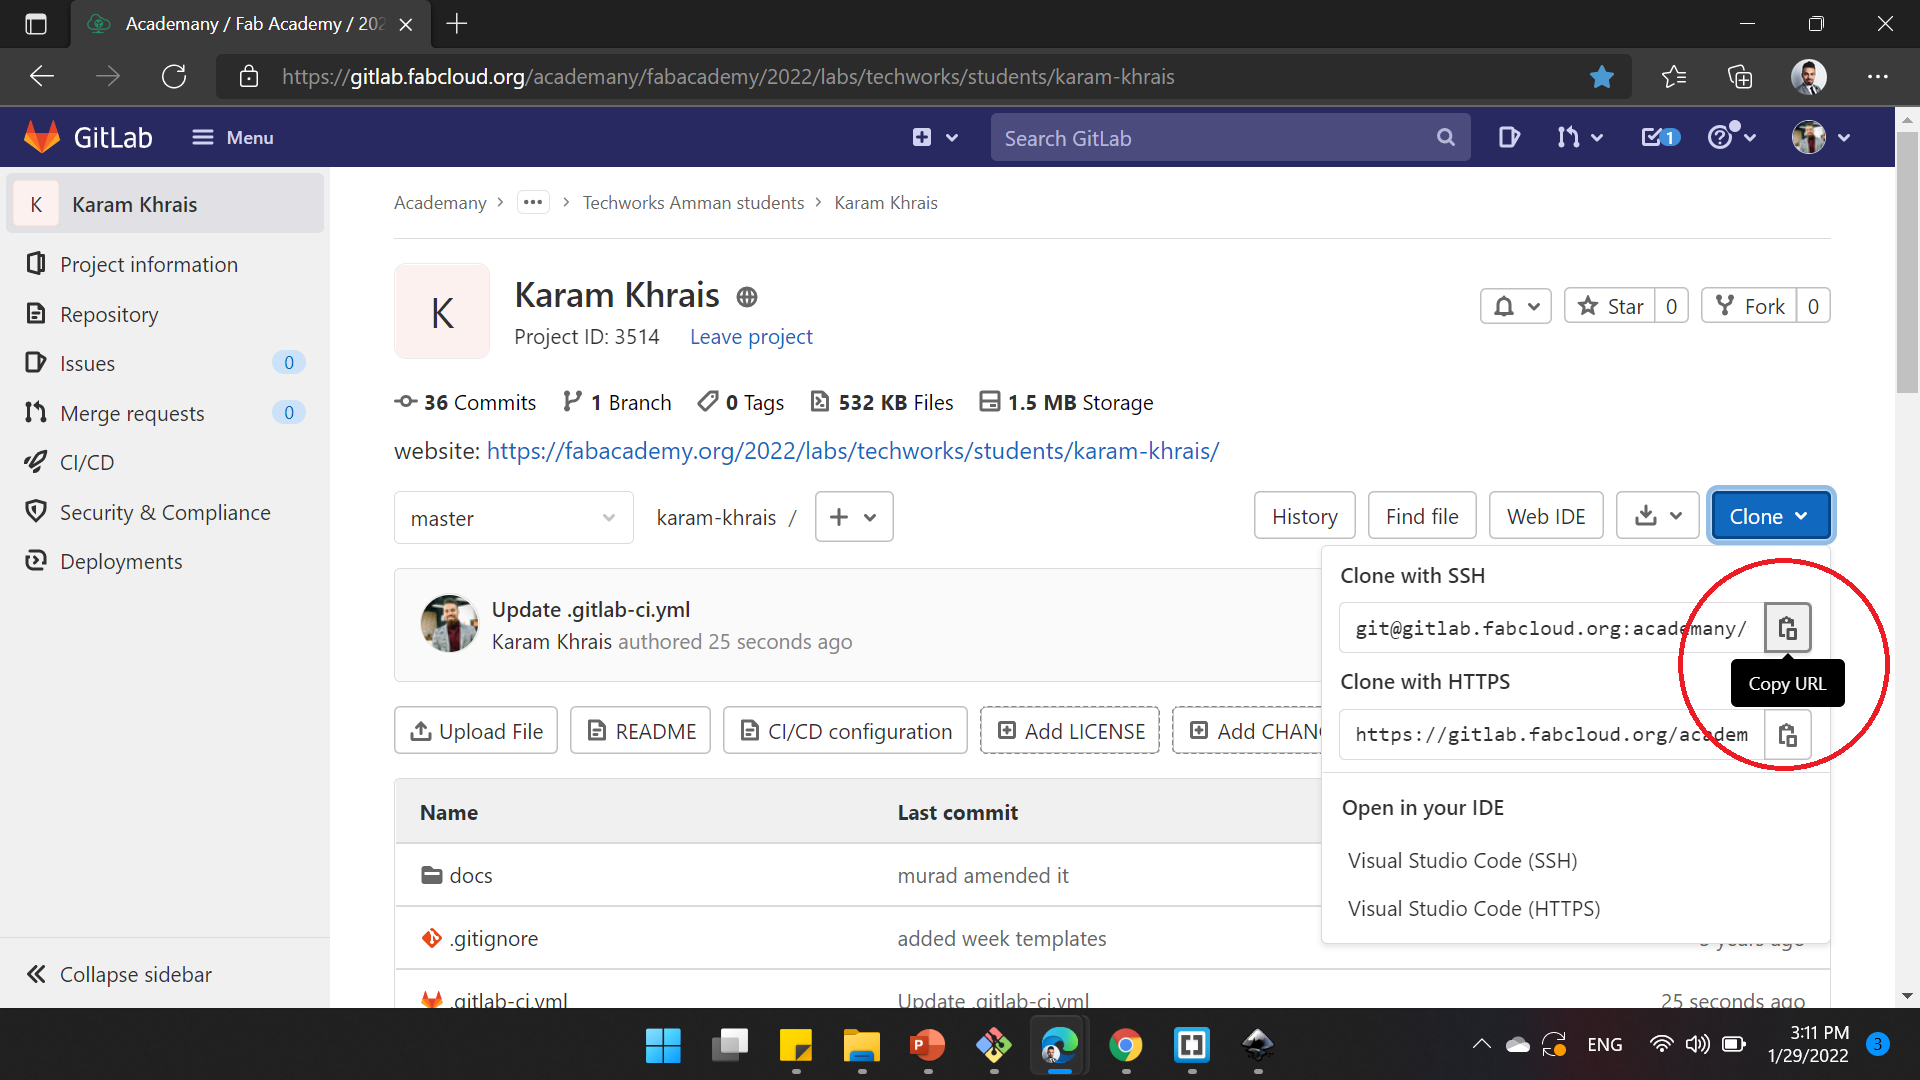
- git clone: To clone with SSH link.
From the GIT Repository, I copped the SSH link and paste in Git bash after the order git clone
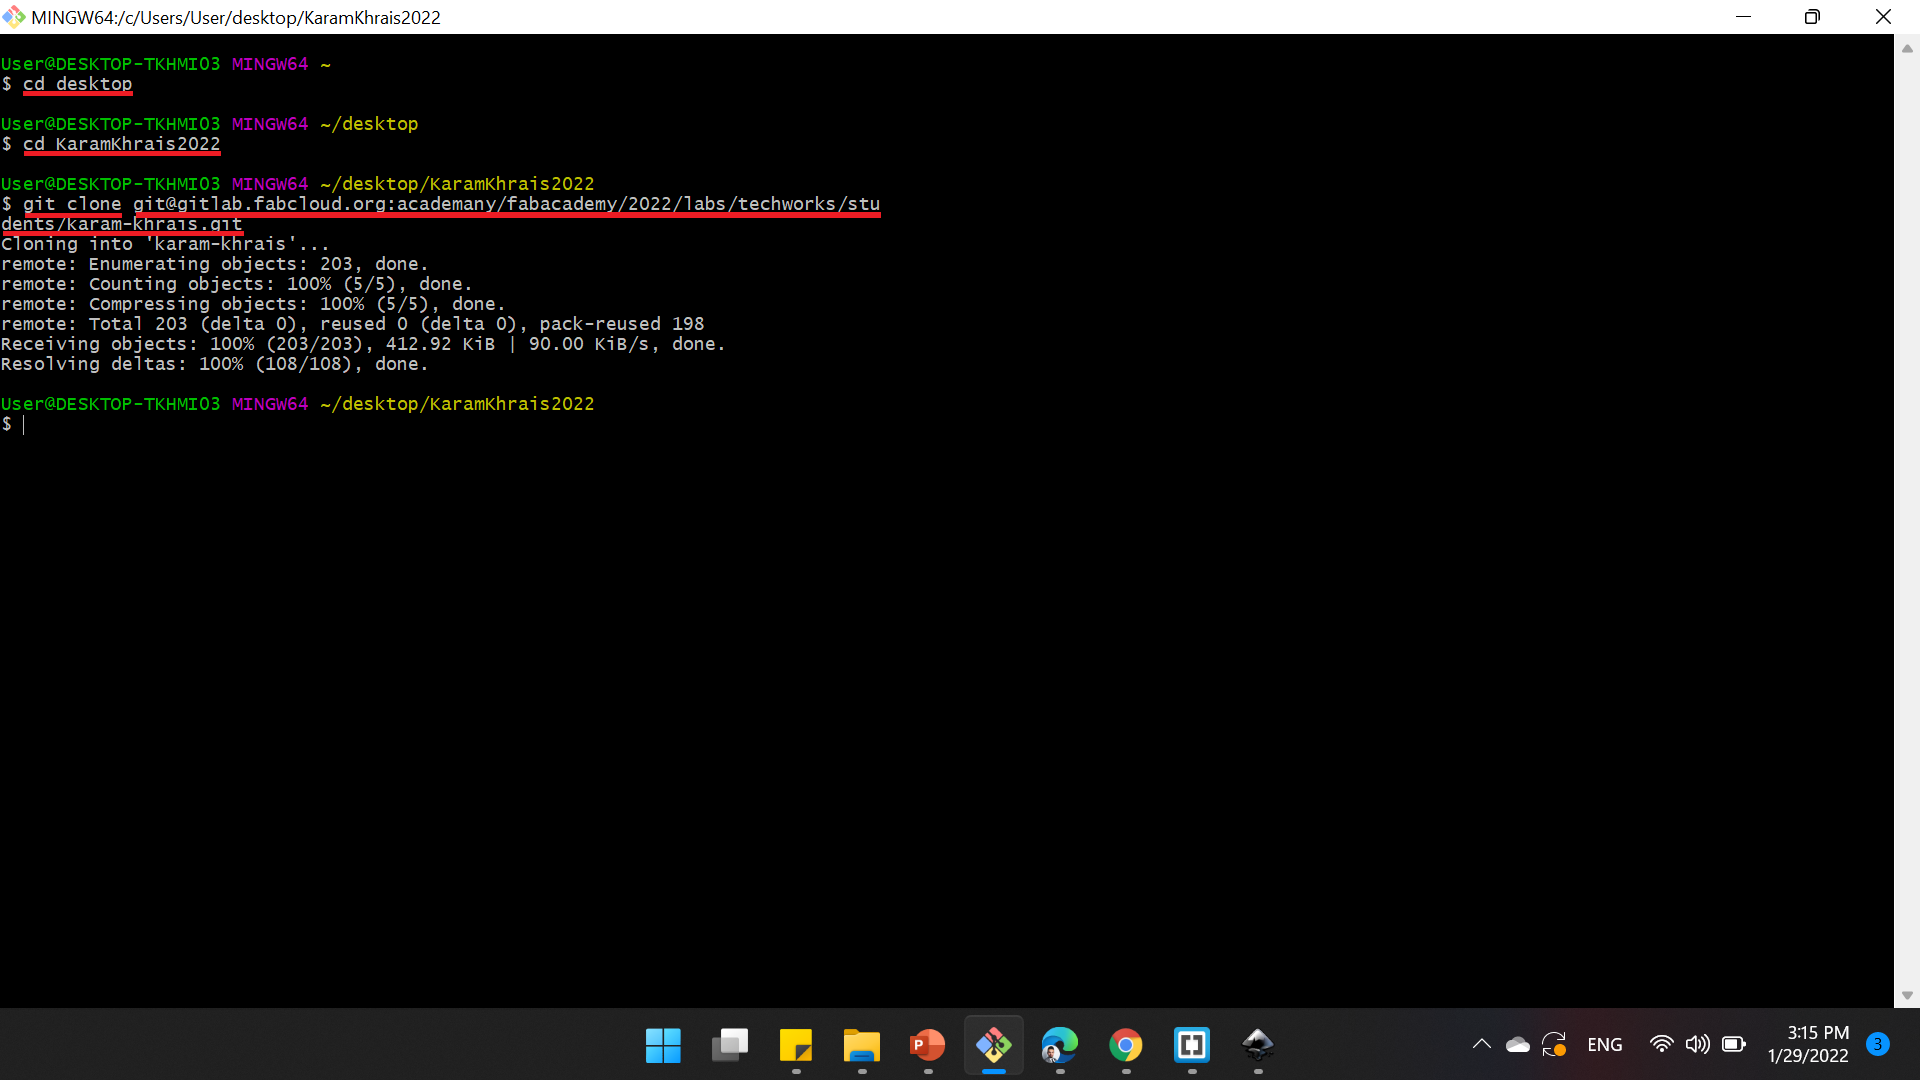
With this, the file is now in the folder that I created.
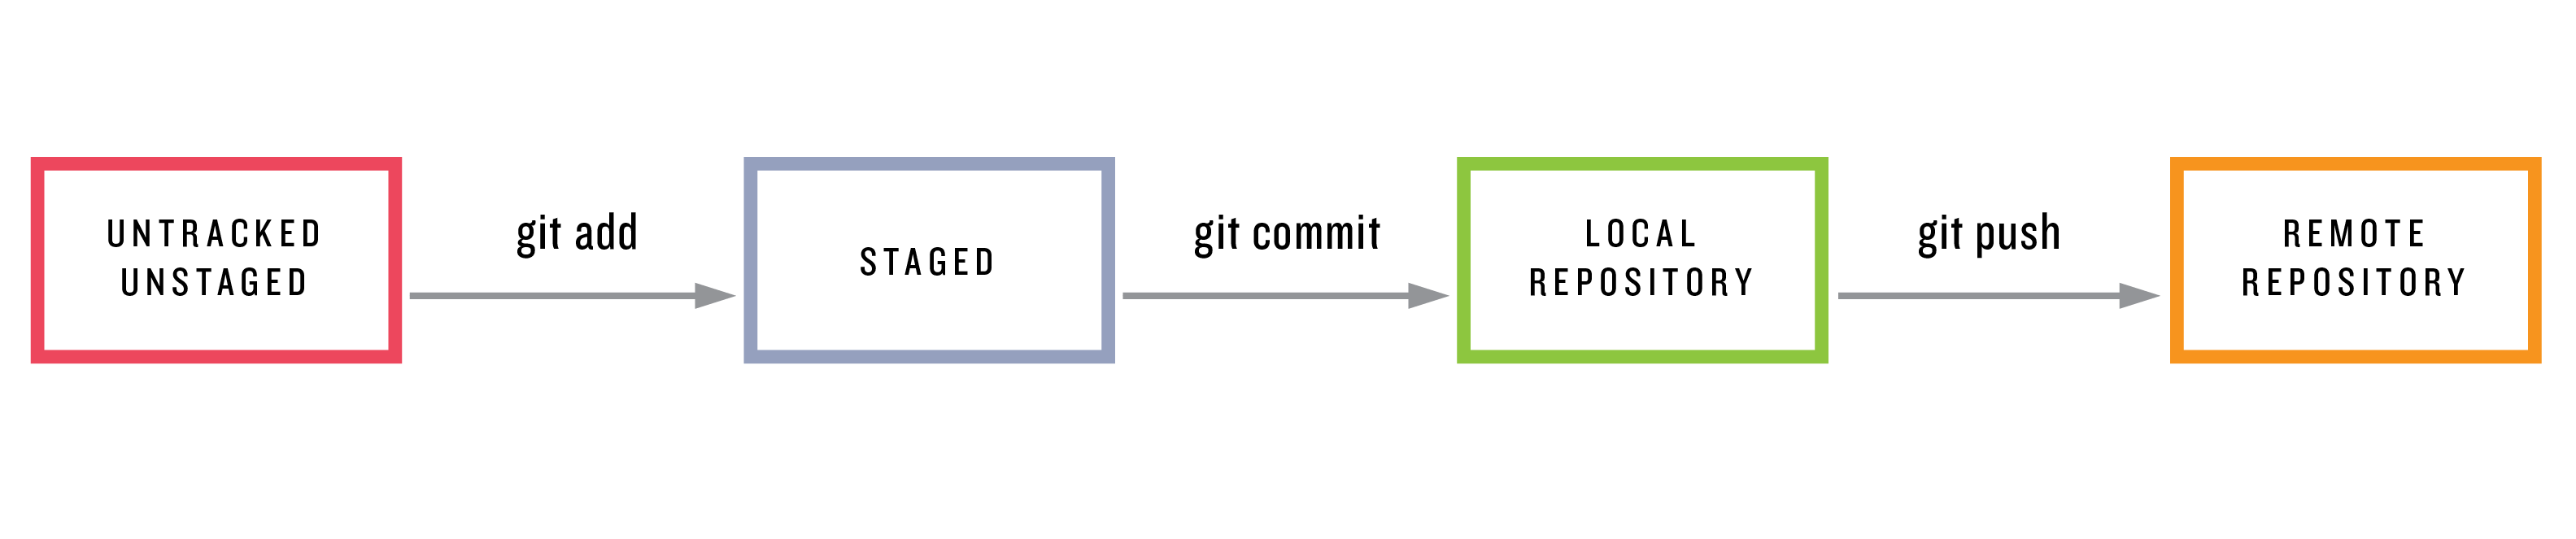
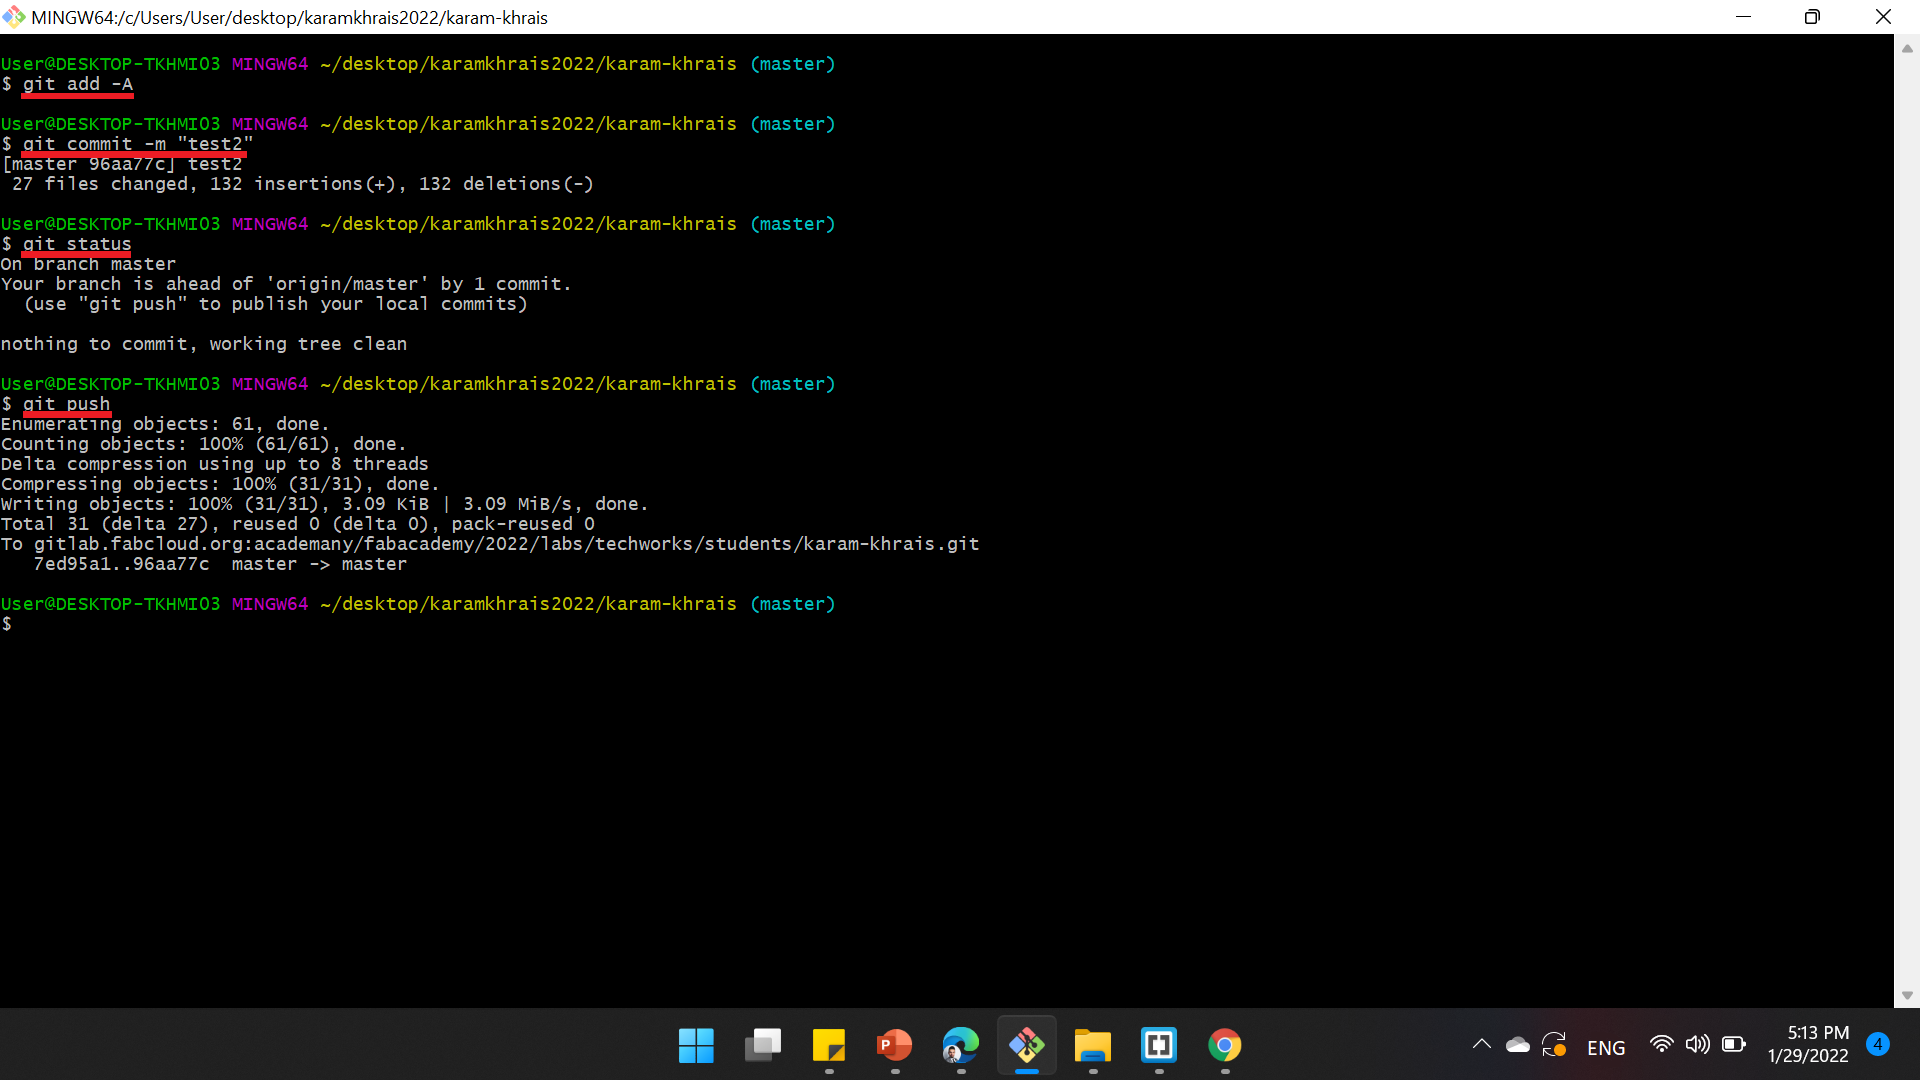
The last thing to do is to push the files in the working directory to the repository by using:
- git add -A: Adds everything to an index, preparing it for a commit. This step records all the changes made.
- git commit -m "message": Applies the changes but only to the local directory.
- git status: To check the status.
- git push: Saves all changes to the remote repository.
These four commands are the ones we'll be using regulary to push changes to the repository.