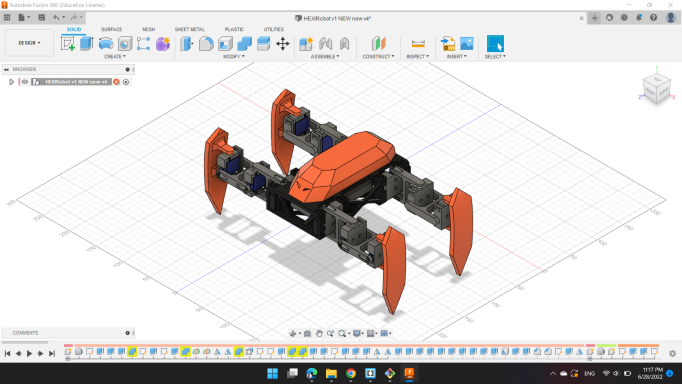
My project is Robot with 4 legs, each leg contain 3 servo motor to drive the motion.
The main part is the base which link all legs parts to it.
Design Parts:
- Base
-
1st Leg
-
Cover 1
-
Cover 2 + Link 1
-
Link 2
-
Cover 3
-
Link 3
- 2nd Leg
- 3rd Leg
- 4th Leg
- Head
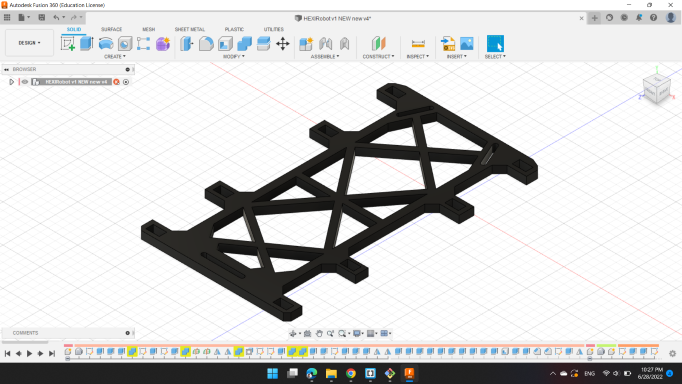
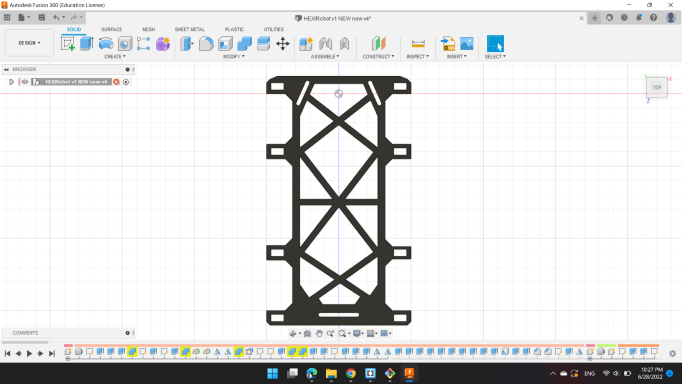
Base
I started with it, the base is 170mm * 100mm
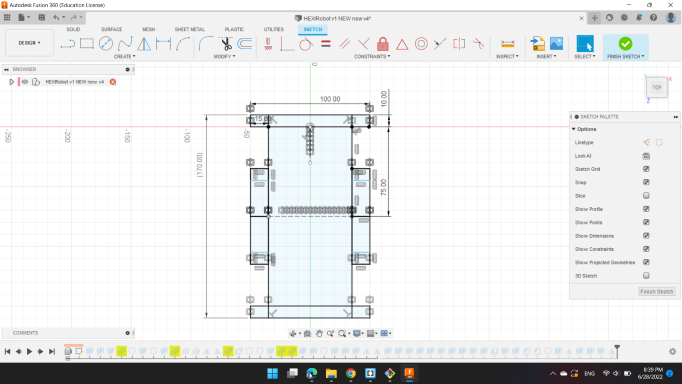
The design is based on fit all parts together, so the columns have holes.
I extruded all sketches areas.

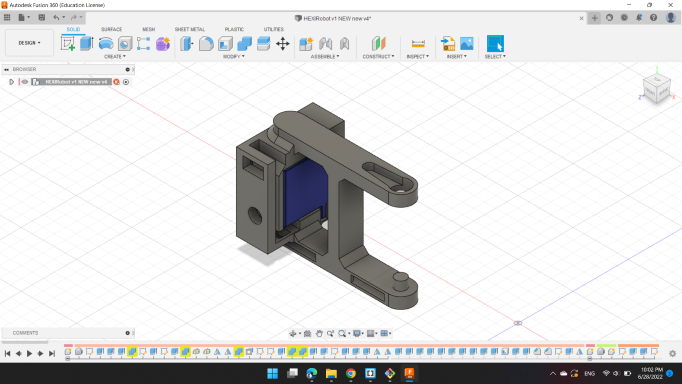
1st Leg
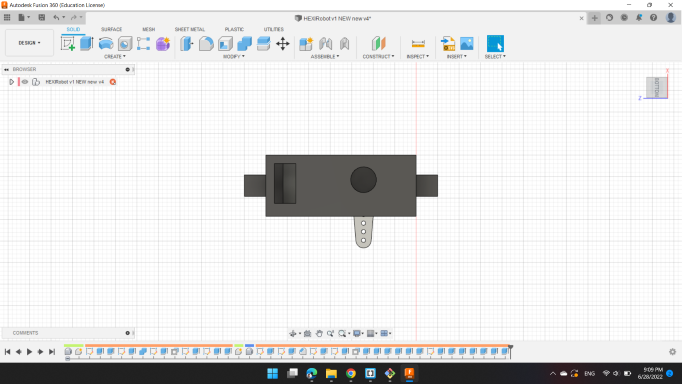
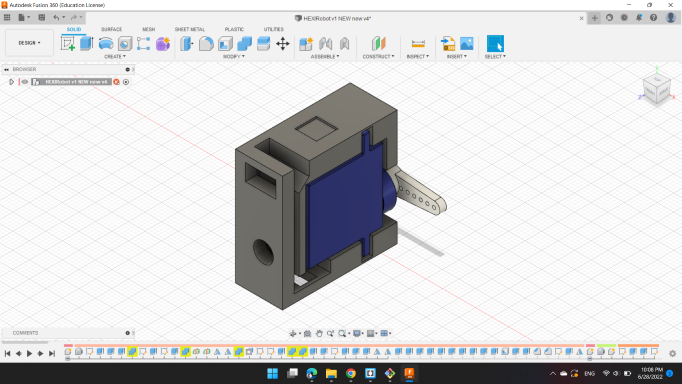
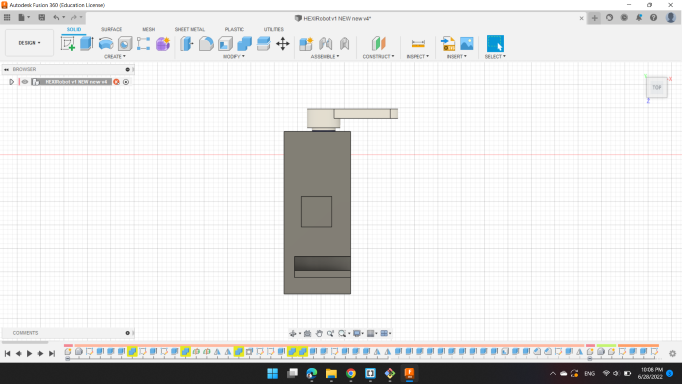
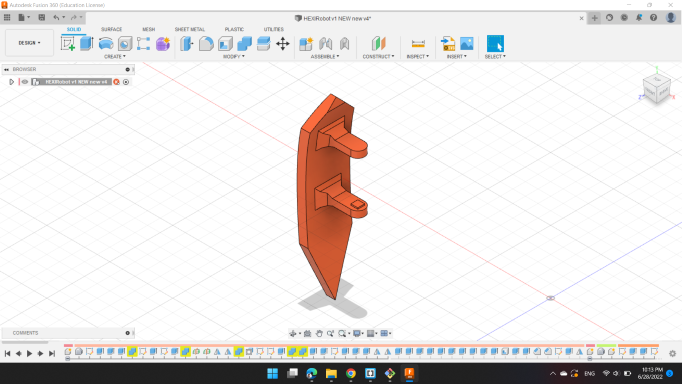
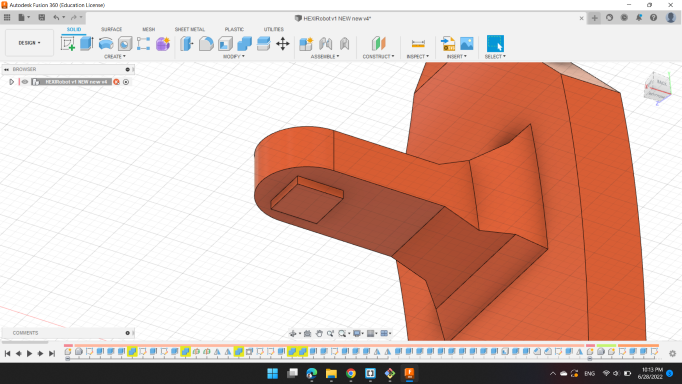
Cover 1
The idea behind the cover is to cover the servo motor and lock it to the base without screws or glue.
And I designed a chamber below to install the wire inside the cover.
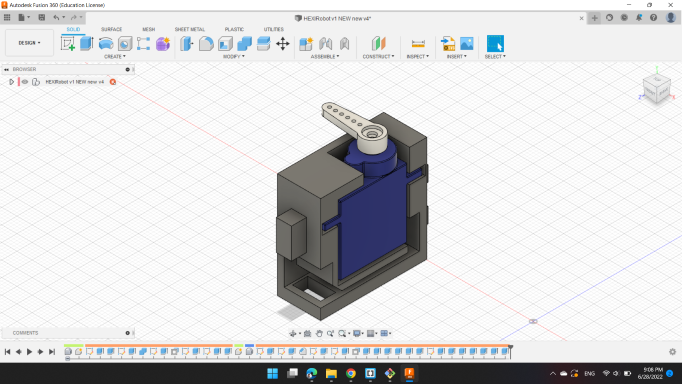
Also, the from right and left side, there are blocks which exist to link with the base.
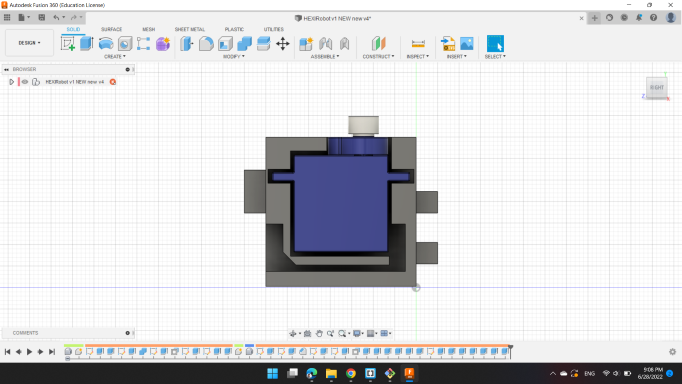
From the bottom side, I designed a hole to allow the 1st link to move with cover 1.
Cover 2 + Link 1
The 2nd cover is fixed with the 1st link, which moving together, so it's one part.
Link 2
Link 2 is connect Cover 2 with Cover 3 and let them move separately.
Cover 3
Cover 3 is the same with Cover 1.
But there is no blocks, instead holes to fix with Link 3.
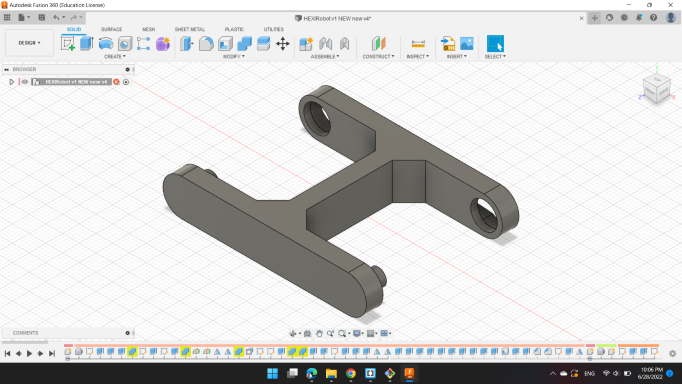
Link 3
Link 3 is the last part of the leg, it connected with Cover 3 with the ground.
I designed notches or small blocks to fixed with Cover 3.
This is how I designed the first leg of the robot, the rest of the four legs are the same.
Head
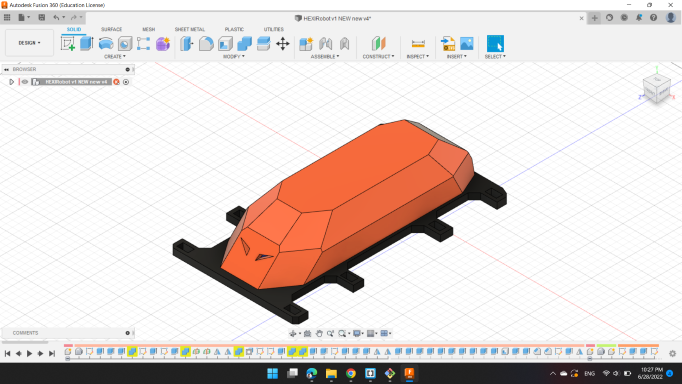
The Top side is very important, as it is the one that closes the robot and hides the internal electronic parts, also giving an aesthetic to the entire shape.
The Top side contains two pieces, an acrylic piece that closes on the base, and the head is three-dimensional.
The top piece of acrylic is light in weight because it contains only intersections, as it works to support the entire piece and ensures the safety of electronic parts internally.
The head is a piece that will be printed by a 3D printer. The advantage is that it is also lightweight and has two holes for the eyes. I will install two leds in them.
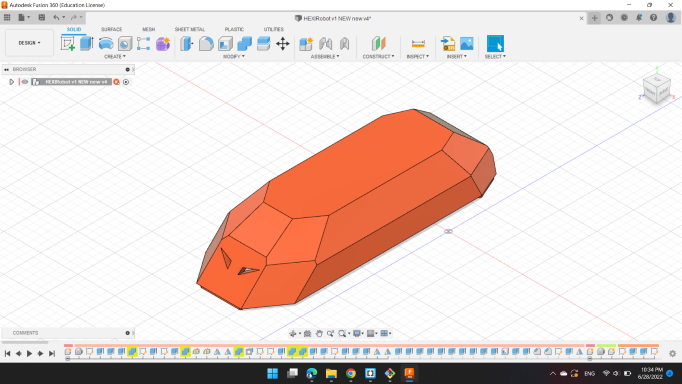
I made bumps to fit correctly on the acrylic piece.
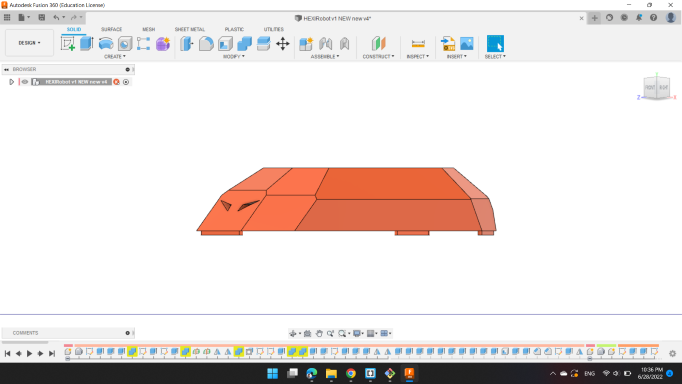
And here are the two pieces together.
The final looks of my HEXI Robot 😁😍
You can download my files here: