Interface and Application Programming

this week I use Tkinter which is a GUI python library and pyserial to connect with the microcontrollers via serial port
to right the code I use pycharm which is a python IDE you can use another IDE maybe VScode or whatever you want. now before start coding, we have to install the latest version of python from the official website
after that let's install the libraries that we will use which is (Tikner,Pyserial).
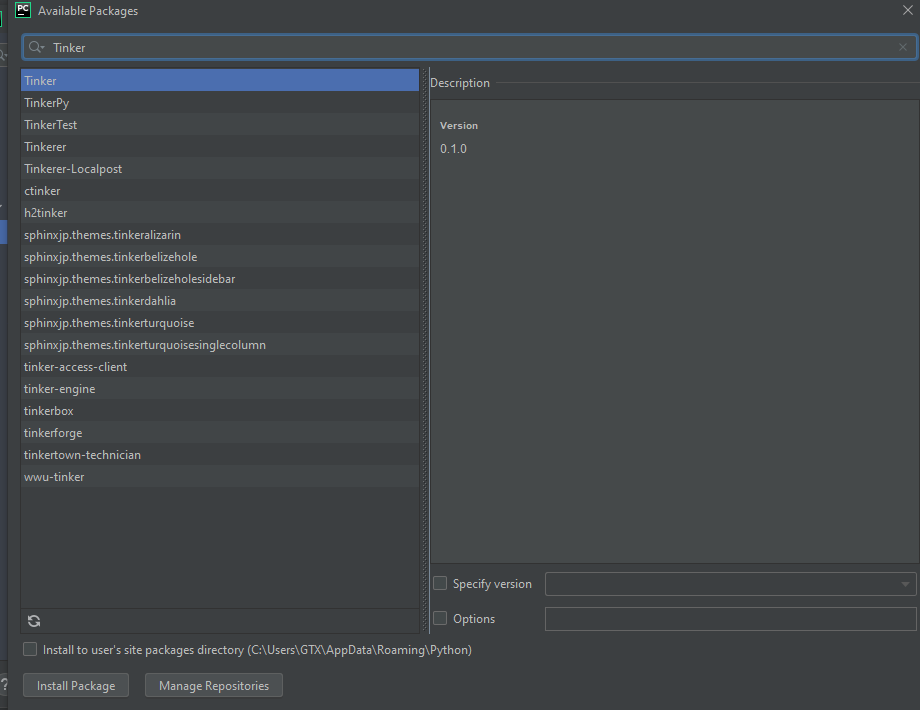
Tkinter
to install any library in pycharm you have to make a new project. go to file>>new project>> then specify the project destination and project name
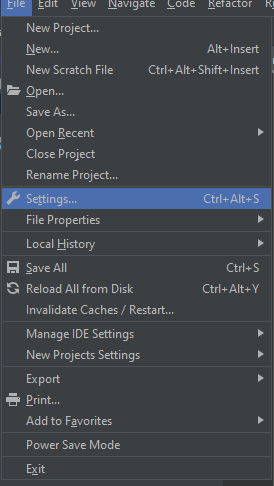
now to install the libraries that you want go to file>>settings or you can use (ctrl+alt+s) as a shortcut .
after that click on python interpreter, you will see all available libraries now click on the plus sign to add a new library (package).
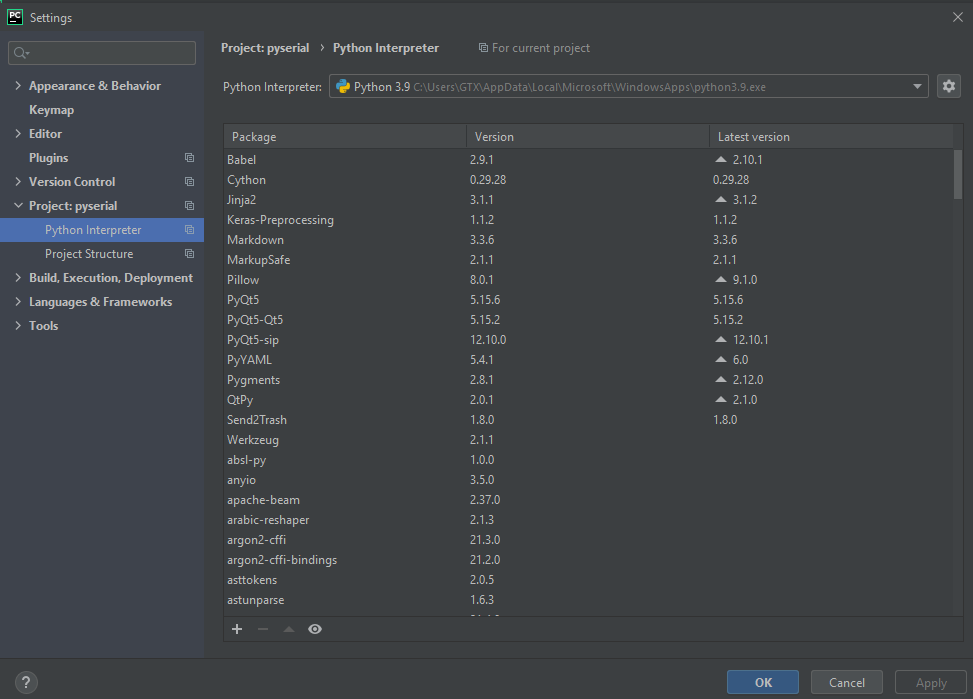
on the search box type the library name in your case it's Tinker
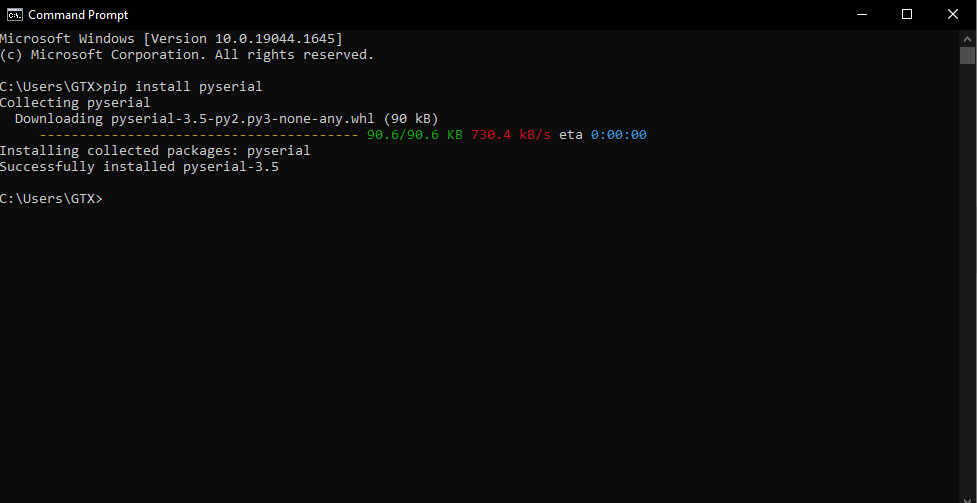
as I said before there is another way to install python library. This time using the terminal (CMD) go to the terminal and type this command
pip install tk

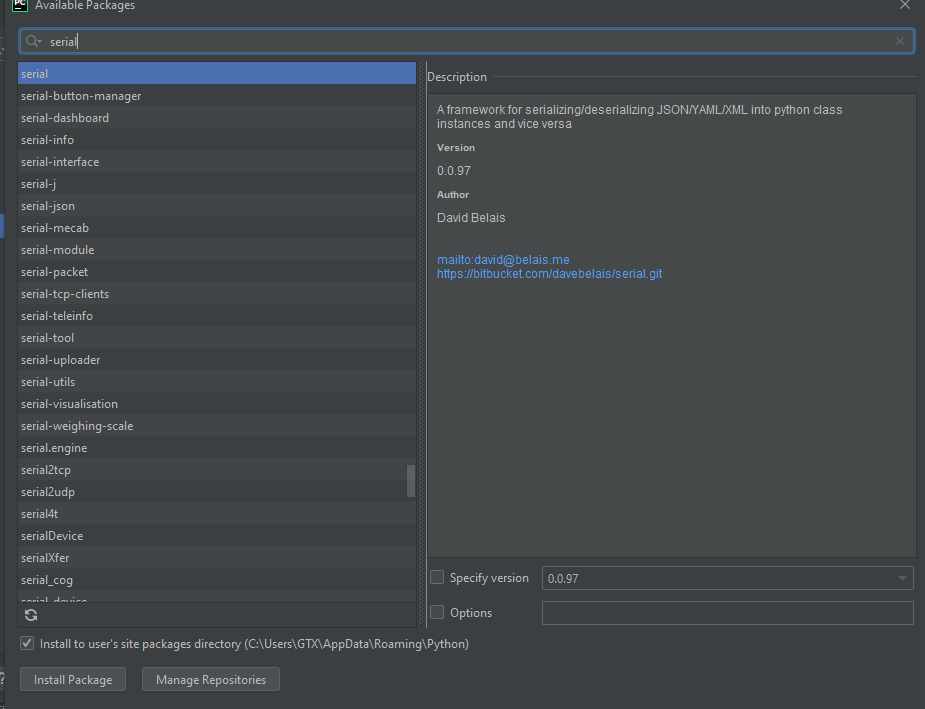
serial
now its time to install the Serial library we can use the same two ways that we used before via terminal or the pycharm itself .
to install the library via terminal use this command.
pip install pyserial
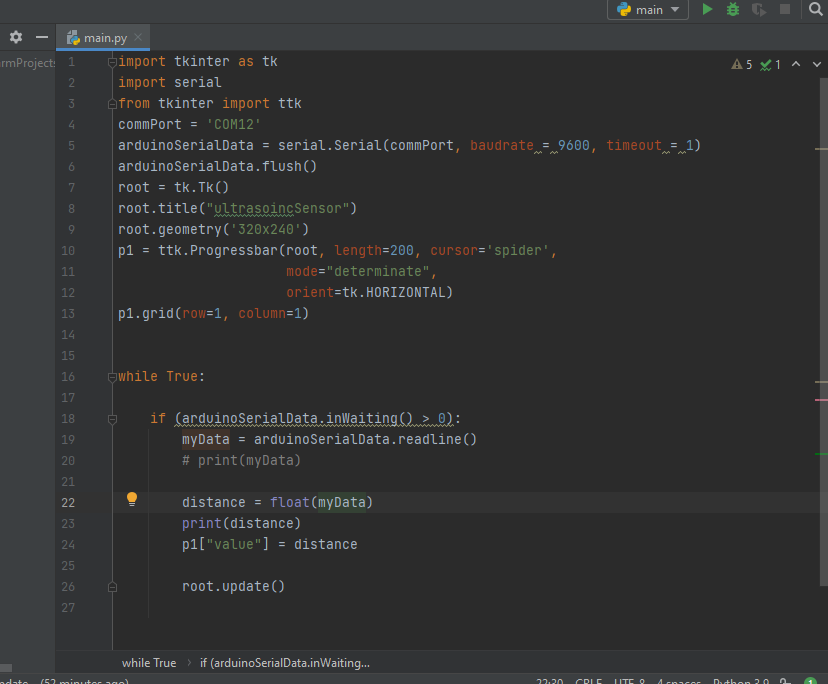
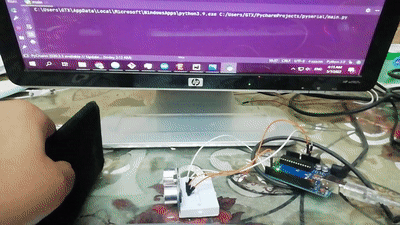
ultrasonic sensor GUI
as a first test i make a GUI for an ultrasonic sensor, this GUI is consist of a progress bar which will be stretching and shrinking based on the distance in the front of the ultrasonic sensor.
python code
note that Python uses whitespace indentation, rather than curly brackets or keywords, to delimit blocks. An increase in indentation comes after certain statements; a decrease in indentation signifies the end of the current block. Thus, the program's visual structure accurately represents its semantic structure. This feature is sometimes termed the off-side rule. Some other languages use indentation this way; but in most, indentation has no semantic meaning. The recommended indent size is four spaces. to summarize python is space sensitive language so be careful when you write or edit any python code for the spaces
import tkinter as tk
import serial
from tkinter import ttk,Canvas,Text
commPort = 'COM9'
arduinoSerialData = serial.Serial(commPort, baudrate = 9600, timeout = 1)
arduinoSerialData.flush()
root = tk.Tk()
root.title("ultrasoincSensor")
root.geometry('320x150')
p1 = ttk.Progressbar(root, length=250, cursor='spider',
                     mode="determinate",
                     orient=tk.HORIZONTAL)
p1.grid(row=4, column=1)
WINDOW=100
canvas = Canvas(root, width=2*WINDOW, height=WINDOW, background='white')
canvas.create_text(WINDOW,0.5*WINDOW,text="test",font=("Helvetica", 24),tags="text",fill="#0000b0")

canvas.grid(row=5, column=1)


while True:

    if (arduinoSerialData.inWaiting() > 0):
        myData = arduinoSerialData.readline()
        # print(myData)

        distance = float(myData)
        canvas.itemconfigure("text", text=distance)

        p1["value"] = distance

        root.update()
after you copy and paste this code you can run it using the green play sign on the right top of the page
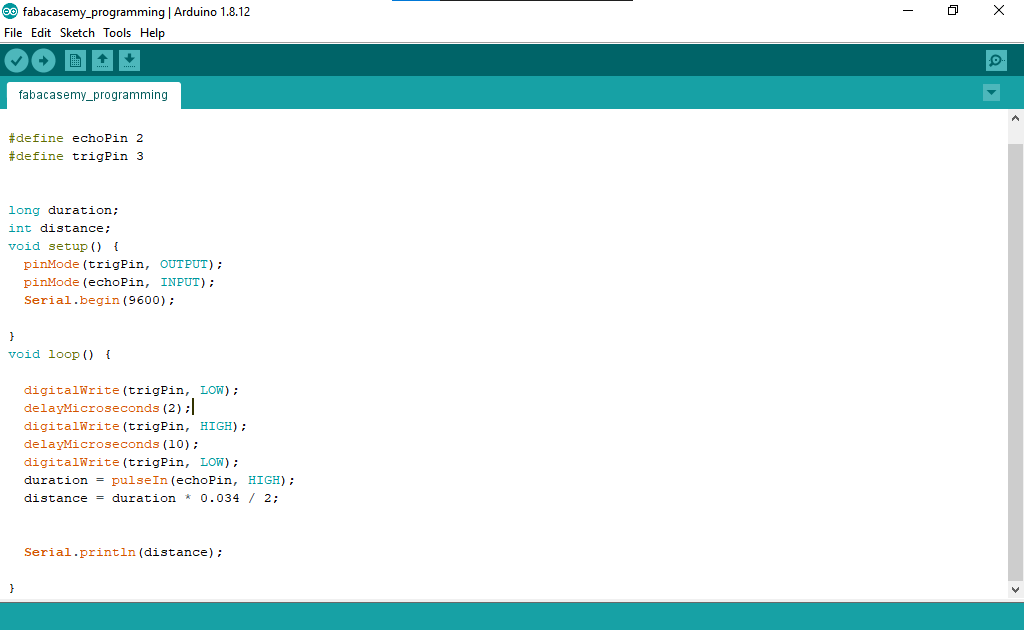
Arduino code
#define echoPin 2
#define trigPin 3


long duration;
int distance;
void setup() {
  pinMode(trigPin, OUTPUT);
  pinMode(echoPin, INPUT);
  Serial.begin(9600);

}
void loop() {

  digitalWrite(trigPin, LOW);
  delayMicroseconds(2);
  digitalWrite(trigPin, HIGH);
  delayMicroseconds(10);
  digitalWrite(trigPin, LOW);
  duration = pulseIn(echoPin, HIGH);
  distance = duration * 0.034 / 2;


  Serial.println(distance);

}
you can upload the Arduino code simply using the arrow sign on the left top of the page or you can follow the instruction step py step on the Embedded Programming week
Hero shoot
final project progress
in terms of my final project this week I programed an mobile application that will allow me to control the 3_axis soft gripper via Bluetooth, and I have done this using MIT app inventor which is a website that allows you to design and program mobile applications .
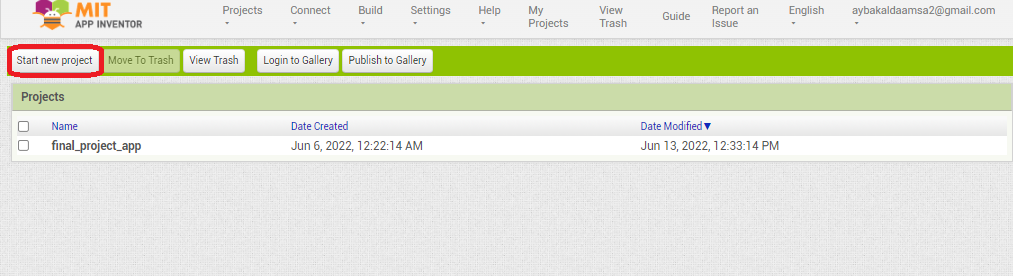
to start with your application, the first step is to make a new project
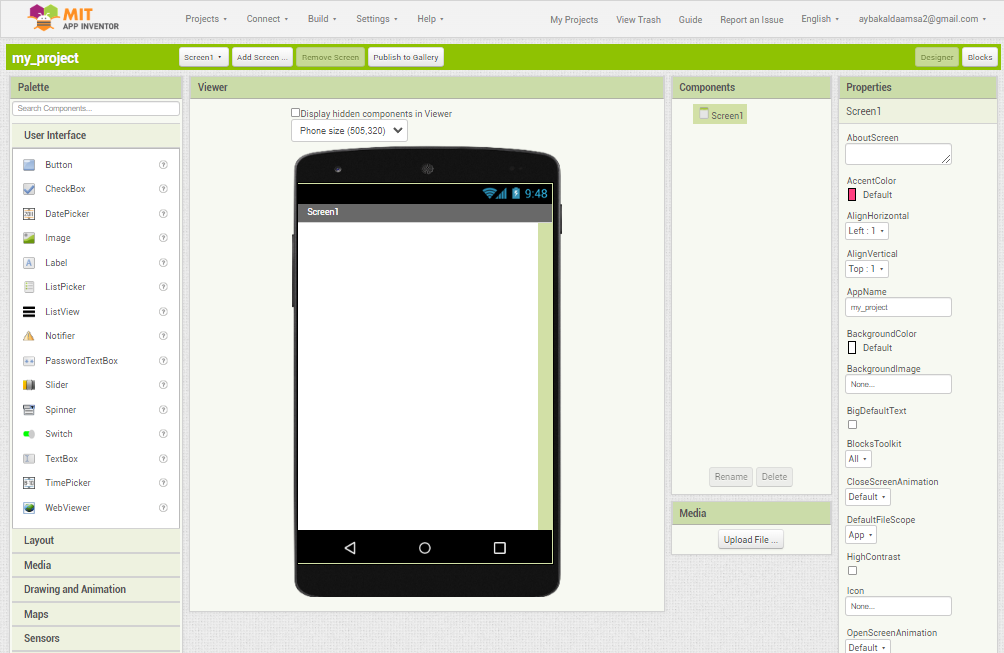
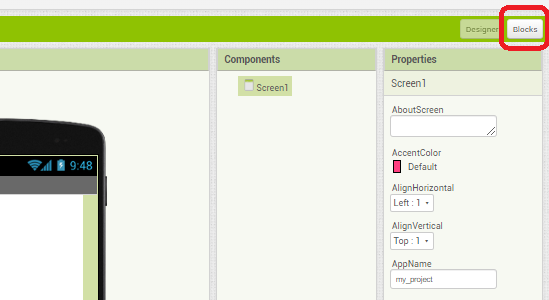
then this screen will appear, this is a Designer screen that will allow you to design your application interface and its consists of 4 main parts
- Palette
- Viewer
- Components
- Properties
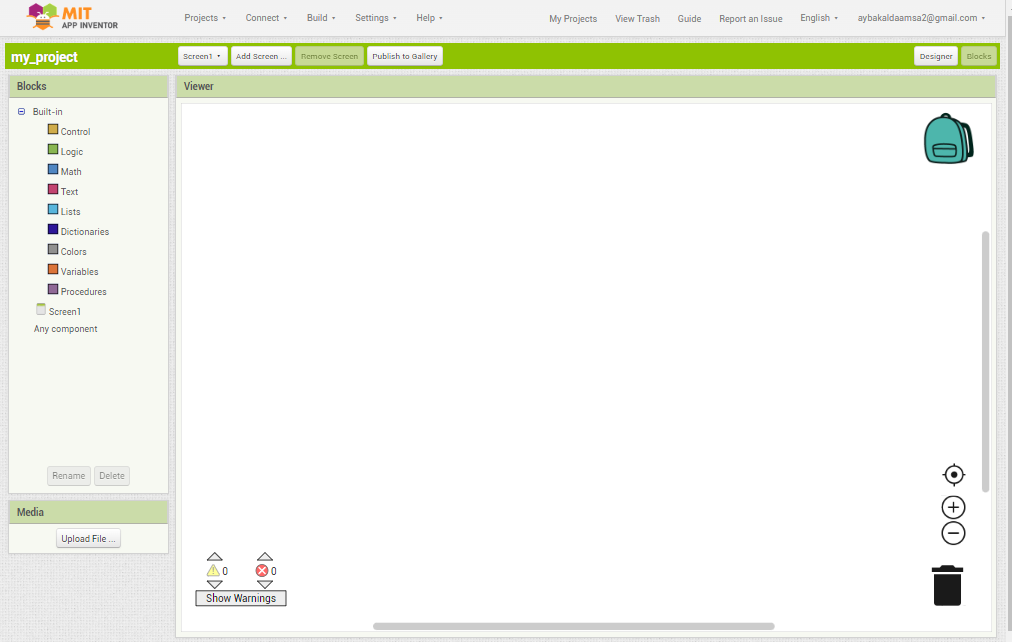
now go to blocks and you will see the screen that will allow you to program your mobile application
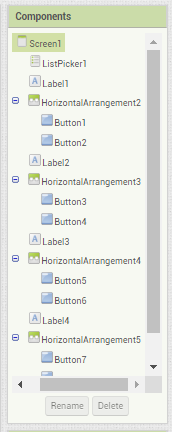
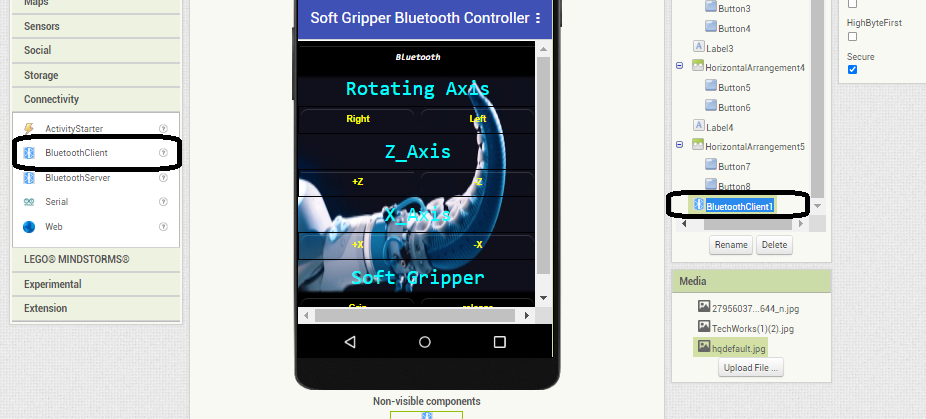
to design my application i used 3 main " user interface " components which is
- Label : I used this component to define the buttons below
- HorizontalArrangement : I used this component to arrange the buttons horizontally
- Button : I used this component to send the commands to the gripper
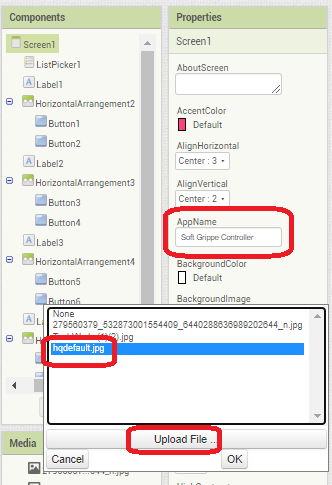
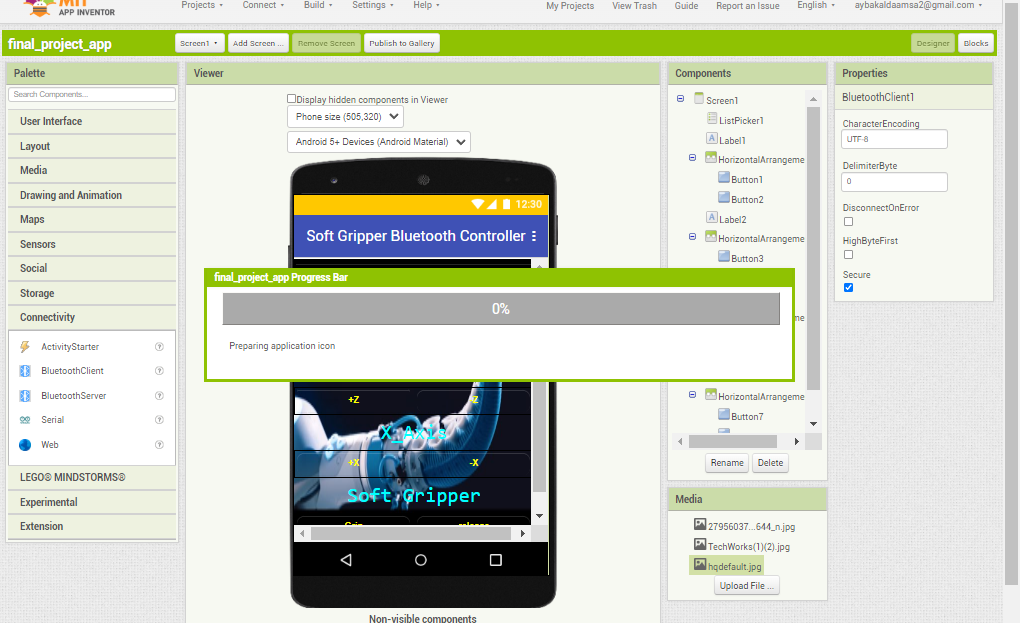
and to make this app custom for my 3-axis soft gripper I add a background photo which is a soft gripper photo, and to do so I went to screen 1>>Properties>>BackgroundImage then I uploaded the photo that i had chosen. in the terms of customization, i also change the application name to Soft Grippe Controller
then I had added the most important part of the app which is the Bluetooth connection, and to do so I went connectivity section then I had chosen BluetoothClient to make a connection with Bluetooth module in the gripper .
after that, I start programming this application and the first block was the Bluetooth connectivity this will bring you to the Bluetooth settings on your devise to connect with the Bluetooth module and after connecting it will type " connect" message .
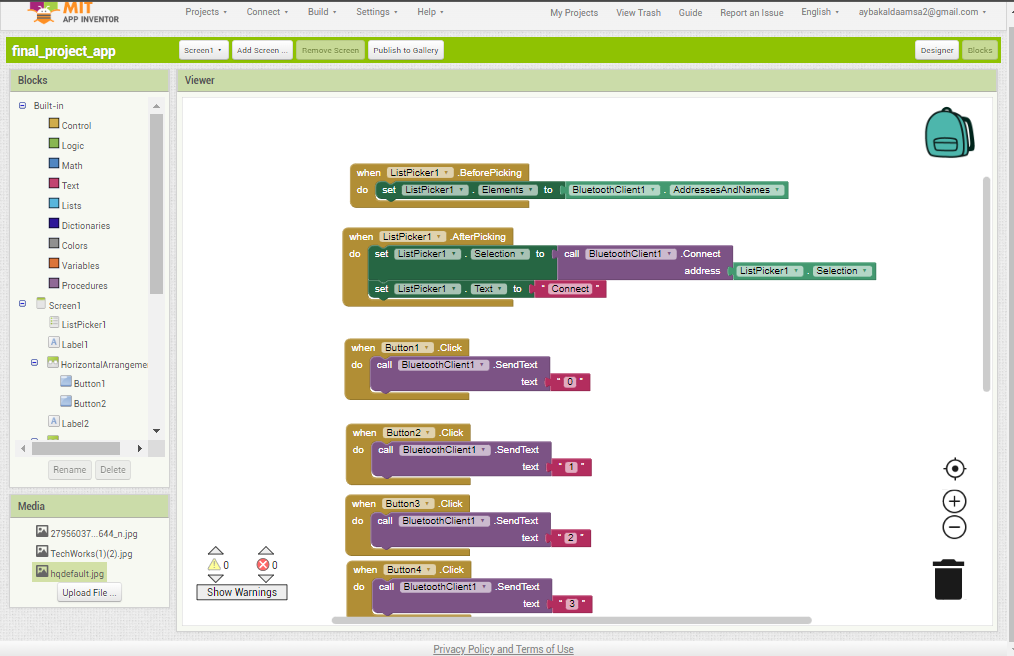
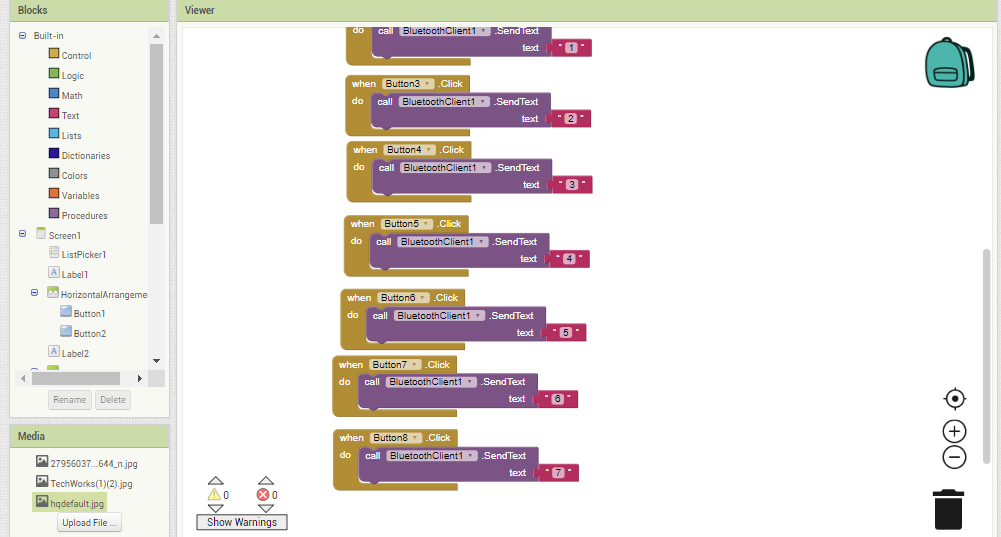
then I set the buttons conditions that will send a specific message for each button for example it will send "0" when button is pressed
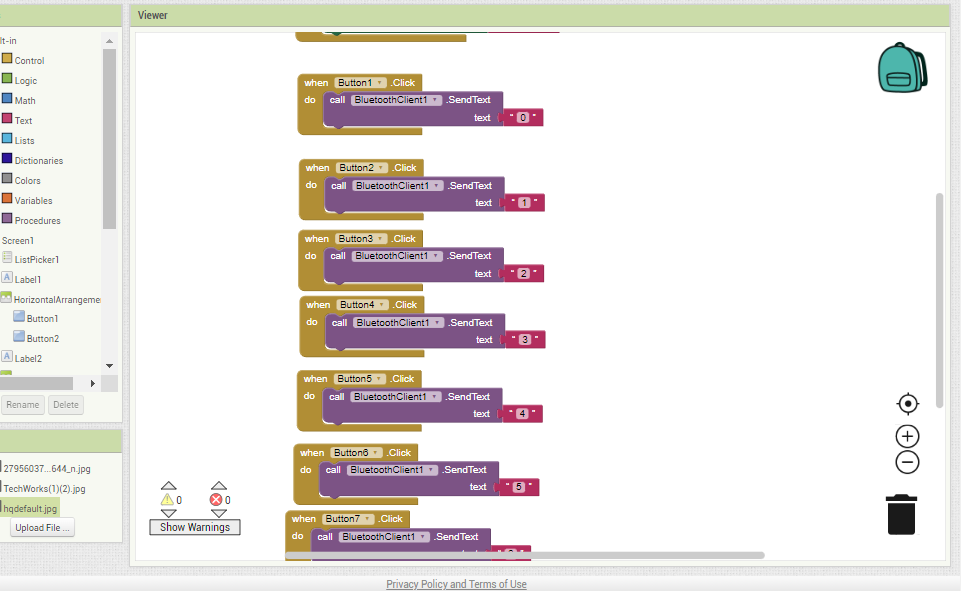
as shown in the image below I but 8 buttons 2 buttons for each axis to move it in both directions and the last two are for the soft gripper "grip" and "release".
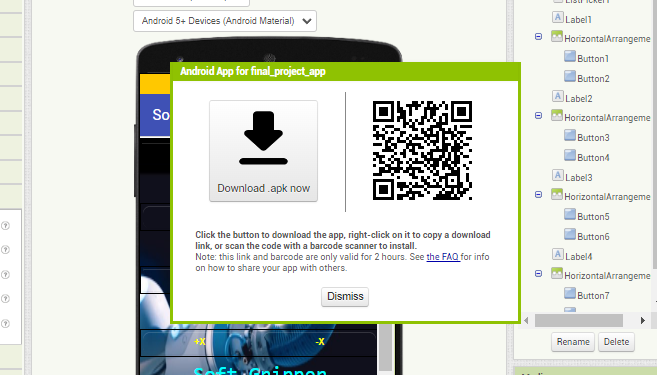
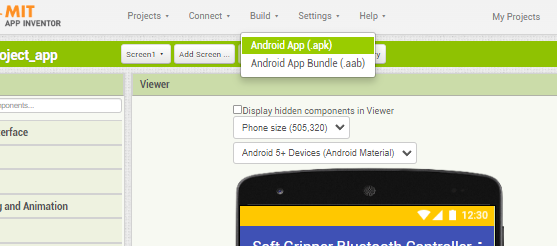
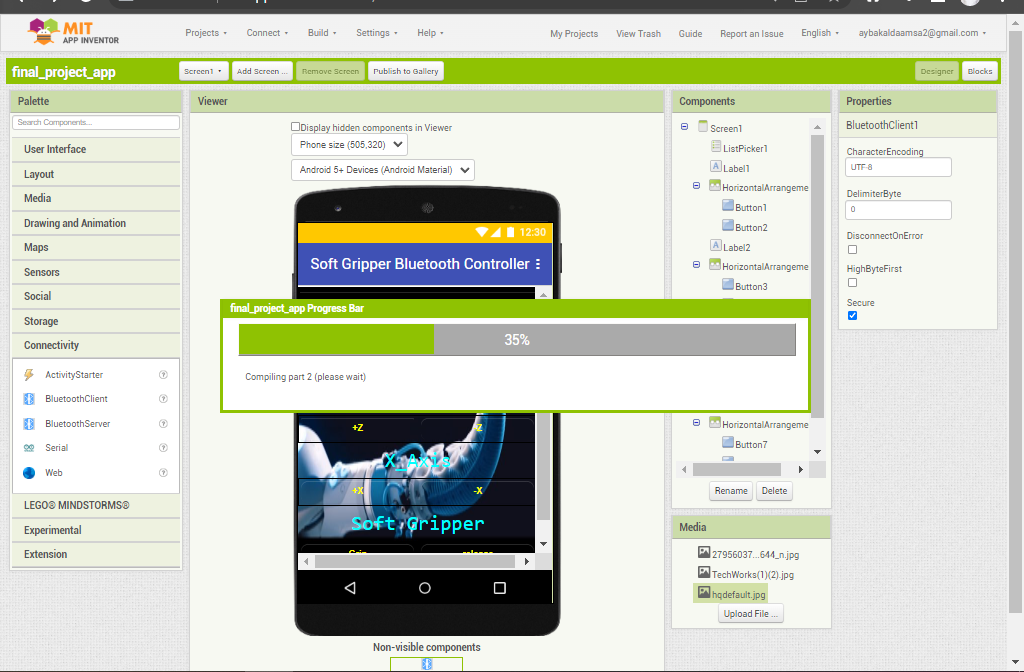
the last step is to export the app go to build>> Android App (.apk)
you can use one of these ways to download the app either using QR code or direct link