Week 9 - Molding and Casting
group page // repo source files // objectives
Contents
hero shot >
objectives >
- Linked to the group assignment page and reflected on your individual page what you have learned
- Reviewed the safety data sheets for each of your molding and casting materials, then made and compared test casts with each of them
- Mold something
- Documented how you designed your 3D mould and created your rough and finish toolpaths for machining, including machine settings
- Shown how you made your mould and cast the parts
- Described problems and how you fixed them
- Included your design files and ‘hero shot’ of the mould and the final object
material overview >
I review different materials on our group page.
Note: I make additional material performance comparisons in my wildcard week for soft robotics.
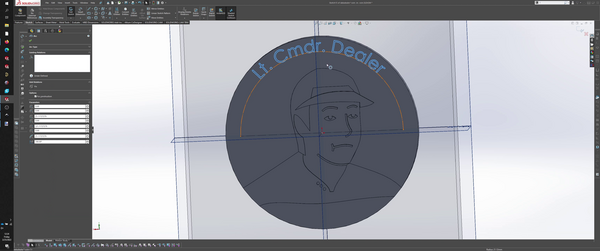
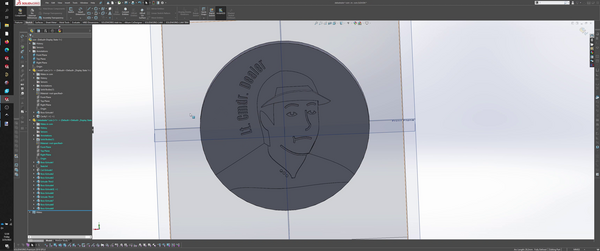
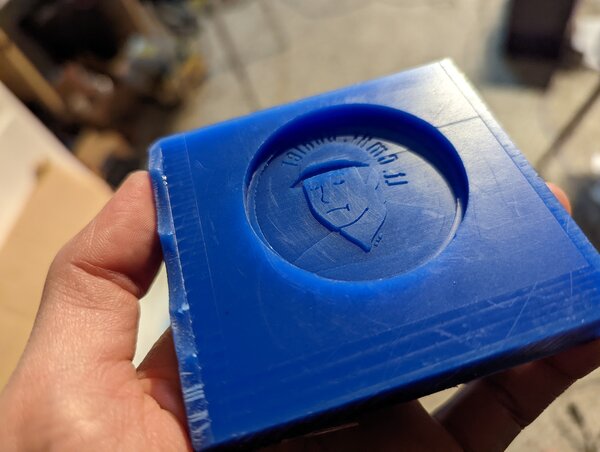
Mold Star 16 FAST is a soft, silicone-based material that is used for creating soft molds to cast other materials. I chose this material for molding the dealer chip.
dealer chip >
concept >
My friend Arresh likes to host poker nights every Friday/Saturday. In poker (or our verison of poker), a dealer chip is passed around as the dealer changes each turn.
In TNG, the bridge crew ocassionally has poker nights. Liutenant Commander Data, an android on the bridge crew, likes to wear a dealer hat(?) during these events.
I happened to be brainstorming for a hello-world for this assignment, when the following song came on: Datadealer (Makeup and Vanity Set Remix)
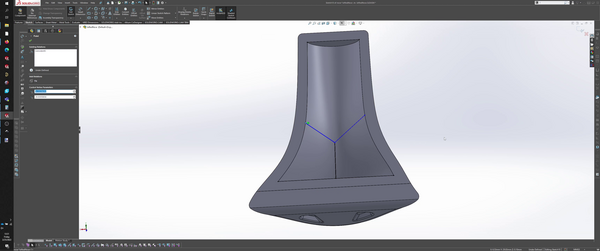
Anyways, I made a Data dealer chip.
design >
overview >
As a hello world project, I kept the design simple(ish).
It has the following:
- one-part mold
- scrap acrylic and clamps used to apply pressure
materials:
- hard wax mold negative
- soft silicone positive
end mills:
- rough: 1/8” 2FL flat end
-
fine: 1/64” 2FL flat end
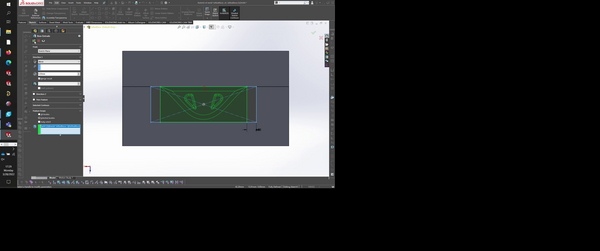
- solidworks
- features
- split
- features
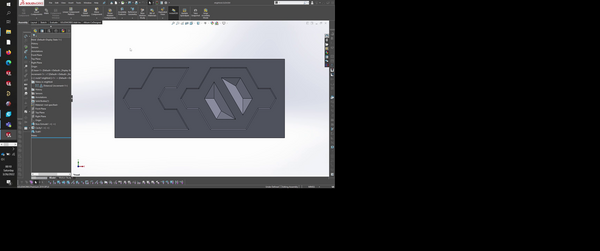
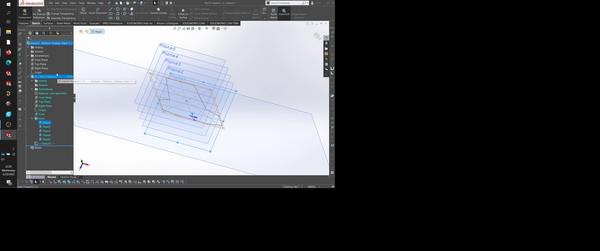
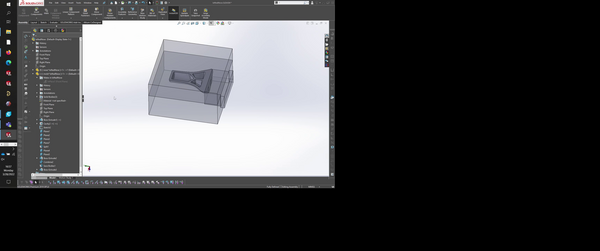
mcad >
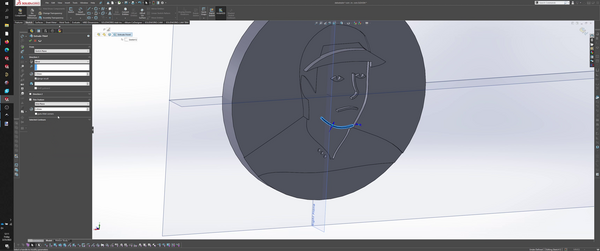
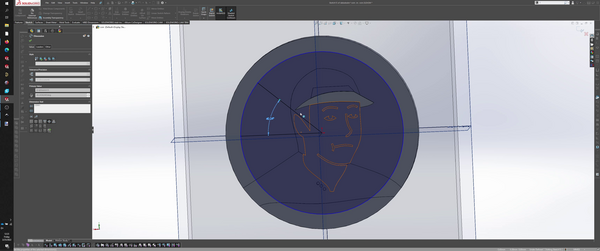
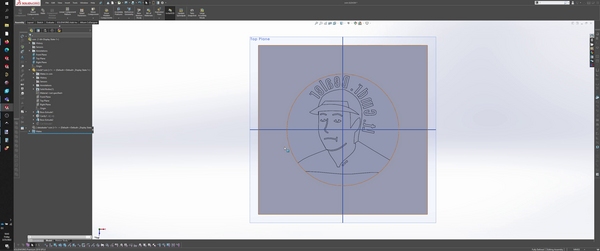
I started by googling up Data.
After finding an image I liked, I took a note from photoshop pros and traced Data to remove his background.

I intended to use the autotrace feature in Inkscape; however, exporing a dxf and attempting to import it into SolidWorks and then extrude it was more difficult than I thought. I’ve learned this lesson many times at this point.
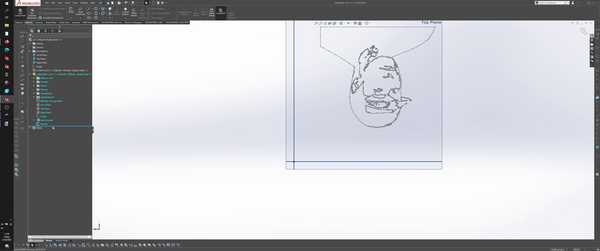
Instead, I imported the image directly into a sketch plane, and used that as a reference for manual tracing on other sketches.
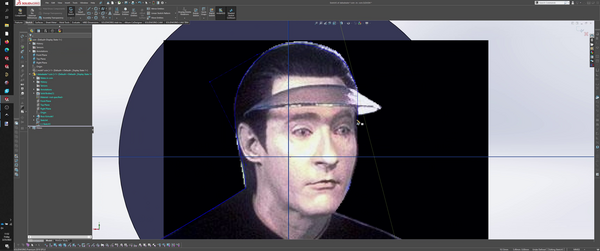
I primariy used bezier curves and extruded at different levels to distinguish different colors, without specifically adding colors.
At some point, I want to do a 2-shot/multi-colored molded object. For the dealer chip, I’ll need to reprioritize different elevations, so gravity can work in my favor instead of against me.
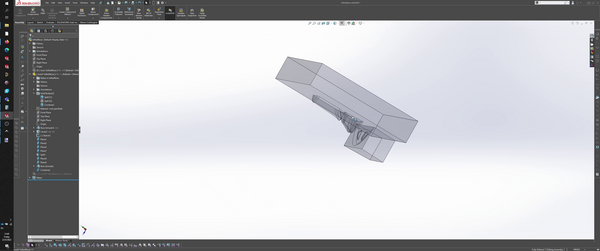
milling >
securing >
as per instruction, I used double-sided tape for basic adhesion, and then hotglue for additional adhesion.
although the work came off without too much difficulty (only some), the hotglue was difficult to completely remove after milling. Not sure whether there’s a better process here.

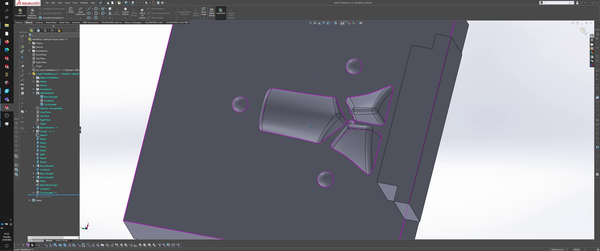
rough pass - 2.5D >
the rough pass is used to reduce stress(?) on the endmill by carving out a cavity that mostly removes the material, reducing the material the fine pass needs to go through.
Dan said that a good rule of thumb is to get within 0.75-1.50mm of the final cavity; the final pass will take care of the rest.
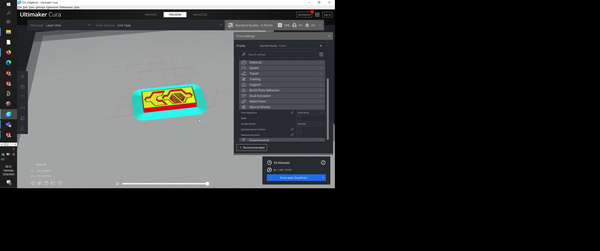
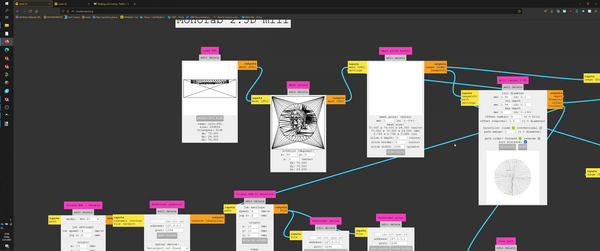
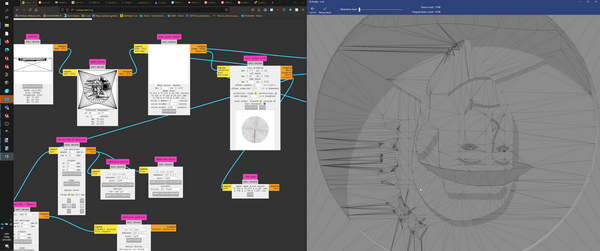
mods MDX-20 workflow >
up until this point, I had been using mods for PCB milling and hadn’t really expanded to other workflows. I wanted to continue using mods to understand how it worked better.
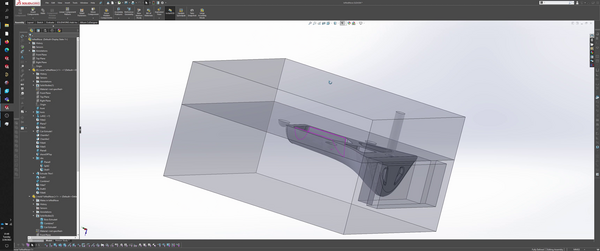
Under the Roland category, I found how to mill in 2.5D and 3D. For the rough pass, I would use 2.5D, and for the fine pass, I would use 3D.
Unfortunately (or maybe not? I learned something), the workflows were only built for the SRM-20, and I only had the MDX-20.
After doing a bit of comparison, I figured out that I could find the “Roland MDX / iModela” module and “pyserial” modules and replace the incumbent “Roland SRM-20 Relative” module + associated communication modules.
I then wired the same “path” input feeding into the SRM-20, but instead into the MDX module.
Technically, there’s no reason you couldn’t leave the incumbent modules intact, and just add the MDX and pyserial modules taking in the same input that the SRM-20 has.
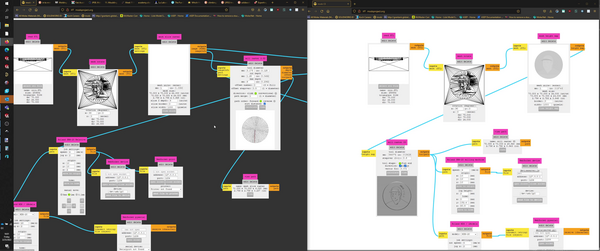

mods tweaks >
- mesh rotate
- changed x to 90 to rotate my .stl to correct orientation (mold cavity normal to screen)
- mesh slice raster
- mesh units mm set to 1. this may differ for different CAD unit systems
- mill raster 2.5D
- tool diameter changed to 0.125in
- cut depth needed some tweaking, settled on 1mm
- max depth set to 6mm, based on my model depth
- Roland MDX / iModela
- speed set to 20 mm/s (needs citation)
bug >
on slicing with various cut depths, I noticed that the “mesh slice raster” module would ocassionally cast very large “shadows”, which appeared to be visual artifacts that generated problems in the toolpath. I think this is caused by large concentrations of triangles, which in turn is caused by fine features, like letters.
As you can see, high density triangles.
I fixed this by finding a fine enough cut depth (~1mm) that either triggered for sensitive error correction, or something else that excluded the artifact toolpath.
fine pass - 3D >
I should’ve done draft analysis, which Dan later taught me how to use.
The first few passes looked alright, but after the toolhead started dipping into the cavity itself, I noticed that the bit was no longer flush with the surface.
Upon further observation, I noticed that the bit was crashing into the side wall. I’m not sure what the failure mode of the MDX-20 is, but for more basic 3d printers, an obstruction can cause the toolhead to shift oddly and remain offset for the rest of the job. I wonder if that’s what happened, since the bit itself was undamaged (surprising, since it was a 1/64”).
After adding an offset in SolidWorks and regenerating the toolpath, I was able to avoid the walls and continue milling.
At the time, I wasn’t sure if this was the only problem. I periodically paused to check progress (I’m especially careful with my 1/64” endmills now).
Here’s a shot after I paused.

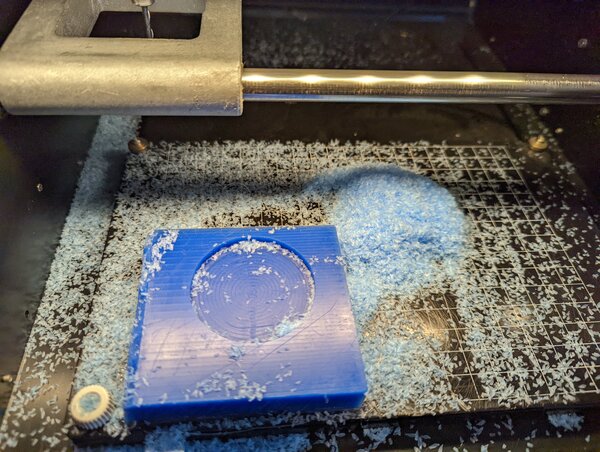
I periodically collected the shavings as recommended. It’s a nice texture!
I was careful to collect shavings from areas of the mill that wouldn’t have too much contamination (from PCB milling or hot glue from securing).
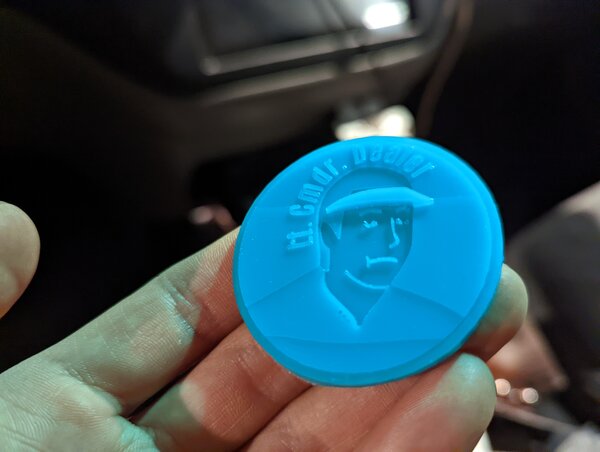
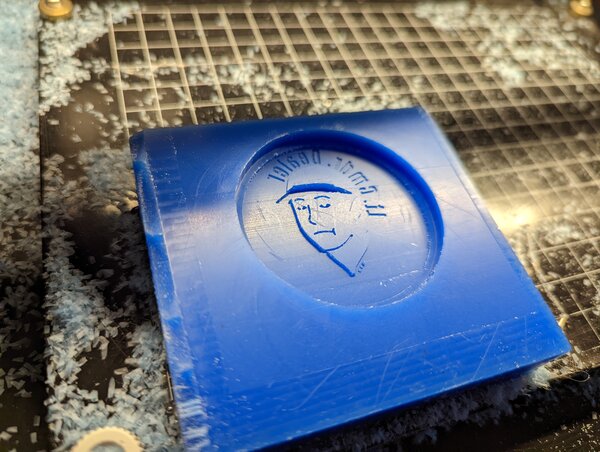
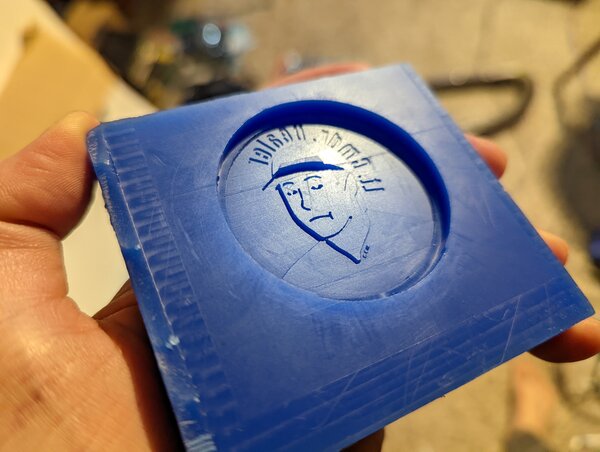
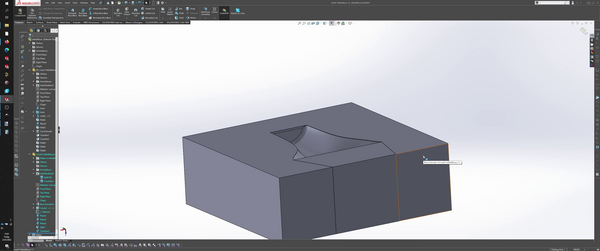
The moment of truth.
Tada! (or more like Data!)
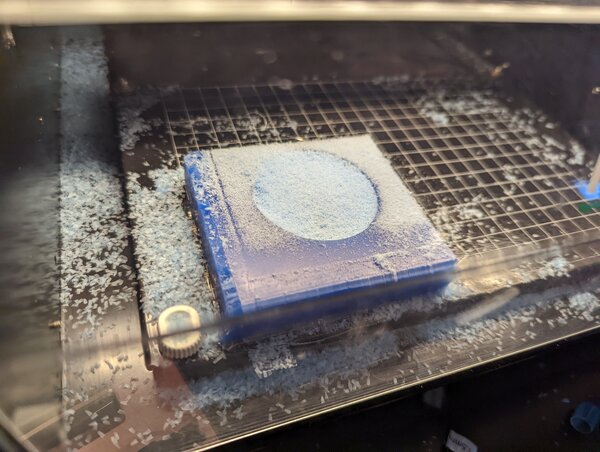
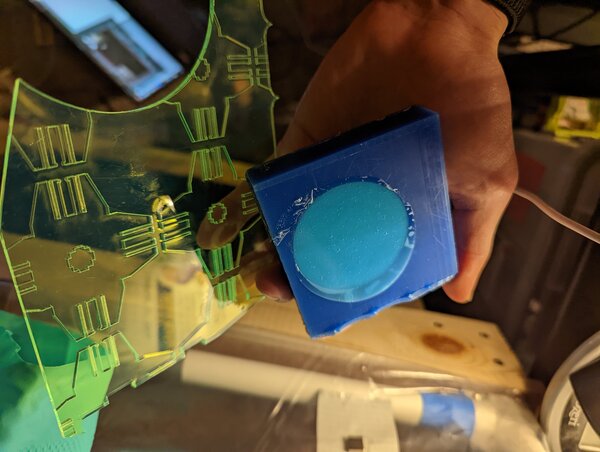
molding >
It’s a good thing MoldStar 16 Fast appears to have nothing under Section 2 of its SDS.
Working with resins can be messy and annoying to contain sometimes, especially if you need to use tools that aren’t commonly used in such environments.
I followed the instructions and mixed evenly by volume, but overpoured part A a bit, and ended up with excess material. I then poured into the mold.
To apply pressure and create a flat finish for the chip, I then clamped a piece of scrap acrylic onto the mold.
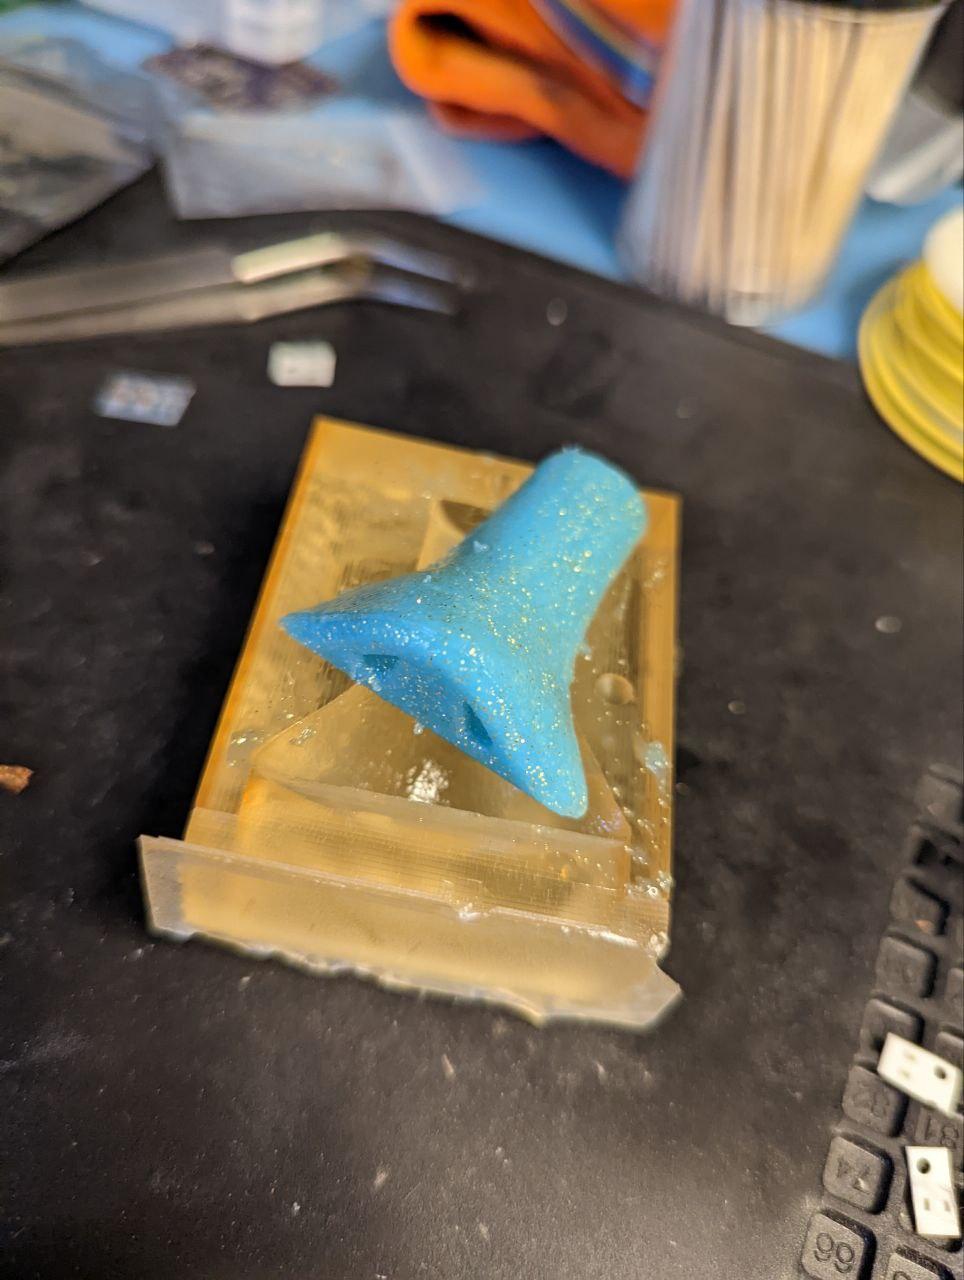
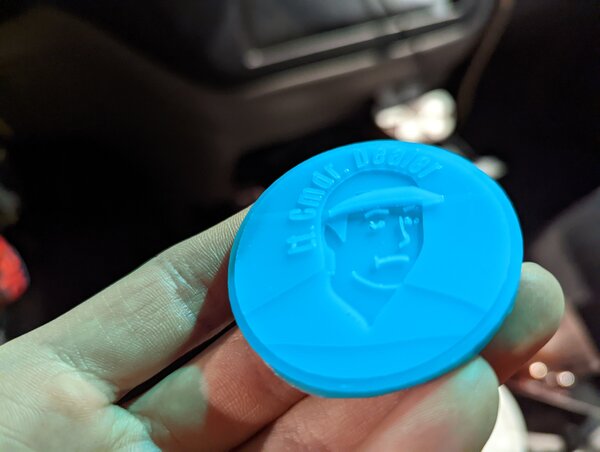
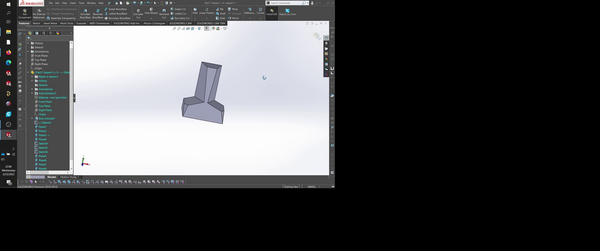
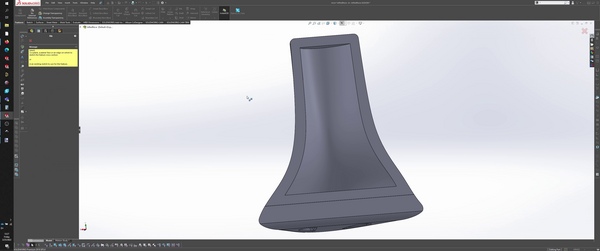
hero shot - data >
nose hold >
concept >
at one point during my climbing and maker journey, I found myself itching to create some climbing holds. Climbing as a whole has a very accessible community, meaning there’s a lot of information floating around for how climbing holds are made.
One day at the gym, I was taking suggestions for potential hold ideas and my friend Cecilia said
…“nose”
I’ve had this idea stuck in my head (or on my face??) since that exchange.
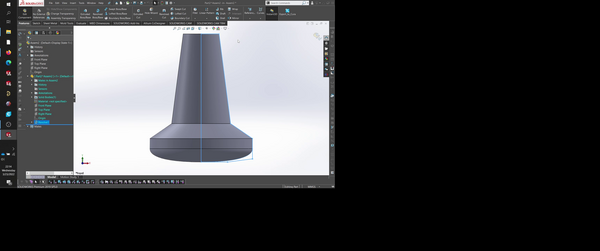
design >
overview >
With some instruction from Dan, I got a bit fancier with this design.
It has the following:
- 3-part mold including side action
- clamps still (maybe?)
materials:
- hard SLA mold negative
- soft silicone positive
hypothetical end mills:
- rough: 1/8” 2FL flat end
- also rough: 1/16” 2FL flat end
- fine: 1/64” 2FL flat end
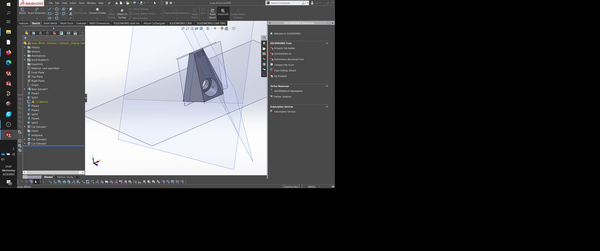
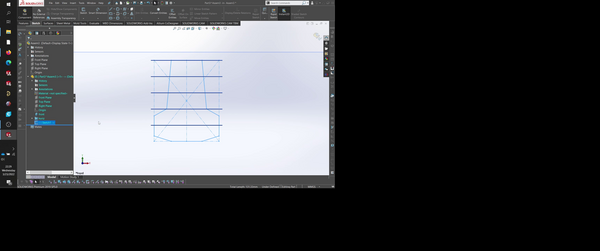
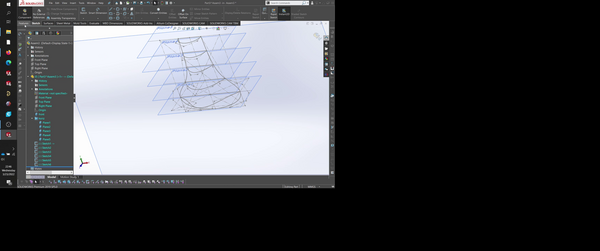
mcad - the positive >
features:
- lofts
- planes
- bezier curves
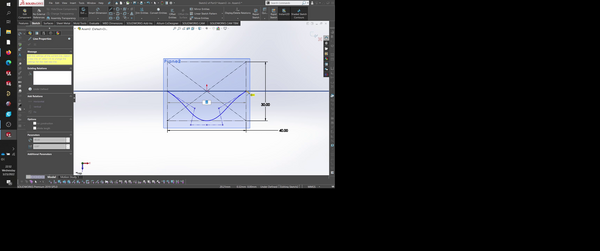
I originally wanted to scan a nose for this assignment, but budgeting time and resources made me think otherwise. I will definitely circle back to that idea, however.
I previously experimented with some other approaches towards modeling a nose/hold, and originally used planes to split a rectangular extrusion at interesting geometric angles. That approach is good for creating low-poly geometry, but not very good for organic shapes (surprise surprise).
Some prior attempts.
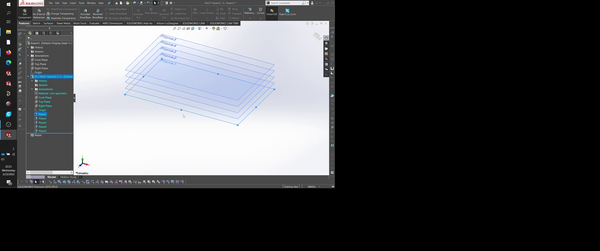
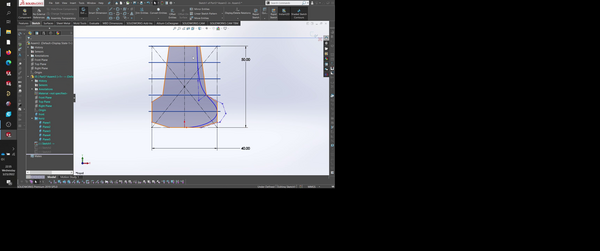
As I was brainstorming, I remembered that I had played with lofts for a shelving project I was working on awhile back (yet to be implemented). It creates very organic shapes w/o getting too deep into surface modeling (something else I’m interested in, but nowhere near proficient at the moment).
My approach is as follows:
- create pattern of parallel planes using one of the initial planes as a starting point
- use bezier curves (which are much less finicky to use than normal splines) to draw cross-section on a plane normal to the parallel planes
- draw additional cross-sections on each of the parallel planes, using previous sketches for reference
- this part is probably familiar to animators, who reference previous frames to draw successive frames
- after finishing sketches, create a loft using the parallel plane sketches for the profile, then use the normal sketch to guide the profile’s shape
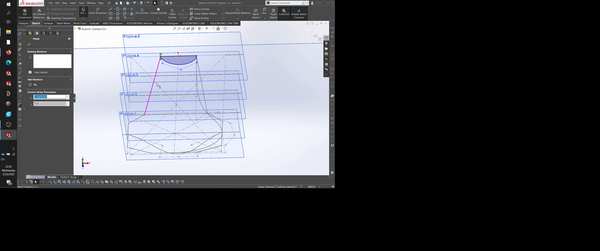
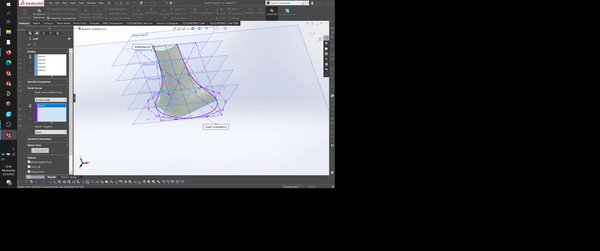

mcad - the actual mold >
features:
- split
- planes
- draft
- combine
- join
side-action >
Due to the nostrils, the negative has undercuts that are hard to machine without both reorienting the part, and moving to something like a 5-axis machine. The much more elegant solution Dan suggested was machining a separate side-action piece that inserts into the mold from… the side!
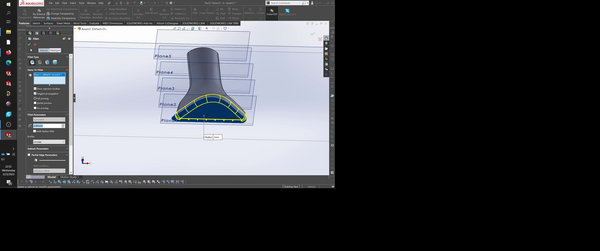
coring >
Dan called these “metal savers”, and I know they’re called something else for plastic (plastic savers?). Since climbing holds can range from very small to very big, coring is common practice (based on the holds I’ve seen and how they sound when you smack them).
Although the nose isn’t very large, it was good practice designing the other half of the mold to positively interact with the “base” part of the mold.
Making sure the toolpath doesn’t conflict with the “metal savers” was a challenge, but that’s probably because my part is very small.

registration >
I added 3 half-domed features into the model to create registration between the top and bottom halves. Since the side-action should fit snuggly into… the side, I opted out of adding registration to that as well.
venting >
I added a single vent. For the data chip, venting didn’t seem necessary since it was a 1-part mold. However, for the nose, I’ll have a hard time estimating the volume displaced by the coring half.
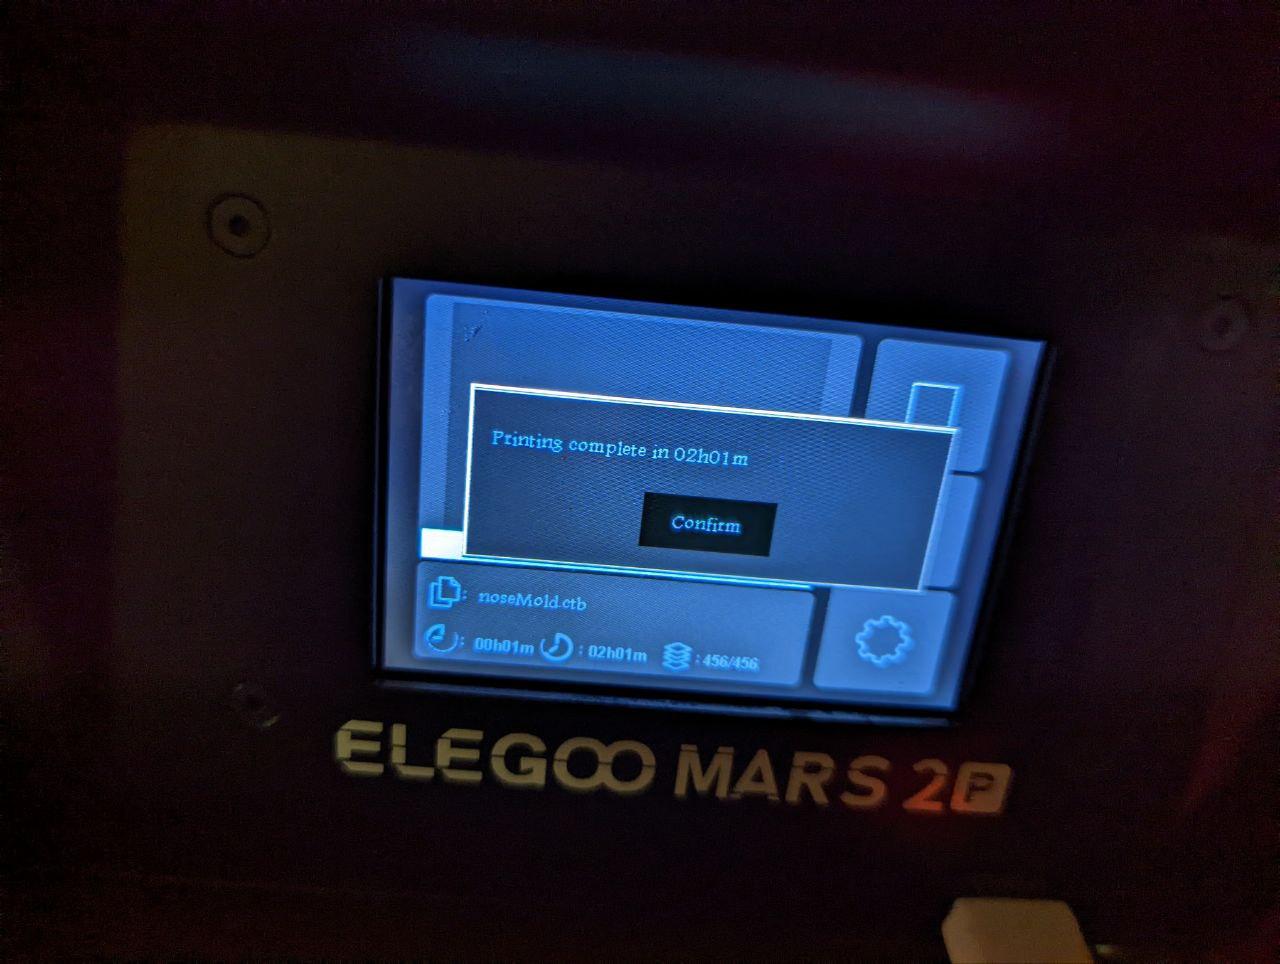
SLA >
I originally designed this with the intent to mill, so the geometry reflects that (as covered in the design section previously). However, I ran out of time, and milling molds takes longer than milling PCBs. Hard to justify doing that after work in your apartment.
Sidenote: identifying tools that minimize noise is an interesting and practical exercise for apartment dwellers. Laser-cutting vs CNC routing have a similar trade off (ignoring fume extraction noise).
I own an Elegoo Mars Pro 2, but it’s been awhile since I’ve run it. Resin can do amazing things, but it can also be a hassle sometimes, since you need PPE and ventilation.
pro-tips >
Since my previous resin escapades, I’ve learned that large flat surfaces can cause resin to pool between the part and the build surface. The solution appears to be tiling the part slightly.
Supports are important as well, since removing the part can be a challenge sometimes (much more than FDM, I’ve noticed). Generated supports typically break up the surface area of the part into smaller pillars and feet, and the feet themselves have a lip that make it easier for a spatula to pry against.
Chitubox was causing me some grief; it kept crashing as I tried to save my sliced file. Updating Chitubox fixed things, but I had to also update the firmware to keep things working.


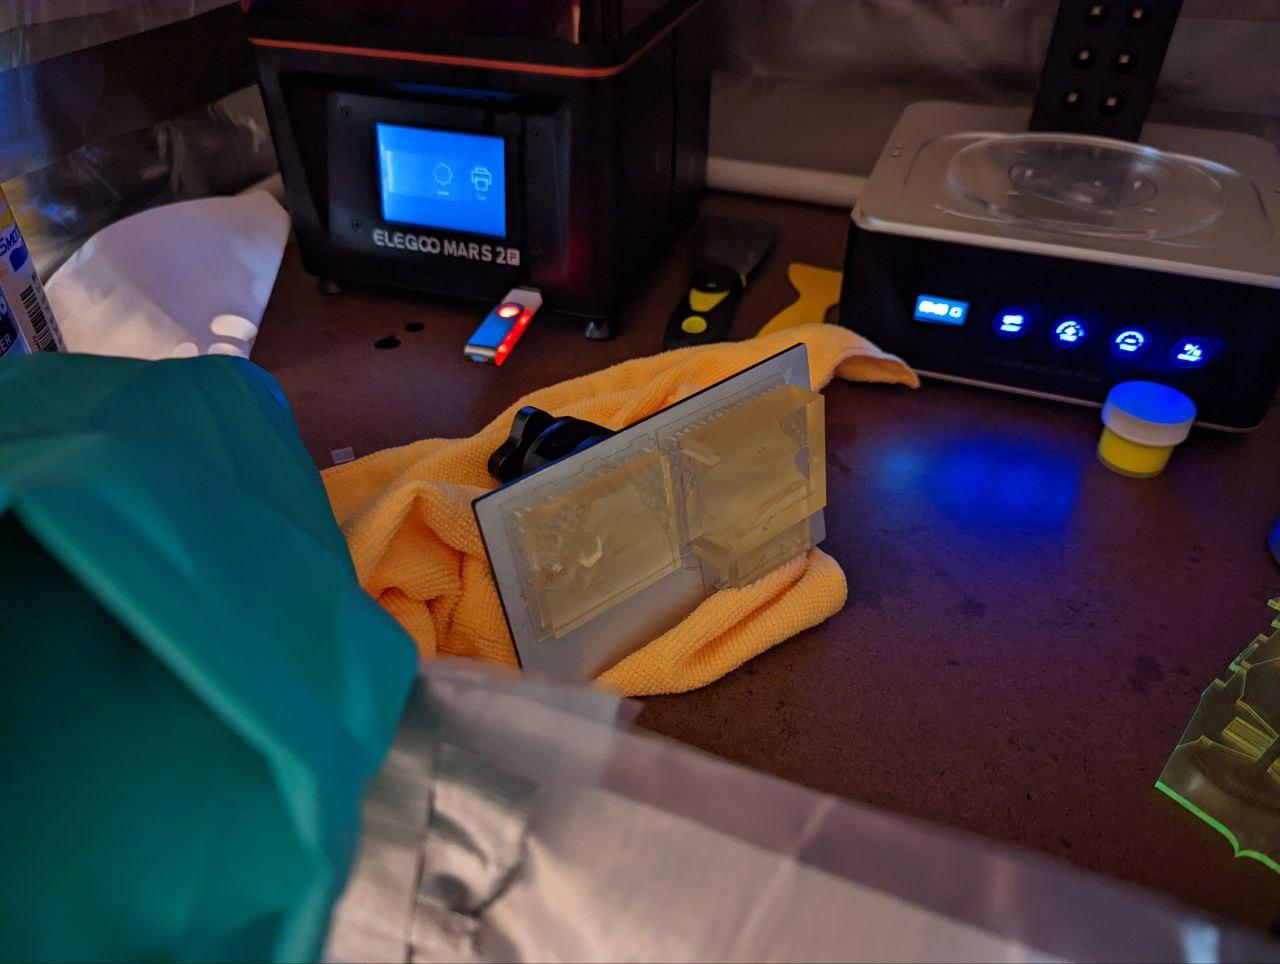
After printing, I went through the wash (3 min) and postcure cycle (10 min).
I may have abridged this step in the interest of time.
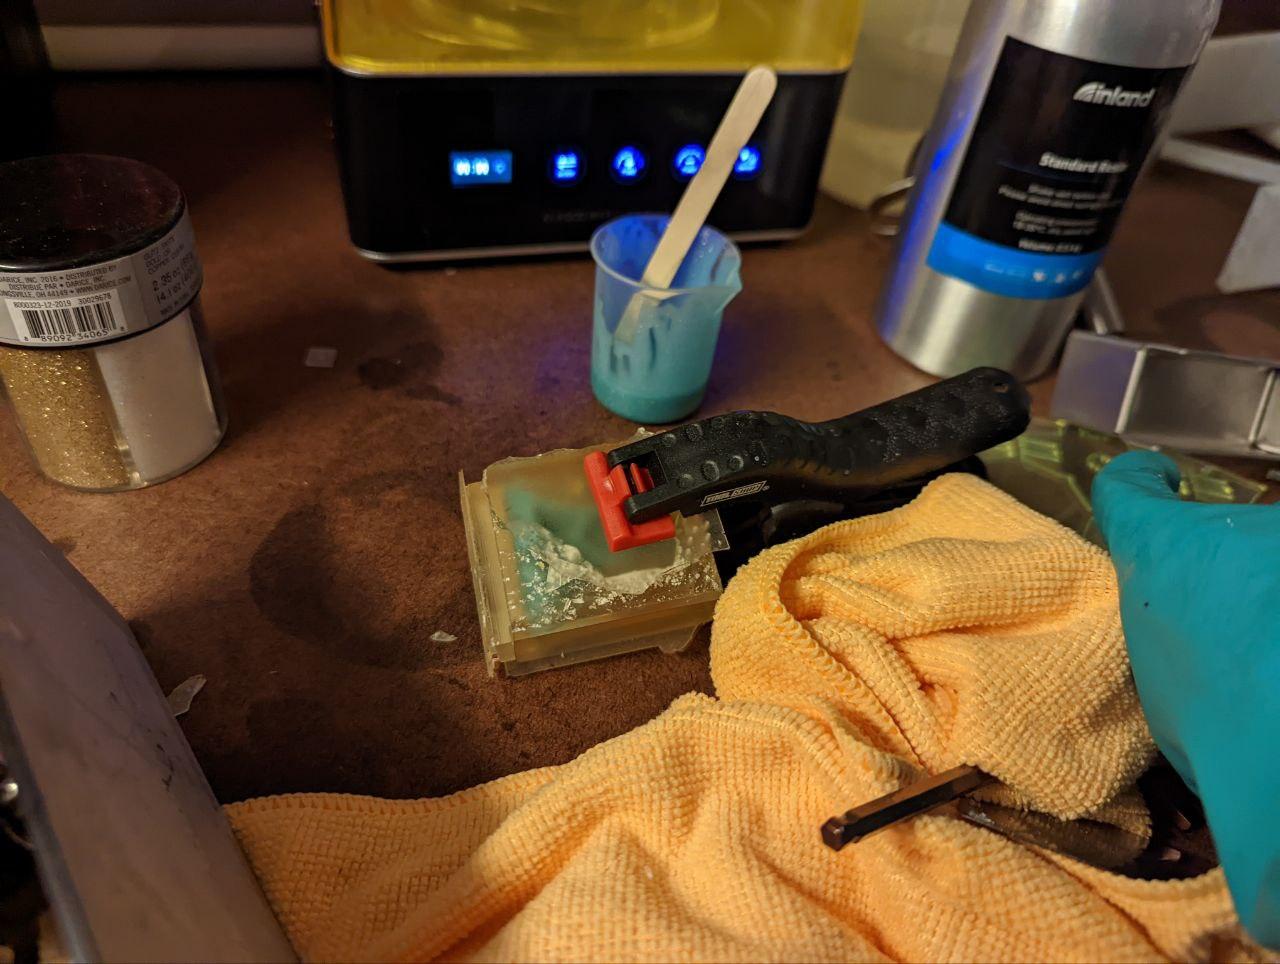
The part was difficult to remove from the build platform. The plastic spatula partially worked to separate the part from the platen, but was actually damaged in the process due to how strong the part stuck onto the platen.
The metal spatula fared better but ended up chipping parts of the support.
What worked best was leveraging the included allen key against the part itself, which easily separated the entire part from the platen simultaneously.
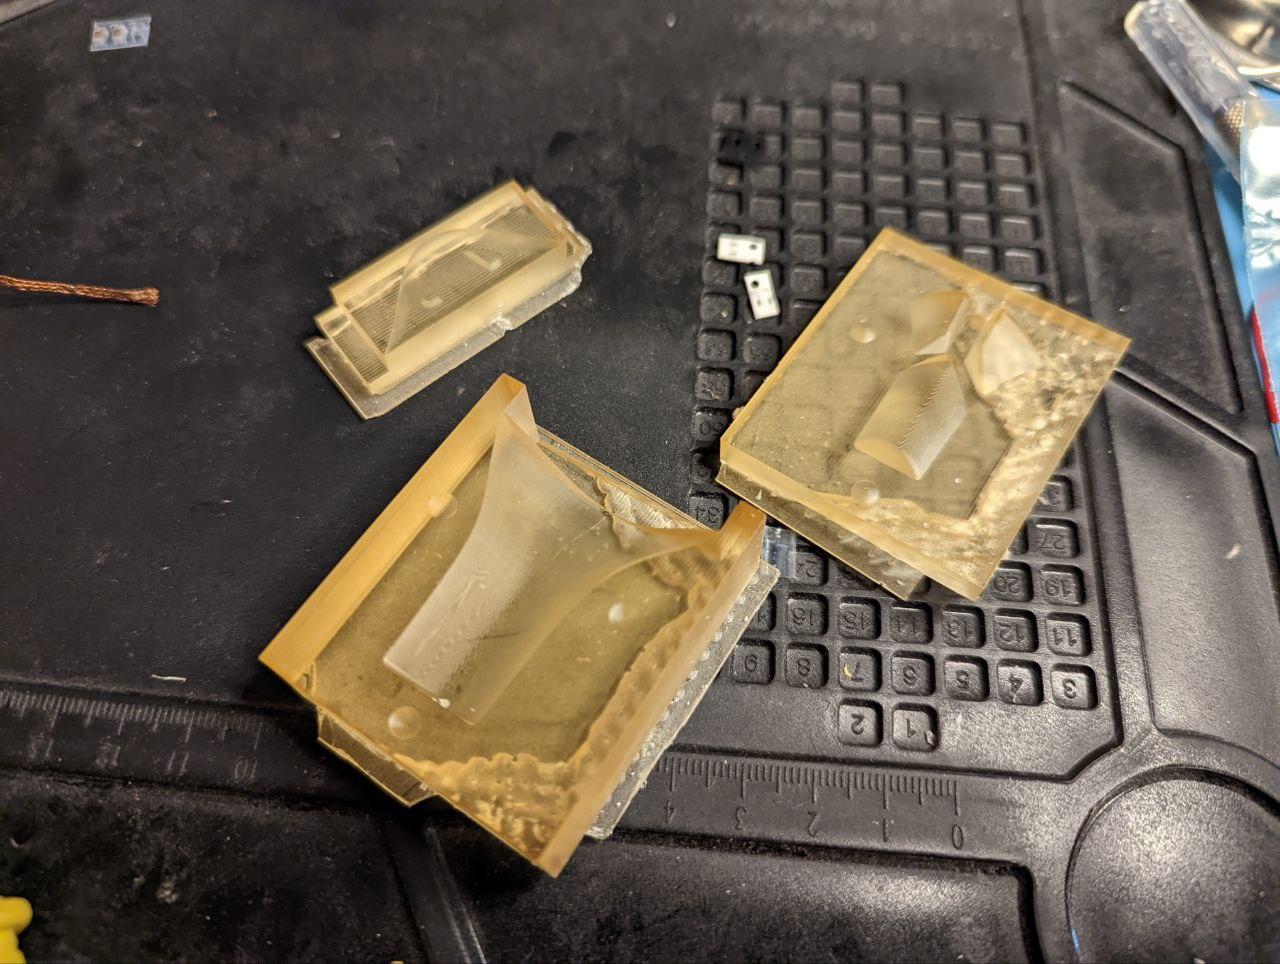
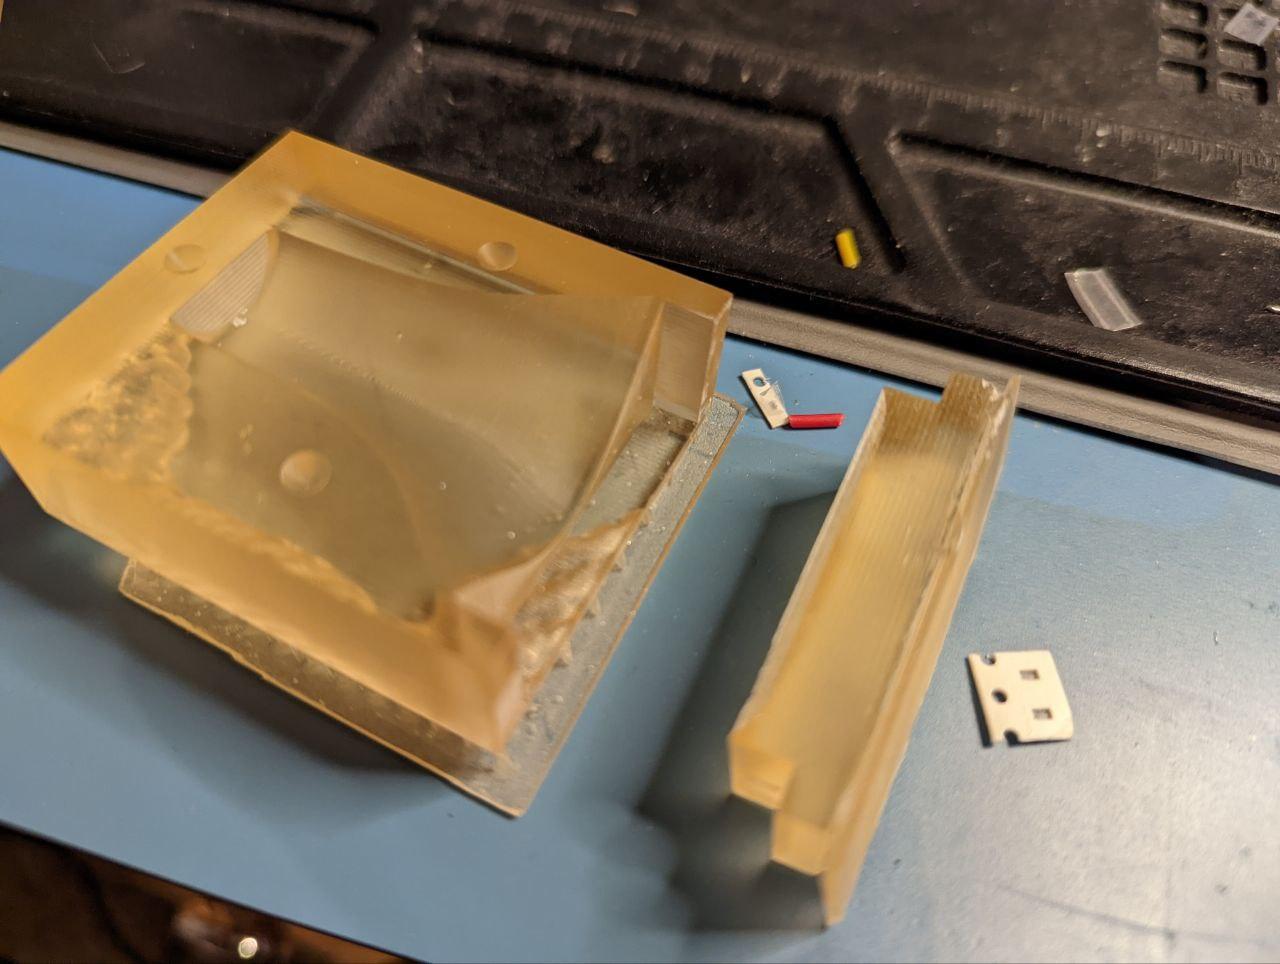
The top and bottom fit together reasonably well, I still have to try the lip that Neil was recommending for registration (instead of the domes). You can see a small gap between the top and the bottom.
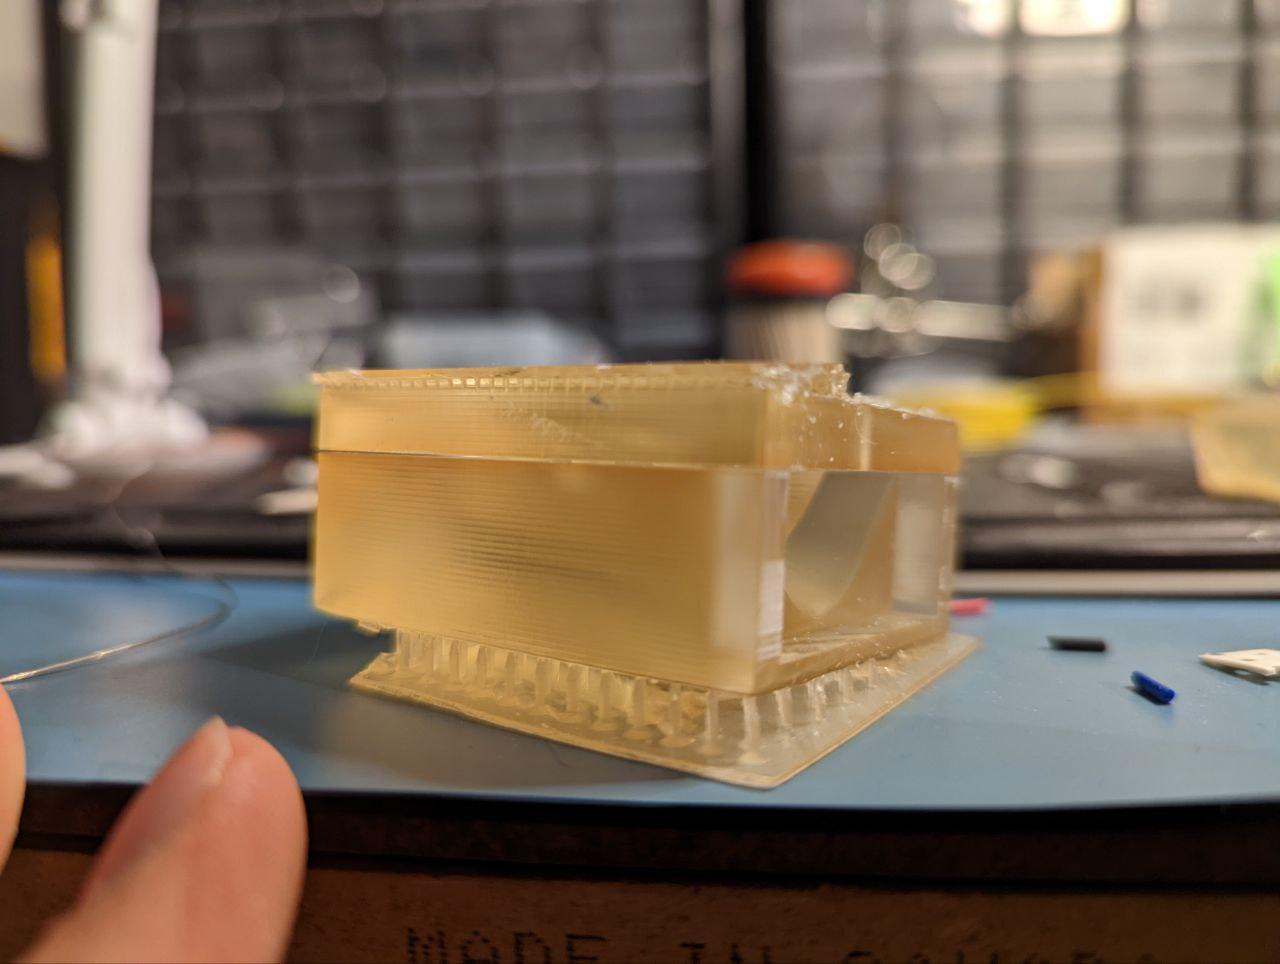
The side action took some work to fit in; it felt more press-fit than slip-fit.
supports >
Again, in the interest of time…
I had reduced the support distance from 5mm to 2mm, and opted to use “light” instead of “medium” supports (thinner pillars).
The 2mm ended up being a problem, since the space was small enough to create microfluidic forces and trap the resin. It’s apparent on the part; there are no gaps for most of the space between the supports and the part for all 3 parts.
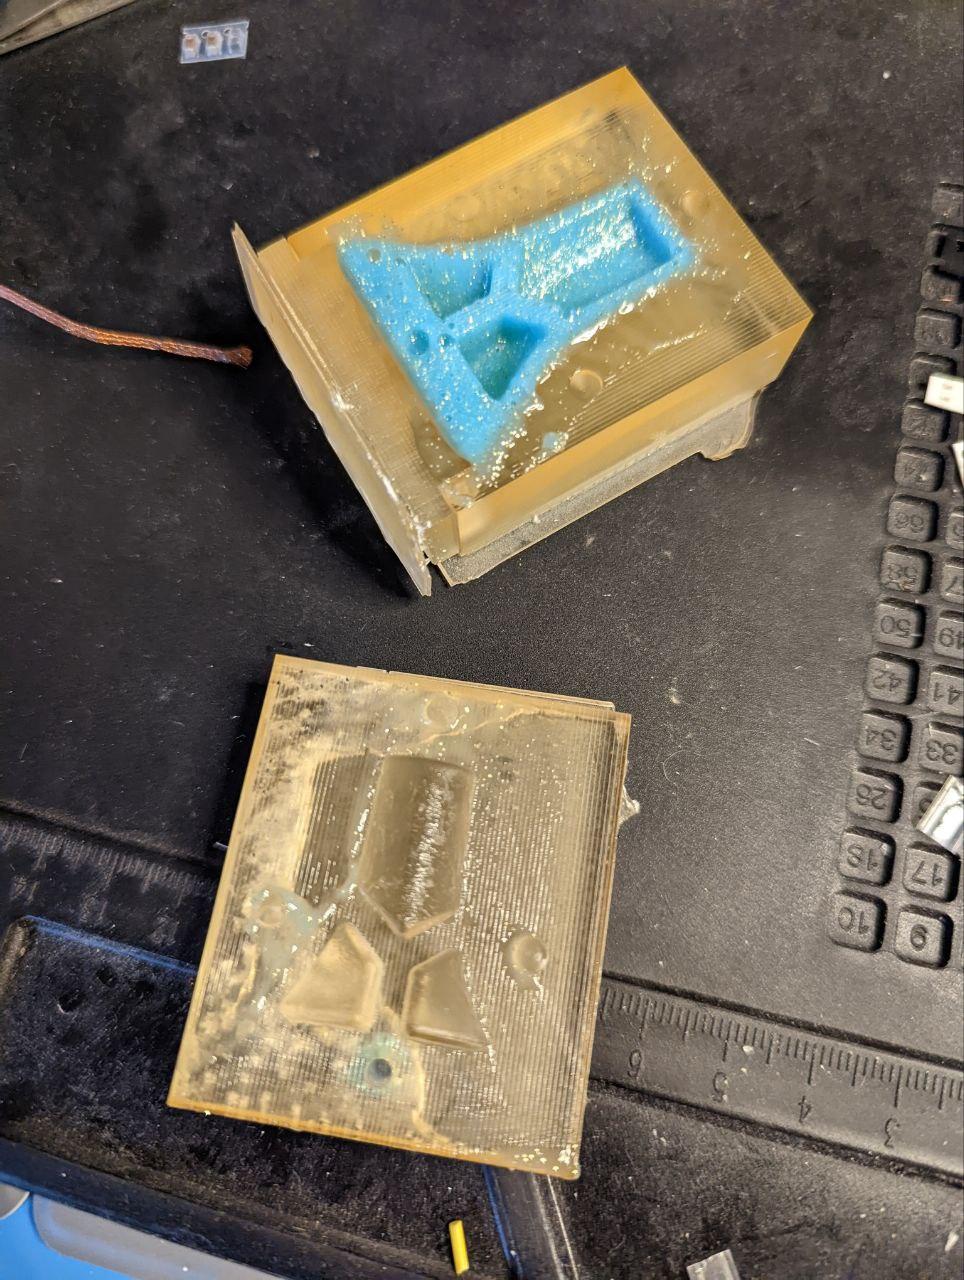
molding >
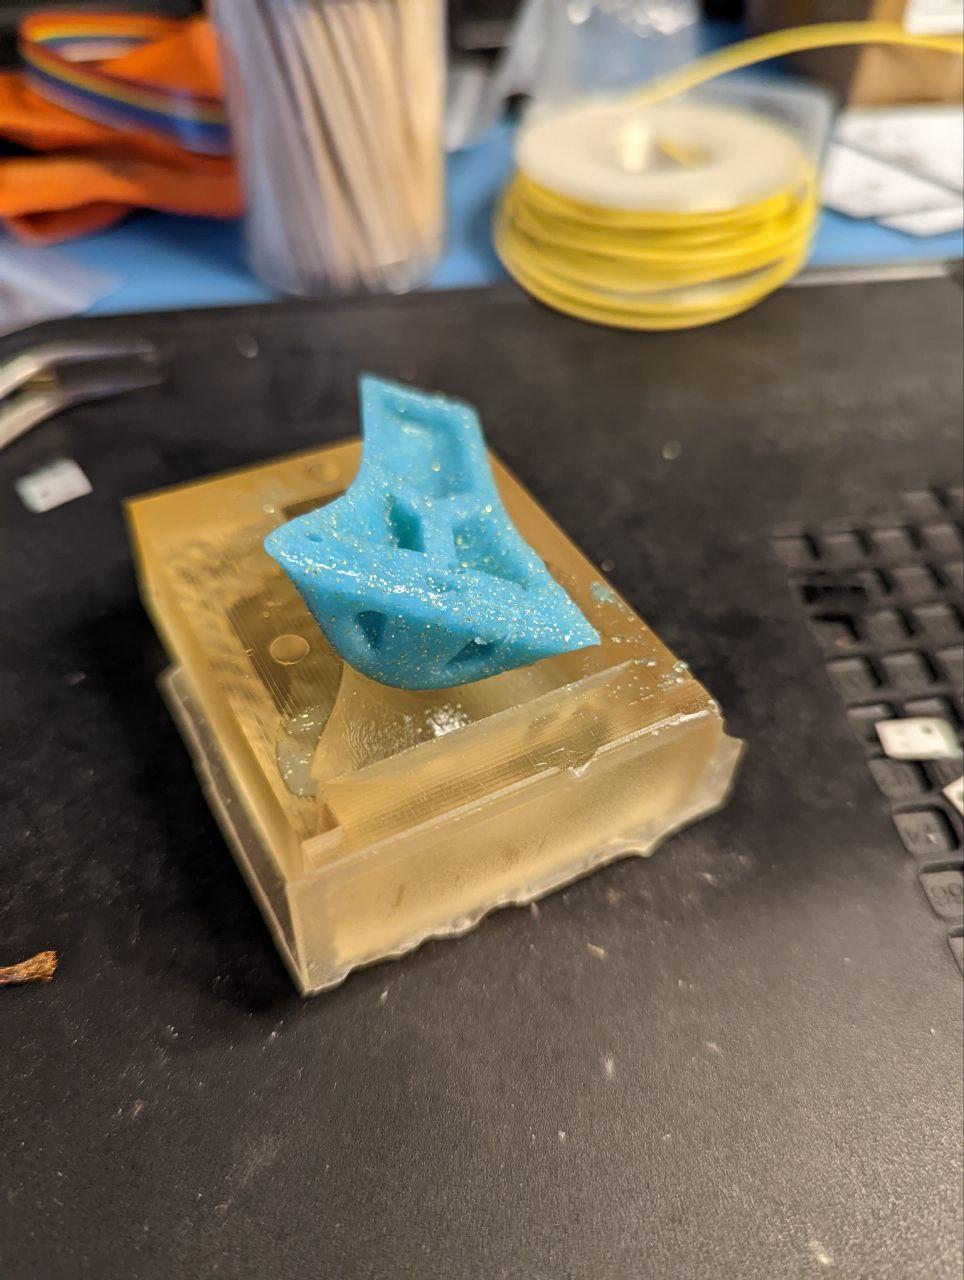
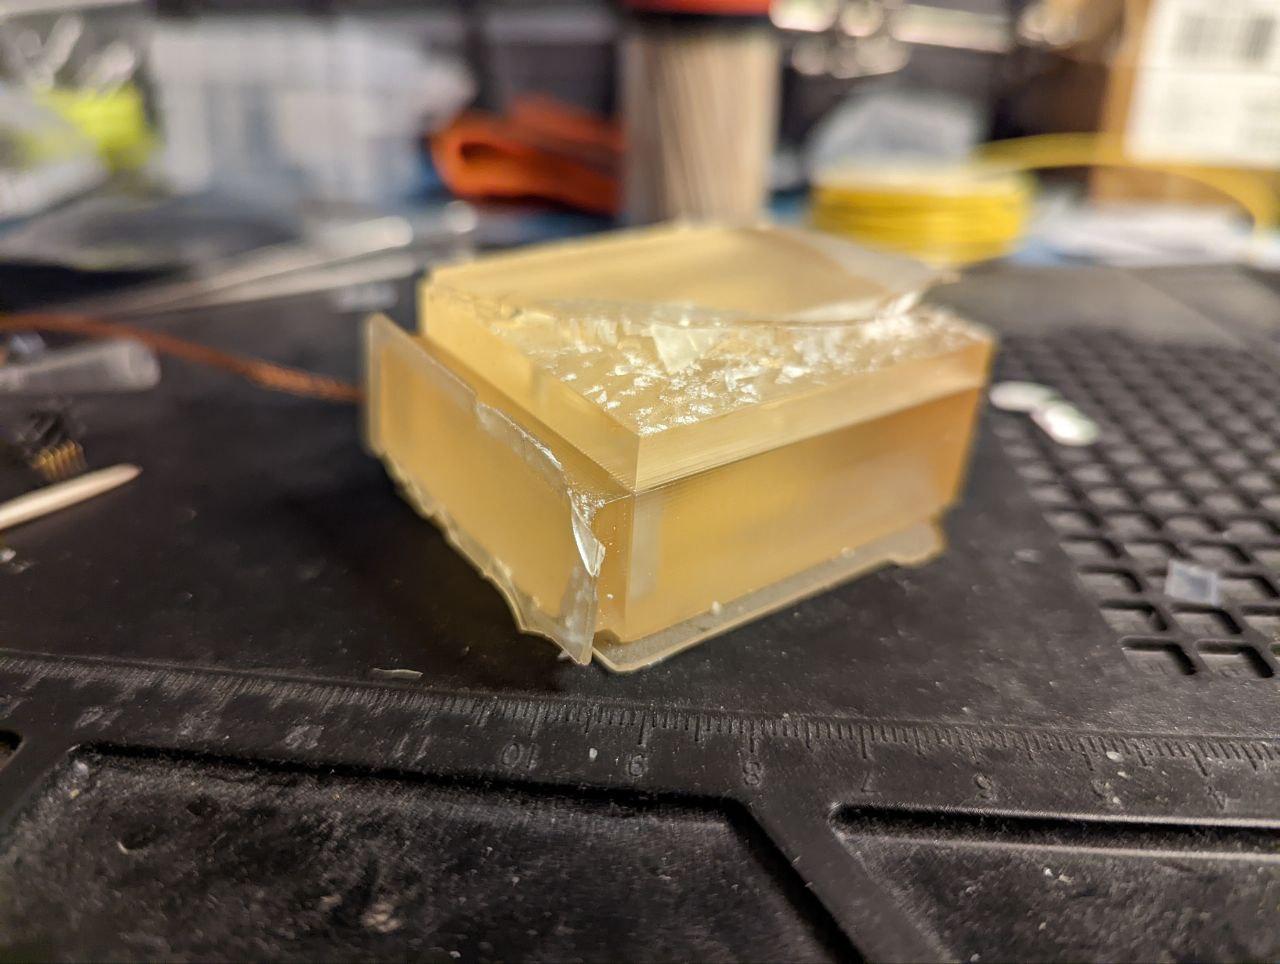
I cast the nose using the MoldStar Fast 16 again. This time, I added some glitter. That may have been a mistake.
I started the mold process at night and left it for the morning.
The first thing I noticed on opening the mold was that the resin wasn’t fully cured.
You can see the uncured resin spread about the mold. :(.
Possible reasons:
- temperature
- glitter
- uncured UV resin
After checking my left over resin in the mixing beaker I was using, I saw that the silicone cured fine, despite temperature and glitter (I left it more open air but otherwise exposed to the same environment as the nose mold.
My ventilation system pipes air through a basic aquarium carbon filter and to the window. Since its cold outside these days, it’s possible the hood gets cooler than normal. However, the hood is pulling hot air from my apartment.
It’s been awhile since I’ve filtered my isopropyl (actually, I haven’t done that yet since owning my SLA machine). I did recently just add half a pint(?) of isopropyl 70% (I know the recommended is 99%, but used what I had on hand. Usually causes fogging on parts, which isn’t too important here).
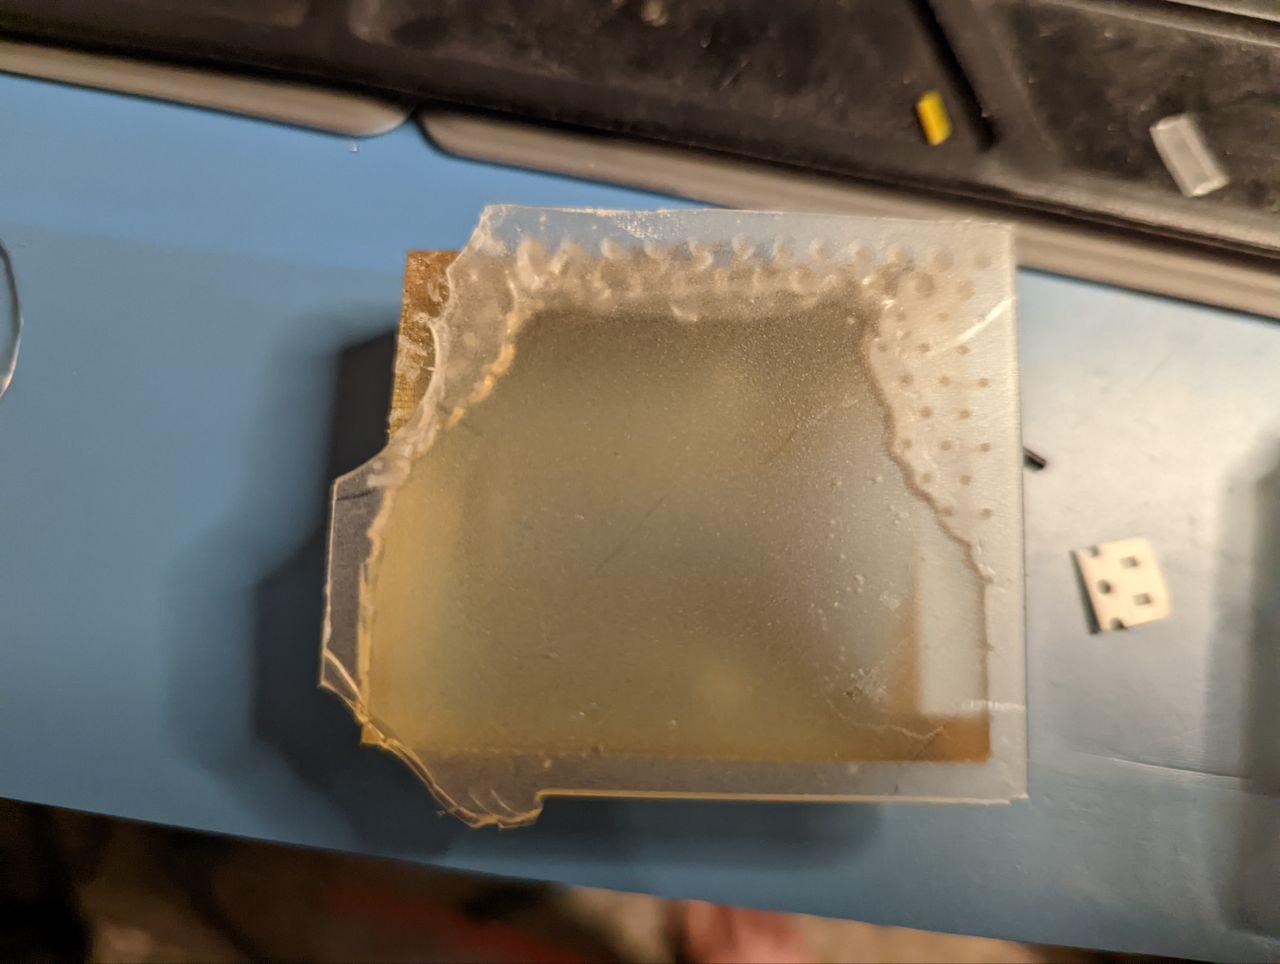
It’s possible that uncured UV resin was left on the part, which may have interfered with curing of the silicone on the surface of the part. Removing the part from the mold, I could see that the rest of the silicone was solid.
hero shot - nose >
a hotglue experiment >
made some magic the gathering tokens using hot glue and tpu mold from FDM printing. Kinda worked, but not completely. May have gotten some hot glue on my girlfriend’s couch (she was not happy).