Week 15 - Wildcard Week (soft robotics)
group page // repo source files // objectives
Contents
- hero shot
- objectives
- sequence
- flavor
- soft robotics principles
- materials
- cad model
- slicing
- cast
- hero shot
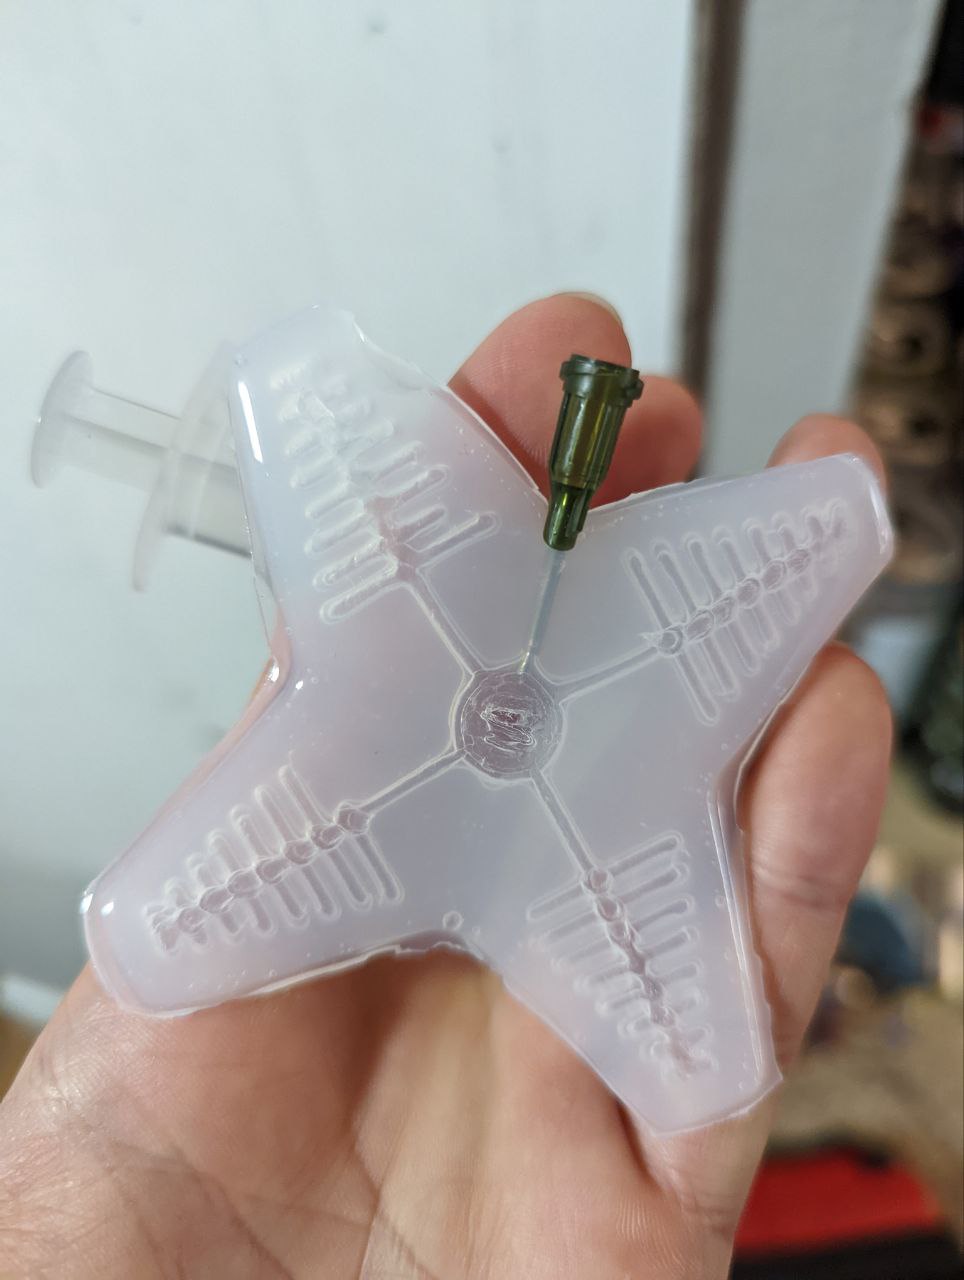
hero shot >
objectives >
- Documented how you made your creation
- Described problems and how you fixed them
- Included your design files
- and ‘hero shot’ of the result
sequence >
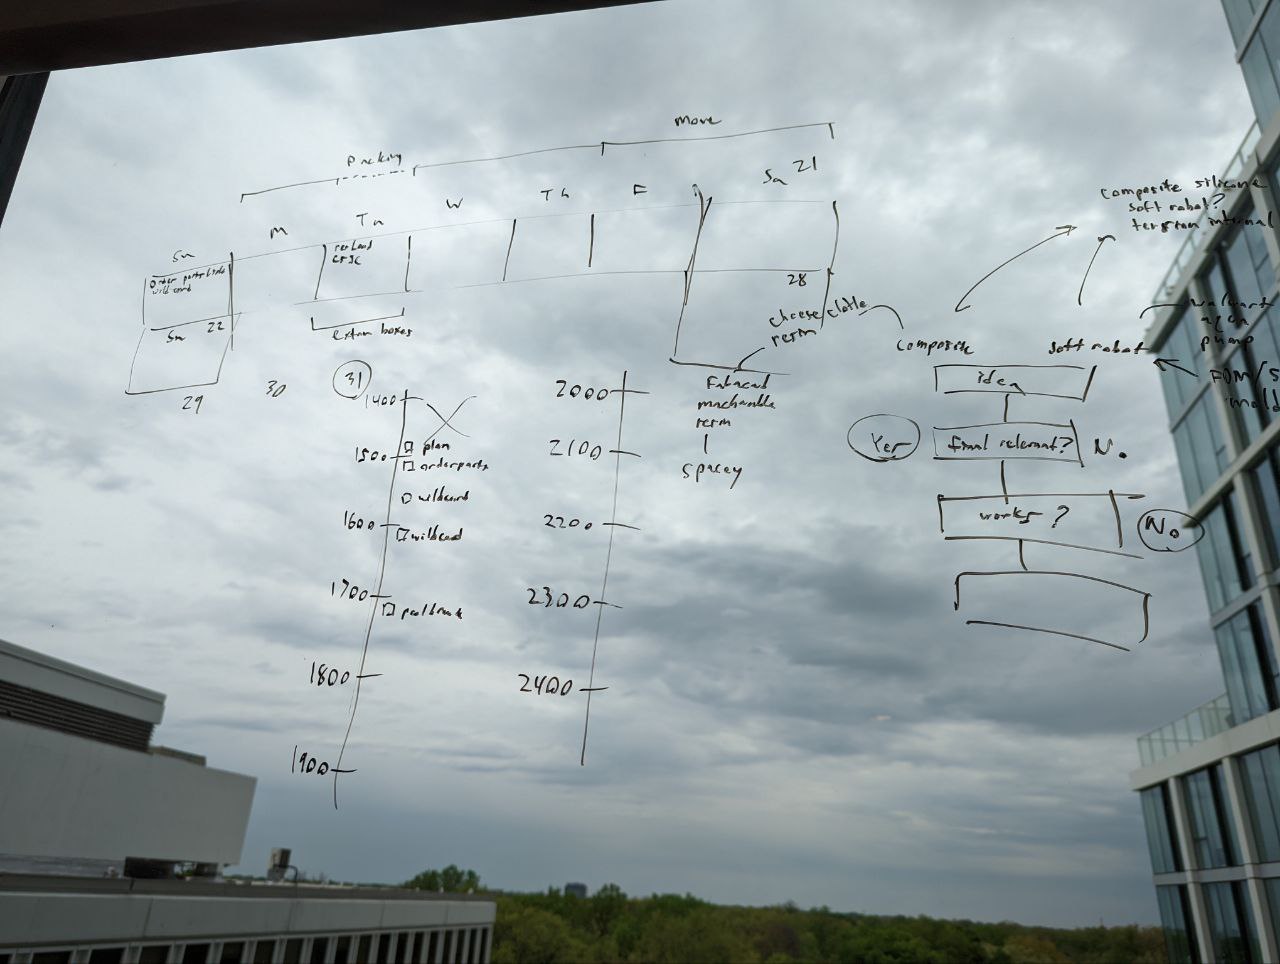
- map out what to do this week
- make sure it’s relevant to the final somewhat
- make sure it’s something I can do quickly
- obtain materials
- cad model if it’s quick
- cast
- insert pump
- test
planning >

flavor >
Wild card week is a special kind of torture. So many different directions, so little time. There’s always the summer I suppose haha.
soft robotics principles >
over these past few months, something I’ve learned very quickly is that the basic principles of a design paradigm/fabrication technology are paramount to getting things to work quickly and efficiently, but are also less complicated than they appear. soft robotics are no different!
I did some research into previous hello-worlds and beginner tutorials to understand some of the underlying principles.
uv photopolymer + silicone curing >
ran across an important nugget of information that would’ve really helped mold week:
clearly, I’ll need to use some sort of interface layer or secondary proc/moldStar16Fastess in the future to enable mold making for silicone w/ SLA.
materials >
I recall someone during mold week said that oomoo has a brief shelf life (but didn’t go into detail about how long “brief” was), and that it might impact mold star fast 16 as well.
It’s been a hot minute since I’ve used the smooth-on products I purchased for that week, so this seemed like the perfect time to test if my materials were still good.
cad model >
after studying some of the hello-world examples others had, I noted that a claw was the most common (actually, only) design. Many used claw designs from some of the getting started pages. There was an interesting one that combined flexible electronics w/ their claw/finger, which is something interesting to me.
I decided to cad my own model, using the variable pattern in Solidworks to design in a variable relationship between air pressure, compression force, and positioning (however, these traits have yet to be evaluated).
Idea is that if I can vary the pitch and length of the branches coming off of the trunk of each finger, I can move away from the linear relationship presented in the hello-world files that some of the getting started pages provide, and move towards a custom relationship.
video_2022-05-17_00-18-31.mp4
future spirals >
Though I likely won’t have the time to tune them for the final project, one possible future spiral is to create a fractal behavior that creates tighter and tighter grip towards the end of the tool. This could be useful for grabbing both big and really small things.
Something that might be more practical for IC pick and place is creating a nozzle geometry instead of a claw geometry, maybe like a suction cup. In fact, a suction cup may eliminate the need for an air compressor, which has interesting implications for eliminating parts, pneumatic piping, and the mass of the tool. Add onto that a variable suction cup that can handle multiple sizes, and you have another tool that is good for grabbing all sizes of ICs.
slicing >
I have been using the Cura 6 beta for recent prints. The most interesting feature that has come with the new version is variable extrusion width, which is great for parts that have both large and small features alike. Again, an indication of flexible tooling that reduces need for toolchanges. In addition, it is somewhat aligned w/ what Neil says when he talks about curse of dimensionality, and the tradeoff between time and resolution.
Cura 6 is also more intelligent about necessary extrusion based on wall/infill type and feature size. This is typically a good thing, but in this case, the print model was sliced with gaps within the walls.
print >
The first print had some issues.
gaps >
As mentioned prior, there were gaps between the walls. This is unideal because the tooling is supposed to be solid, to create channels within the claw. I also noticed under-extrusion in the top layers (what is visible).
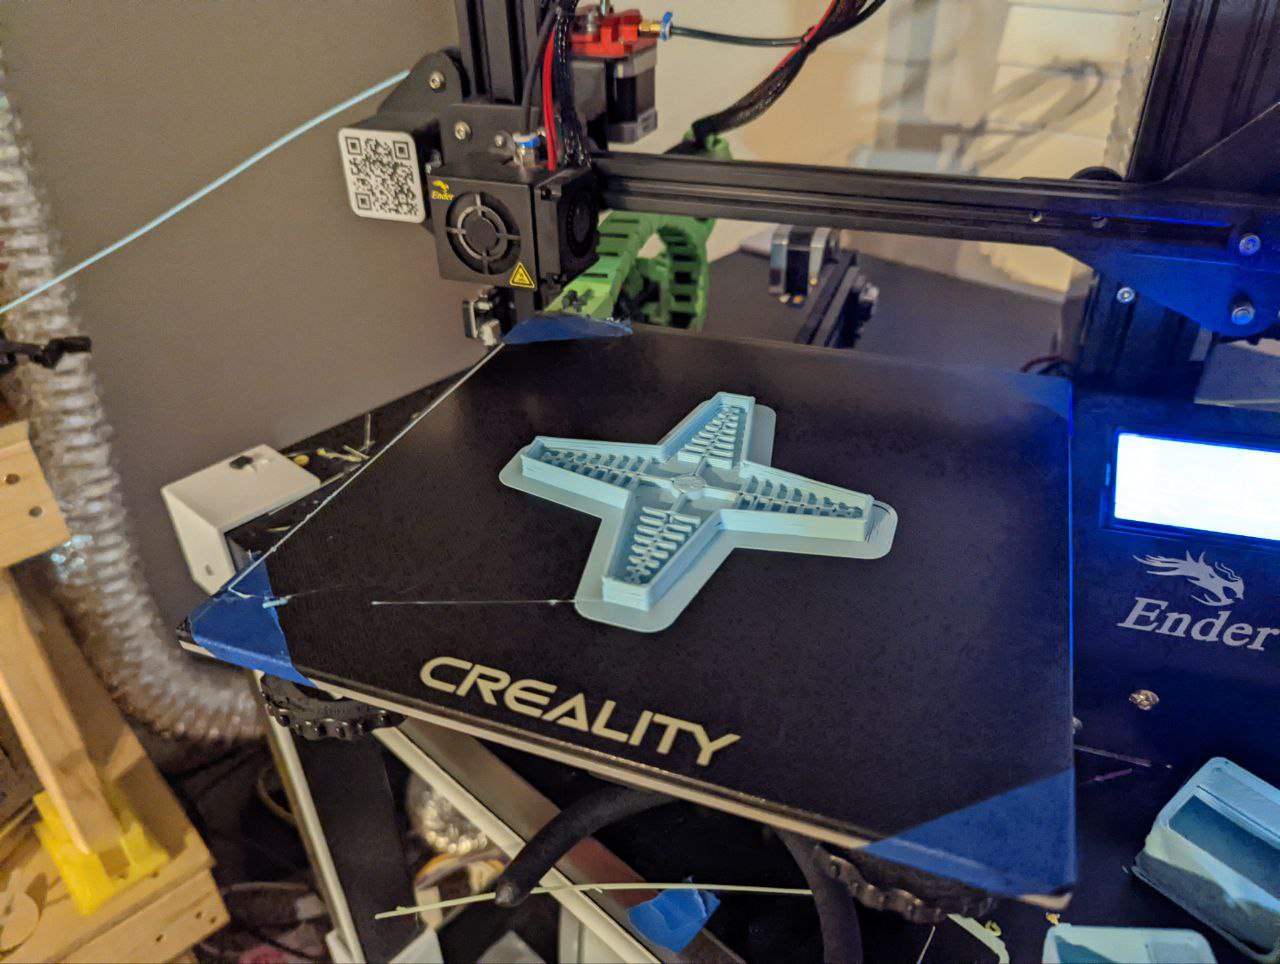
this was an easy fix. I went back into solidworks and added blends to the top surface, which I suspected would move the wall lines in-land, covering the gaps created by previous layers.
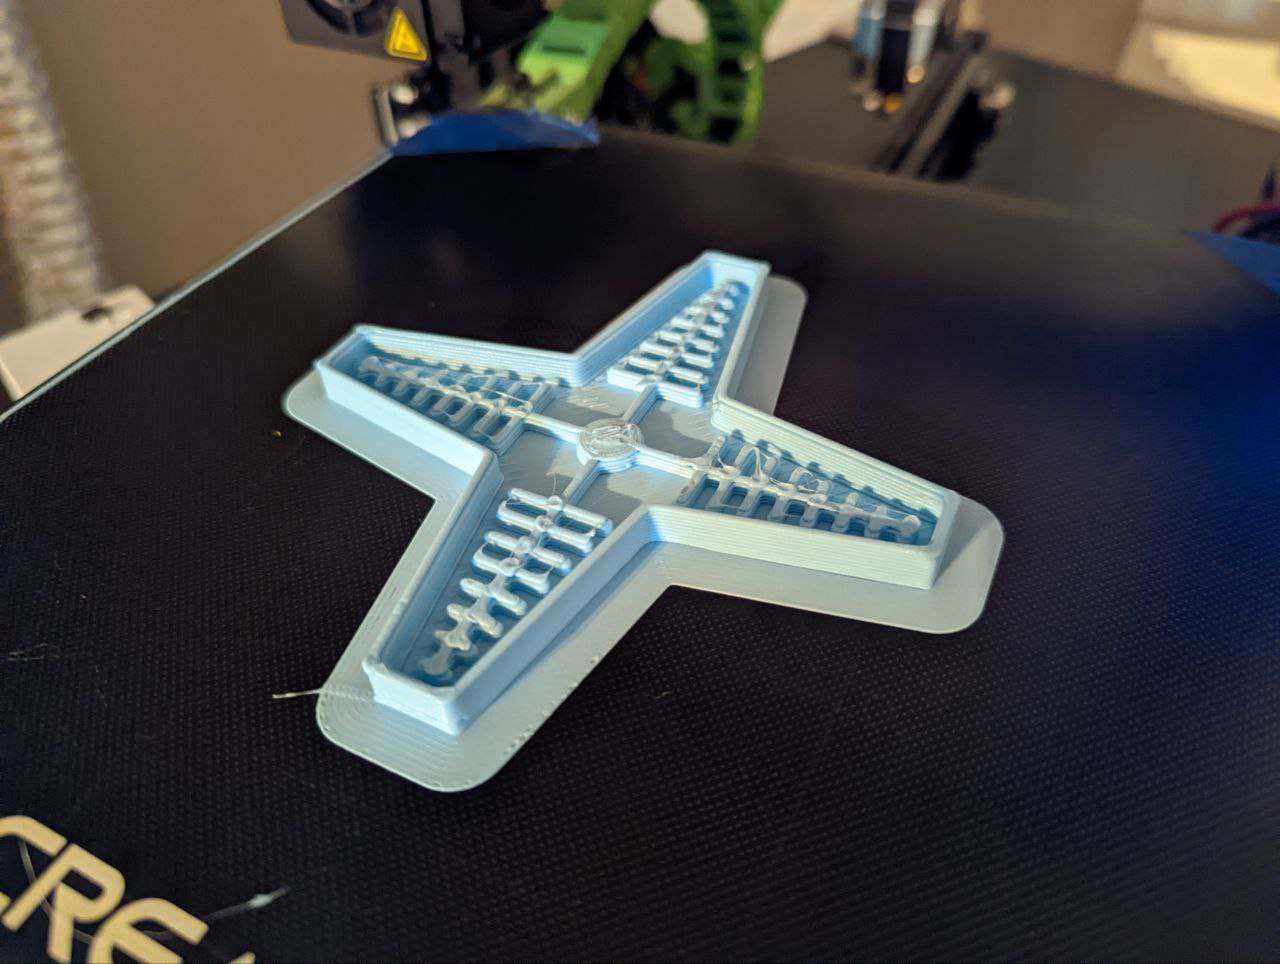
I was right.
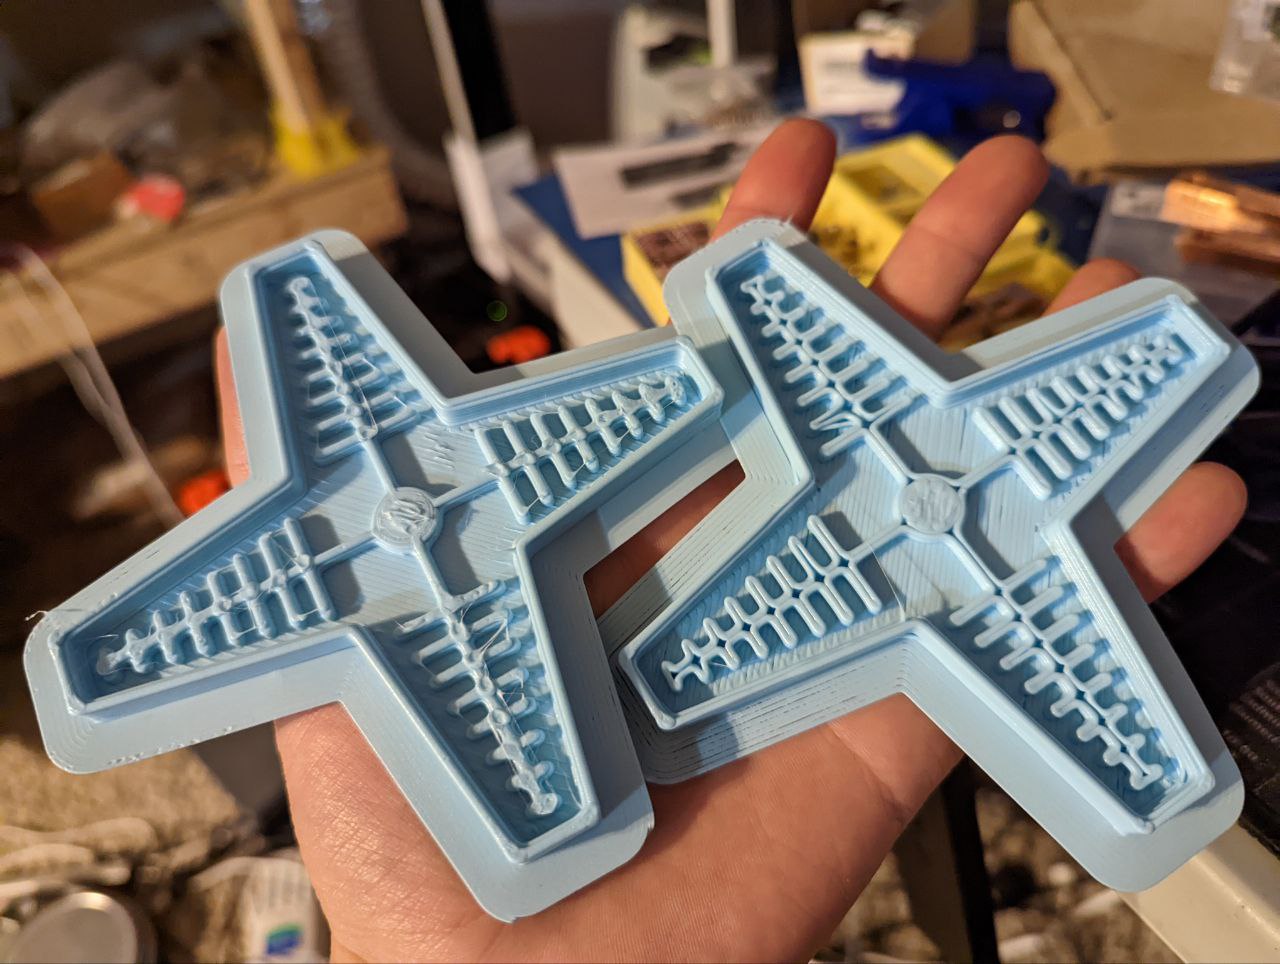
underextrusion >
I’ve been dealing with some under-extrusion problems (which I should devote its own page to), and recently fixed some of these issues. However, it appears I didn’t fix all of them! Some context:
1.0mm nozzle 0.8mm layer heights, initial 0.32mm 1.0mm wide lines typically PLA @ 230C 25mm/s
previously identified issues:
- brass hob gear had worn down over time and created a channel on the gear that reduced traction on the filament, likely leading to more slipping and grinding of the filament
- this was replaced w/ a steel hob gear
- I was still using the original spring that came w/ the ender 3 initially (silver). A common issue w/ these springs is that they weaken over time
- this was replaced w/ a stiffer spring (yellow)
- there was still a lot of filament dust that accumulated at the entry of the extruder, which I later figured out was due to friction in the filament path
- this was caused by how I ran the filament to the extruder (sat ontop of the ender 3), which led to an intense curvature that rubbed the filament against the lip
- I used one of the filament holders for the MMU2s for the Prusa Mk3s that hadn’t been used in awhile, which has skateboard bearings (808?), and placed it on another table
- this provided low friction rolling for filament
- this also lead to a very straight filament path
- awhile ago, but I typically run my PLA at 230C these days on this printer
- partially due to new-ish temperature recommendations from Inland and because I’ve swapped to PolyTerra PLA from polymaker, which has a similar recommendation for temperature
- higher temp = less likely to under-extrude due to not properly melting the filament
These fixes mostly solved my issues, but not entirely.
The one fix that helped this time around was lowering my (already low) extrusion speed:
25mm/s down to 15mm/s
If I can find the resources, I will link.
wide nozzles (1.0mm) are great for getting prints out quick, but create additional challenges that must be compensated for. due to the larger cross-section of material that needs heating, your hotend must be able to deliver the energy to the material before it exits the meltzone.
this can be achieved in several ways:
- better hotend (higher thermal conductivity material, higher surface area for thermal transfer, longer melt zone, etc.)
- slower printing (to increase time in meltzone)
- …go to a smaller nozzle :P
that’s an entire topic that is very interesting to me. But I digress.
cast >
I initially identified moldstar fast 16 as a material that was for all intents and purposes, harmless (probably something you still don’t want to ingest, though). I used this to justify moving my operation to the bathroom; previously, the materials lived in my diy fumehood for SLA printing. moving to the bathroom greatly reduced PPE usage and increased spiral iteration. I also discovered that I could reused some of the disposable measuring equipment, since the silicone would cure and be easy to remove.
something to note:
many of the soft robotics tutorials use ecoflex 00-20. I happen to have bought some awhile back (not sure if materials are still good), but lent them out to a friend. waiting to get them back tuesday.
00-20 is much softer than 16, on the shore hardness scale. will have to test to see if the 16 will function as expected, or if the material is too stiff and needs to be made thinner.
I had quite a bit of trial and error.
attempts 1 & 2 >
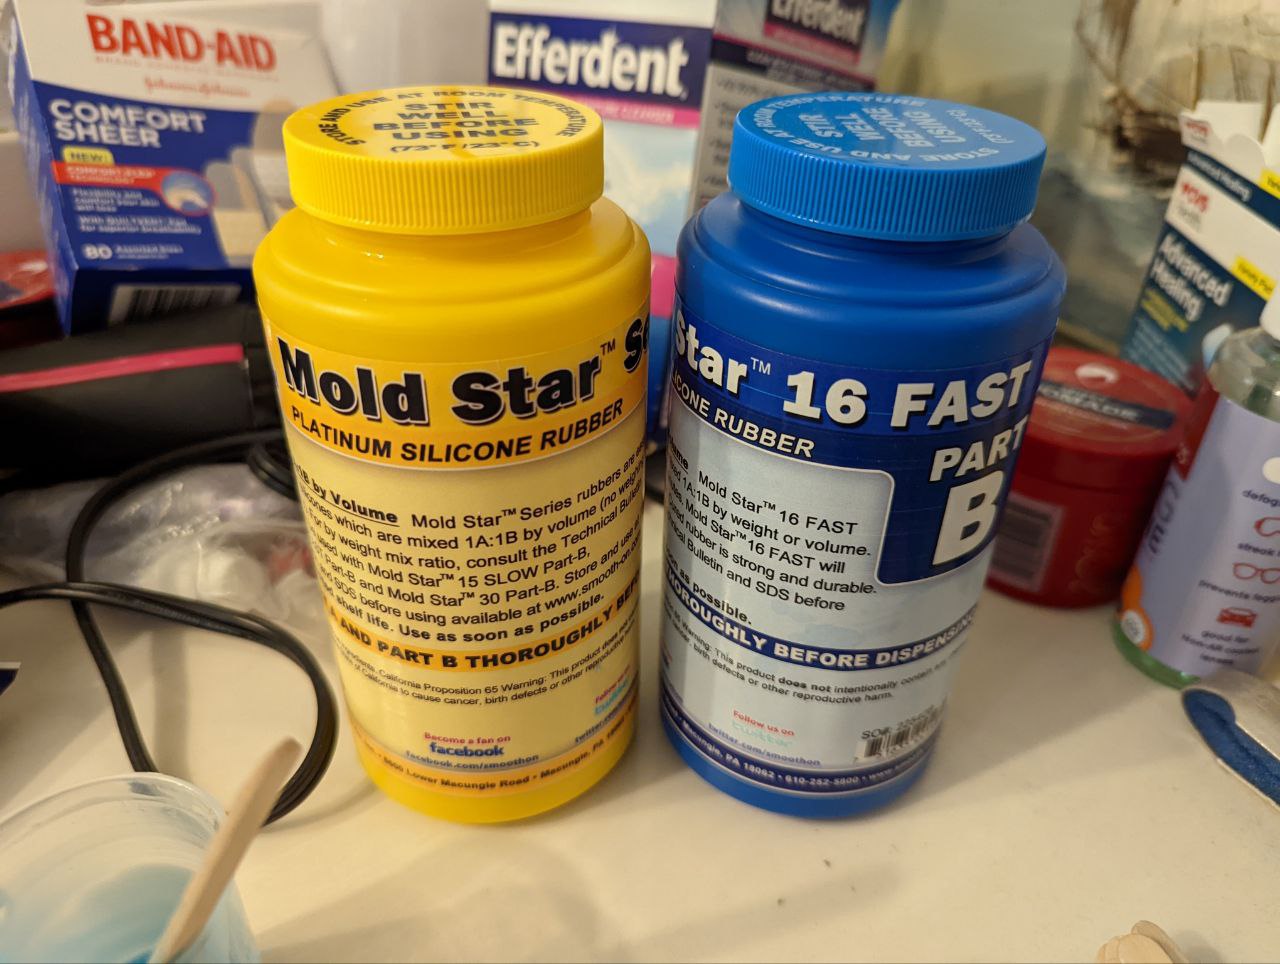
- first attempt I didn’t mix enough silicone
- I also misread pot life as mixing life, when in actuality pot = working. material cured too quickly and didn’t spread to rest of mold
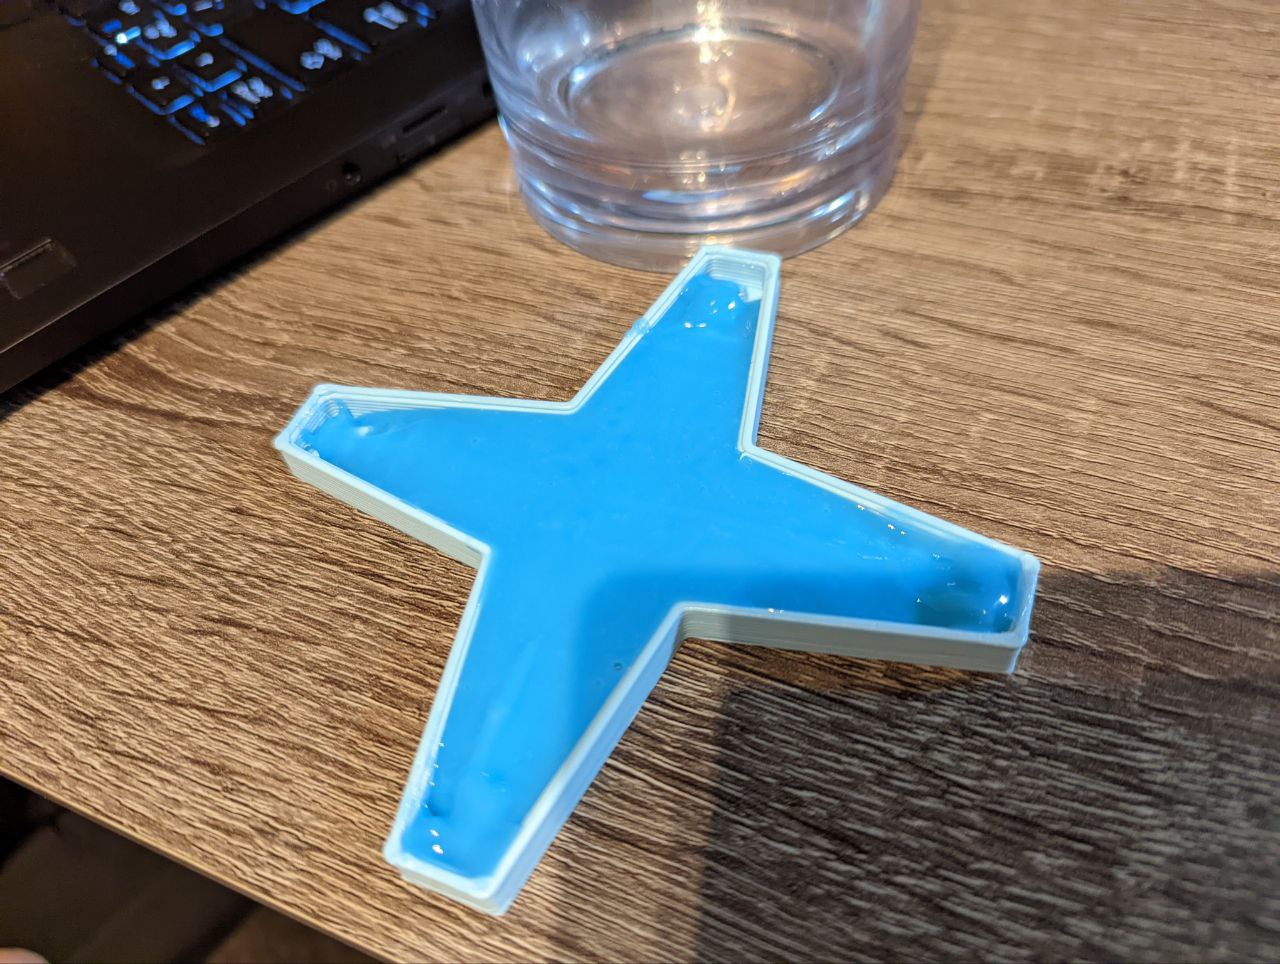
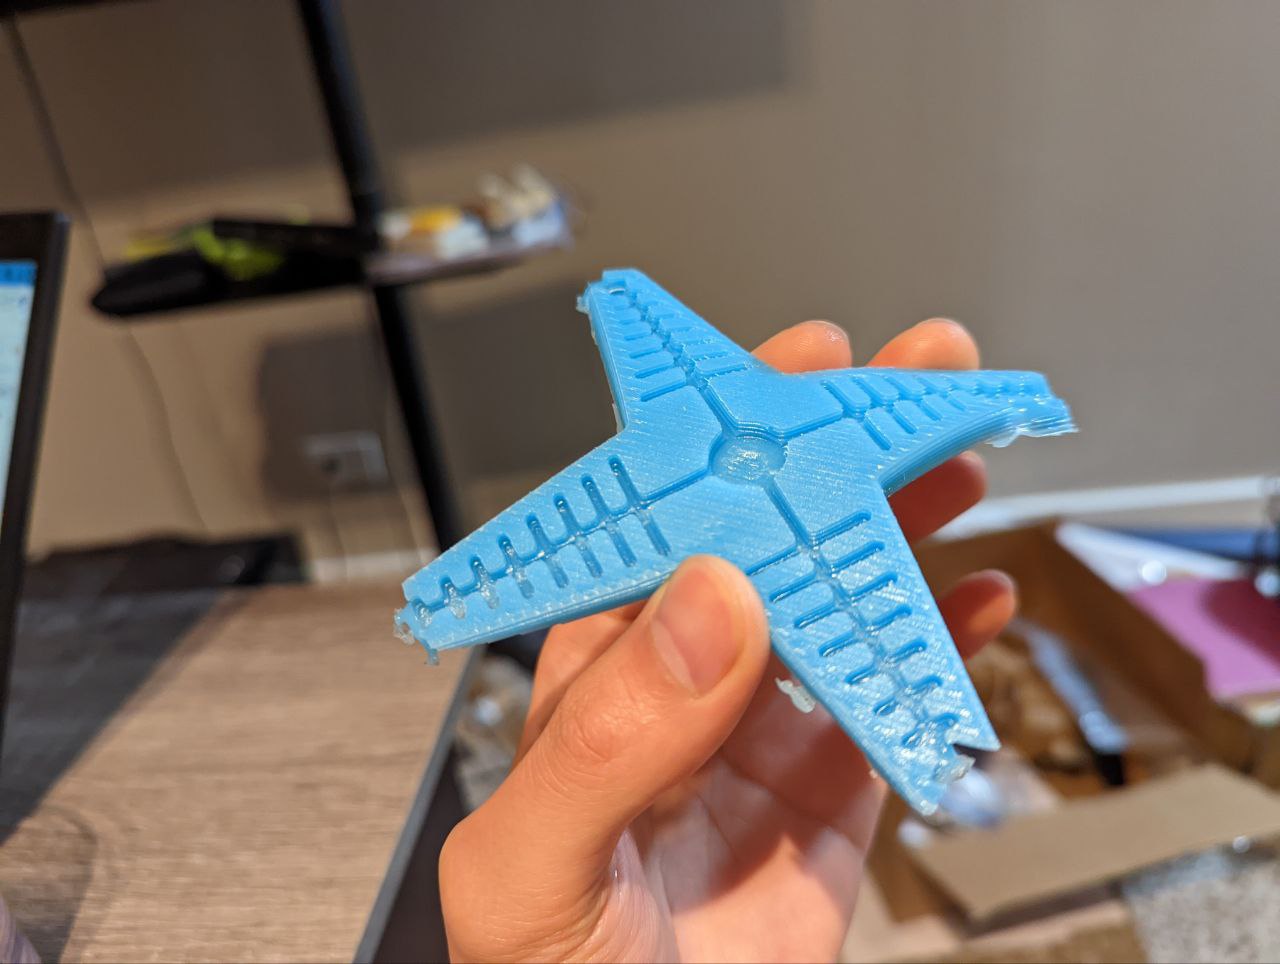
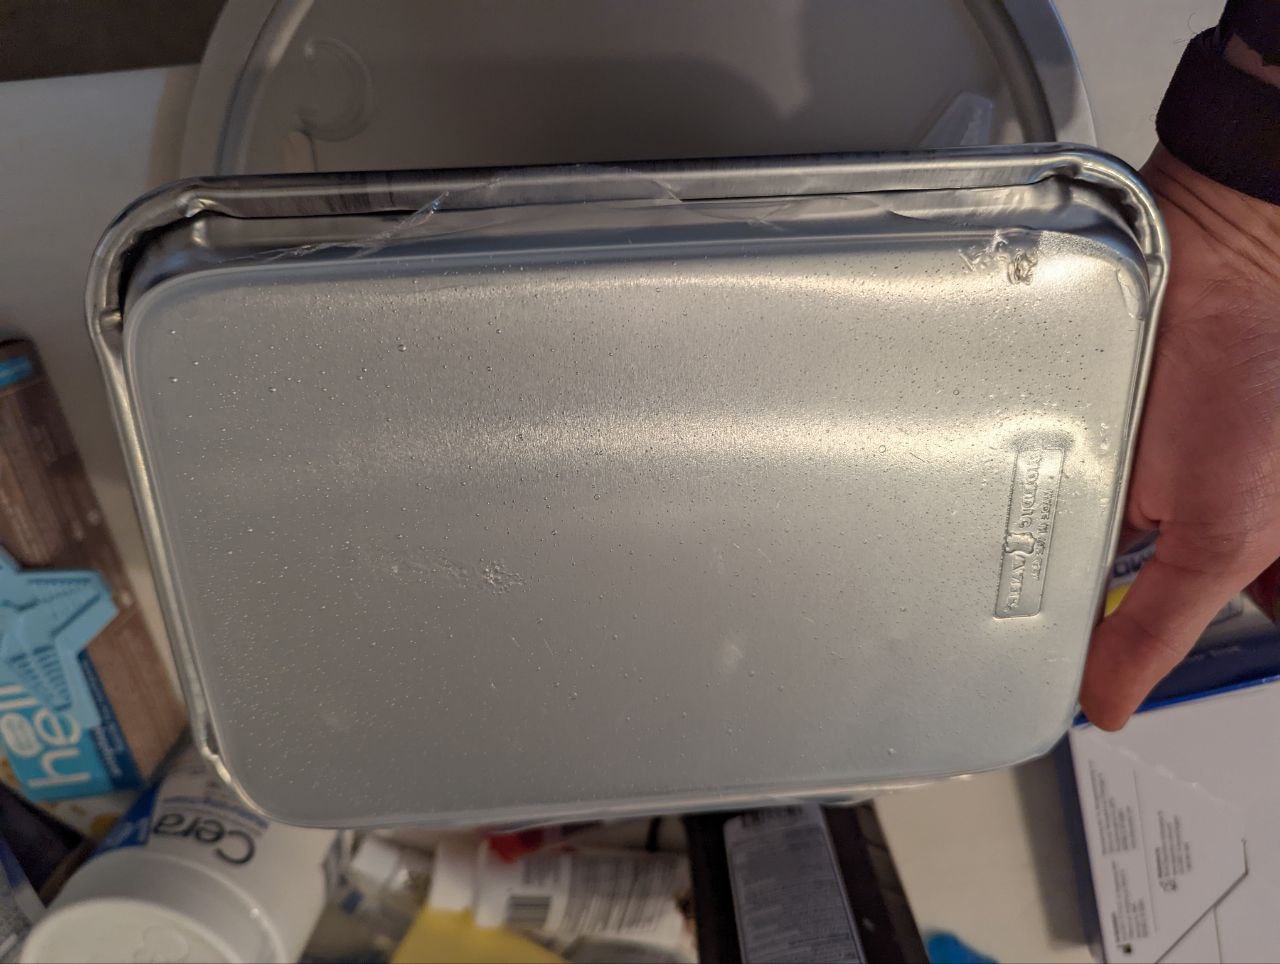
- second time, I mixed more than enough, but didn’t spread the silicone correctly on my aluminum pan
- needed to mix some more which I added to another mold (cover) I created, which would serve as the thin base for my claw
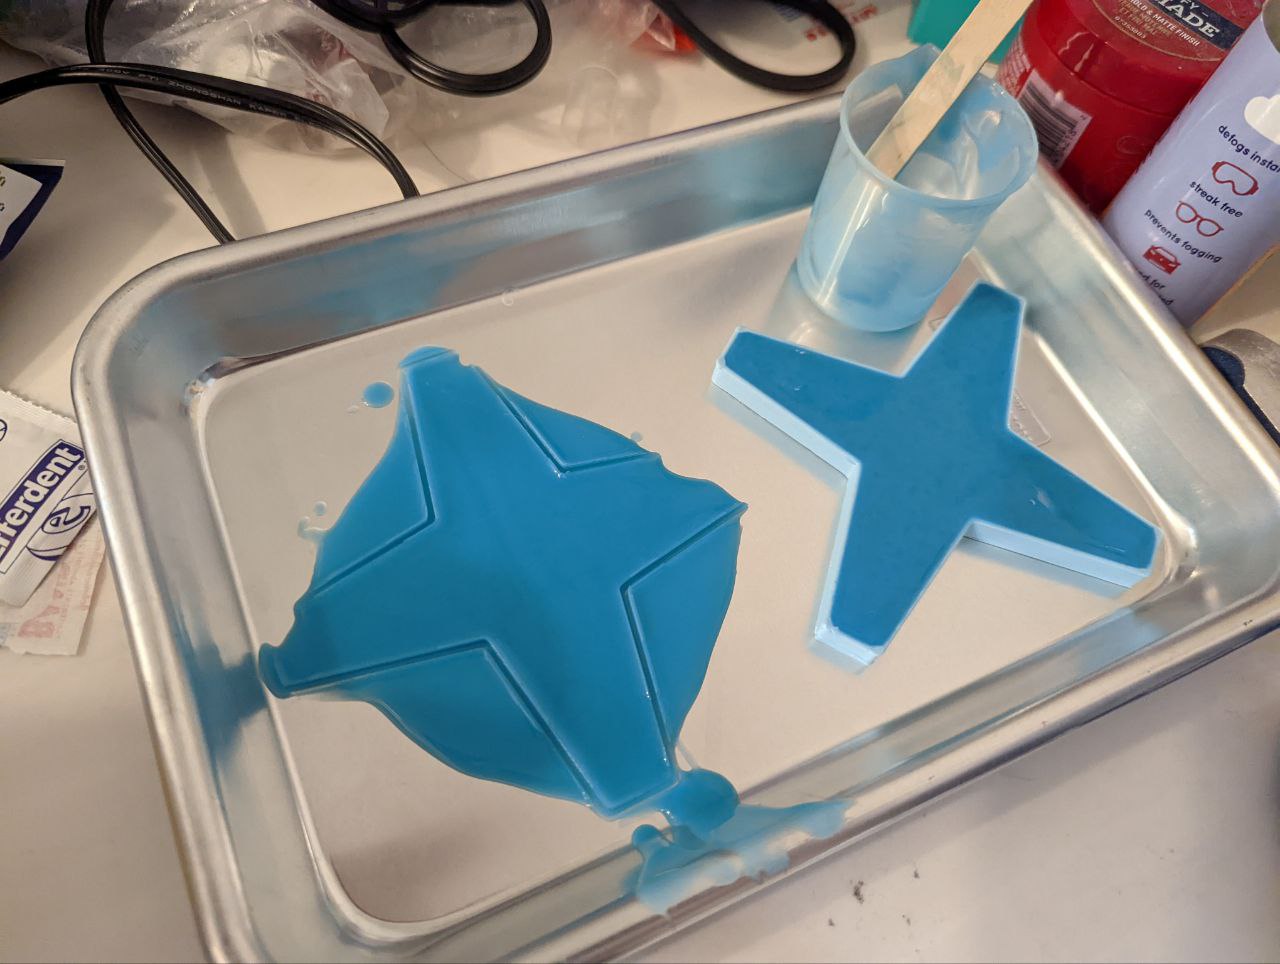
- tried technique to create a thin layer of silicone
- spread using a popsickle stick
- very uneven, though resulted in a thin, intact layer
- esp w/ mold star fast 16, can’t seem to even it out before pot time is up
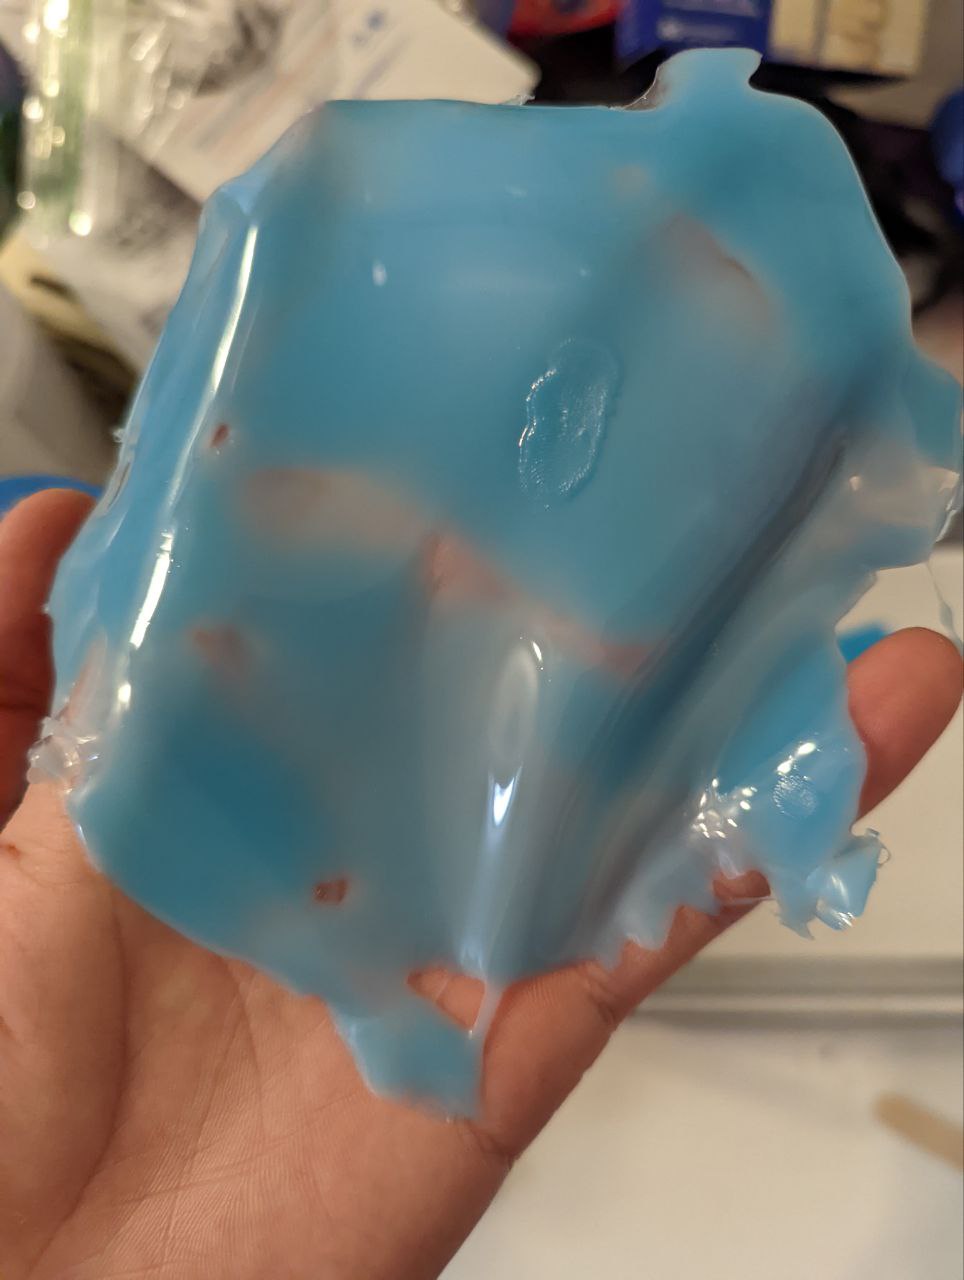
- designed mold to create something more exact
- however, this resulted in a thicker layer than I wanted
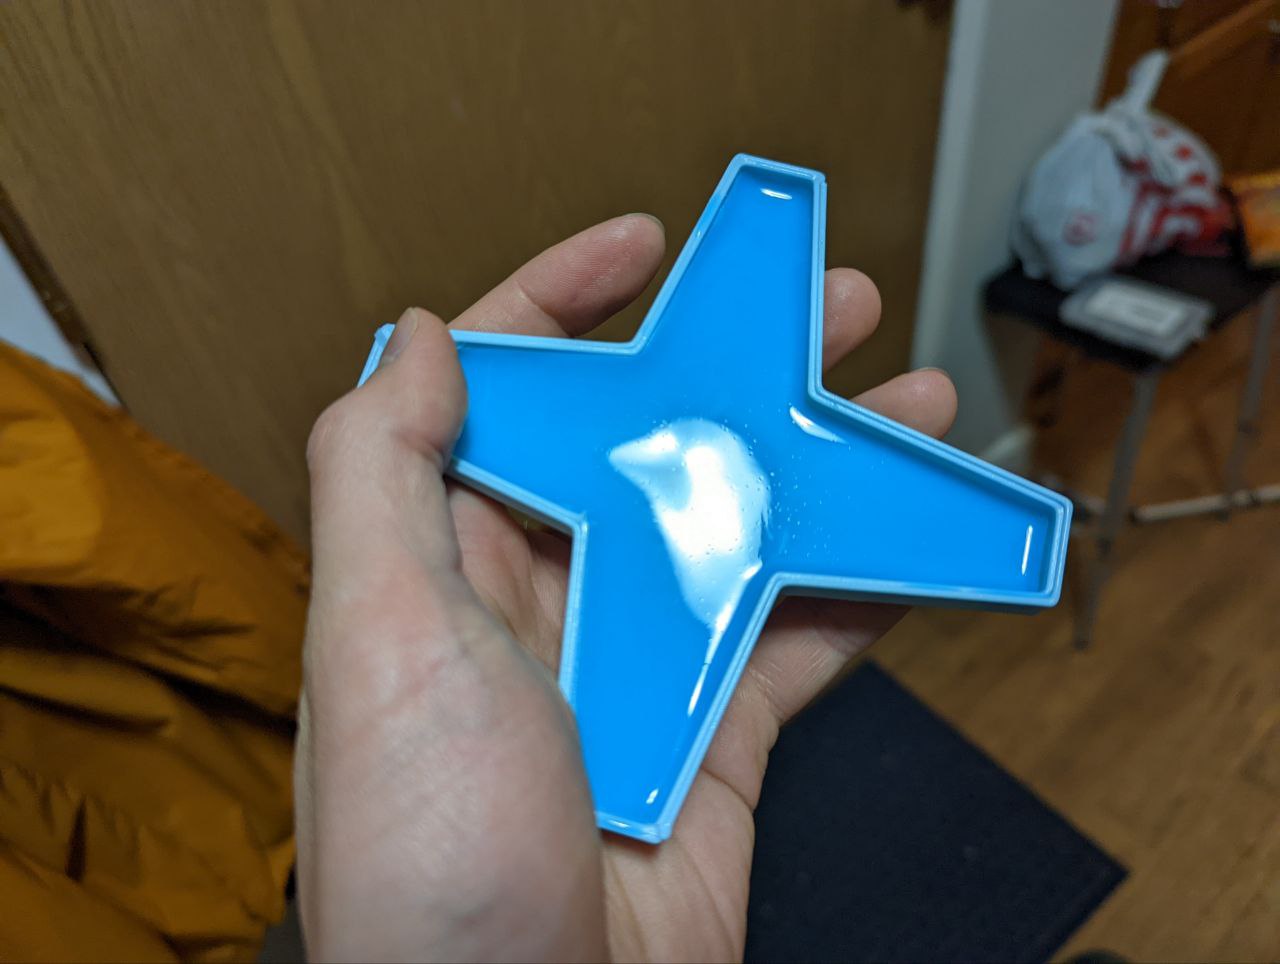
- removed the silicone from the cover, and did some silicone addition between the two finished parts by first adding a “glue layer”
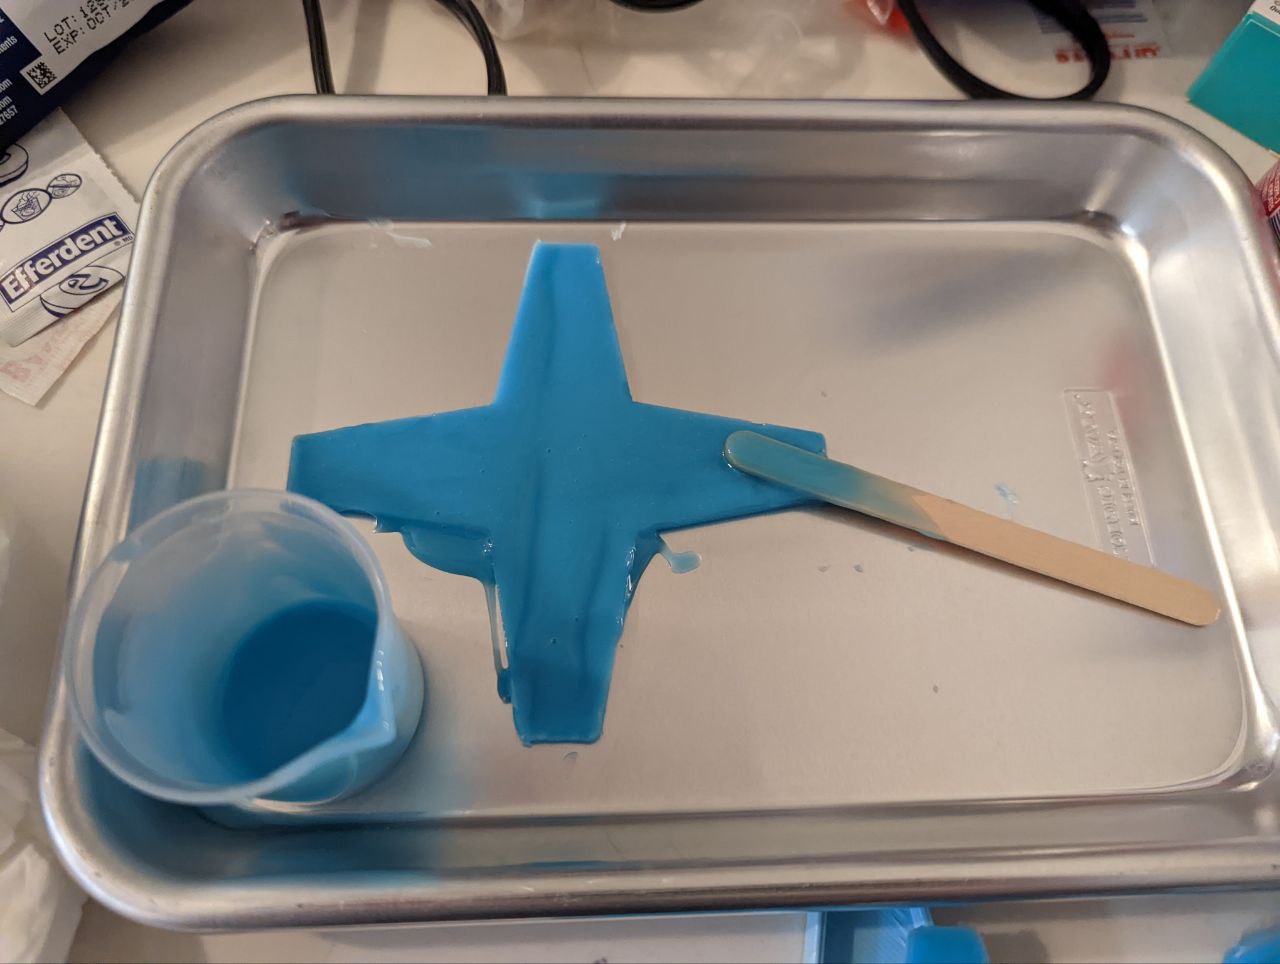
- then painting the borders
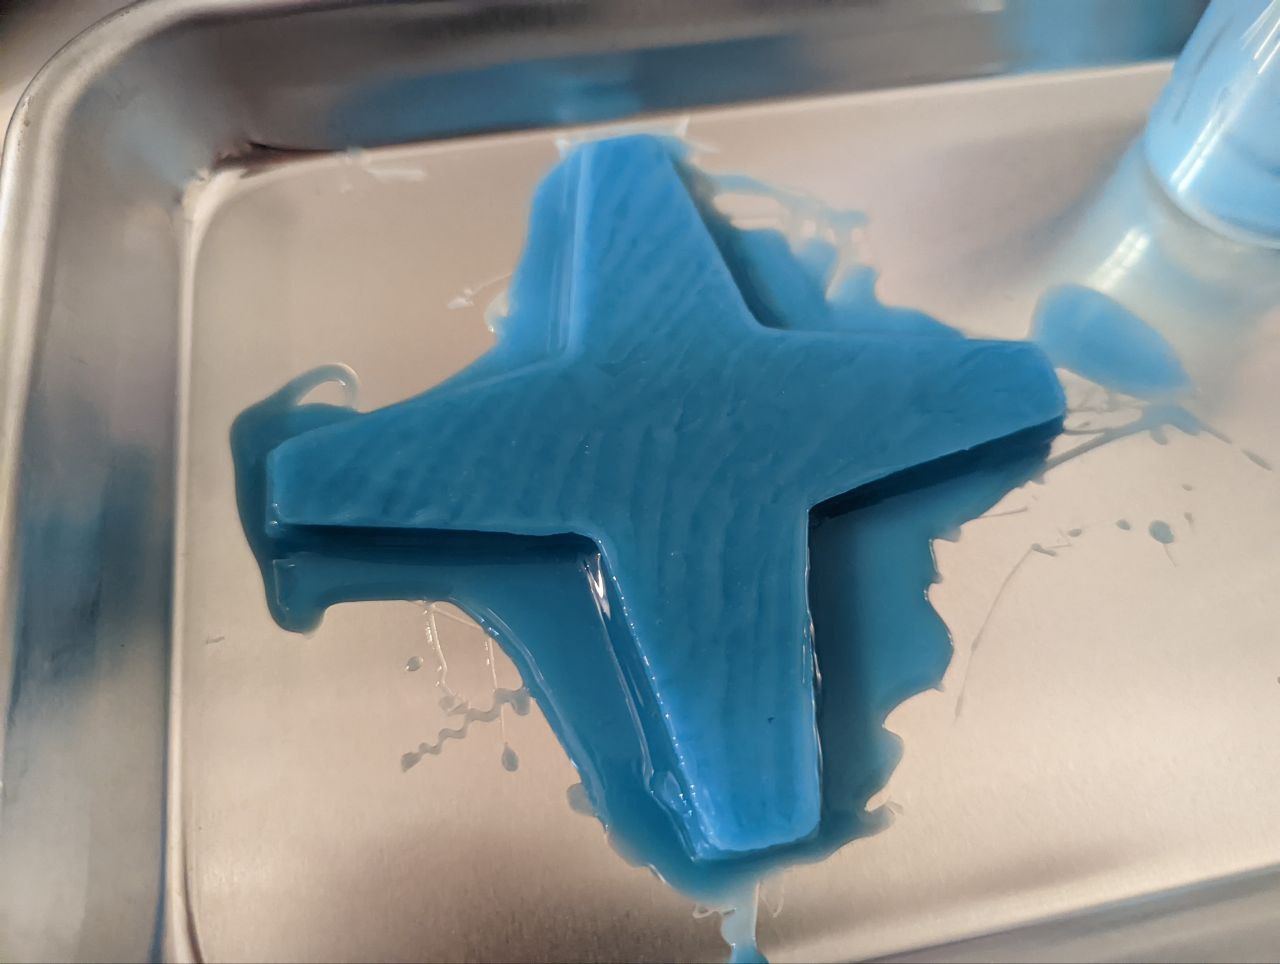
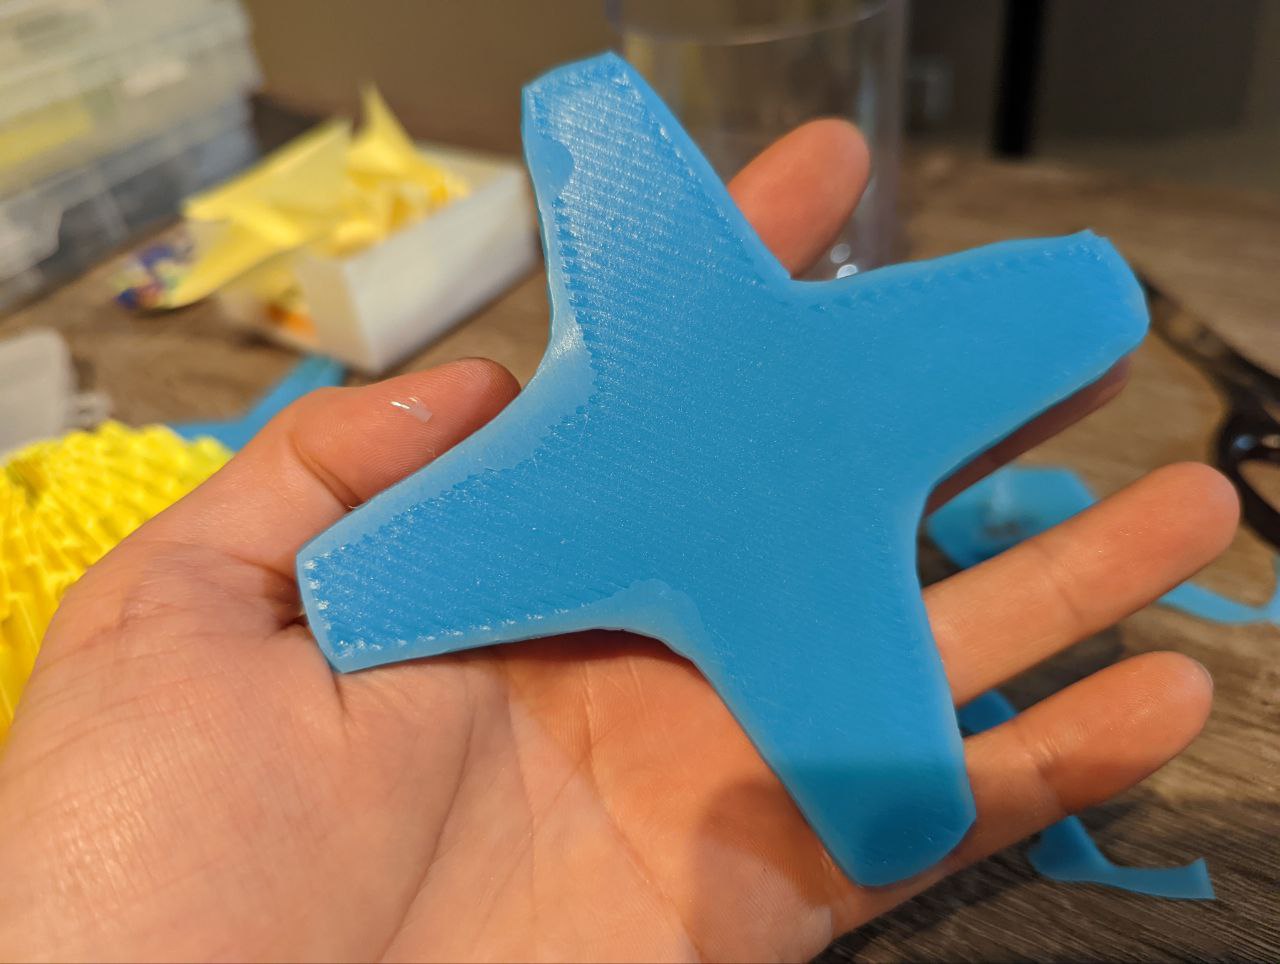
- finished cast, but needs singulation from excess material
- used scissors
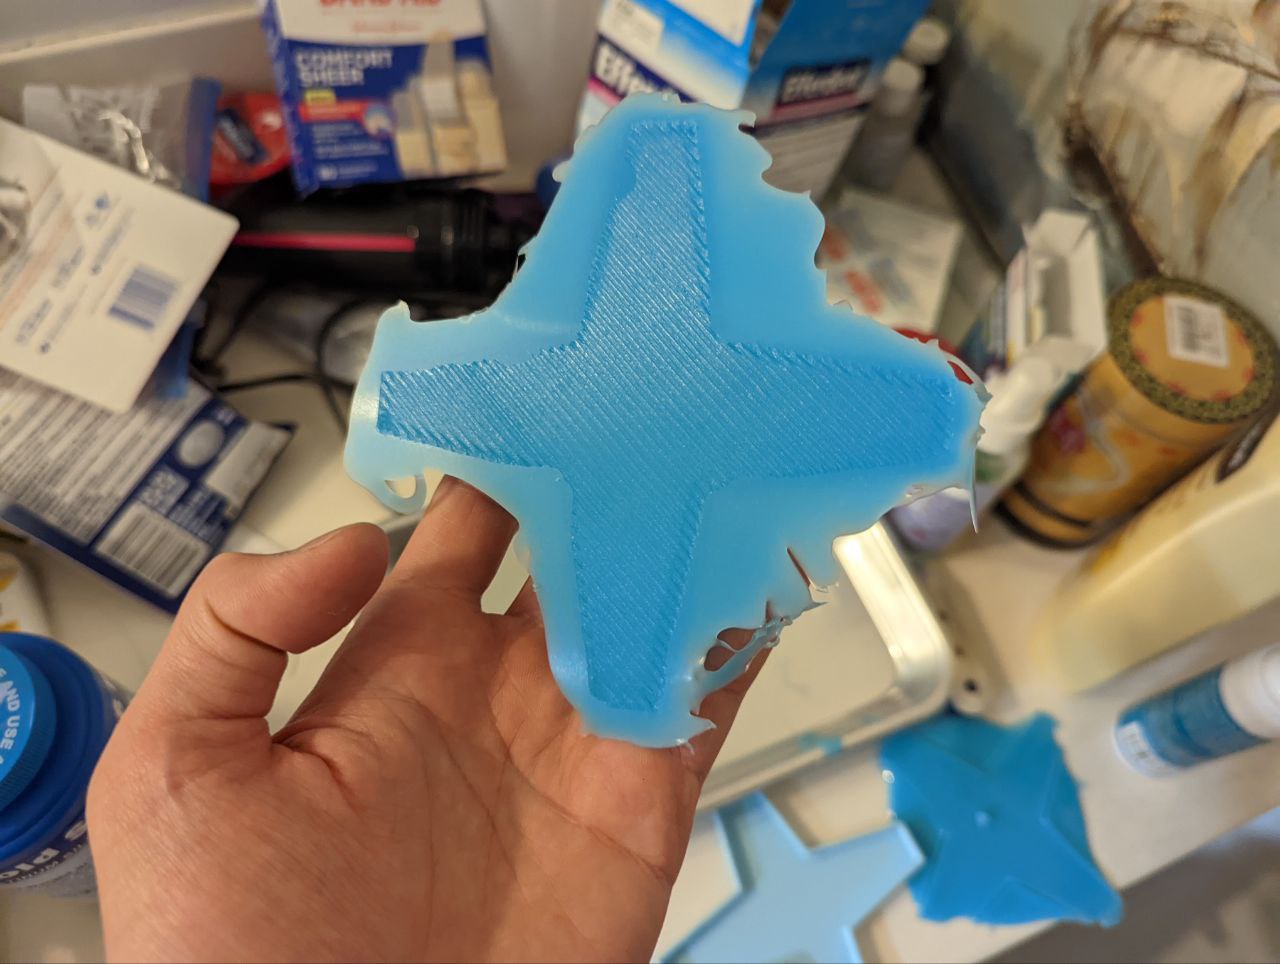
- voila! supposedly finished. appears sealed, but will test w/ syringe and tubing when I can find it/buy it later this afternoon?
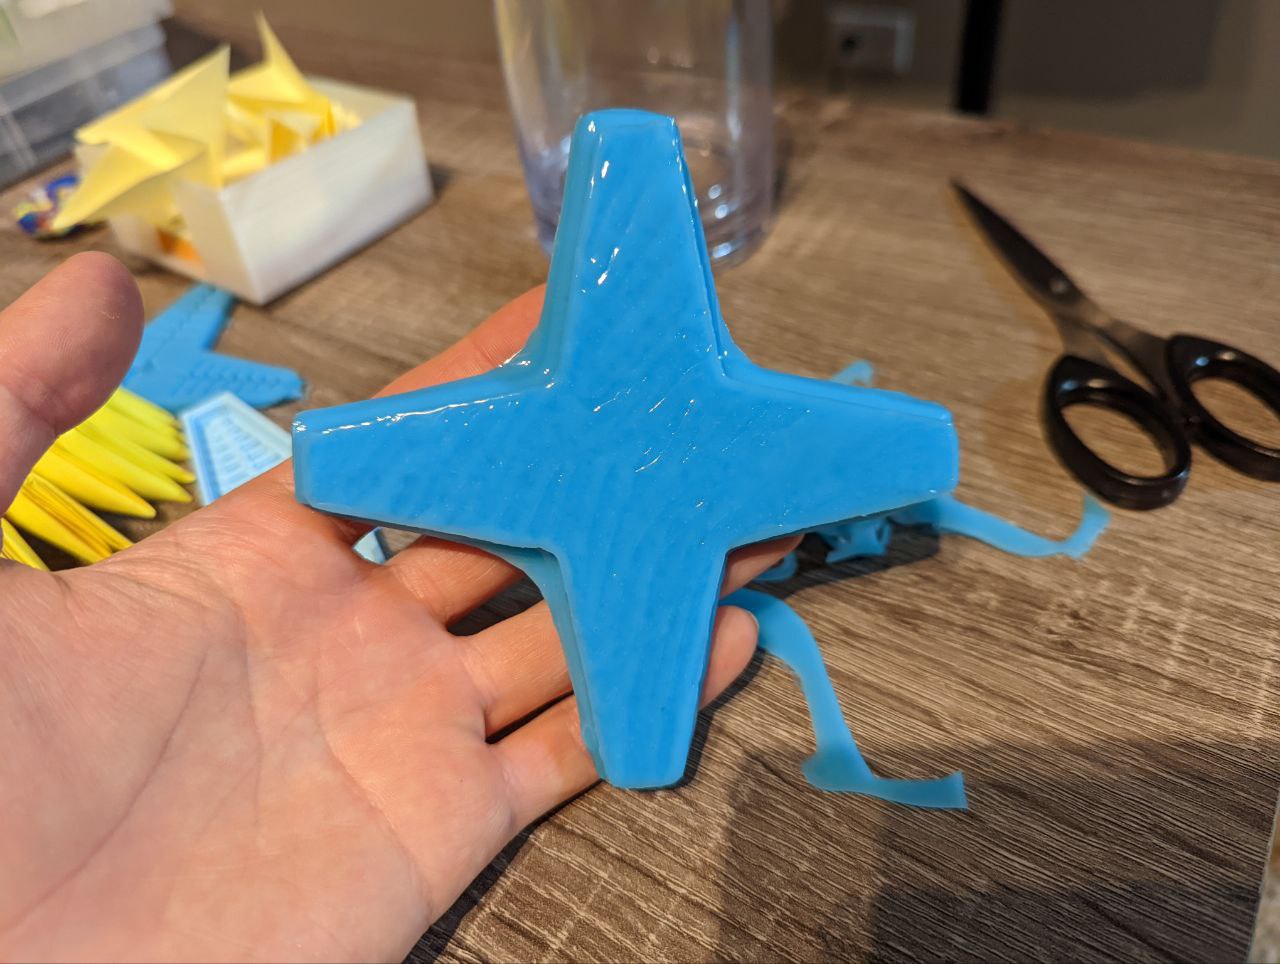
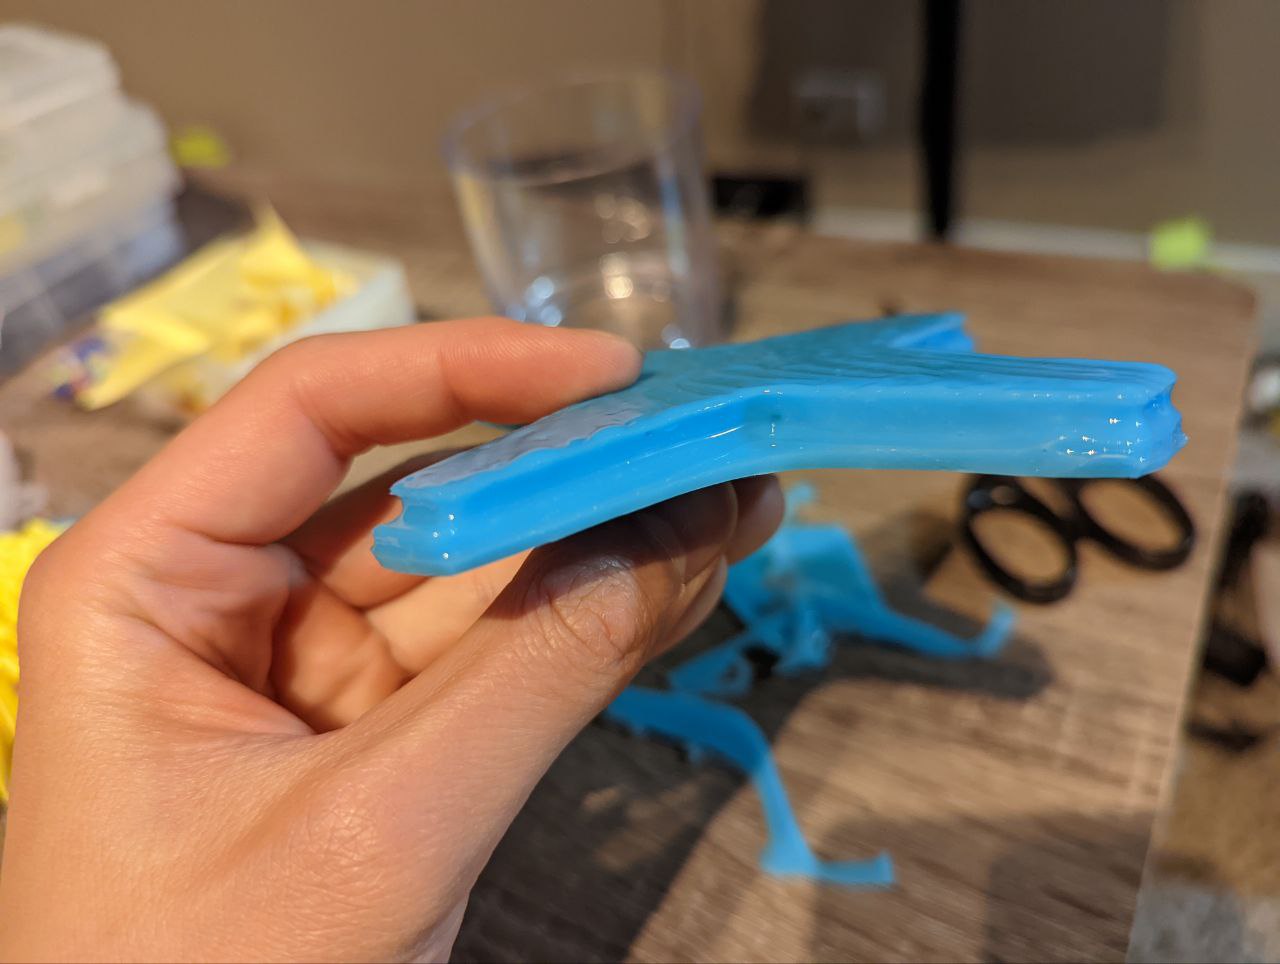
- got my hands on a syringe, heatshrink, and some PTFE tubing I had left over from a hotend assembly
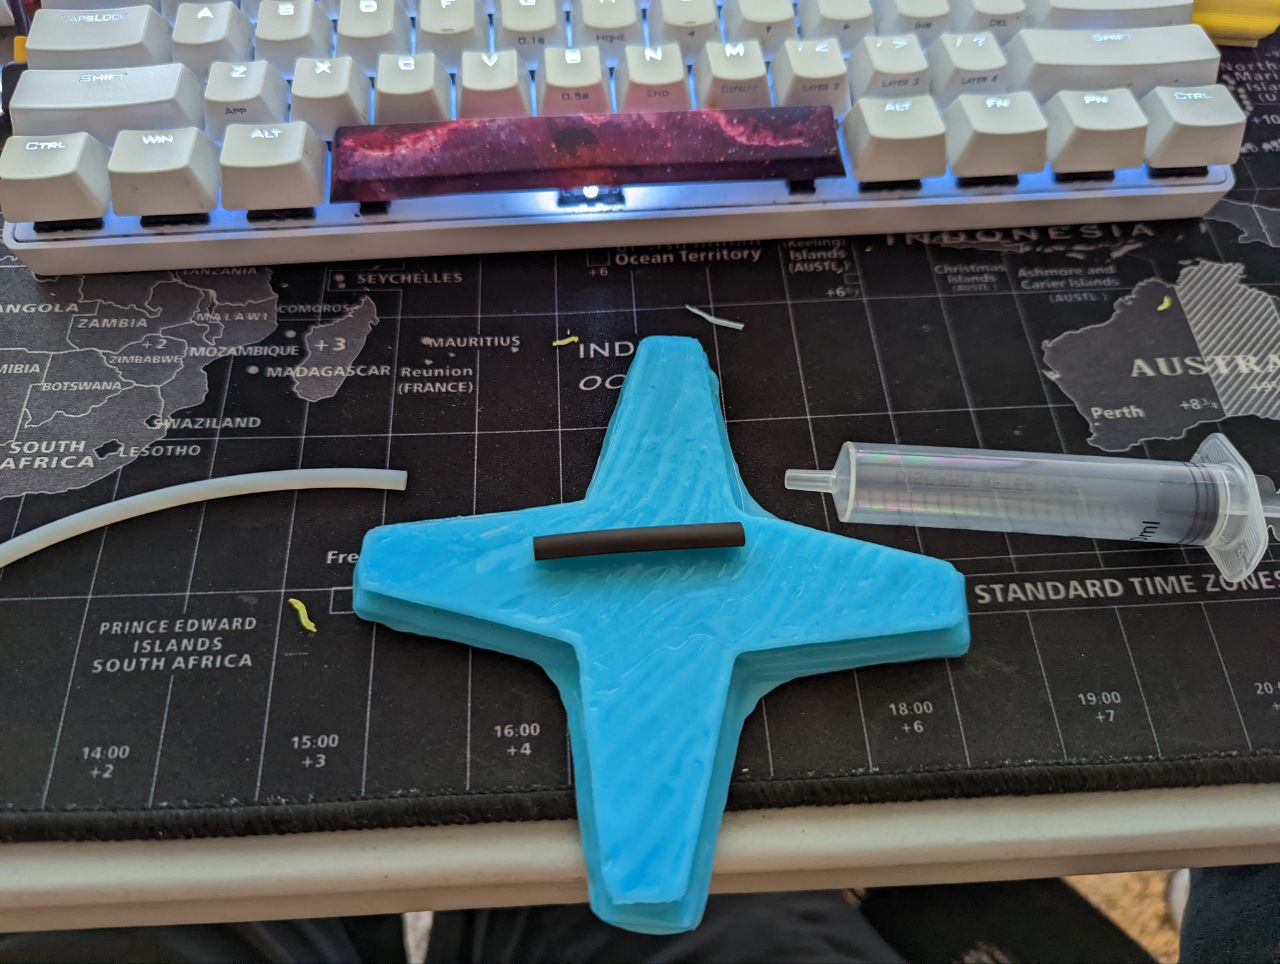
- first attempted to heat heatshrink, but the nozzles don’t have the correct features for this towork/heatshrink isn’t compliant enough to both fit and create a tight seal
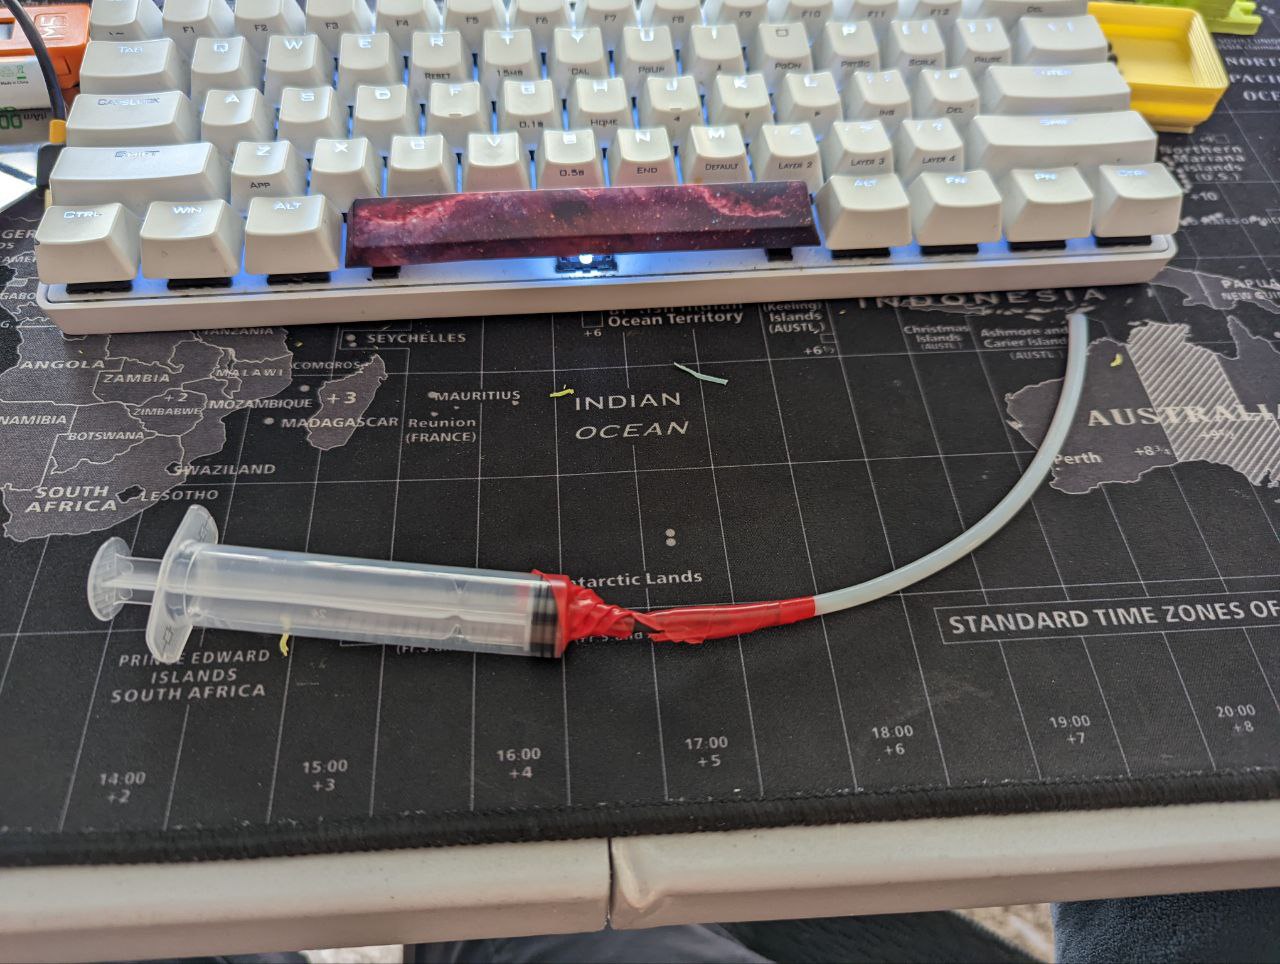
- ended up using some electrical tape I had lying around
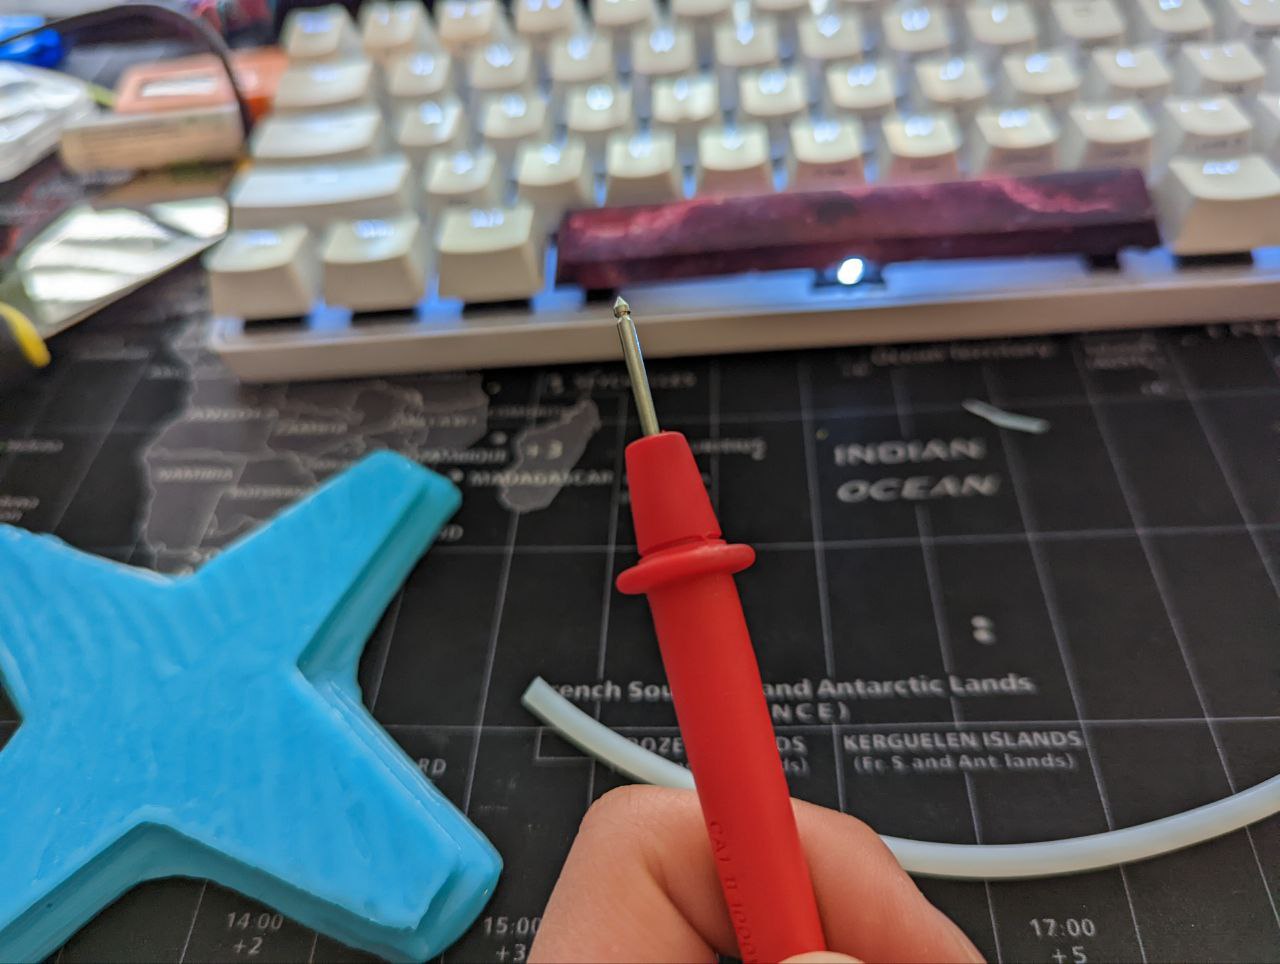
- wasn’t able to use the PTFE to puncture the silicone reliably, brainstormed a bit and identified one of the sharpest round objects I had (from experience…)
- worked great, resulting hole was small which was good for creating a tight seal
- unfortunately, the syringe setup didn’t work (seal was bad at the taped connection, but also pressure wasn’t high enough)
- I suspect I may have designed the silicone layers too thick
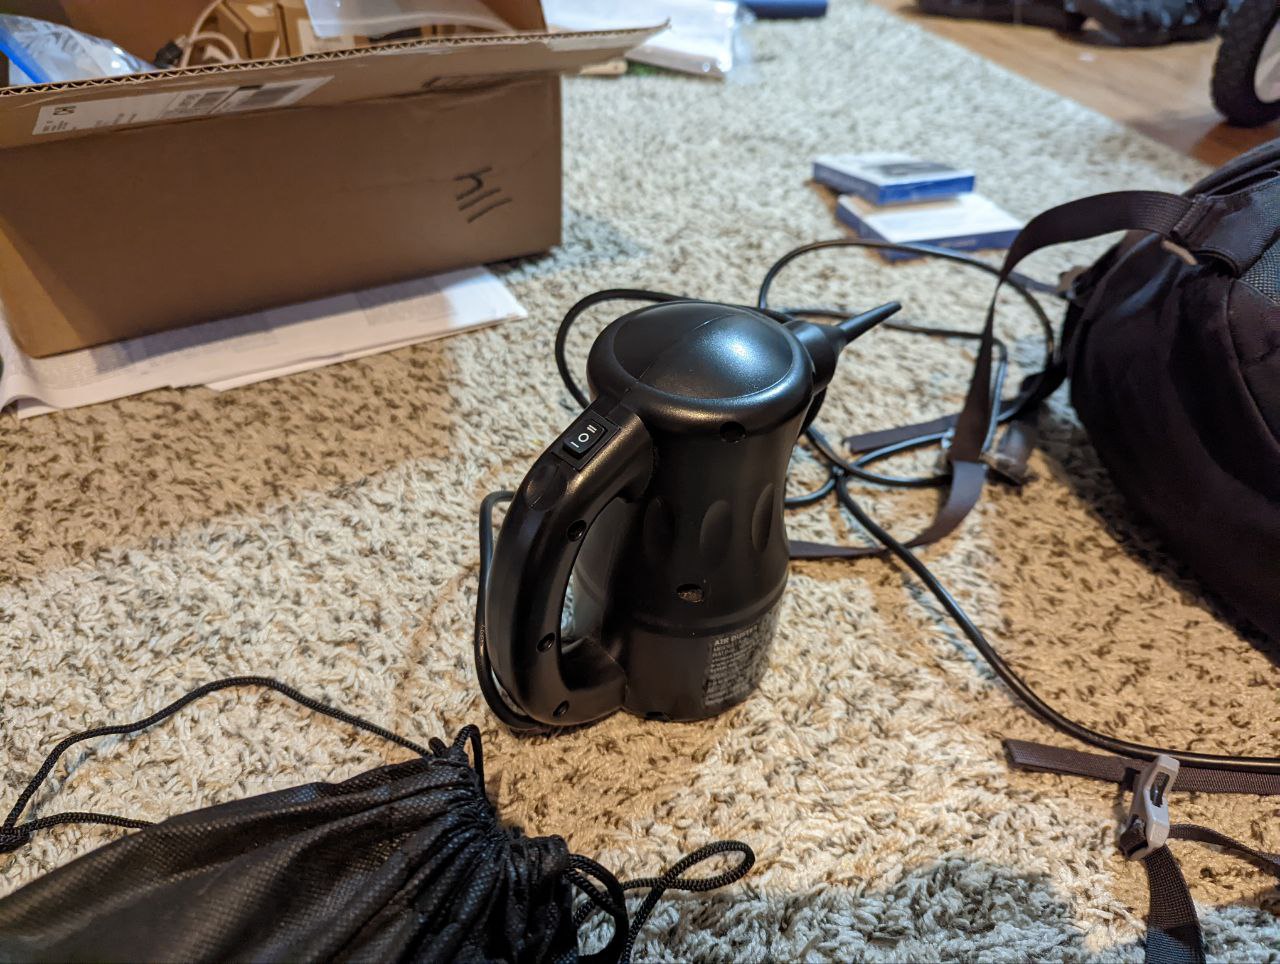
- I didn’t have a compressor on hand, but I did have this very powerful blower…
- it also didn’t work (walls definitely too thick)
attempt 3 >
- redesigned stuff in cad and made walls thinner and added a part that could be used to press and keep top silicone layer from getting too thick
- this would later cause issues with walls being too thin, but that’s not as bad since I can patch it
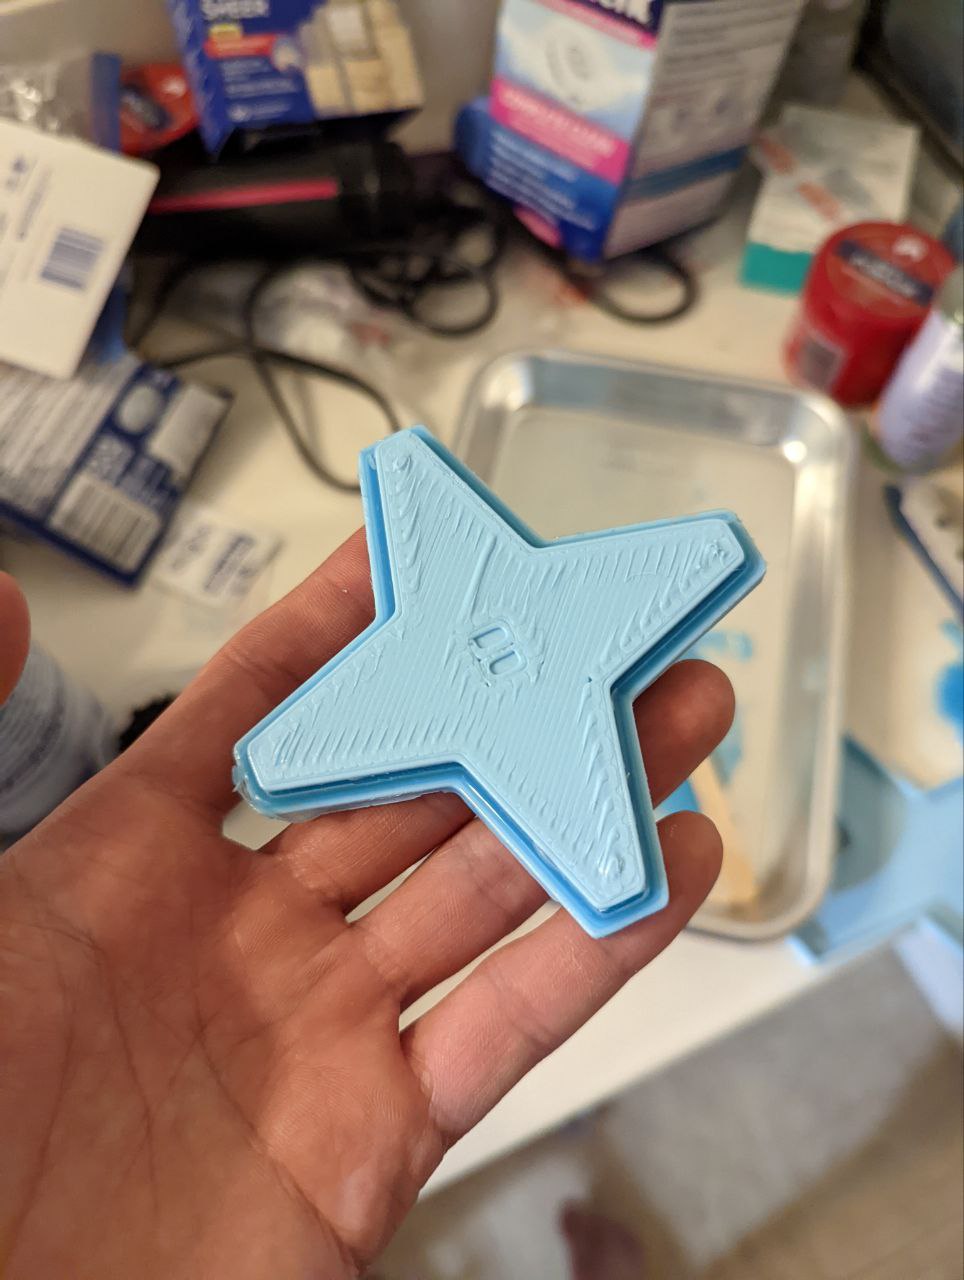
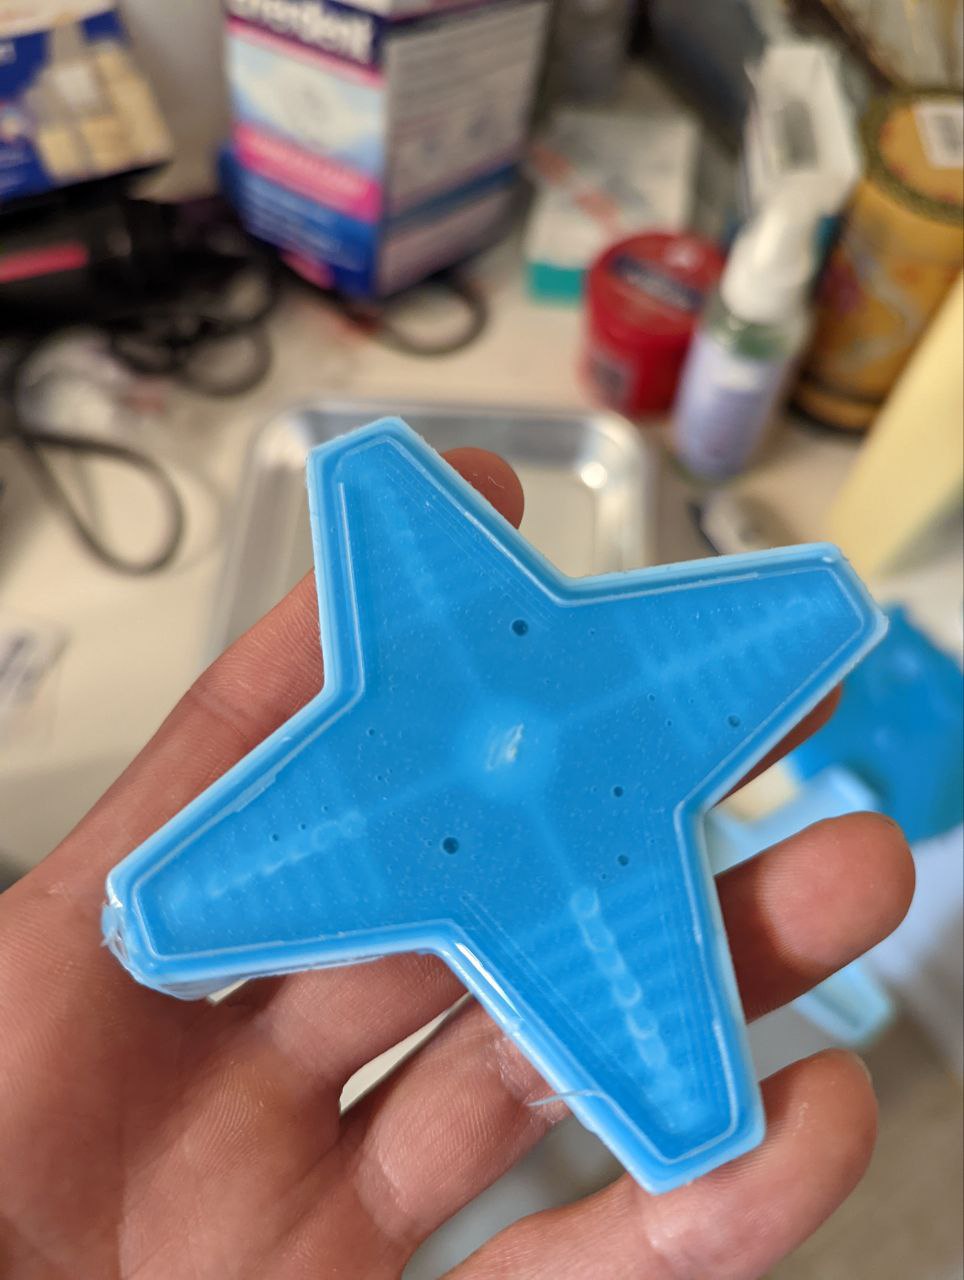
- as you can see, the center section was a little too thin (combination between an artifact in the print and using the press part)
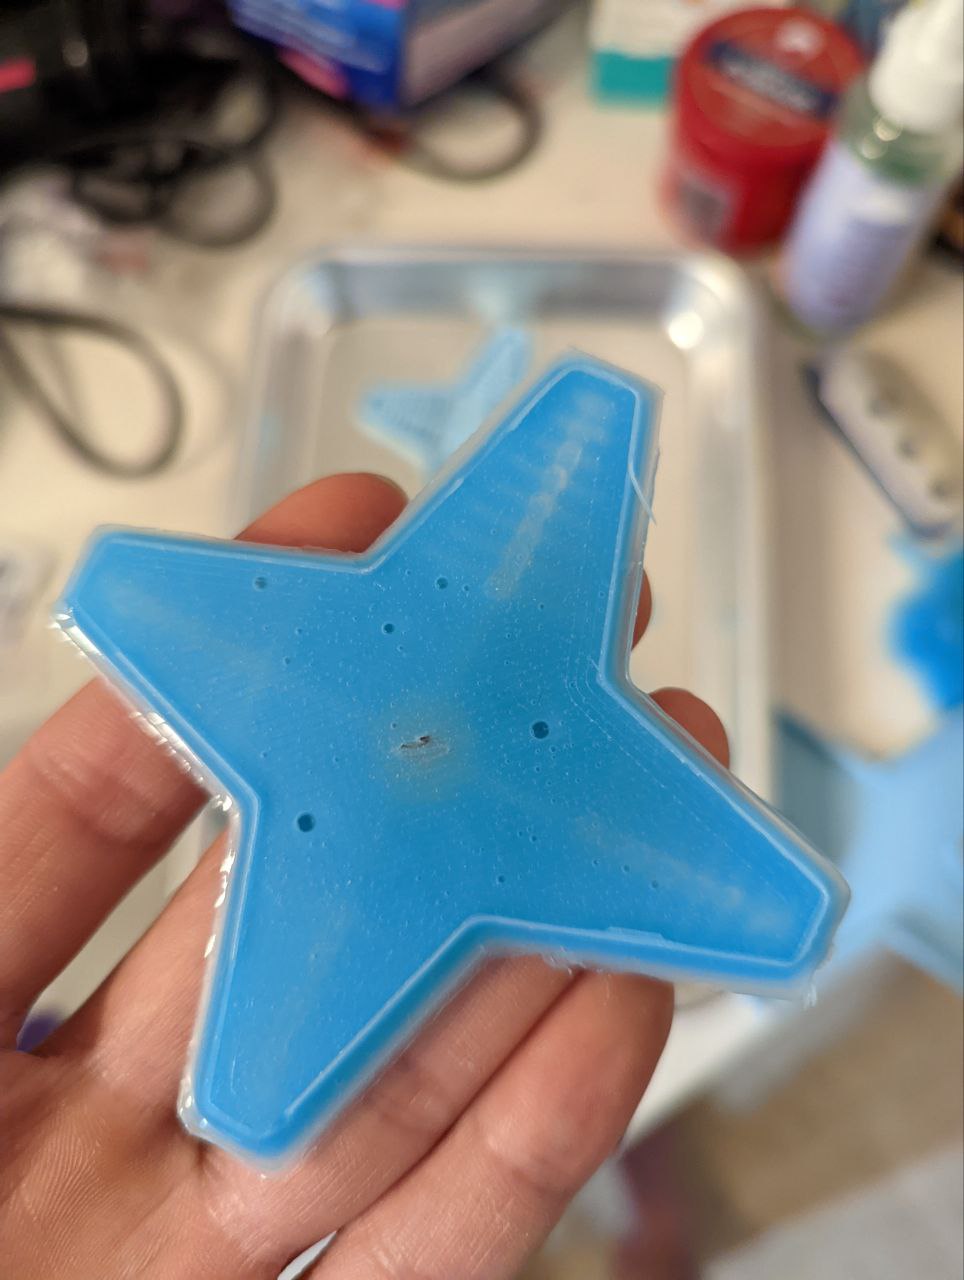
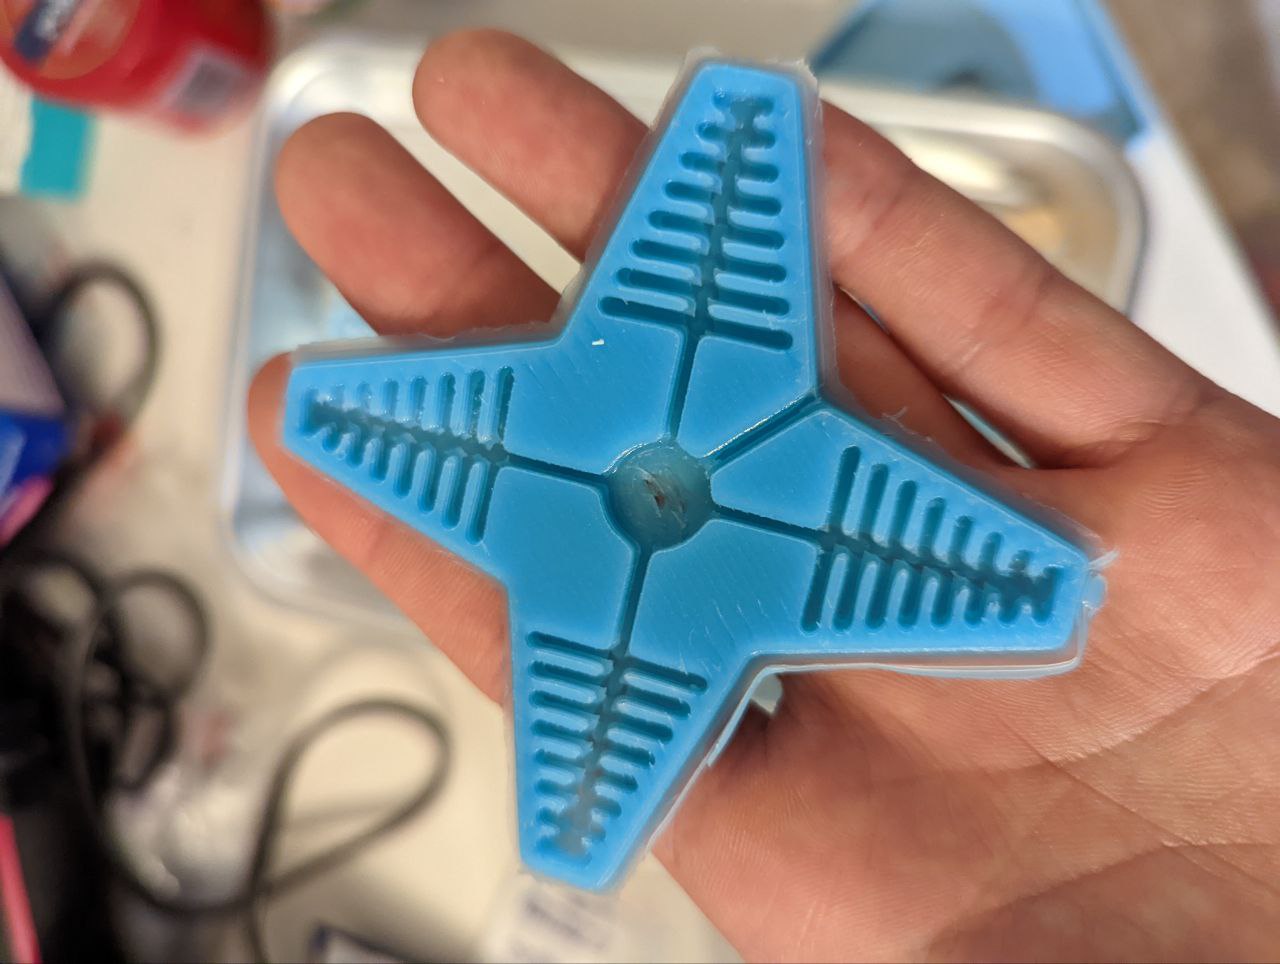
- going through the “glue” proc/moldStar16Fastess again
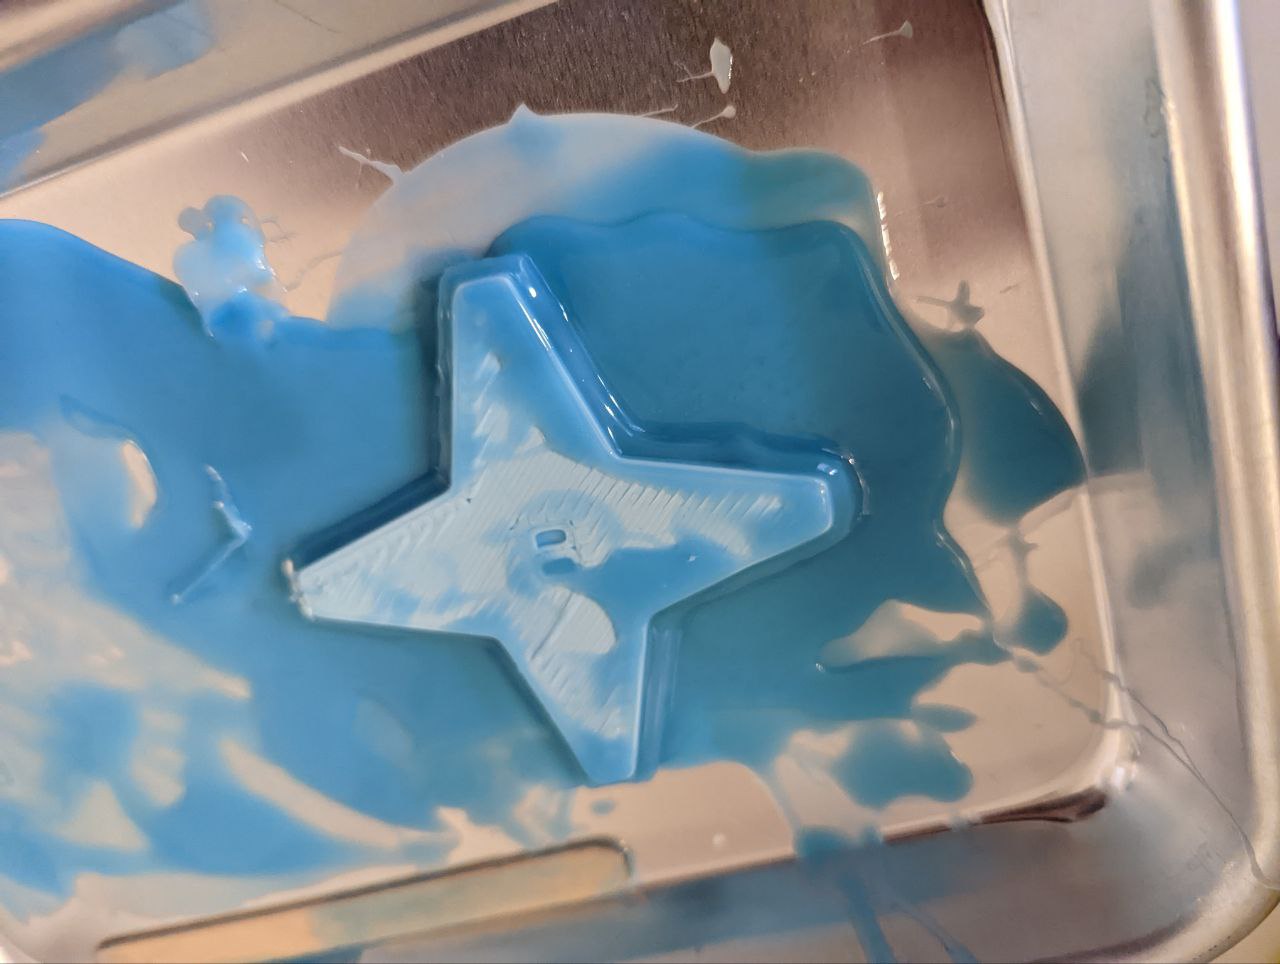
- unfortunately, I forgot to actually apply the glue layer, and only sealed the sides
- this created a huge pocket, but w/o the internal walls supporting the pocket
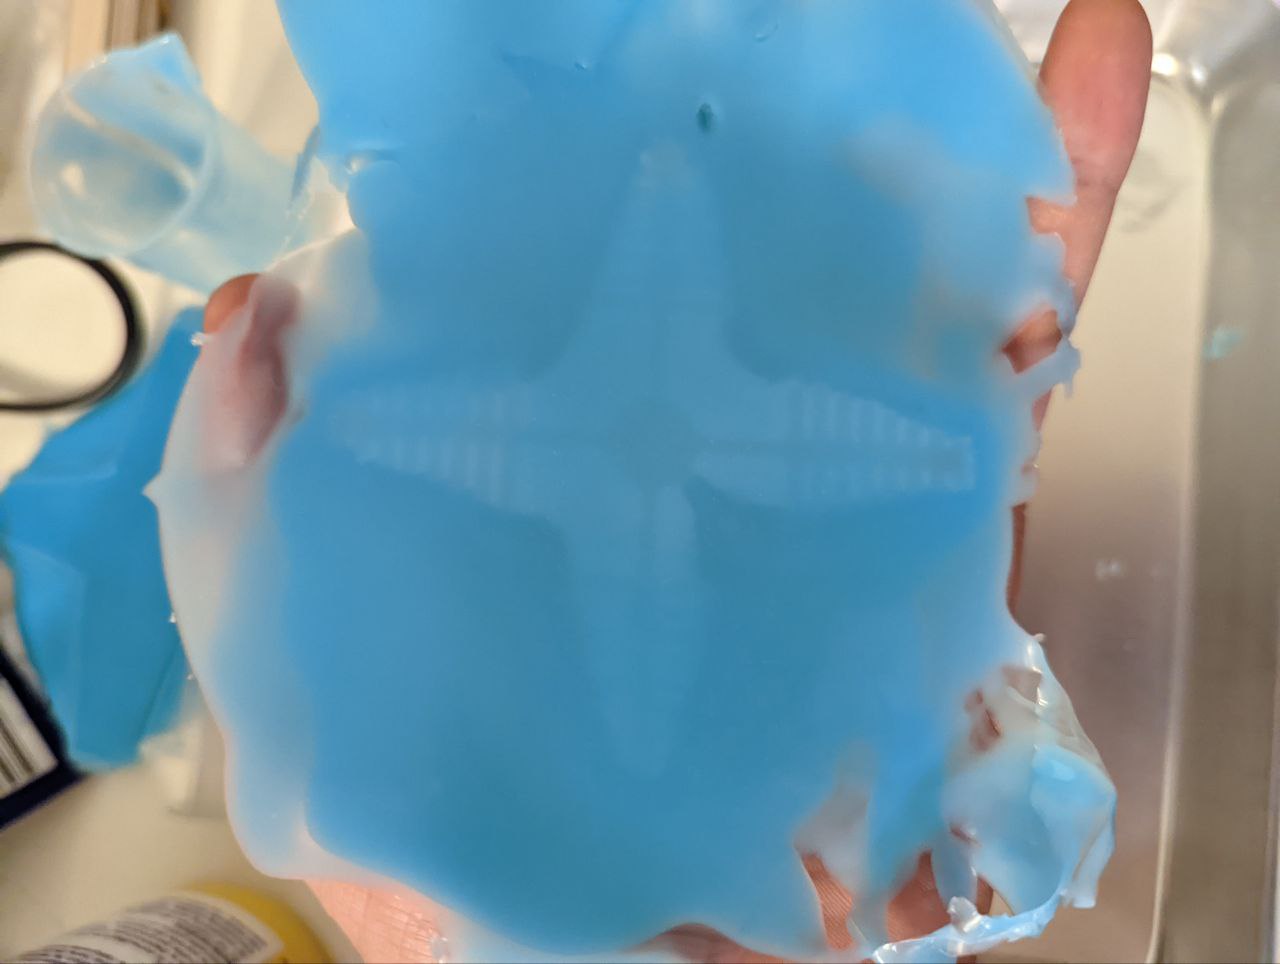
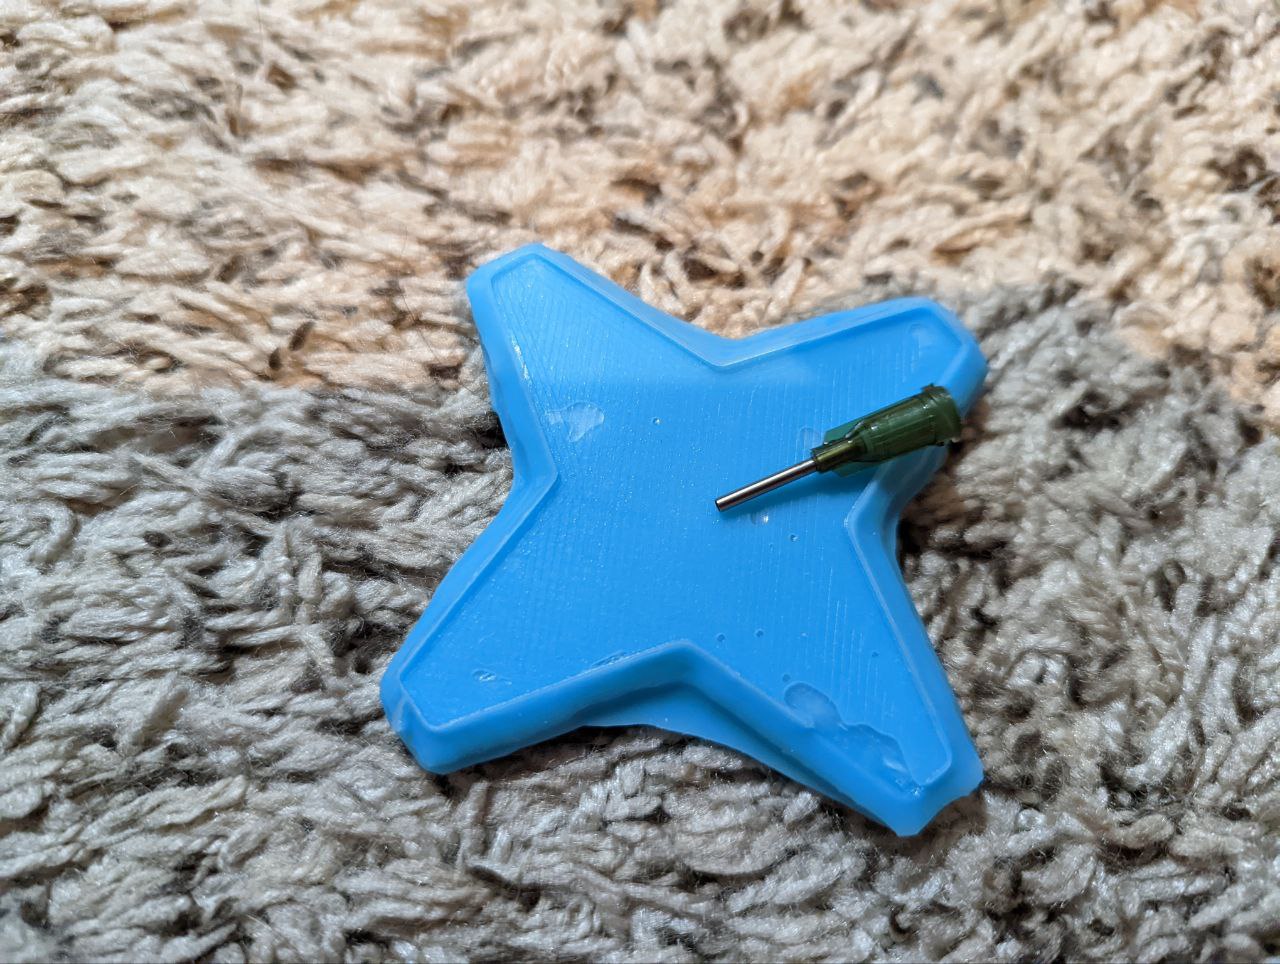
- realized I had some luer lock nozzles in my inventory (typically for solderpaste)
- I barely use the thickest gauge nozzles for solder, but it’s perfect for this application
- I used the same trick with the multimeter probe first before inserting luer
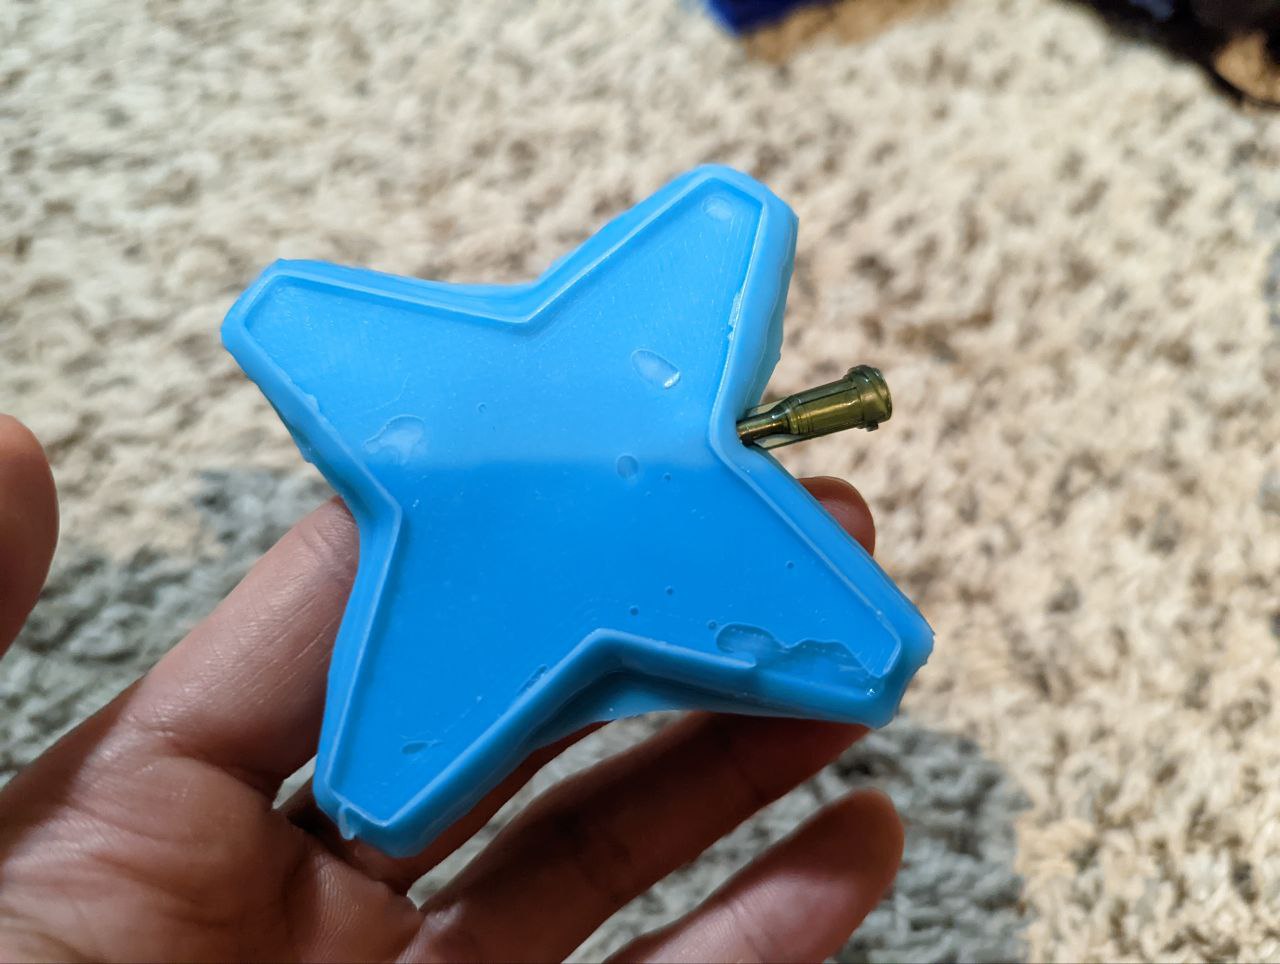
attempt 4 >
- hoping 4th time’s the charm!
- pressing silicone w/ a flat sheet (the aluminum pan) yielded better results
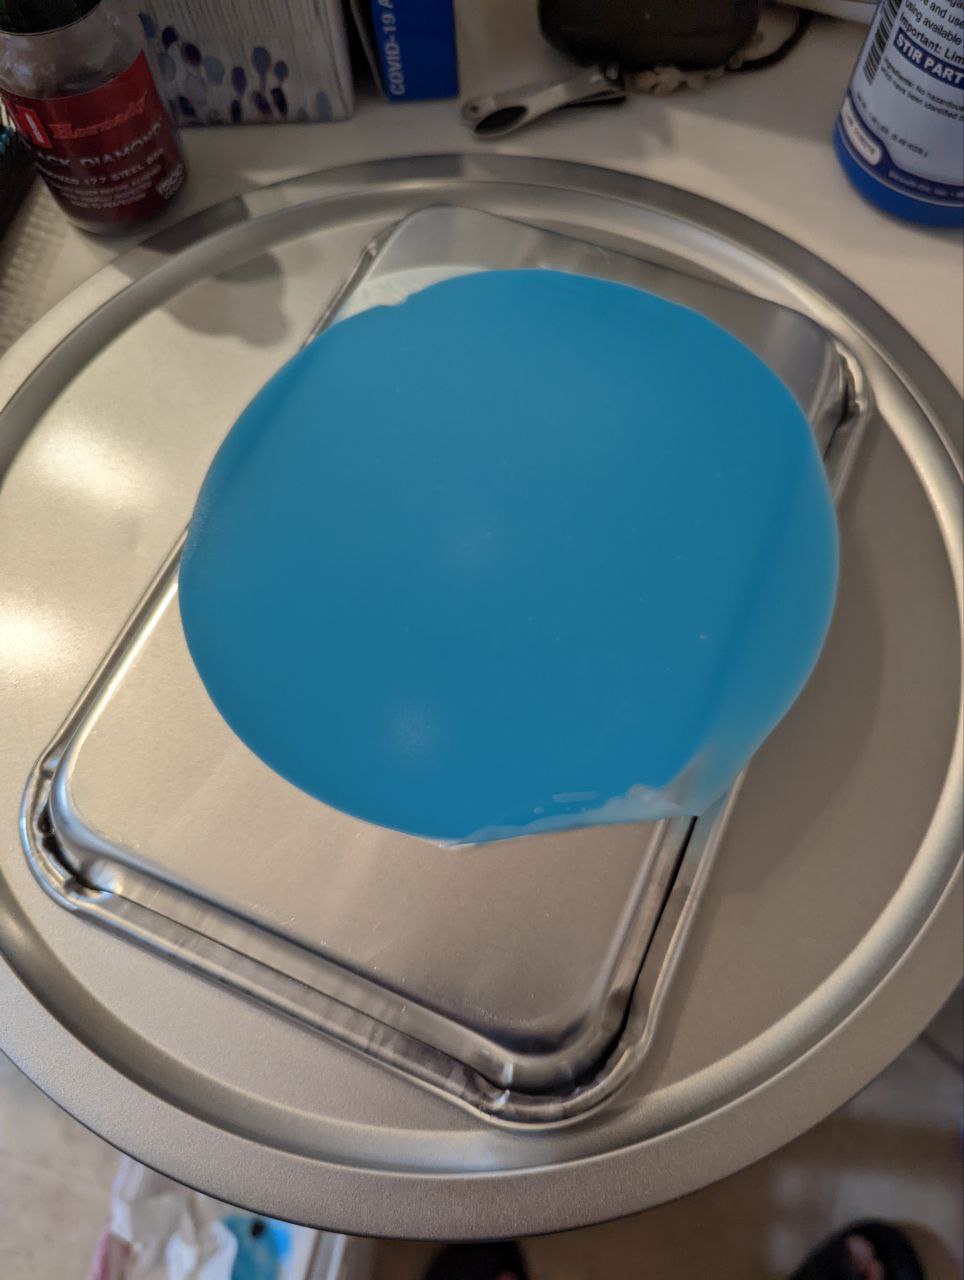
- molded again
- positioning cast ontop of the pressed silicone
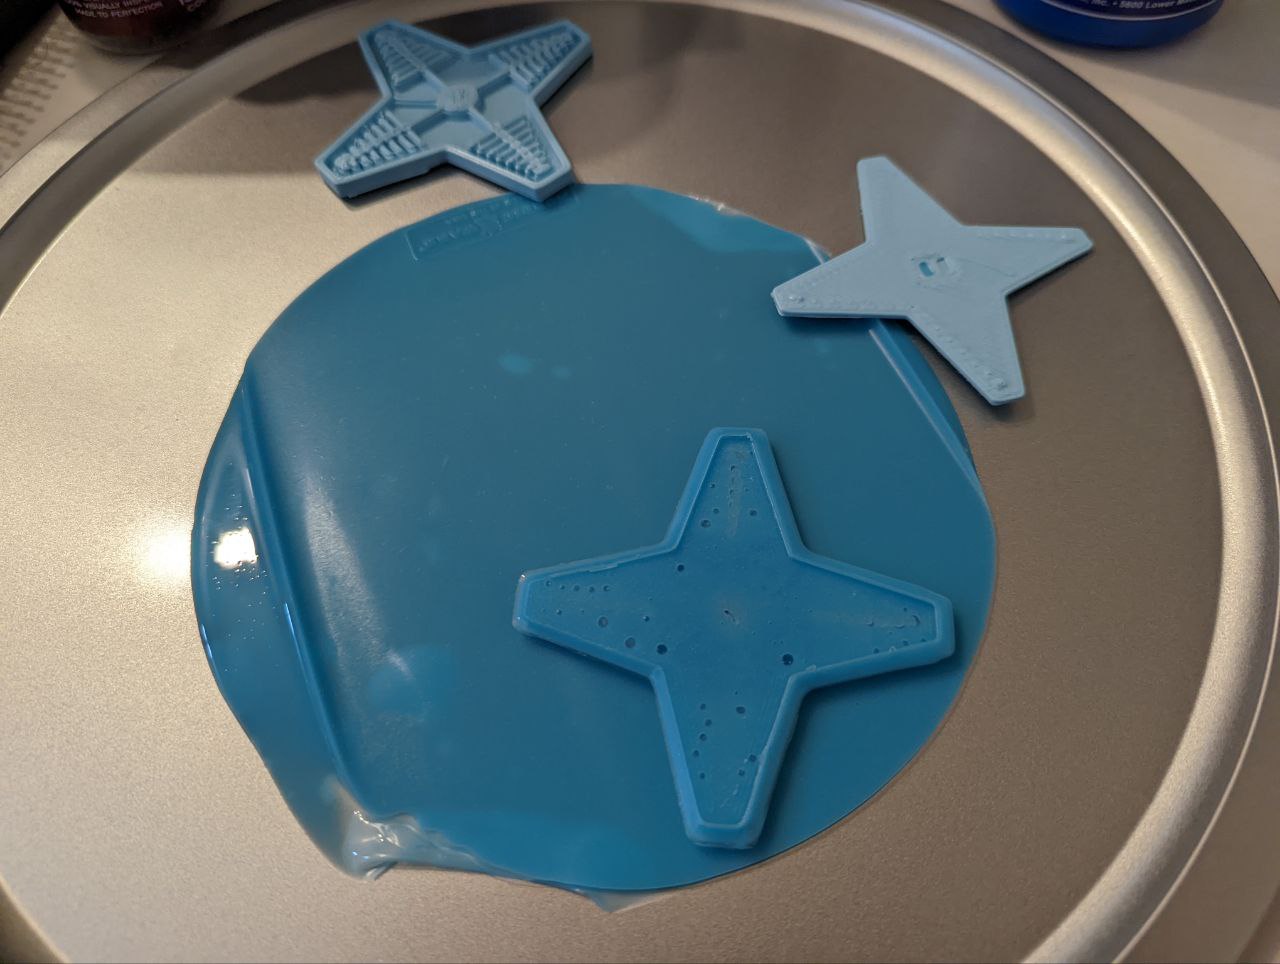
- I didn’t add enough silicone during the patching proc/moldStar16Fastess, and the piping sprung a leak
- I had to plug the leak with my finger while inflating
- even though I managed to get (almost) all of the steps right this time, appears that the material is still too thick/stiff in the wrong areas, which prevents me from creating the strain differential I need to achieve a grabbing motion
- I think I might have better luck with the ecoflex material, which I may retrieve from the friend I lent it out to Tuesday…
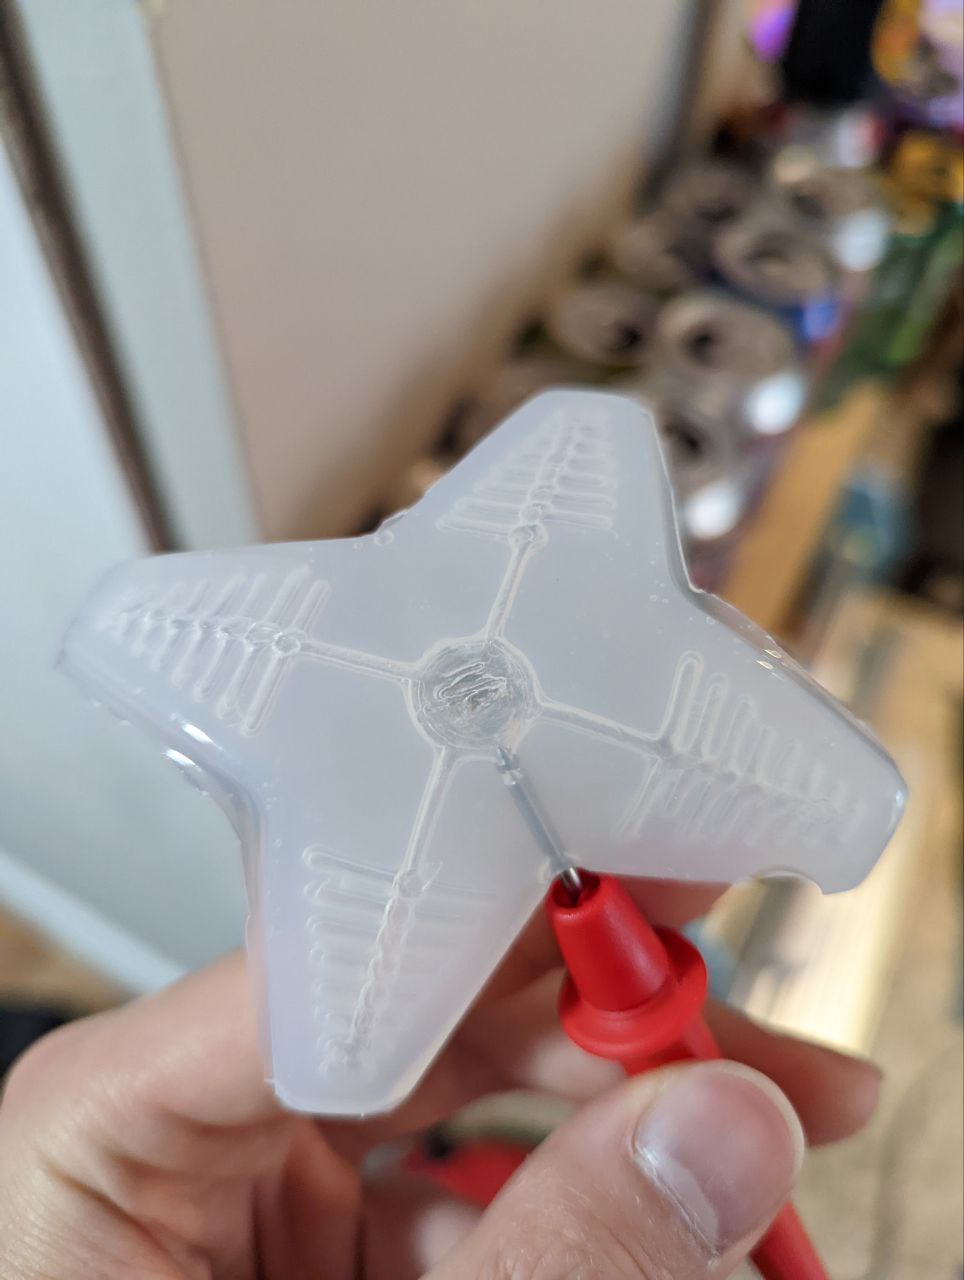
retrieved material from friend, ecoflex results as promised:

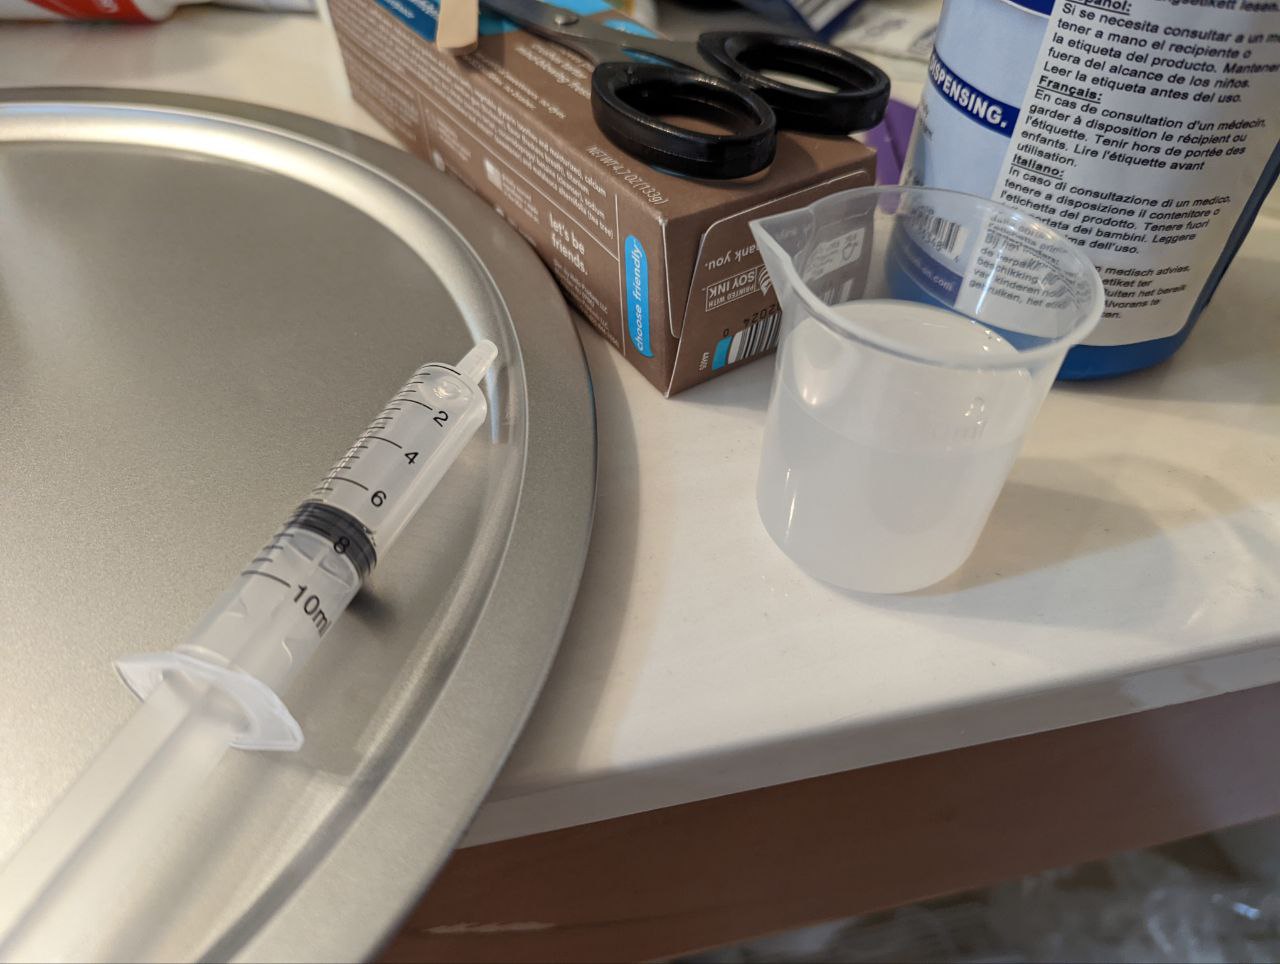
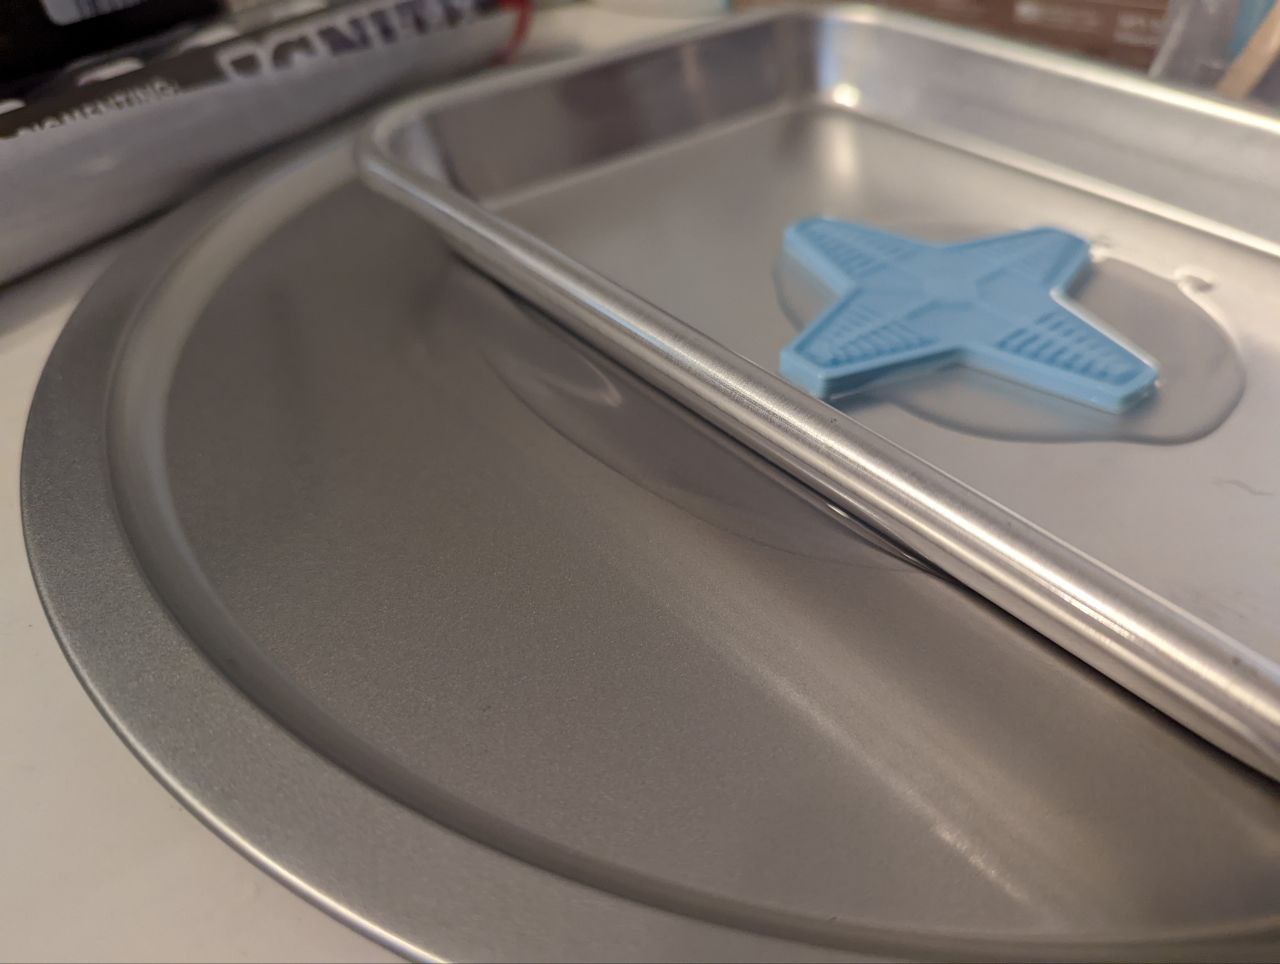
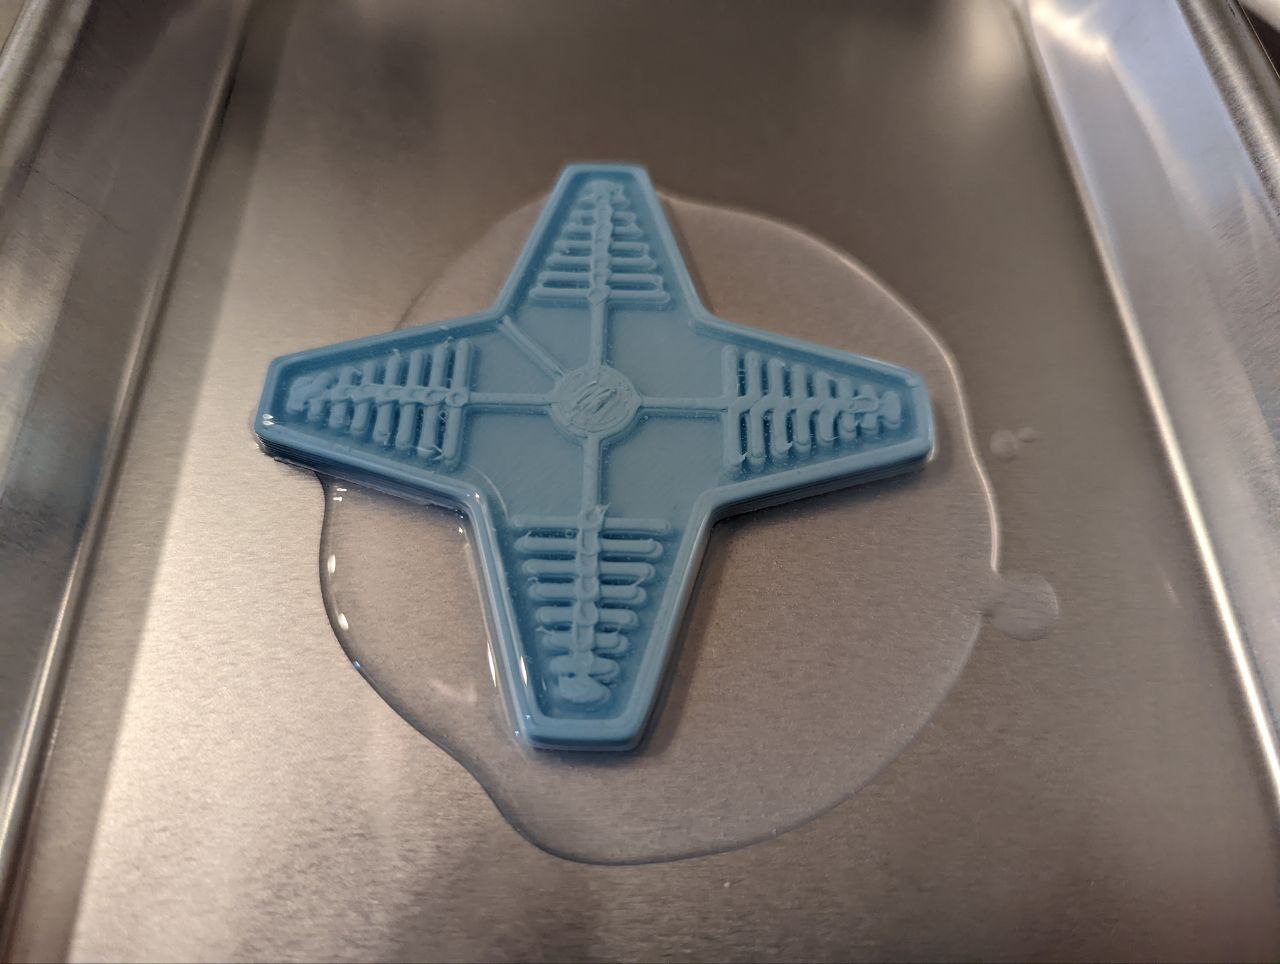
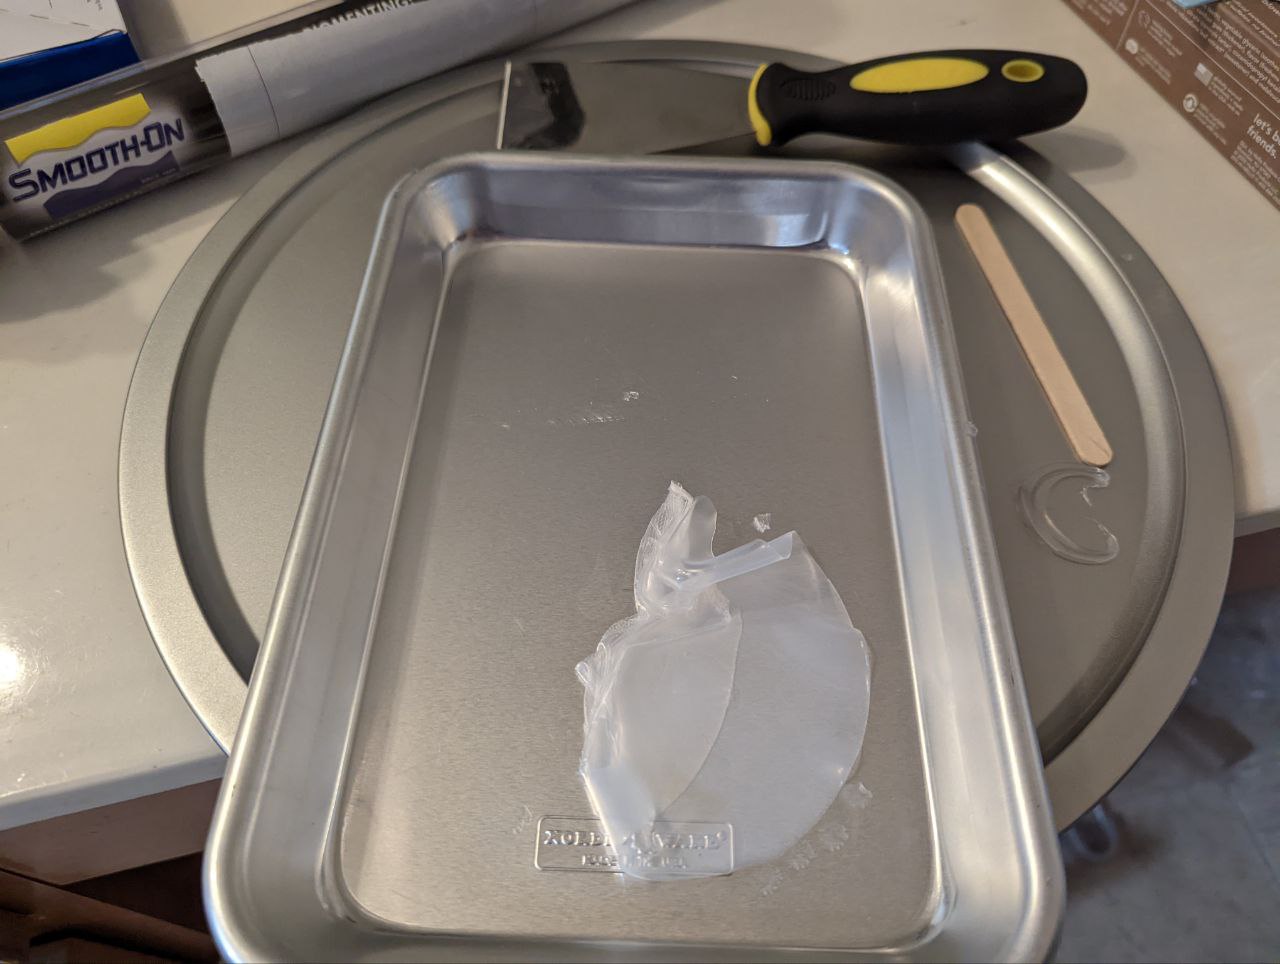
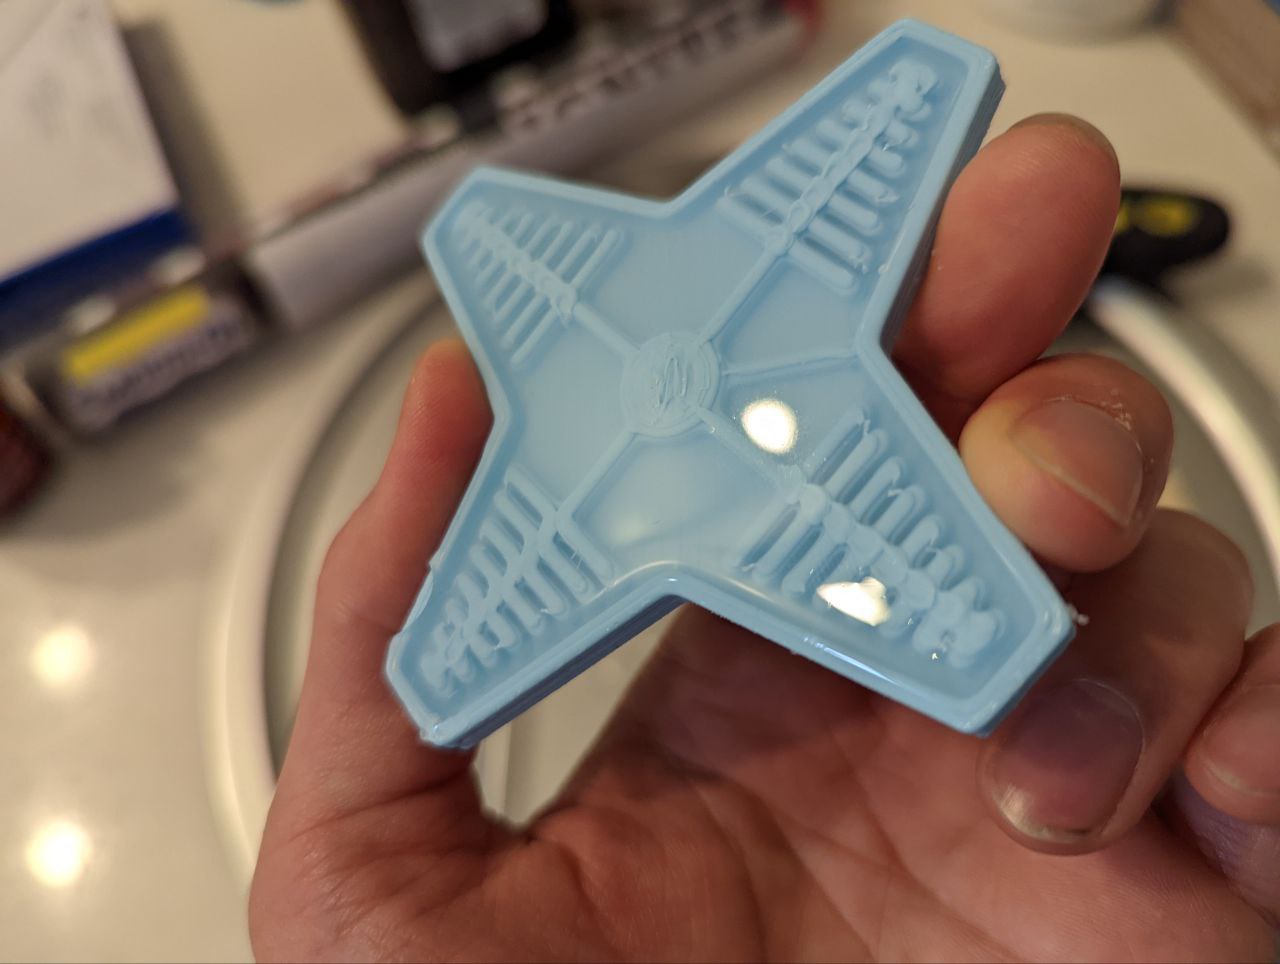
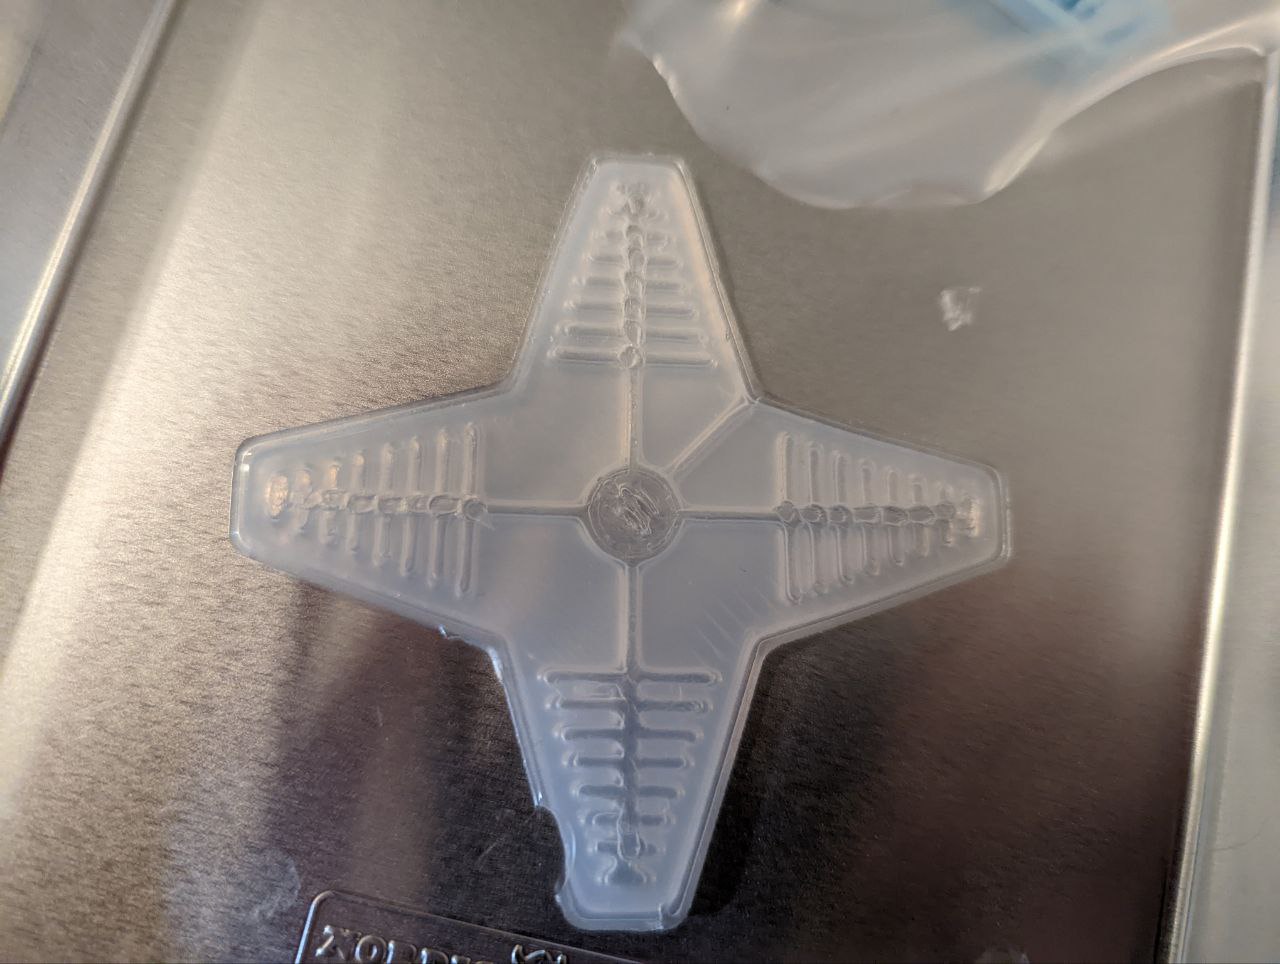
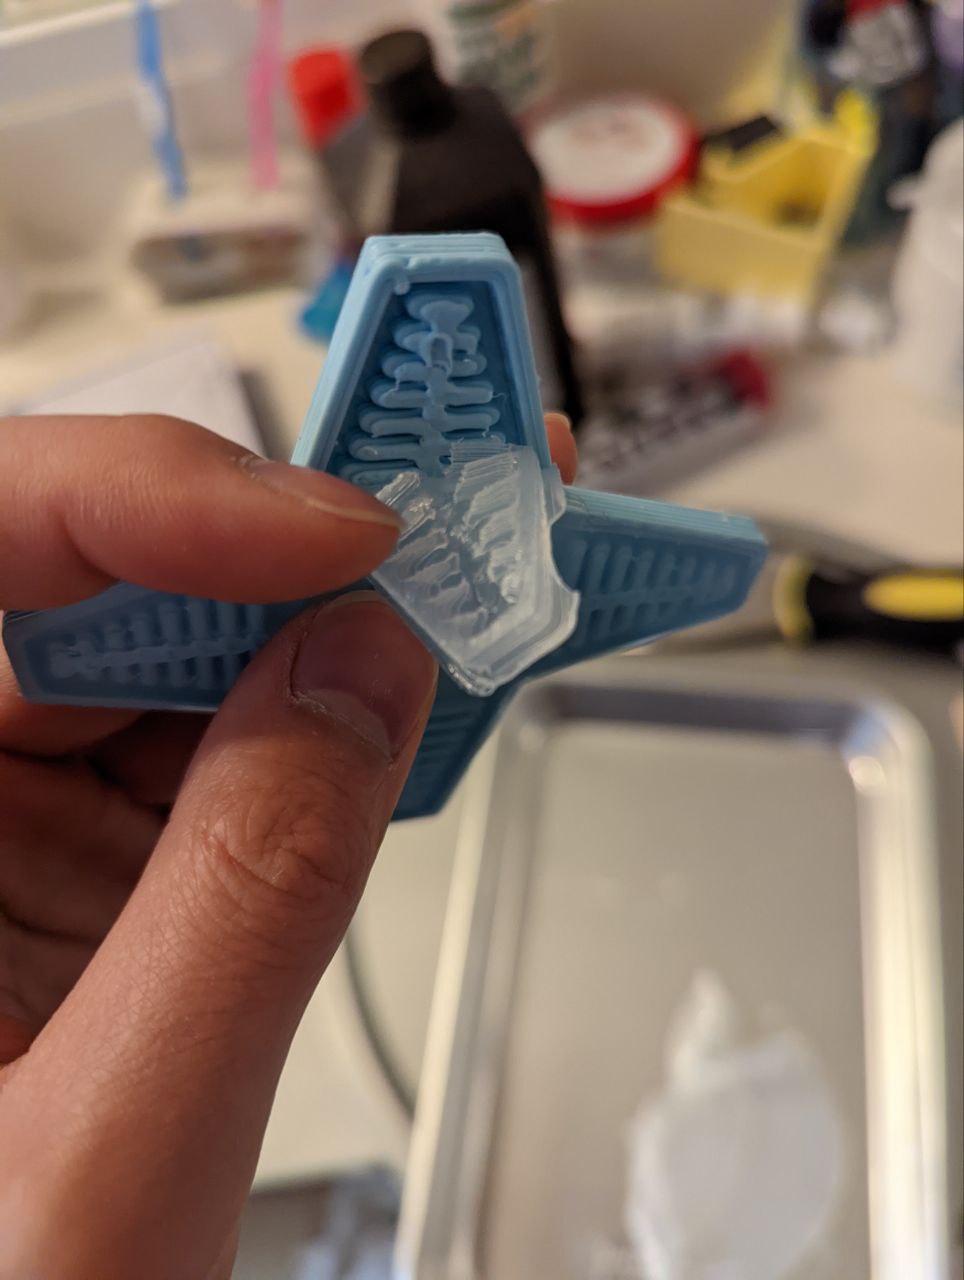
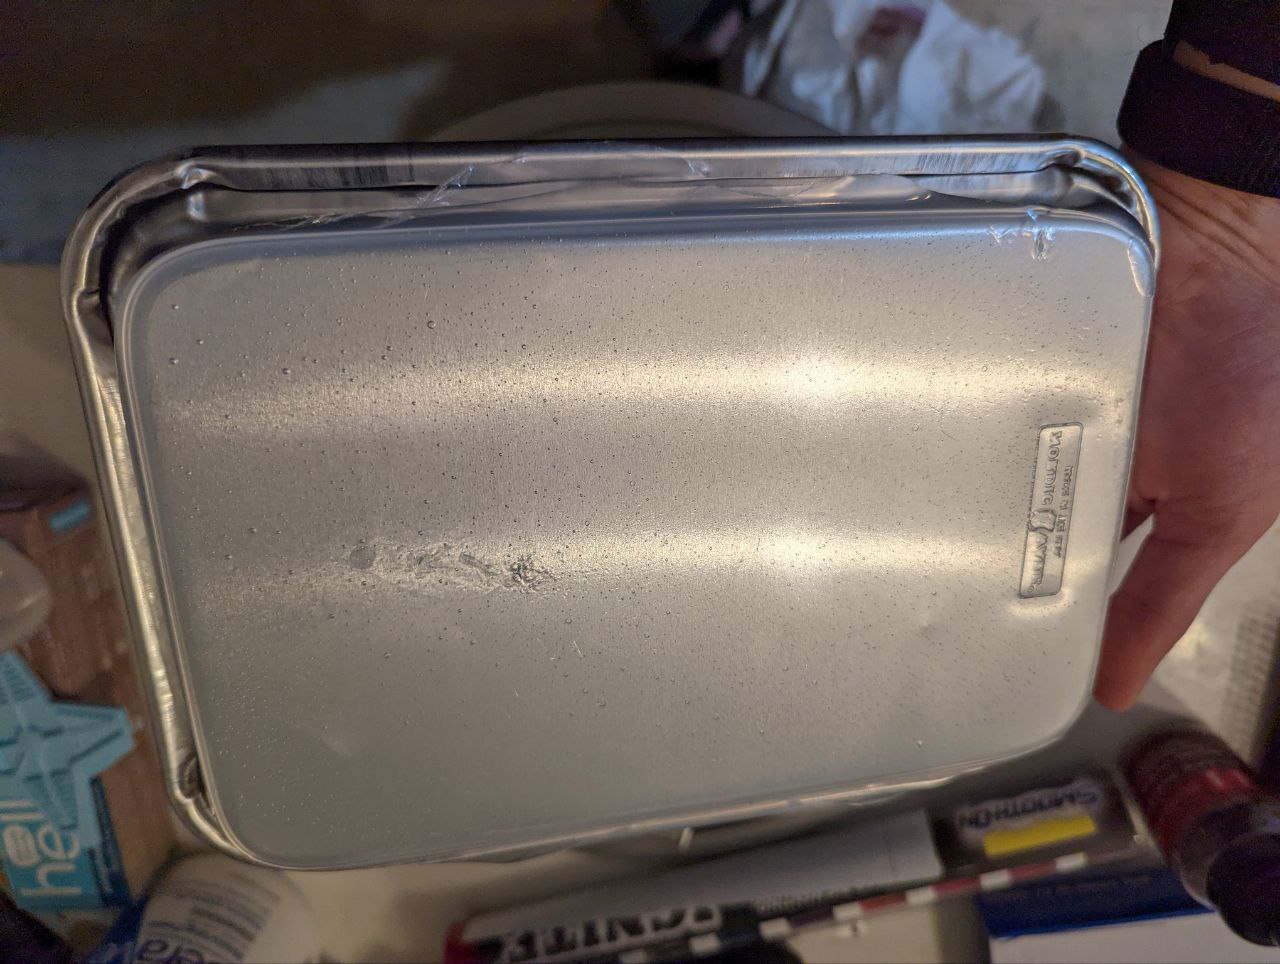
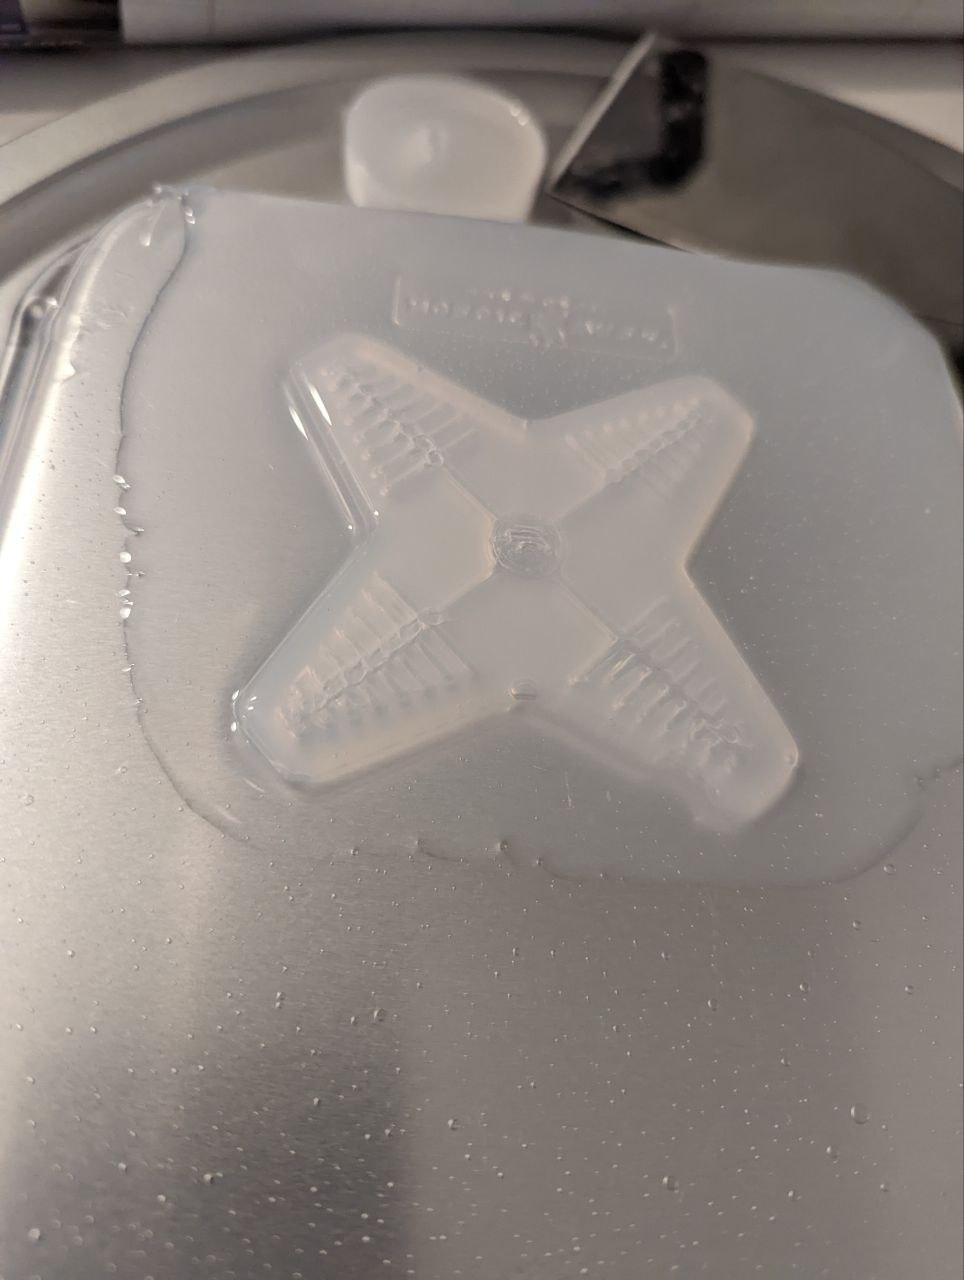
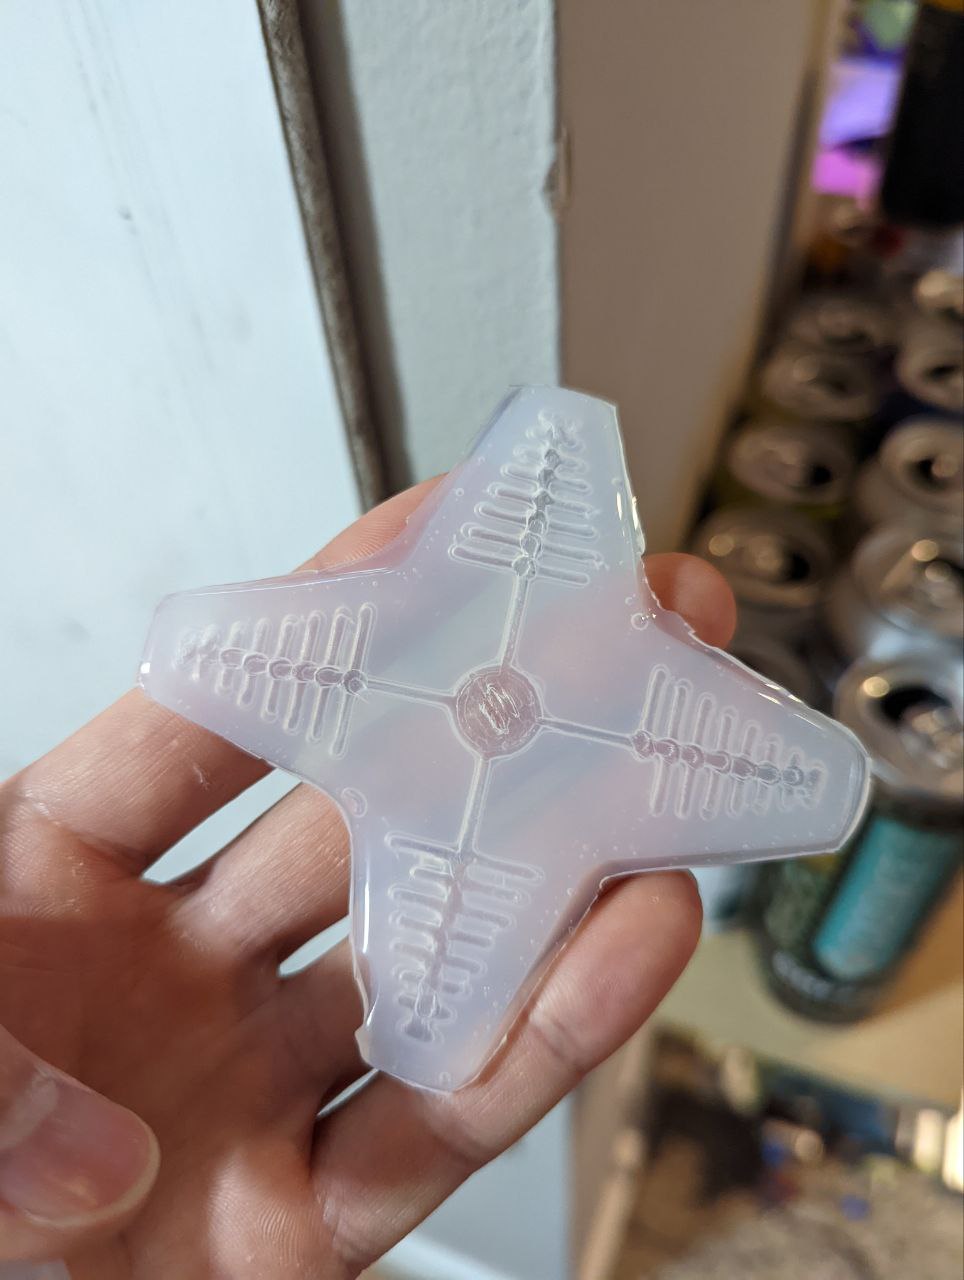
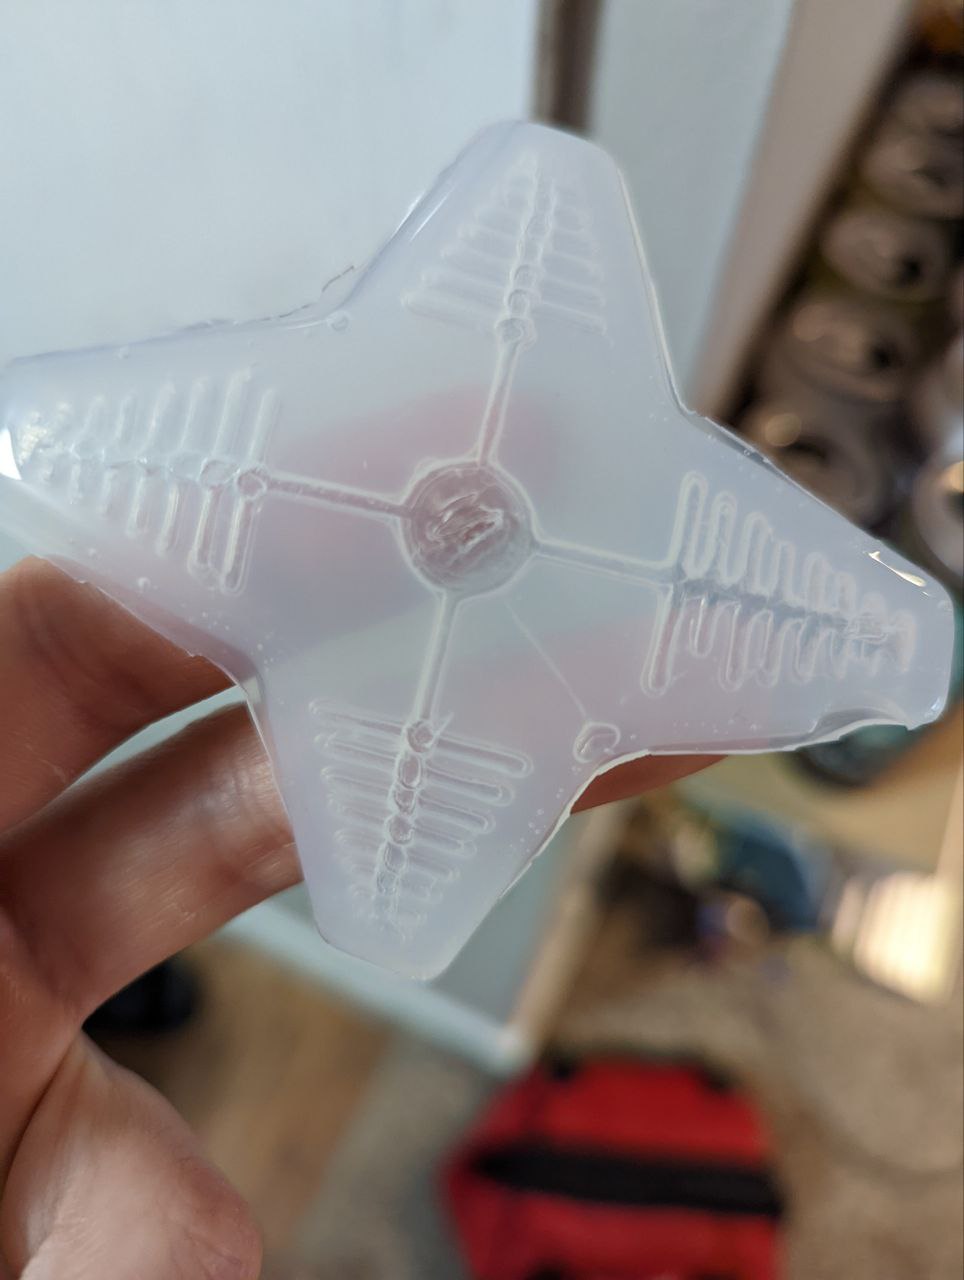

middle seems to be too thin… >
holding the middle seems to do the trick.
one of the arms seems to have a leak… >
patching the leak with more silicone fixes this, or holding another finger there.
hero shot >
third time’s the charm!