Week 8 - Embedded Programming
group page // repo source files // objectives
Contents
objectives >
- Group assignment
- Compare the performance and development workflows for other architectures
- Document your work to the group work page and reflect on your individual page what you learned
- Individual assignment:
- Read the datasheet for your microcontroller
- Use your programmer to program your board to do something
hero >
samd11c >

the samd11c is a versatile chip with built-in USB (no ch340 or ftdi needed after flashing the bootloader!) that is beloved by the fab academy community. datasheet located here.
some quick specifications:
- 1.62V to 3.63V power
- 12x GPIO
- 2x hardware serial communication (SERCOM) interfaces
- 5x ADC 12-bit channels
- 1x USB interface
on that last spec, programming devices w/ a built-in USB interface is extremely friendly, but not necessarily space efficient. That’s one of the major tradeoffs I’ve noticed between different programming flows; physical space (number of programming pins) vs convenience.
the full datasheet is a very large body of text, weighing in at a whopping 981 pages. the samd11c is organized like other datasheets. there are many, many sections, but the ones that are most useful for implementing in projects are as follows:
- (p8) the pinout section, which describes where each physical pin is located
- (p13) i/o muxing, which describes which functions are mapped to which physical pins
- (p17,860,909) power supply and start-up considerations, electrical characteristics, and schematic checklist respectively, are all useful sections for deciphering a proper application circuit for bypass/decoupling capacitor recommendations and supplying power to the chip
- (p903) the packaging section provides information on device footprints, for pcb layout
- (p431) the SERCOM, serial communication interface, is one of the most important peripherals on the processor, responsible for communication with another microcontroller or other devices
depending on your target application, there are additional sections for each peripheral, but unless you are using that peripheral, it is unlikely that you will need that section.
bootloader >
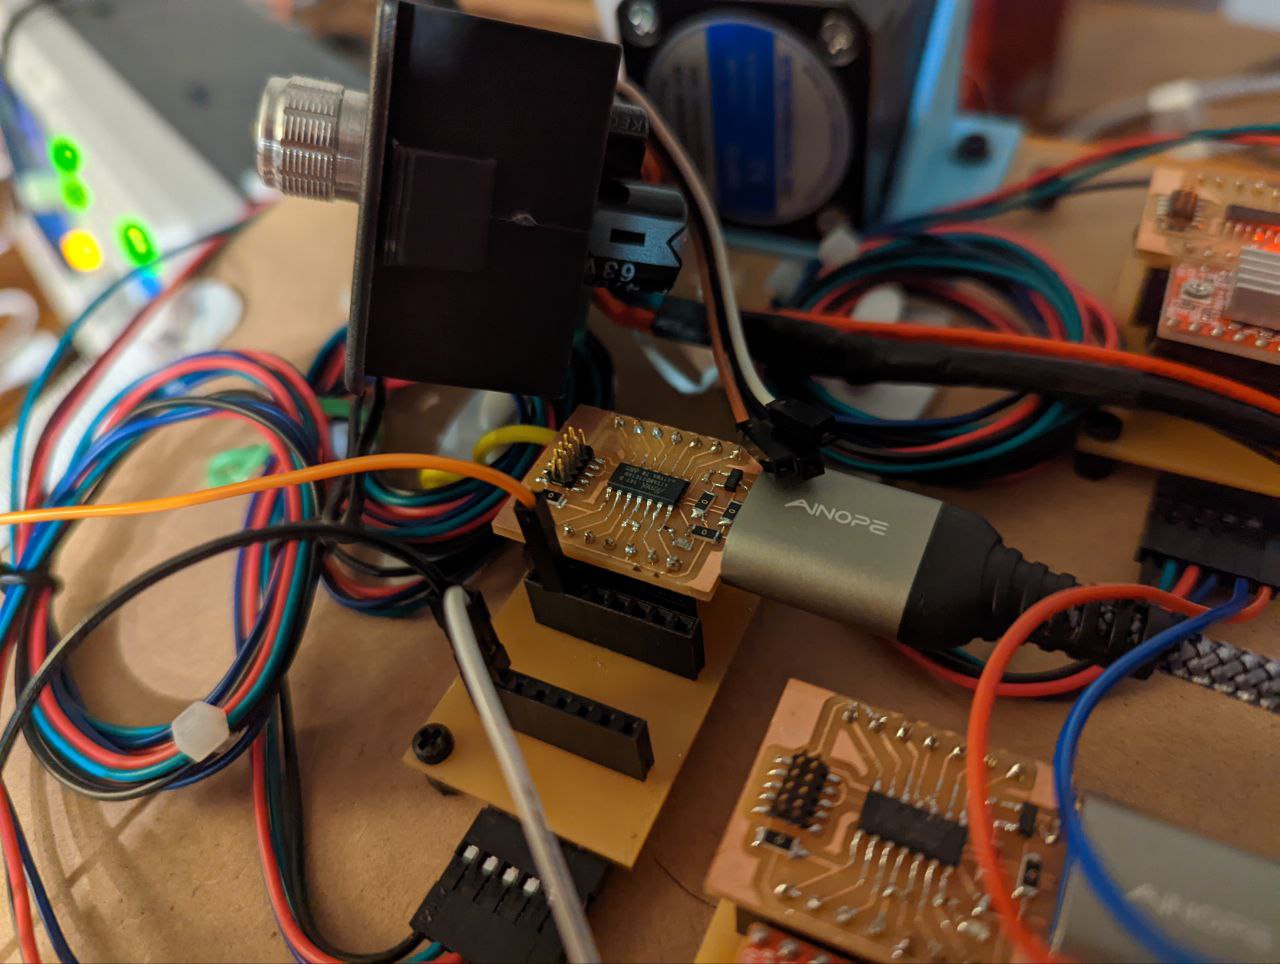
spent a decent amount of time unsuccessfully flashing bootloader onto my samd11c board from ecad week.
followed the guide by Quentin Bolsee.
heeded the warning about the bootprotection fuse from this Fablab Kannai page.
microchip’s own article about this issue.
programming >
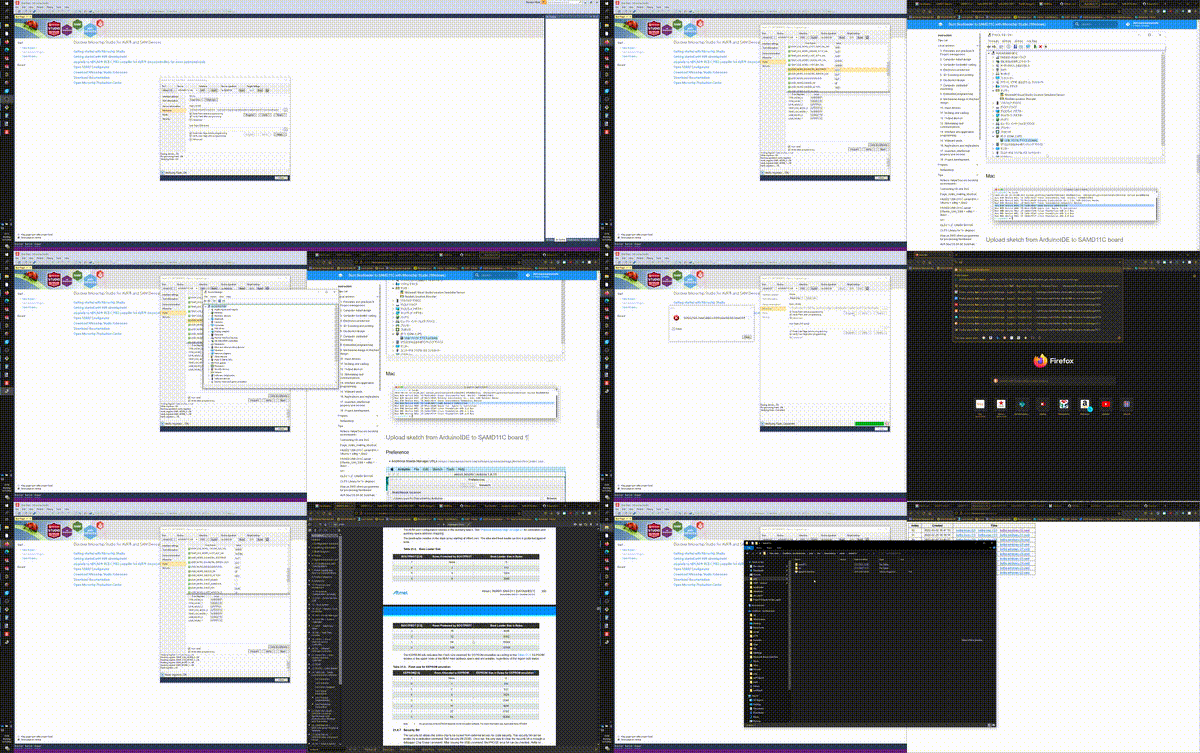
despite efforts programming the samd11c (both Microchip Studio and edbg), computer(s) both windows and linux wouldn’t recognize them.
- used an Atmel-ICE
- I used the following arduinocore that others have used.
I didn’t realize it at first, but Atmel Studio 7 is now called Microchip Studio. It’s implied in a lot of places, or not even mentioned

later, discovered that I was most likely using a dud. don’t take anything for granted! discovered this after making up another samd11c board and successfully following through the steps.
This was before I had easy access to an oscilloscope, but in the future, I’ll likely follow these steps:
- try another board (if available)
- check mcu for life signs (power, programming lines) if programming is failing
- make another board
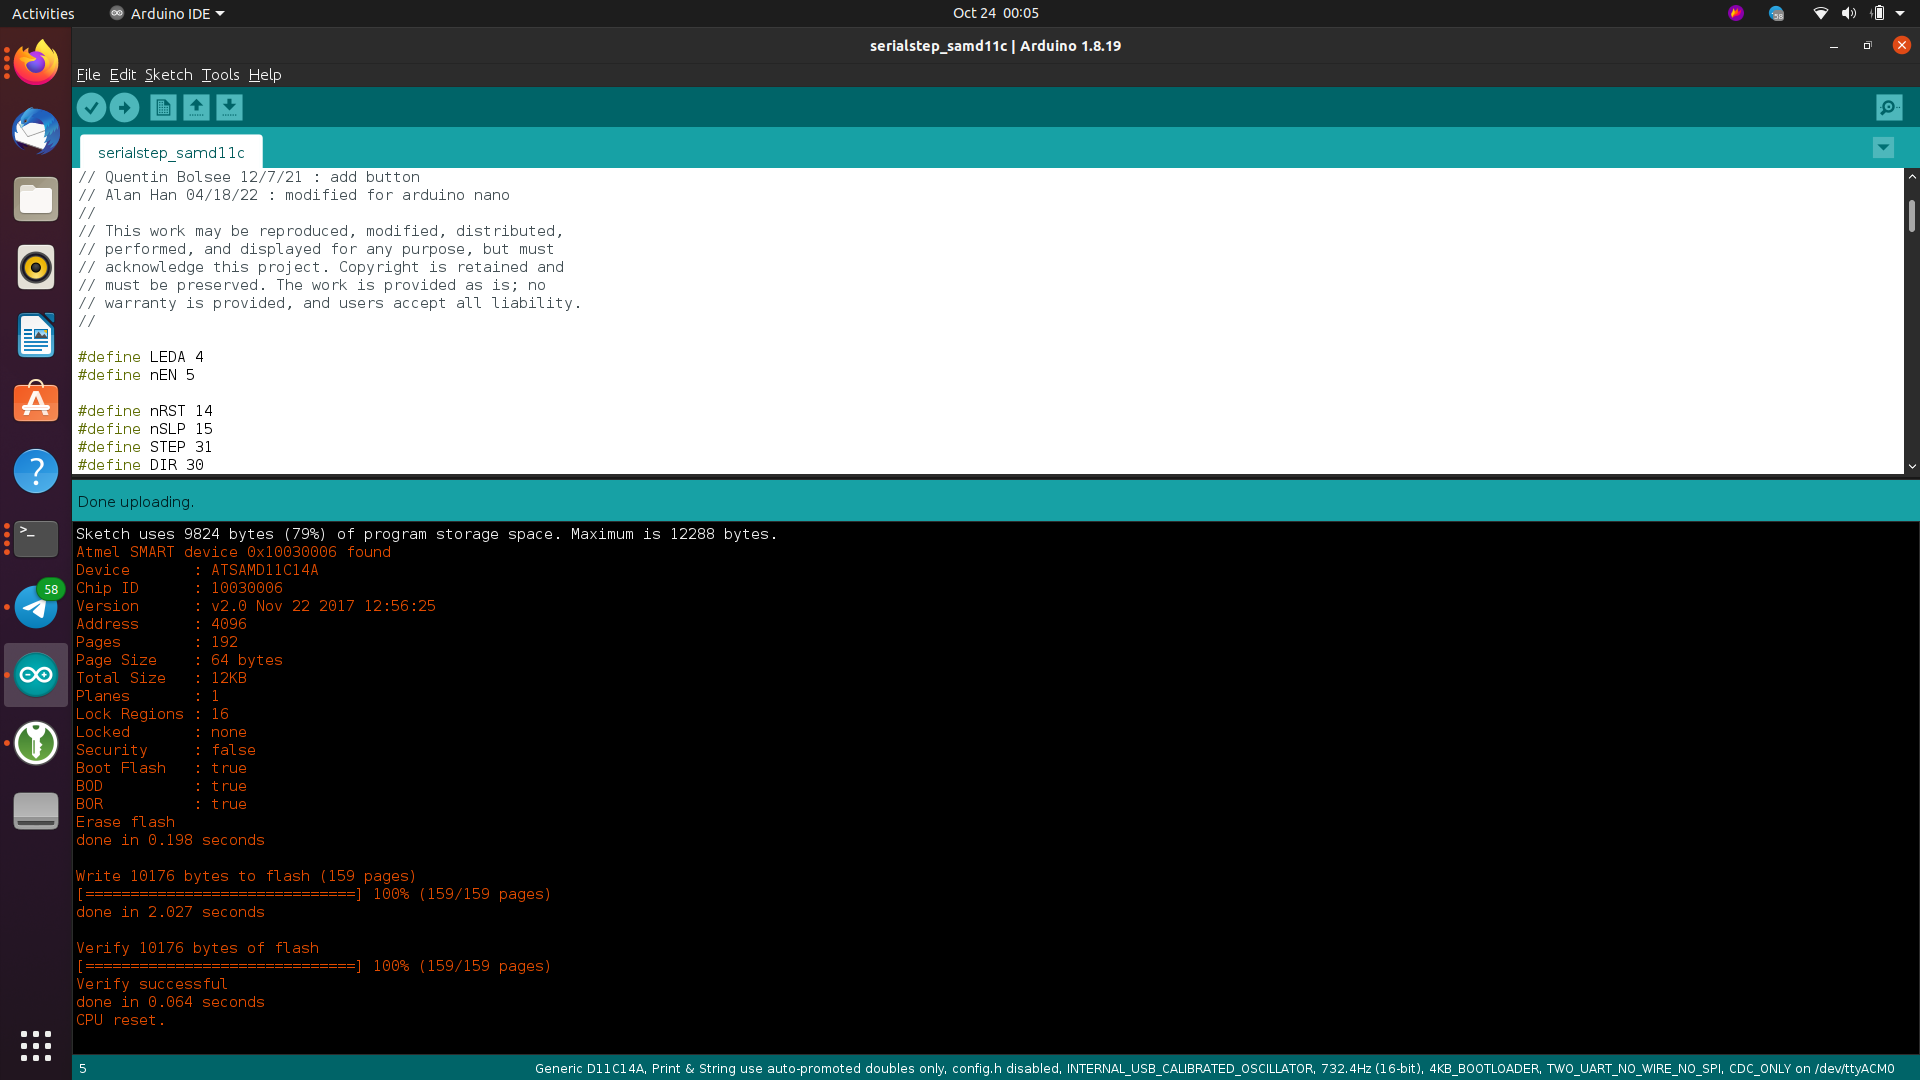
closer towards crunch for getting the final project working, I loaded serialstep, which I modified from the original Urumbu repo to work with the pololu A4988 stepper driver.

using the Urumbot.py program from the Urumbu repo, I get the motor running in my final project.
a previous project >
to both prove I can control something and in lieu of a working board (that isn’t a programmer) this week…
- connor cosplay
- link to external repository
- 1.5x1.5mm intelligent RGB leds
- 2-layer flex
- 1x2mm radial magnets for electrical and mechanical
- conductive epoxy
- toaster oven set to ~70 deg C, (probably) below curie temp
- fabrication
- used a vinyl cut stencil for solderpaste
- 2-layer flex procured from oshpark
- toaster oven
note: had some trouble getting video to deploy on site, found some existing issues on this.
