
Week 8
Embedded Programming
Were we program some cool stuff!
-
Group Assignment
- Compare the performance and development workflows for other architectures Individual Assignment
- Read the data sheet for your microcontroller
- Use your programmer to program your board to do something
- extra credit: try other programming languages and development environments
Group Assignment
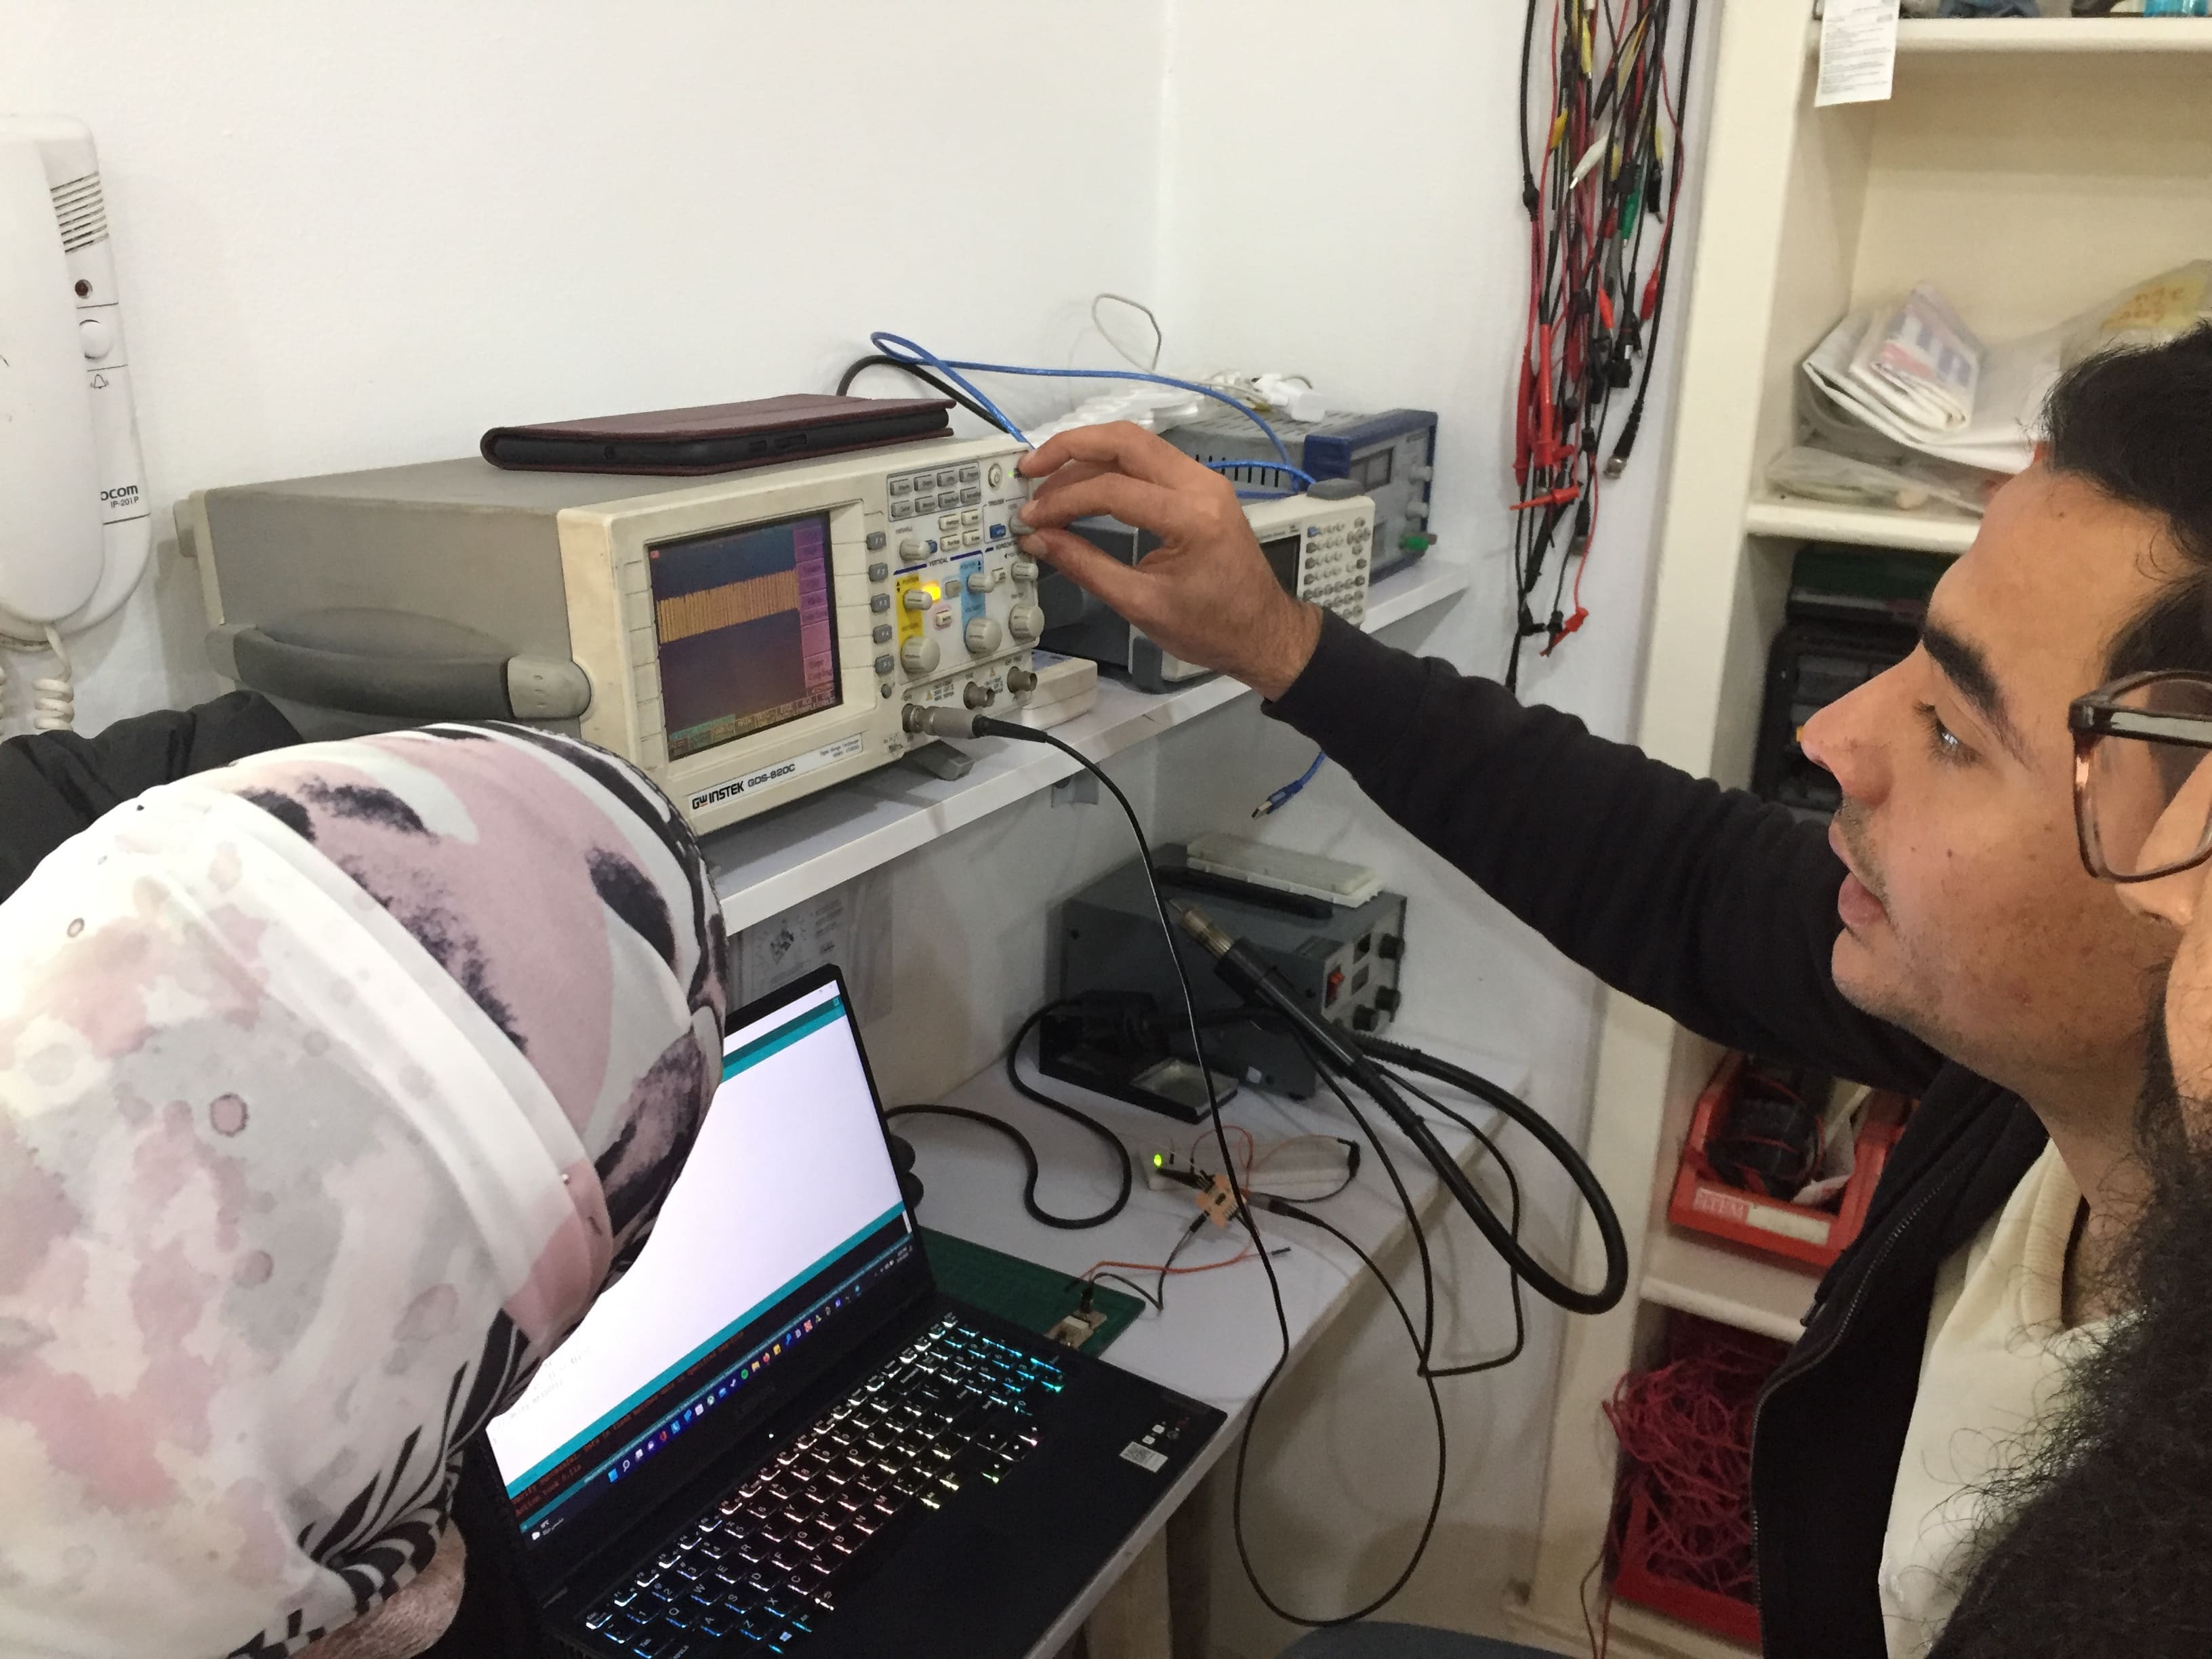
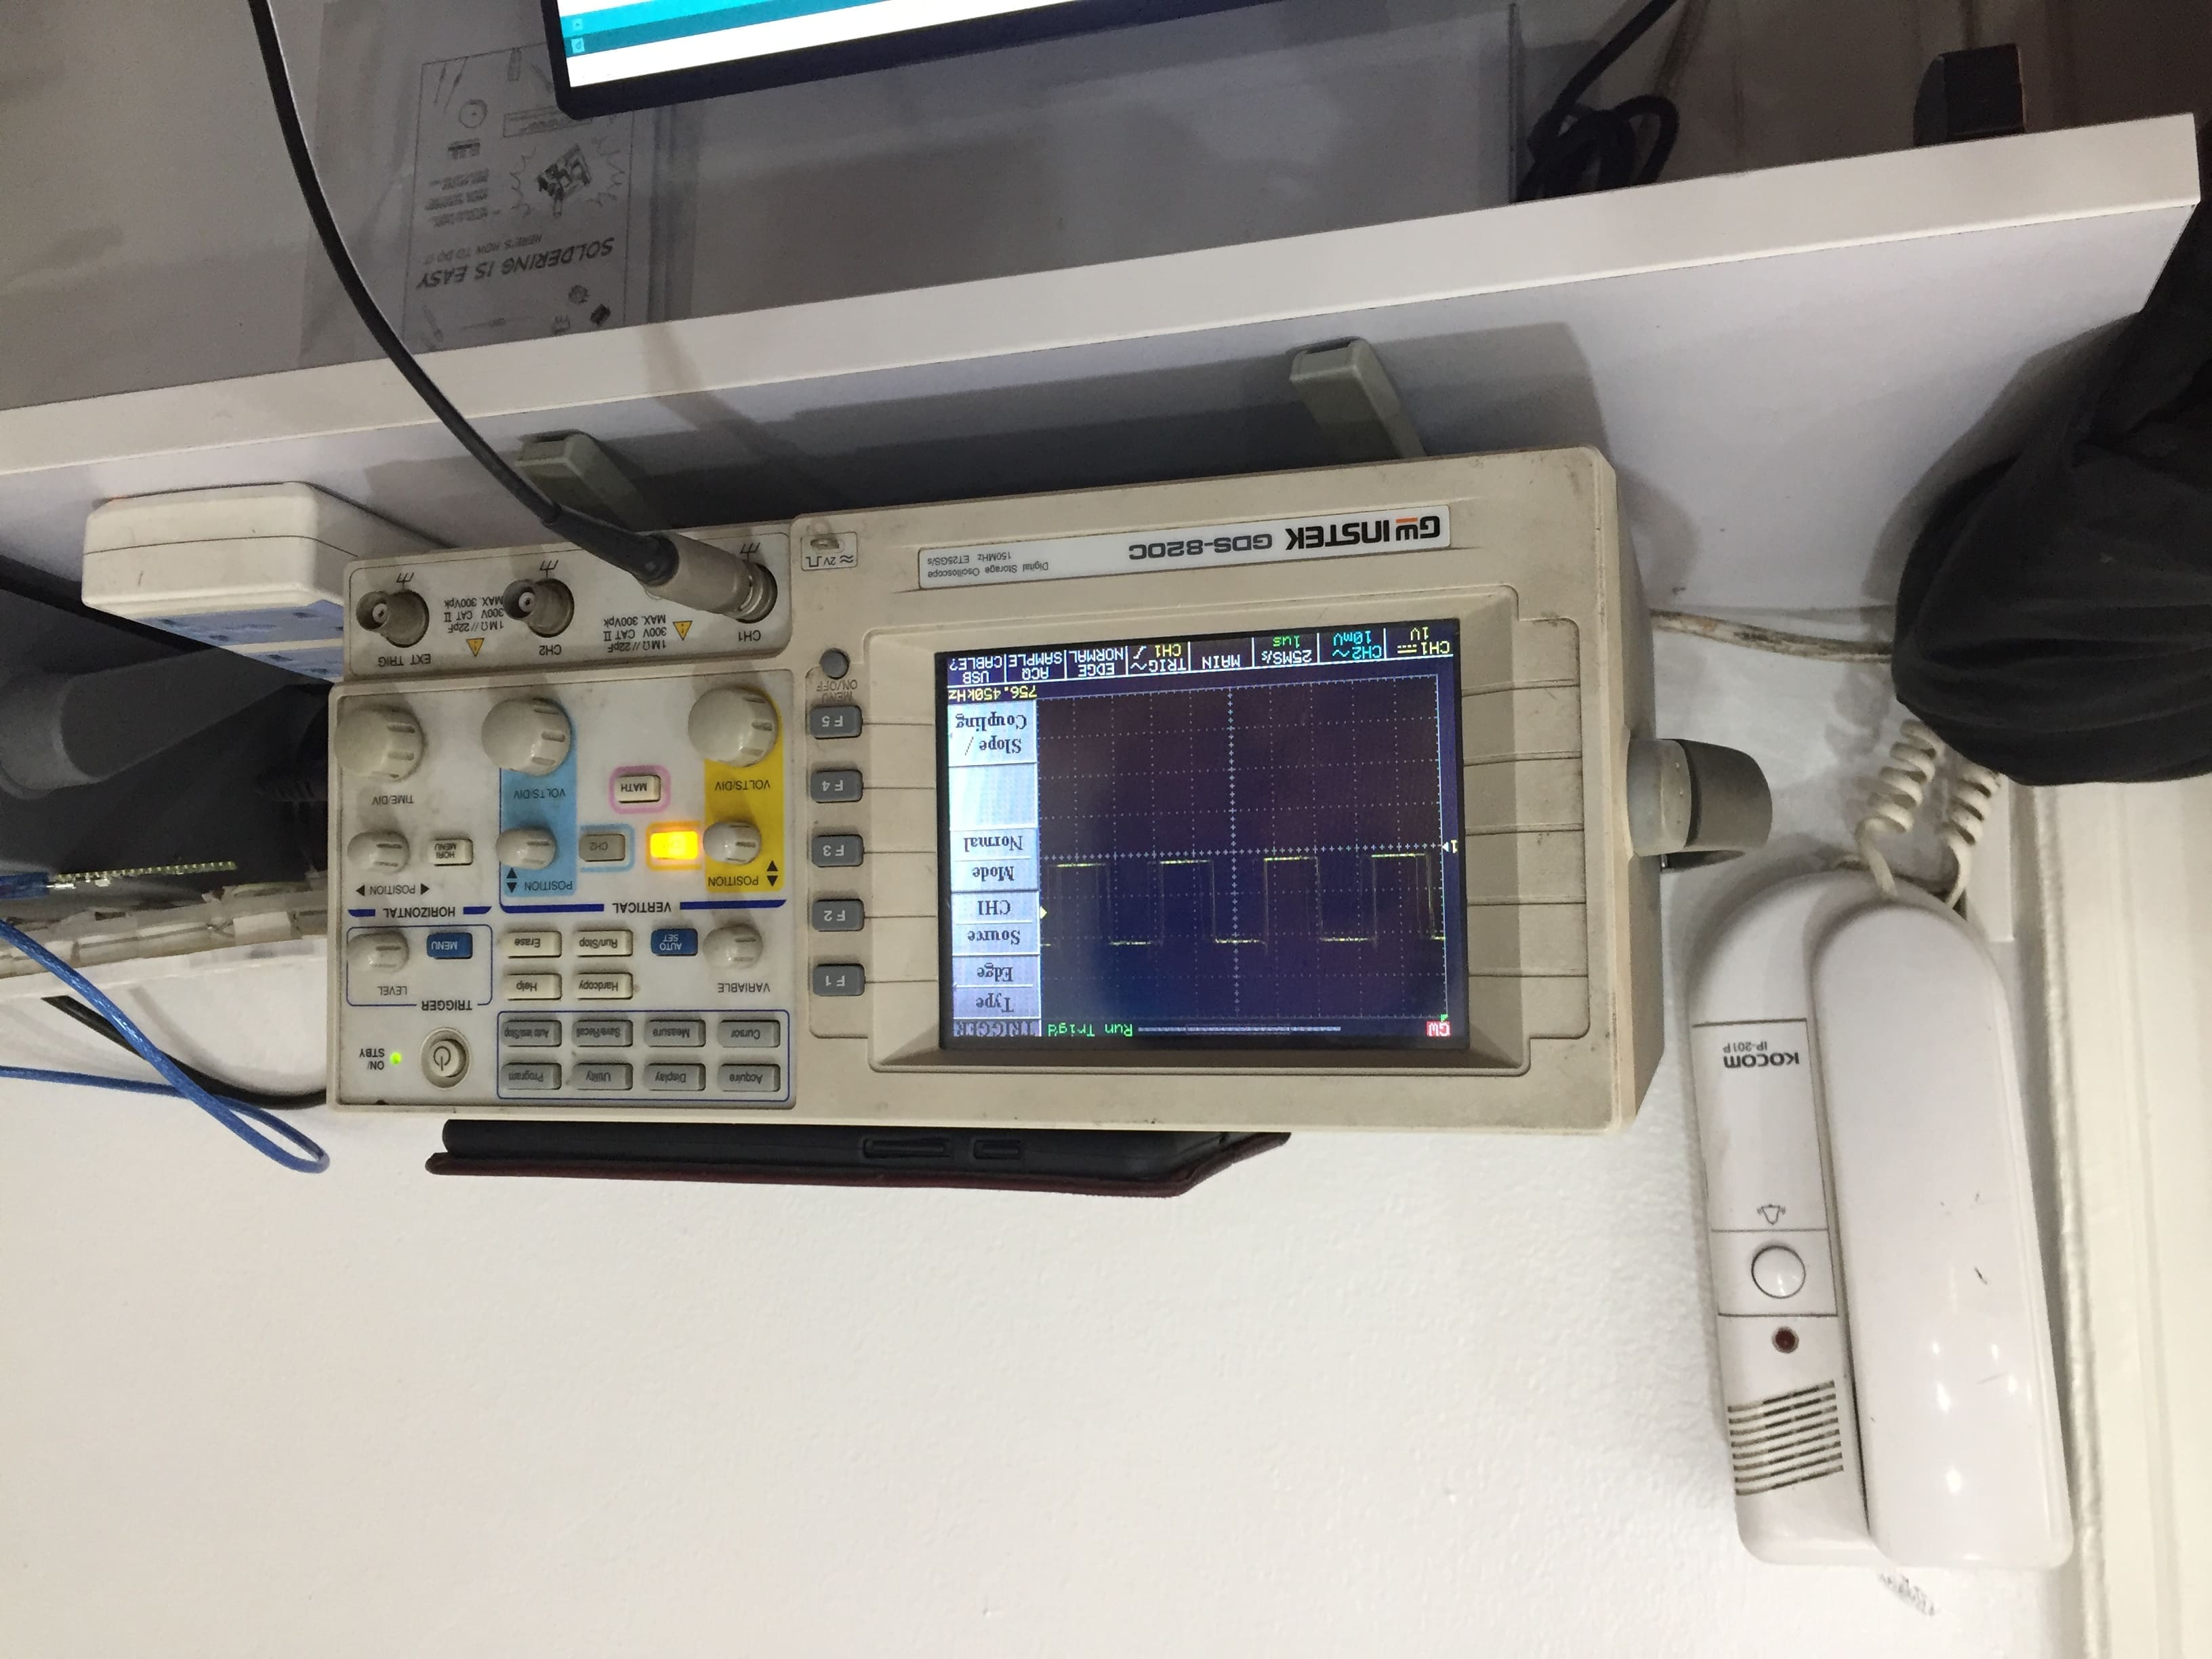
In this assignment we need to Compare the performance which is comparing frequencies through different development workflows for other architectures.
So our instructor Kamel has built a simple circuit for a LED to blink and we started testing.
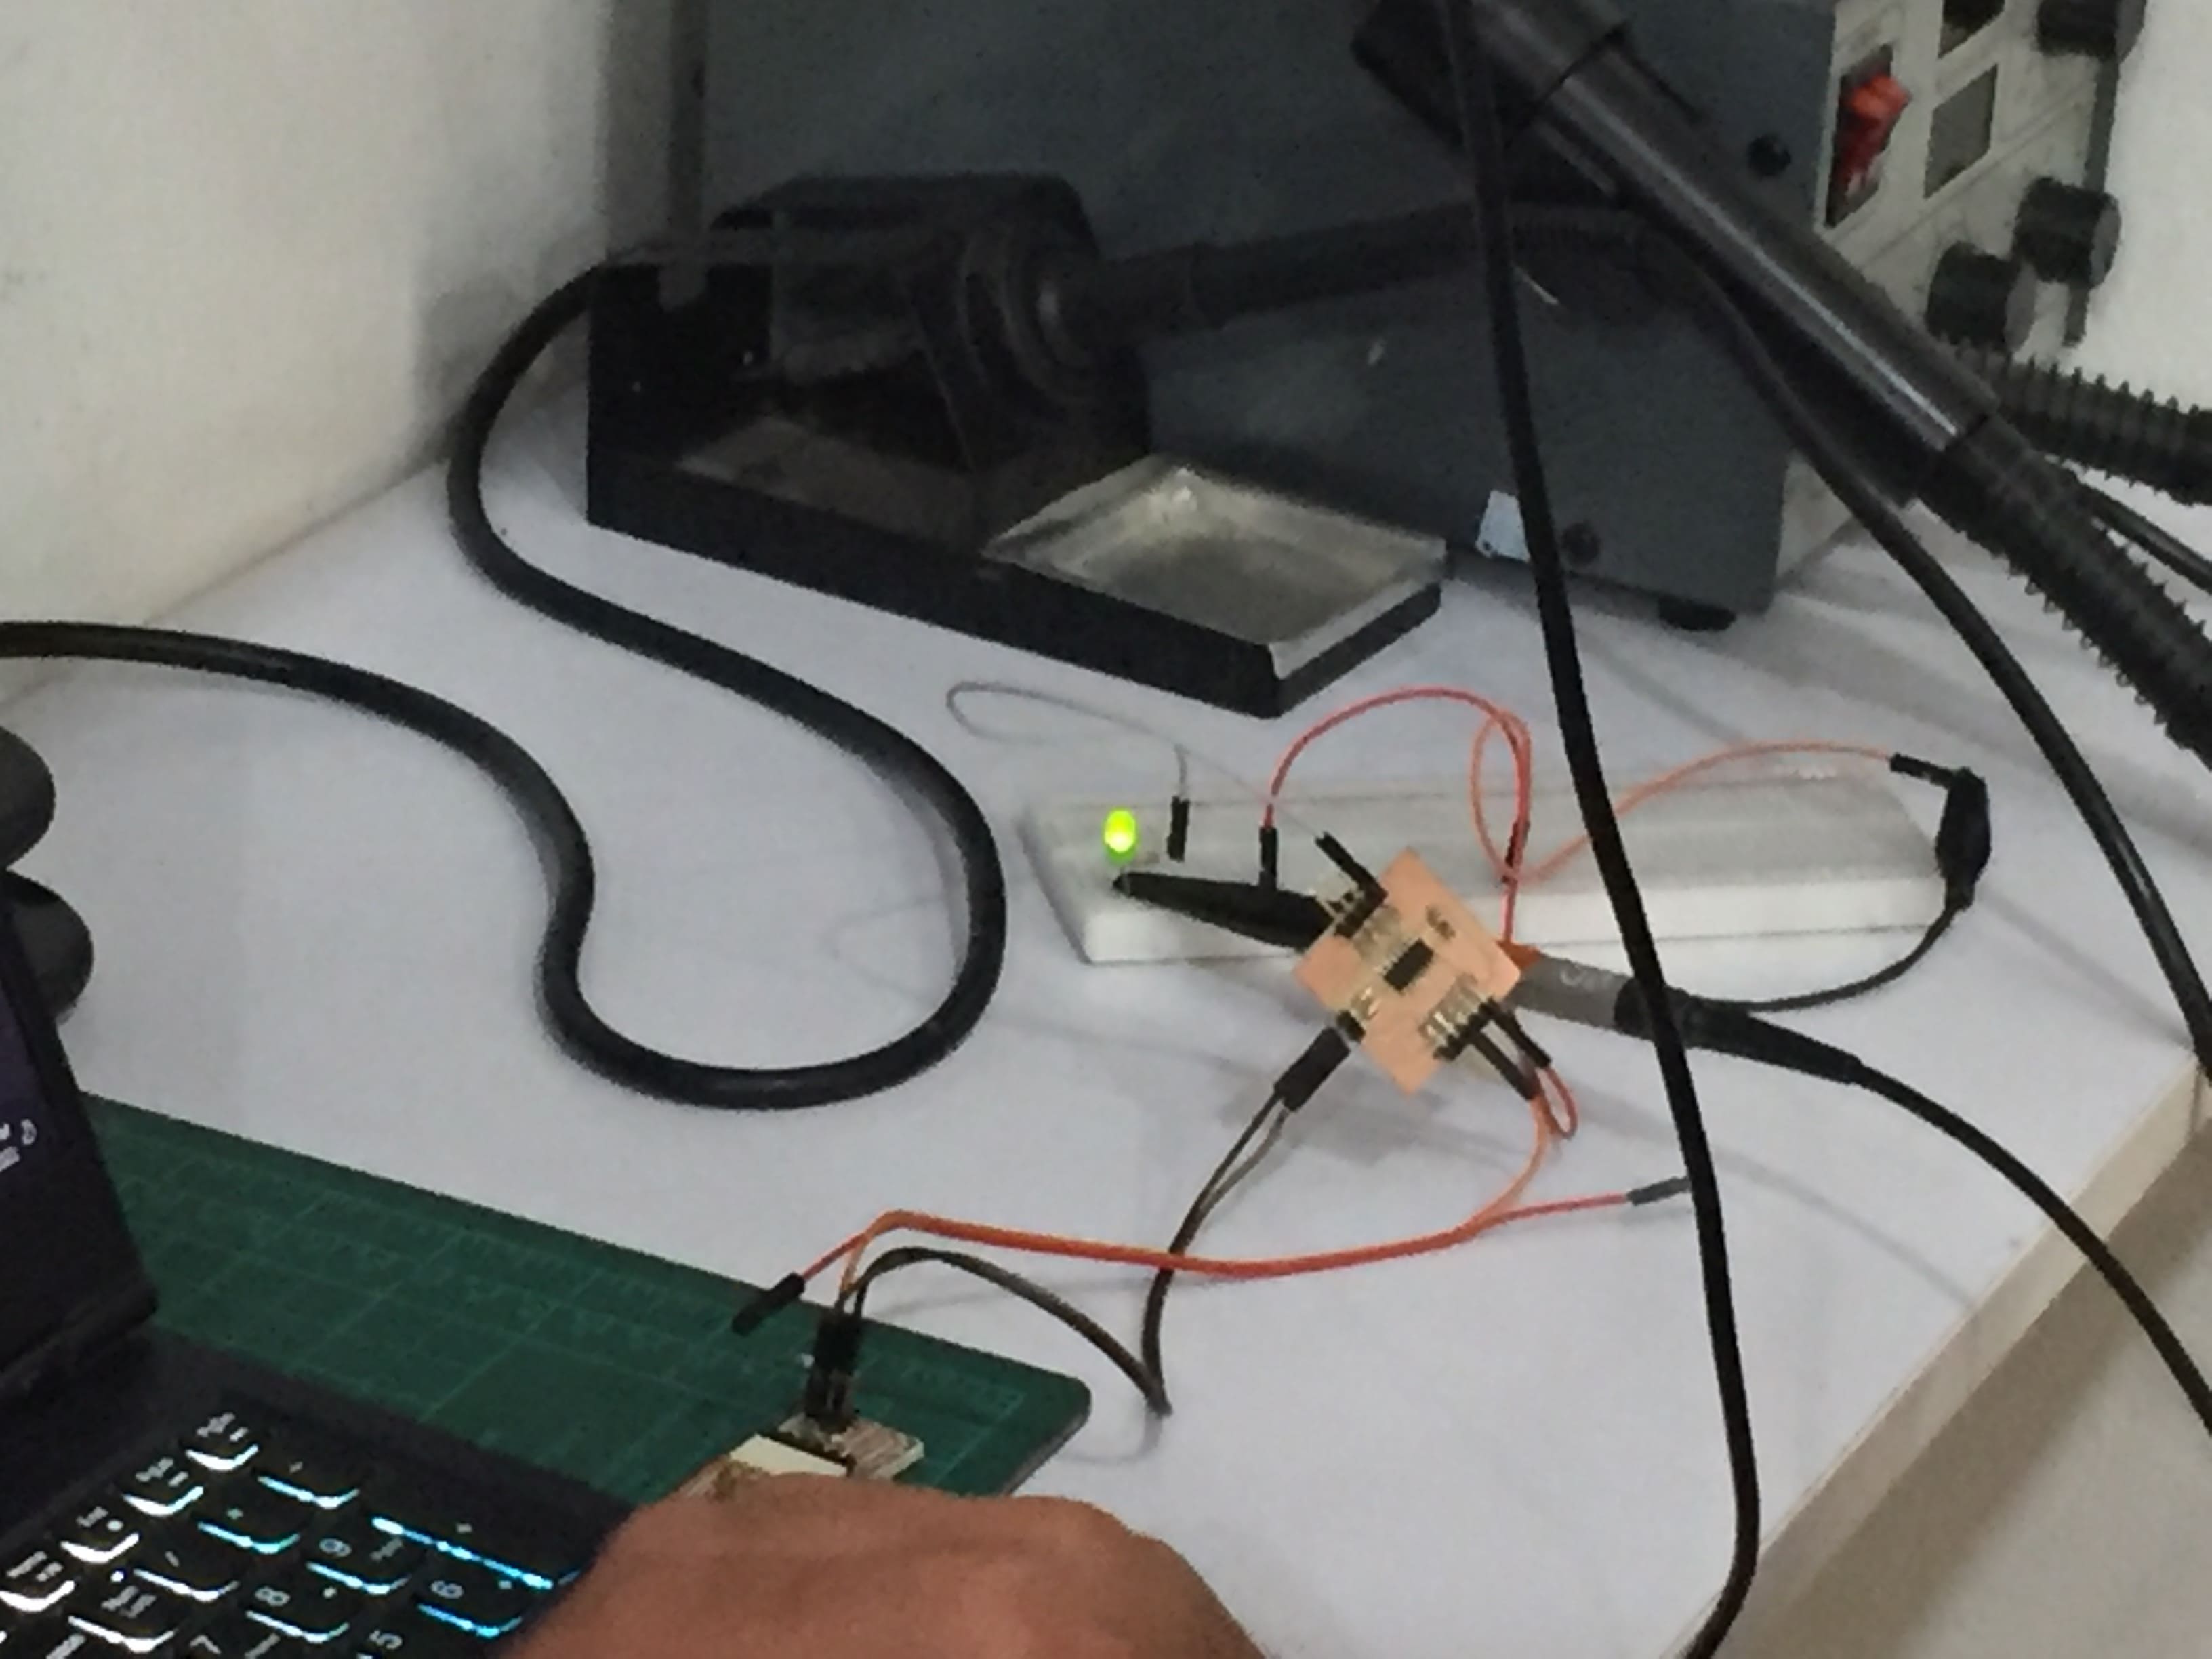
Simple LED circuit for testing frequencies
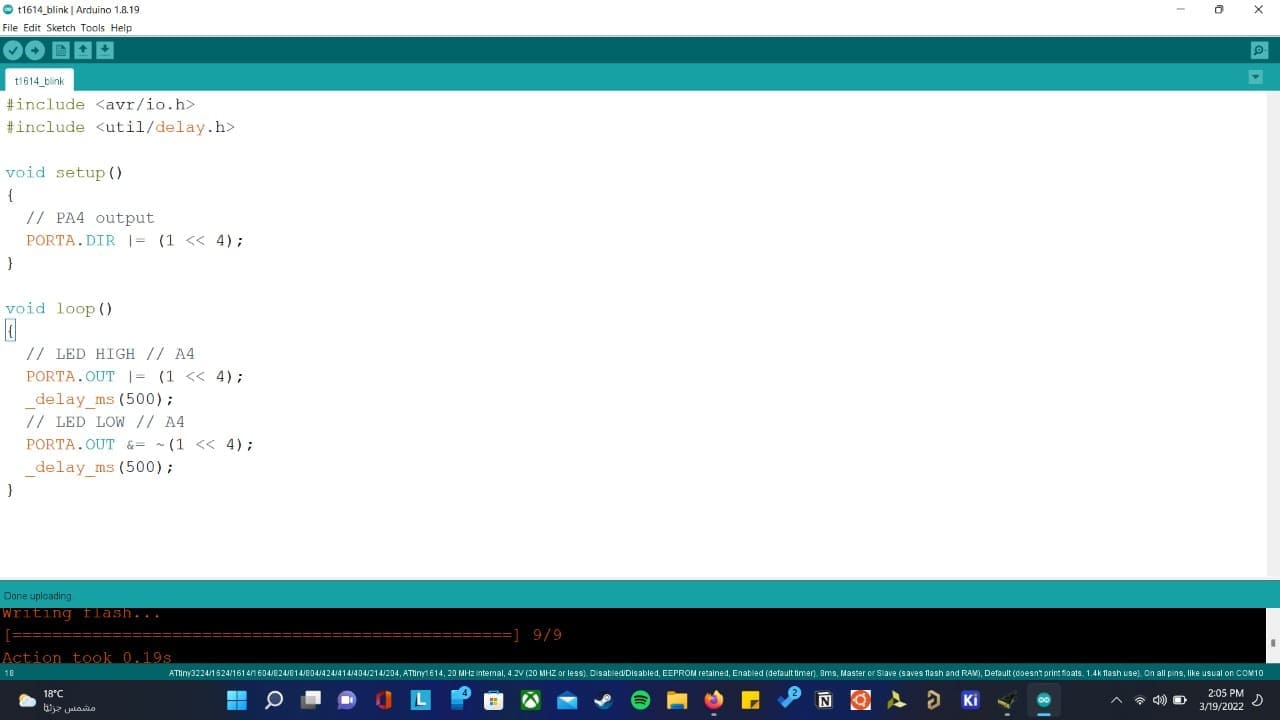
And with a simple Arduino code for blinking the LED he made as shown.
Then we connected different boards with different programming languages and we found that it gave different frequencies. And here is a list of outputs we had.
-
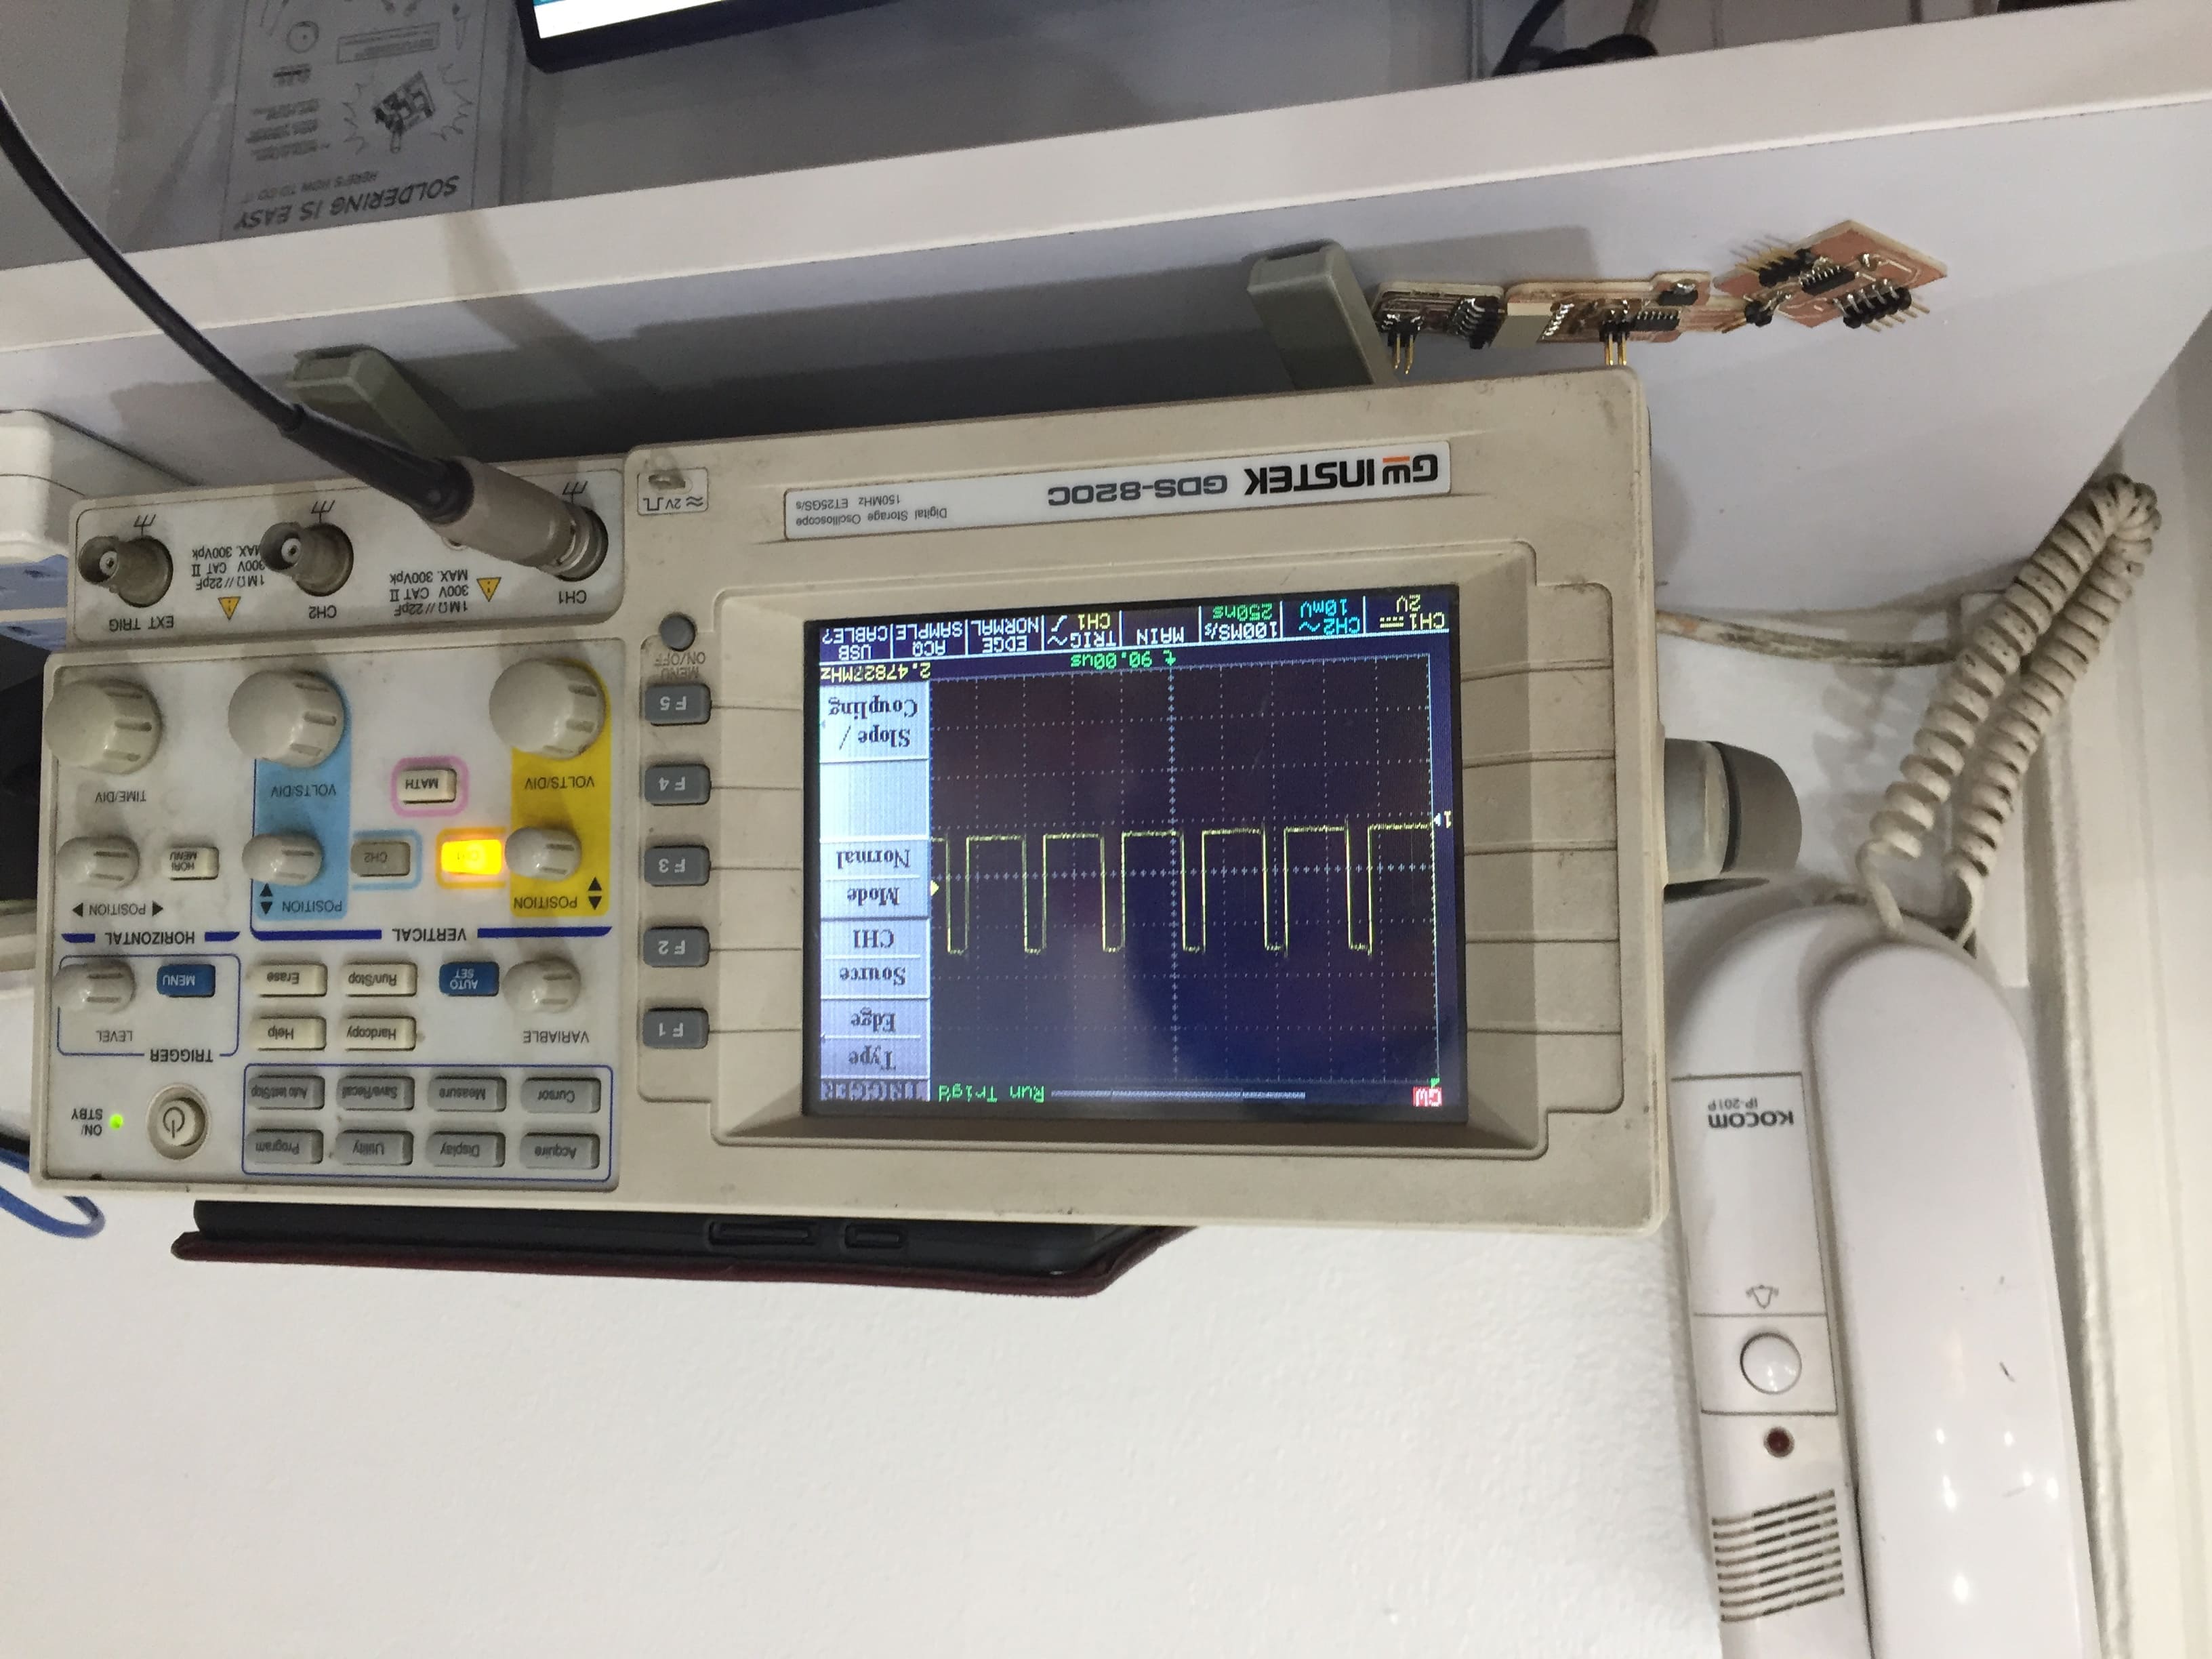
Attiny 1614
- C language - Freq: 2.8 MHz
- Arduino language - Freq: 759 KHz Attiny 44
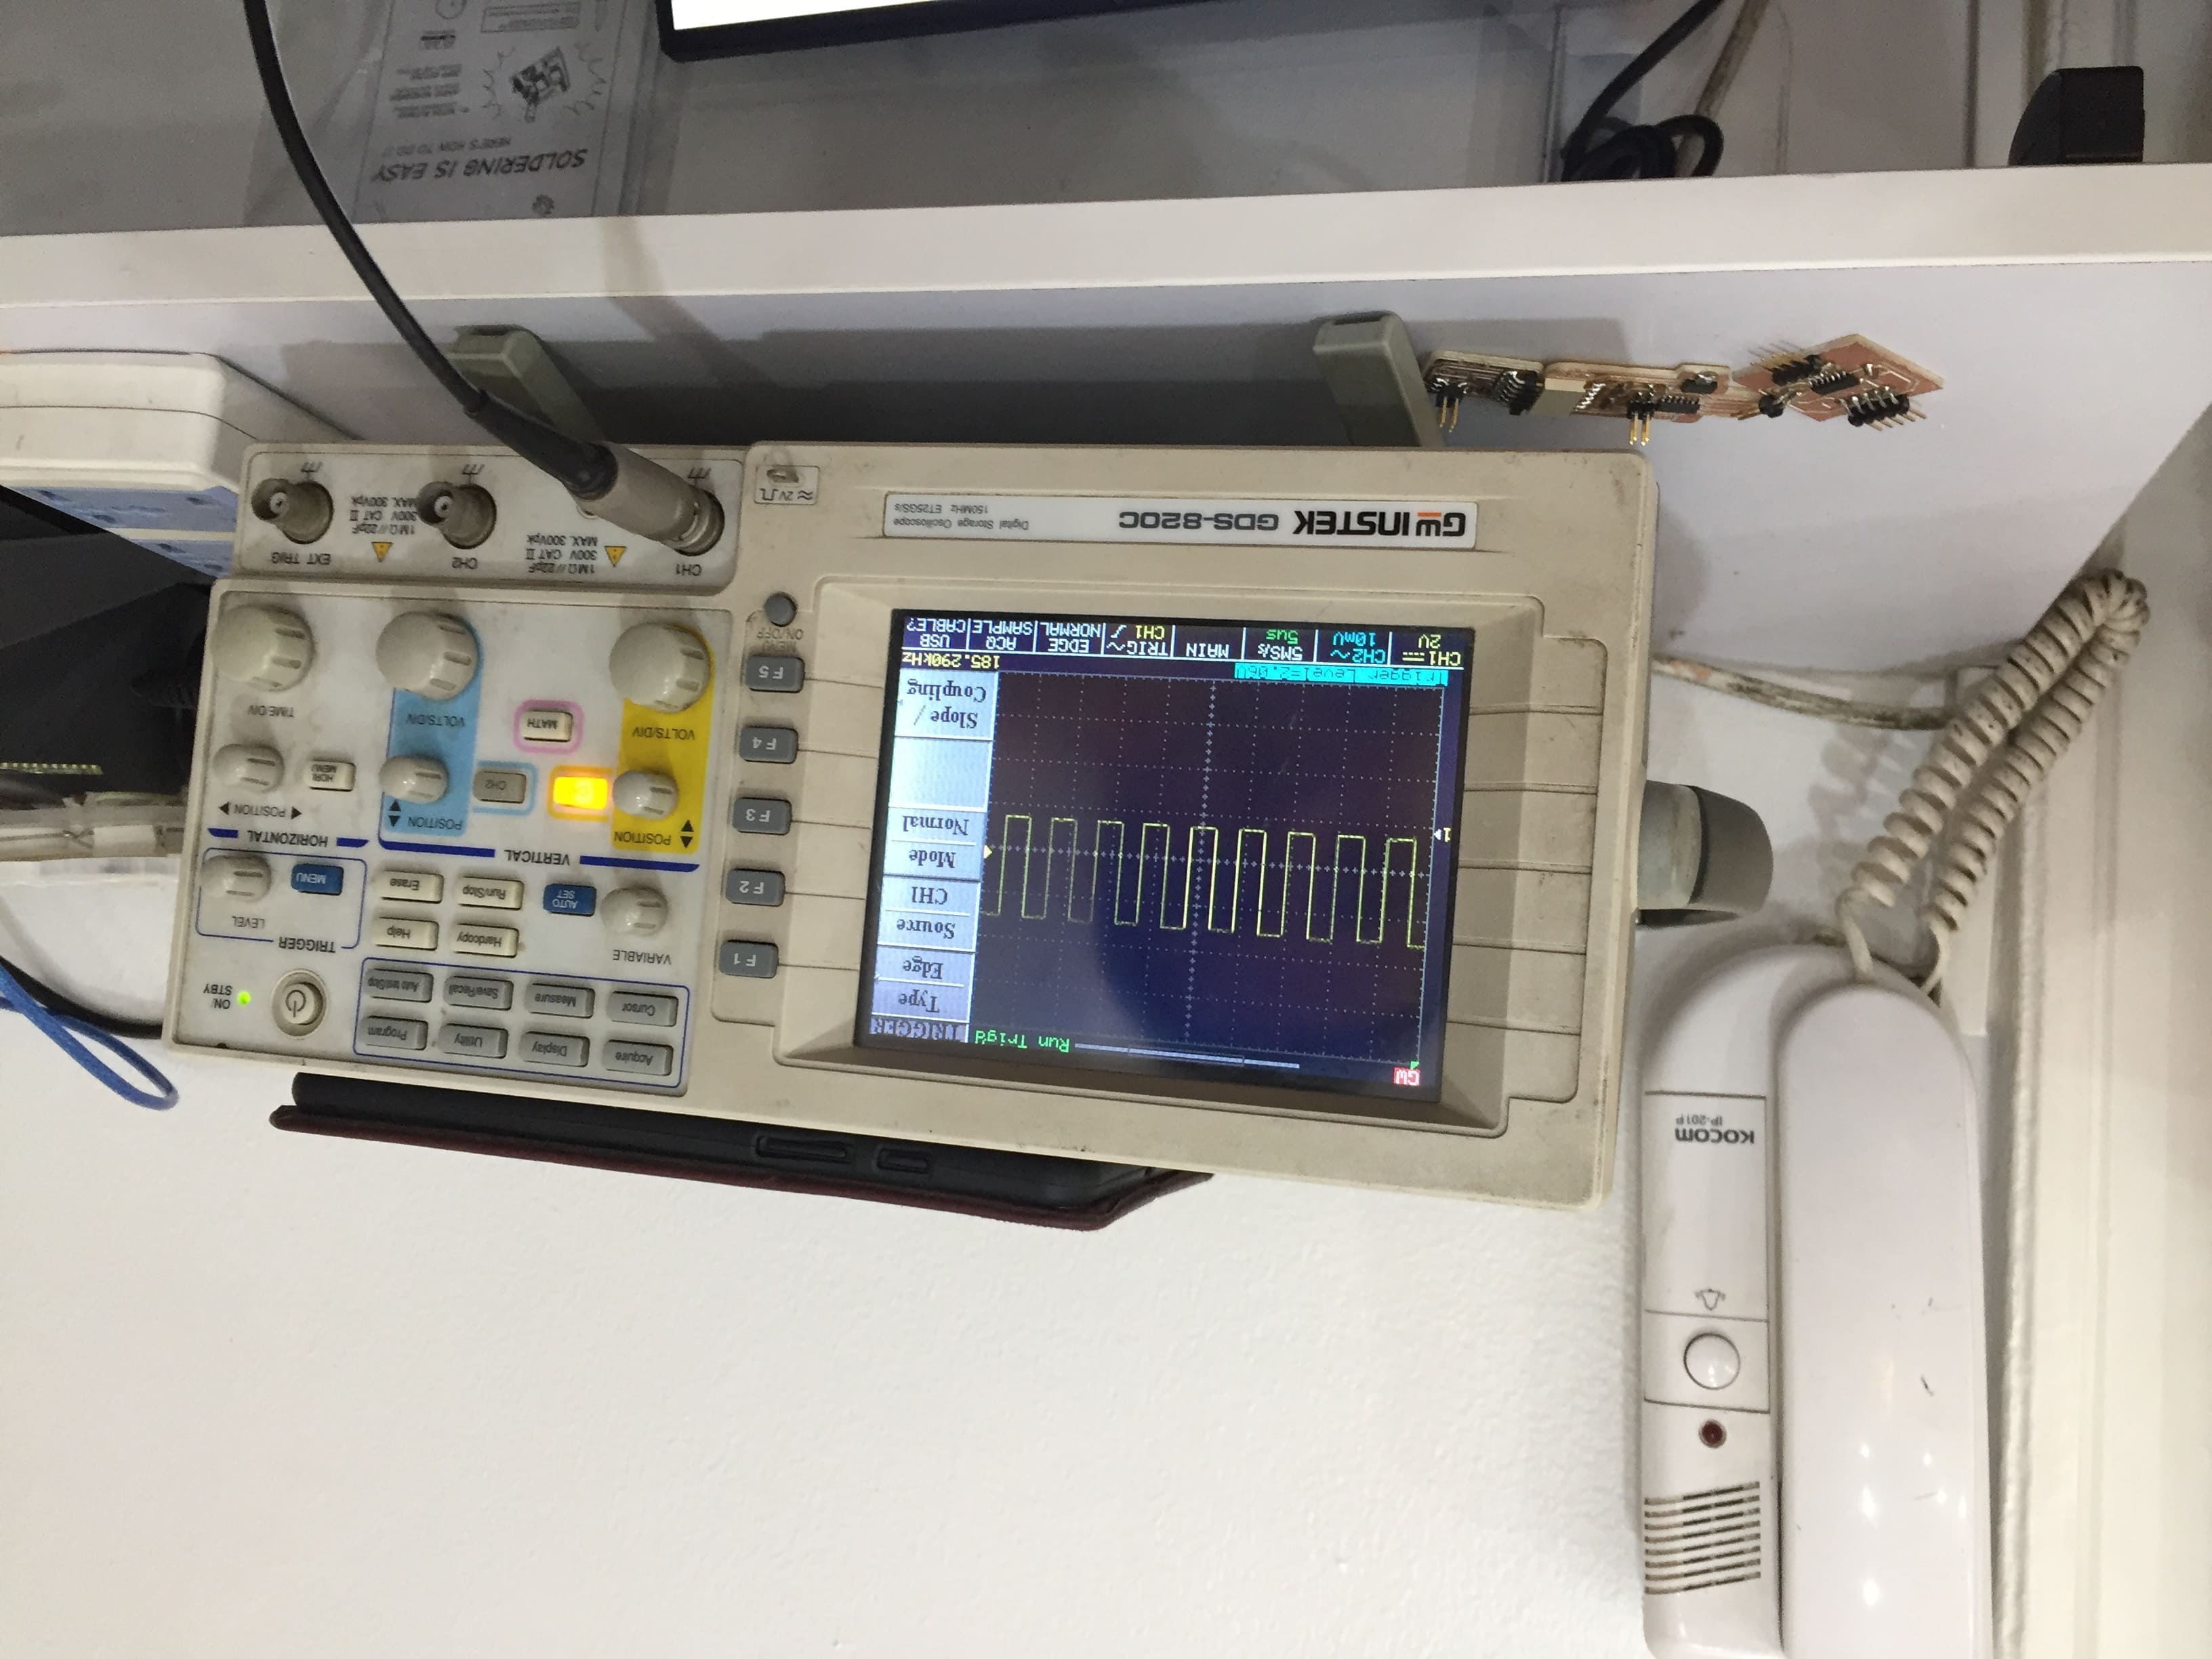
- C language - Freq: 2.47 MHz
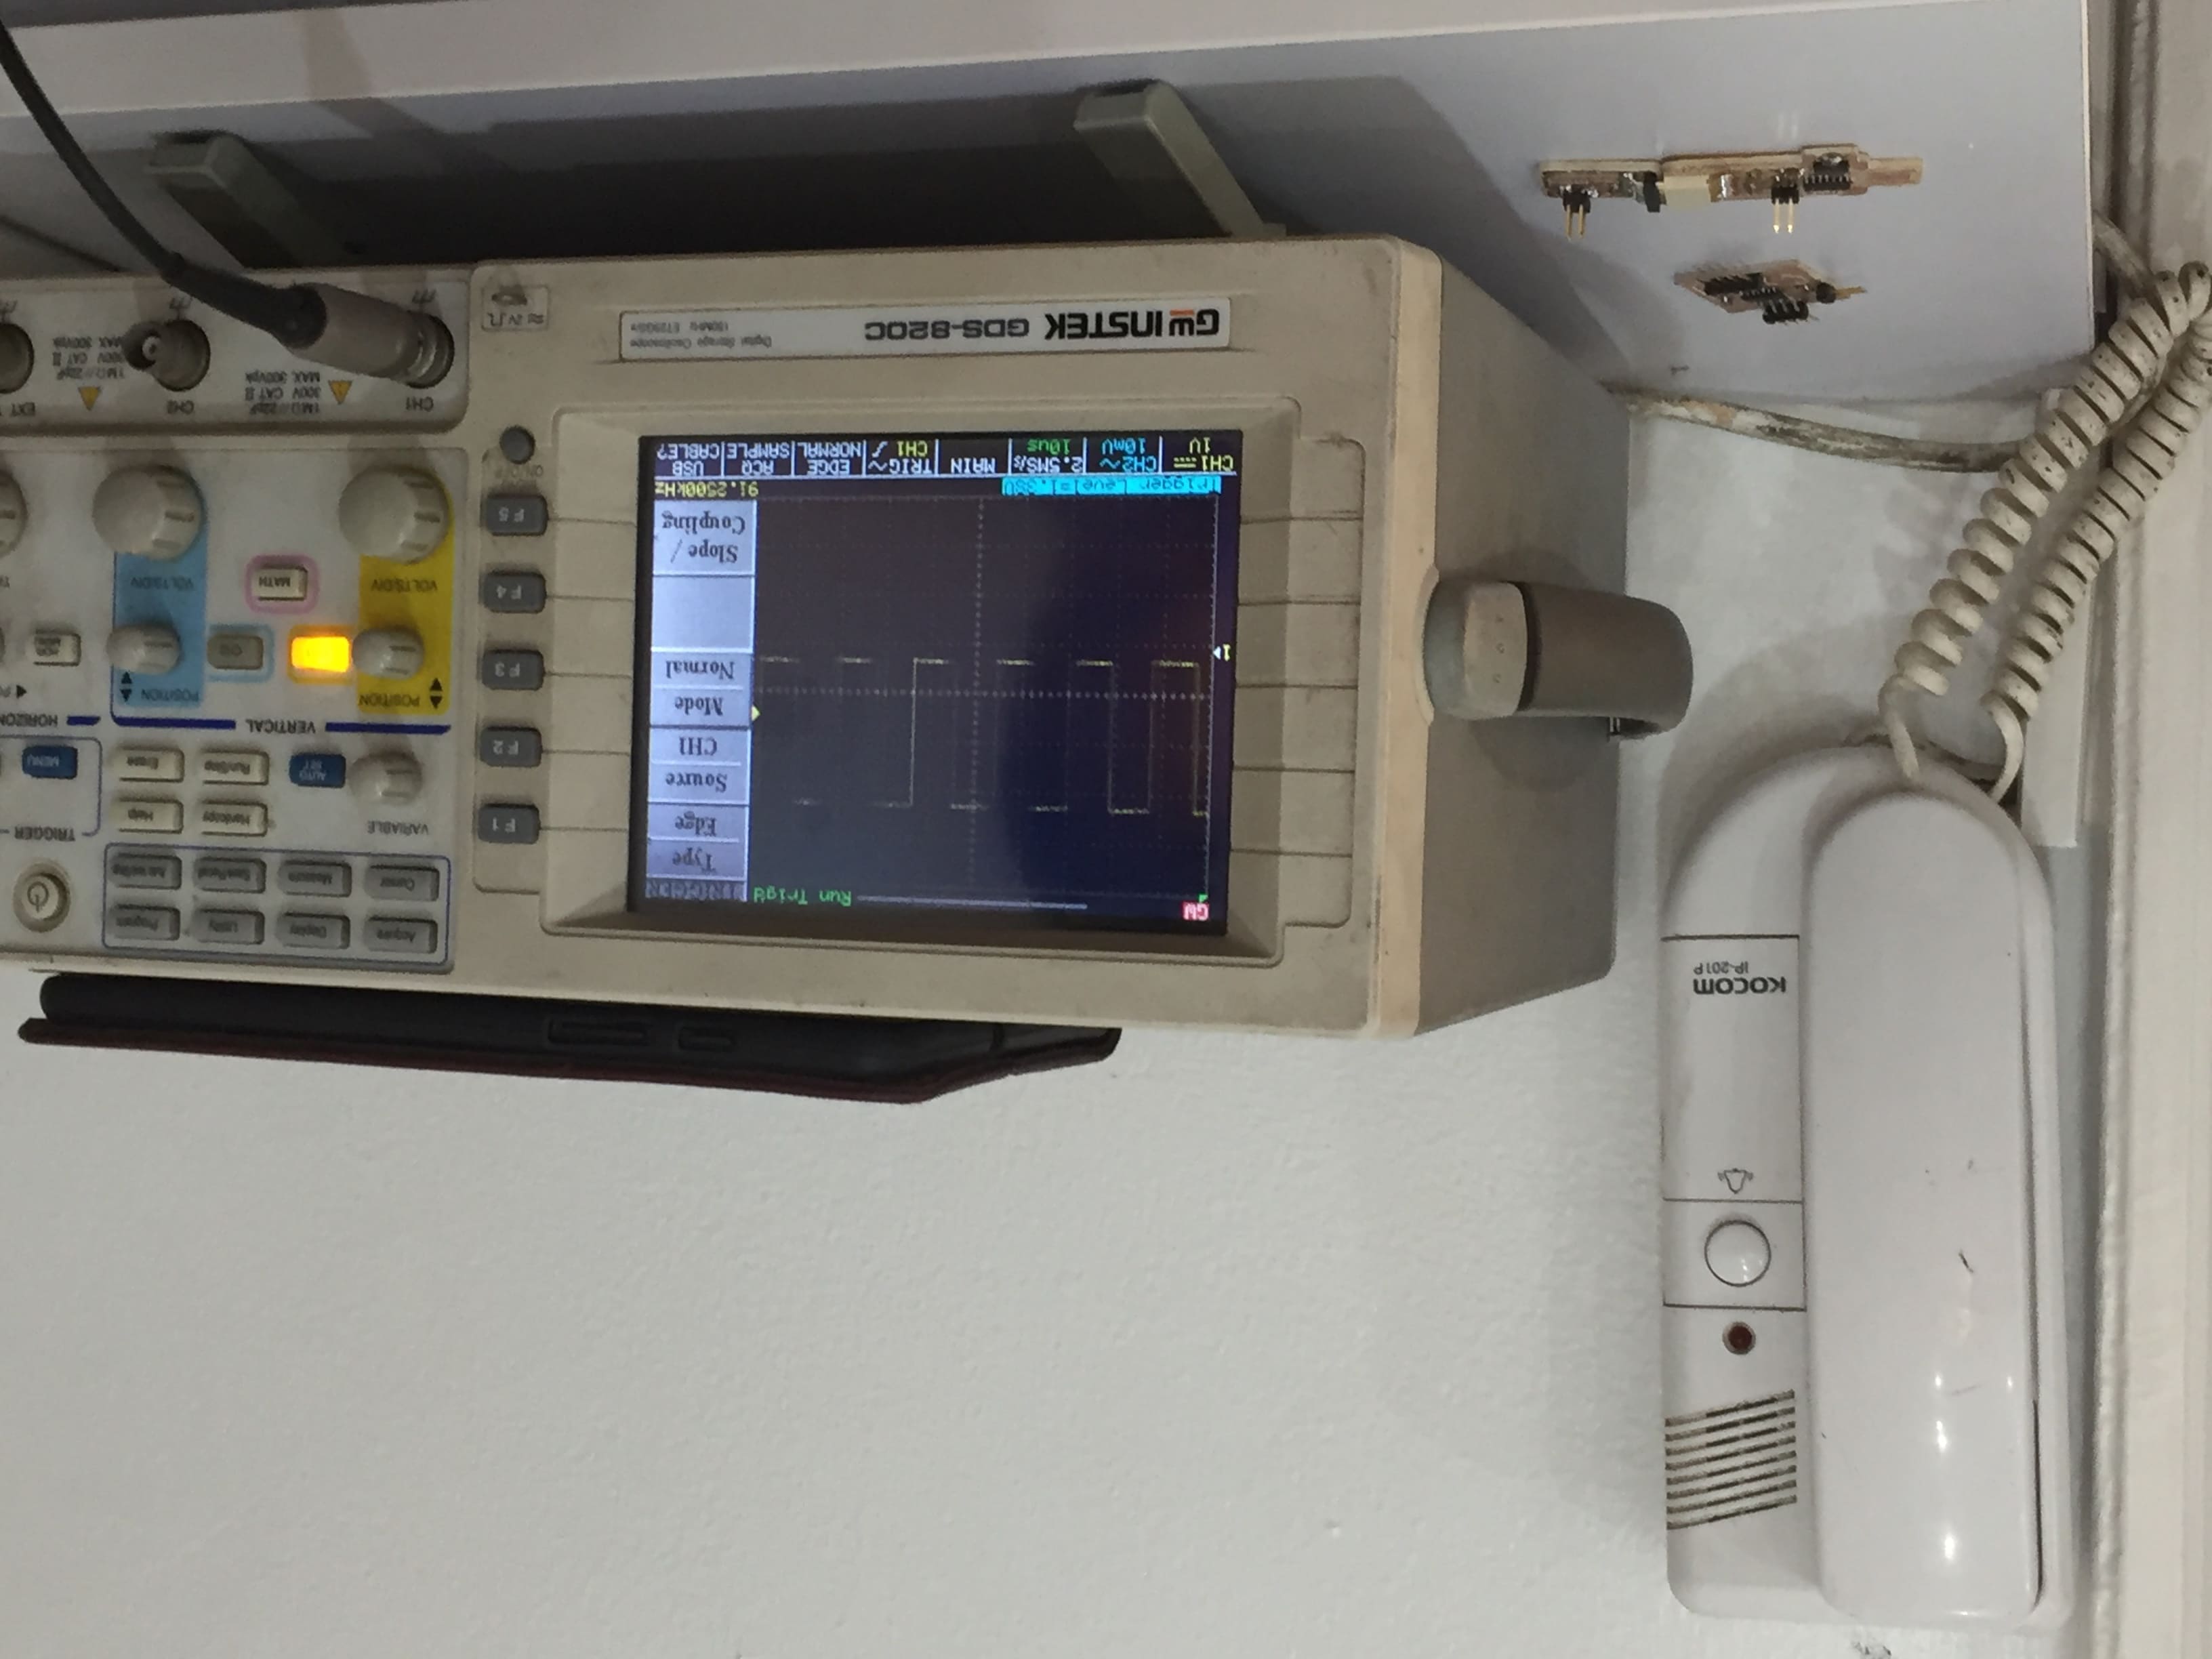
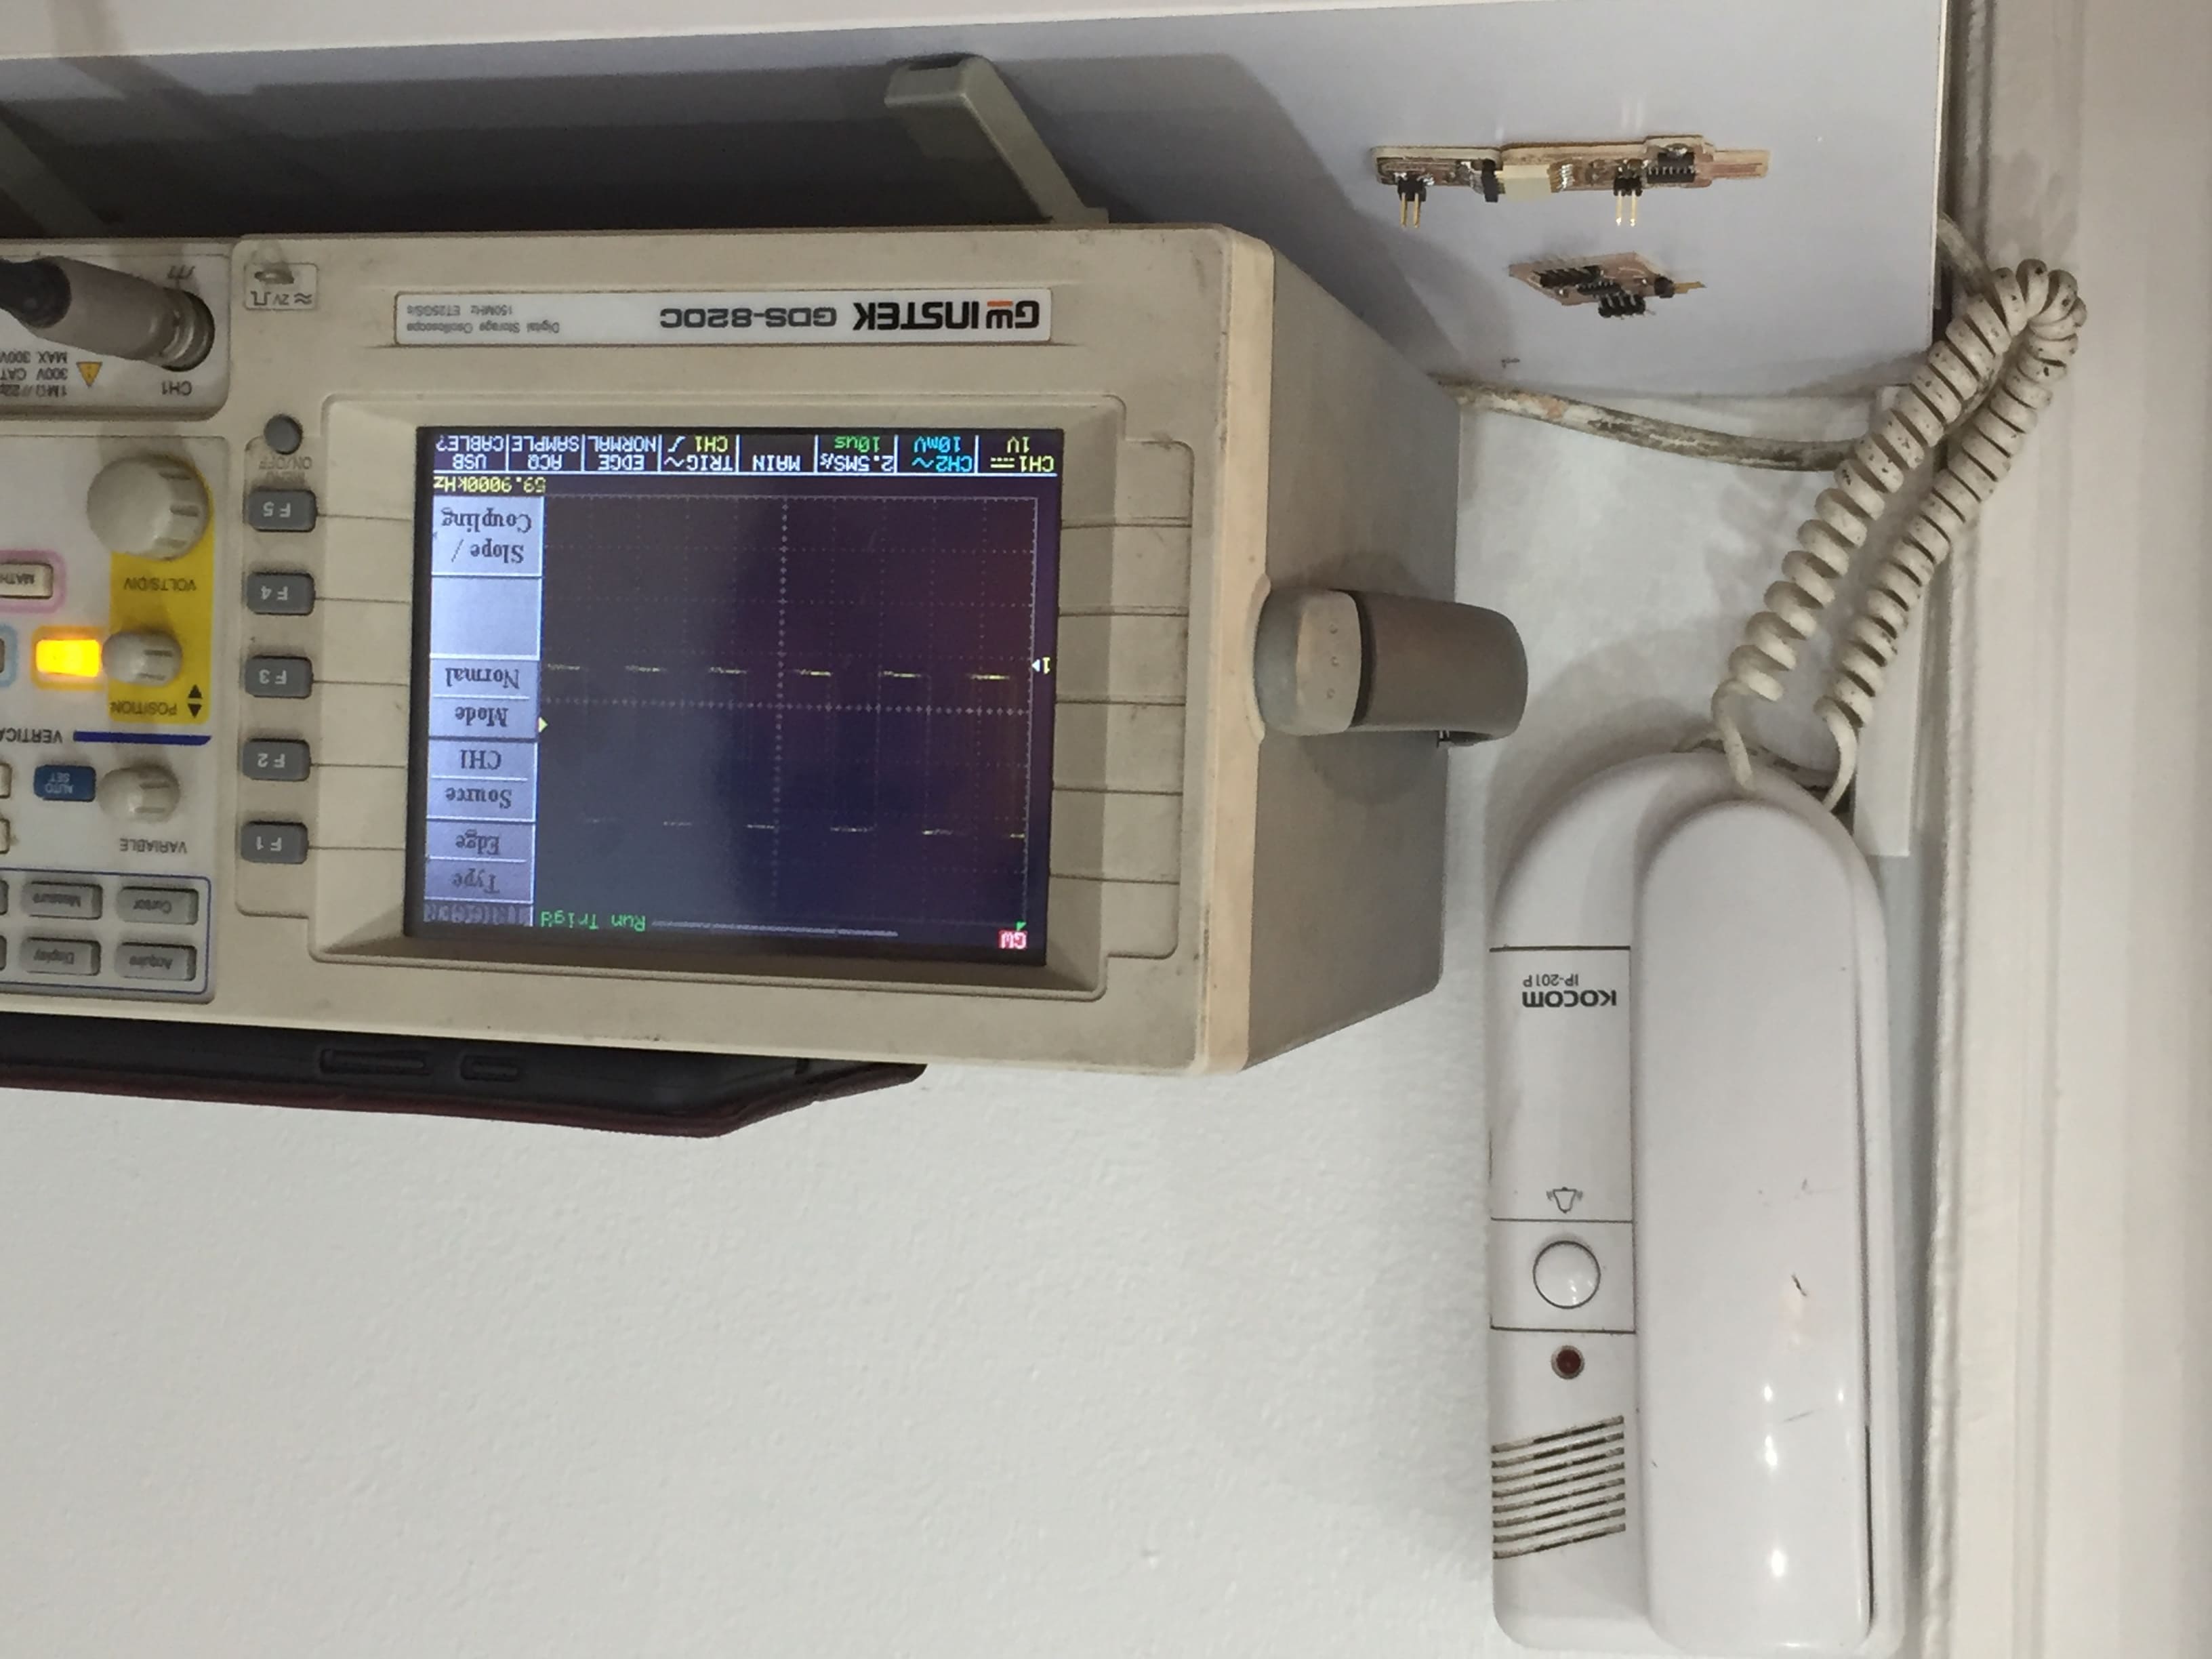
- Arduino language - Freq: 185 KHz Raspberry pi Pico
- Micro Python - Freq: 59 KHz
Indiviual Assignment
In this assignment I am going to program the board I made few weeks ago in Week 6 with my own code using several programming langauges and toolchains. So lets just divide them into seperate sections.
- Programming Arduino via Arduino IDE
- Programming C via Arduino IDE
- Programming Arduino code via Microchip Studio
- Programming C code via Microchip Studio
A. Programming Arduino via Arduino IDE
First I started by typing an arduino code as following
#define switch1 7
#define led1 8
void setup(){
pinMode(led1,OUTPUT);
pinMode(switch1,INPUT_PULLUP);
}
void loop(){
int input1=digitalRead(switch1);
if(input1==LOW){
digitalWrite(led1,HIGH);
delay(20);
digitalWrite(led1,LOW);
delay(20);
digitalWrite(led1,HIGH);
delay(20);
digitalWrite(led1,LOW);
delay(20);
digitalWrite(led1,HIGH);
delay(20);
digitalWrite(led1,LOW);
delay(20);
}
else{
digitalWrite(led1,LOW);
}
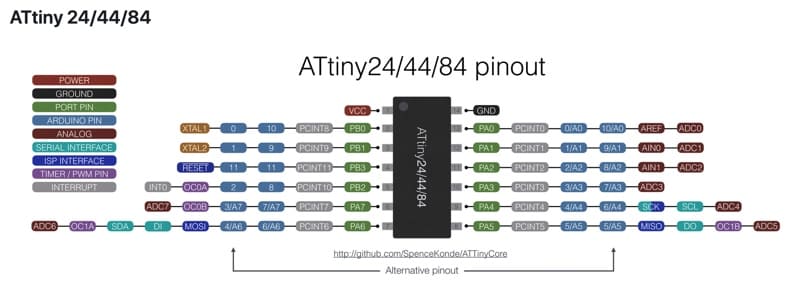
}Simply this code defines first the pins that I am using for the push button and LED, and I am connecting the push button on Pin 7 as for Arduino but actually it's Pin PA7 in the Attiny44 pinout diagram shown below, and the LED is connected on Pin 8 which is PB2. And all that it does is blinking the LED 3 times with 20 milliseconds in interval if it gets a LOW input from the switch which means if I press the switch. And here when it gets low because I made the pin mode for the switch as an input pullup not pulldown so it's always getting volt.
Now we are just making our settings correct from Tools tab in the menu bar above.
We need to choose the following:
- Board: Attiny24/44/84
- Processor: Attiny44
- Clock: External 20MHz
- Programmer: USBTinyISP
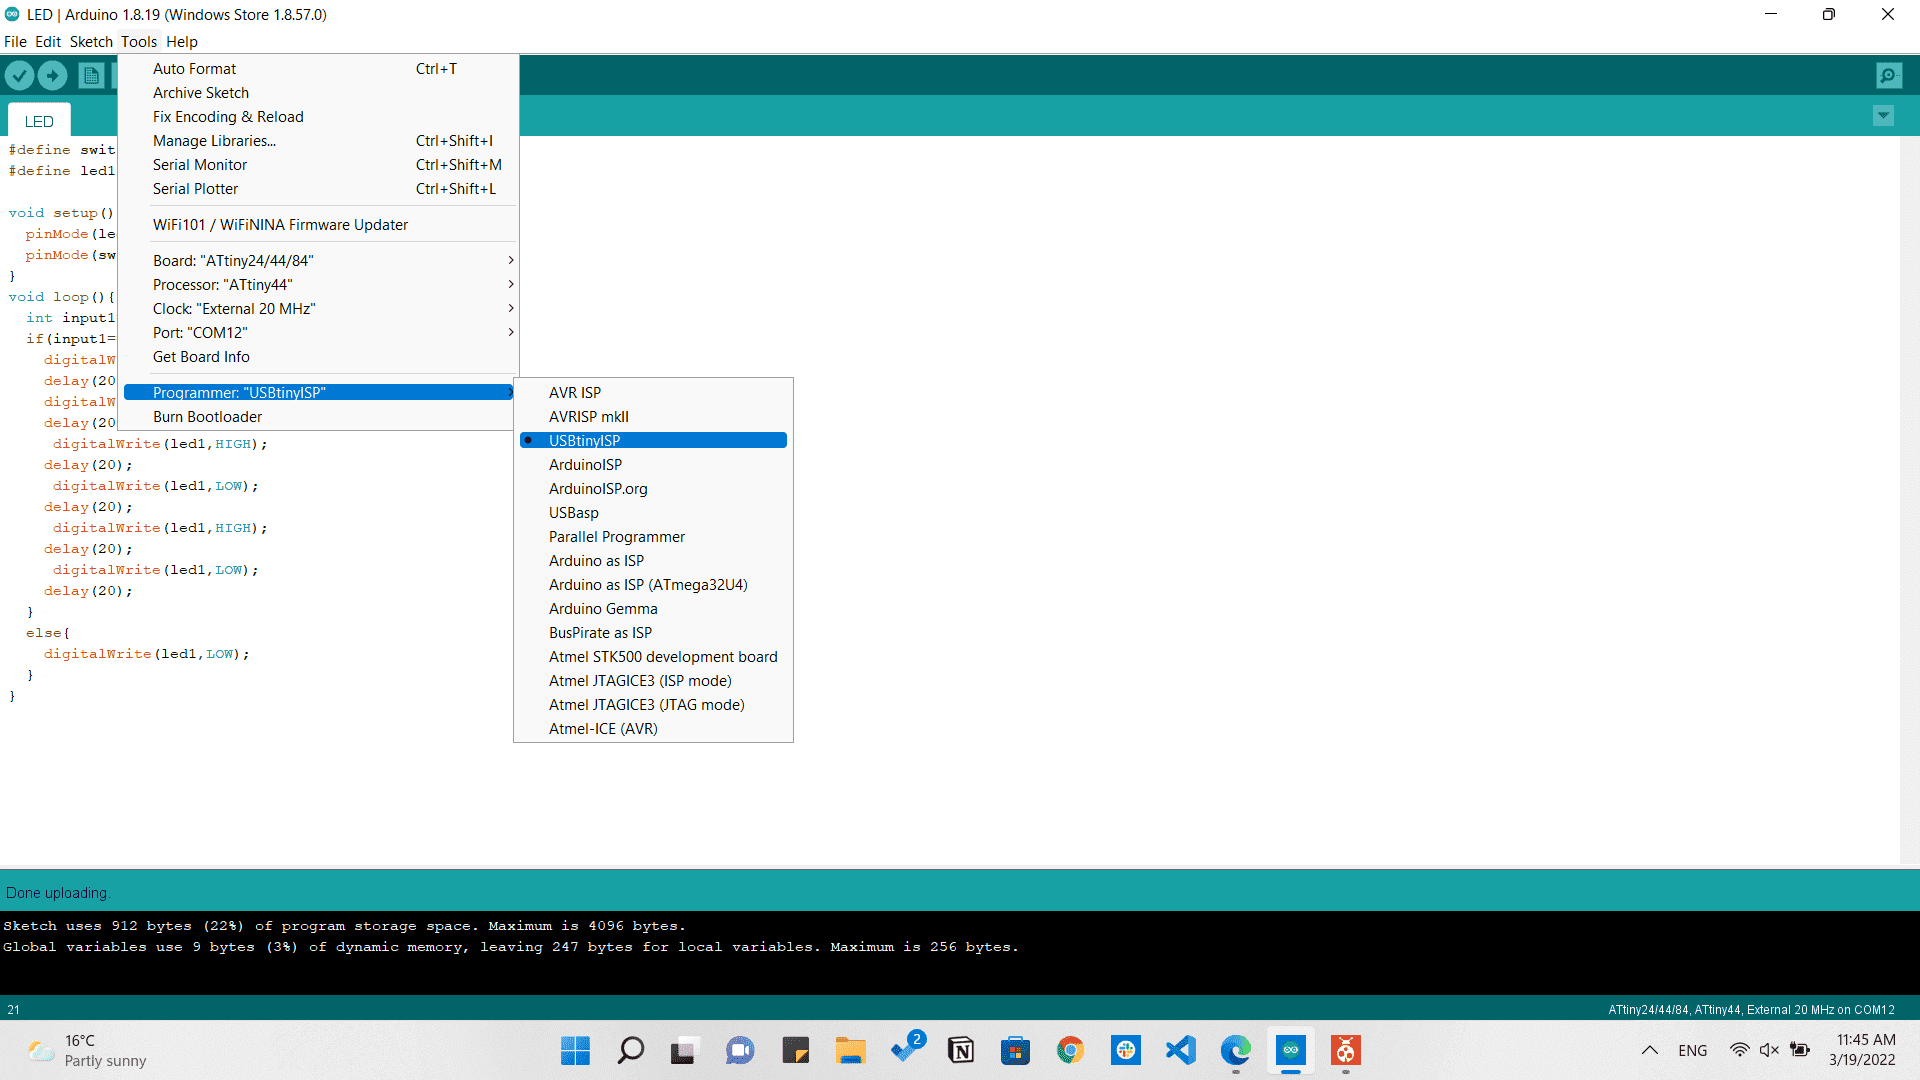
Uploading code to Attiny44 via Arduino IDE
Then from Sketch > Upload using programmer it should upload the code correctly.
Arduino code blinking the LED
B. Programming C via Arduino IDE
First I started by typing an arduino code as following
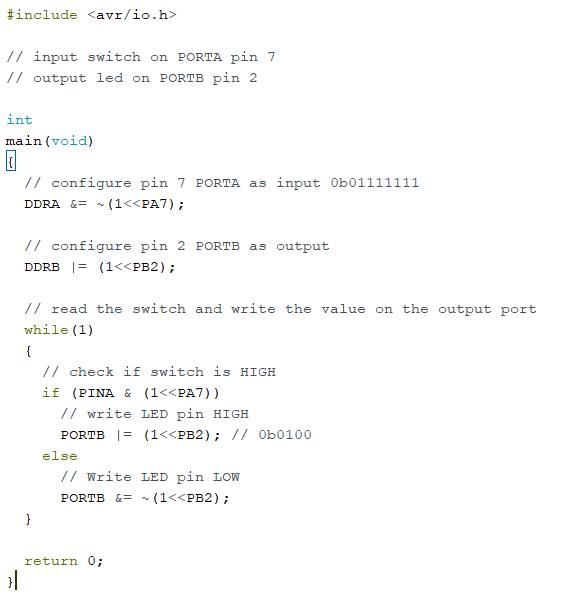
C code on Arduino IDE
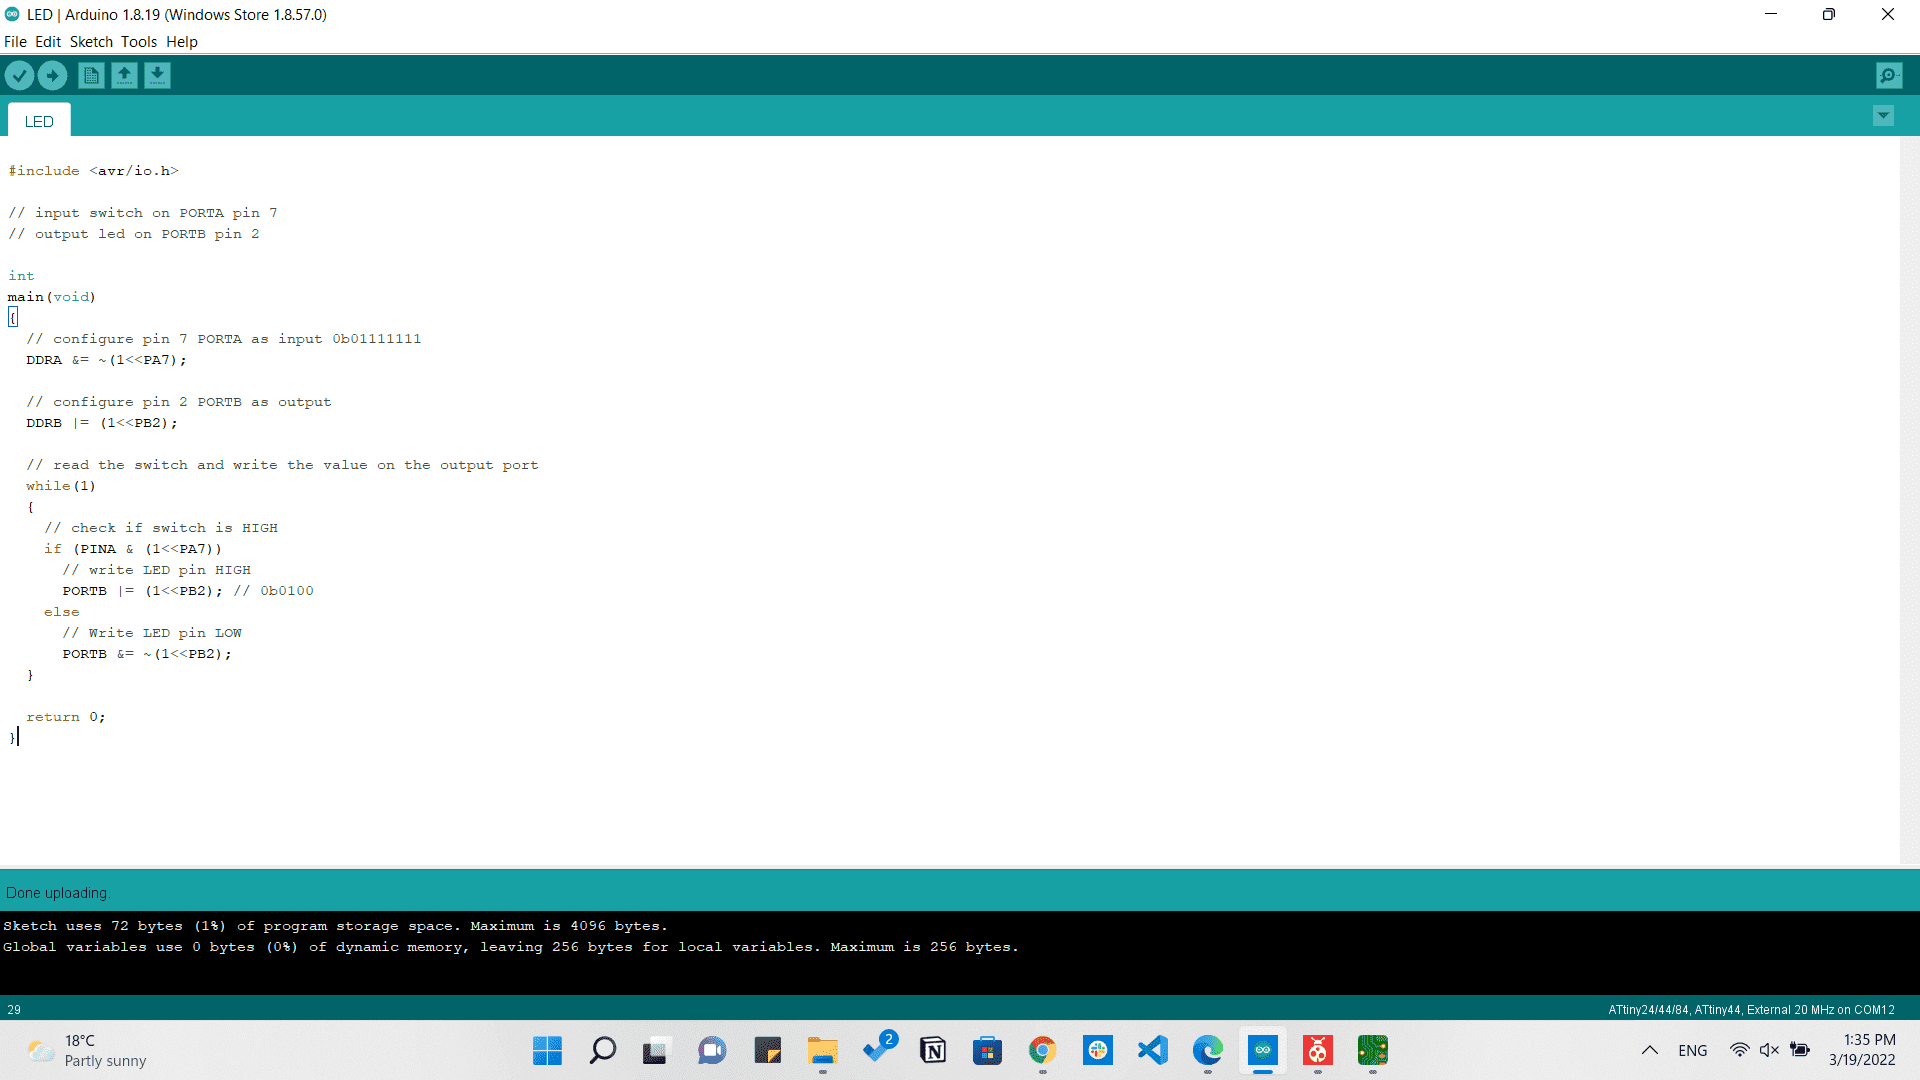
Uploading C code via Arduino IDE
What does this code does is that it defines port A7 as an input which is the switch, and defines port B2 as output which is the LED. Then if it receives a signal from the switch it turns off the LED till the signal goes. As shown in the video.
C code blinking the LED via Arduino IDE
C. Programming Arduino code via Microchip Studio
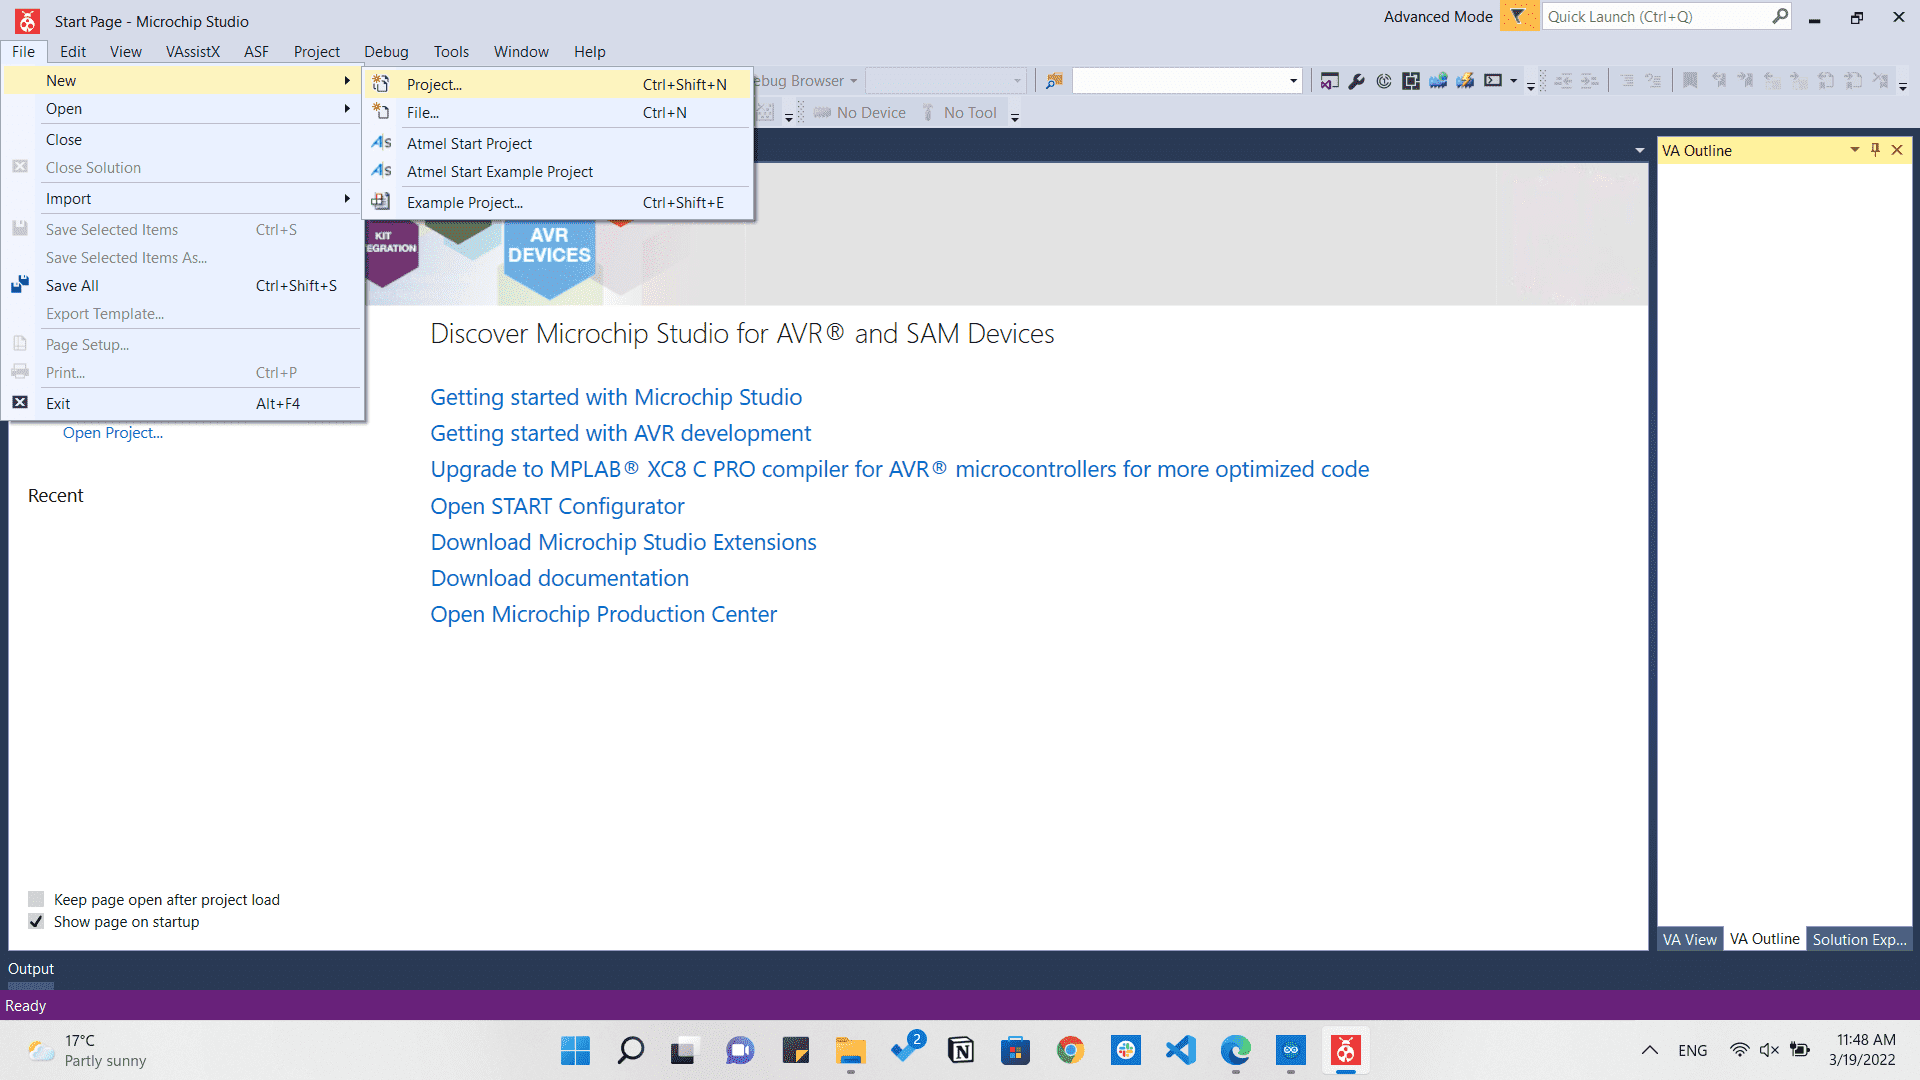
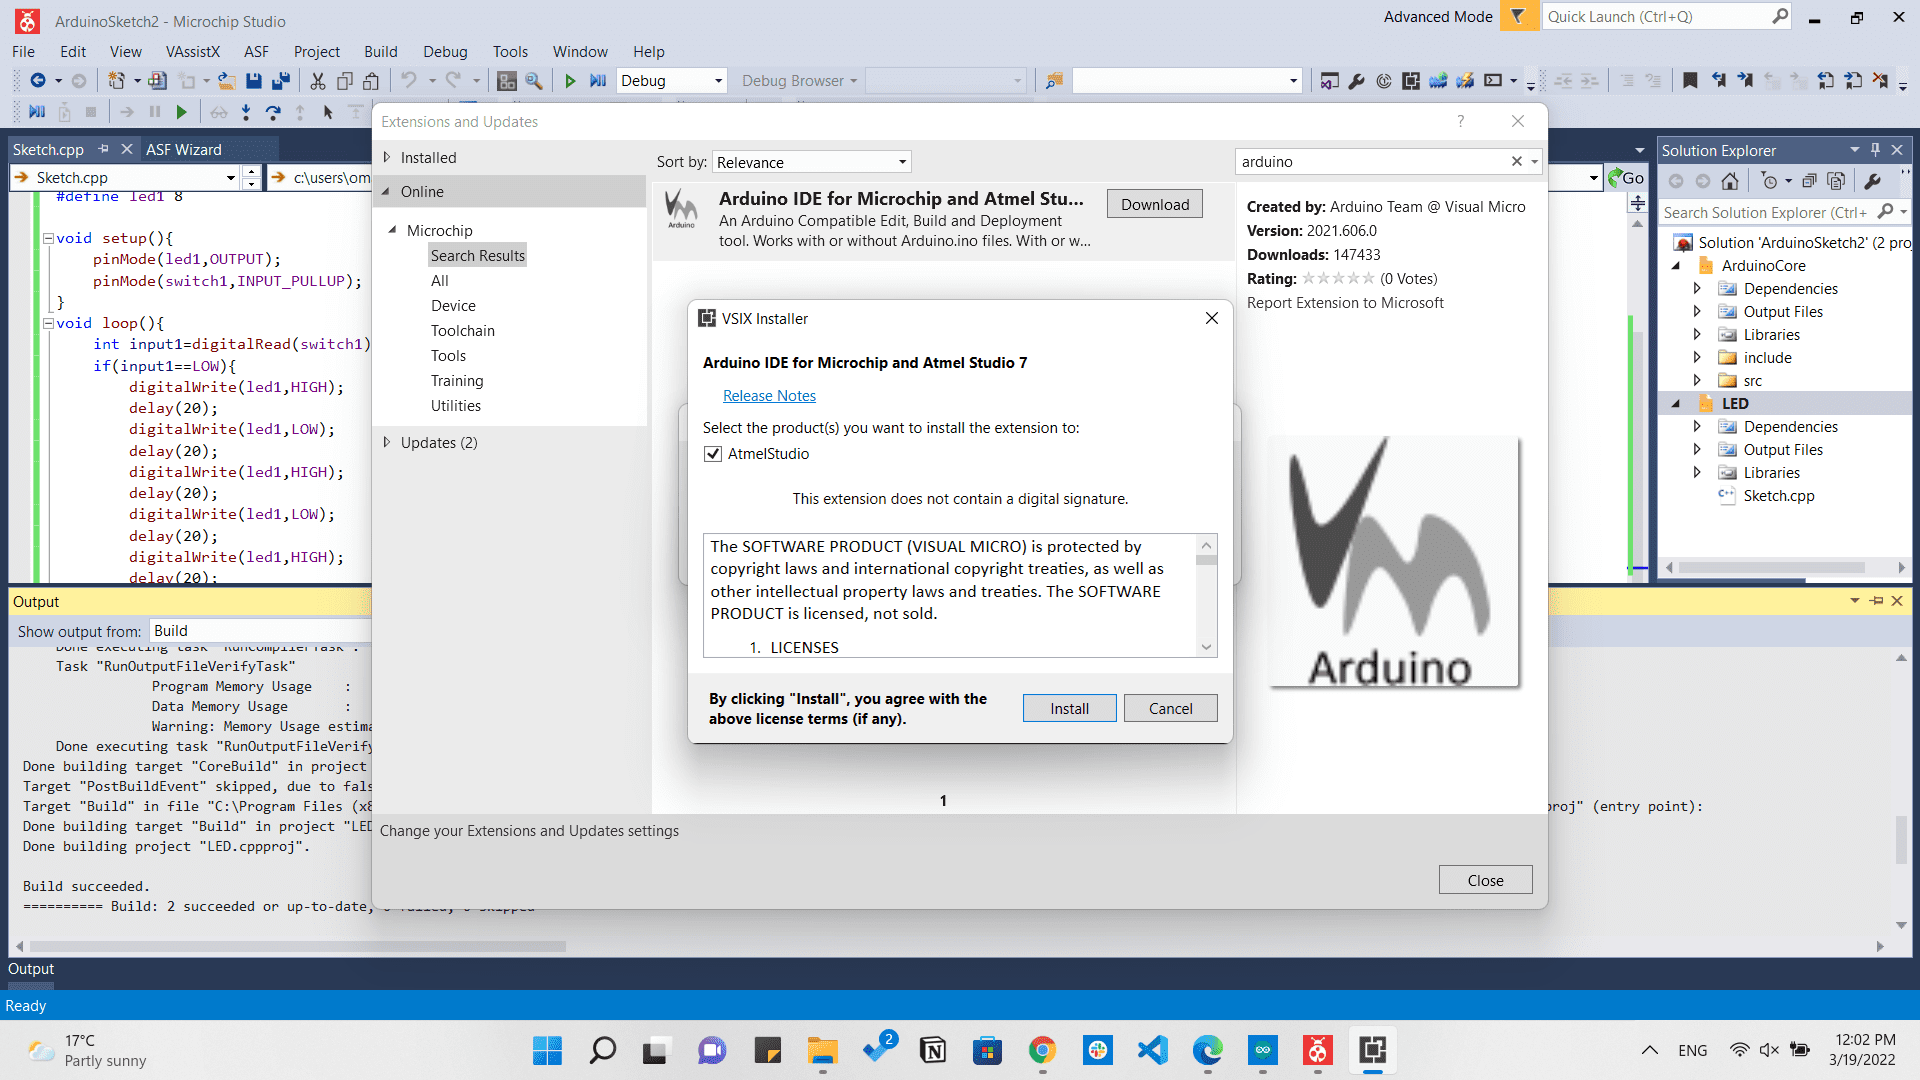
This type of toolchain was easy while programming Arduino code via Microchip Studio wasn't so hard. First of all, When we open the program and go to File>New we won't find Arduino project which we need, but we will find just new project and some other stuff. So we need to add Arduino project to the "New" tab.
So we will go to Extensions and Updates from Tools menu. And type in the search bar Arduino. Then we will have Arduino IDE for Microchip and Atmel Studio and we will click on install.
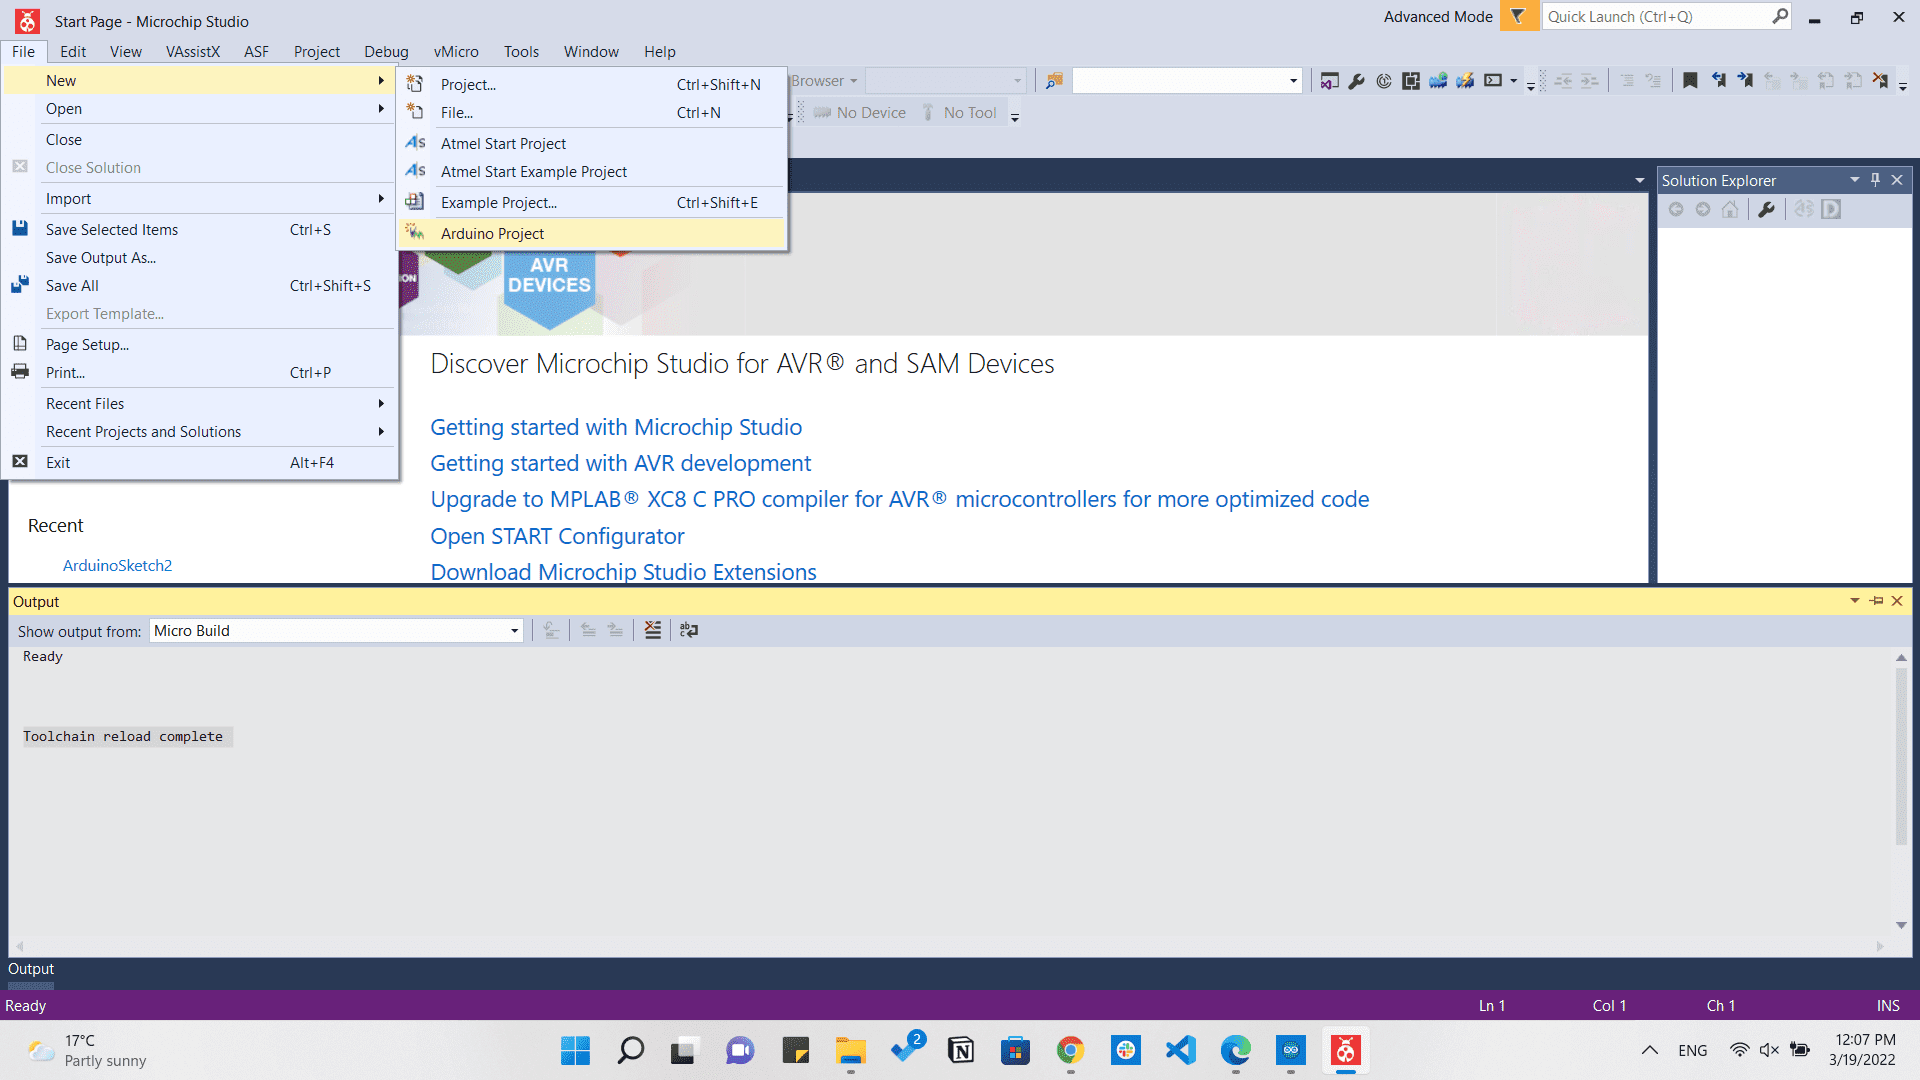
After closing Microchip studio and reopening it again we will find that the Arduino project appeared.
Now we will just click on it and choose Create project from Arduino sketch.
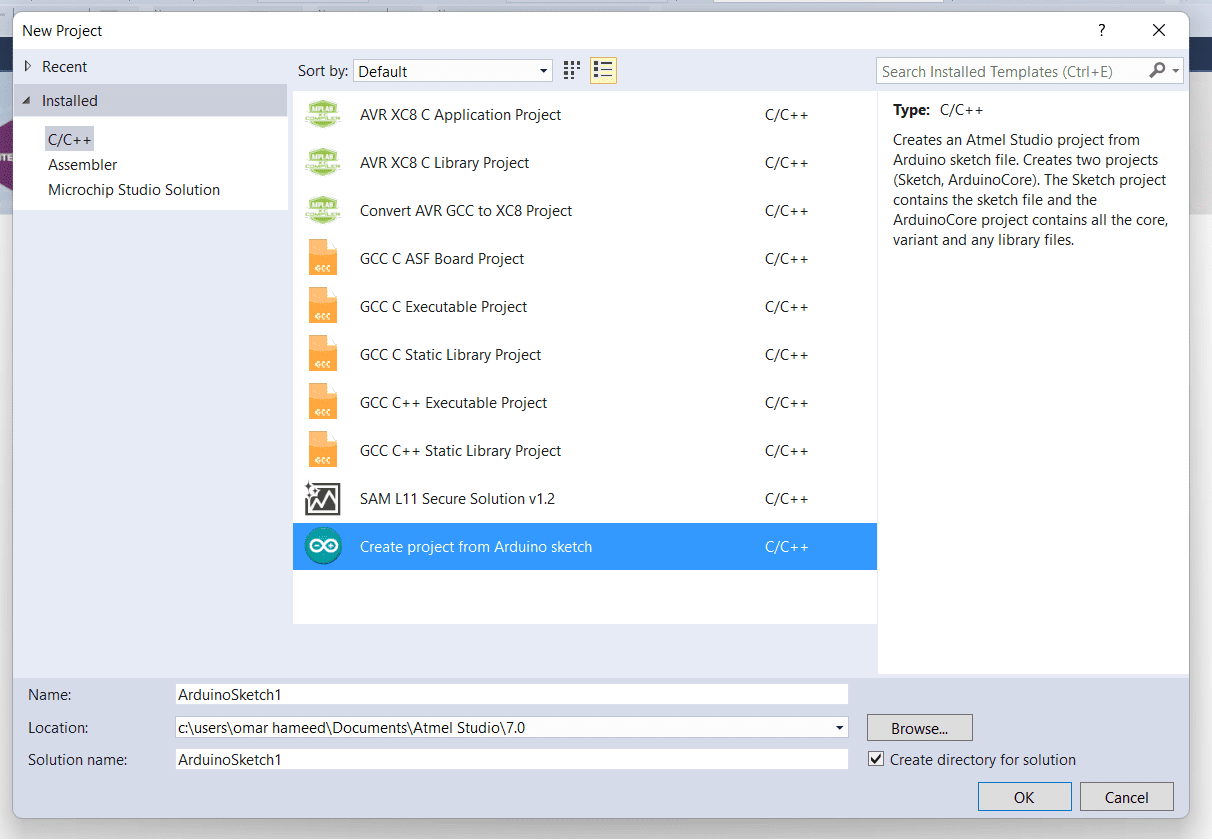
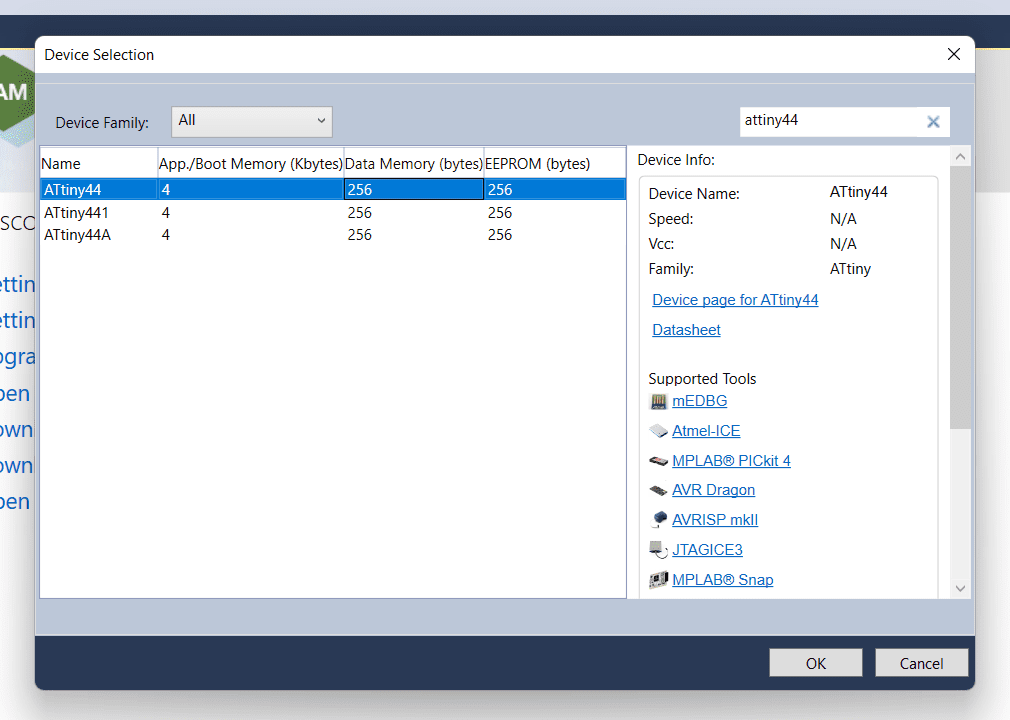
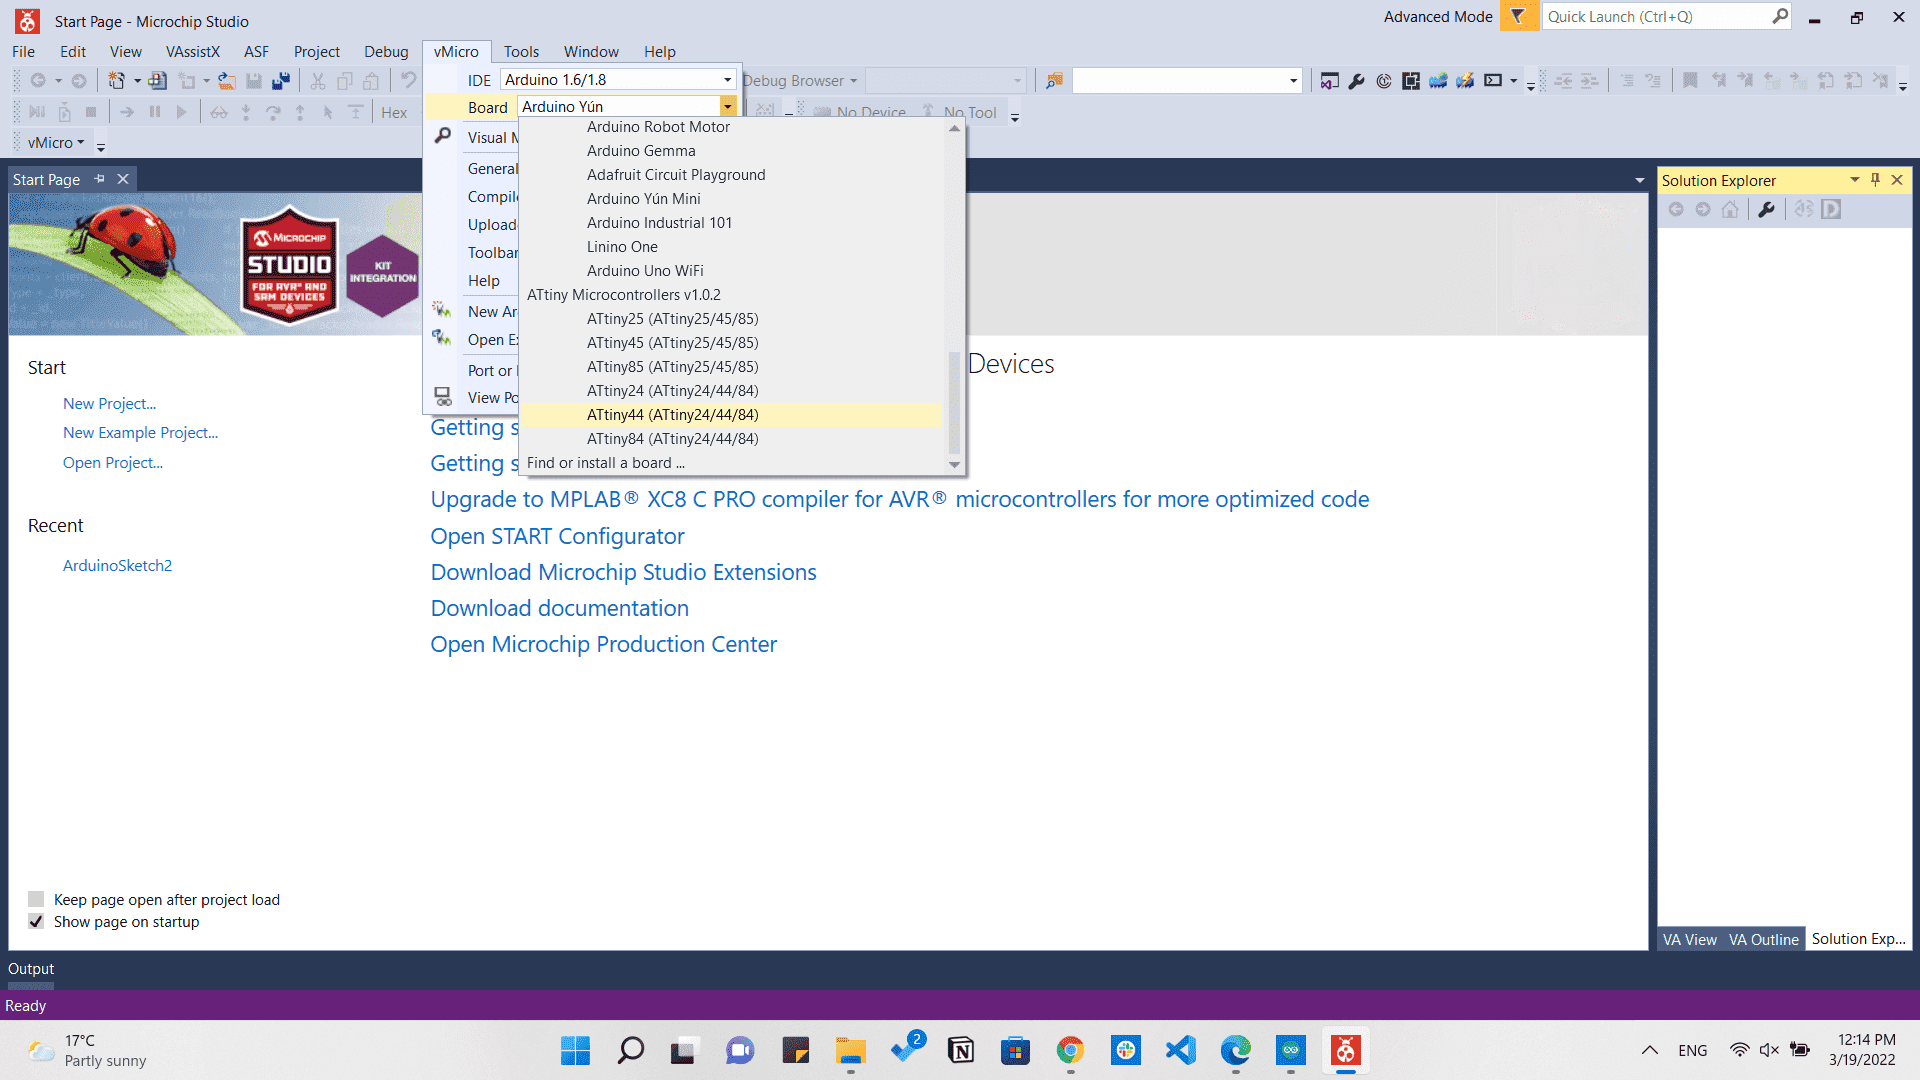
Then from the menu that appears for choosing the device, I am choosing Attiny44 which is the microcontroller I am working with.
Then comes a very important part which is selecting our controller, clock,...
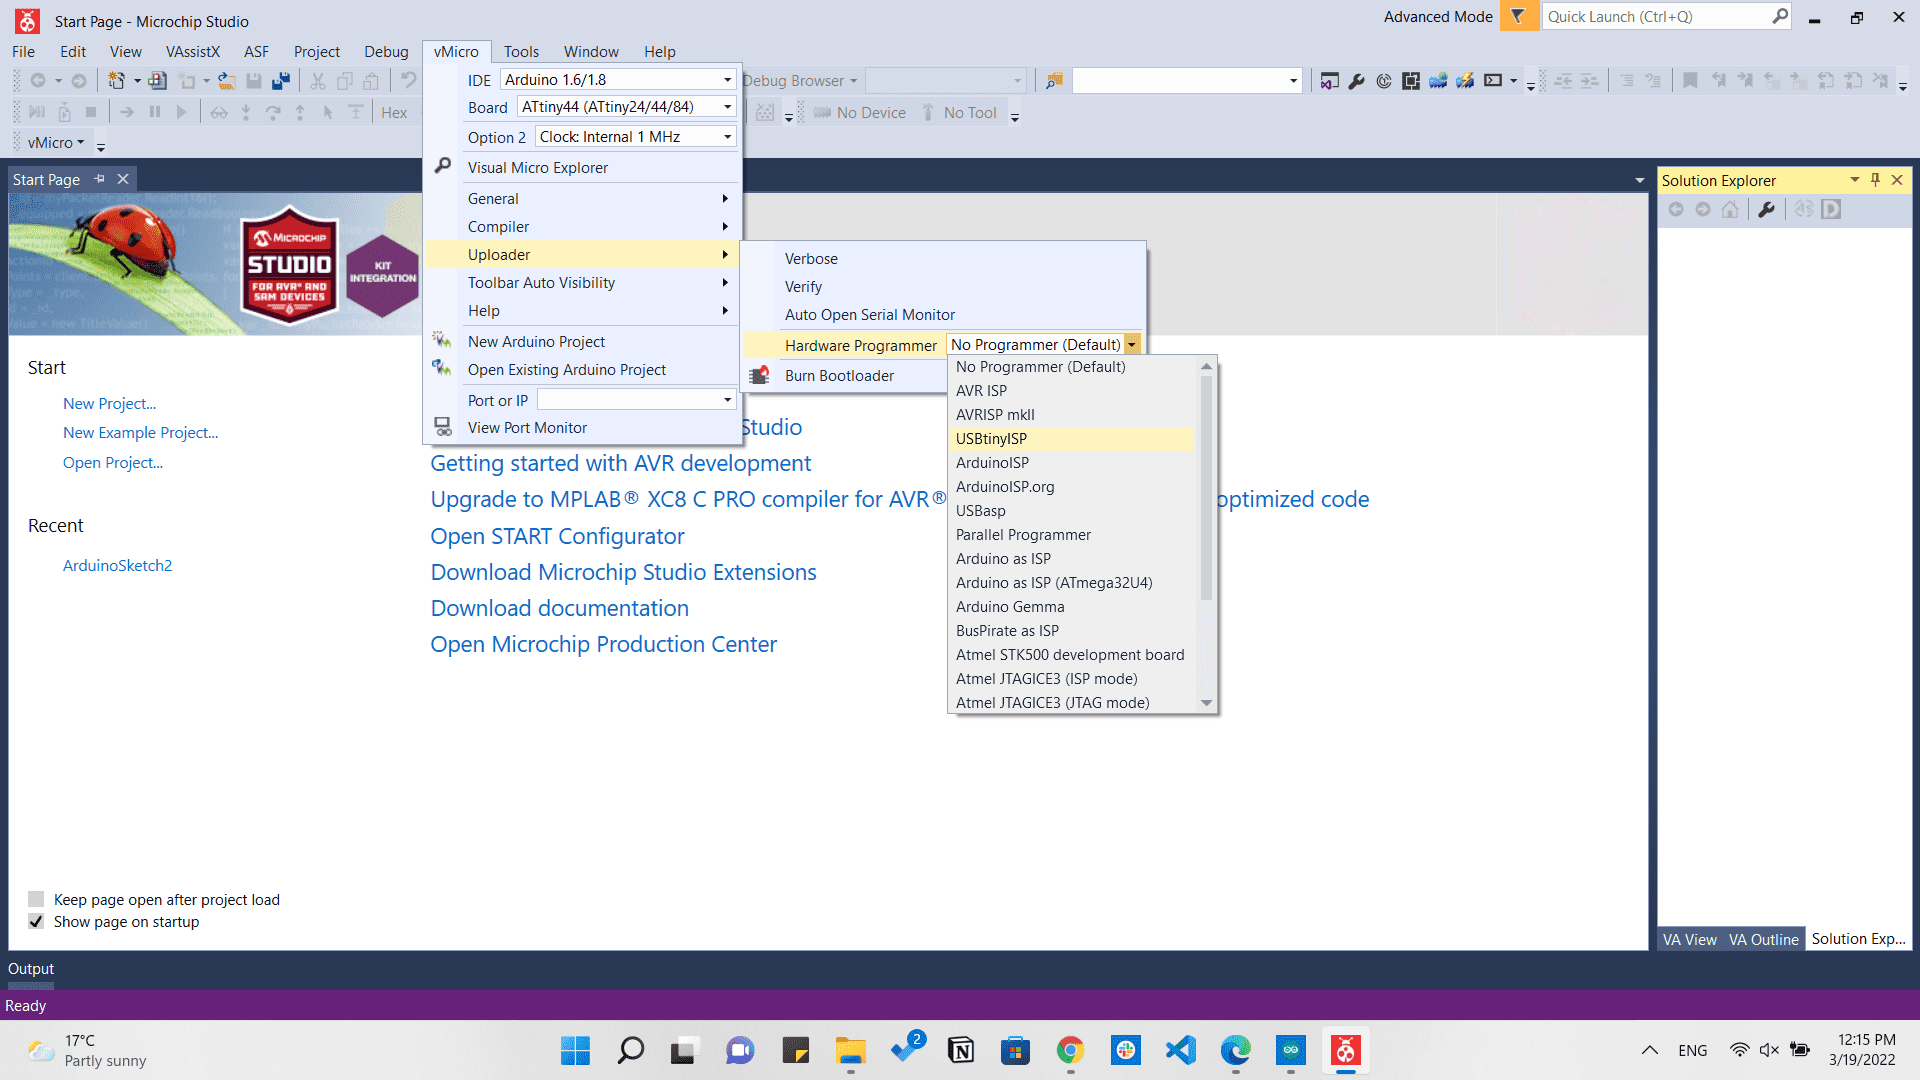
So just by going to the vMicro tab, we need to select the following.
- IDE: Arduino 1.6/1.8
- Board: Attiny44 (Attiny24/44/84)
- Option2: Clock: External 20MHz
- Uploader: USBTinyISP
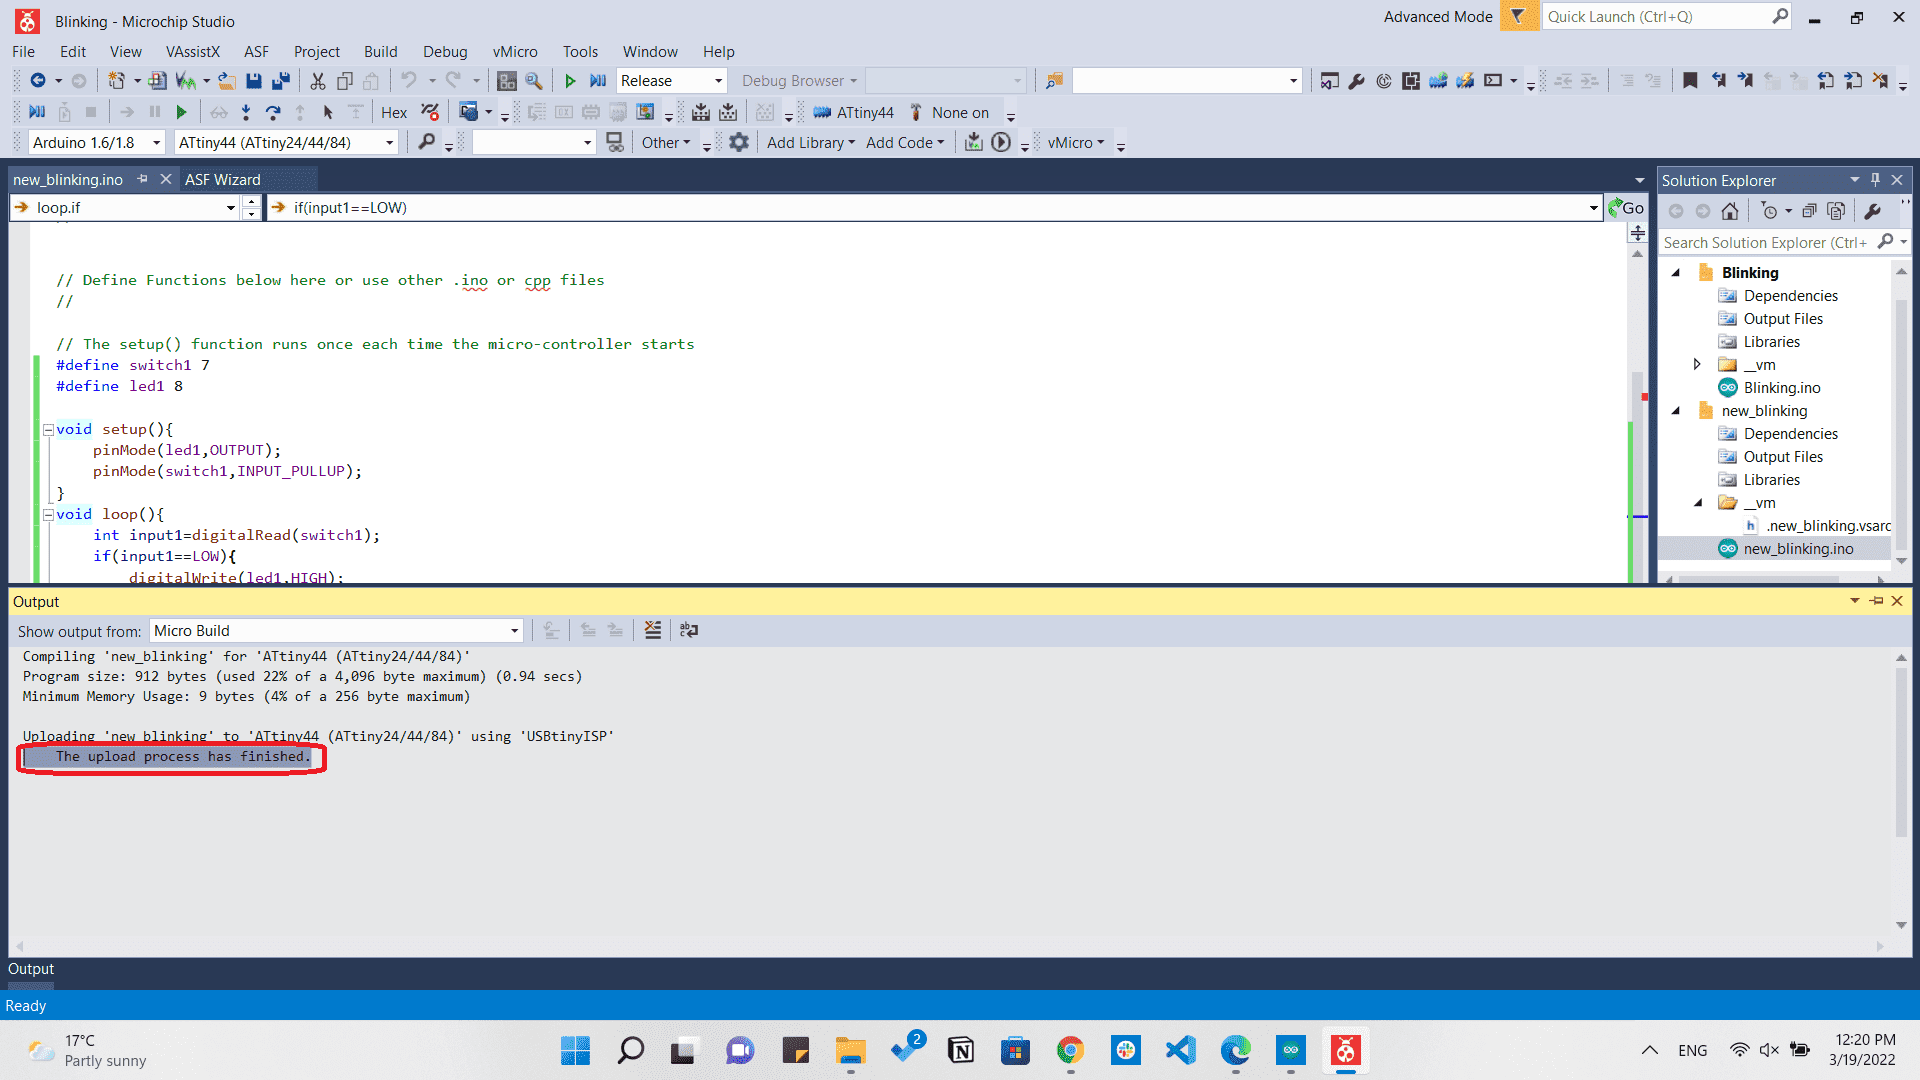
Then after typing the code which is the same as the one I have written in Arduino IDE, we will see that it has built successfully.

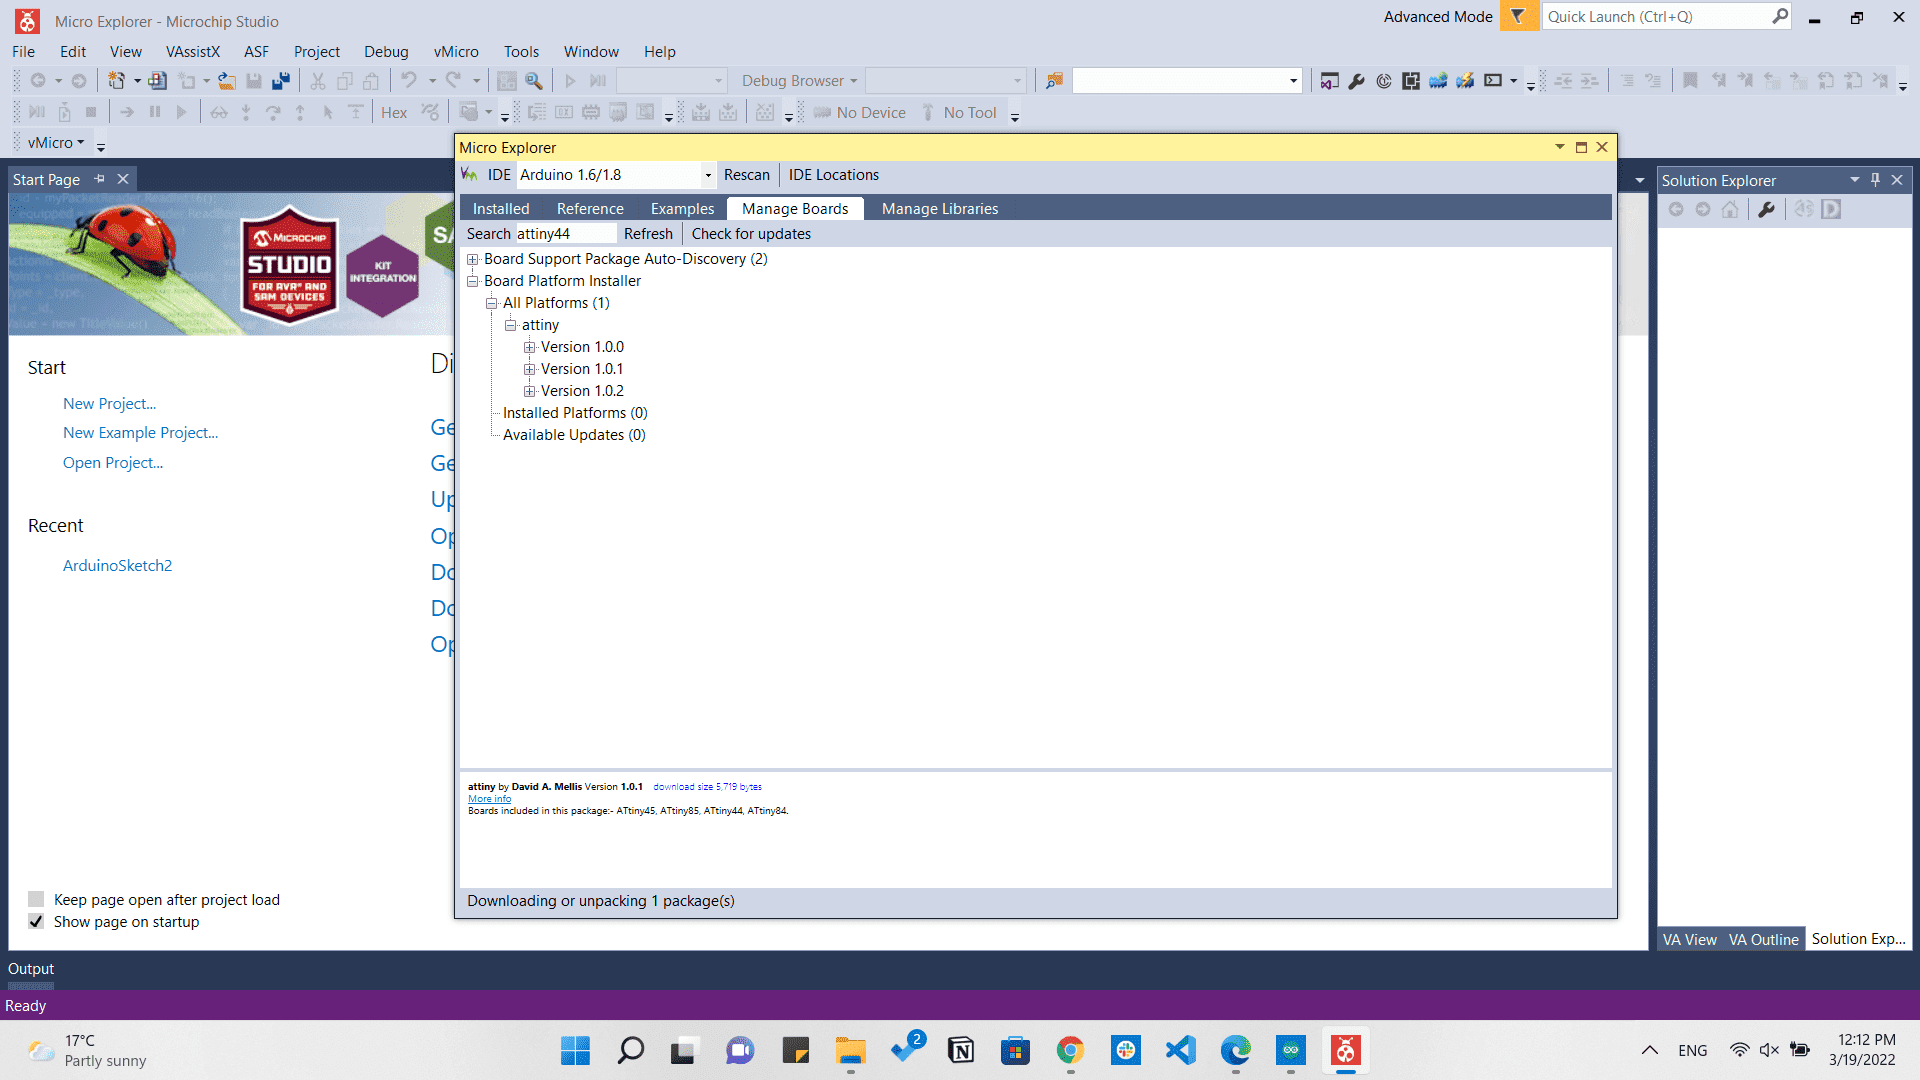
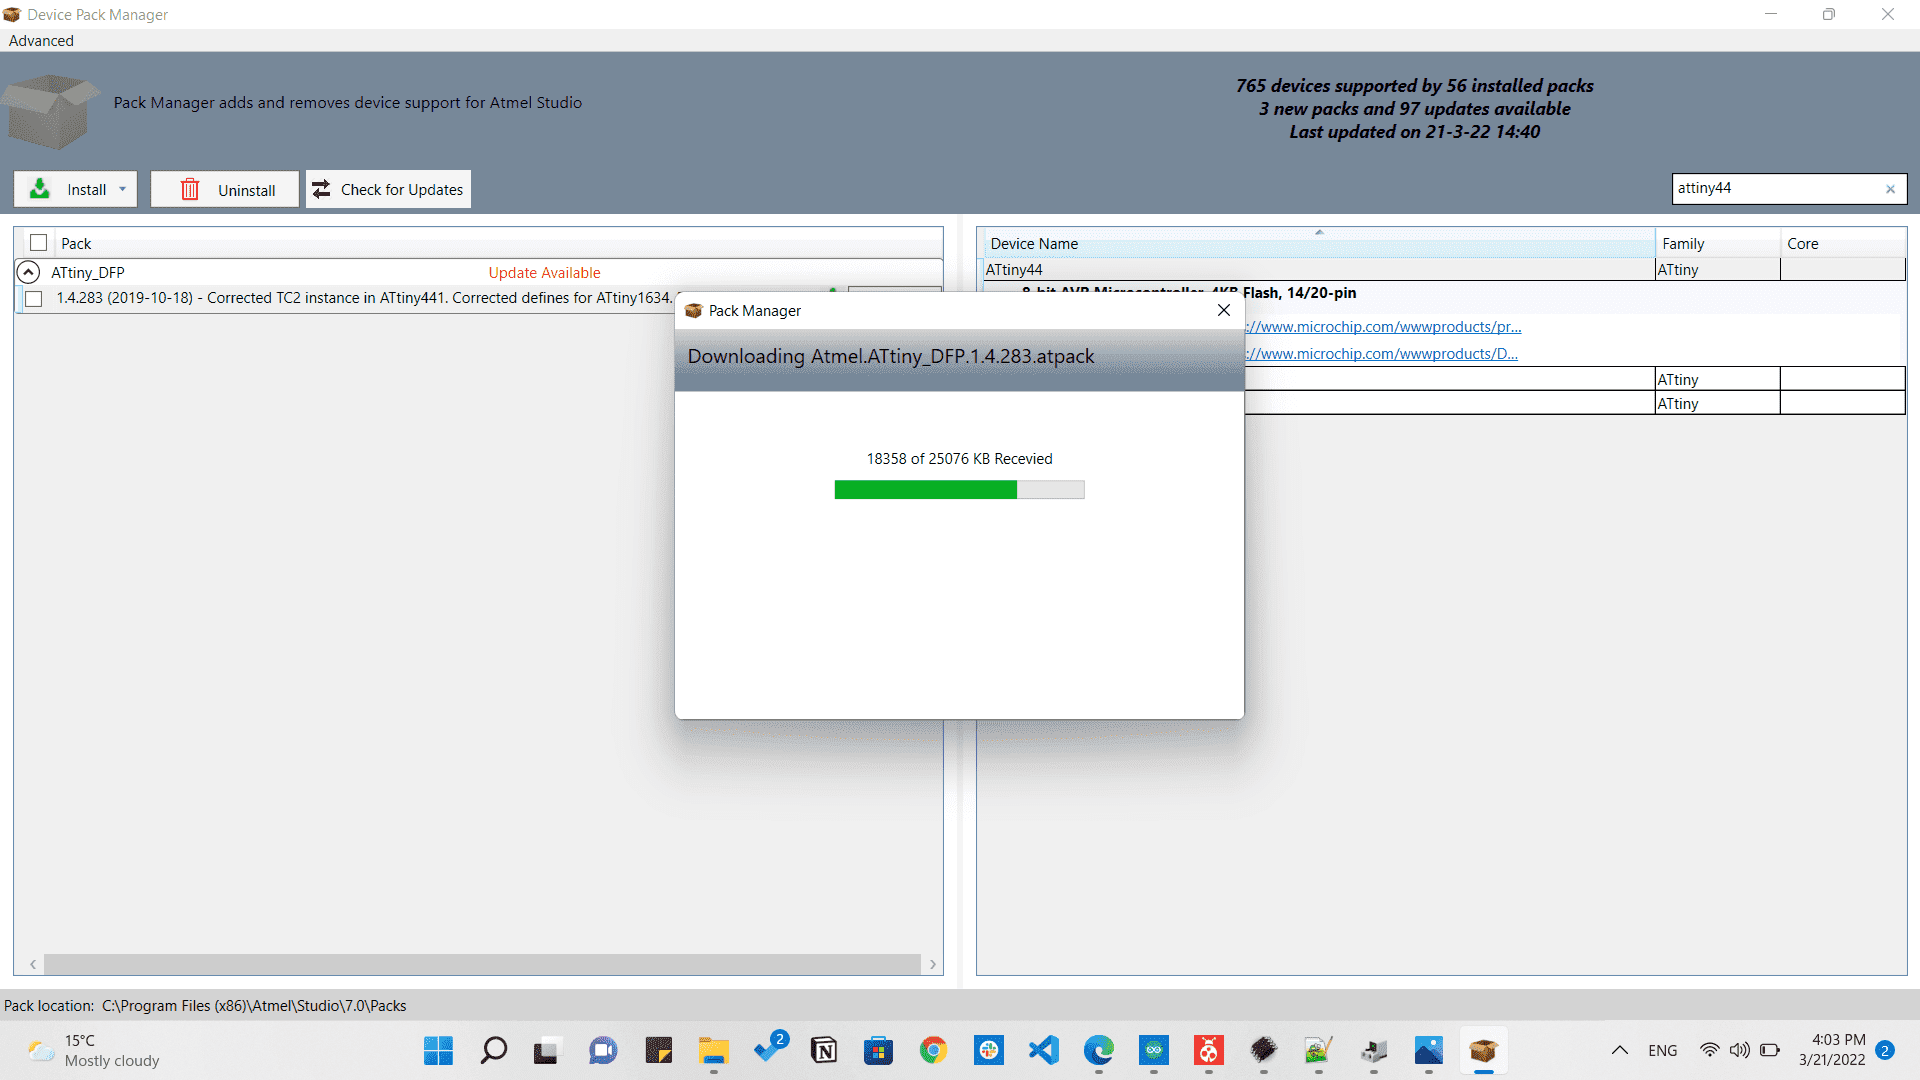
If you didn't find the Attiny44 or the microcontroller you're using, you can simply install it to your software by going to Micro Explorer and search for it and just one click on the version and it will install automatically.
D. Programming C code via Microchip Studio
This toolcain was the most exhausting one I have used lately, but it was fun exploring new techniques.
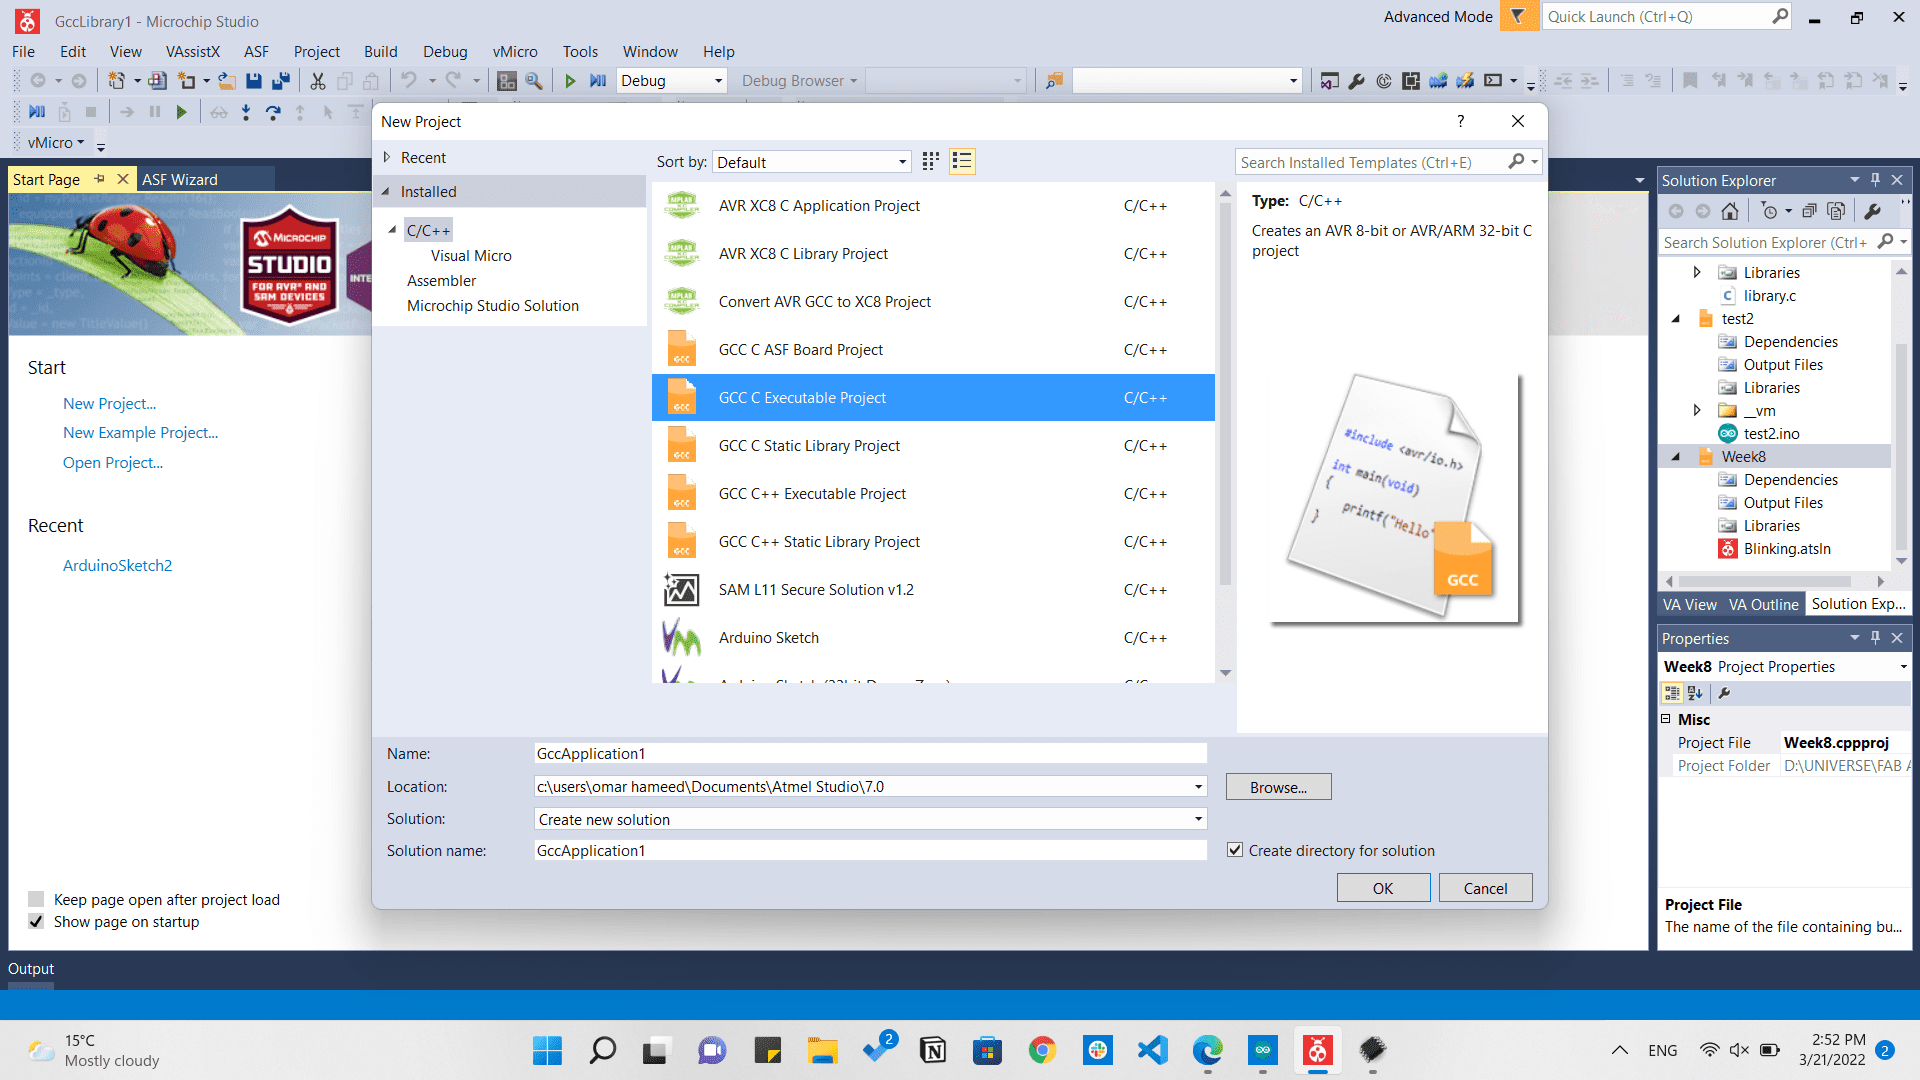
In this toolchain, we will start by going to New>Project as usual, but this time we will choose: GCC C Excutable project and hit Ok.
After typing the code and trying to build we will find that nothing changes to our board even though we will find it writing build succeeded.
So here we will need to go to Tools>External tools
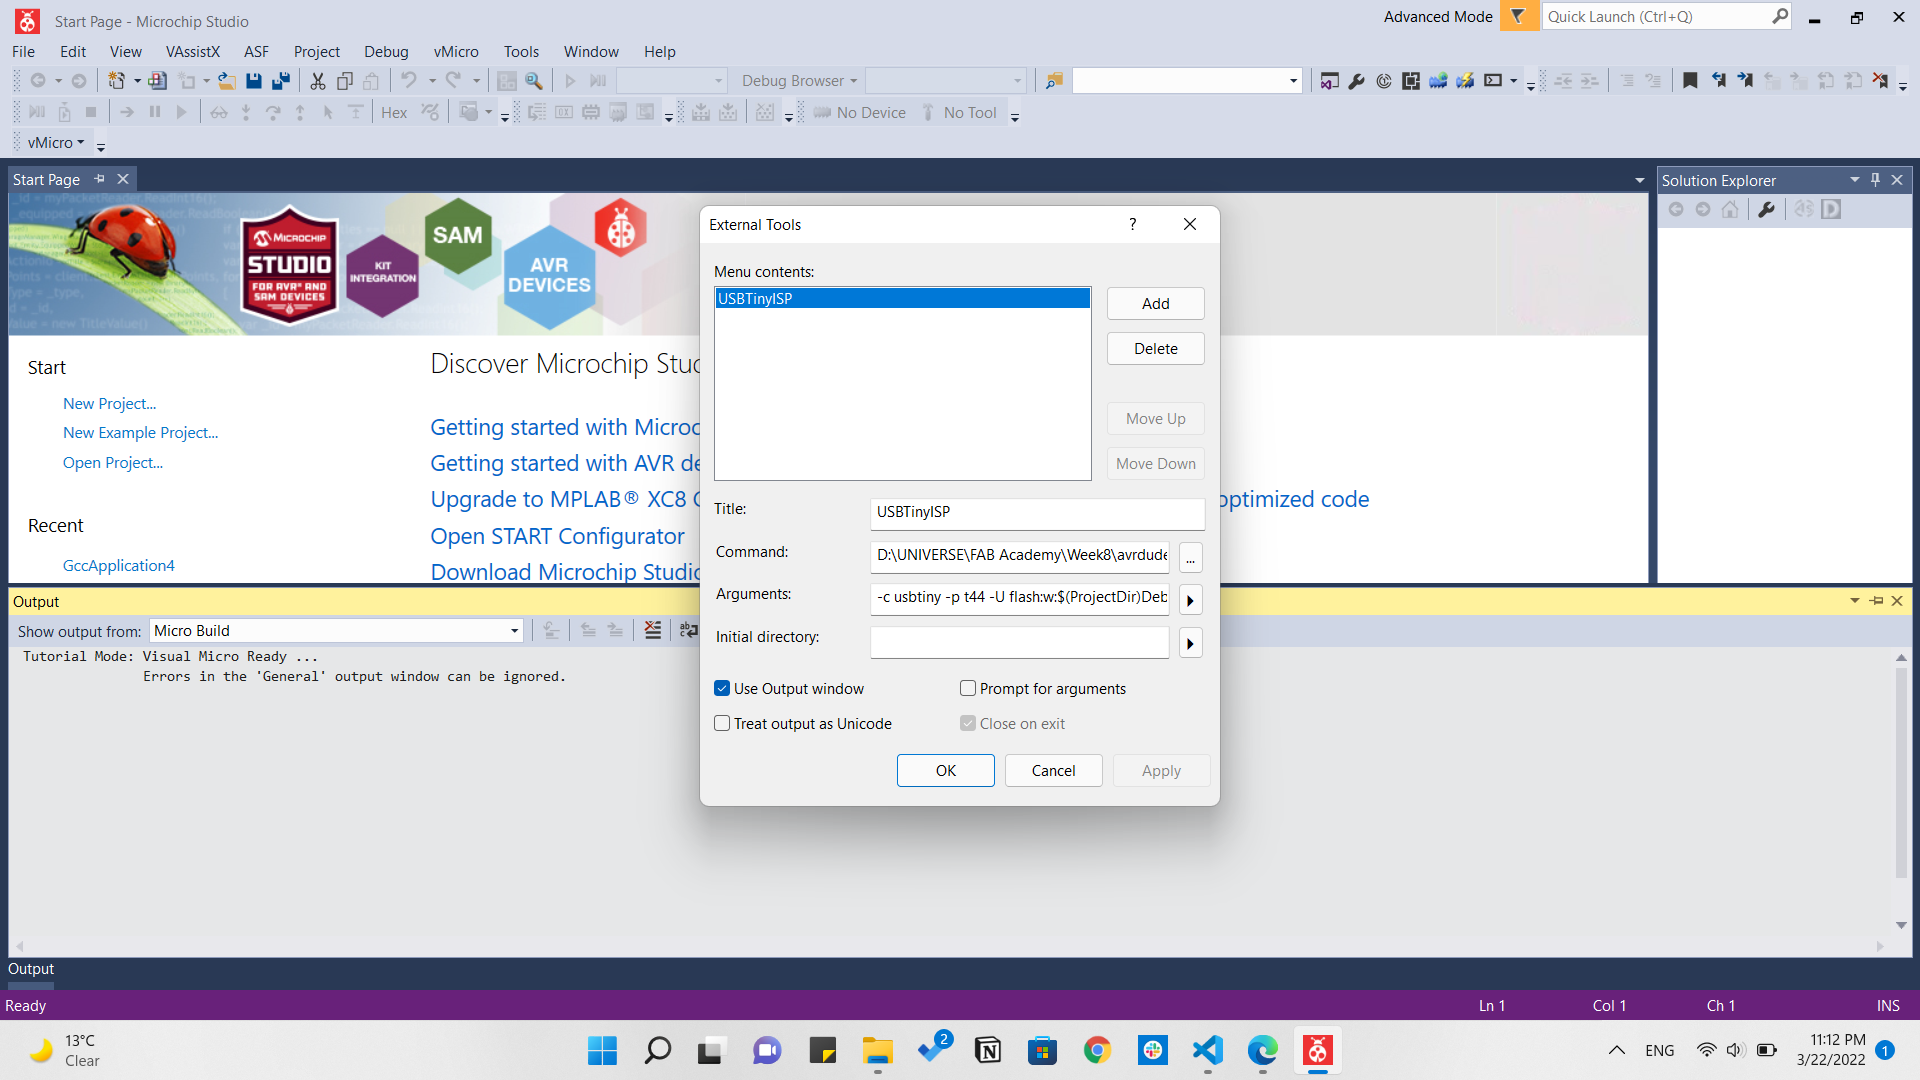
And we will need to type some identifications as following:
- Title: USBTinyISP
- Command: Location of AVRdude at your computer
And in Arguments we will need to type this sentence -c usbtiny -p m328p -U flash:w:$(ProjectDir)Debug\$(TargetName).hex:i
And that means:
-c: specify programmer type. For USBTinyISP use usbtiny. To see a list of all supported programmers use avrdude -c abcd
-p: the avr device. For example ATmega328P is m328p. To see a full list of microcontrollers use avrdude -c usbtiny -p abcd
-U: indicates that we want to :w: write to flash memory the .hex file. :i is Intel hex file format. $(ProjectDir) and $(TargetName) is specific to Atmel Studio 7. For Atmel studio 6 this can differ. Replace Debug with Release when working in Release mode.
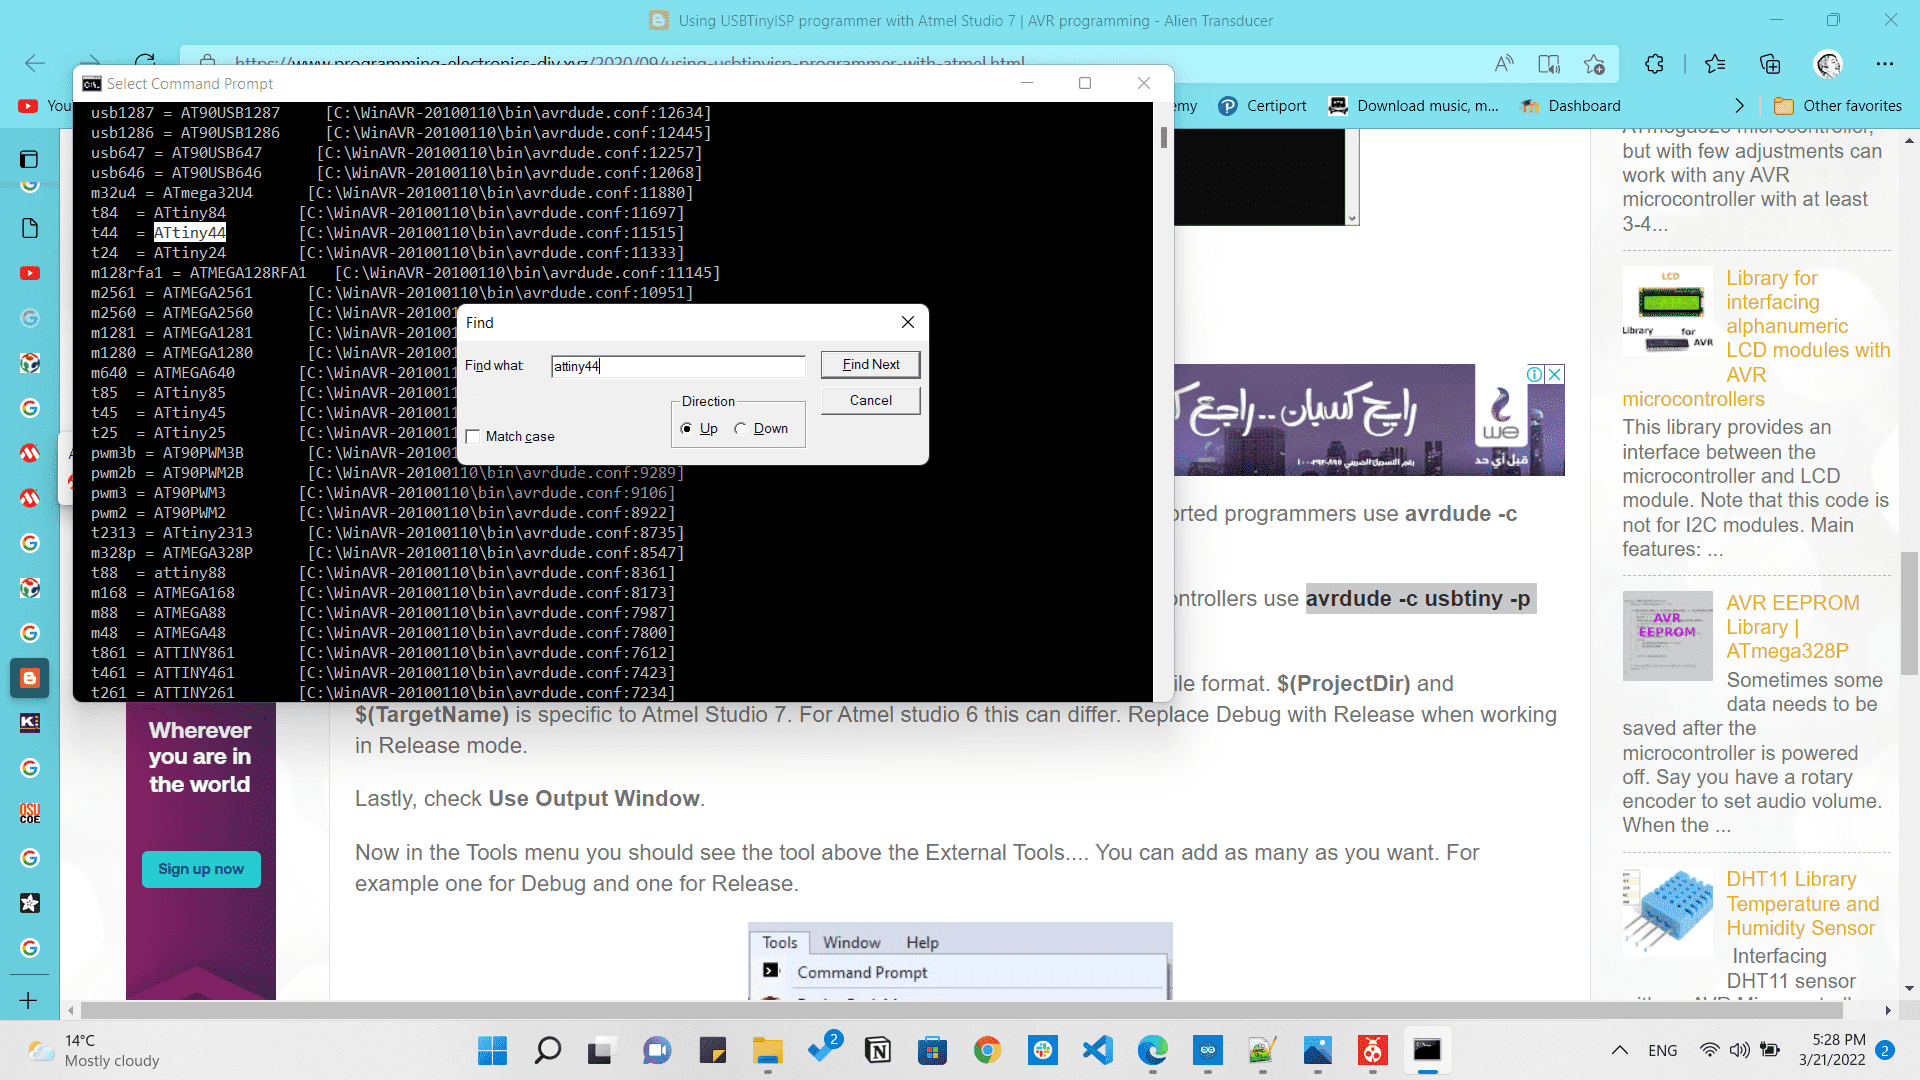
And concerning -p, I am using Attiny44 so I had to search for its avr device. So all I did is go to Command Prompt and type avrdude then -p. And I found that Attiny44's code is t44.
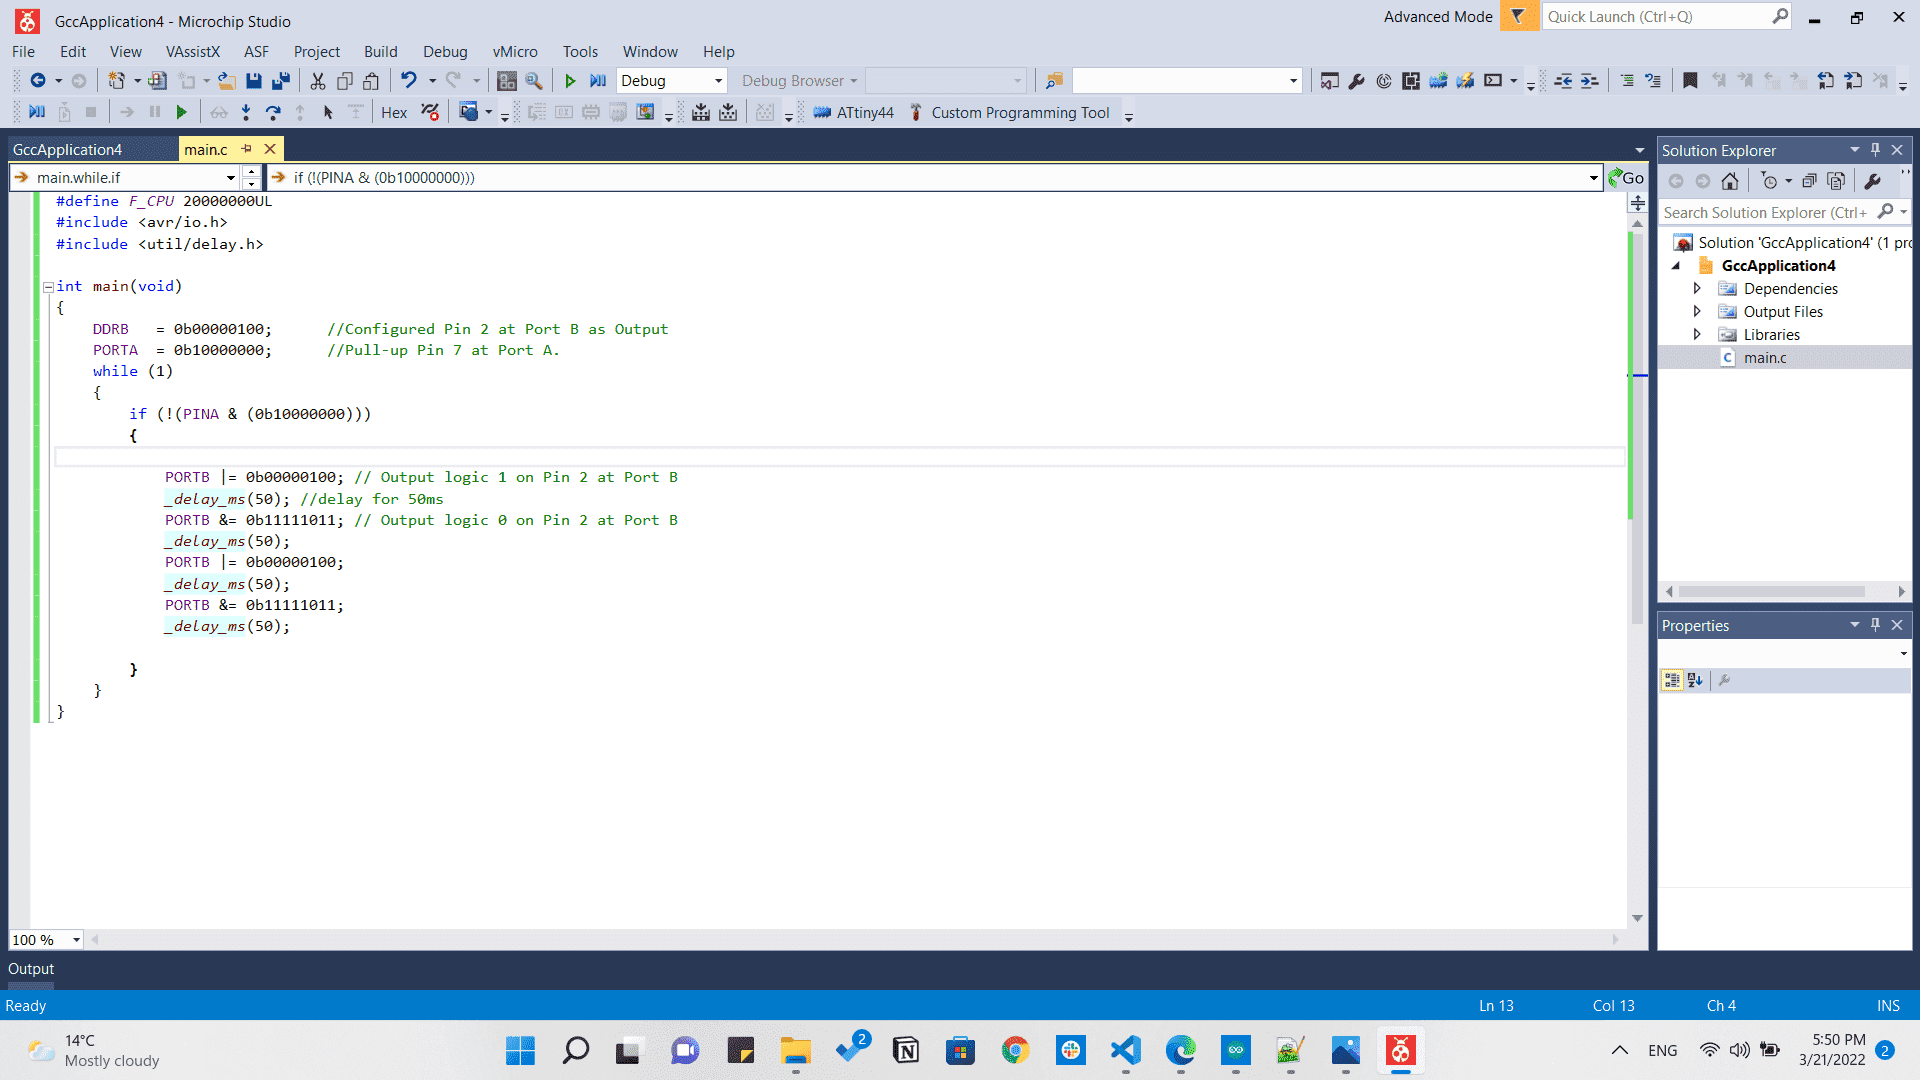
And then after adding it to the library as shown, we need to type our code in C.
We will check now for our board and we will see that it appears here.
Now we click on Build we will see it working in building.
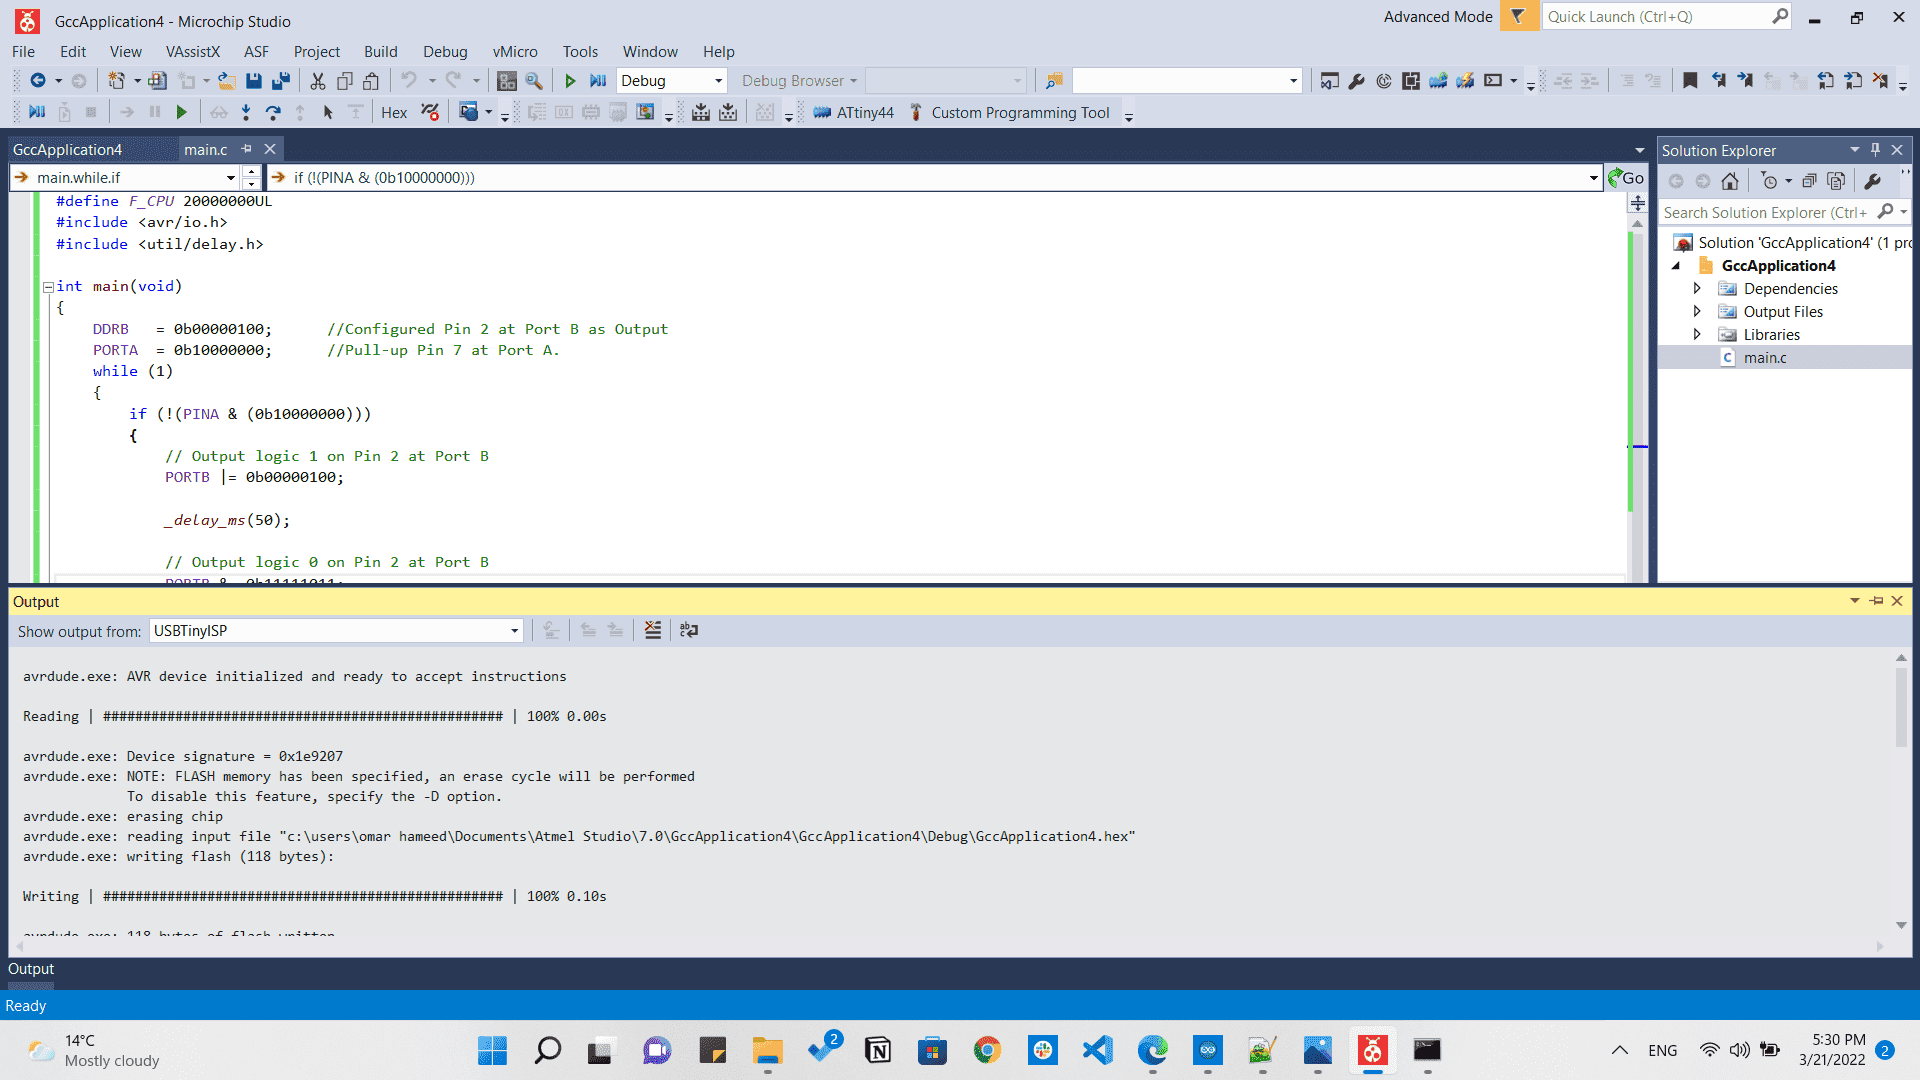
And now it's done building!!
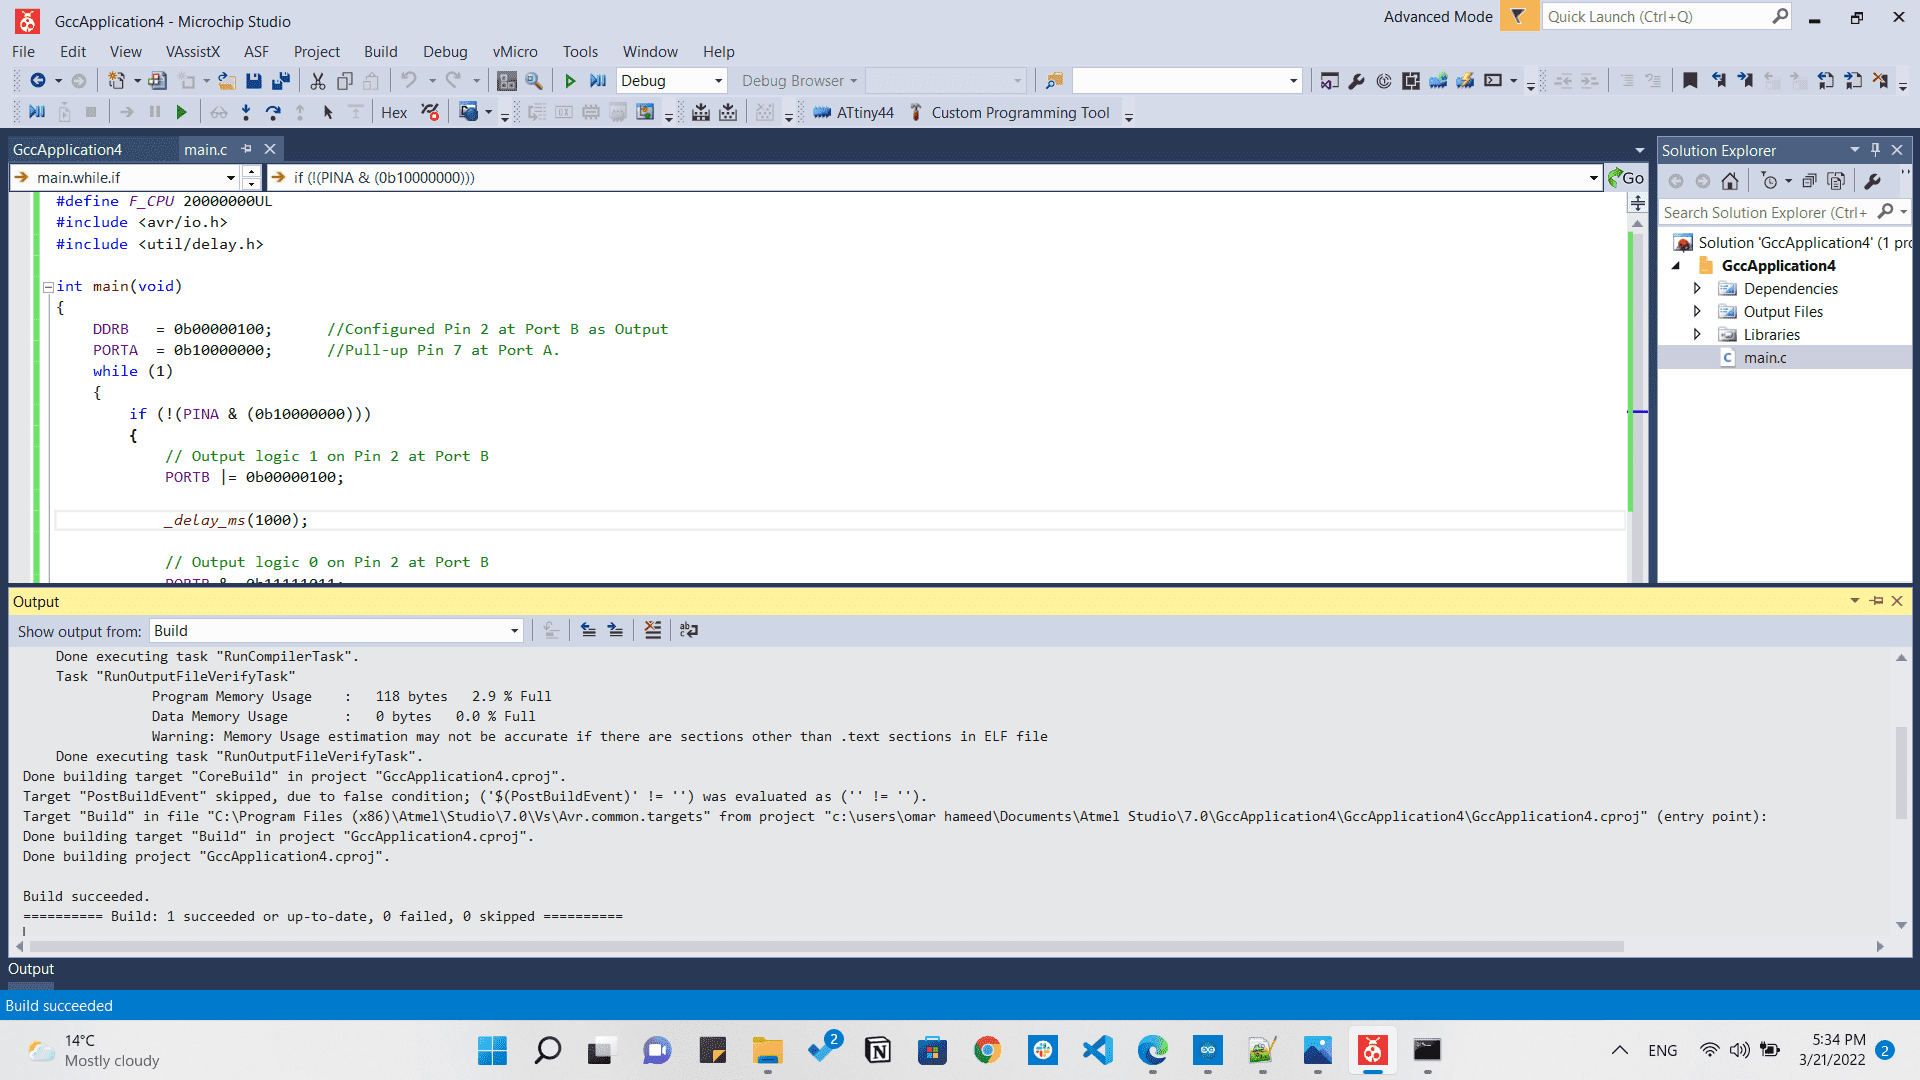
And this is how magic works!!
C code blinking the LED via Microchip studio
Last thing which was extra to do but I really loved doing it was programming a Raspberry pi Pico through MicroPython.
Raspberry pi Pico
Programming the Pico board was so easy, all you need first is the UF2 file that allows a Pico to act as a USB → SWD and UART converter.
You can find all the documentation you need here at Raspberry Pi
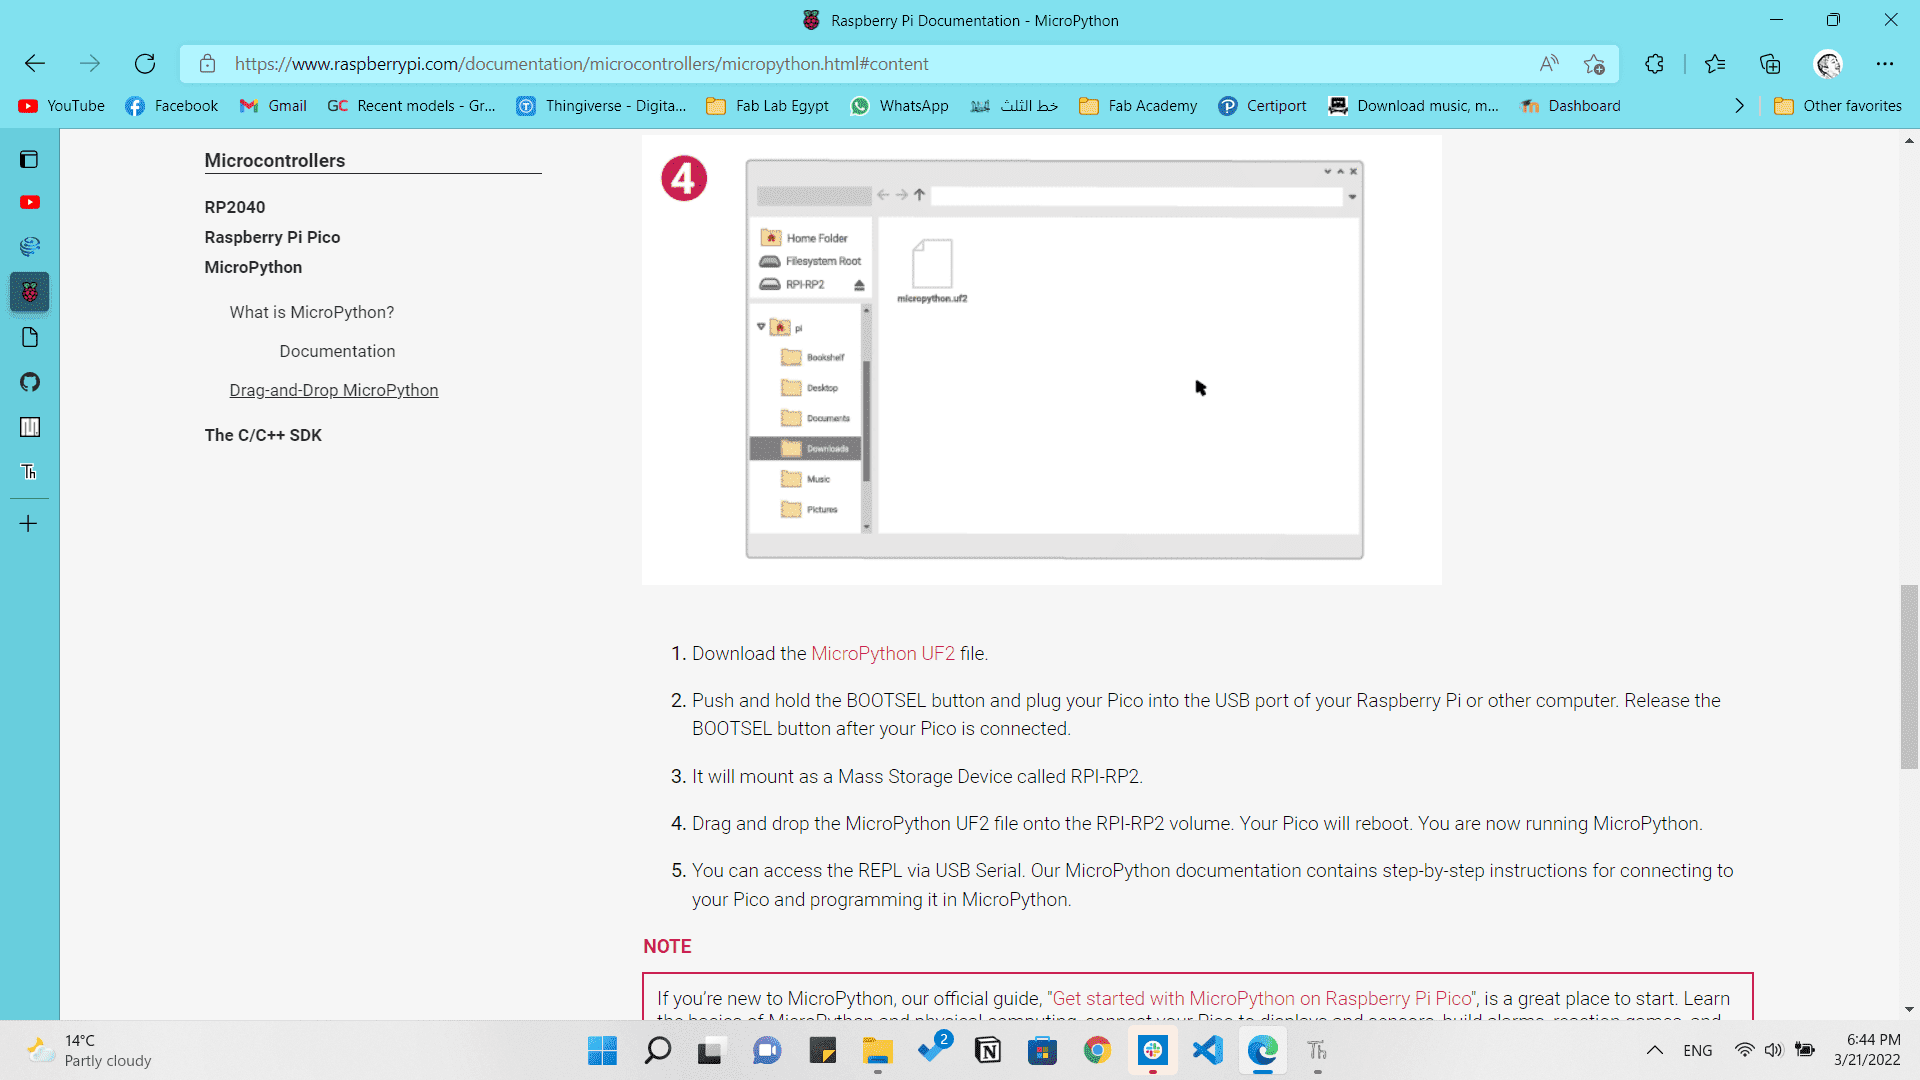
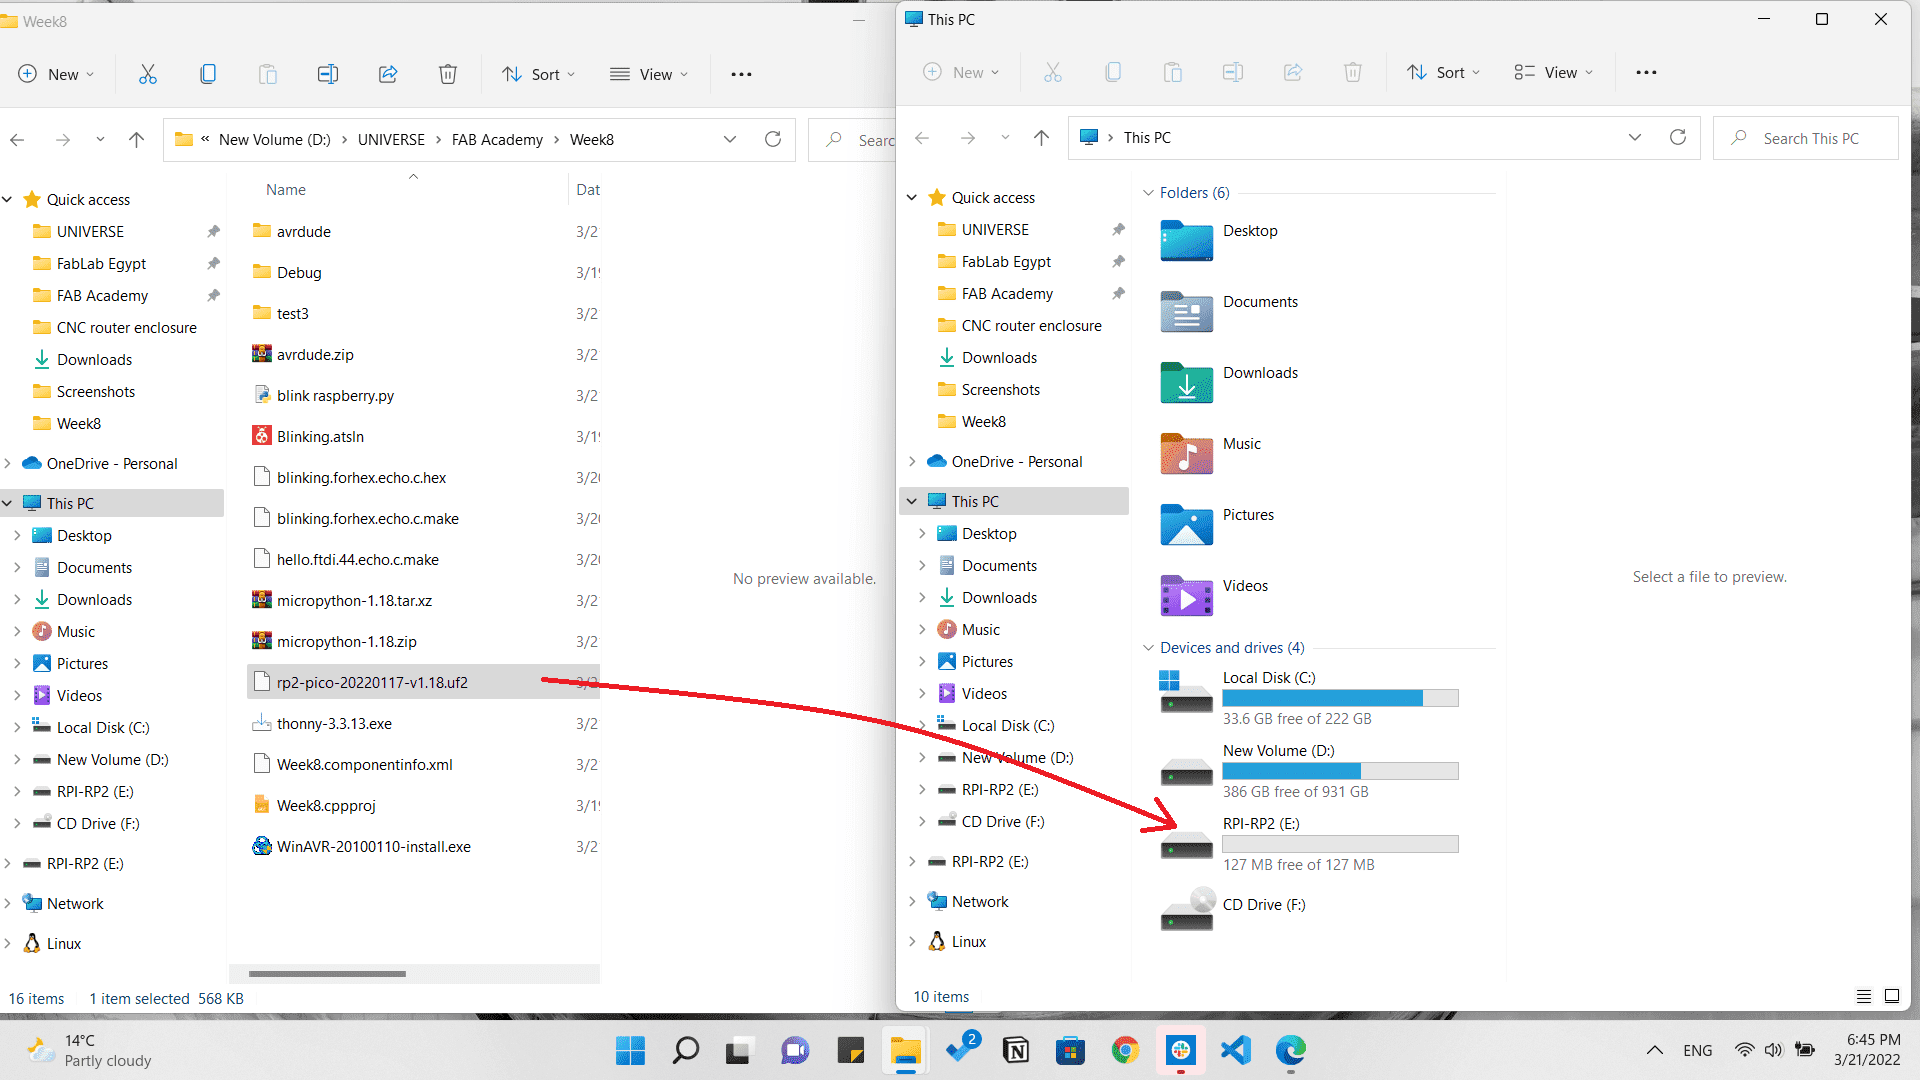
Then we will drag the UF2 file from the downloads to the Pico's storage shown in my PC. And that way it's ready for programming.
We will just need the MicroPython GUI to be able to program it, which is Cool Term that you can download from Freeware.
Then after installing it I just typed some commands to test if it's working as shown.
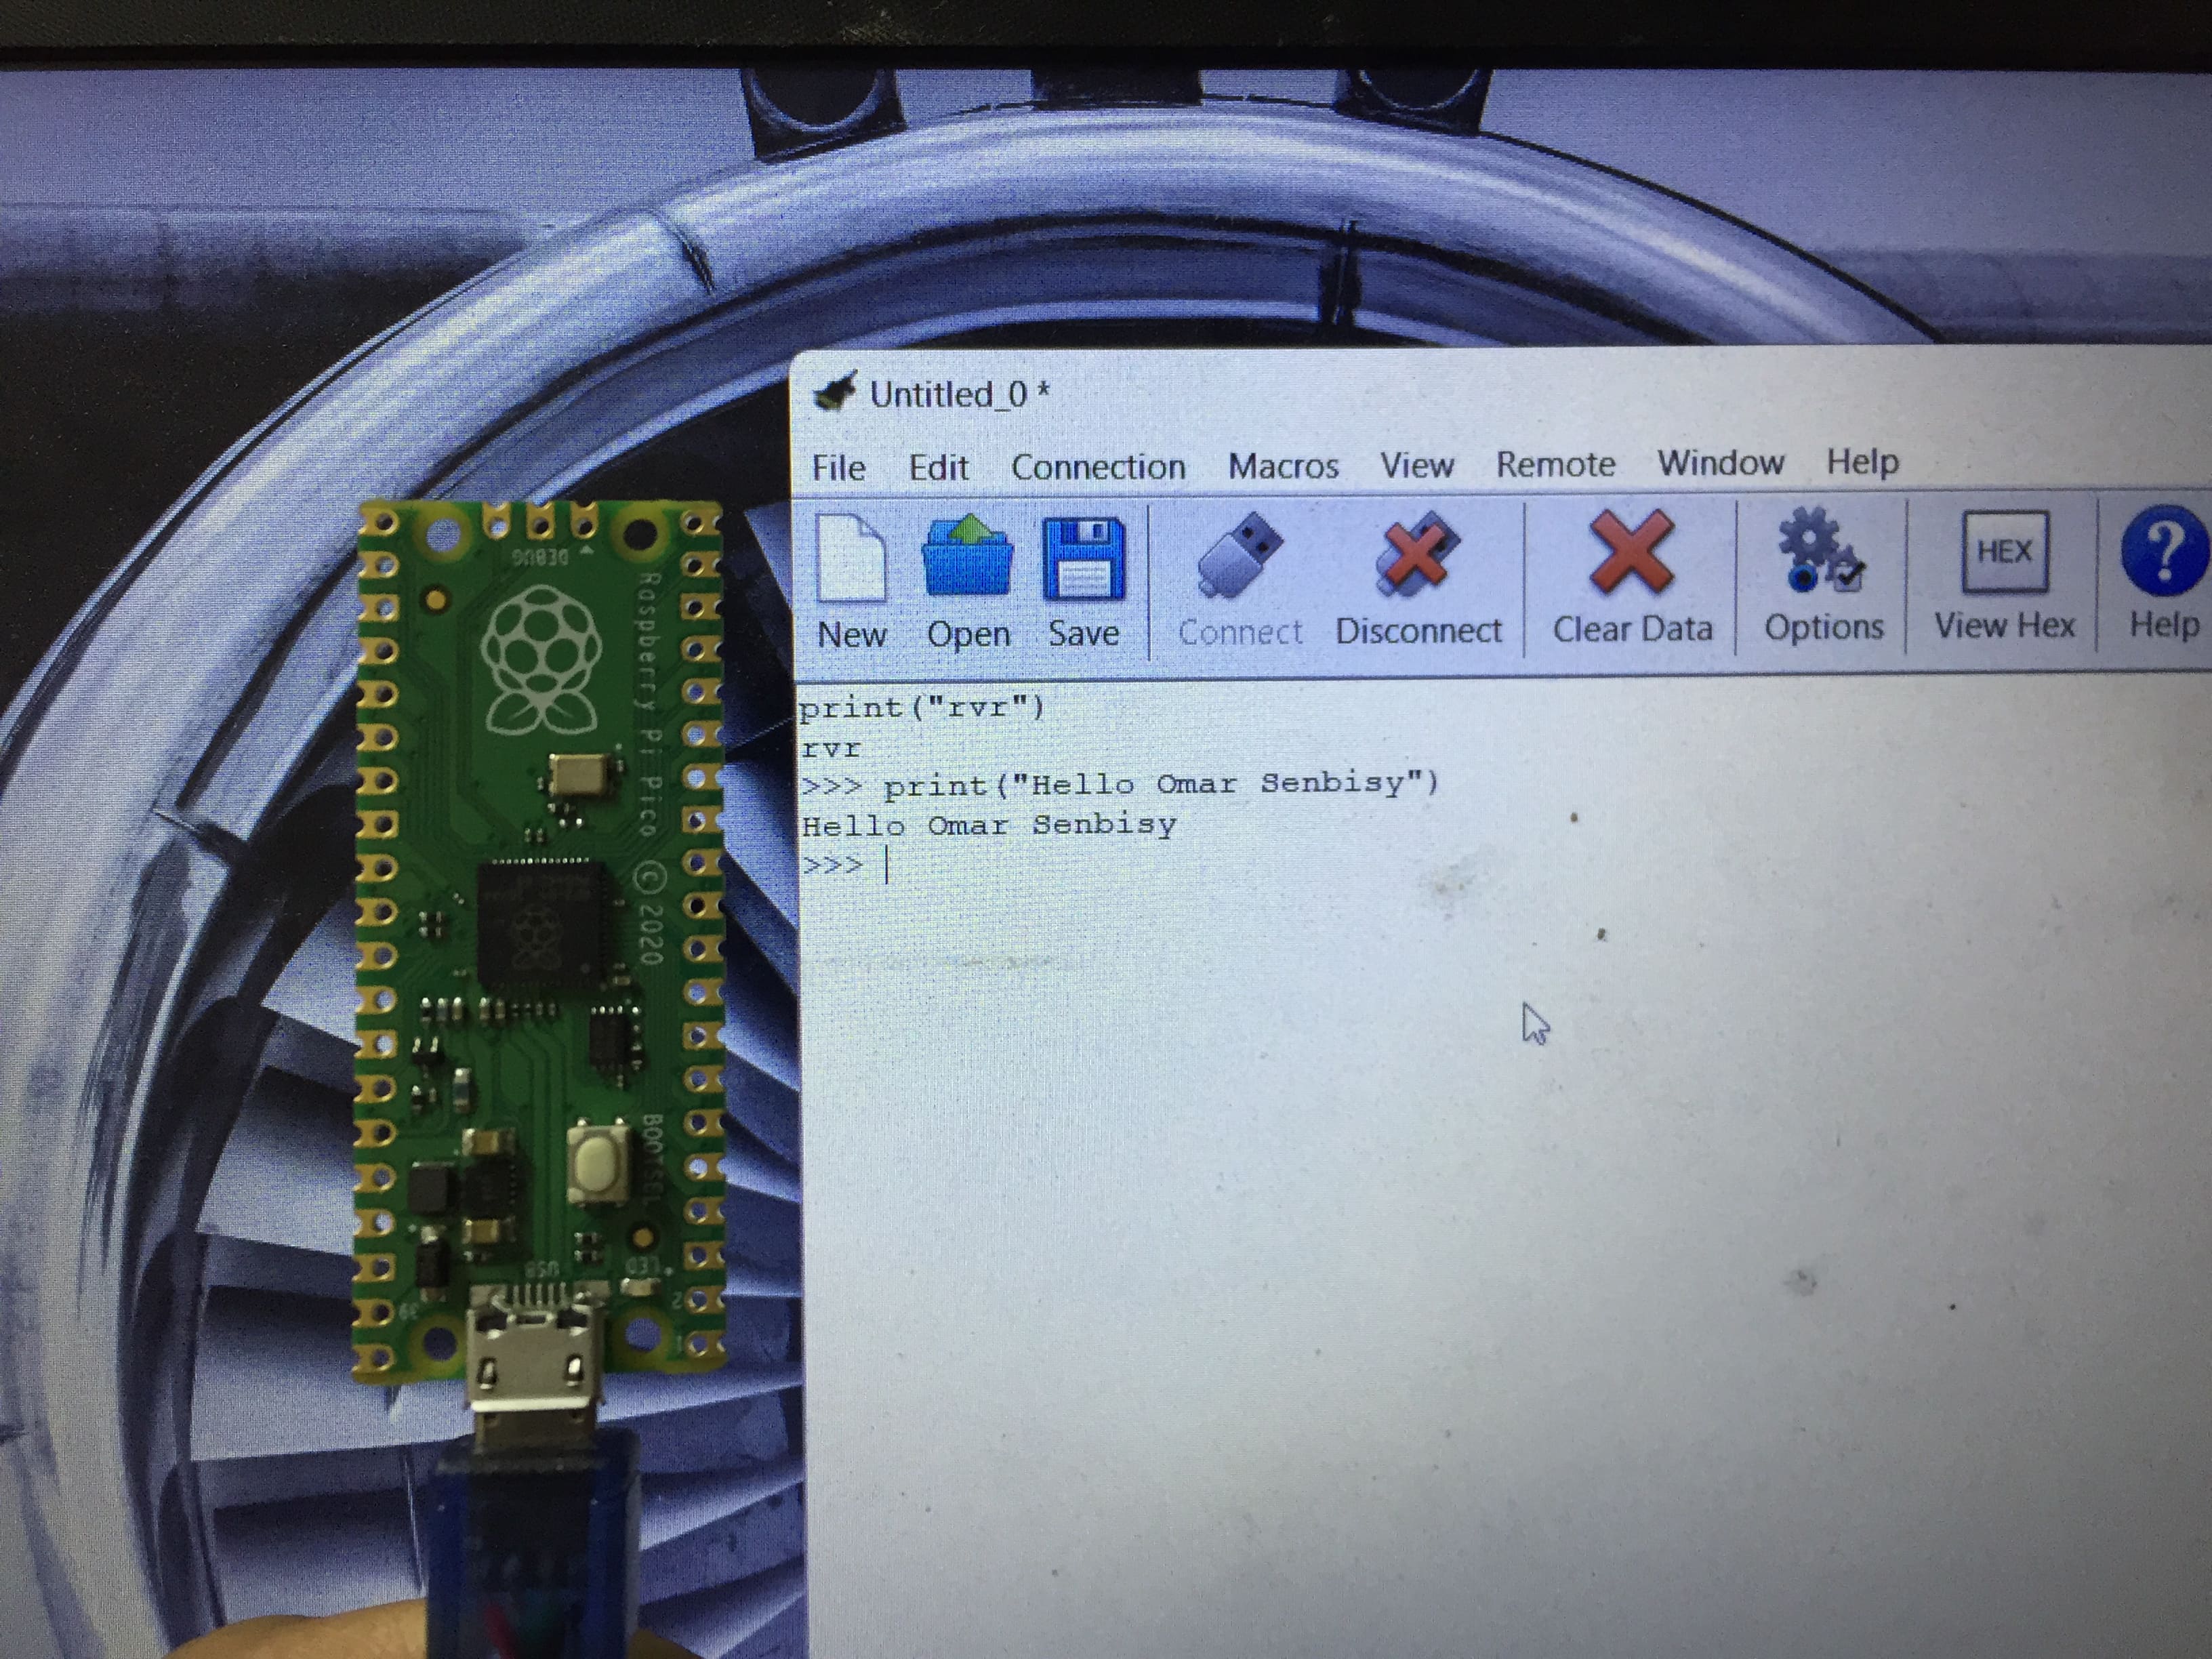
And that code was for the internal LED to toggle.
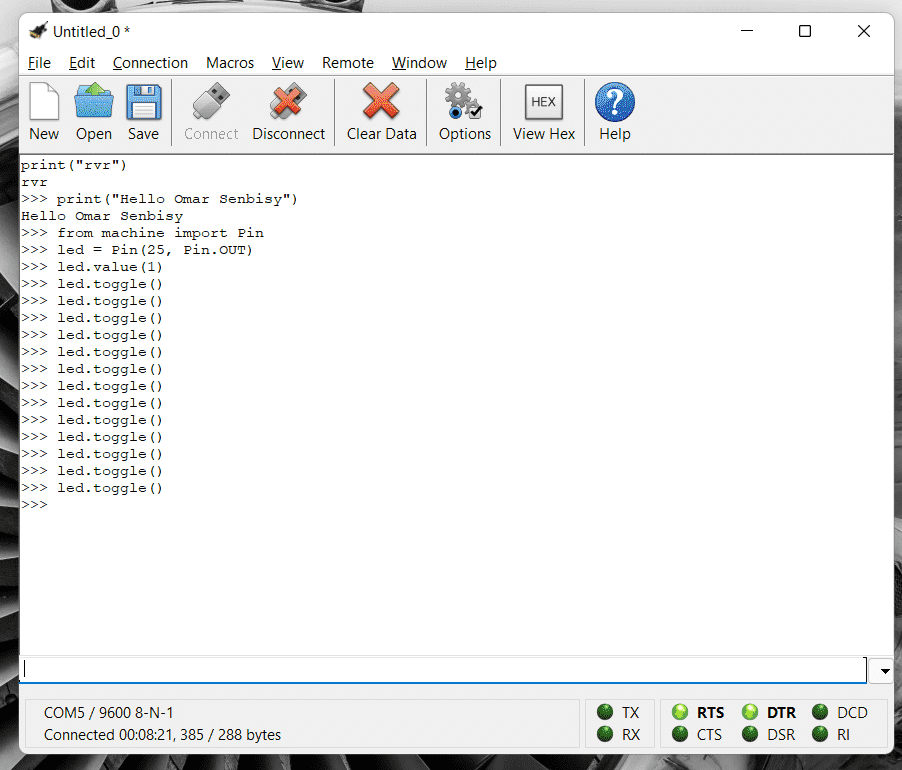
And this is how it came
Raspberry pi PICO internal LED blinking
Resources: Ahmed Saeed Fab Academy, OregonState, Kanda, Electronics