

Interface and Application Programming
********
Group assignment:
Compare as many tool options as possible.
Individual assignment
Write an application that interfaces a user with an input and/or output device that you made
******
(1) Welcome to the Application and Interface Programming assignment, this week aims to explore programming languages and graphical interfaces. I will focus on Processing for two reasons:
• It is an open source program.
• There is a large community of users and number of resources available to learn its use.
***
Processing is a dialect of Java that was designed for the development of graphic art, for animations and graphic applications of all kinds. “Developed by artists and for artists”
It is a Java-based software and therefore cross-platform. Developed from 2001 by the well-known MIT department, the Media Lab. The creators, Casey Res and Ben Fry, are disciples of Professor John Maeda, creator of the DBN (Design By Numbers) method that, in the 90s, he intended to introduce to programming to designers, artists and non-programmers in a simple way. Precisely Processing is inspired by DBN which is currently no longer active.
***
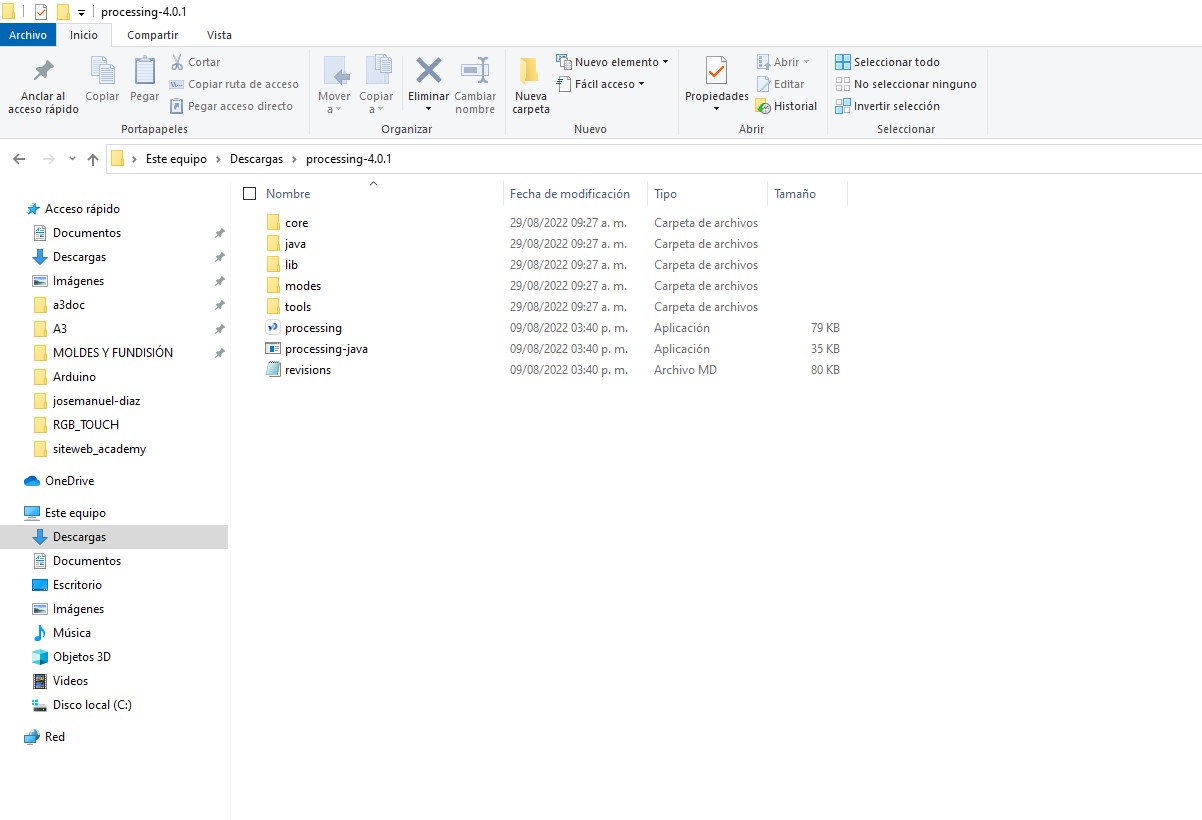
Here you can download the latest version of Processing:
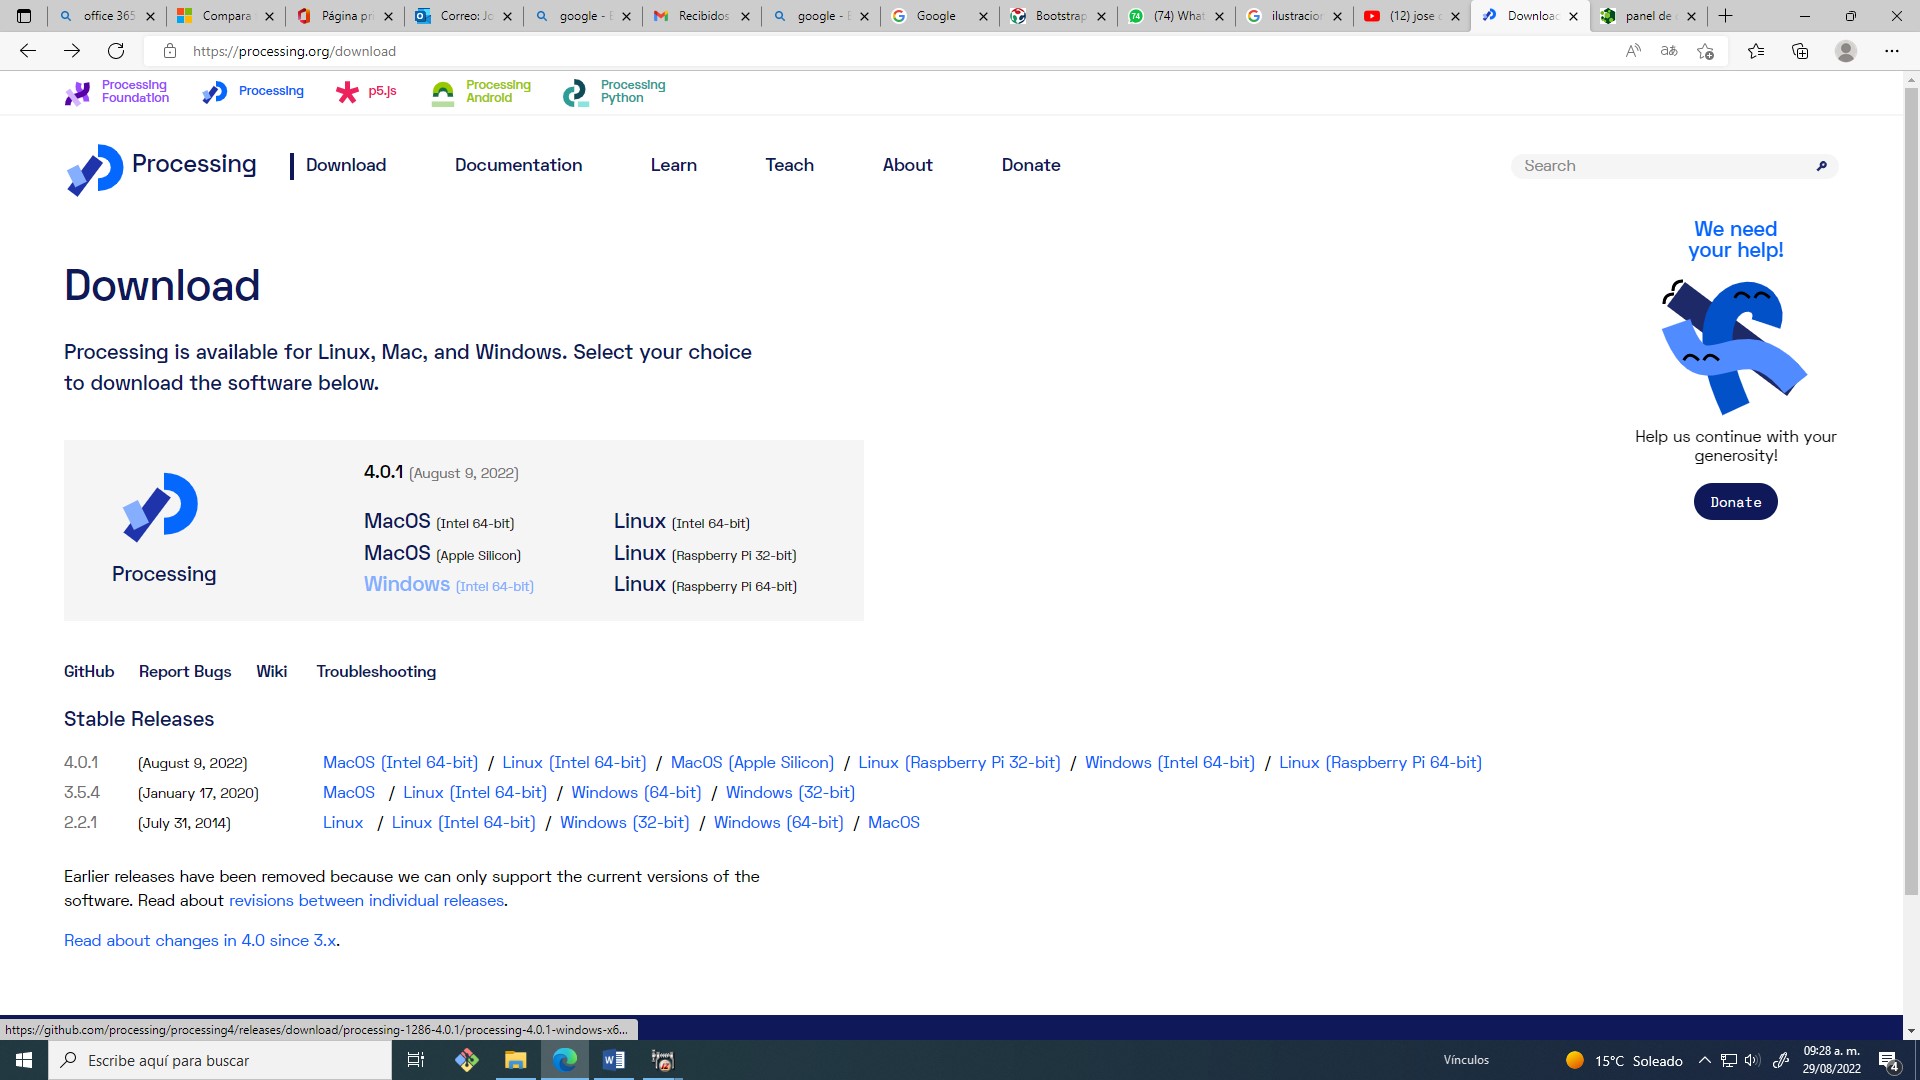
(2) This software does not require installation, it is an executable :D
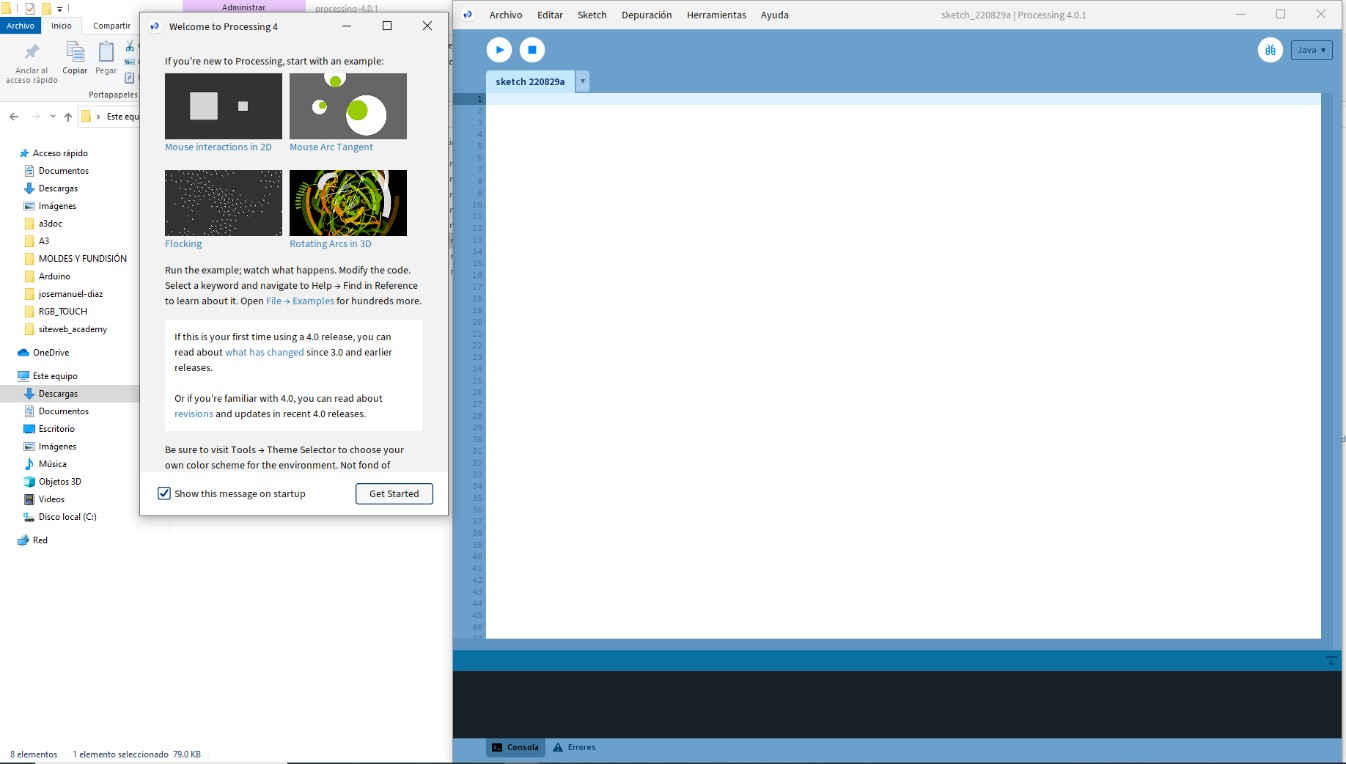
(3) The graphical interface is very similar to that of the Arduino IDE. I read some forums saying that the Arduino development team relied to some extent on the Processing interface to design their IDE.
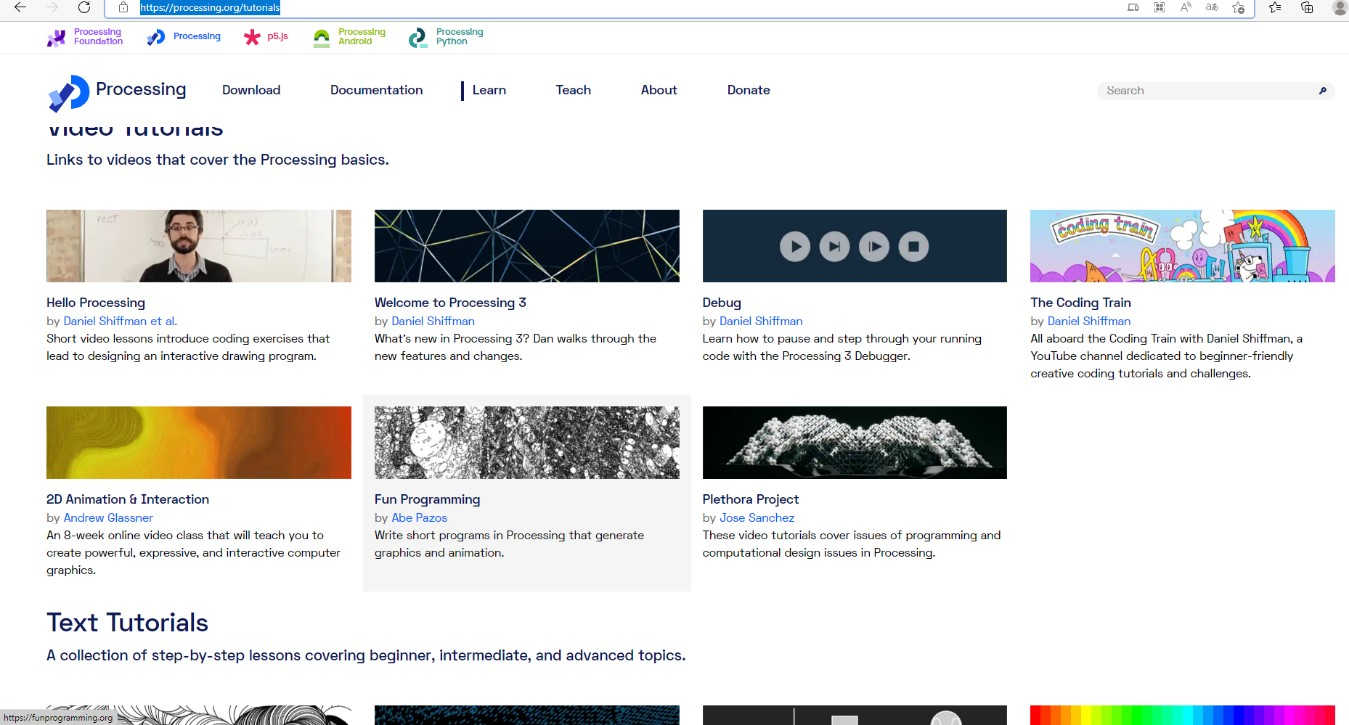
(4) There are many official resources to start programming, you can consult some of them by clicking here.
https://processing.org/tutorials
(5) In this assignment I will focus on 3 small projects:
• Turn on and off a button integrated to a development board (JOSAMD 1.0)
• Lighting control of an RGB LED (SMD)
• Graphic interface for a distance meter with ultrasonic sensor.
![]()
Turn on and off a button integrated to a development board (JOSAMD 1.0)
***
I wanted to start with an “easy” exercise to familiarize myself with the language.
So after going through some tutorials on the official page, I started and used as a base an original code by Chepe Carlos from ALSW. I have analyzed all the lines of code and made notes on each of them to better understand their function, and with a bit of luck these notes may be useful to other students who want to start programming with Processing.
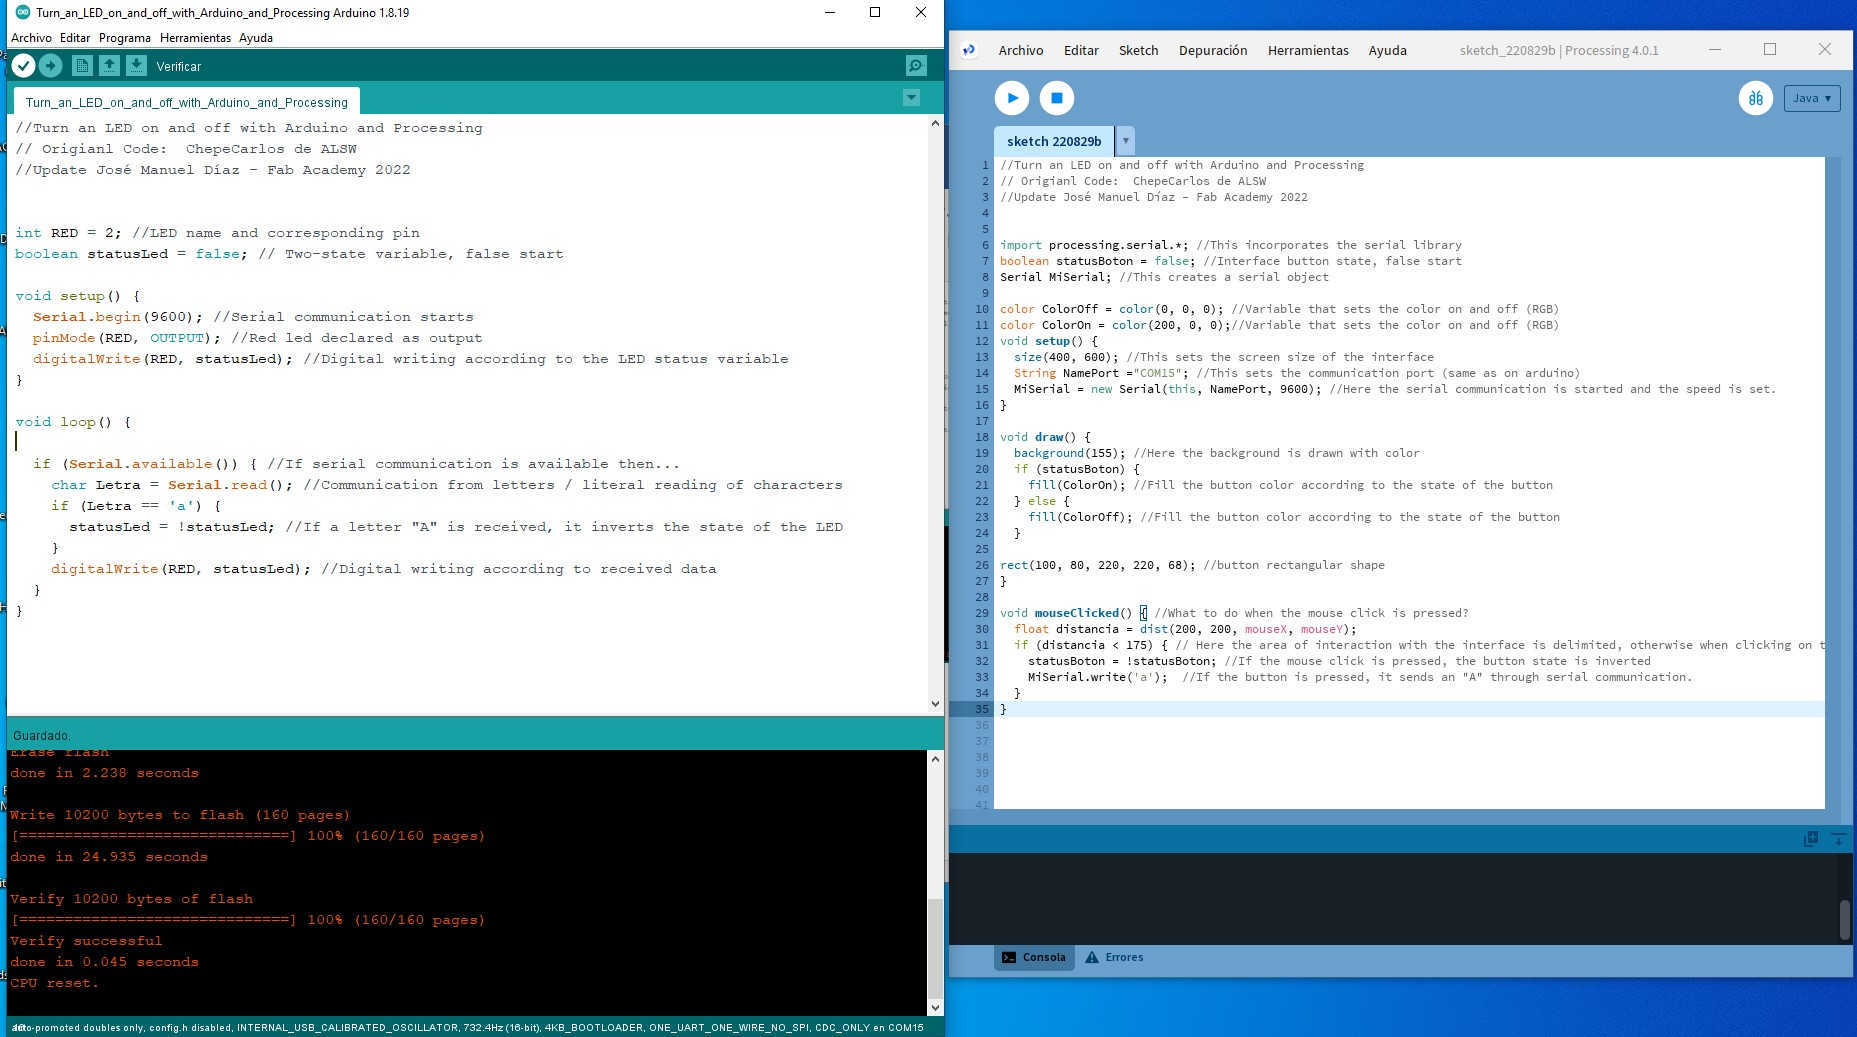
• Arduino code.
• Processing code.
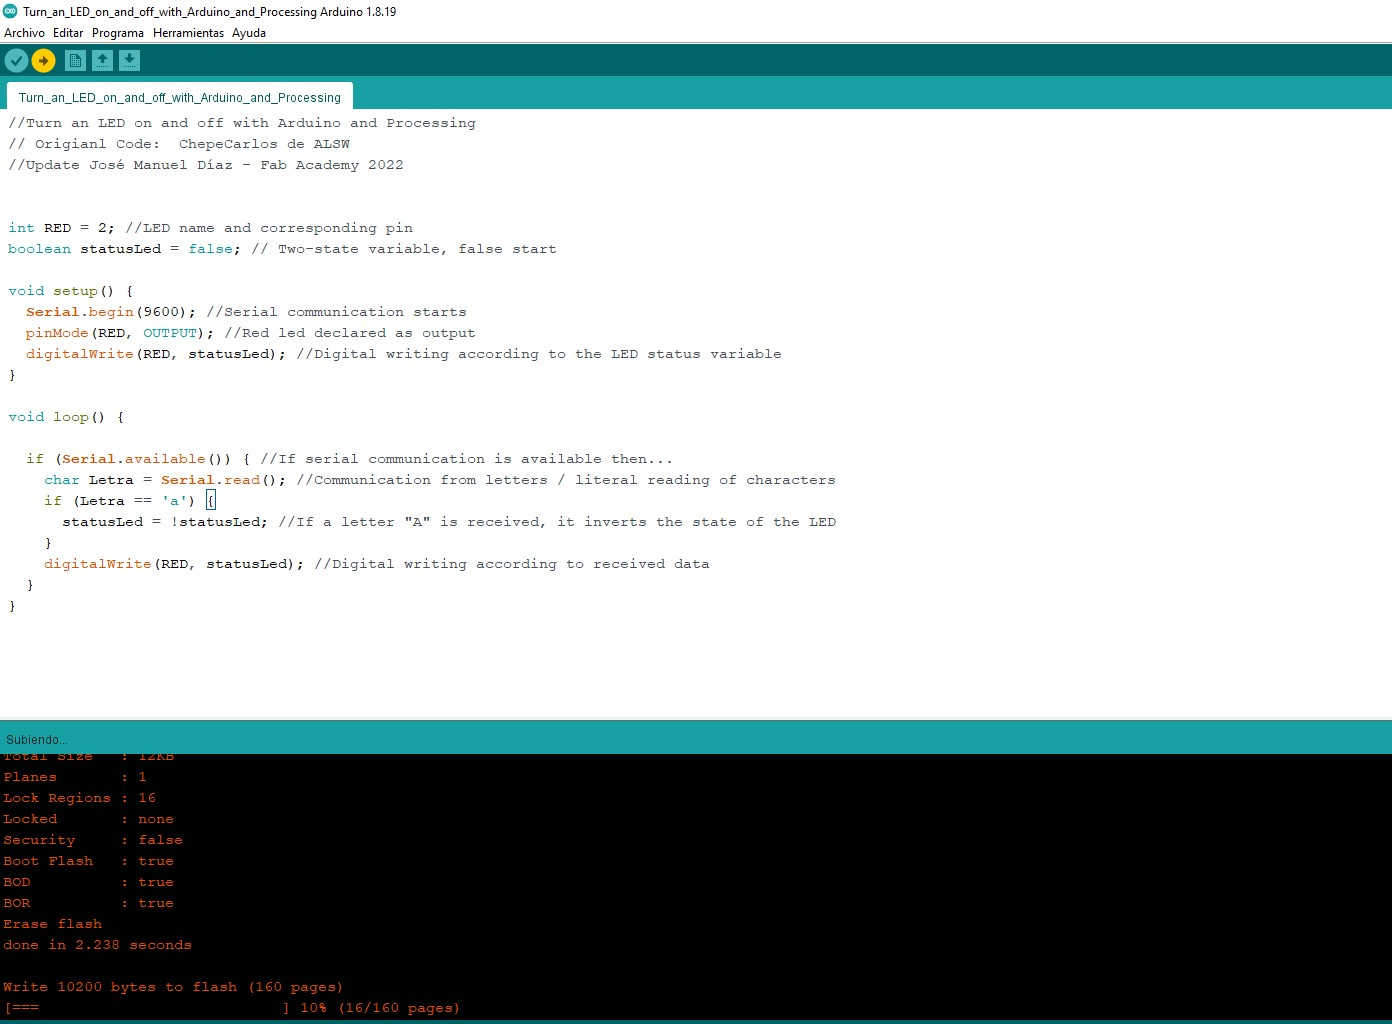
(6) Both programs ready to interact:
(7) The application list:
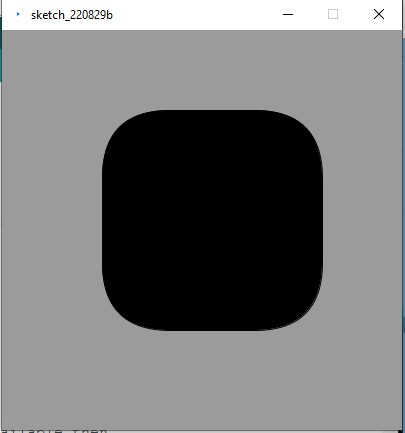
The result:
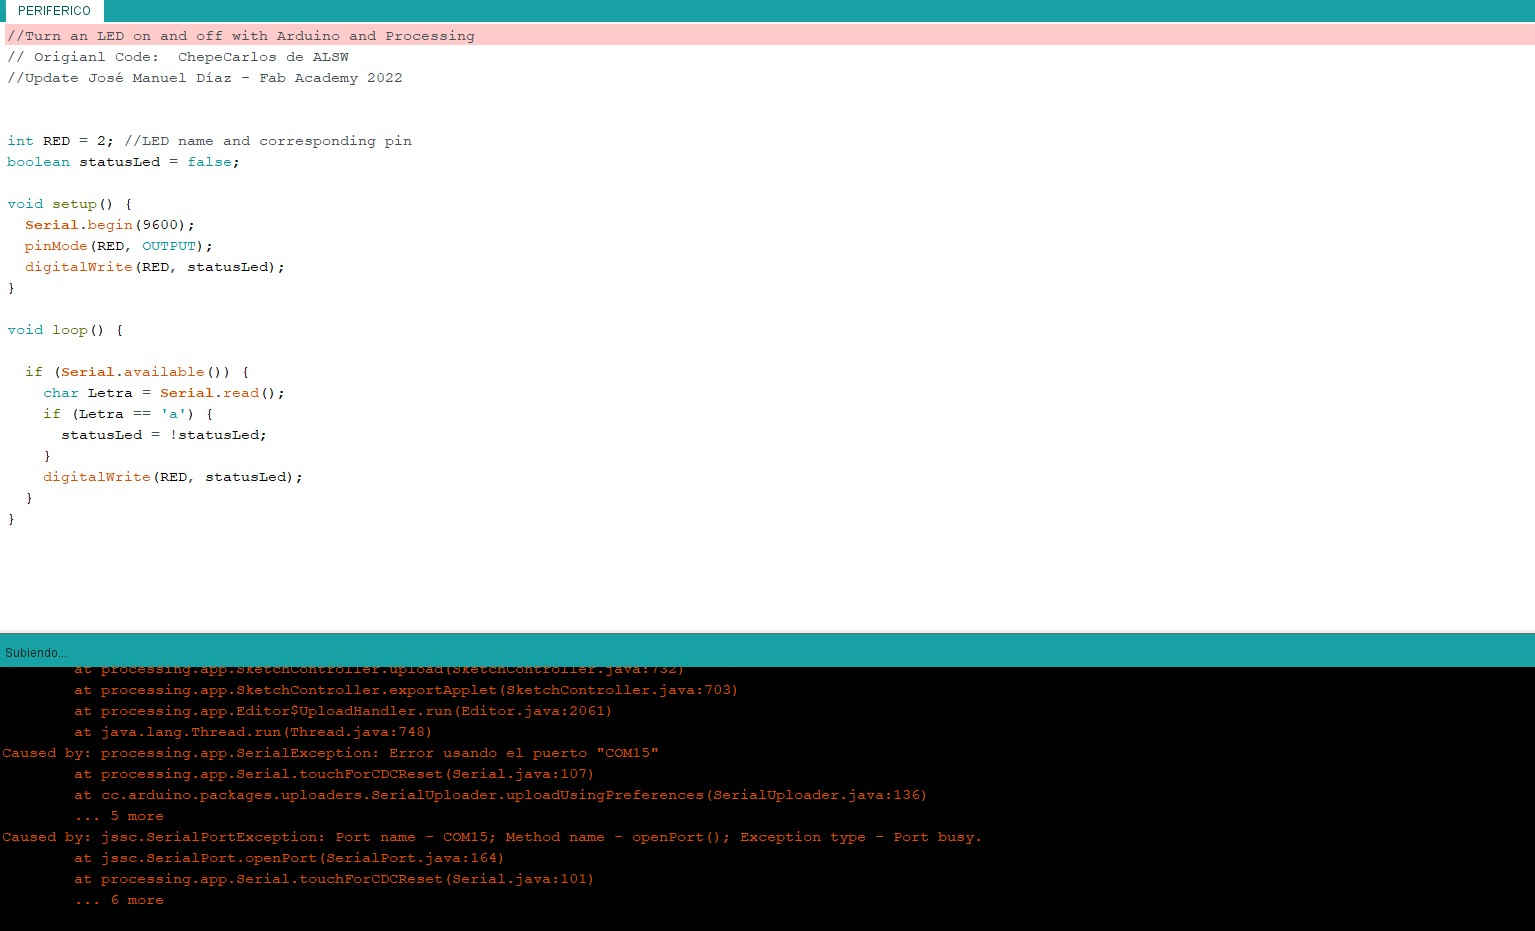
(8) Problems and how to solve them:
If you are going to update the code from the Arduino IDE, remember to close the Processing Sketch preview otherwise the communication between the IDE and the board will not take place. The IDE error looks like this:
![]()
(9) Exercise 2 Control of an RGB led (SMD)
***
The objective of this practice is to create "graphic switches" for each one of the leds of the RGB SMD module.
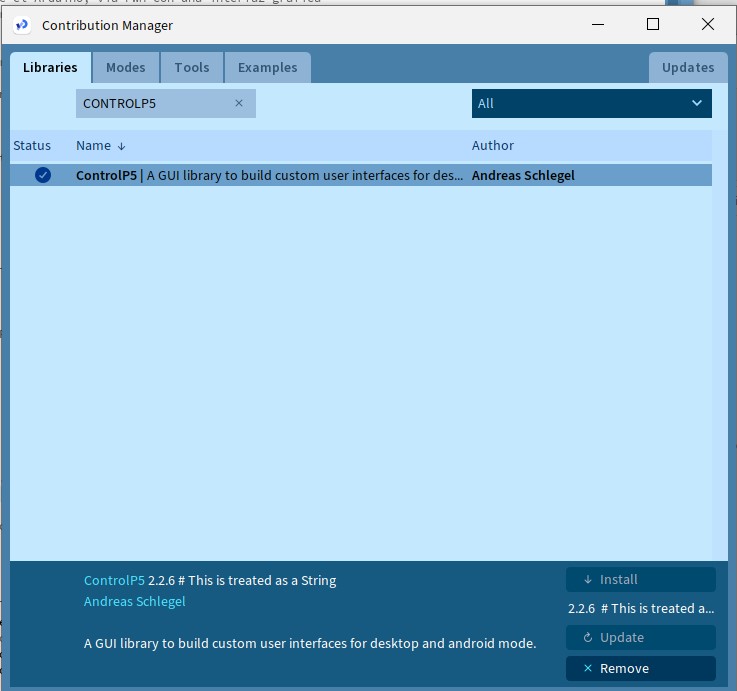
Processing, like Arduino, allows you to work with libraries which facilitates some tasks, in this case I experimented with the Control P5 library
“ControlP5 is a library written by Andreas Schlegel for the processing programming environment.
Controllers for building a graphical user interface on top of your rendering sketch include sliders, buttons, toggles, knobs, text fields, radiobuttons, checkboxes, and more.”
To install this library you can follow the following path:
Tools >> Manage tools >> Libraries >> Find ControlP5 >> install
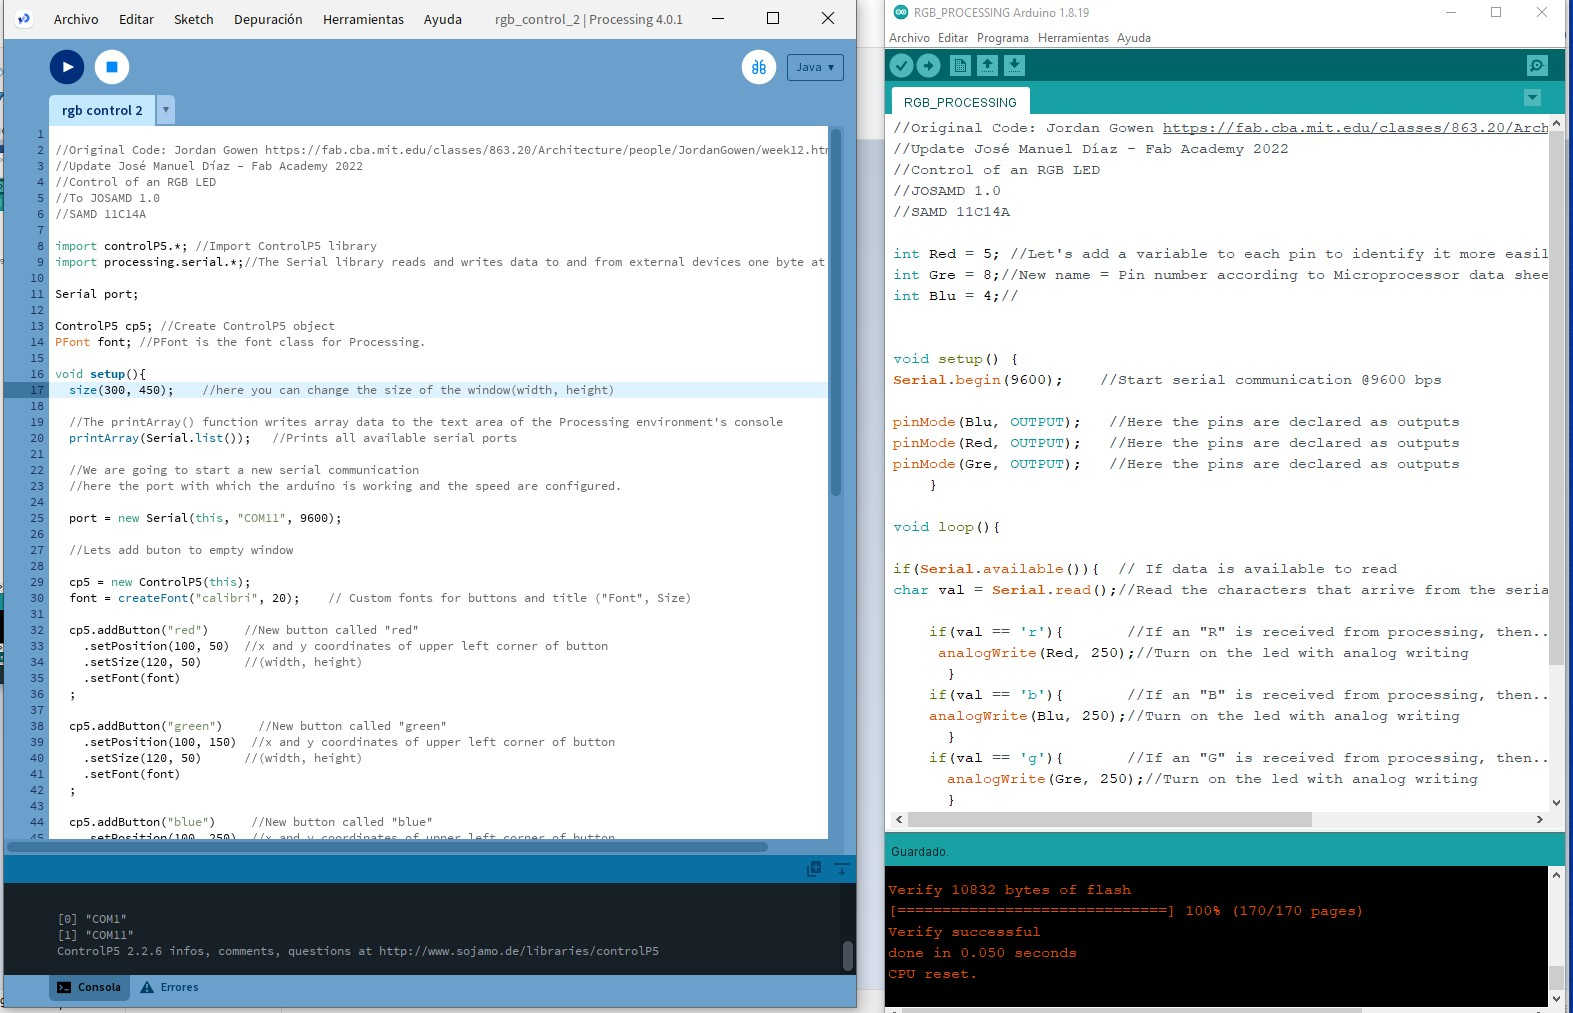
(10) To start programming I used as a base two programs created by Theo Gautier and Jordan Gowen respectively, both were very useful to me to create my own version.
Original codes:
http://fabacademy.org/2021/labs/agrilab/students/theo-gautier/assignments/week16/
https://fab.cba.mit.edu/classes/863.20/Architecture/people/JordanGowen/week12.html
As in the previous exercise, I made notes in all the lines of the code to specify which action is carried out in specific.
Both programs ready to interact:
(11) The ready interface:
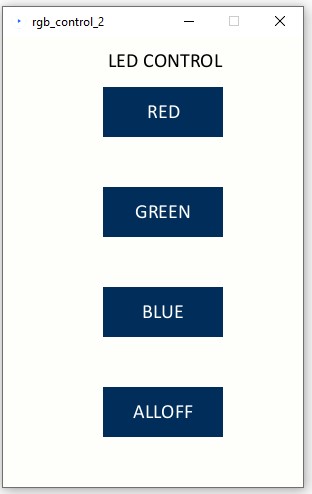
The result:
(12) Problems and how to solve them.
During the tests I had a problem that took me a few hours to solve, the leds received the digital writing but they only stayed like that for a second and then they turned off, I tried creating state variables to invert from high to low but it didn't work.
After some testing I found a solution that might seem very simple but boy was it quite a challenge to find.
When receiving a character, the program does an analog writing at 250 instead of a digital writing, in this way the leds behave as expected.
if(val == 'r'){ //If an "R" is received from processing, then...
analogWrite(Red, 250);//Turn on the led with analog writing
![]()
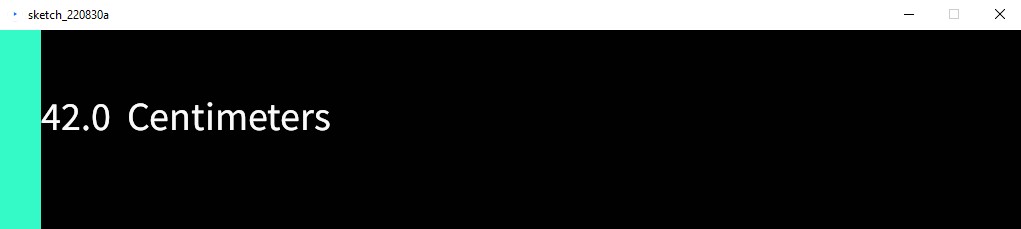
Distance meter – Graphical interface.
***
During the week of input devices I did a practice using an ultrasonic sensor, in the research I did I found a very interesting interface written by Adrián Torres.
http://fabacademy.org/2020/labs/leon/students/adrian-torres/samdino.html
So I decided to give it a try and make some design modifications by styling it in dark mode.
After practicing with the first two exercises, it was relatively easy to make the necessary adjustments to modify the properties of the text, as well as the background fill color and the distance indicator. I made some additional notes on these lines of code.
********************************************************
noStroke(); //outline
fill(52,250,200); // color inside (RGB)
rect(0, 0, sensorValue, height); //position and size
println(sensorValue);
fill(250,250,250);//textcolor(RGB)
text(sensorValue + " " + " Centimeters" , sensorValue, height/2);
textSize(40);
*******************************************************
(13) Programs ready to interact and graph.
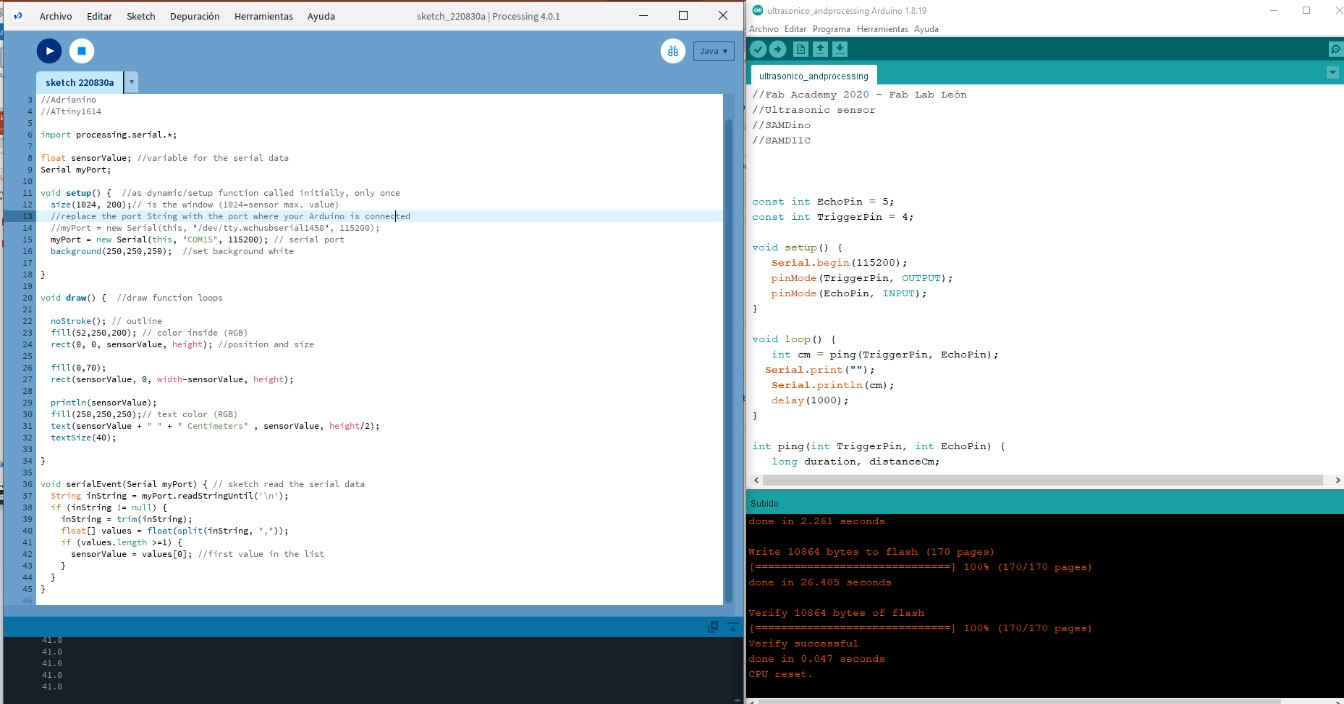
(14) The ready interface:
![]()
![]()
Processing:
Turn on a led
RGB Control
Ultrasonic
Arduino:
Turn on a led
RGB Control
Ultrasonic
![]()
Copyright 2022 Jose Manuel Diaz Bello