Week5- 3D scanning and printing
Introduction
Currently I am attending both fab-academy and fabzero. Since Bhutan is under lockdown, I had to work in containment zone along with Fran, Sibu and the SFL team in superFablab to set up the lab. So luckily for me, I had access to all the machines (Lots and lots of machines).
In this week, we are first testing the design rules for 3D printer where we will work in groups and then we have to design and print an object (using a 3D printer) that could not be done substantively, that is from laser cuter or milling machine. This task allows us to use and work with 3D printer that is a machine most often used in the fablab. The second part of the assignment is to scan a 3D object and if possible print it.
Assignment
group assignment:
- test the design rules for your 3D printer(s)
individual assignment:
- design and 3D print an object (small, few cm3, limited by printer time) that could not be made subtractively
- 3D scan an object (and optionally print it)
Group assignment
Click here to go to the group assignment
Individual assignment
3D printer
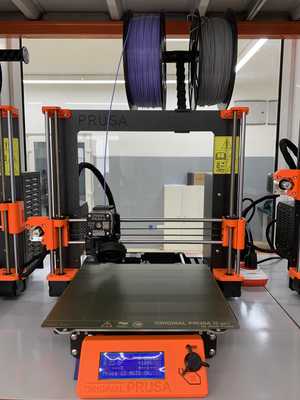
The machine: Original prusa 3D printer
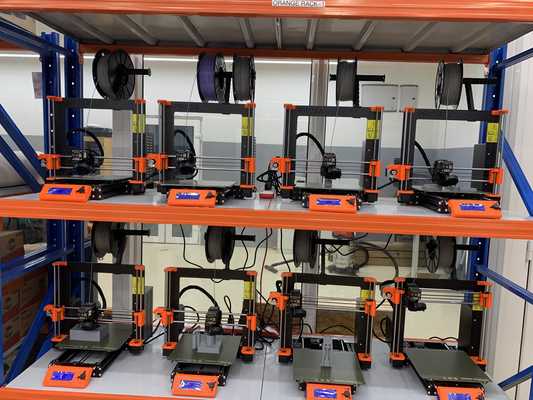
Since I am in superFablab, SFL has 10 3D printers (2 are on the other side).
Softwares: Fusion360, Prusa slicer
Designing
After hearing alot about 3D printer I finally get to use one. This is my first time using a 3D printer. For this assignment i had to print in 3D printer which cannot be done subtractively.
- Fusion 360
I wanted to make a Bhutanese version of chess, that is, make the pieces of chess with a Bhutanese tradition and culture design in it. I used fusion360 to draw the designs for the 3D printer and exported in stl format.


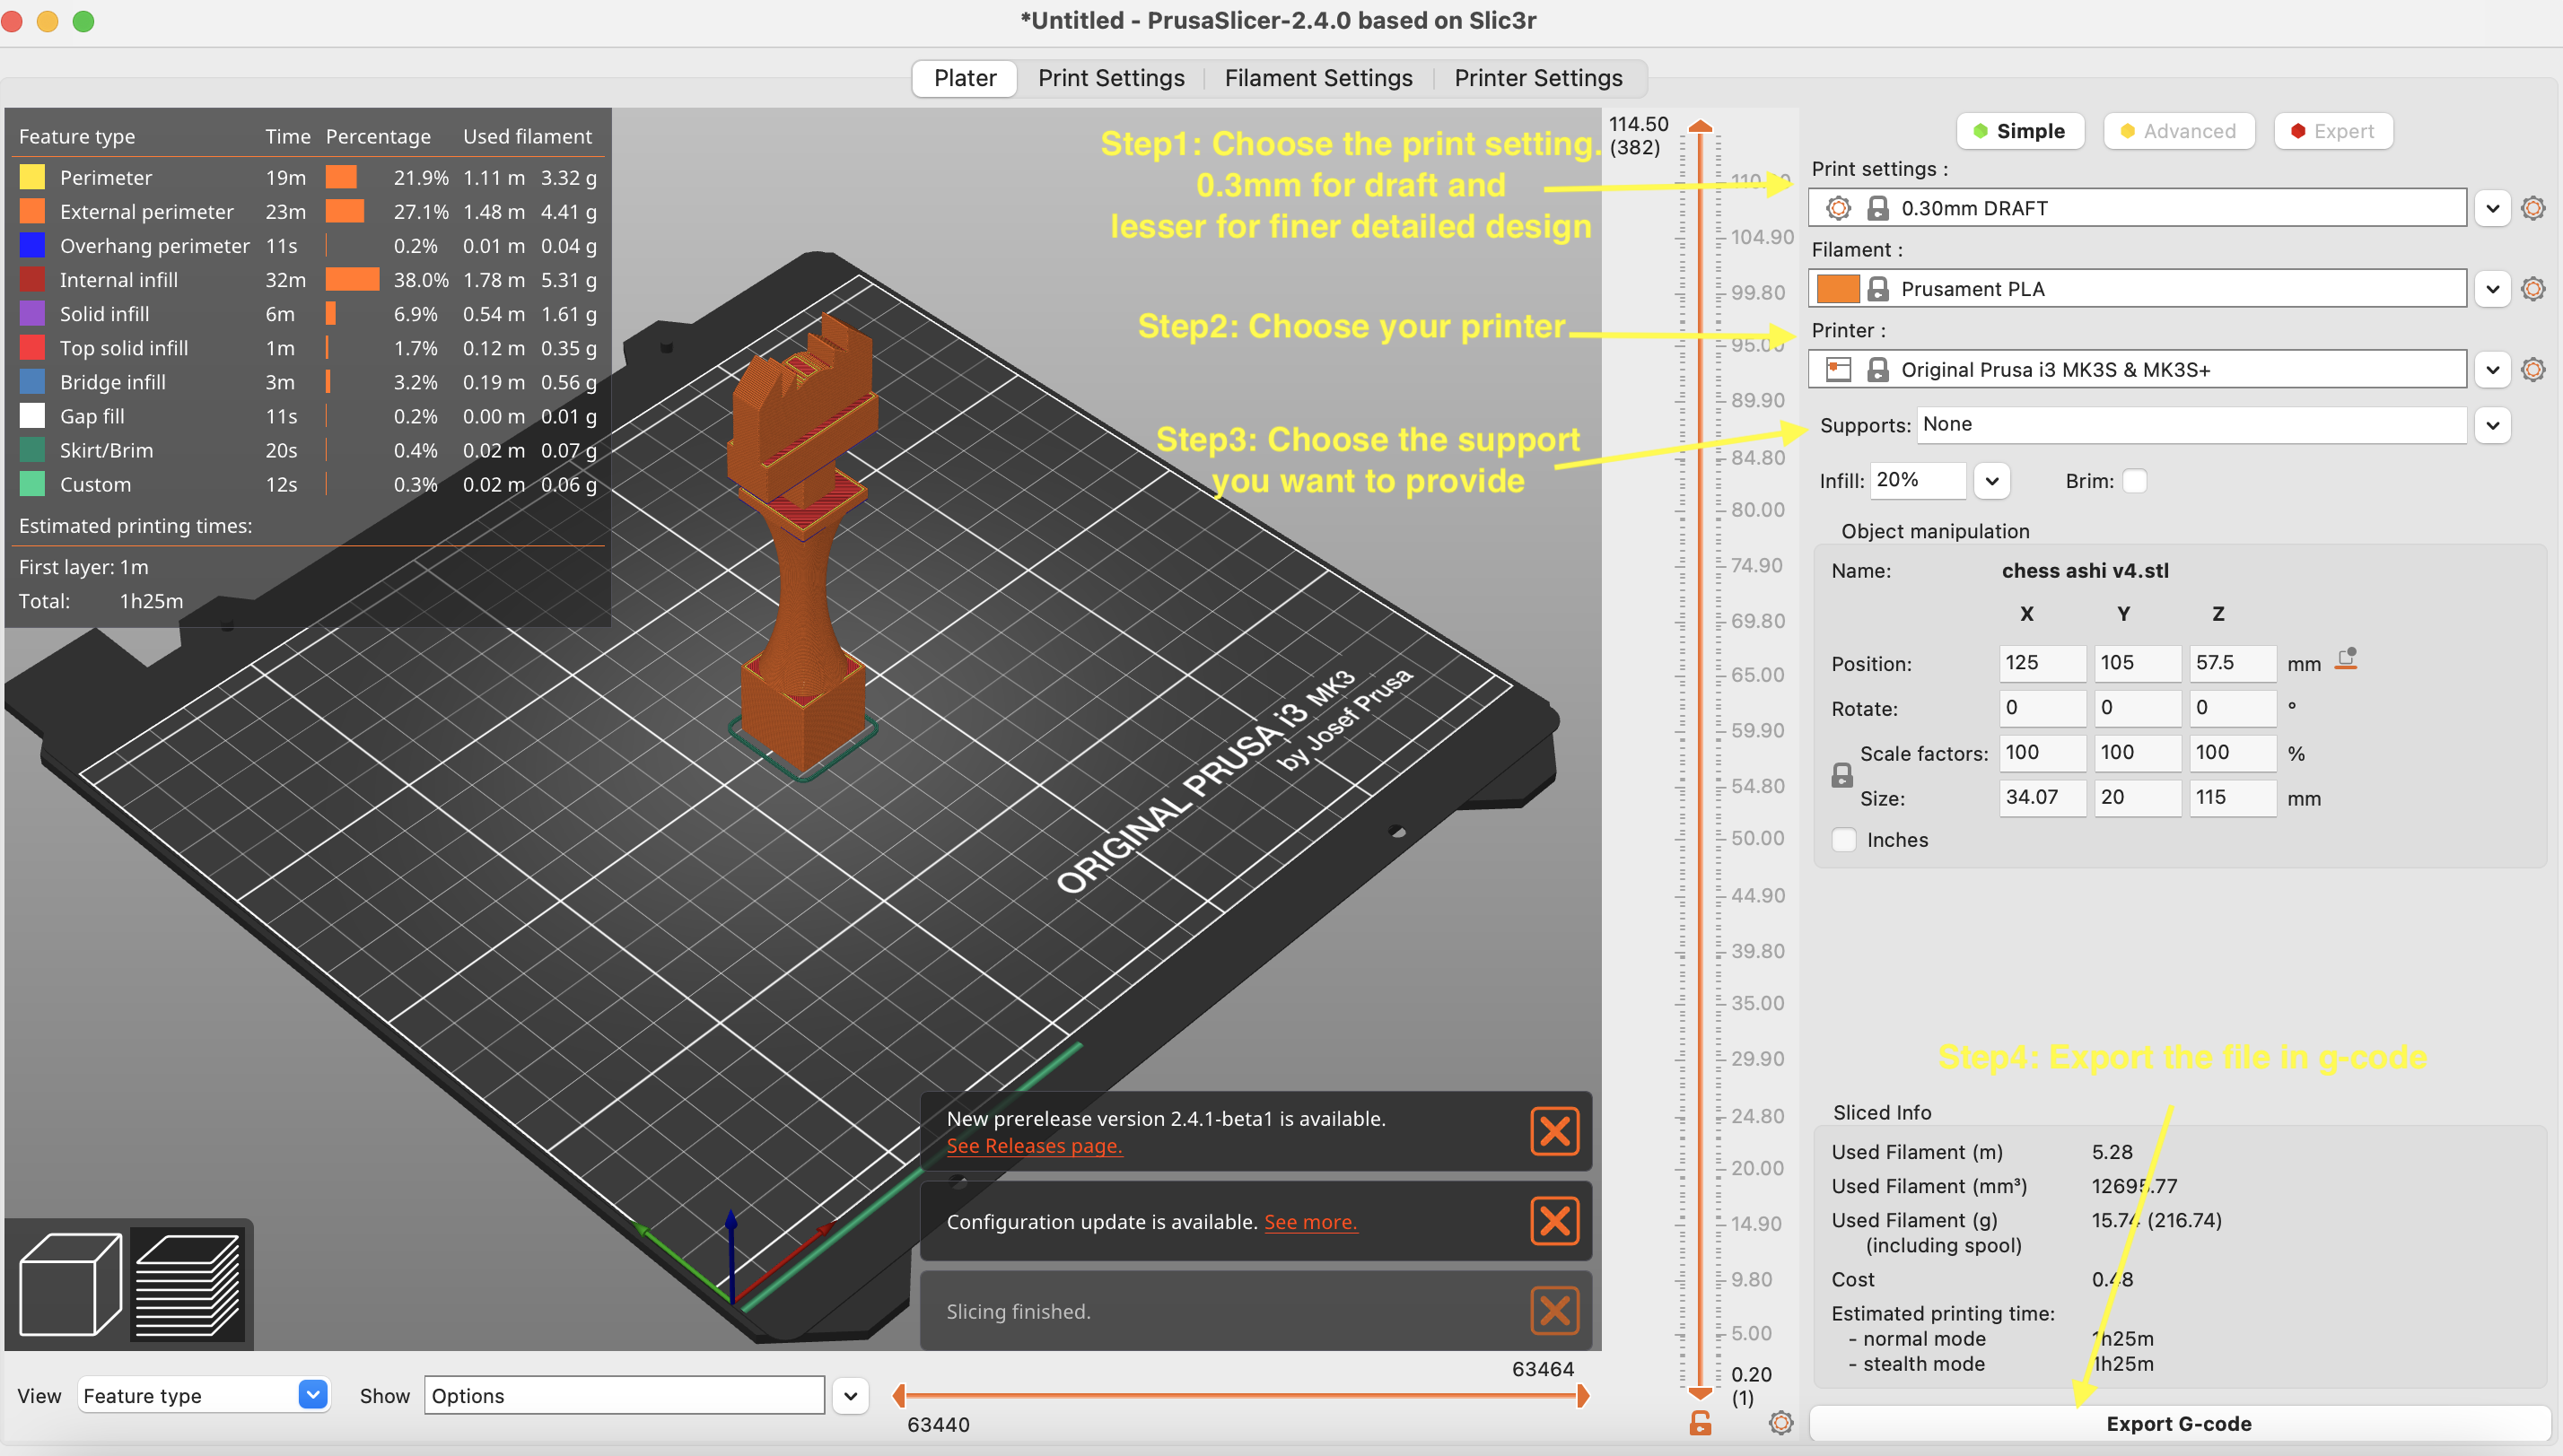
- PrusaSlicer
We use prusa slicer to convert the stl format to G-code format. The g-code file is then put in a SR card which is then inserted to the 3D printer and then it prints the design.
Open the Prusa slicer-> File-> Import-> Open your stl file.
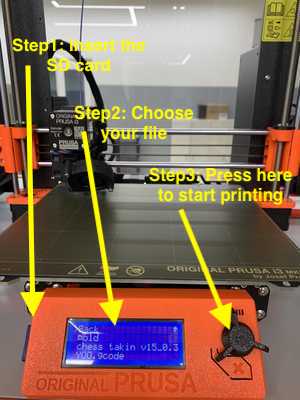
- Prusa 3D printer
Put the g-code file in the SD card and then insert the SD card in the 3D printer
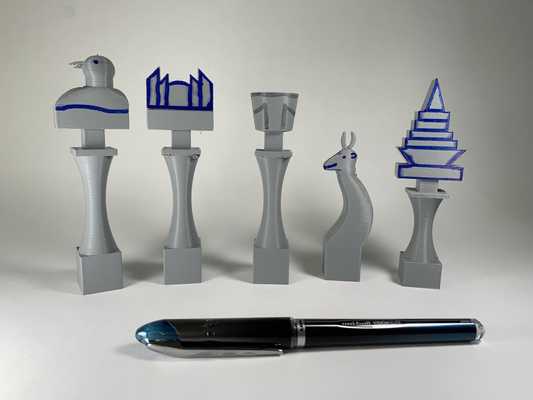
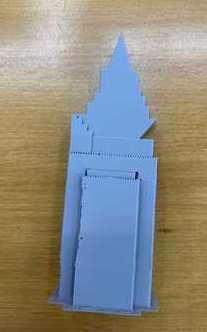
The final products: Original chess piece's name along with the new version
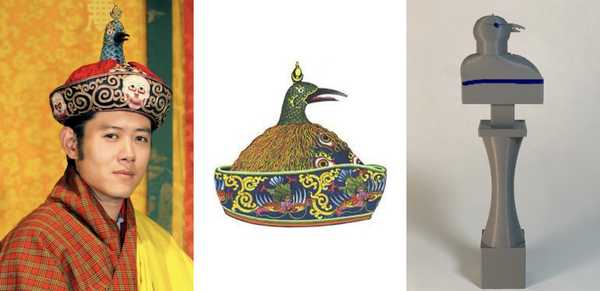
- King- Gaep means king in Bhutan
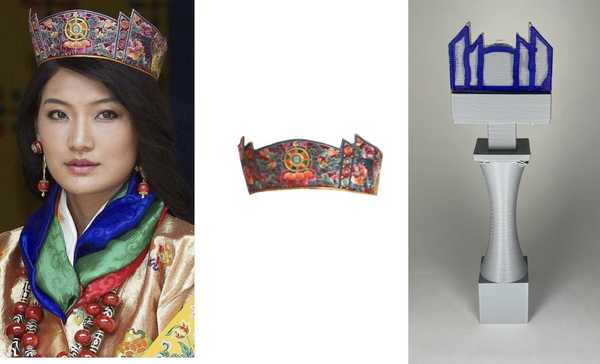
- Queen- Ashi means queen
- Bishop- Je means head of religion body

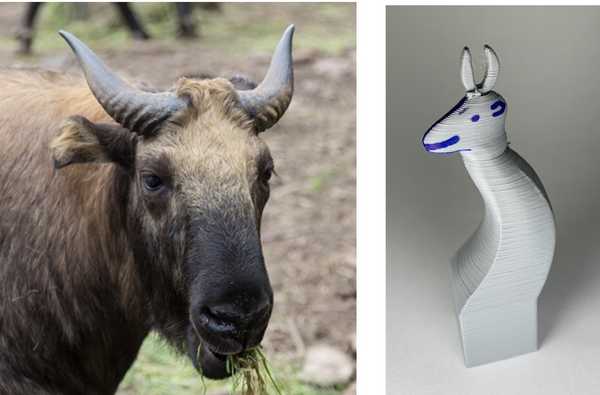
- Knight- Dong Gim-tshey means takin (takin is the national animal of Bhutan)
- Rook- Chorten means shrines
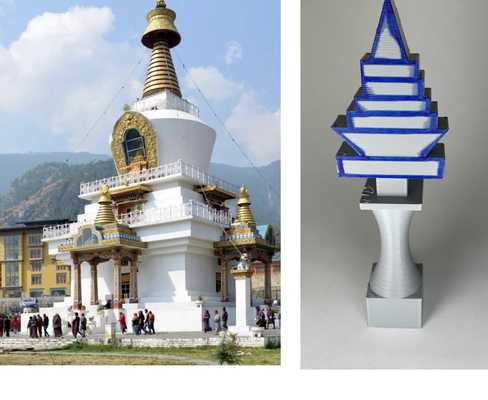
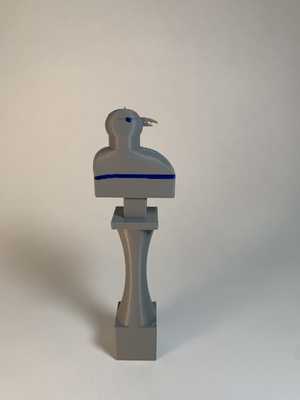
The chess components in Bhutanese style
Comments/Tips after using 3D printer:
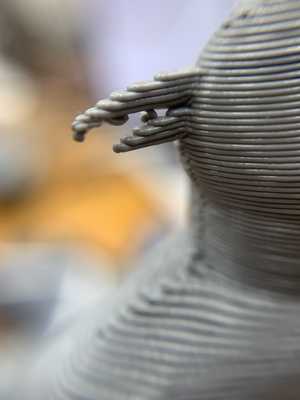
- Using the support option
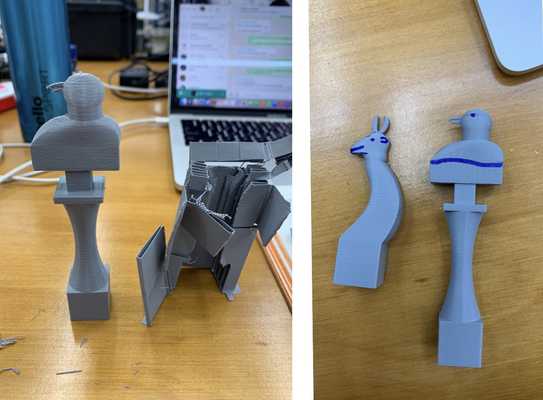
I 3D printed the Ashi (queen) piece of the chess without any support and printed the gaep (king) piece of chess using the support everywhere option to see if there is any difference.
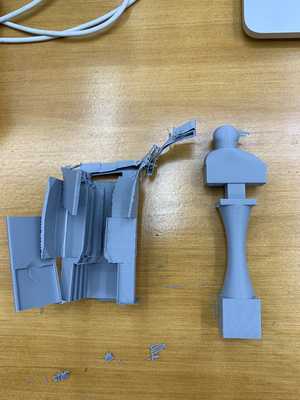
The difference in using support and without supoort. i had to strip some of the hanging strings of filament using a blade.
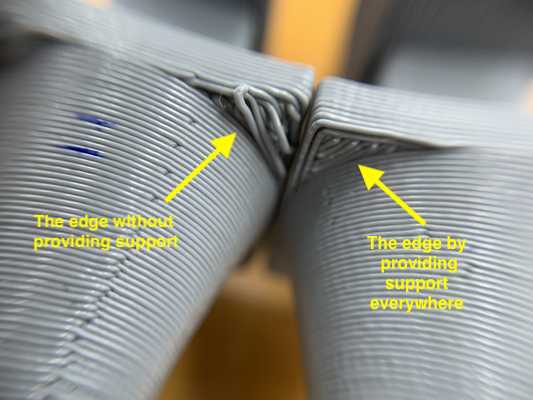
So i recommend using support if your designs have overhangs or are complex and have lots of details. I used supoort for the rest of the pieces while printing
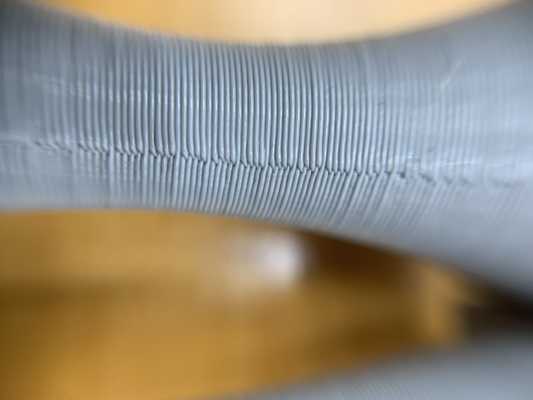
- Layering
While 3D printing, we get the option to choose the layer height (printer setting) in the prusa slicer which defines the layering.
By choosing taller layer heights you can significantly shorten the print time and on the other hand, choosing small layer height (e.g. 0.10 mm) will result in extra detail at the cost of longer print times.
I chose 3.0m draft and the layers are visible.
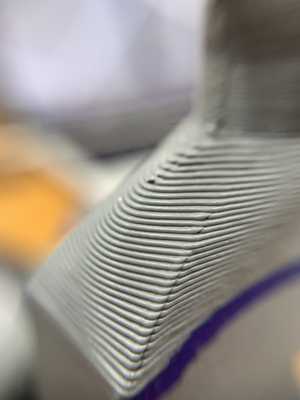
For the curved surfaces and complex designs, its better to use low height for layering
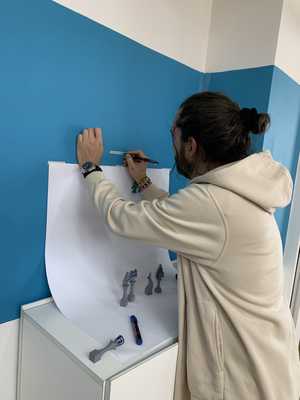
- Make a studio to take pictures
With the help of fran, we turned a small corner in the super fablab as a photo studio to take pictures for the documentation. We placed white computer paper as the background (Thats it- easy peasy and super helpful).
Before
After:
#Note: Place another object there to give the ratio aspect
3D scanner
The machine: Artec Eva
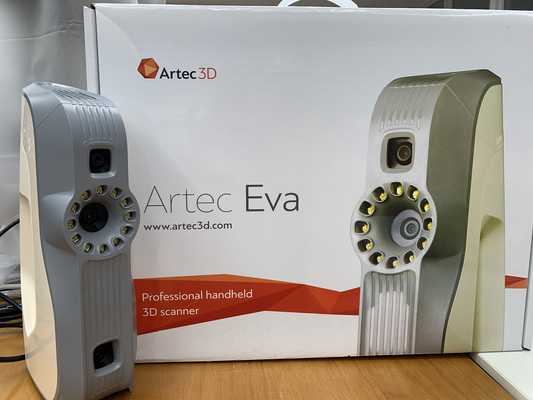
Softwares: Artec 3D Studio 15 professional
3D Scanning
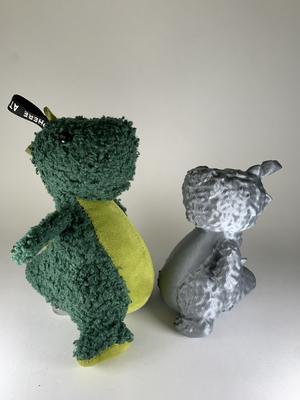
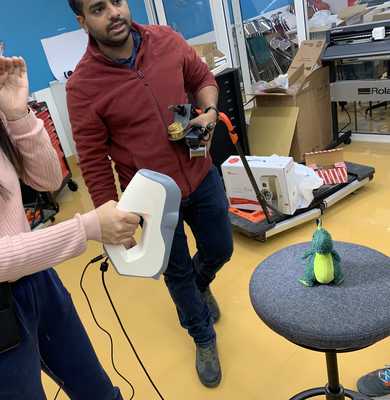
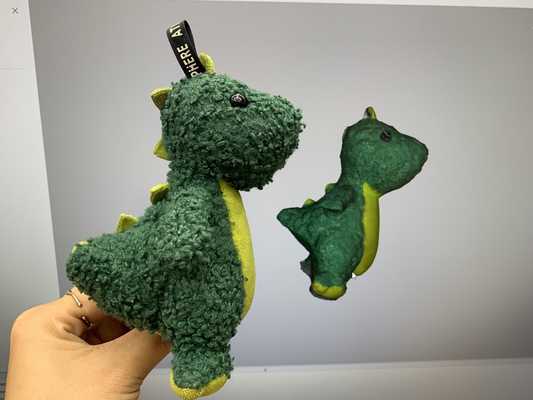
The dinosaur key-chain has been with me for a long time and its time for him to have a friend. So for the 3D scanning, i scanned my dinosaur key-chain
Using Artec eva scanner, i scanned the dinosaur by placing on a tool and viewing it on Artec 3D Studio 16 professional.
I referred this youtube tutorial
Useful 3D scanning techniques
- make sure you are scanning from lots of different angle.
- Look at the screen while scanning rather than at the object.
- Keep your wrist free while scanning.
Fran helping me while scanning
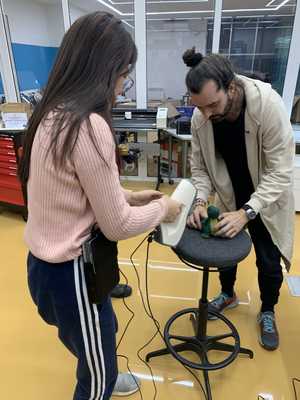
Sibu decides to join as well
After scanning, we have to edit
-
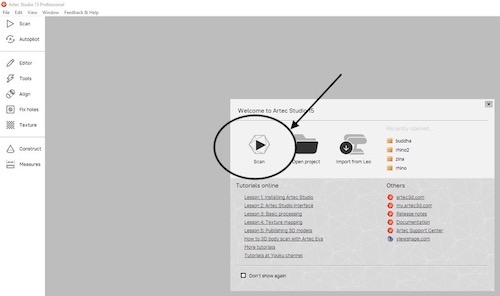
To scan, click on the scan button
-
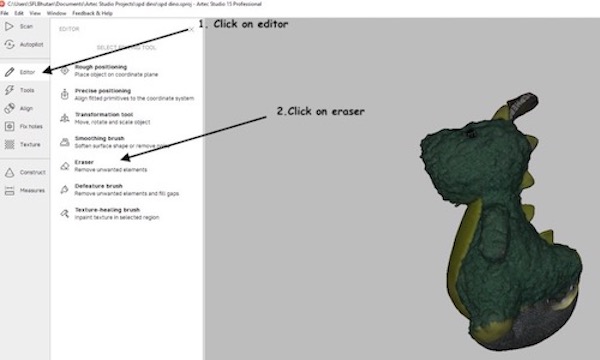
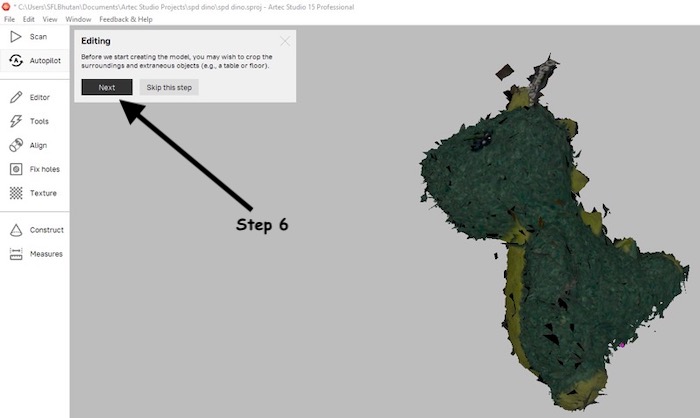
To erase some parts= Editor-> Eraser. Select the parts you want to erase, especially some parts that are collected from the surrounding and not a part of the object. To select those part-> Ctrl + select the part you want to erase

-
To remove the background= Editor-> Base selection
-
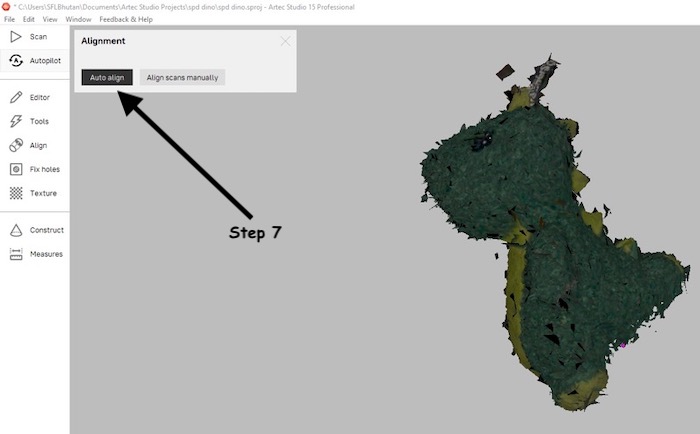
To set the axis= Editor-> Rough positioning
-
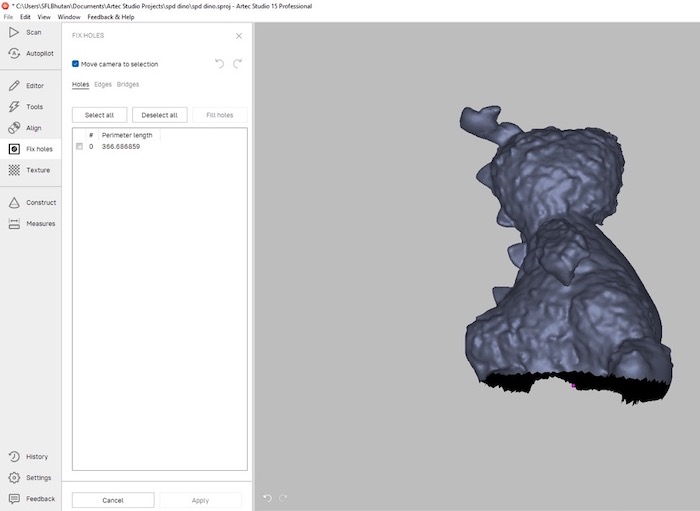
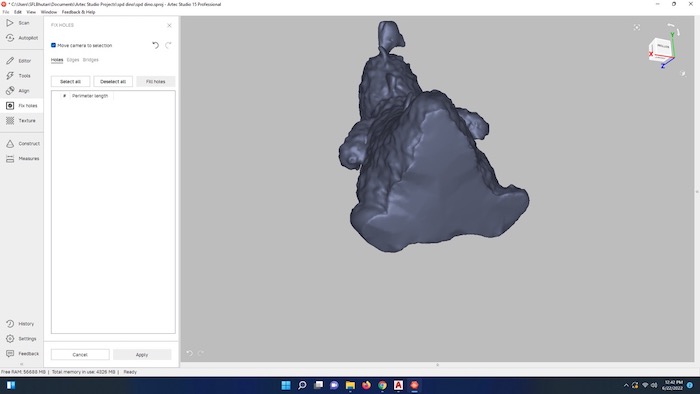
To fill the voids= click on Fix holes. Select the holes and click apply
-
To change brightness, saturation, hue, contrast, gamma correction= Texture
-
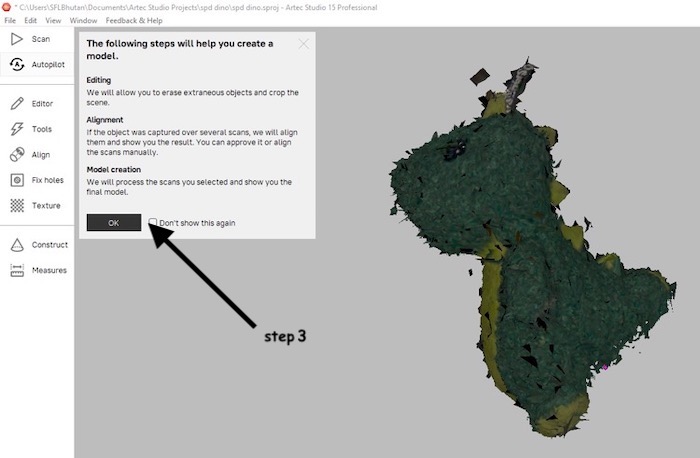
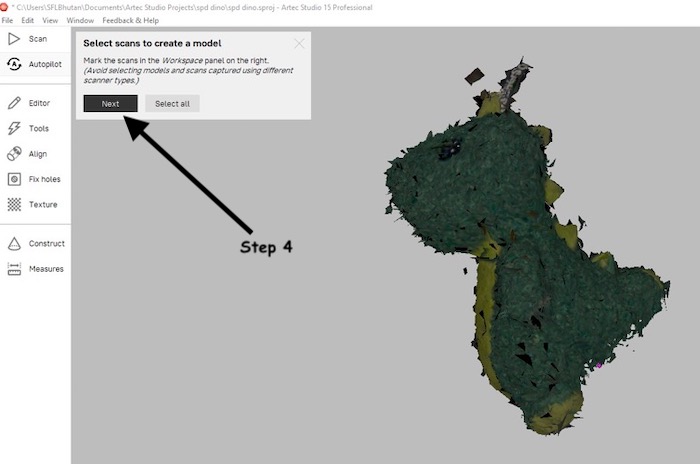
You can fix the file yourself or use autopilot to do it automatically by clicking on autopilot

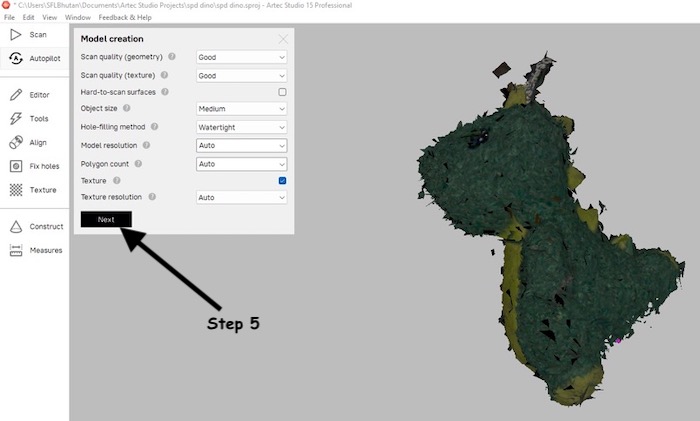
-
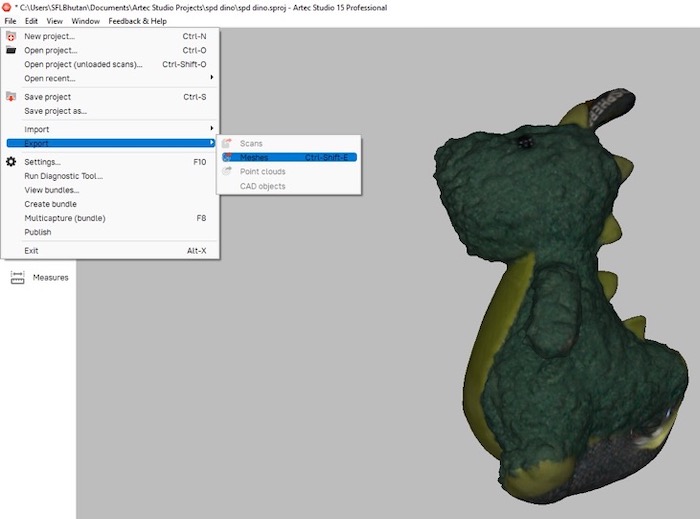
To save the file, click on file-> export-> meshes
-
Use prusa slicer to convert it into g-code and then print it.
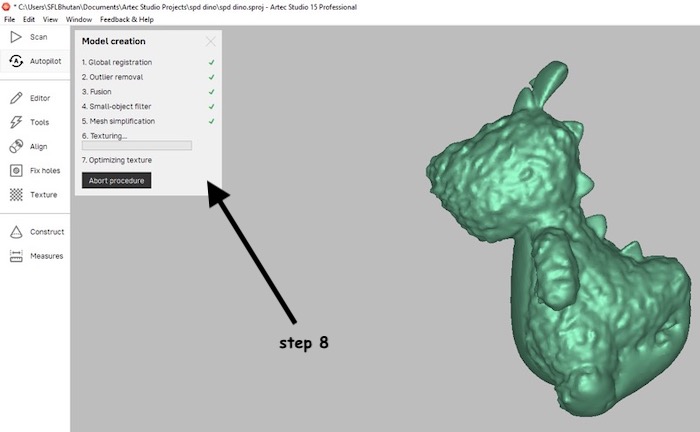
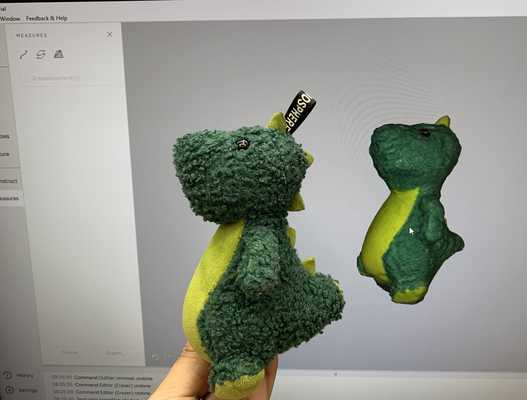
The scanned file:
After scanning, I exported the file in stl format and used prusa slicer to convert it into g-code
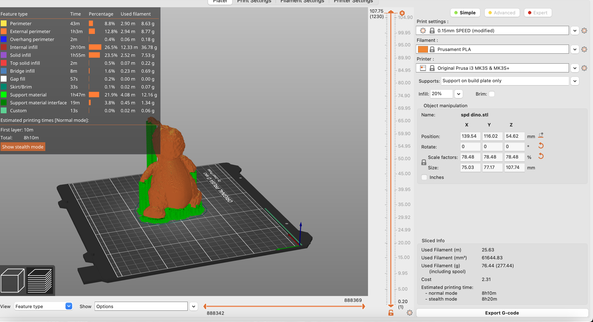
I inserted the g-code file in the SD card and then printed using supports
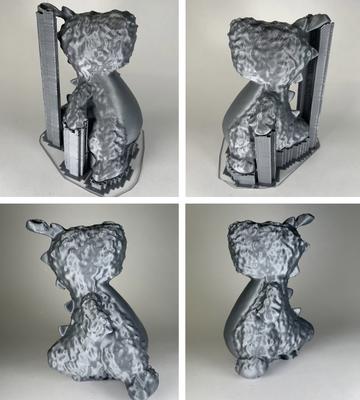
I reduced the size of the dino in the prusa slicer