Task to be carried out this weekIndividual Assignment
Action Plan
| Date | Work Allocation |
| 11th May | Global classes by Prof. Neil |
| 12th May | Learning about the machines available at FabLab That haven't been used till date |
| 13th May | Designing |
| 14th May | Learning to operate the machine |
| 15th May | Machine operation |
| 16th May | Documentation |
| 17th May | Documentation |
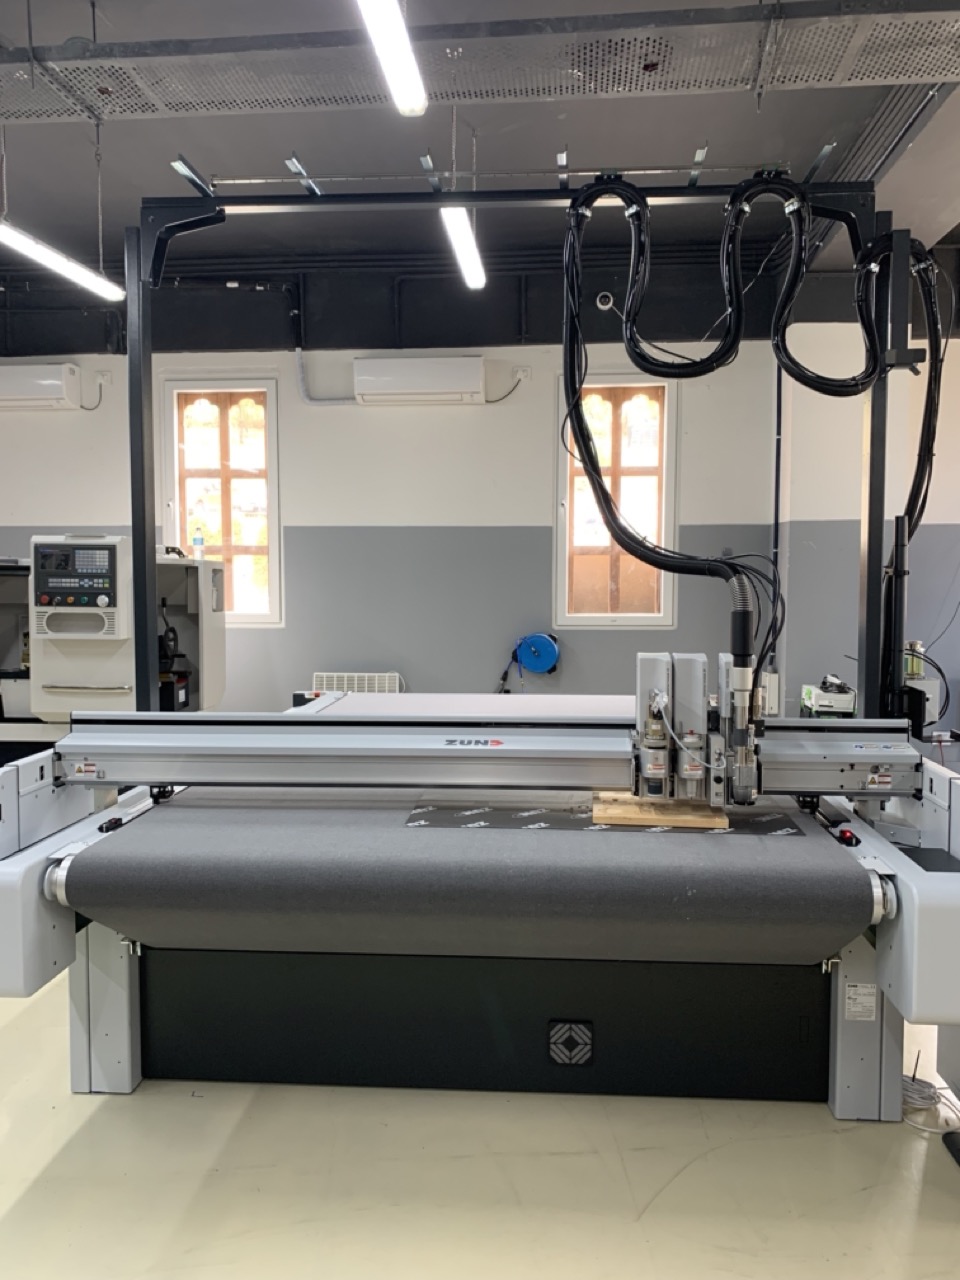
Zund G3 L-2500
For this week's assignnment we had to fabricate a computer-aided design using a machine that has not been used till date. So, on the first day I explored the lab to look for a machine
that hasn't been used for any other assignments till now. I found that we had a Handibot at Lab. However, the machine was broken and required to be repaired. Other than that, there were no unused machines in our FabLab.
Hence, we decided to go to the Super Fab Lab that was recently opened in the country. We went there to choose a machine to lear to use them. From the machines the one I opted for was the Zund G3 L-2500.
Introduction to Zund G3 L-2500
Zund G3 L-2500 are high-precision machines that can be used to cut paper, card board, leather, acrylic sheets, ply etc.,. Zund G3 cutting systems excel in delivering both exceptional productivity and unsurpassed cut quality.
It uses energy-efficient, adjustable vacuum generators to hold-down the materials. The Zund G3 can be modifies and upgraded to meet and adapt to new requirements It has a dimension of 3410.0mm × 3150.0mm × 894.0mm and weighs about 970kg.
The technical details of the machine can be found in its manual. Some important specification can be seen below;
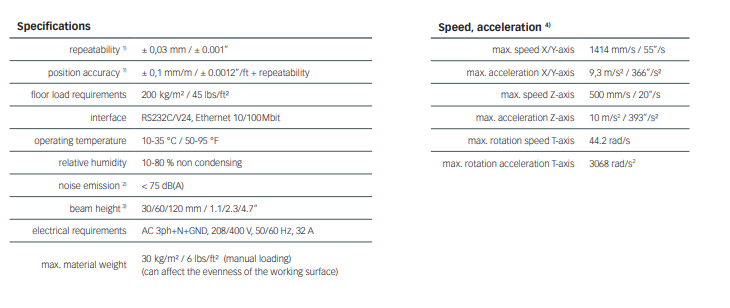
Base machine: Dimensions, weight, material
Tools & Modules
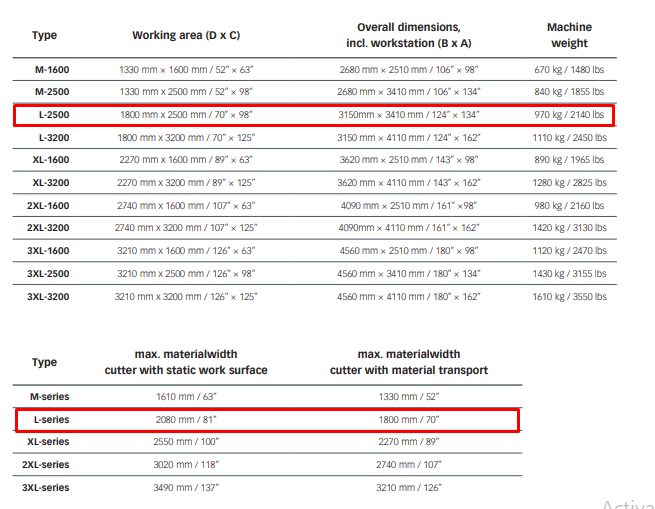
In Zund we can combine the modules and tools you need from a wide range of tooling option. ZUnd G3 provides 11 different cutter sizes to let you select the perfect machine size for all your production needs.
A standard three modules can be fastened onto the module carriage in a zund cutter. The use of modules and tool inserts means that Zünd cutters can be highly specialised on the one hand,
whilst still being able to be easily converted for processing other materials on the other hand.
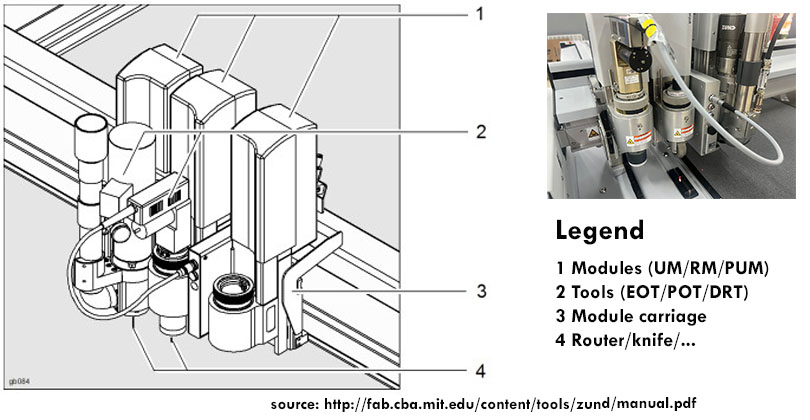
Zund G3 provides modular, flexible, and adaptable high-performance modules and tools for every applications. Additional information about the Zund Tools and modules can be seen in the picture below;
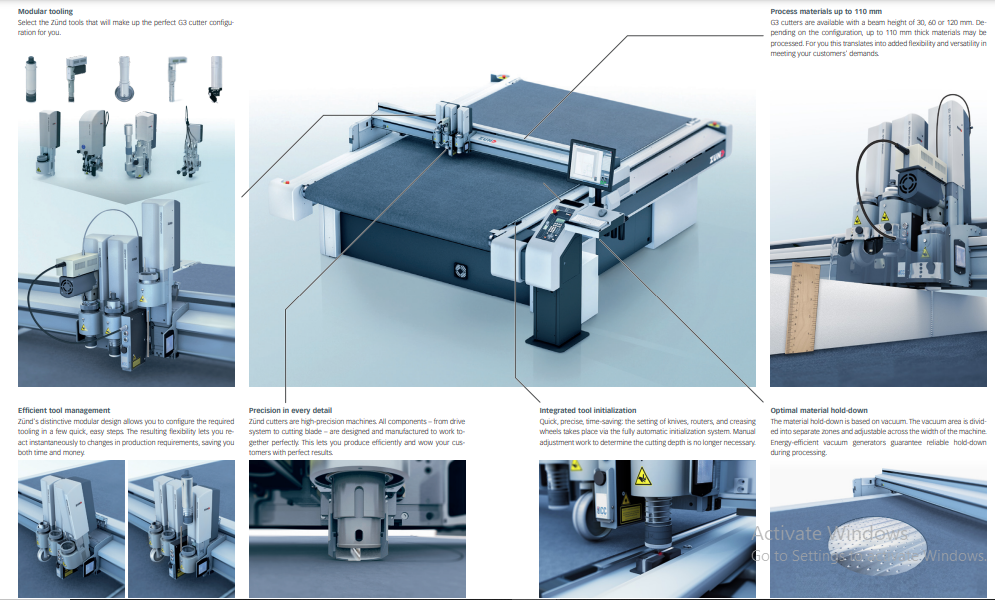
For more information you can refer to tools and modules on Zund official site.
Design using Inkscape
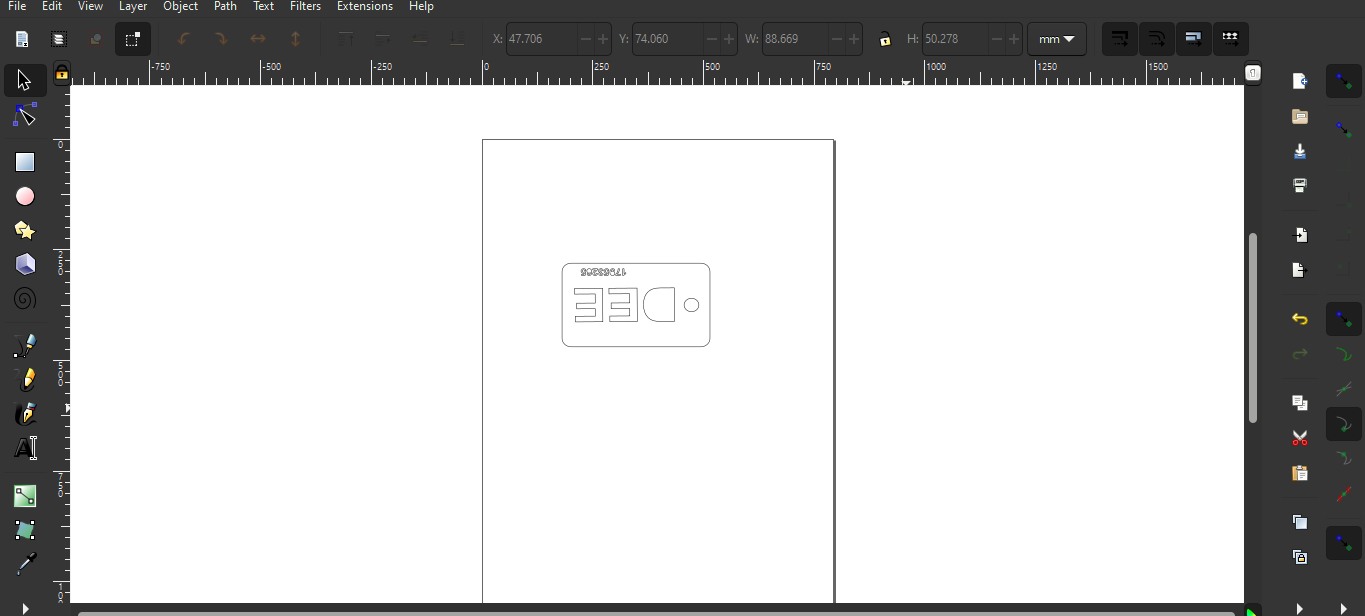
For this week's assignment, I had to create/fabricate something using a new machine not used till now. As mentioned above, I opted for the Zund G3 L-2500.
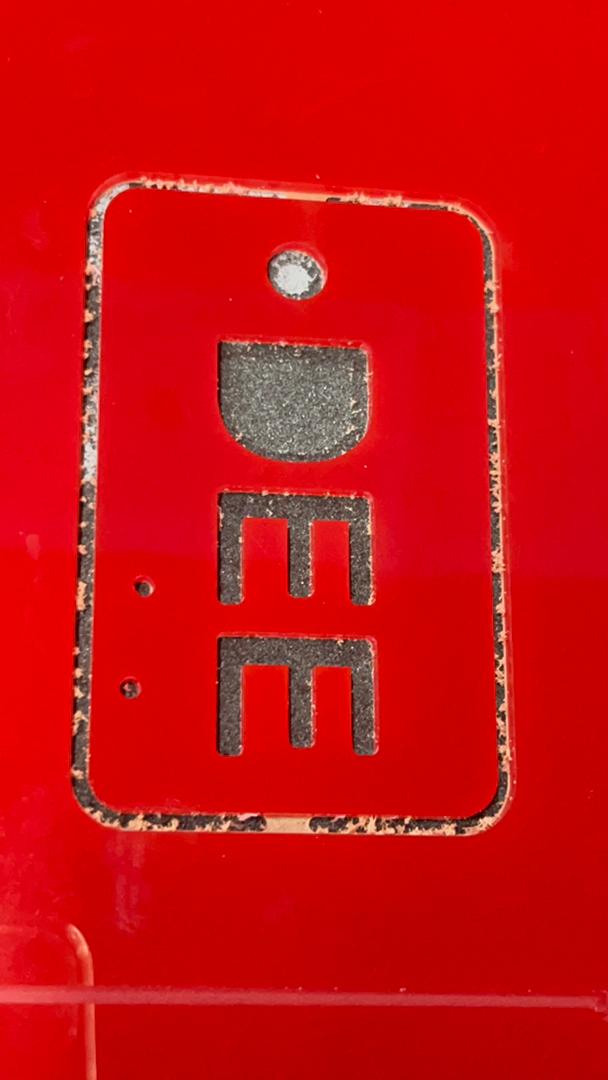
Zund provides multiple tool options as well as material choices. Since, we had access to FabLab for only that day, I designed a simple key chain using Inkscape to be cut using Zund.
Fabrication using Zund G3 L-2500
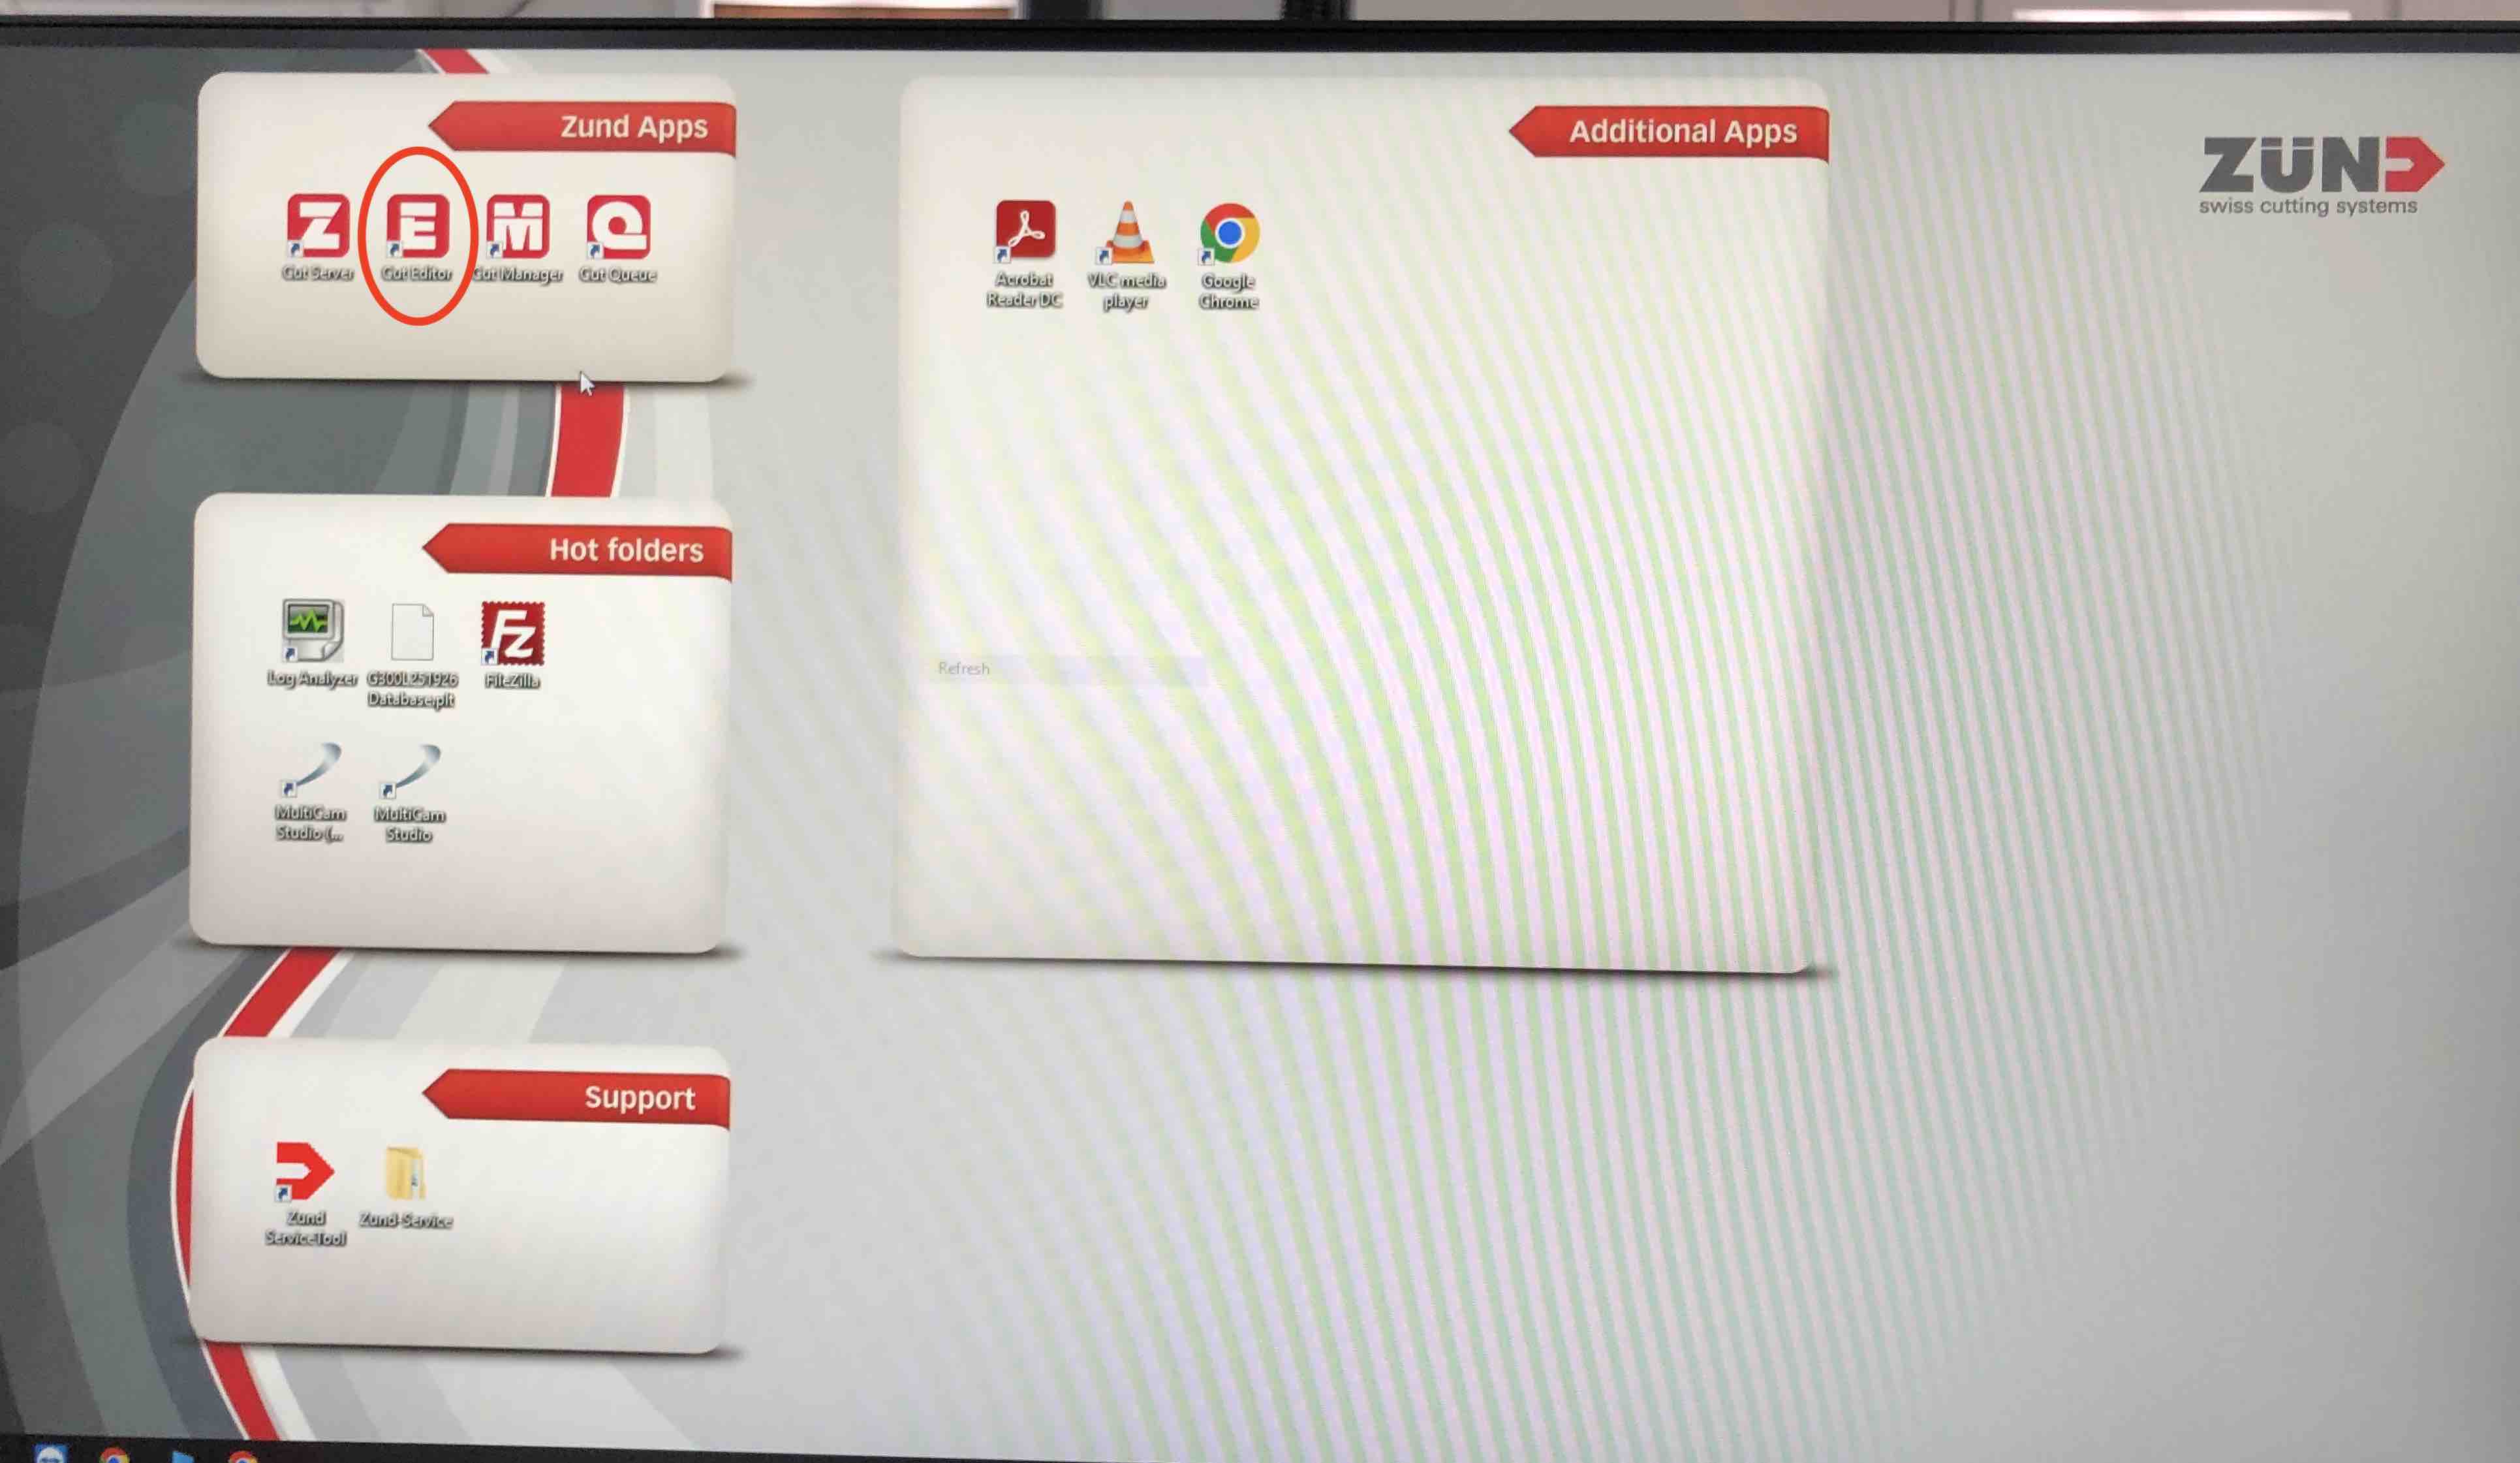
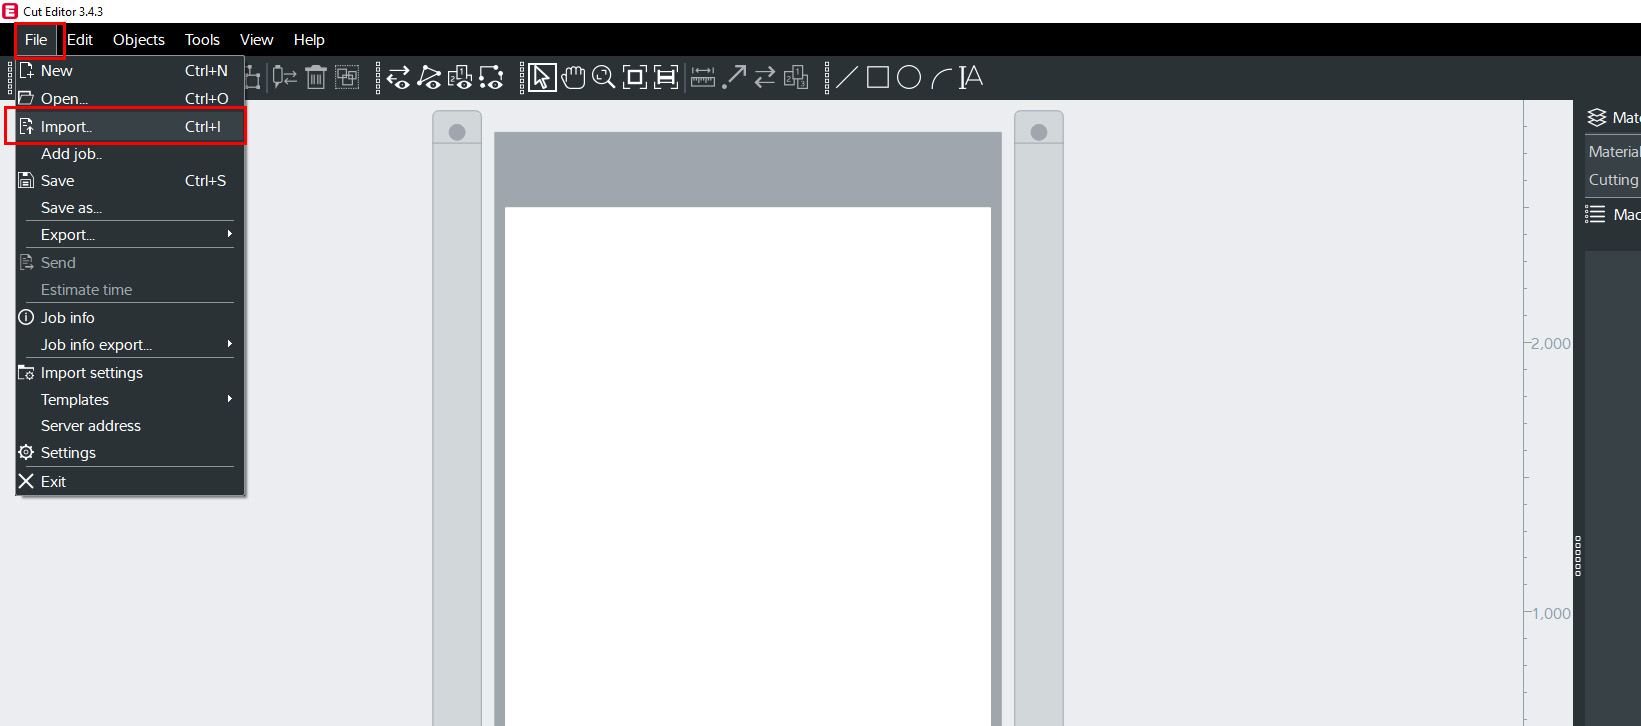
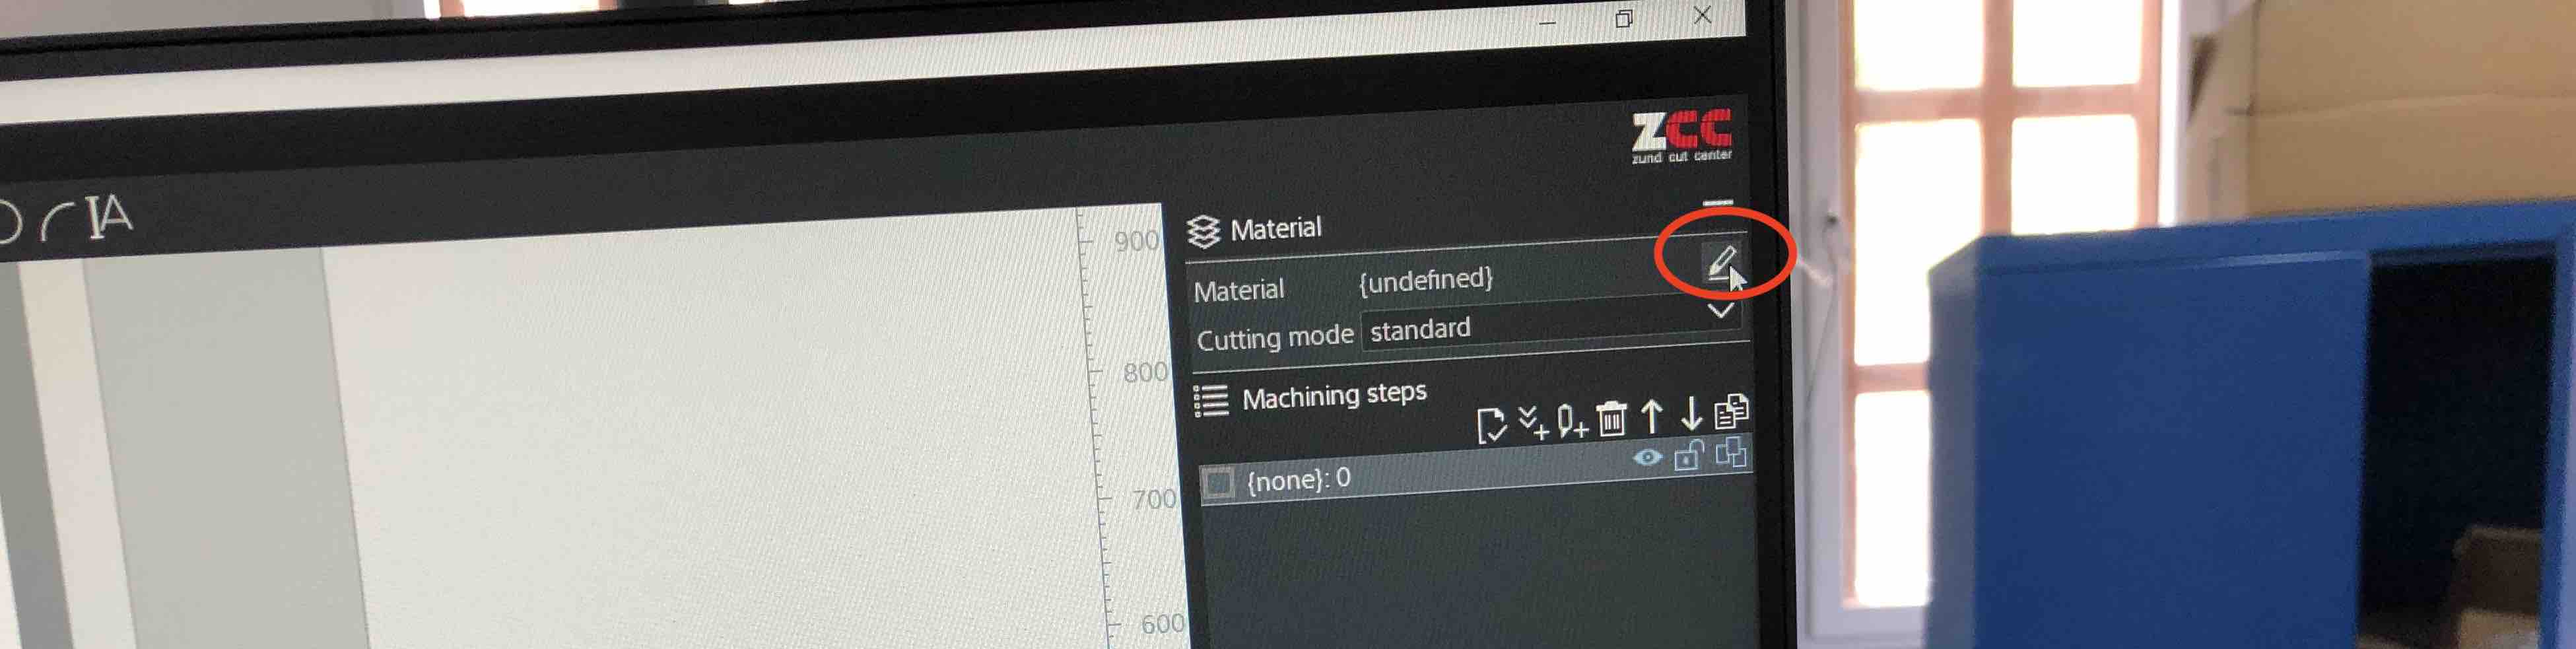
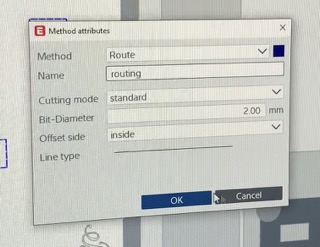
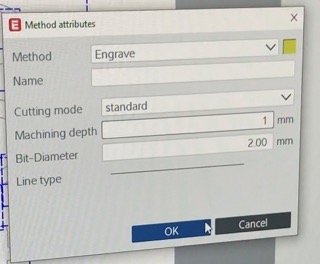
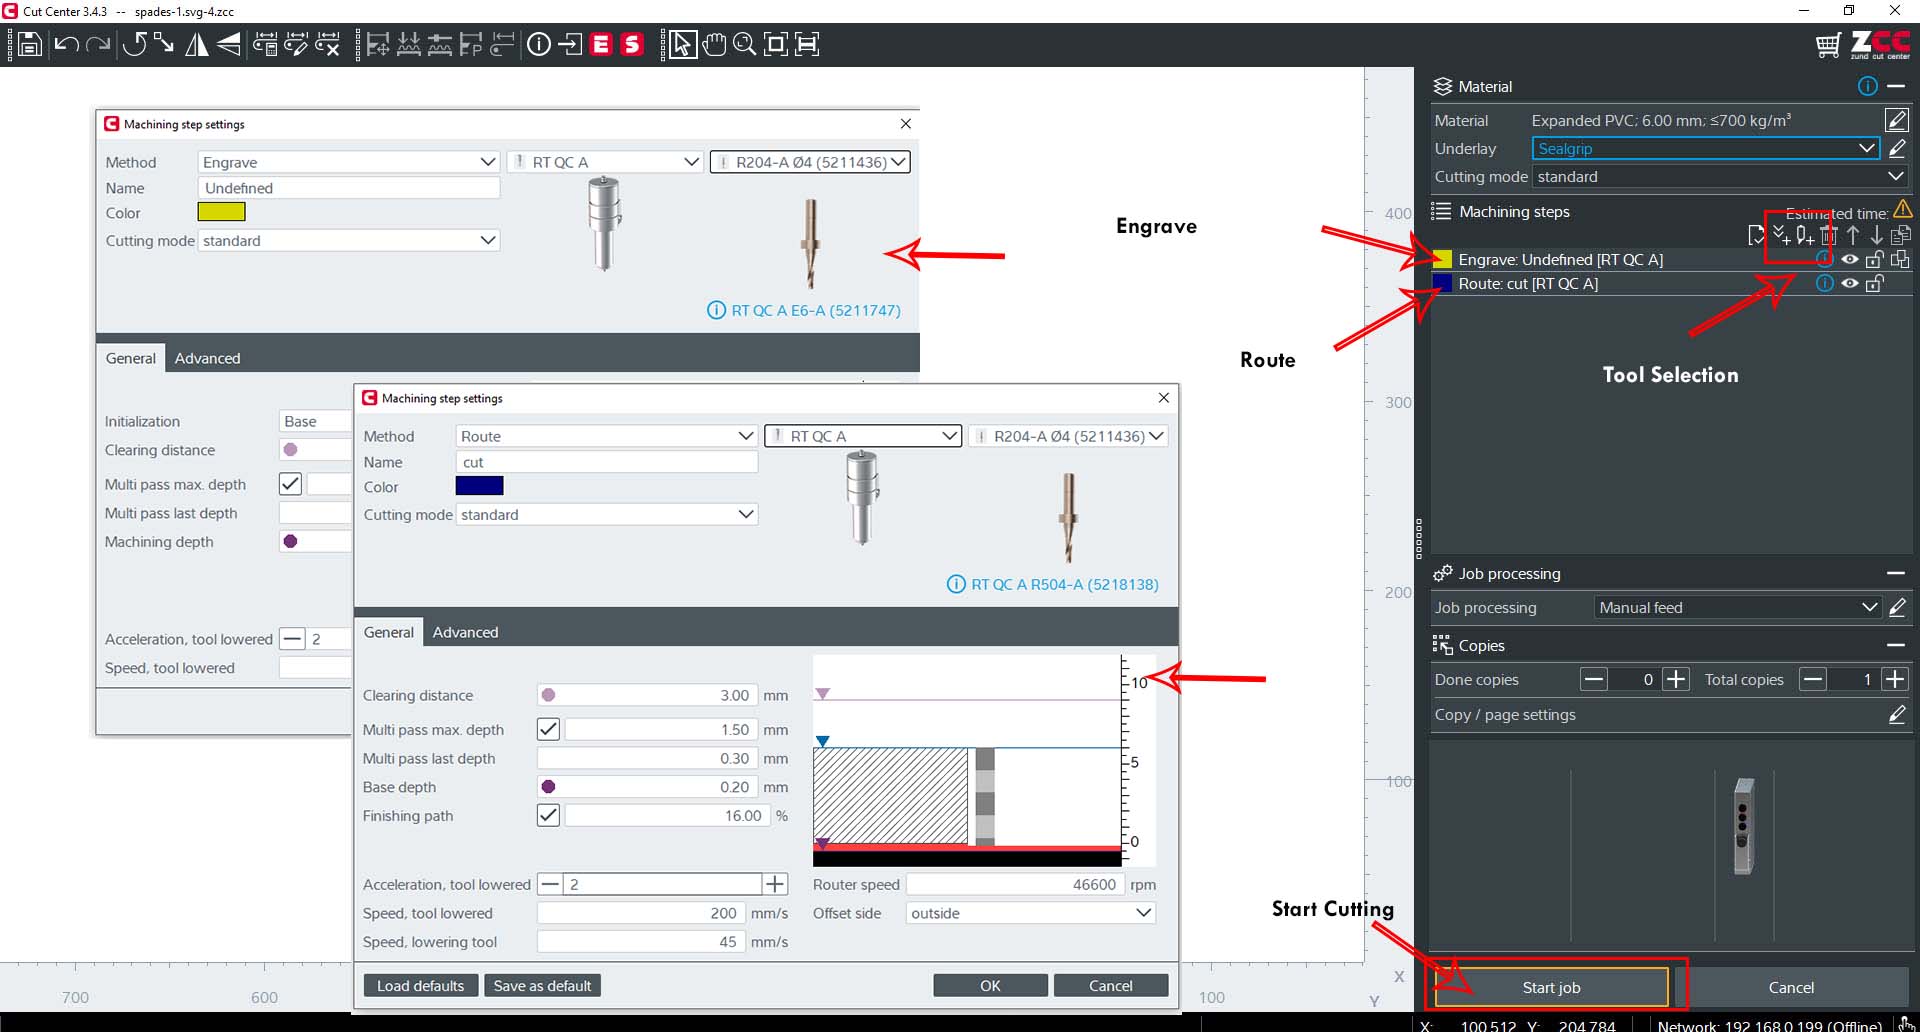
In Zund there are four softwares for manufacturing namely Cut server, Cut Editor, Cut Manager and Cut Queue.
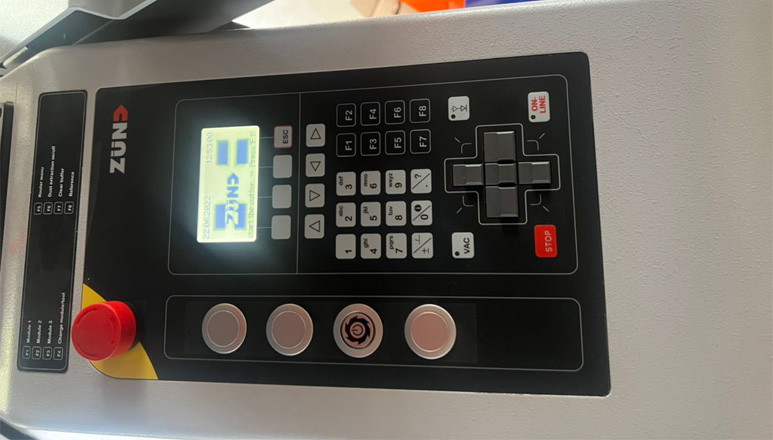
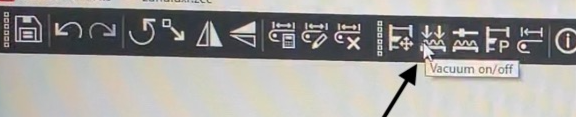
TO cut the design using Zund;
To cut the design, we need to carry out the following steps;


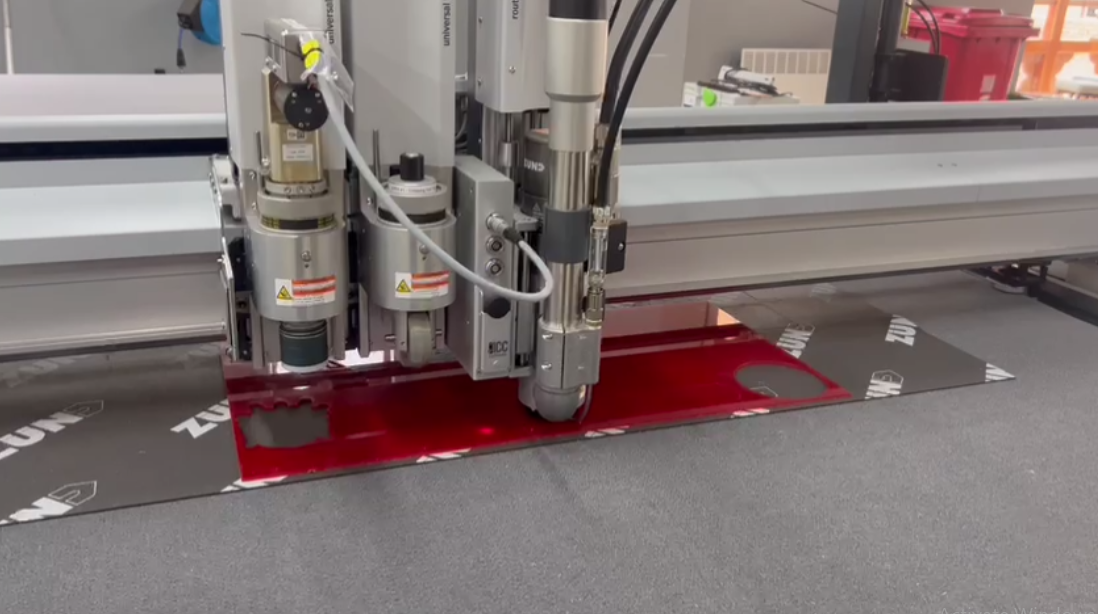
The machine cuts the design and the final product is as shown below.
Project Files