
Compter Aided Design
2D Raster Design
I am quite familiar with the raster design software Photoshop wereby I had been using for various purposes. However for the fabacademy, I would like to explore other design softwares. I tried with GIMP as an alternatives to the photoshop I use.
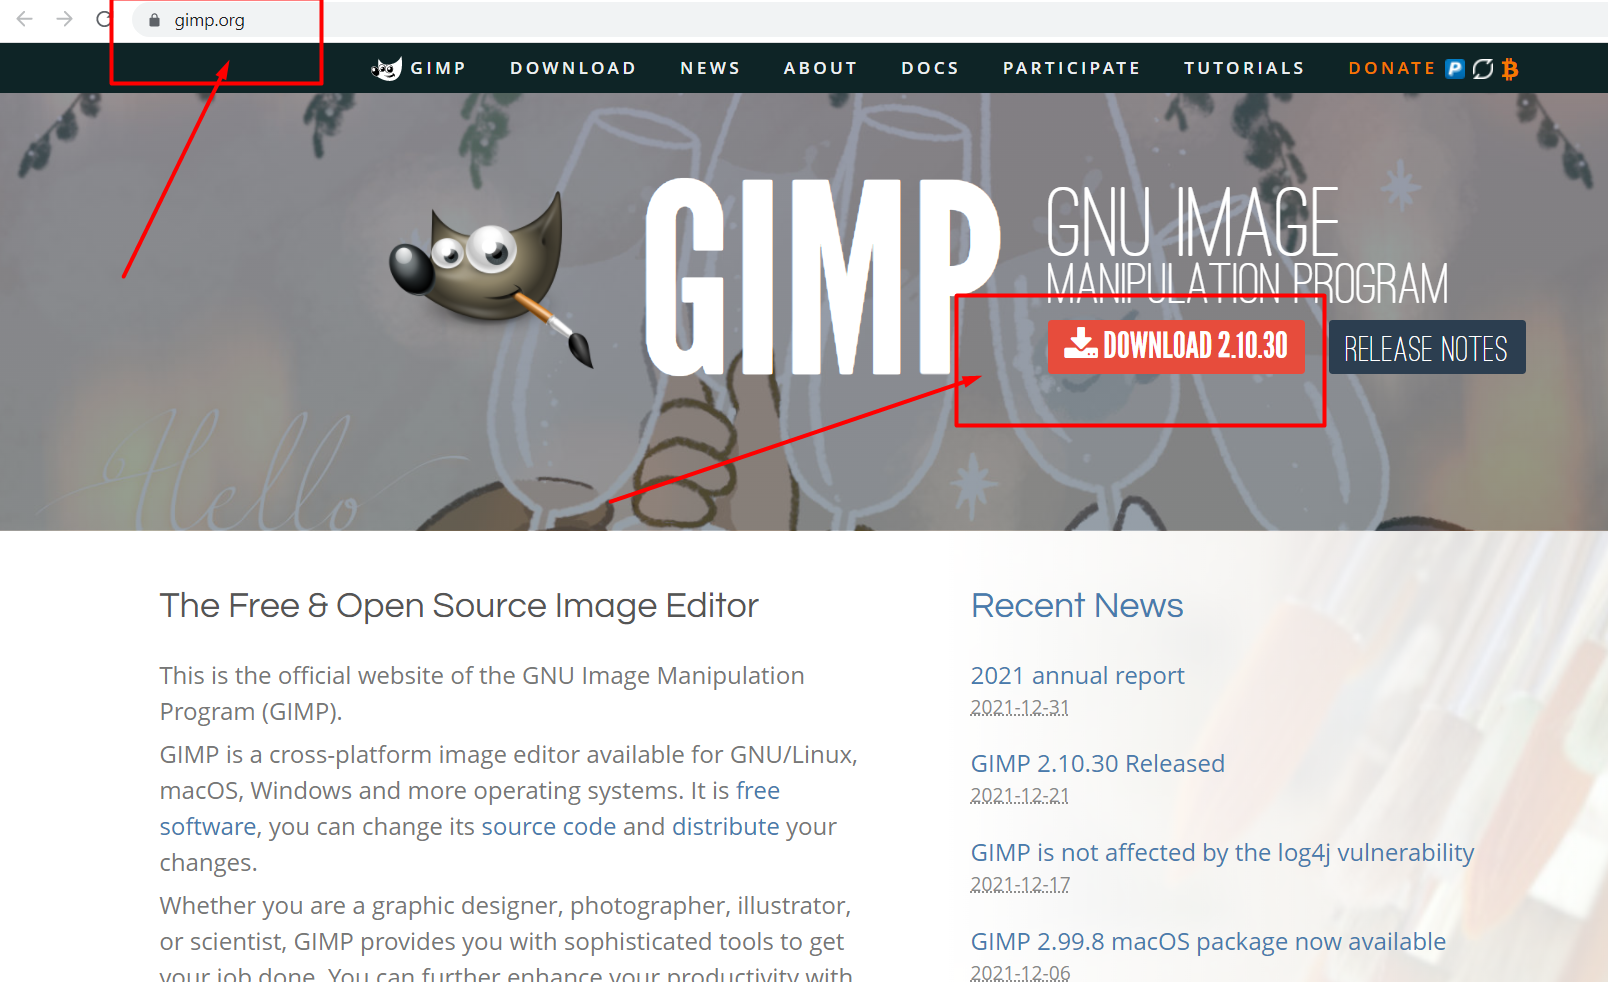
I downloaded the GIMP from GIMP.org
As soon as you open the GIMP with double click on the screen, the following Home Page is displayed.
According to wikipedia, "GIMP is a free and open-source raster graphics editor used for image
manipulation and image editing, free-form drawing, transcoding between different image file formats,
and more specialized tasks. It is not designed to be used for drawing". Therefore, GIMP is purely used for image manipulation and editing.
I am going to use GIMP to manipulate image sizes and to make some simple designs.
GIMP for Image Size Manipulation
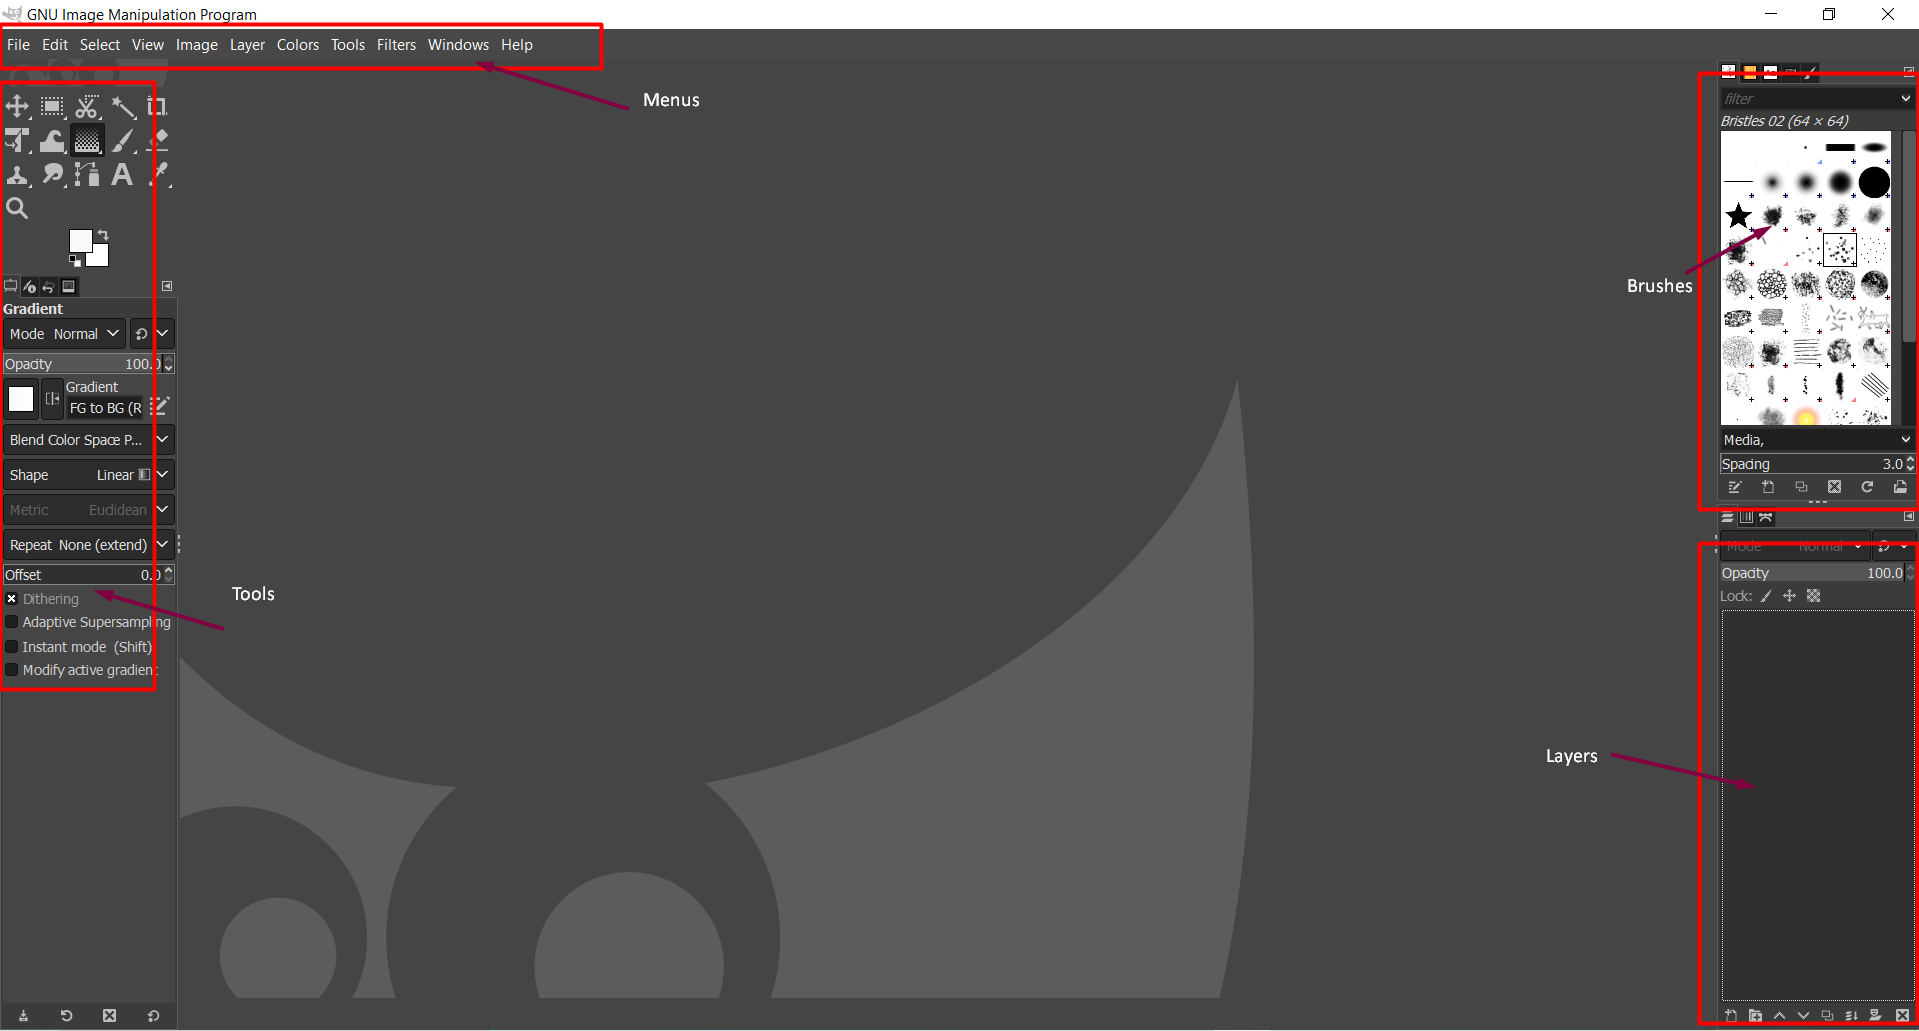
Documentation for fabacademy limits file sizes to be pused into the clouds. Therefore, the skills to resize and manipulate the images are very necessary. As a beginner for this software, I explored the menus with the photoshop menus. The functions are quite similar but there are also visible differences between the software.
In order to create a new file:
1. Click on the File menu.
2. There are several options. Click on
3. A "Create a New Image" windows will pop up, as shown in the picture below.
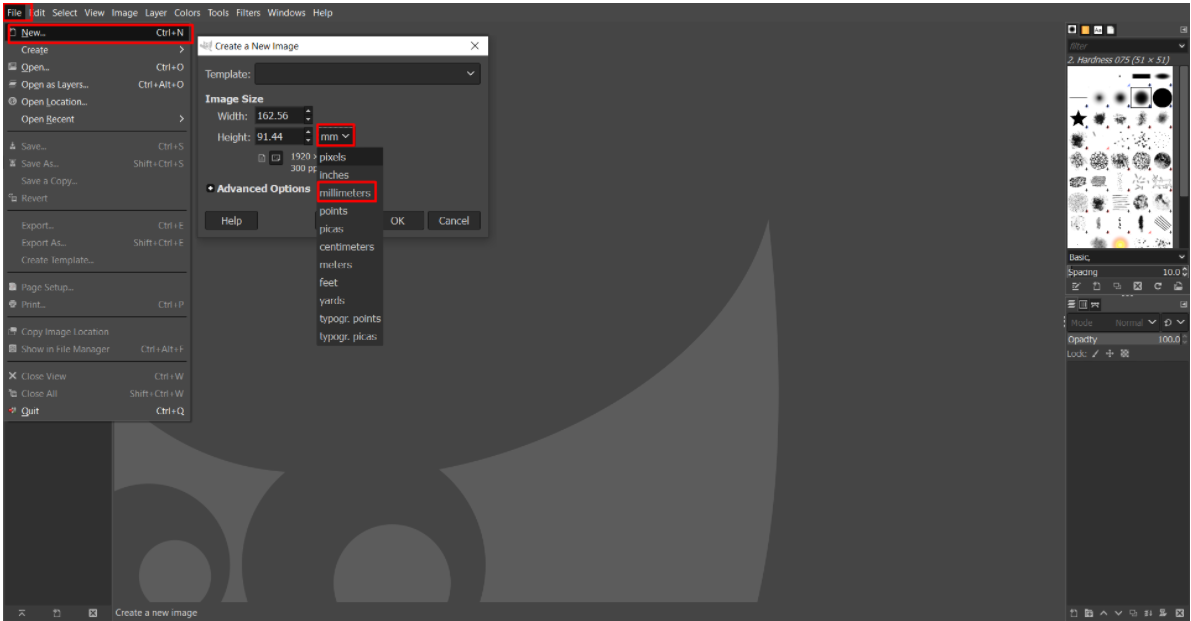 4. Set the units and image size as you wish. I am comfortable to work with "mm" as unit. I have set my image size as 400X400mm.
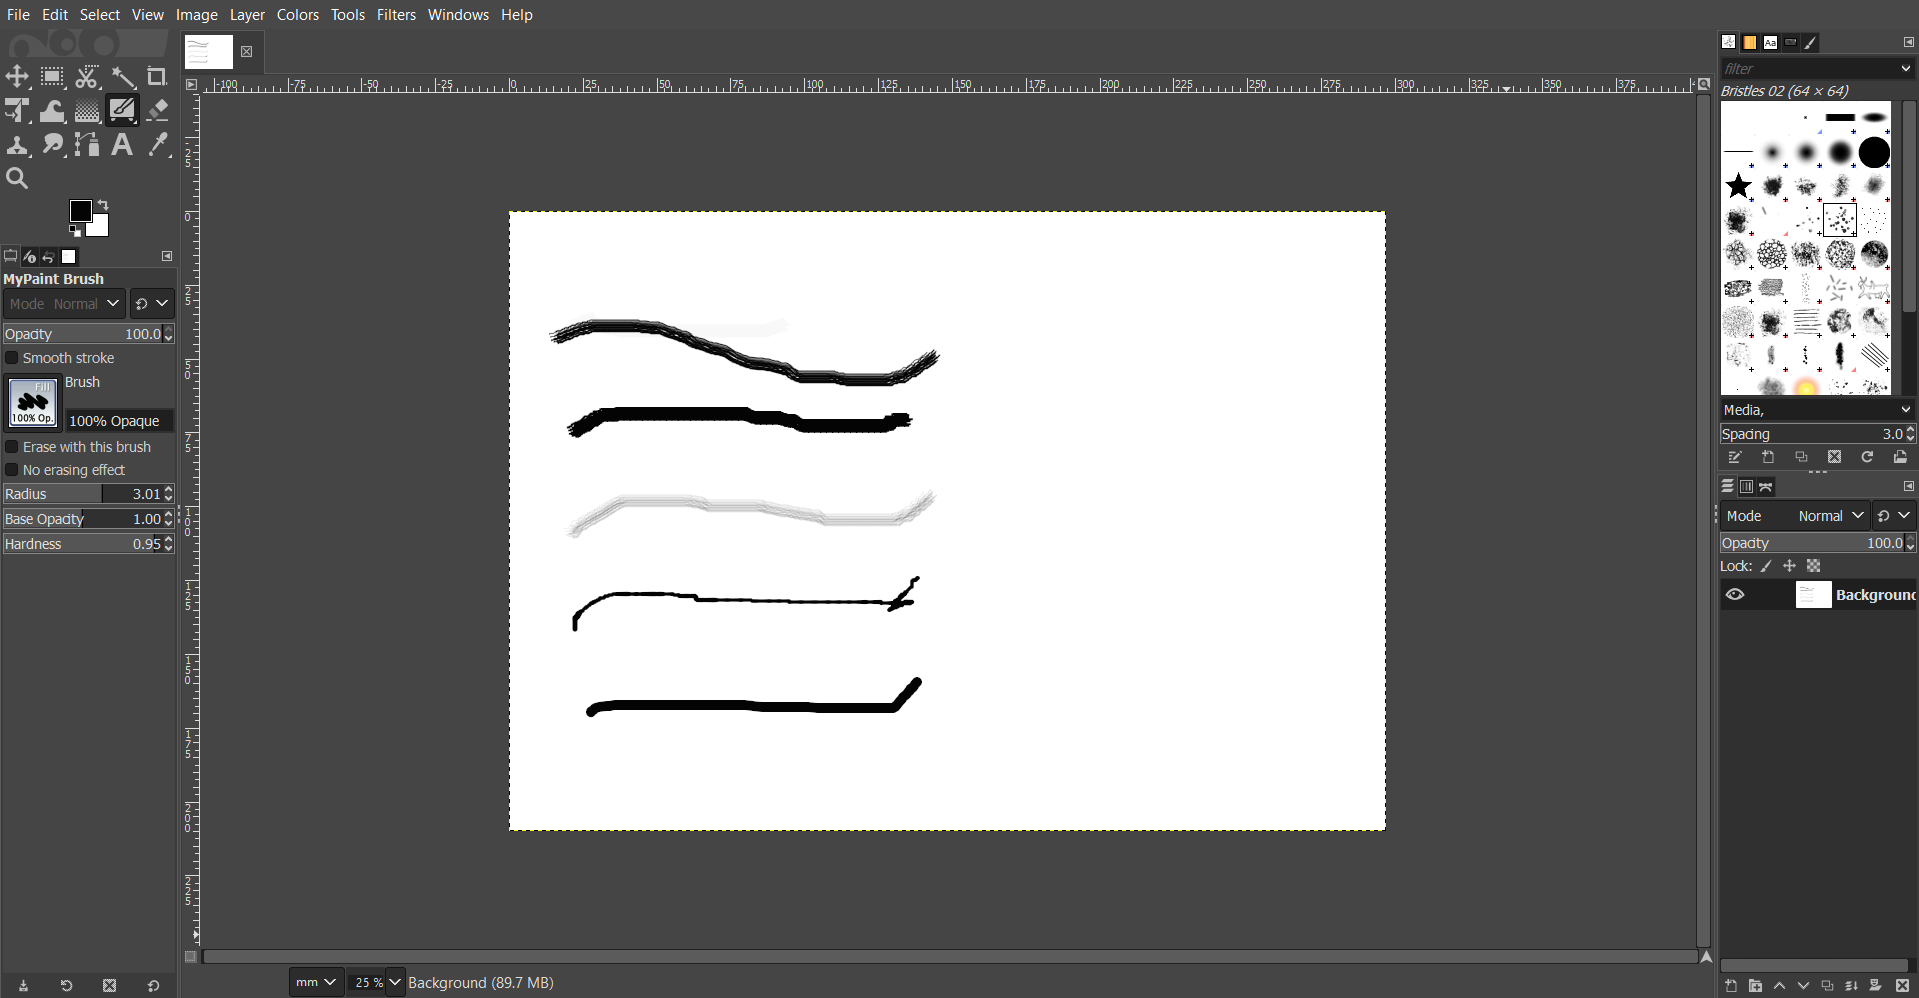
Follwoing windows will pop up with your set image sizes. I have tried to see the strokes of different brushes available as tools in the GIMP
4. Set the units and image size as you wish. I am comfortable to work with "mm" as unit. I have set my image size as 400X400mm.
Follwoing windows will pop up with your set image sizes. I have tried to see the strokes of different brushes available as tools in the GIMP
 In order to import multiple images on your file, Go to the "Files" tab and click on "Open as Layers..." Option. A windows to explore the lcoal
images from my computer pops up. With this window, I can select my image or images (If i want to stake my iamges into one file).
In order to import multiple images on your file, Go to the "Files" tab and click on "Open as Layers..." Option. A windows to explore the lcoal
images from my computer pops up. With this window, I can select my image or images (If i want to stake my iamges into one file).
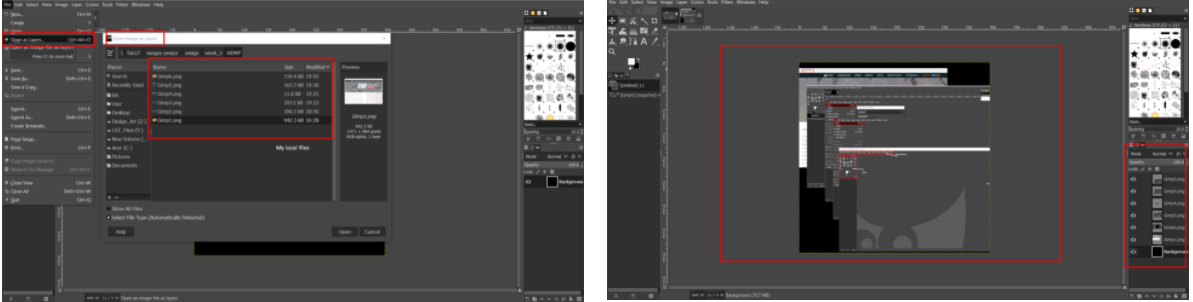 If you select multiple images, the images will be stacked in layers. Layers help you to organize multiple images. The layers in the lower level be shown
behind the layers in the upper levels and vice versa as shown in the image at the rightside above.
If you select multiple images, the images will be stacked in layers. Layers help you to organize multiple images. The layers in the lower level be shown
behind the layers in the upper levels and vice versa as shown in the image at the rightside above.
GIMP for Image Resizing
The GIMP is a very handy software with the concpet similar to the adobe photoshop. However, some tools like bruhes are much simplified and easy to
use. My reviews to earlier fabacademy seniors have seen that it is primarily used for image re-sacling. Meaning, it is used for making the image size
bigger or smaller according to our needs.
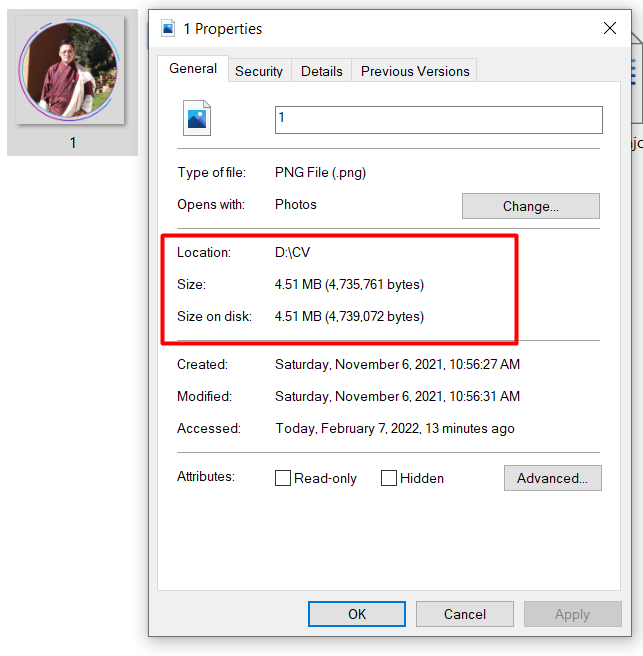
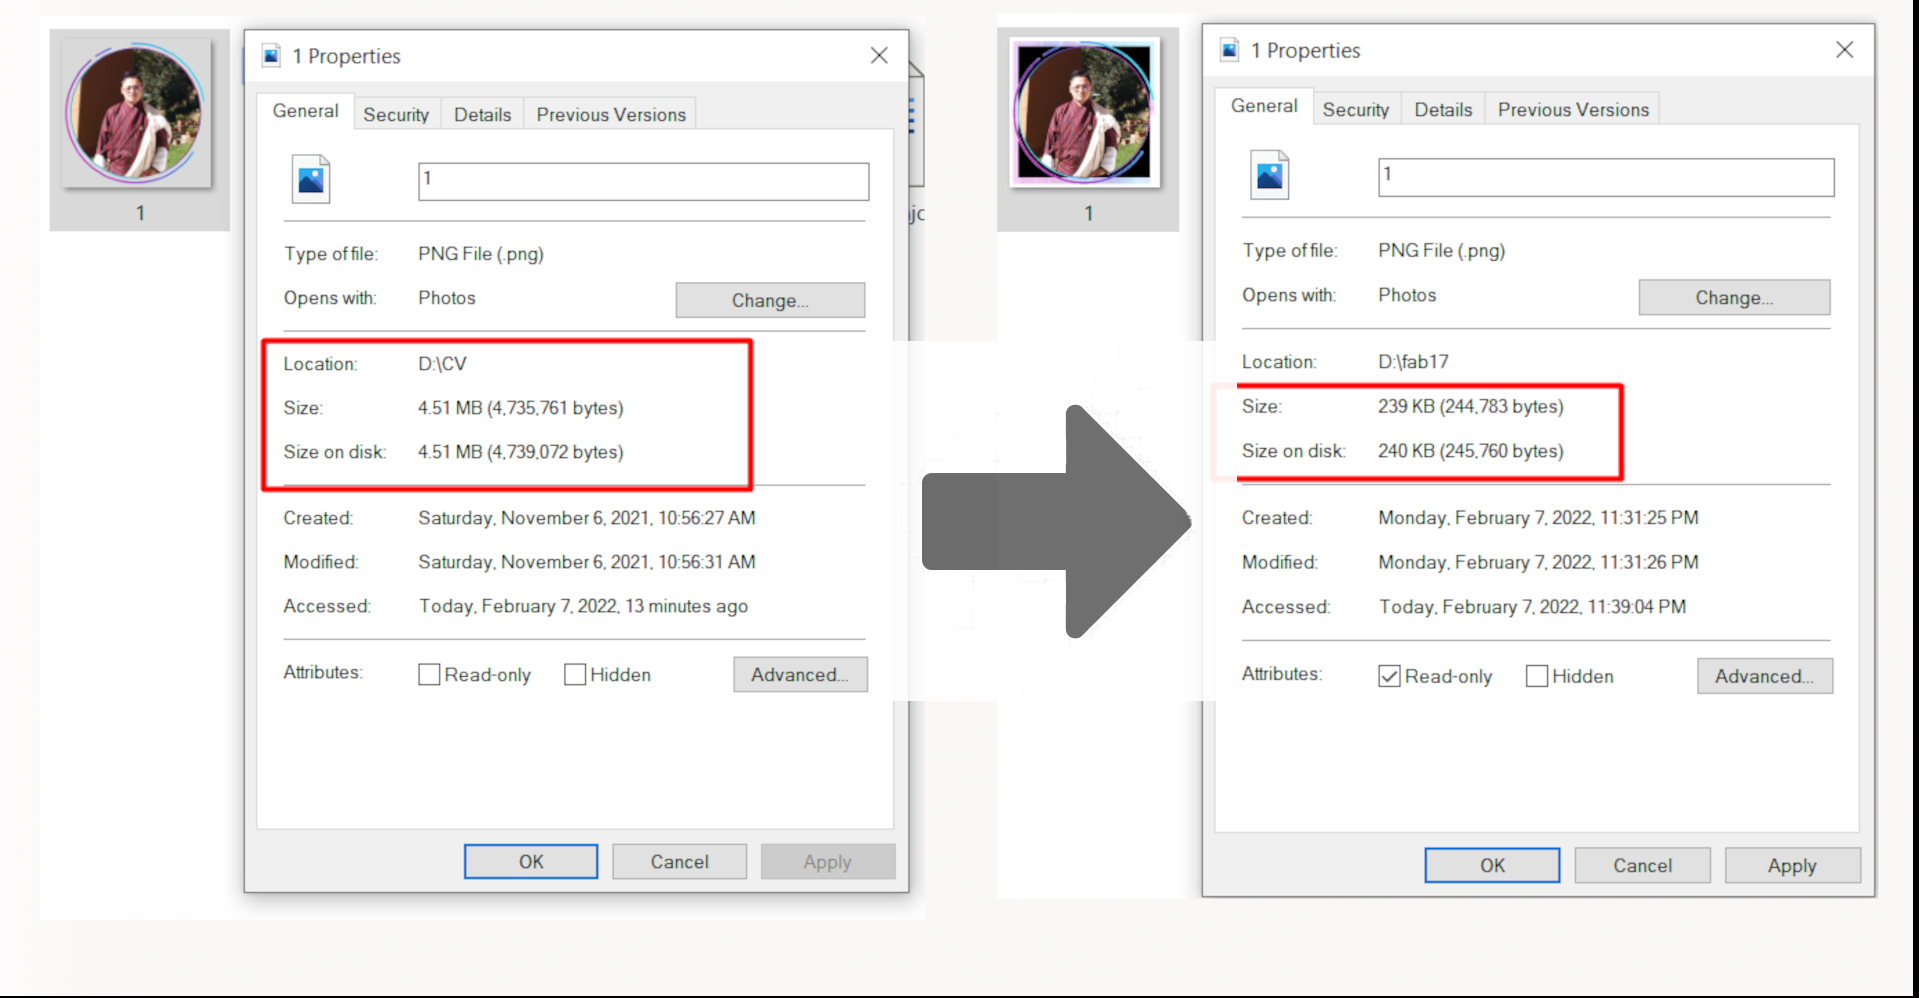
I have my photo which is 4.51mb in file size which is quite large for a photo to be uoloaded to the website.
I will resize it and make it in kbs. The following steps are followed to resize my image.
1. Open my file in GIMP by clicking on the "File" menu and click on the "Open" option (or press Ctrl+O)
2. The file will be opened after selecting the location of the file and clicking on the desired file.
3. Then click on the "Image" menu and select the resize option "Scale Image". A "scale" image windows pop up as shown below:
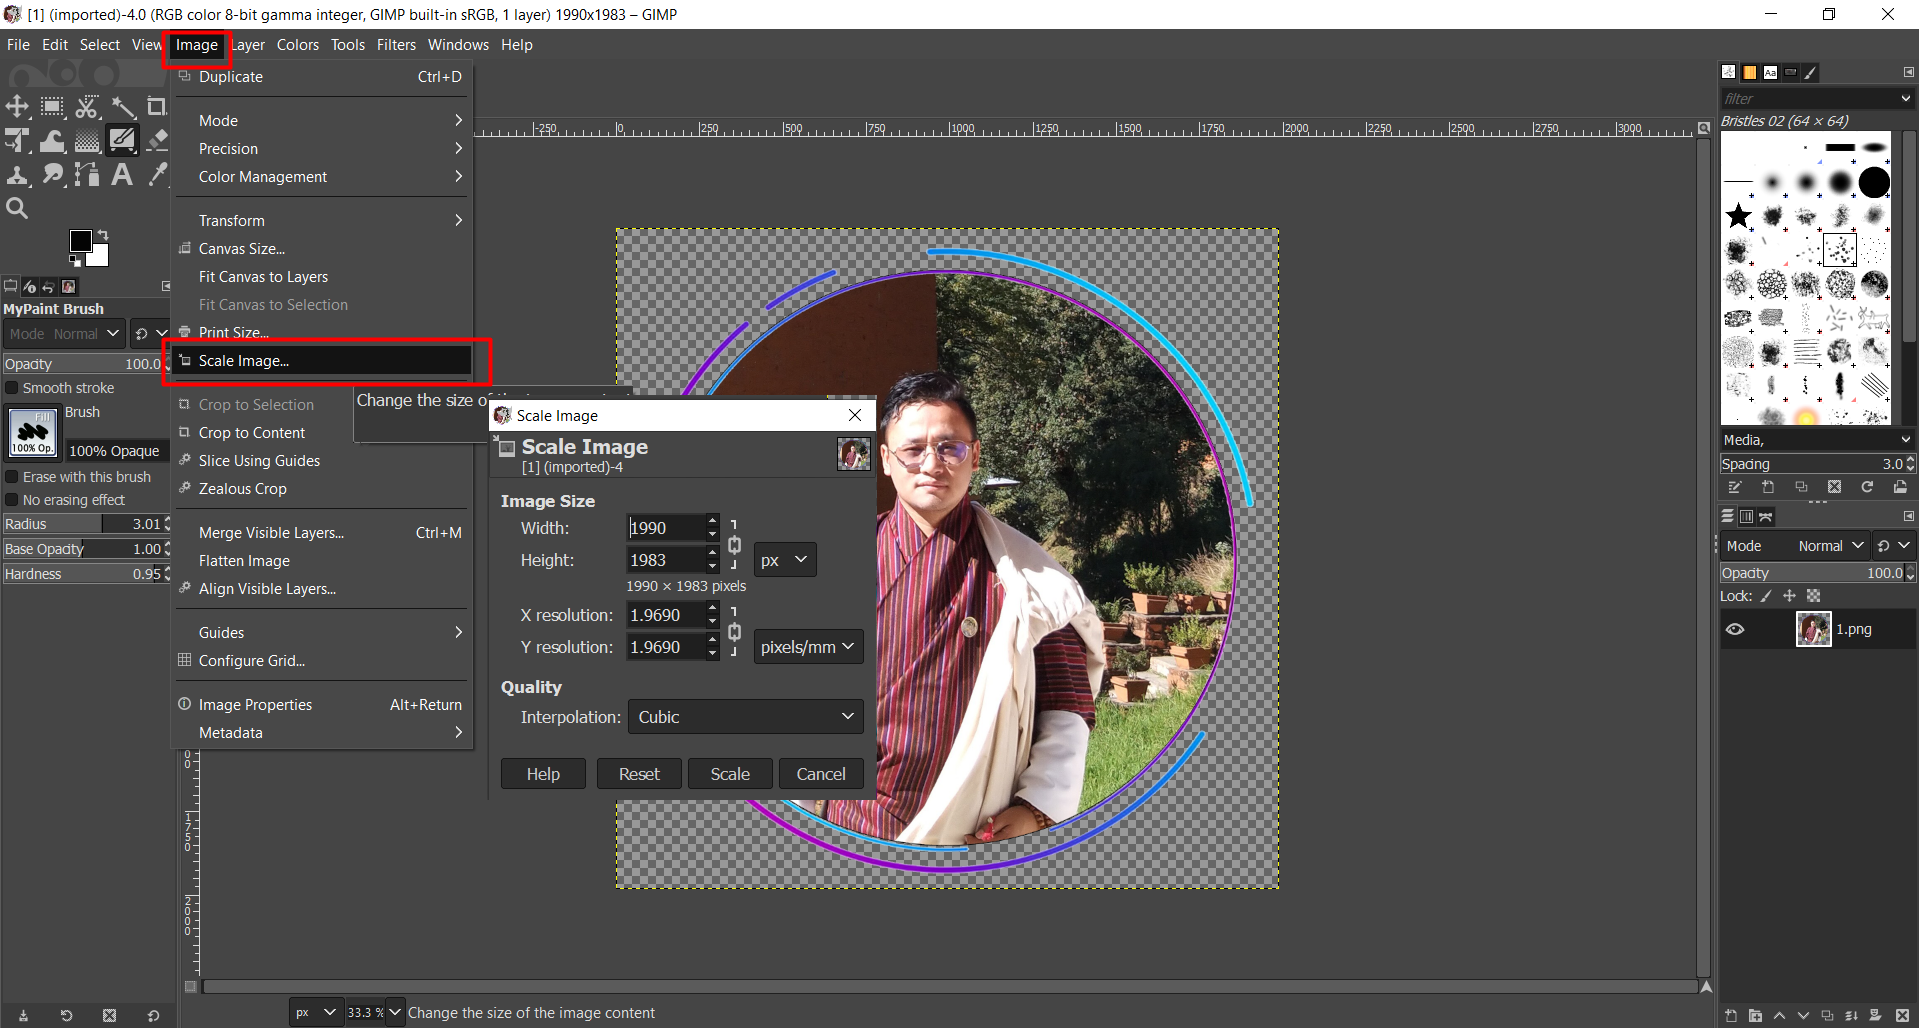 4. Give a image size value with the units you are familiar with. And press on "Resize" Option. (I changed my image size from 400X400mm to 250mmX249mm)
5. Check the resolution of the images and if you are okay with it Export it by clicking on the "File" and choose export option.
6. Choose a desired location and click on "Export". A Export windows will pop up. Check the parameters and click on Export after giving a name.
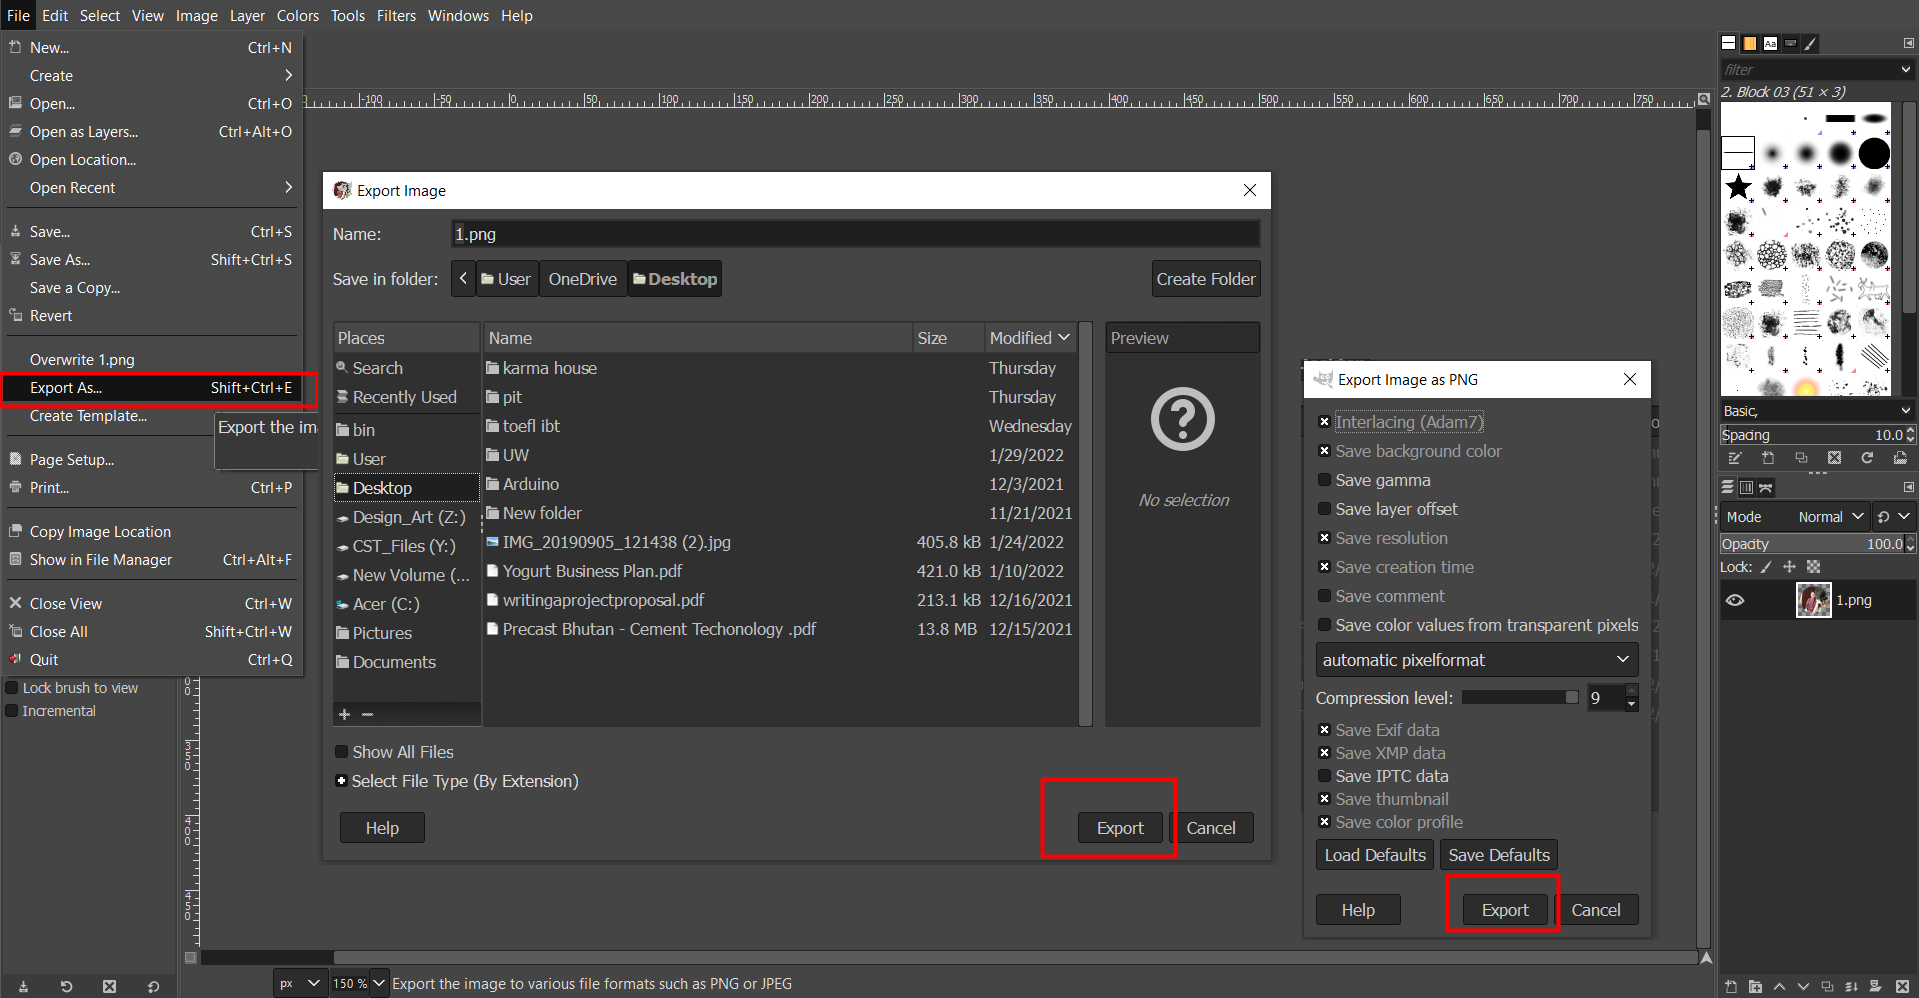
Finally, you can see that my image size has been reduced to 240 kb after this manipulation. GIMP can also be used to edit the images just like the photoshop.
Other reliable tools that can be used to resize the images are the default windows 10 Photo viewer and XnConvert. XnConvert can be very useful in case of resizing a batch or multiple files at the same time. It can be downloaded from here Visit XnConvert.
2D Vector Design
Several 2D Vector Design sofware are recommended by the fabacademy. However, with the instruction from the local instructor, I decided to explore the Inkscape and Corel draw. However, Corel Draw is a commercial software.
Inskcape
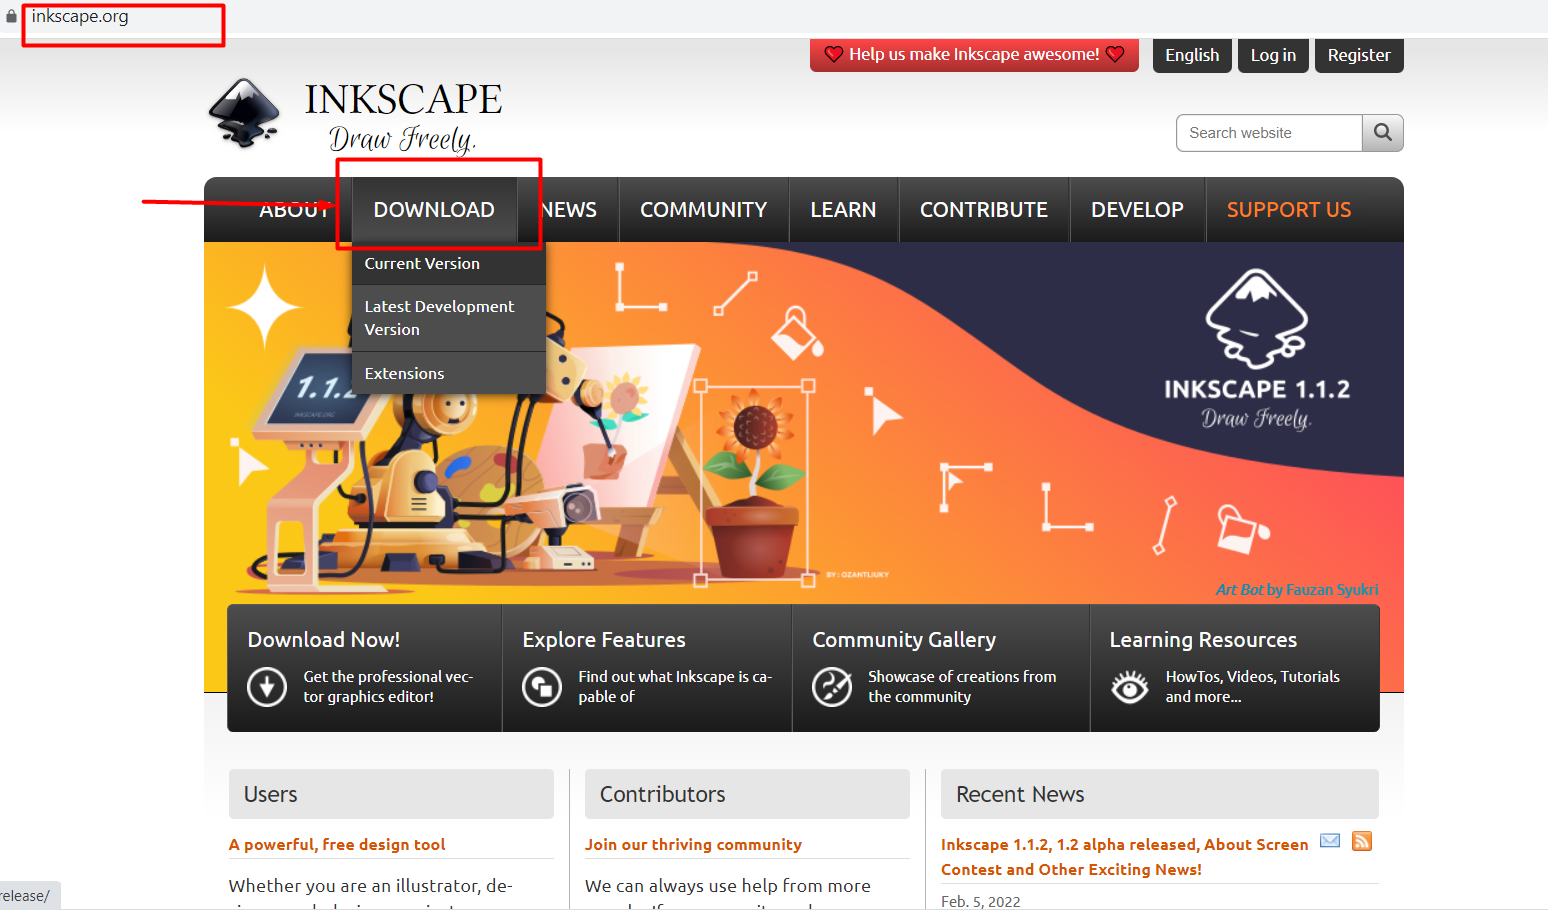
The official website for Inkscape is https://inkscape.org/
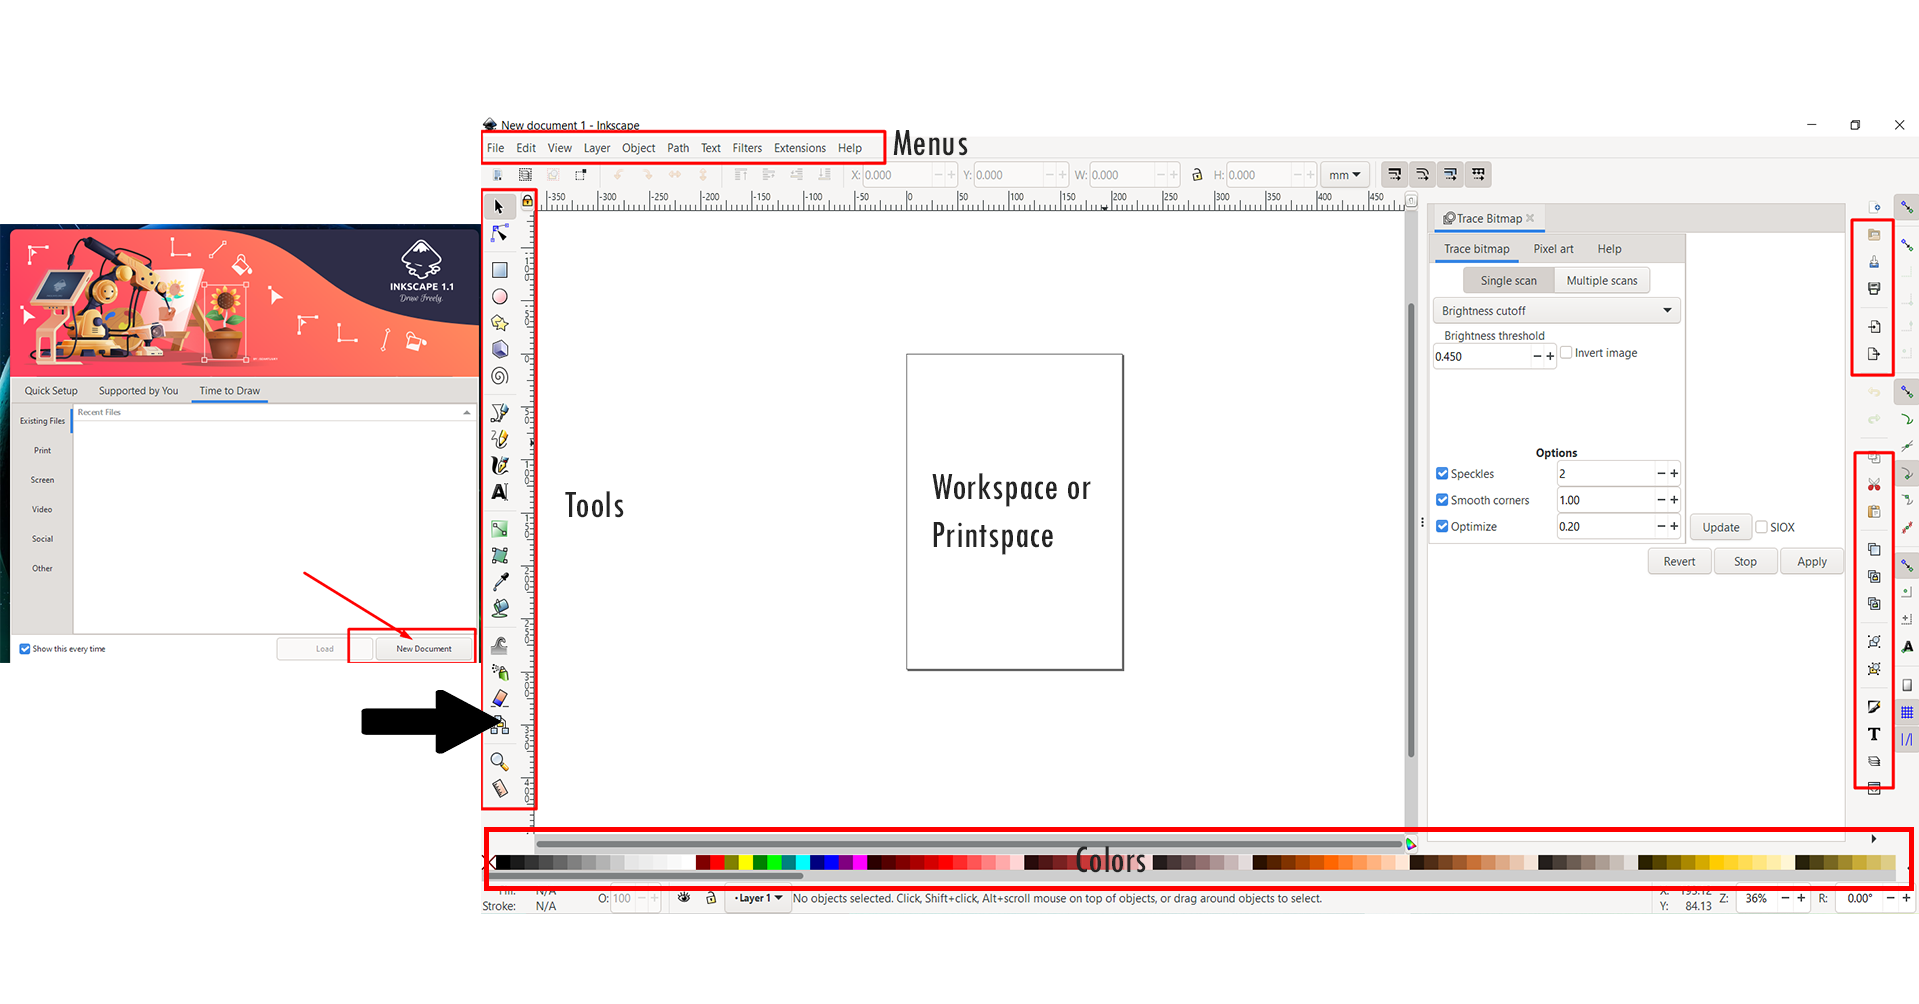
I have not really worked with Inkscape. Therefore, I preferred to use YouTube tutorials for the lessons. However, Inkscape has been giving error problem in my
computer. Therefore, I had been able to try only basic tools for this software. Following homepage displayed while launching Inkscape.
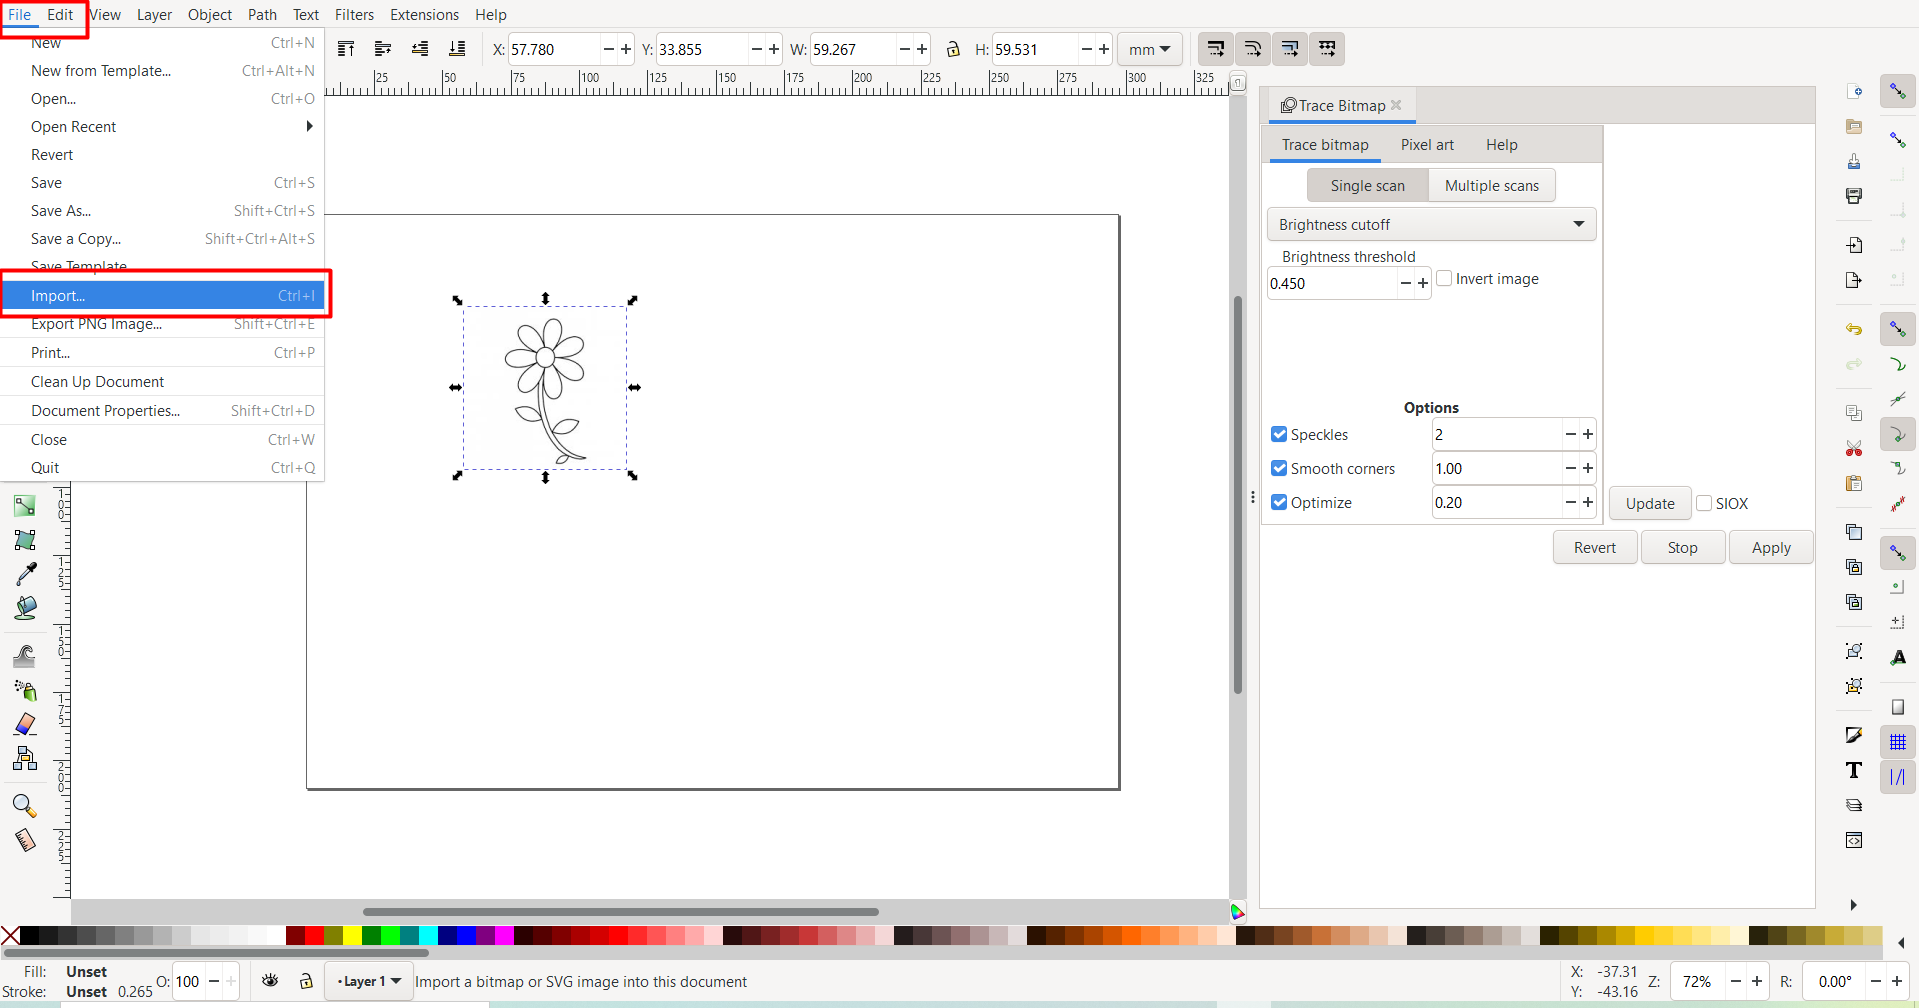
As a practice, I imported a image of a flowe that I downloaded from here
3D Design: Fusion360
For fabacademy, we were granted education license for fusion360 by the fab foundation. Therefore, I decided to try fusion360. I am quite familiar with
Google Sketchup but it has a lot limitations. It is quite difficult to model products in google sketchup, however, so many plugins are available.
Therefore, for this course, I am going to learn Fusion360. I have installed fusion360 from
here.
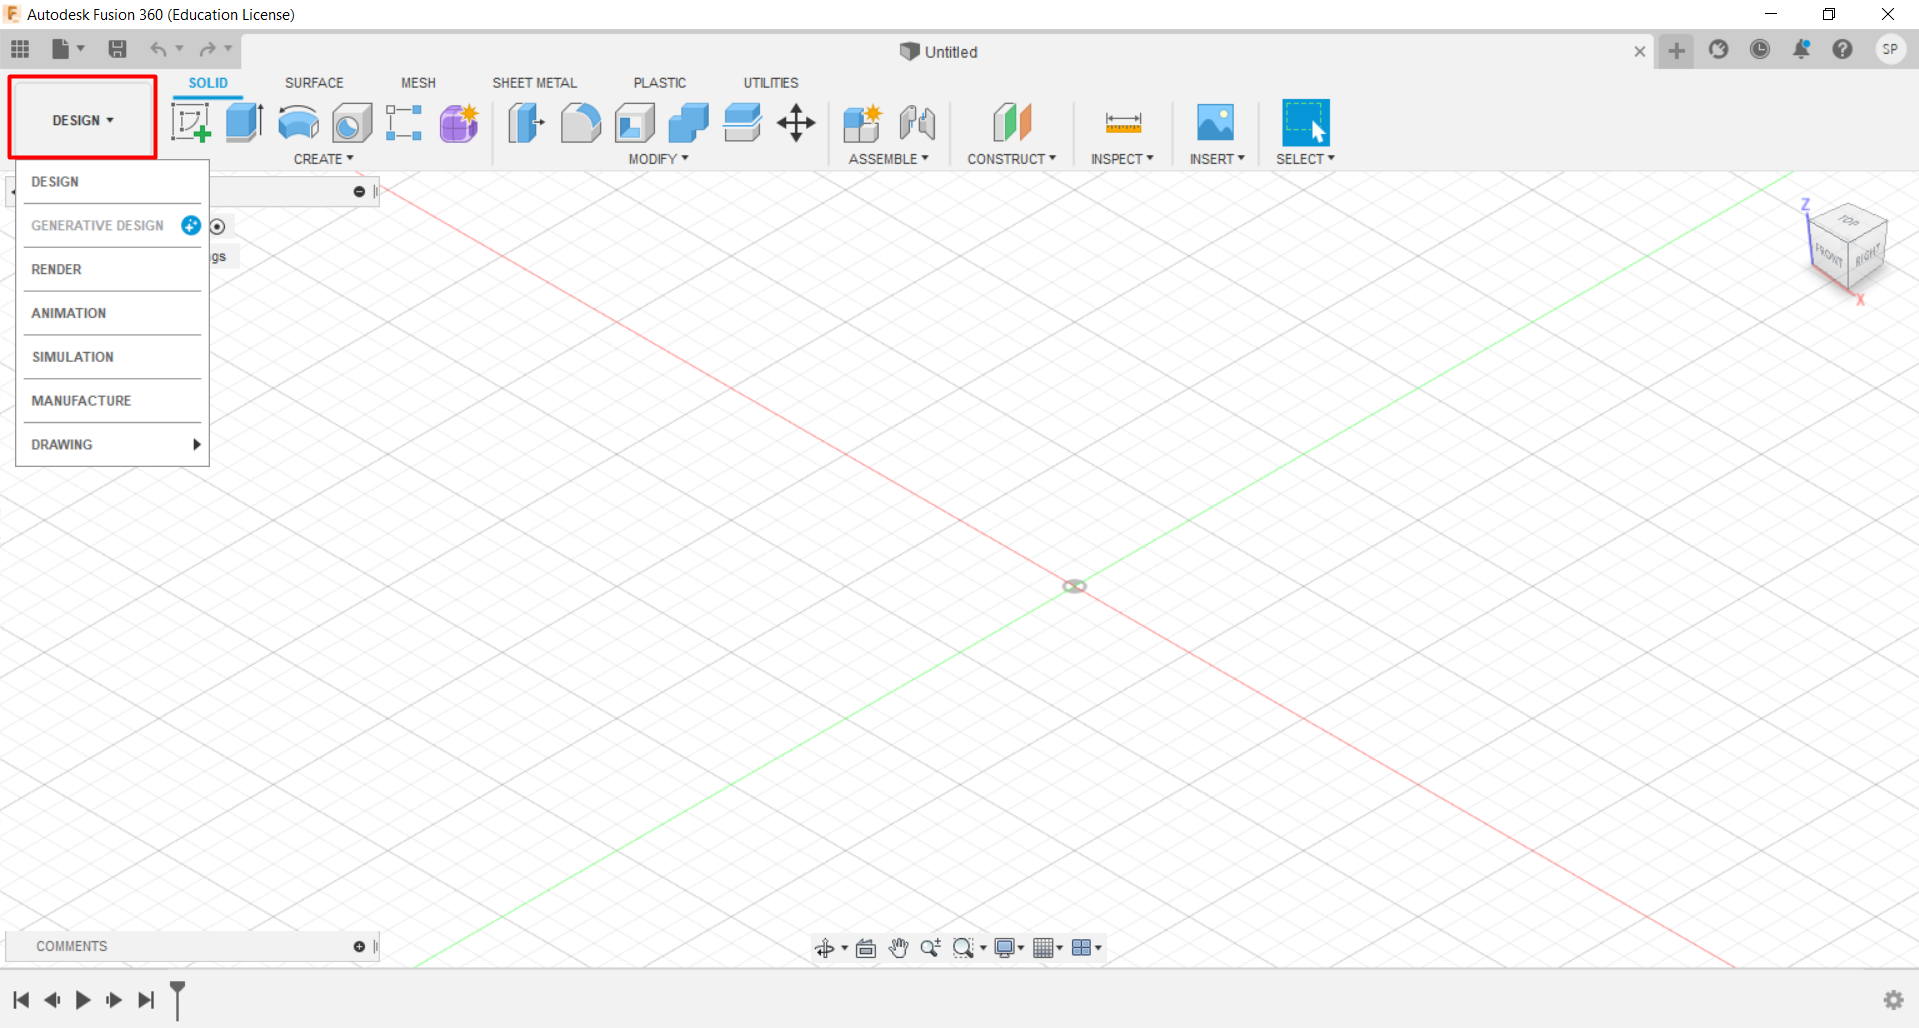
Several options can be viewed as soon as you launch fusion360 as shown below: Basically, it has Design, Render, Simulation, Animation, Manufacture
and drawing functions.
I am going to try out a simple modeling of a car with the guidance from Mr. Take, my fab guru. I also checked out some tutorials for beginners
from YouTube by Lars Christensen
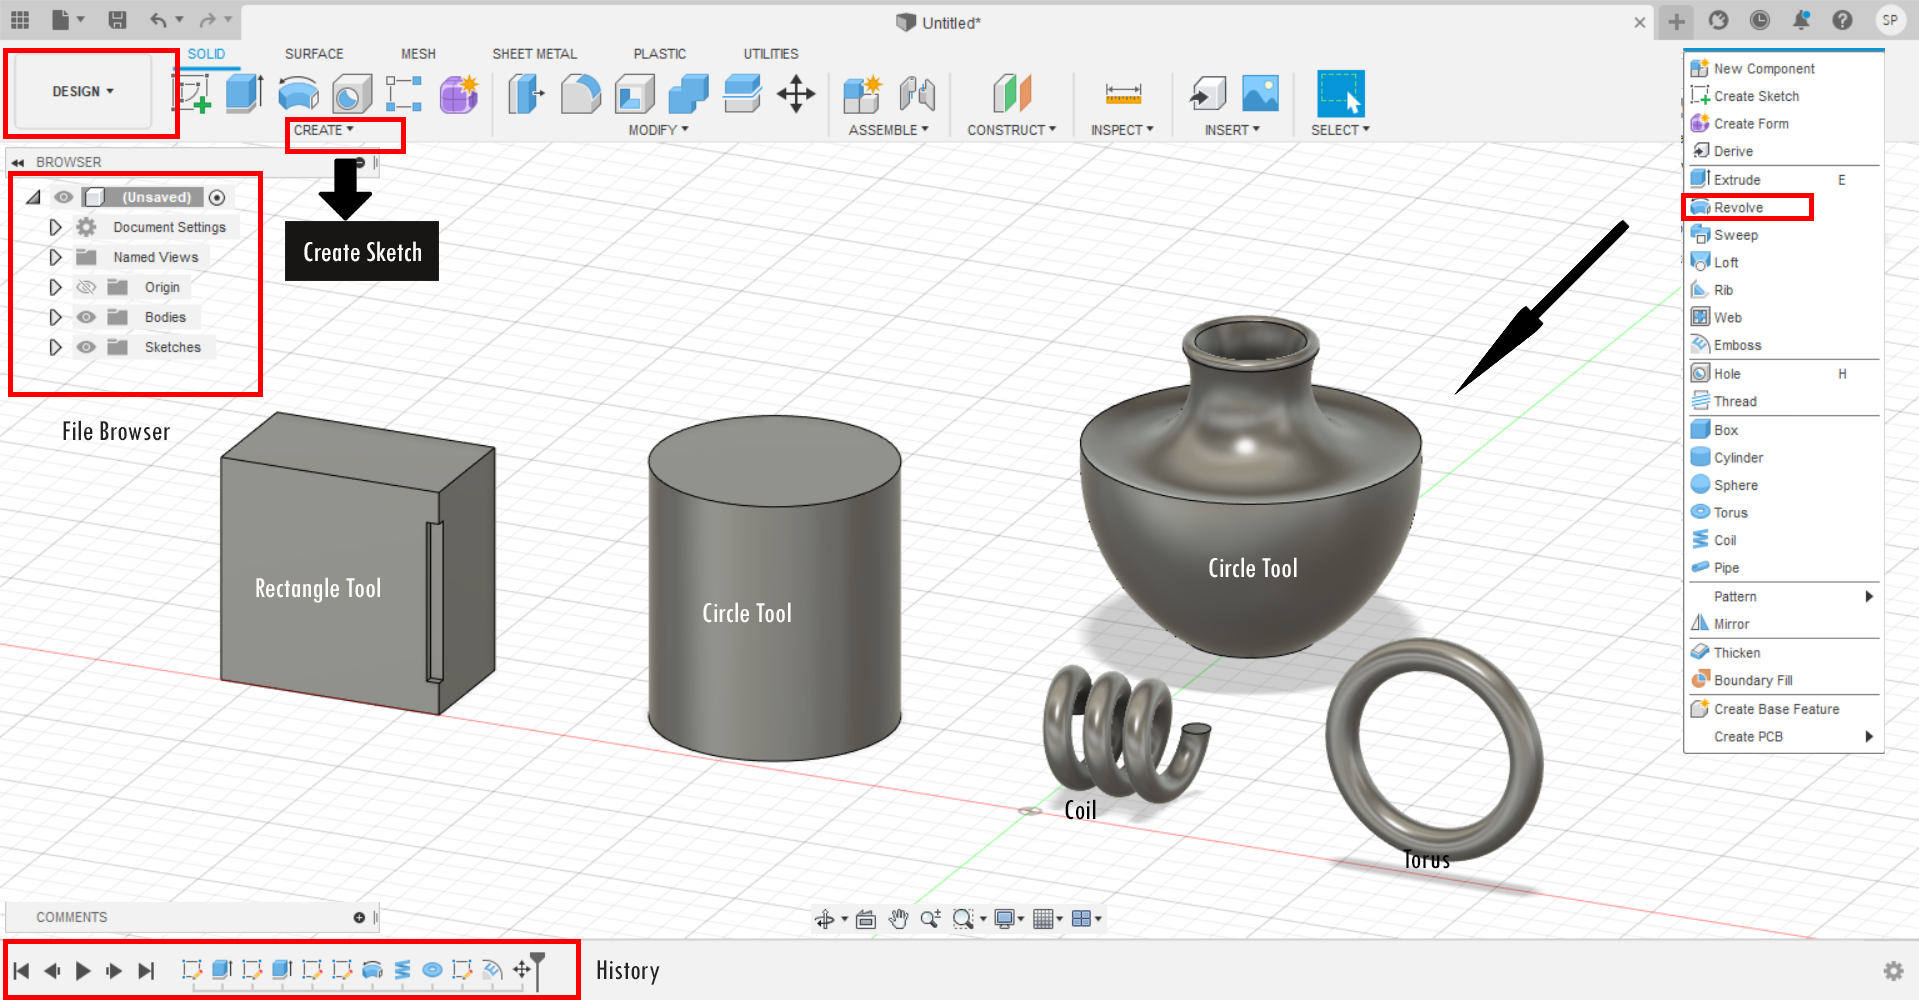
In order to create a 3D design, first you need to select the Design Option from the dropdown menu. Then, under solid menu, choose create.
An option to choose a plane will be displayed. I chose XY plane. Several options are available for each tools as shown below:
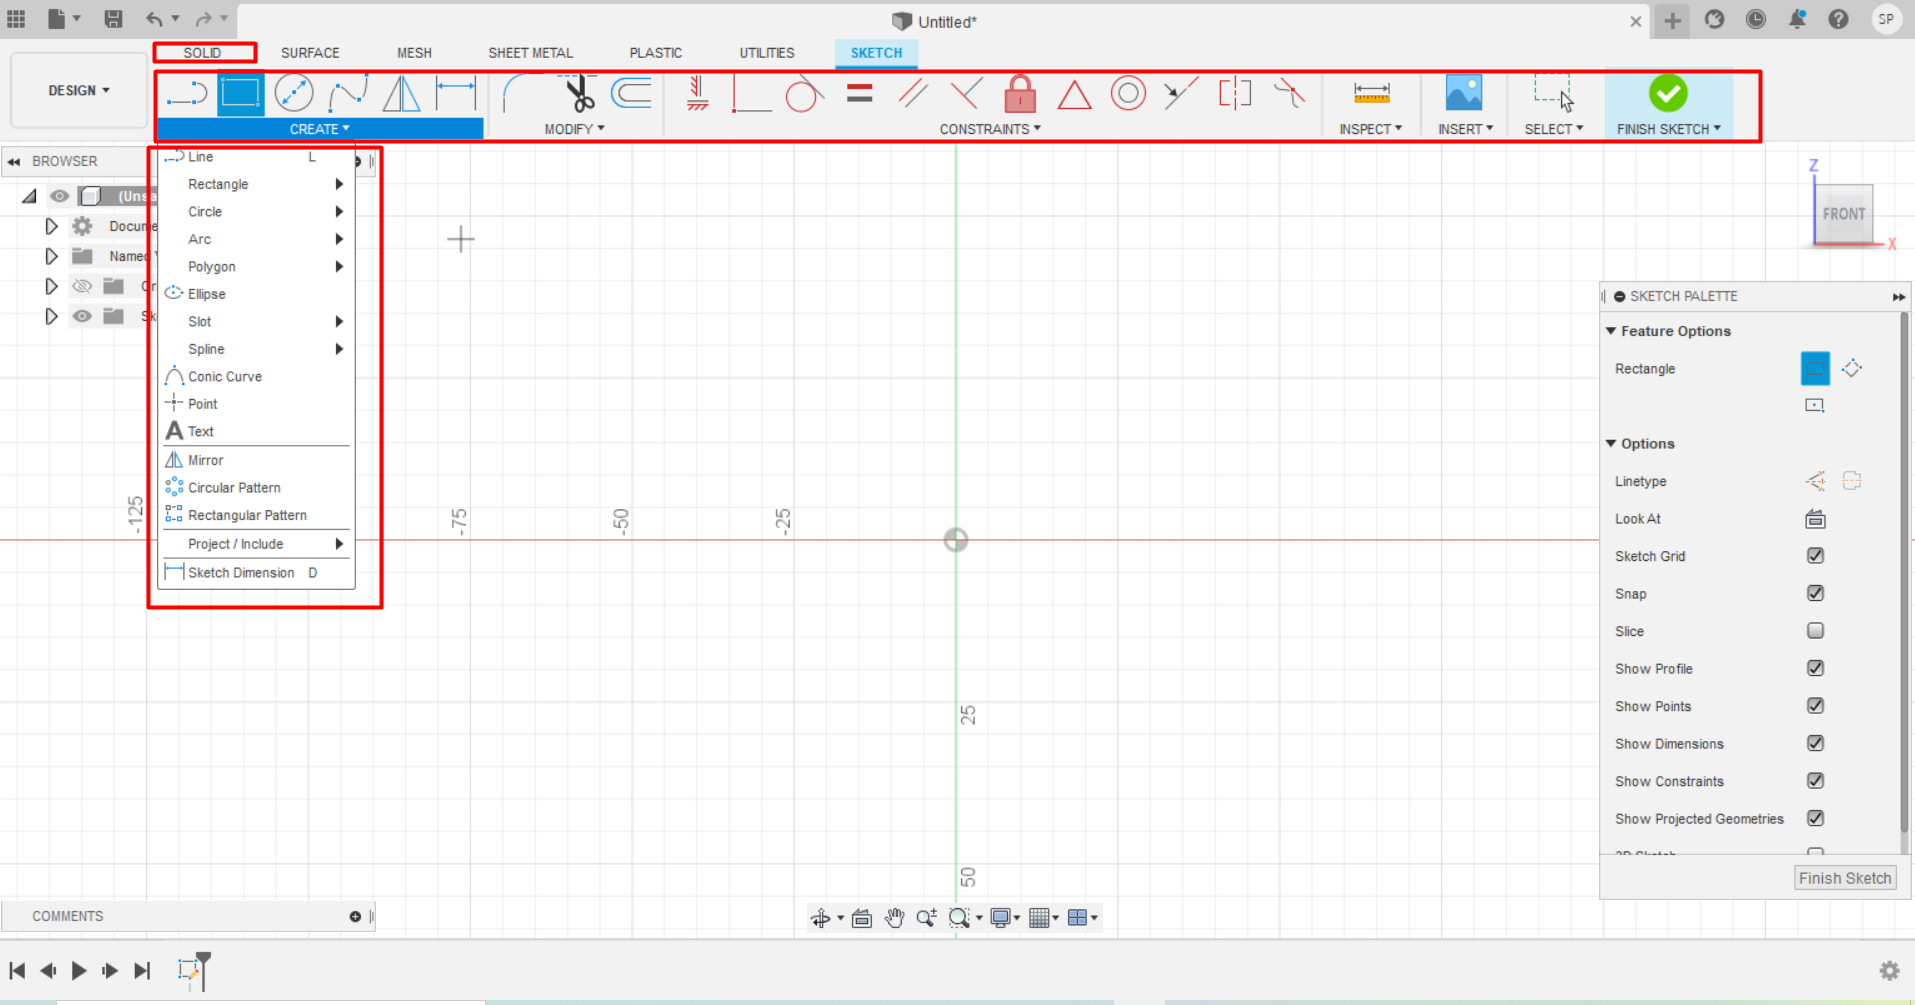 I tried some tools avaliable to create 3D model from basic sketches. Unlike the sketchup that I am familiar with, it has an inbuilt tools which
are really cool and interesting.
I tried some tools avaliable to create 3D model from basic sketches. Unlike the sketchup that I am familiar with, it has an inbuilt tools which
are really cool and interesting.
Parametric Design: Fusion360
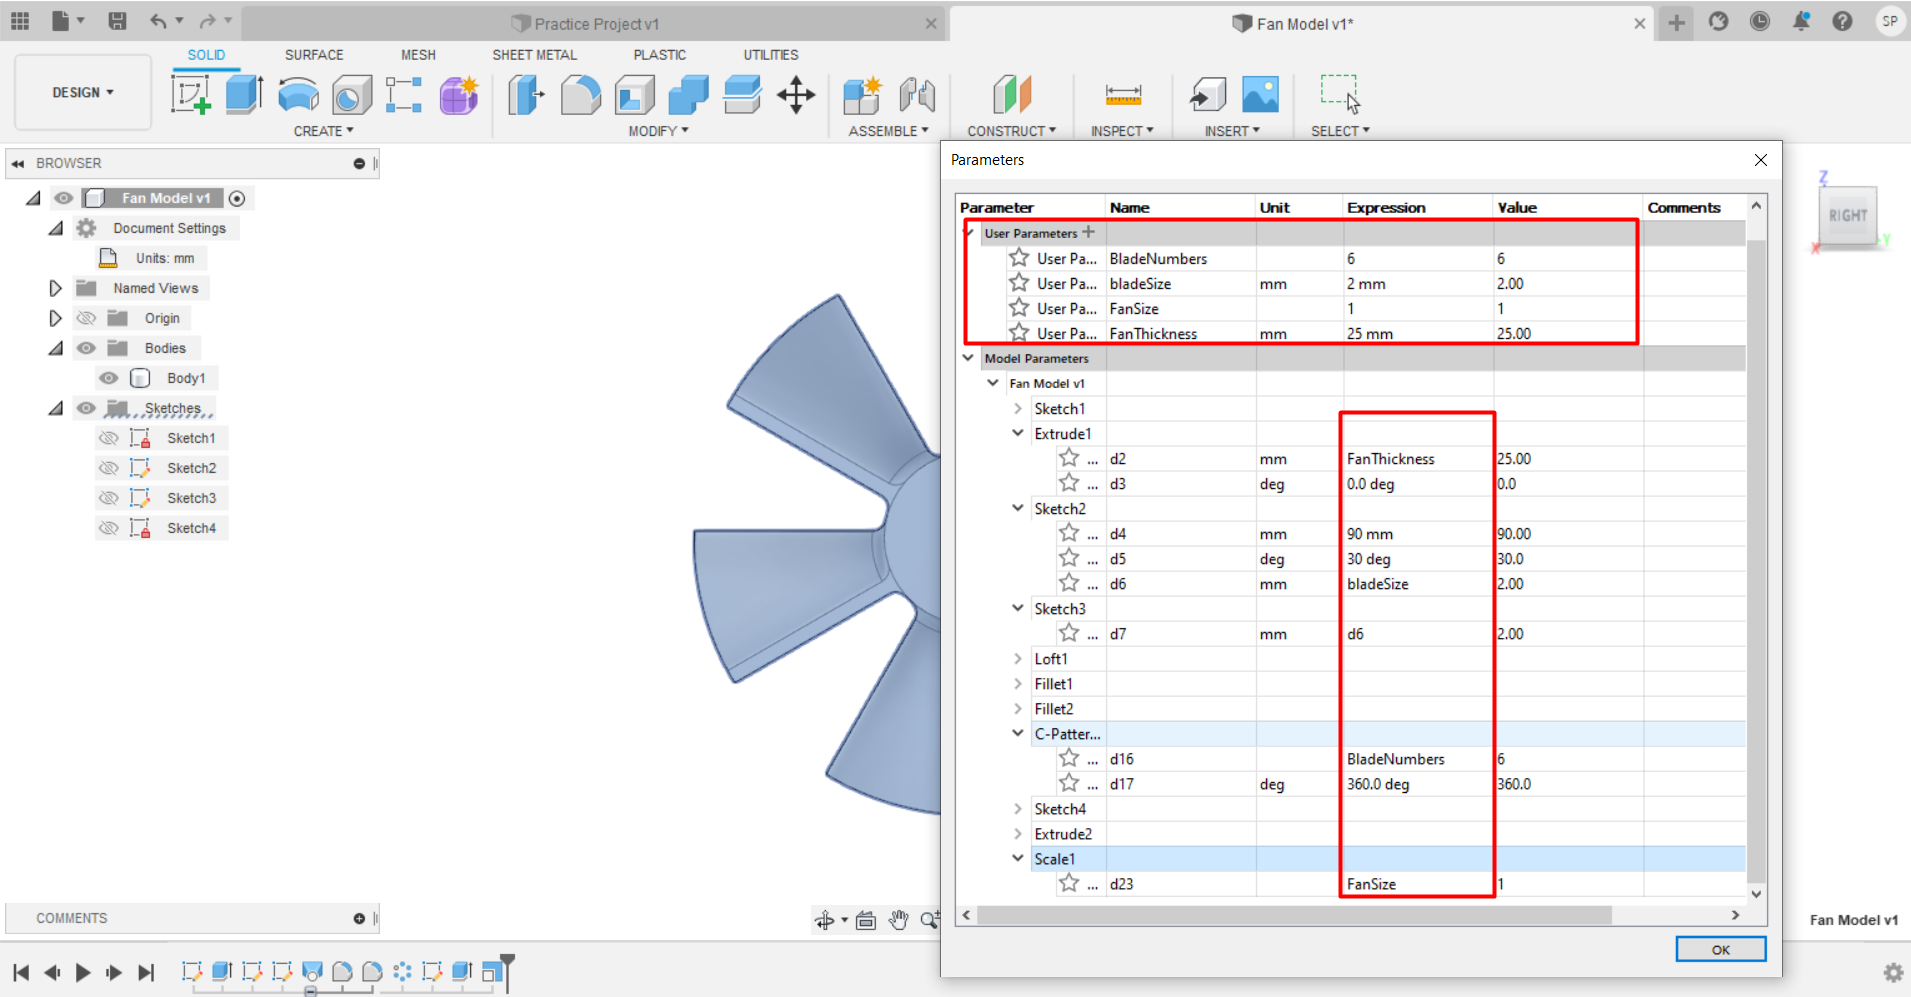
Since the parametric design is one of the main requirements for this assignment, I learned to make the parametric designs with Fusion360.
In order to do that, I referred several tutorials from the YouTube, however, I tried with Lars Christensen for his tutorials to model a fan blade.
From the basic sketch of circles, I followed his tutorials and modeled a fan-blade. After that, to make the designs parametric, I used change parameter options
from the MODIFY dropdown.
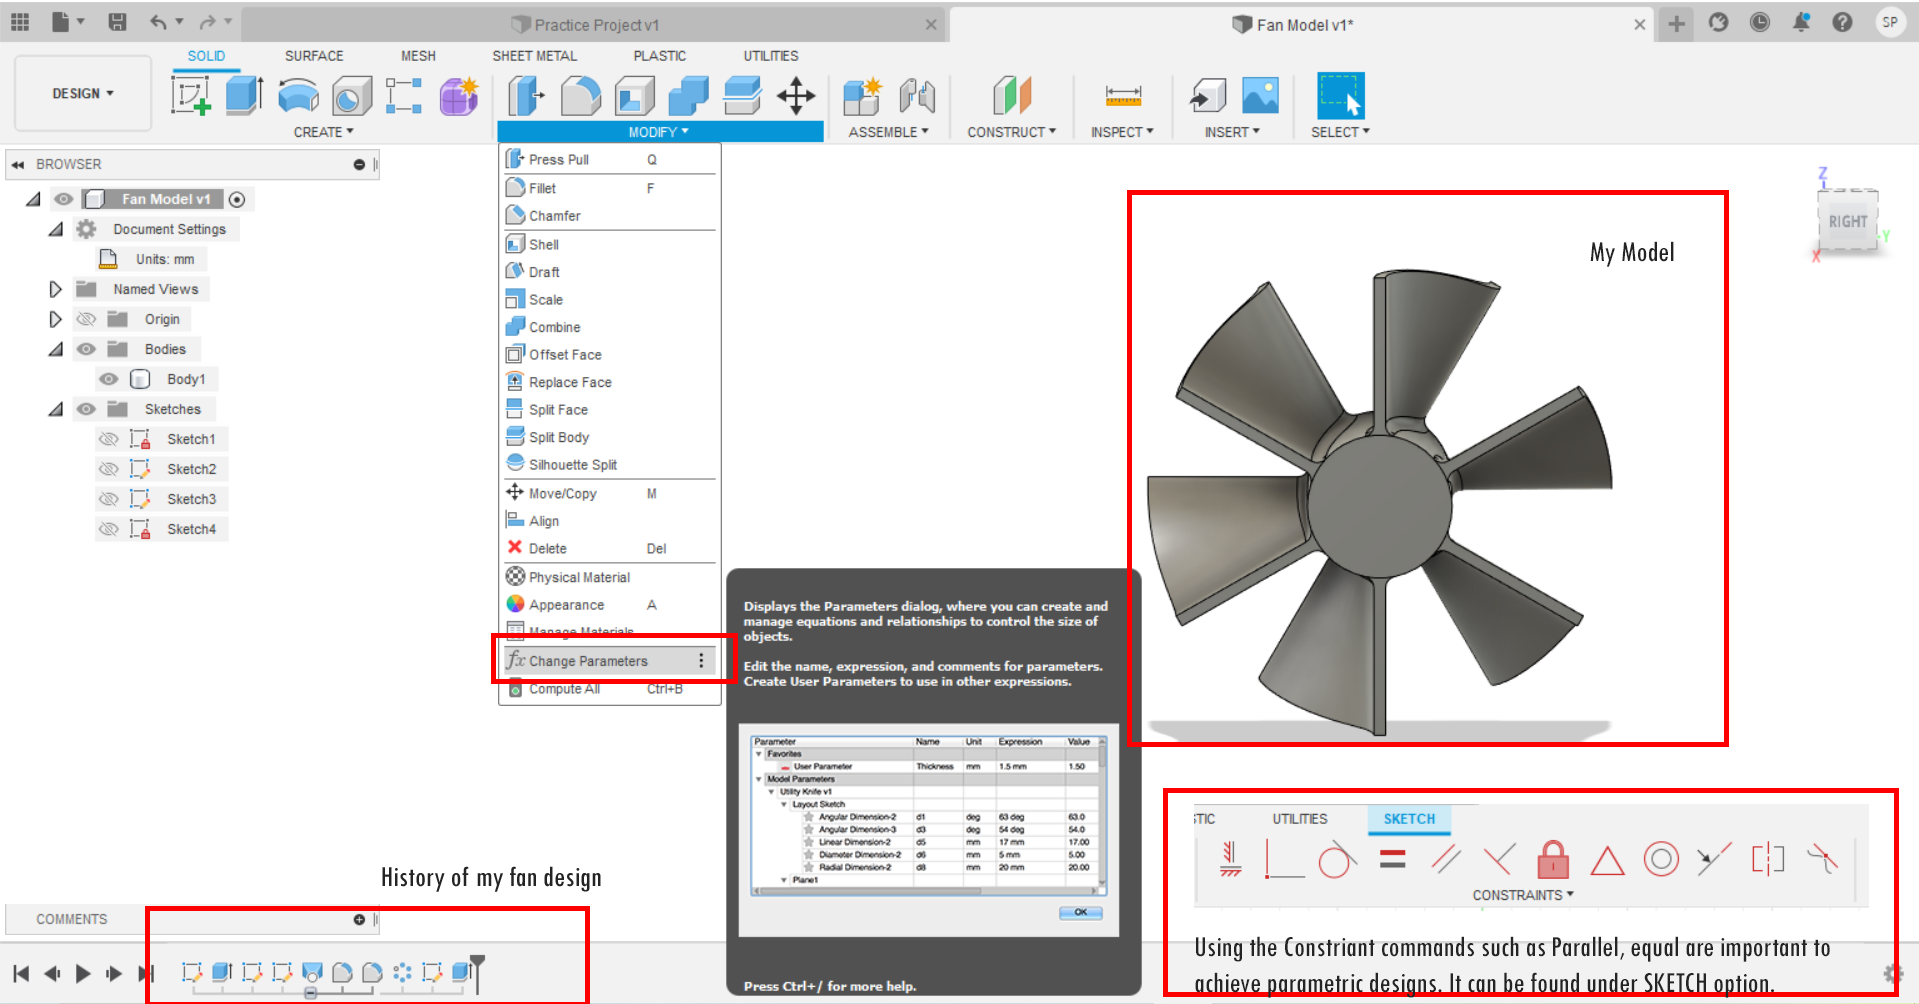 I added four user parameters i.e., FanSize (which will scale the fan), FanThickness (which will measure the depth of the fan), blade numbers (To count the number of blades)
and BladeThickness (to determine the number of blades). These are linked by changing the expression part in Model parameters. The result is quite interesting.
I added four user parameters i.e., FanSize (which will scale the fan), FanThickness (which will measure the depth of the fan), blade numbers (To count the number of blades)
and BladeThickness (to determine the number of blades). These are linked by changing the expression part in Model parameters. The result is quite interesting.
View the files below:
A Possible Final Project
For my final project, as stated in week1, I want to create a device which can detect a car motions and capture the information. It will make the life
of both the commuters and Police on Duty much easier and solve traffic Congestions. Some conceptual sketches can be seen here:

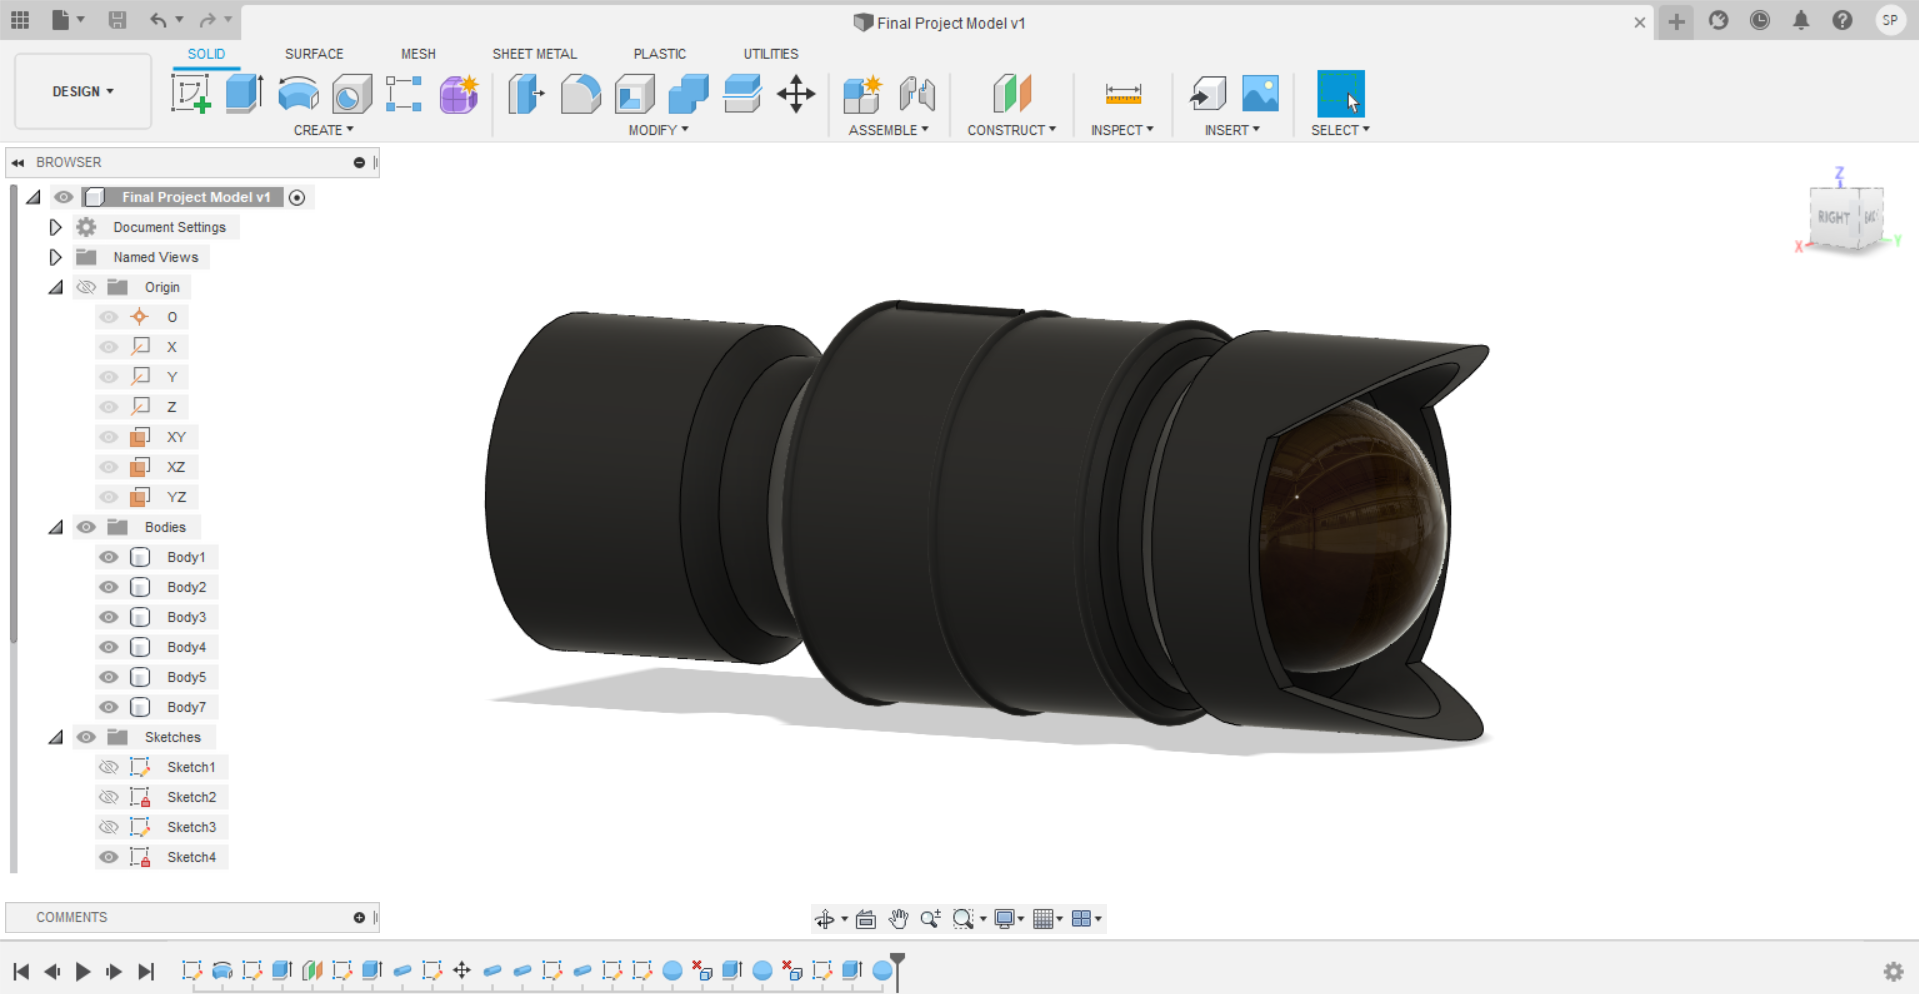
I need to put some more ground works with my designs like its dimensions and consideration for the anthropormatic. My model for now looks
too unprofessional for now. But it was a good try without watching tutorials. I try to model a camera part of my project with an inspiration from existing
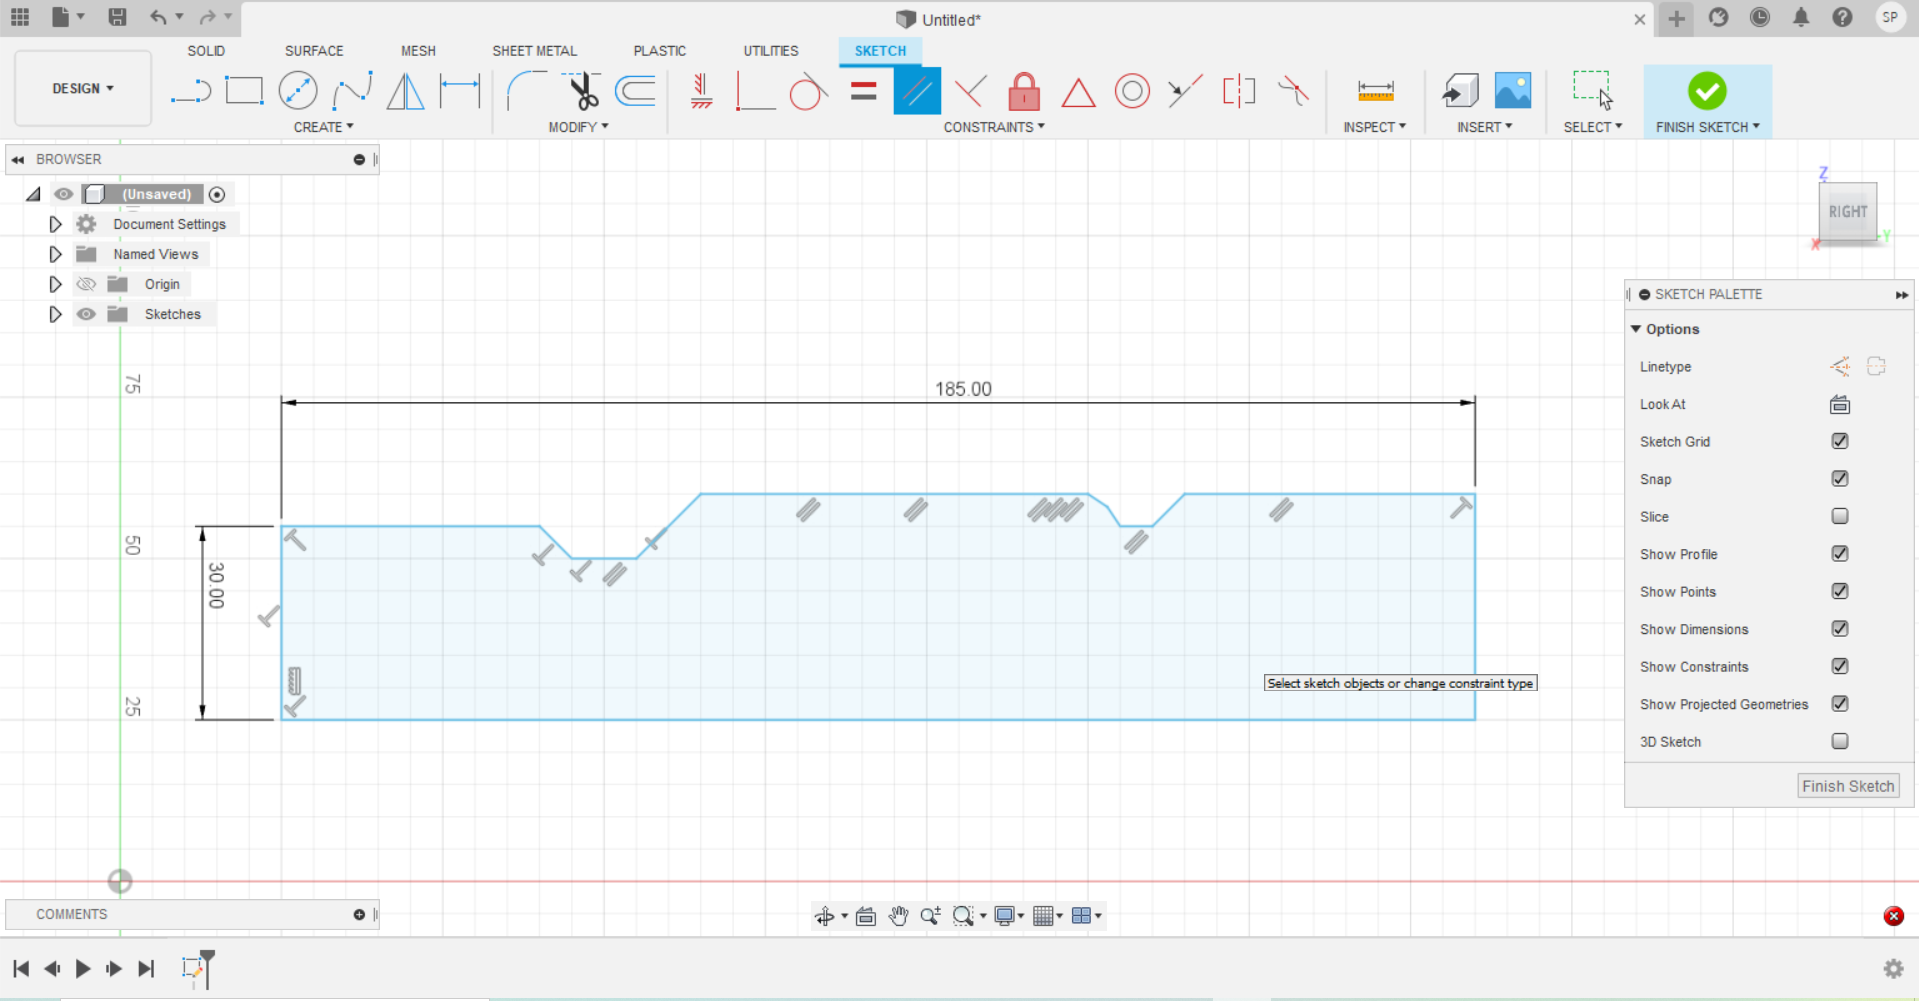
cameras (DSLR). I created a basic sketch with a help of rectangle tool. (Note: Dimensions are just assumed)
 For this week, I had been able to make a model like this as shown below:
You can view the project file below:
3D Design Onshape
I was given account by fab organization here. Therefore, I tried using the best use of the facilities provided to me. I watched the YouTube video by CADsessions.The guy here teaches about the basic skills to create the 3D in Onshape.
To create a 3D file, You need to log into your account. Click on "Create" and following winows will be opened. Note: Onshape is a web based design softwares.
 Tips: Zoom in and out using the scroll button of your mouse. Select using the left button and rotate by pressing right mouse button and PAN holding the middle mouse button.
Downloads
Download fan model it from here
Download possible final project model here