Project Management and Web Development
Introduction to Website Design
The first assignment for project management is the design of website. Being an architect and having no idea about the coding, I was little confused. However, the local instructor for prefab academy Mr. Suhas instructed us through easy ways of developing a personal website.
The list of website design langauages I referred as per the instructions of Mr. Suhas are:
1. HTML and CSS
2. HTML5
3. Markdown
4. Wordpress
After consulting the local instructors as well as few of my IT colleagues, I decided to not go with easy templates as I really wanted to explore the website design for my own interest. Therefore, I decided to work on html and css which are the most popular languages used for wesite designs.
Introduction to Text Editors

I tried few text editors such as:
1. Notepad
2. Notepad++
3. Atom
4. Visual Studio
I chose to work with Visual studio as I personally felt that it is very easy to work and document.
Personal Website Design
Owing to the fact that I have zero knowledge on coding or any languages, I decided to download a free templte from the internet and make it my own.
For my project management website design, I downloaded a template from https://www.free-css.com/free-css-templates

I really liked the layout and design features of sailor free html css template fromhttps://www.free-css.com/free-css-templates/page232/sailor Therefore, I downloaded that template to create my own website for fabacademy.
However, as I worked on the customization of some of the features, it got messed up and I was not able to rectify the erros. The website I custmomized can not be customized in multi-devices.
The error made me do a lot of research and possible solutions but all hopes were lost when I spent almost an entire day trying to rectify it.

Therefore, I finally decided to change my template and again explored the free templates from the internet. I promise that this will be last time, I will be looking for templates because I don't want to waste my time anymore.

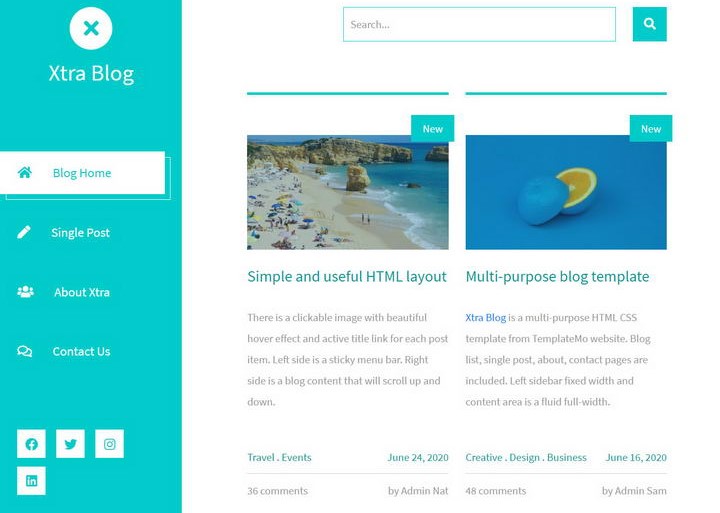
I downloaded a template from https://templatemo.com/tm-553-xtra-blog as I liked the design.
I customized this page using tutorials from https://www.w3schools.com/
Git Installation and SSH Key
In order to work with Git, firstly we need to install Git from the official git website http://git-scm.com/ and download the versions as required by your system. For me, I use windows pc, therefore, I downloaded windows version 2.35.1
My instructors briefed me on how to use git to link Github and our local PC repository. Following are steps and codes that we can use to generate SSH keys and link our website to the Github repository using GitBash
1. Go to link and open your Gitlab account
2. Open Gitbash and type the code: ssh-keygen -t rsa -C "email id" -b 4096
3. Keys will be generated. Copy the keys with the codes: cat ~/.ssh/id_rsa.pub | clip
 4. Go in gitlab account and paste key in Profile Settings and then click on "SSH key" located at the left hand side of your profile. Then add the keys.
5. Check whether its linked with the account or not by using the codes: ssh -T git@gitlab.fabcloud.org
 6. Then identify ourselves. Configure using email id and user id using the codes:
git config --global user.name "user name" and
git config --global user.email "email id"
 7. Clone repository in local system using codes: git clone "clone links". Clone links will be available from the git repository in fabcloud.
8. Finally you can pull and push the files.

After cloning the repositories into your local file, we can replace the files from the cloud using our own files.
I use photoshop to edit my photos and GIMP to reduce my image sizes. Large Image size are not recommended to be pushed into the cloud, therefore, reducing the file size is very important.
