
Wildcard Week
Individual Assignment:
Design and produce something with a digital fabrication process (incorporating computer-aided design and manufacturing) not covered in another assignment, documenting the requirements that your assignment meets, and including everything necessary to reproduce it.
HandiBot
Our lab has handibot and this equipment is not coverered in any of the assignment. Therefore, I would like to explore Handibot for this week's assignment. You can also view about the machine here.
Use of Handibot:
In order to get the basic ideas of uses of Handibot, I referred WoodWorkers. Here the machine is described as the ShopBot’s Handibot is a very cool CNC machine. Unlike lots of other CNC routers, it’s portable. The cutting window in the machine is 6” x 8”, but work can be tiled allowing you to cut any size you want to cut. Text to 3D artwork, this machine has lots of capabilities.
Recently, my friend opened a restaurant called My Budget Meals For this, I decided to create a design of logo in adobe photoshop.
Unfortunately, the machine we have in our lab doesn't work. So, I have to contact the superfablab to use some of their machines. They were so kind and offered number of choices like Zund, Waterjet Cutter & Wire EDM. I decided to learn and experience Zund.
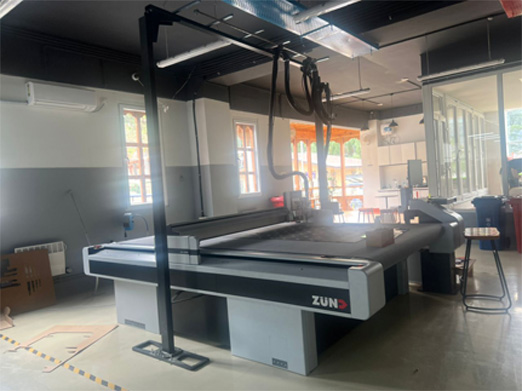
Zund G3 L-2500
The machine I used for my wildcard week is Zund G3 L-2500. It is one of the many machines available in superfablab.
Machine Specifications
You can review the technical details of the Zund Cutter in www.zund.com You can also find a detail manual of the machine here zund manual. I have also mentioned few important data here.
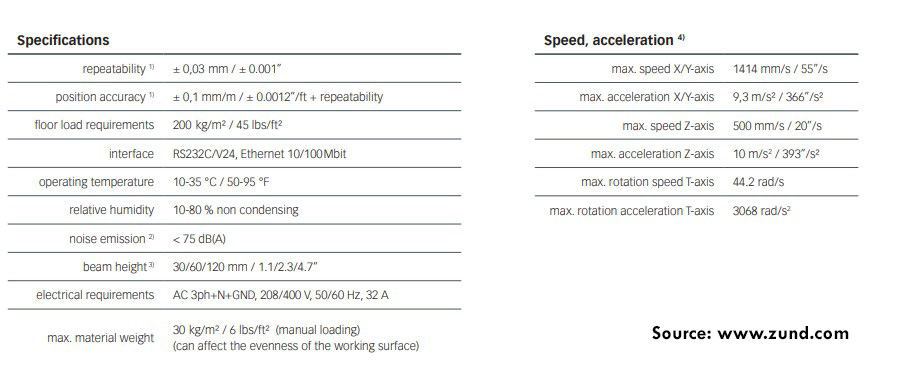
The Zund G3 L-2500 has the overall dimensions of 3150*3410mm and working space of 1800*2500mm.
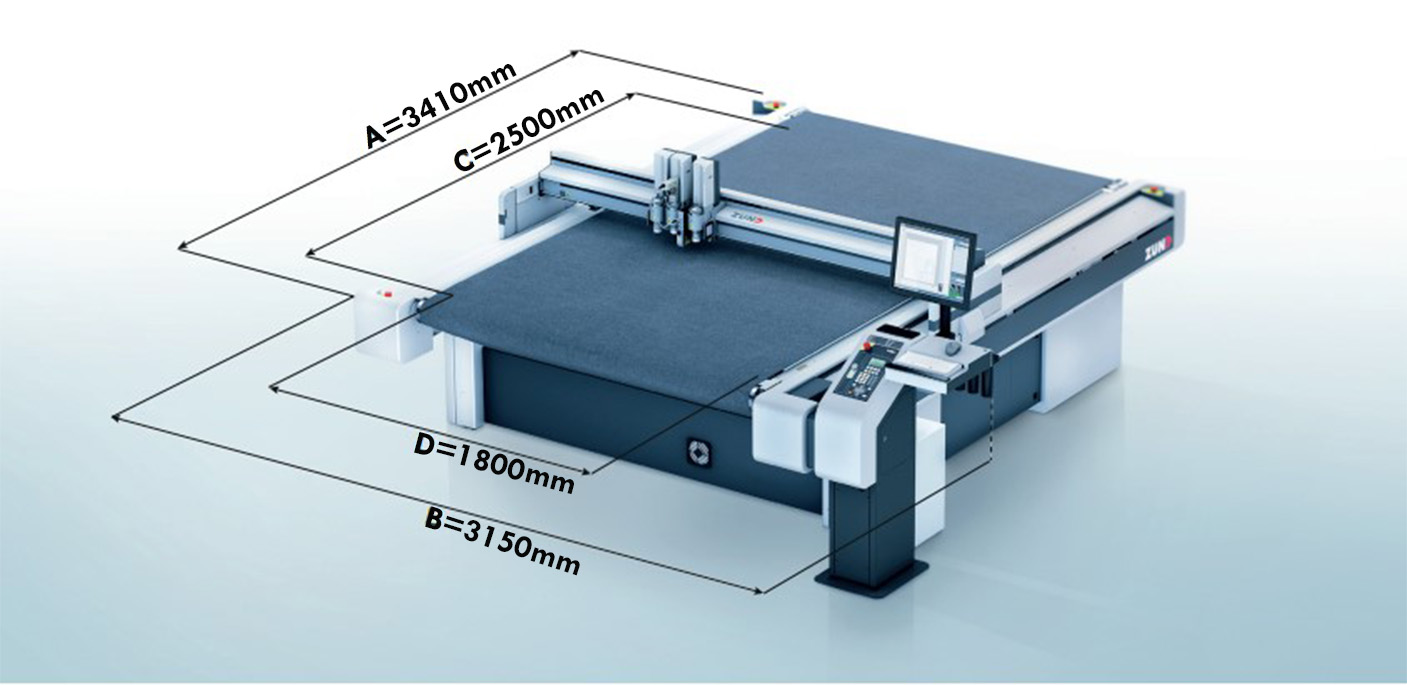
The website mentions that it weighs 970kg. The overall description of the machine is shown below:

Tools & Modules
A standard three modules can be fastened onto the module carriage in a zund cutter. The use of modules and tool inserts means that Zünd cutters can be highly specialised on the one hand, whilst still being able to be easily converted for processing other materials on the other hand.
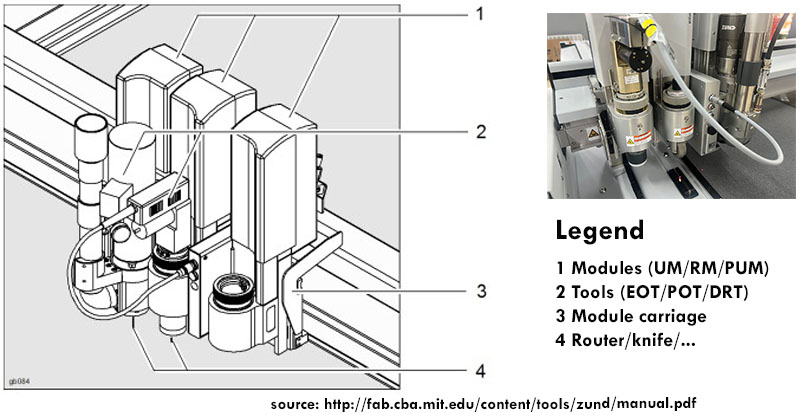
As seen in the description above, the modules offer three options mainly, UM, RM and PUM. The tools are also of three types mainly, EOT, POT and DRT. Each tool has a specific functions. Please refer modules and tools for further details about the tools and modules.
Digital Fabrication Process with Zund
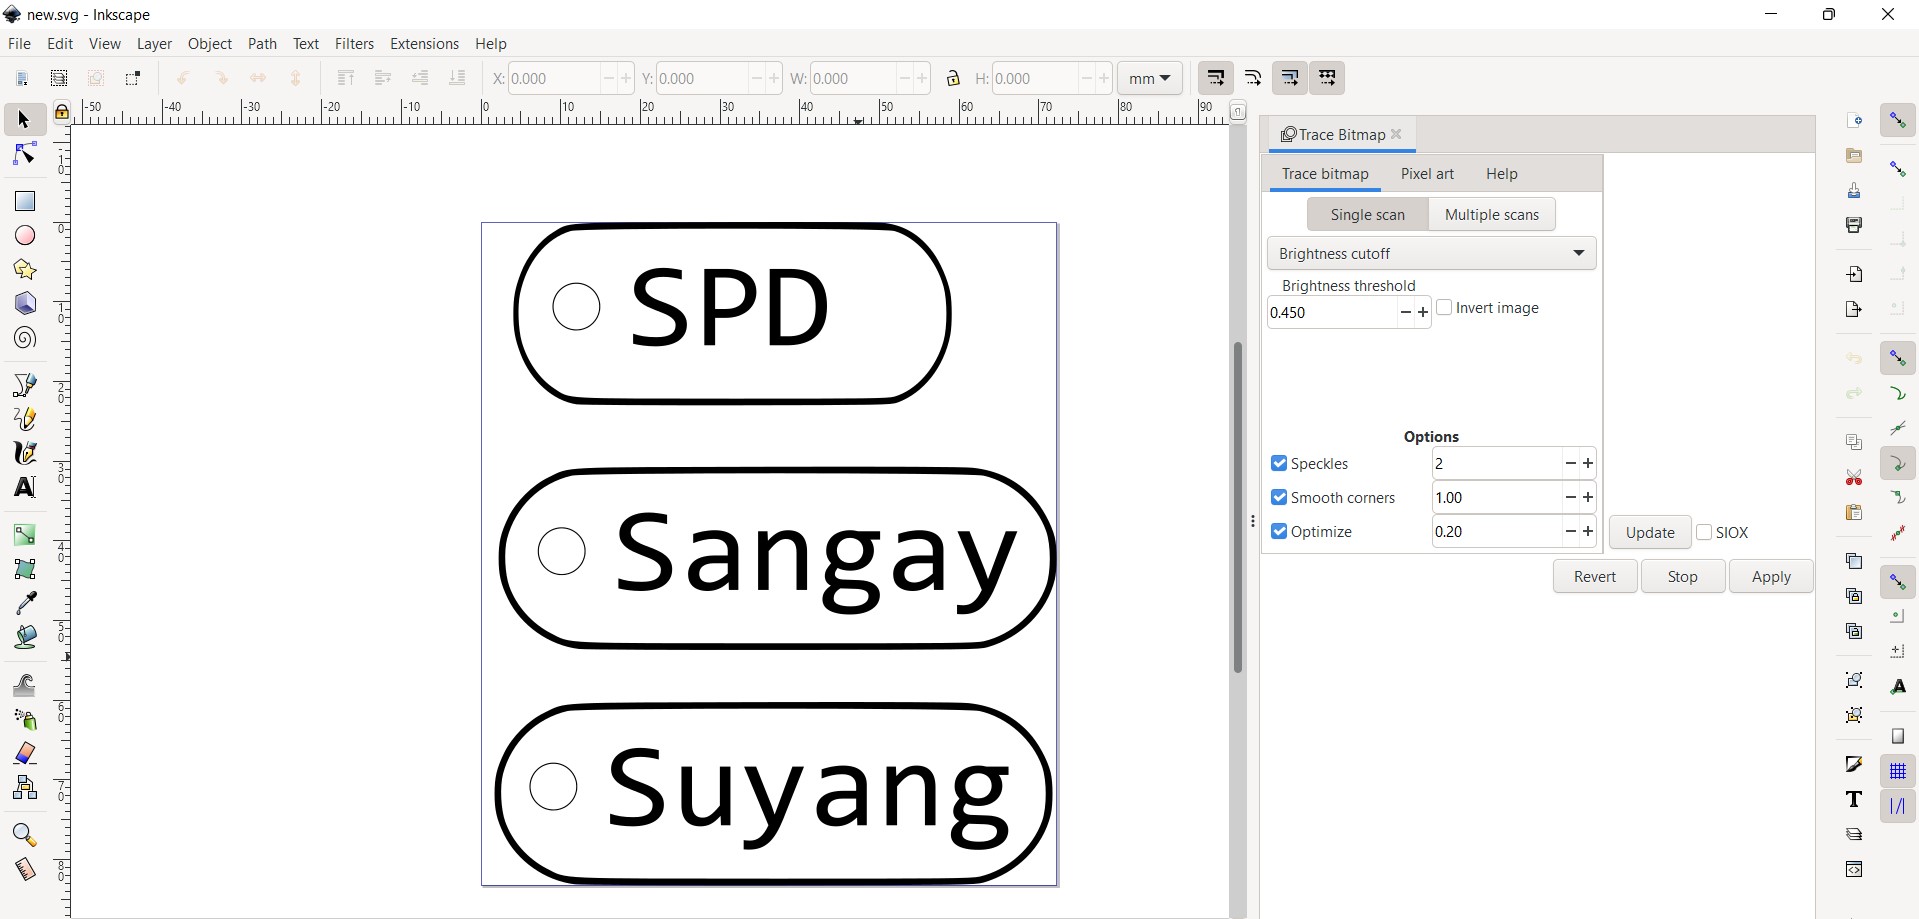
2D Design in Inkscape
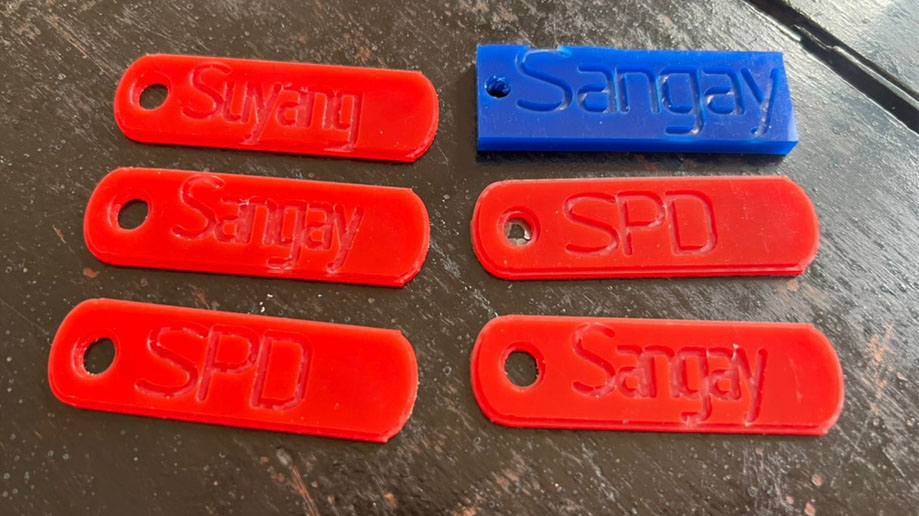
Zund is a high precision cutting machine with wide varieties of material choices as well as tool options. For my assignment, as a beginner, I want to explore engraving and cutting/routing option with the Zund. Therefore, I used inskape to design a simple key hangers with my name on it. I also made key hangers for my friends.
Manufacturing with Zund
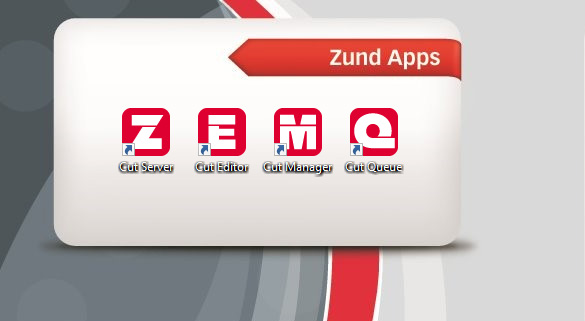
Basically, the Zund uses four software to manufacture, i.e., Cut server, Cut Editor, Cut Manager and Cut Queue.
For this assignment, I was not able to understand the full function and uses of all the softwares. However, I would like to explore more on the above software in case I get to use this machine again.
The basic procedure of manufacturing is:
Before, starting with any opertations, the most important steps we have to follow is to put on a compressed air. Compressed air is required for Router Module, Mat and for Vacuum.

After that, Tools Settings are done with the help of a workstation. Remember a compressed air is used extensively. An image of the workstation is shown below. These buttons are used for tools setting and selection.

A brief video shown here shows an expert explaining about the tools selection procedure with buttons on workstation.
We proceeded to cut my design. For that, first, I editted my files in .svg in Cut Editor.
First, Open Cut Editor ---> Files ---> Import Files
You can also create
designs here. It is not so handy but some basic designs can be done.

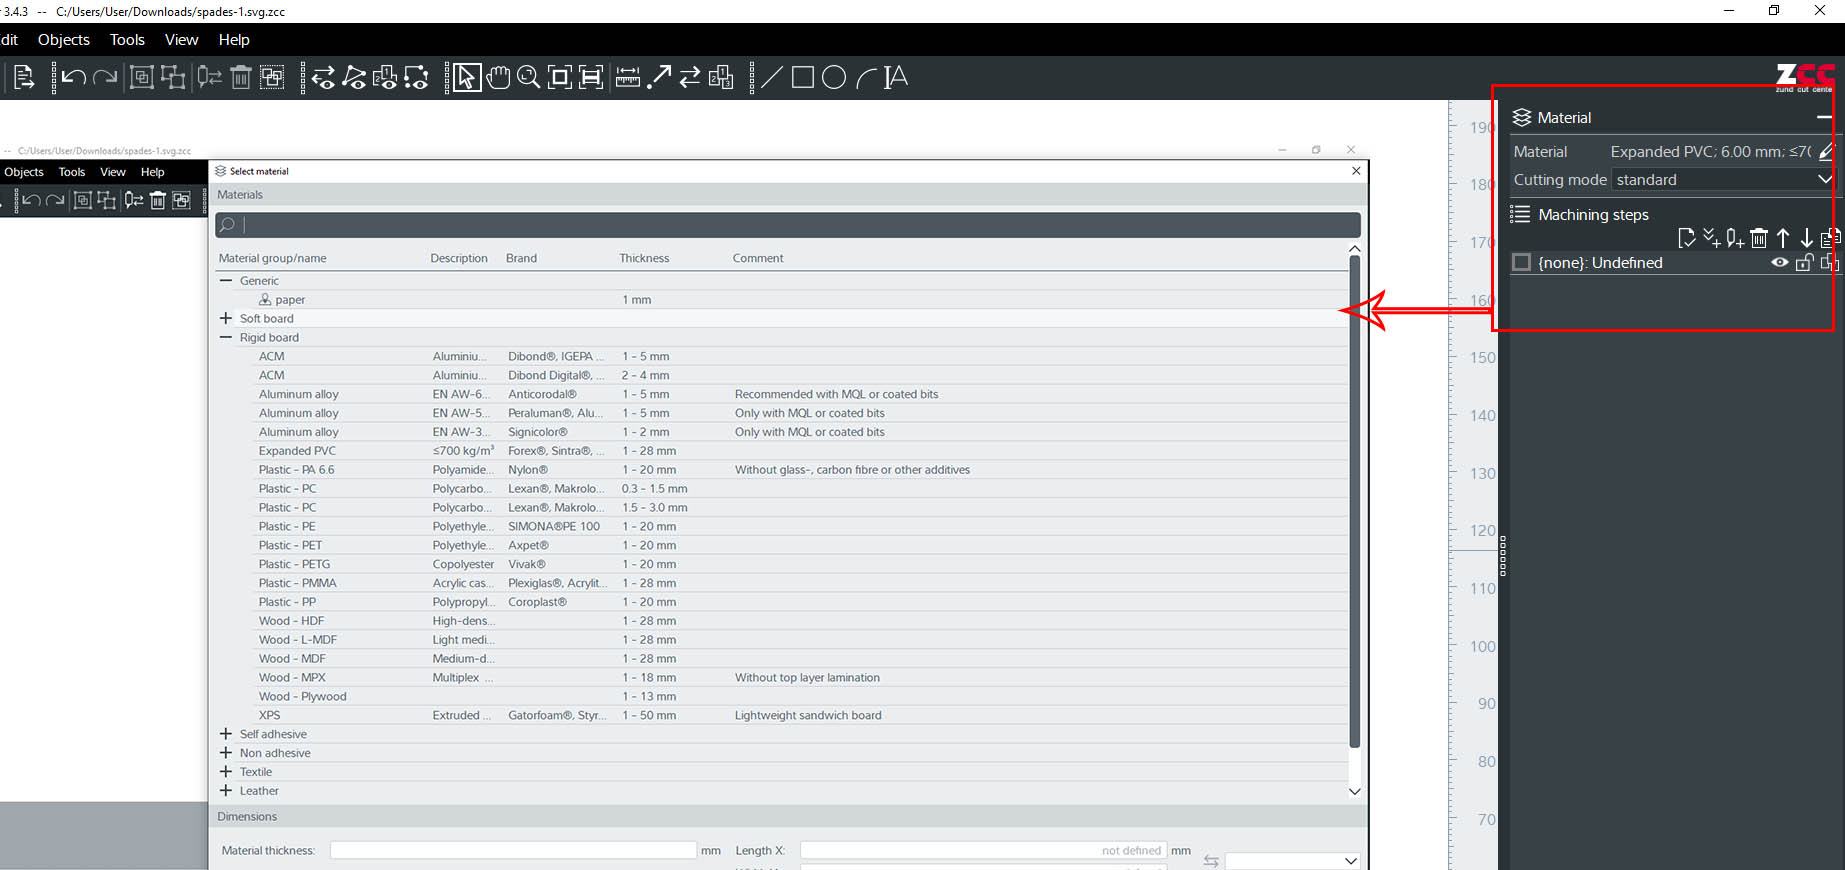
After that, select materials from the right hand side.
Next, we set up Method Attribute It is also located in the right side of the screen. In this, the logic is, I want to Engrave my texts and Route my outlines.
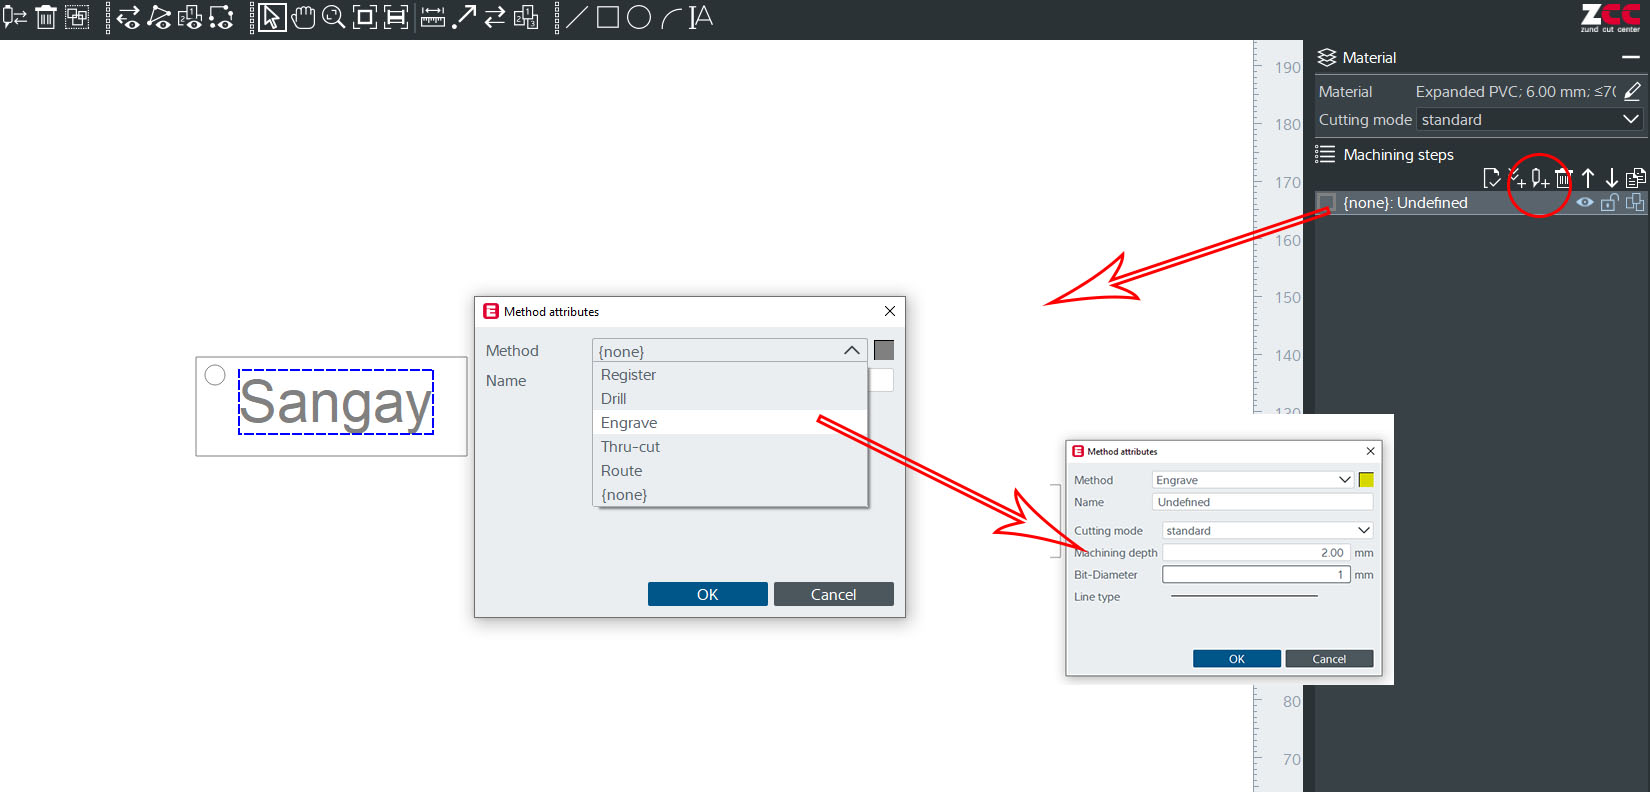
Engraves parts are shown in yellow whereas Outlines are shown in Blue. You can also give material/tool/cut depths here.
After this, we push the created files to Cut Center. Here, we set tools before starting the job.

Remember to use Patches while routing as the vacuum may suck the small designs. It did suck away one of my key chains.

The process of cutting my key chain can be seen in the video file attached.
The cut is very clean and fast.
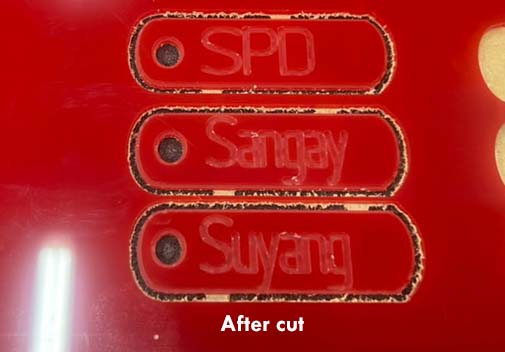
Finally, I got my key chains with my name engraved in it.
Difference between Zund Cutter and CNC Machine
CNC cutting and Zund cutting are two highly efficient and versatile methods used in the fabrication of precision parts and components for manufacturing. However, there are visible differences in design and operation as per my observation.
Download the file here