
Week 4
- Category: Electronic Production
- Sessions Date: Feb, 2022
- Assignment:
- make an in-circuit programmer that includes a microcontroller: extra credit: customize the design mill and stuff the PCB test it to verify that it works extra credit: try other PCB processes
With no background electronics production, I thought I will have a heck of a week.Thanks to prefabacademy,we were introduced to electronics production which helped me catch up with the rest.
Individual Assignment
make an in-circuit programmer that includes a microcontroller
Steps followed in making ISP Programmer
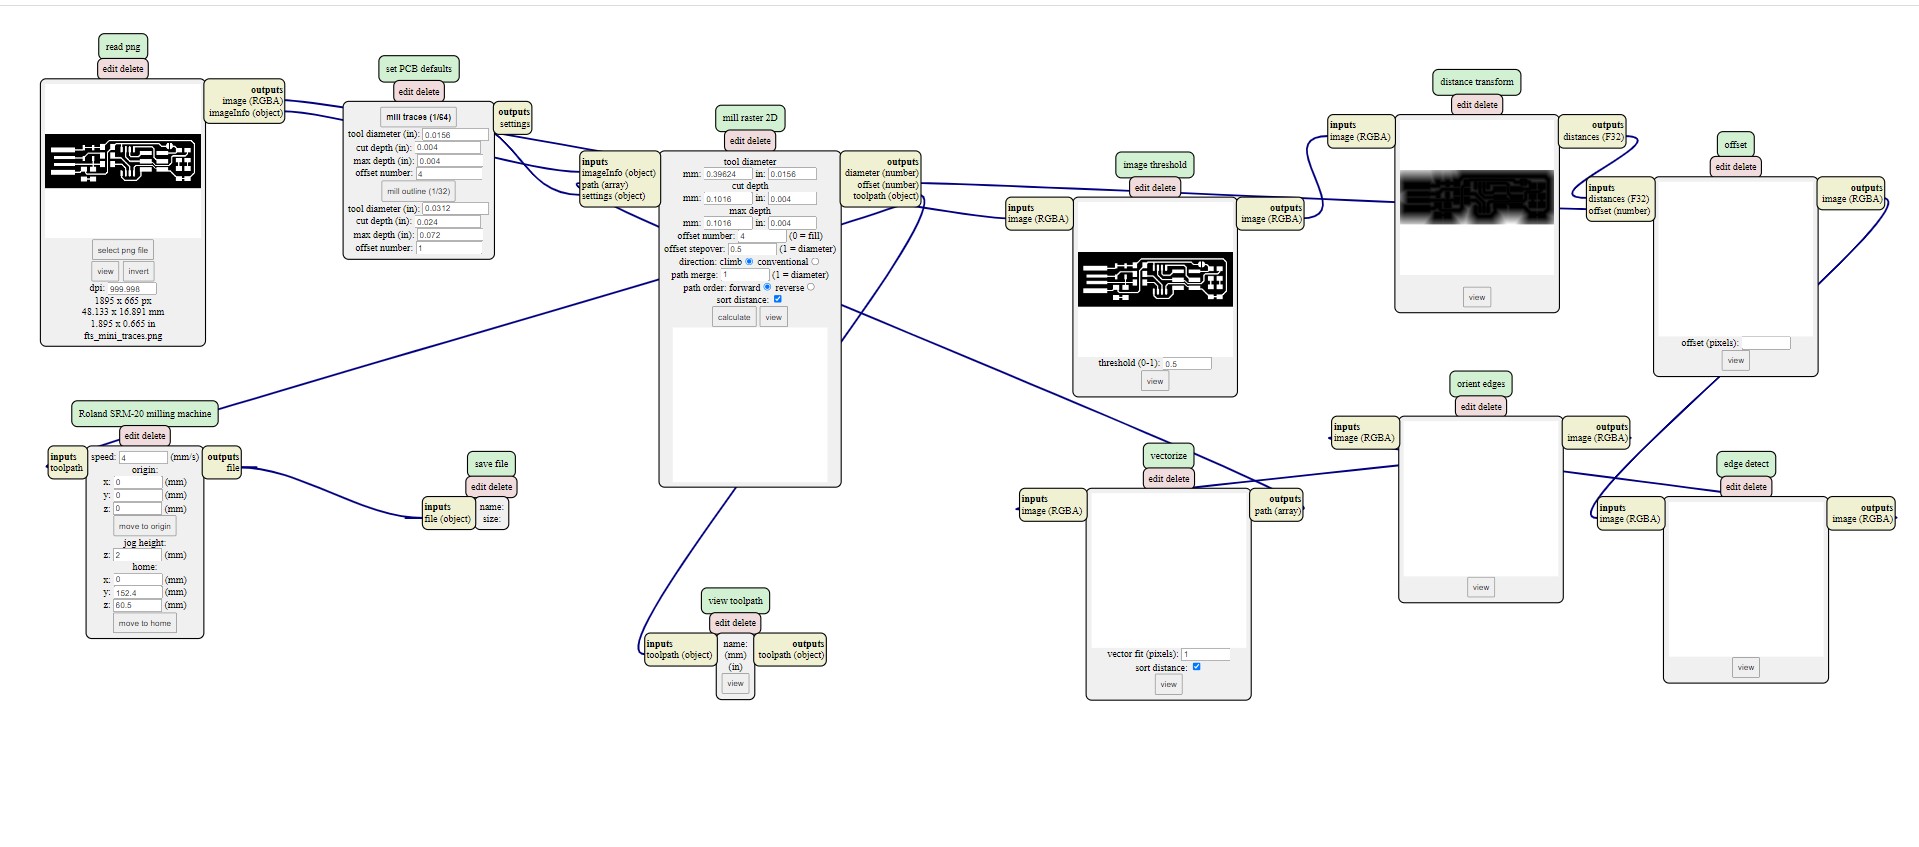
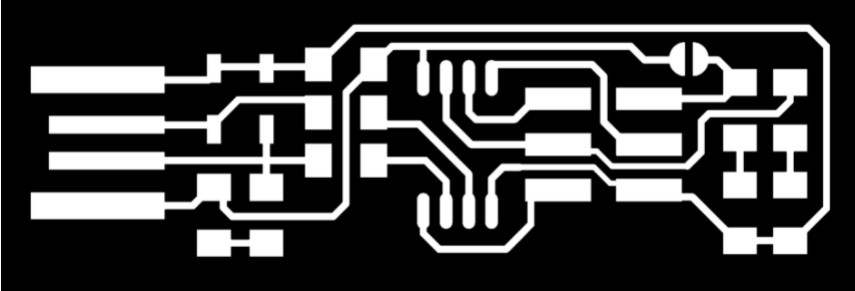
- download the png file both for trace and cut.
- Using online version mods convert the PNG file to RML file.
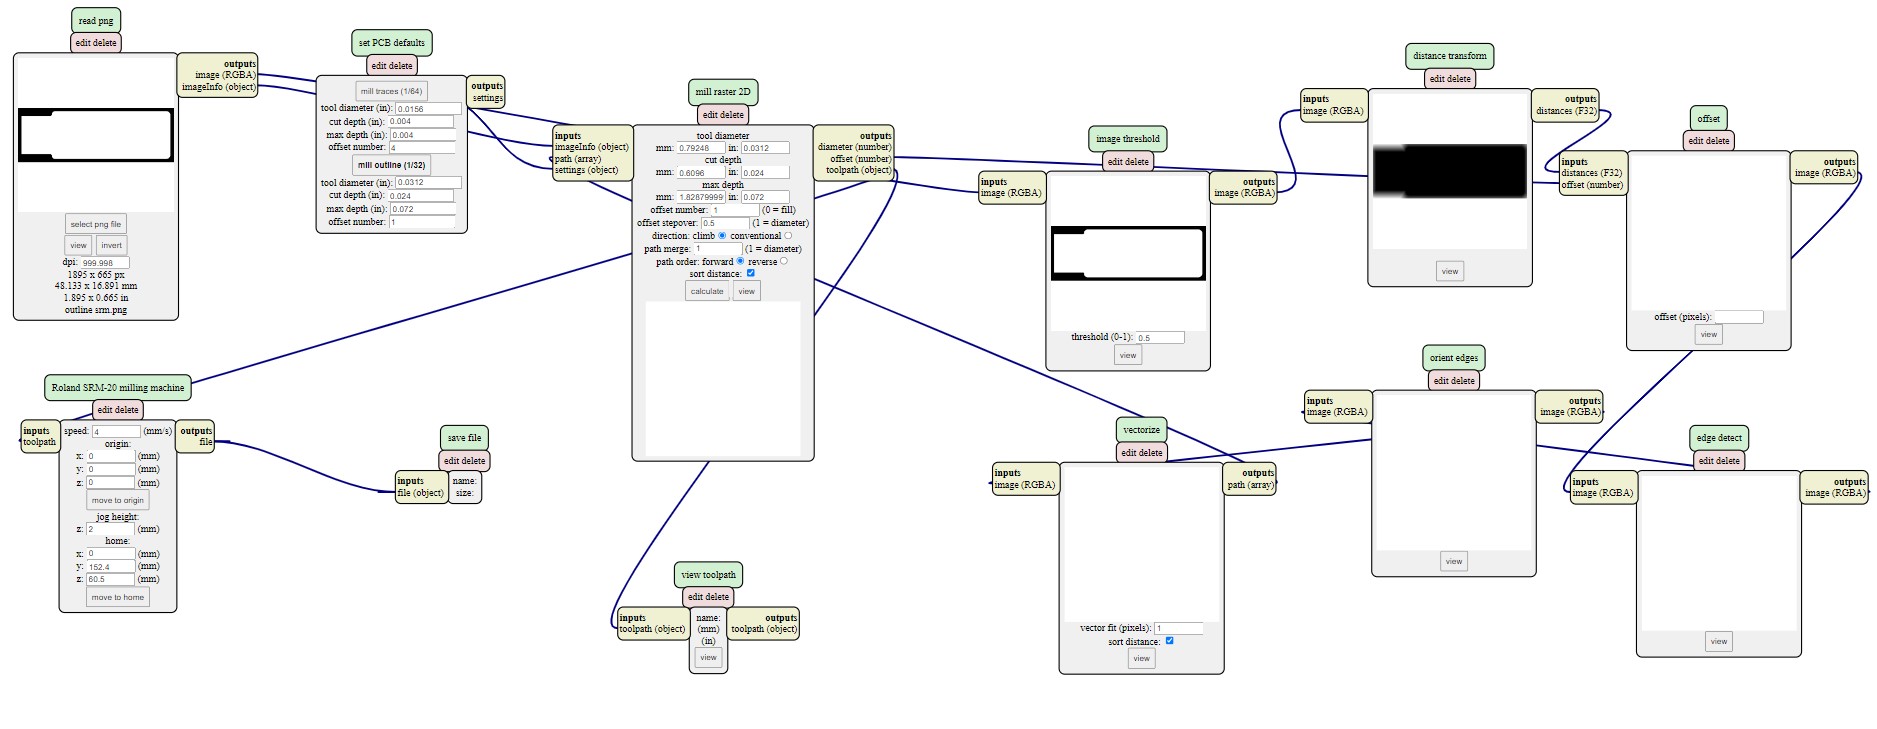
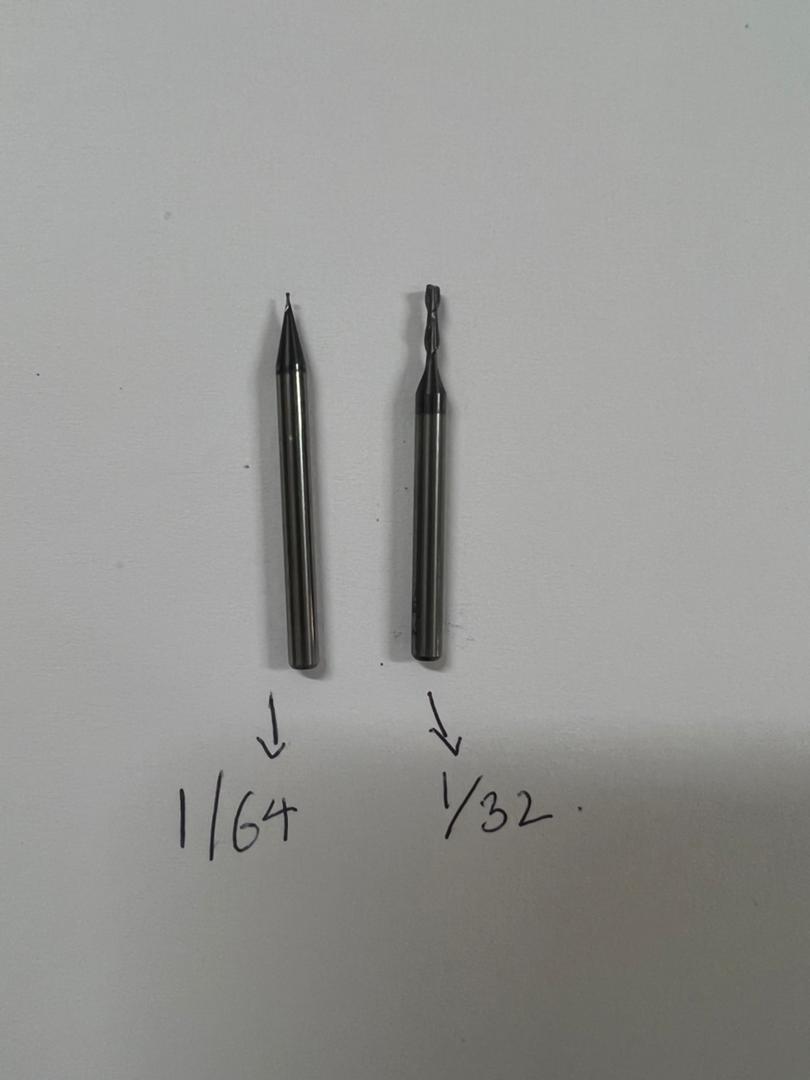
- •Do the same for the png outline file. But here instead of choosing 1/64 we choose the 1/32 mill traces.
• Open mods mit-righ click on the mouse-open program-open server program-select SRM 20-PCB png
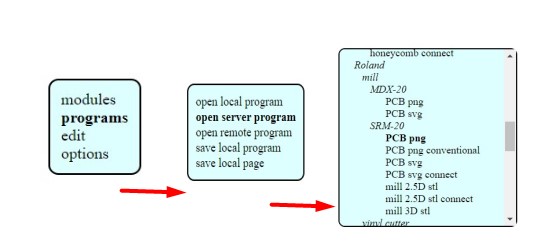
• insert your png trace file-select the 1/64 mill traces-set all the axis to zero-delete the websocket device
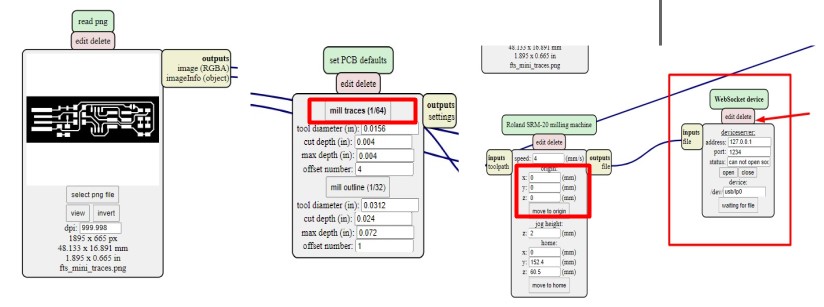
• After deleting the websocket device-on the same place right click, open server-save file
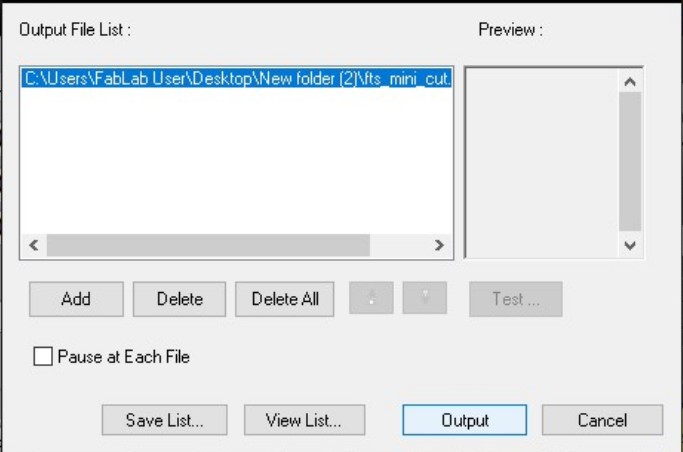
The RML files are downloaded and then inserted the RML file to srm

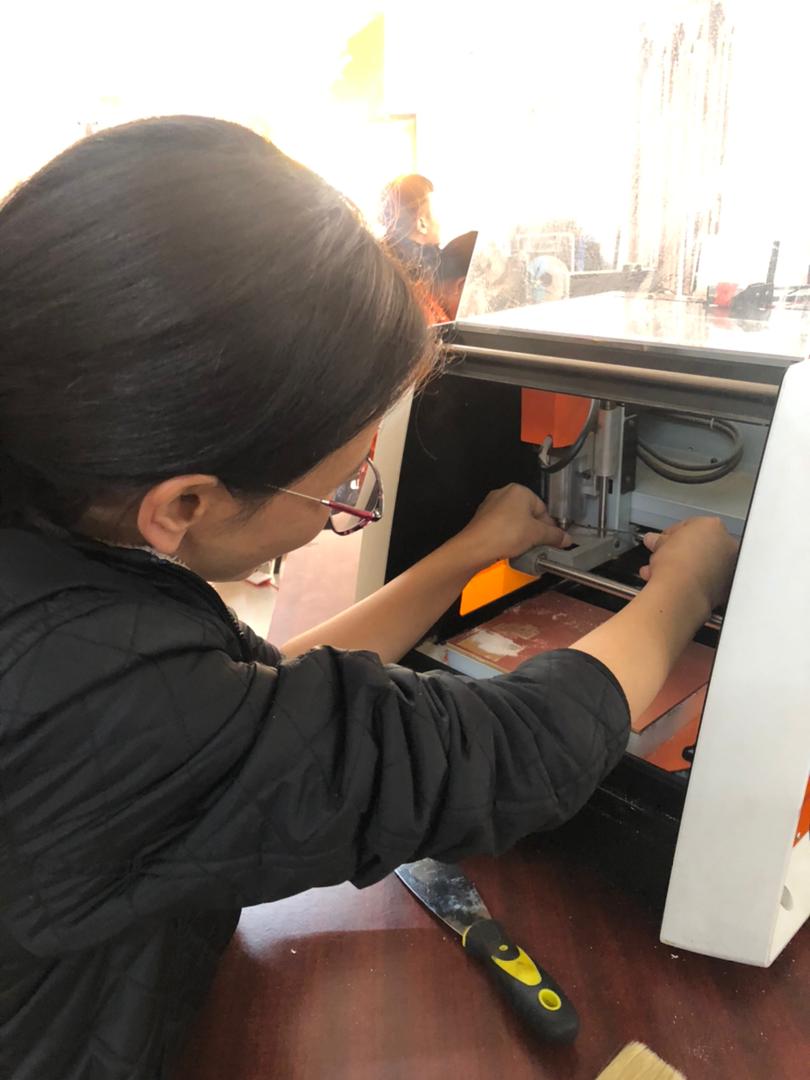
- Working in SRM 20
- Insert 1/64 endmill(for traces) and 1/32 (for cutting) for outline cutting
- Set the origin x,y (After changing the endmill, tail the xy position to the desired location and press set xy position.
- Zeroing (gravity) After setting the xy position we set the z position. This we used the gravity method. First we lower the z position till it touches the PCB board. Then we apply the gravity method by loosening the screw and allowing the endmill to drop to the PCB board with gravity.
- In V-panel for SRM 20, insert the trace file of ISP
- And press cut
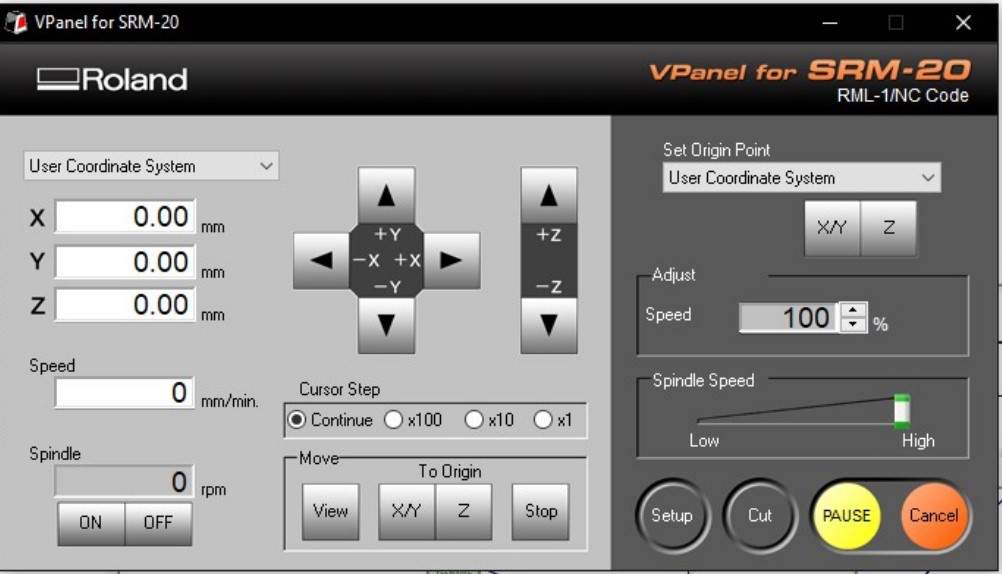
Repeat the same for outline cutting. Choose the 1/32 endmill
Soldering components
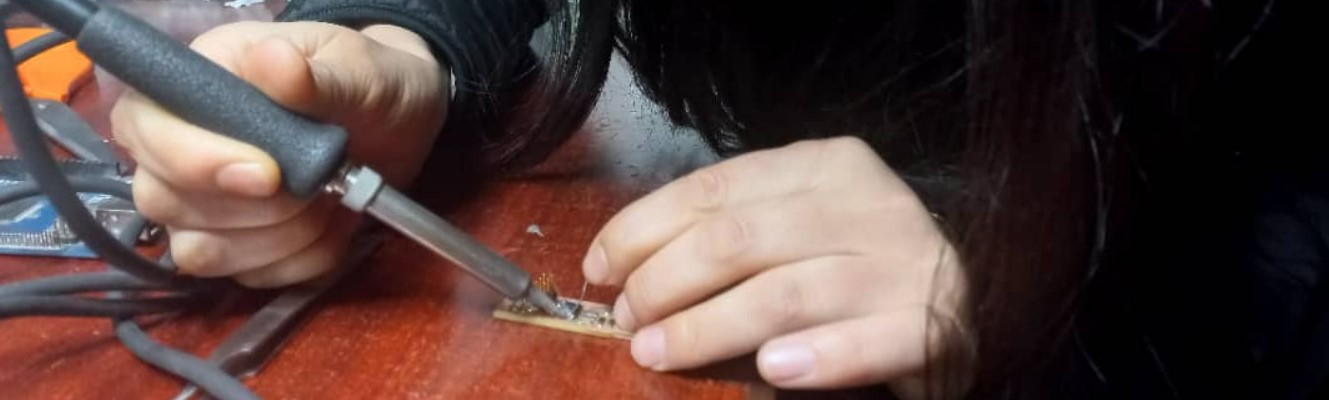
What an experience!!! The thing about soldering is that though it's complicated its fun. I enjoyed alot soldering the components.After burning a bunch of my hair, I completed it.A tip for the ladies, tie your hair before soldering. You wouldnt want your hair burnt by the soldering gun.
😜
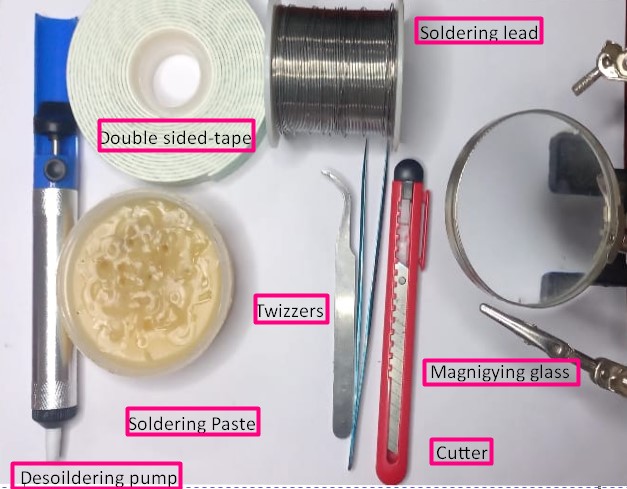
Soldering tools
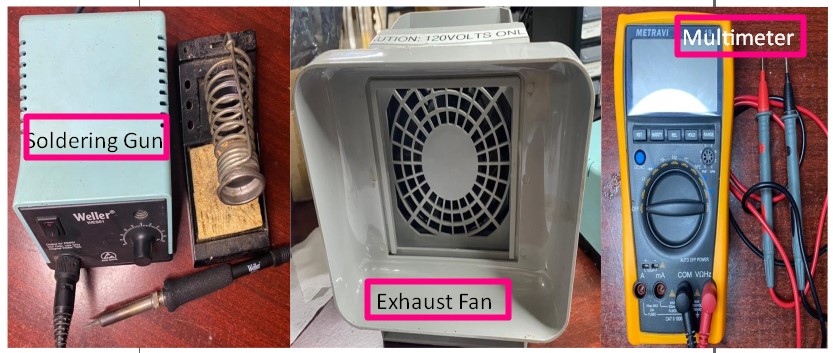
The desouldering pump was a great help. Souldering for the first time, my hand was all shaky so I short-circuited some of the components but the pump helped me desoulder easily
- So the trick I learned from Takesan while souldering is that,
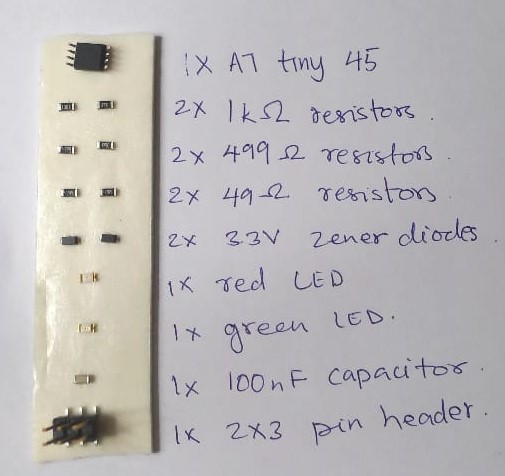
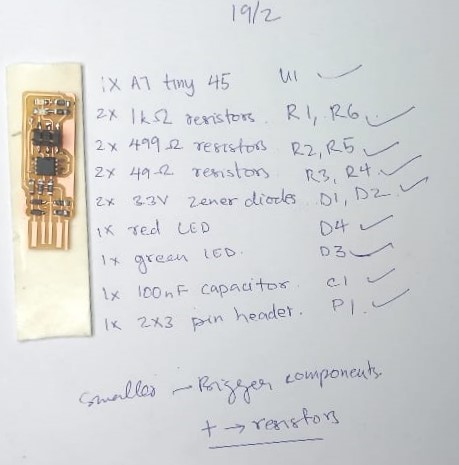
- write all the list of components that you need.
- arrange them on a double sided tape next tot he list.
- Start soldering from smaller components to the bigger ones.
- SAFETY FIRST!!! Tie up your hair, fold your sleeves and stop swinging the soldering gun.
😅
- Take a deep breath, relax and enjoy the journey!
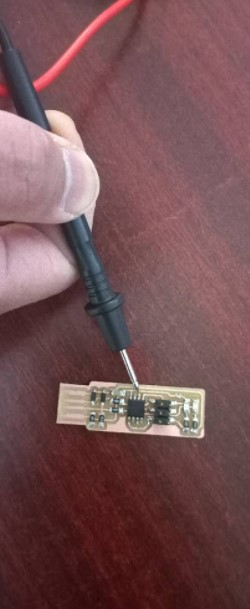
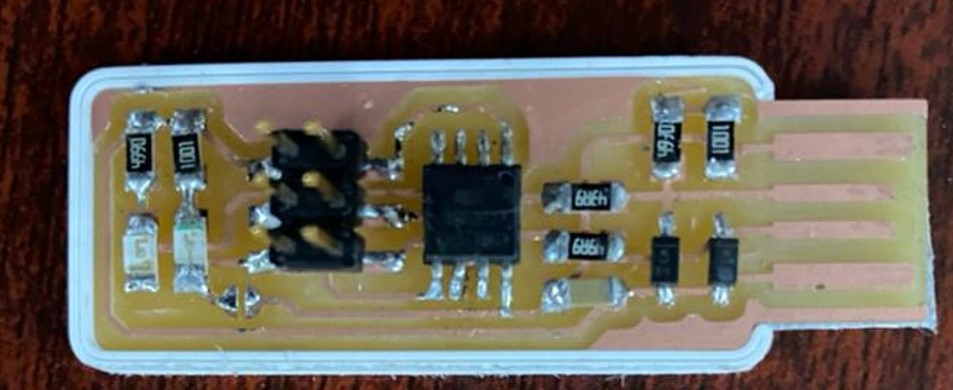
After soldering was done, I checked all the connections using the multimeter and thickened the board using tape so that the connection to the PC would be better. Adrian suggested I download the Fabisp case he designed and use it and it was really useful. Thank you so much!!! After my board was ready, I tried programming.
Programming Fabisp using Atmil ice
- We used ubuntu to program our isp in our lab pc and entered the following command: sudo apt install avrdude gcc-avr avr-libc make
- Then I downloadwd the firmware source code and extracted the zip file and then open the terminal and cd into the source code directory. After that Run make and you should find a file called fts_firmware.hex.
- Since we were using the Atmilice-isp as our AVR programmer, we changed the programmer to atmelice_isp in the makefile.
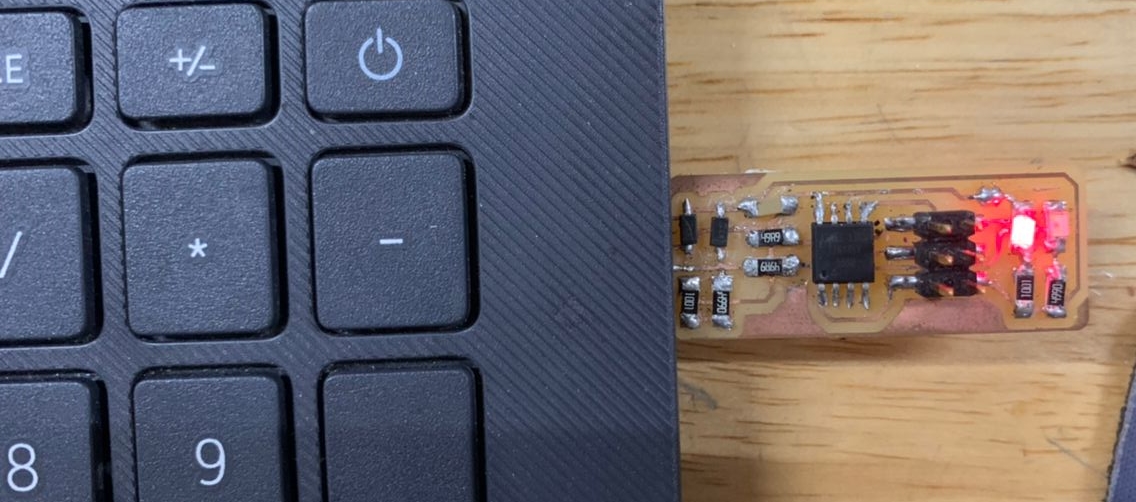
- So after that I ahead plugged the board into a PC directly (Which is higly not recommended). We were advised on using a usb port but since our lab didnt have one, we went ahead without it. If your red led is on, it means the pc recognised your board.
- After that we have to connect the atmilice-isp to the board. The important thing to keep in mind while doing so was to connect the pins correctly. For this I refered Brians page and the image below to see which side was the pin 1.
- Then we make the following four command:


- make flash
- make fuses
- lsusb
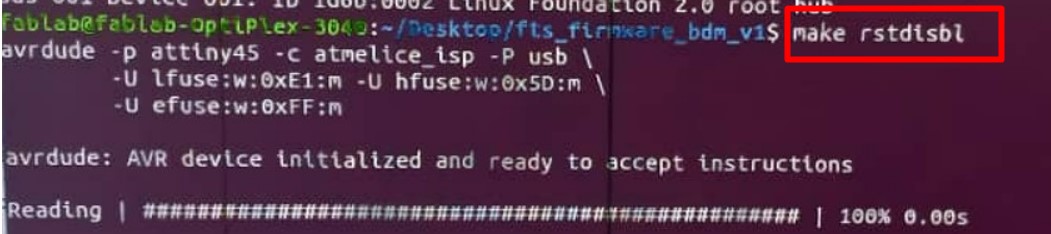
- rstdisbl
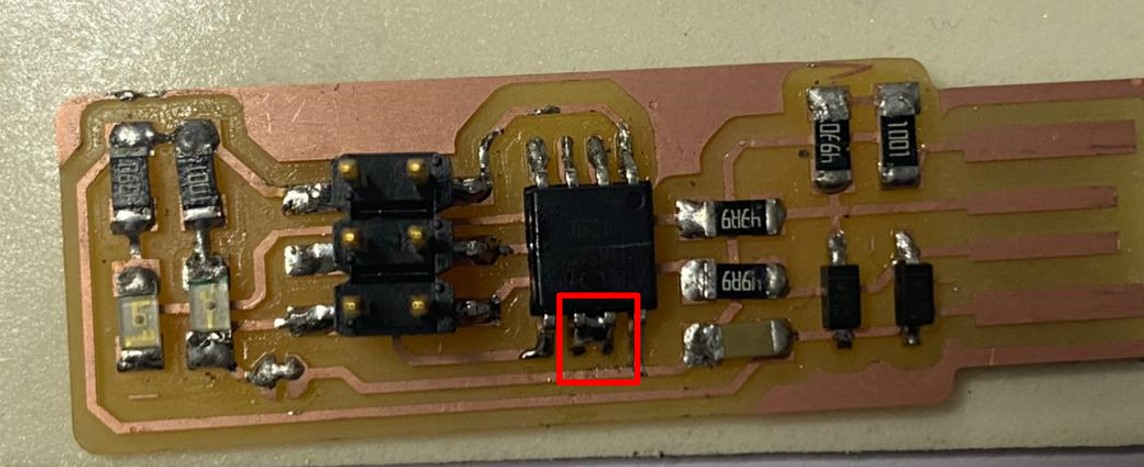
I had an error and then I had to debug. I was told by Takemurasan that the problem must be with my soldering. Upon checking the connections on the multimeter, the pin 2 was not connected.

I tried connecting the pins again by soldering but now another problem arised. I made a short in the circuit. With the help of the desoldering pump, I removed the access and fixed my board. This time, there was connection.
I connected the board again and run the commands and it worked.
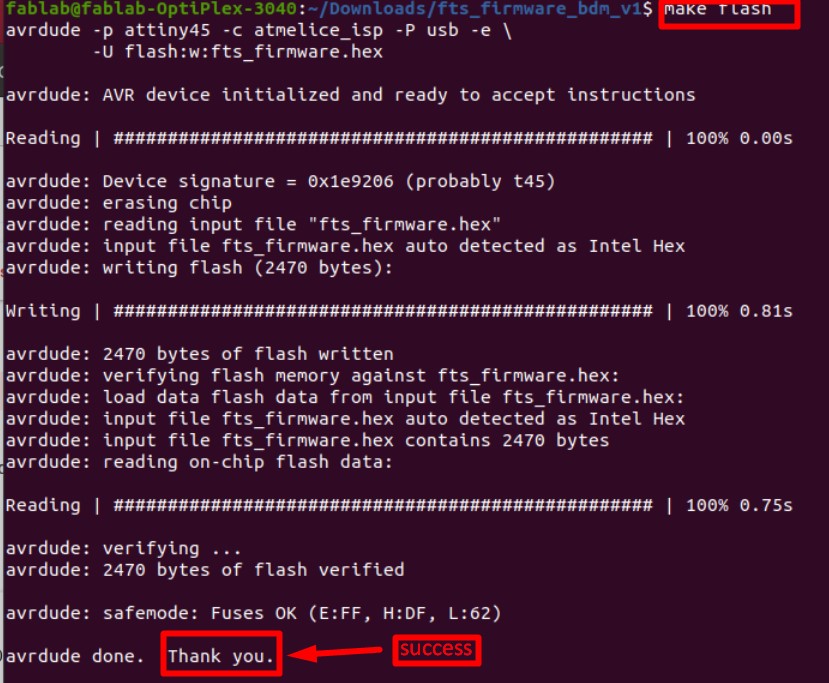

Now we'll check to make sure that the USB on your board works, before blowing the fuse that will enable it as a programmer. Unplug your board from the USB port and disconnect the programmer, then plug it back in to the USB. Make sure the programmer you used to program your board is also disconnected from the computer.

when you type the lsusb command in the terminal, If you see a "Multiple Vendors USBtiny" device, it means success.
So I had ro connect the atmelice_isp programmer to my isp board and run make rstdisbl.
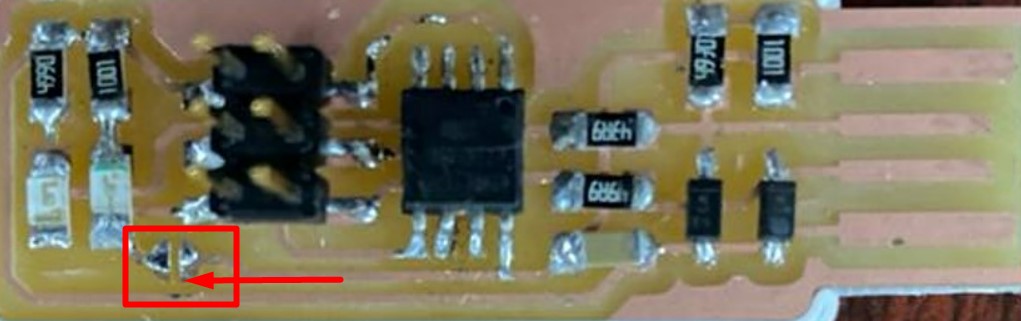
After that we disconnect the connection of VCC from the Vprog pin on the ISP header by removing the bridge on the solder jumper.
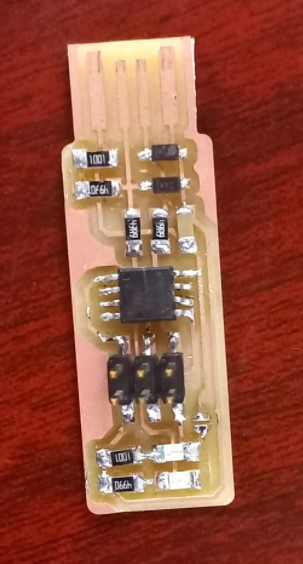
Phew! What a week! Now, I have my very own working ISP Programmer. Very proud of myself!!!
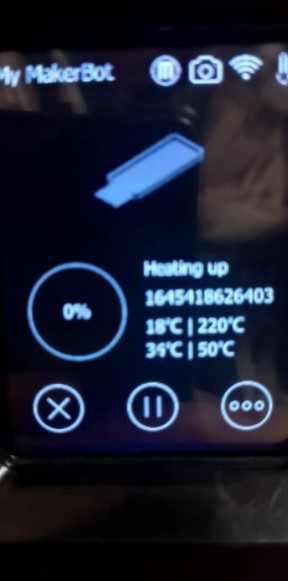
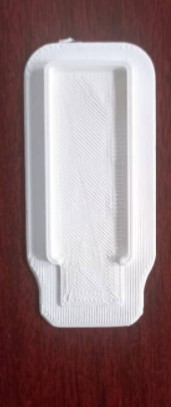
Printing the downloaded fabisp case from Adrians page.
Hero Shot
Group Assignment
Click here for the group assignment