Week 4
- Category: CCC
- Sessions Date: Feb, 2022
- Assignment:
- cut something on the vinylcutter design, lasercut, and document a parametric construction kit, accounting for the lasercutter kerf, which can be assembled in multiple ways, and for extra credit include elements that aren't flat
What a week! Bhutan went under lockdown for last 28 days and we literally had no access to lab.So now that it opened, making the good use of lab and resources.
Individual Assignment
Parametric design with Fusion 360
This is my first time using parametric design and realised how it saves time. It makes designing much easier and especially for those who are bad with numbers.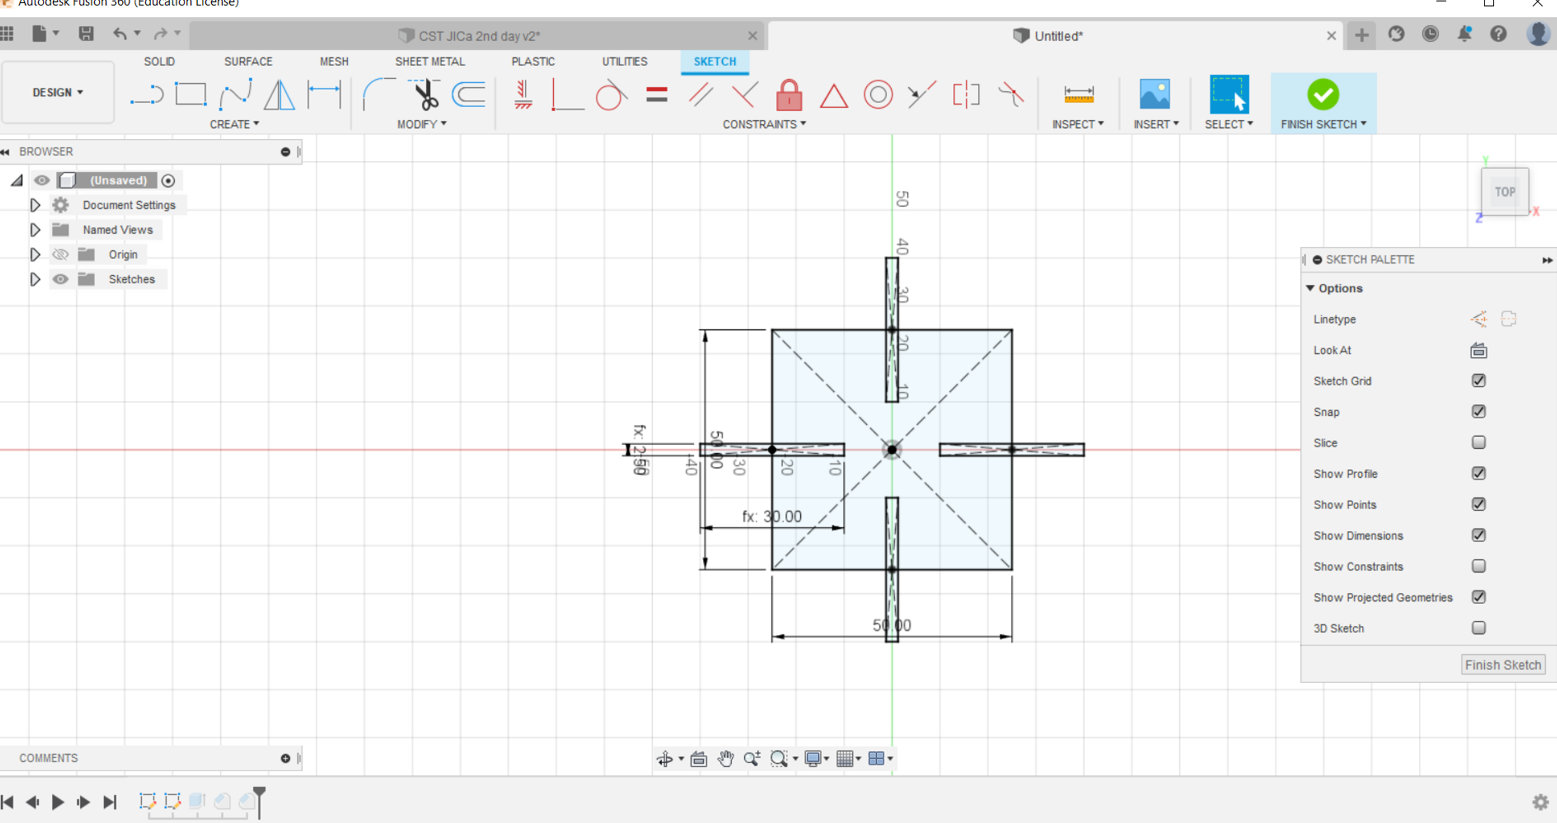
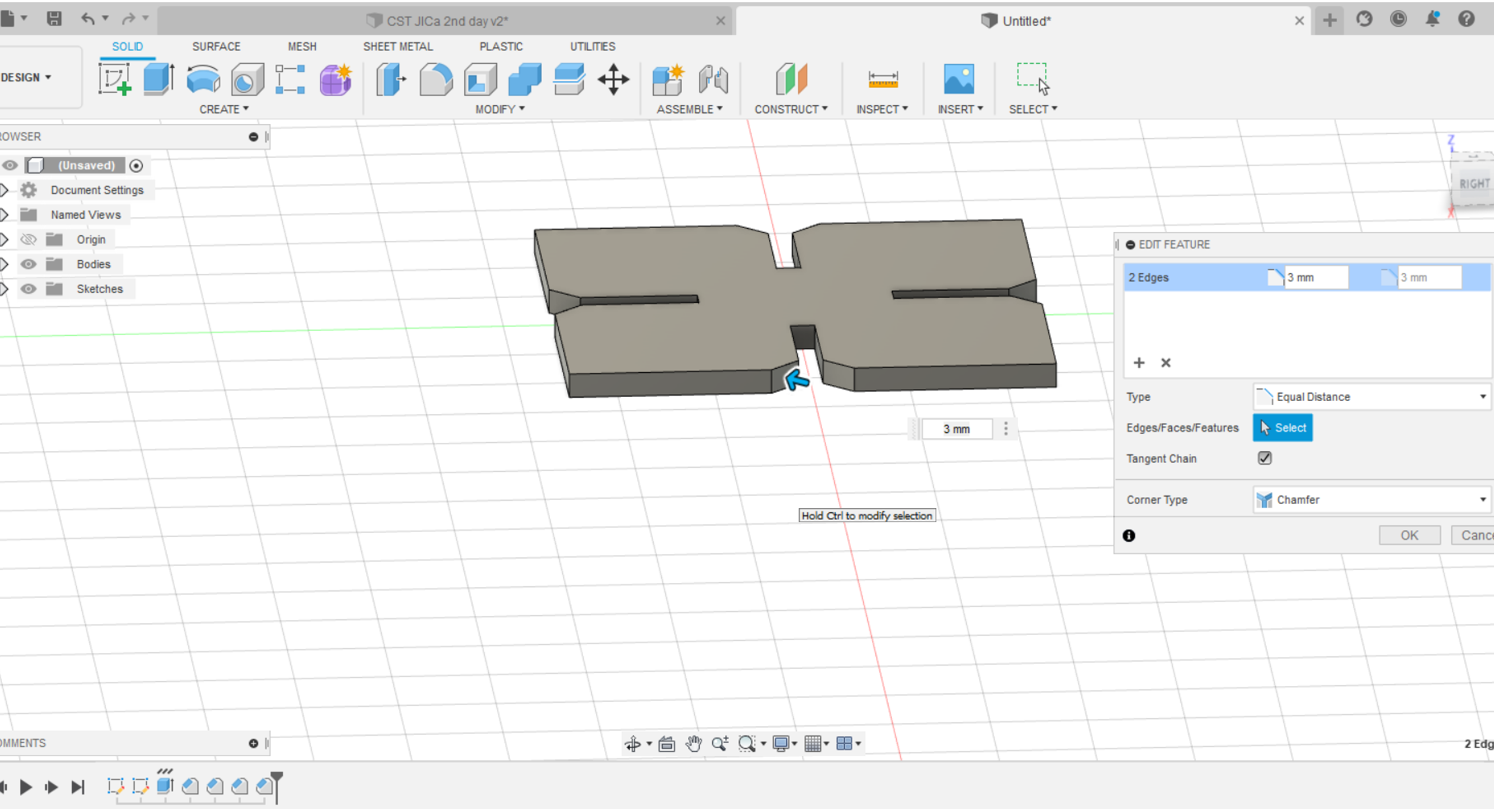
Failed attempts in design
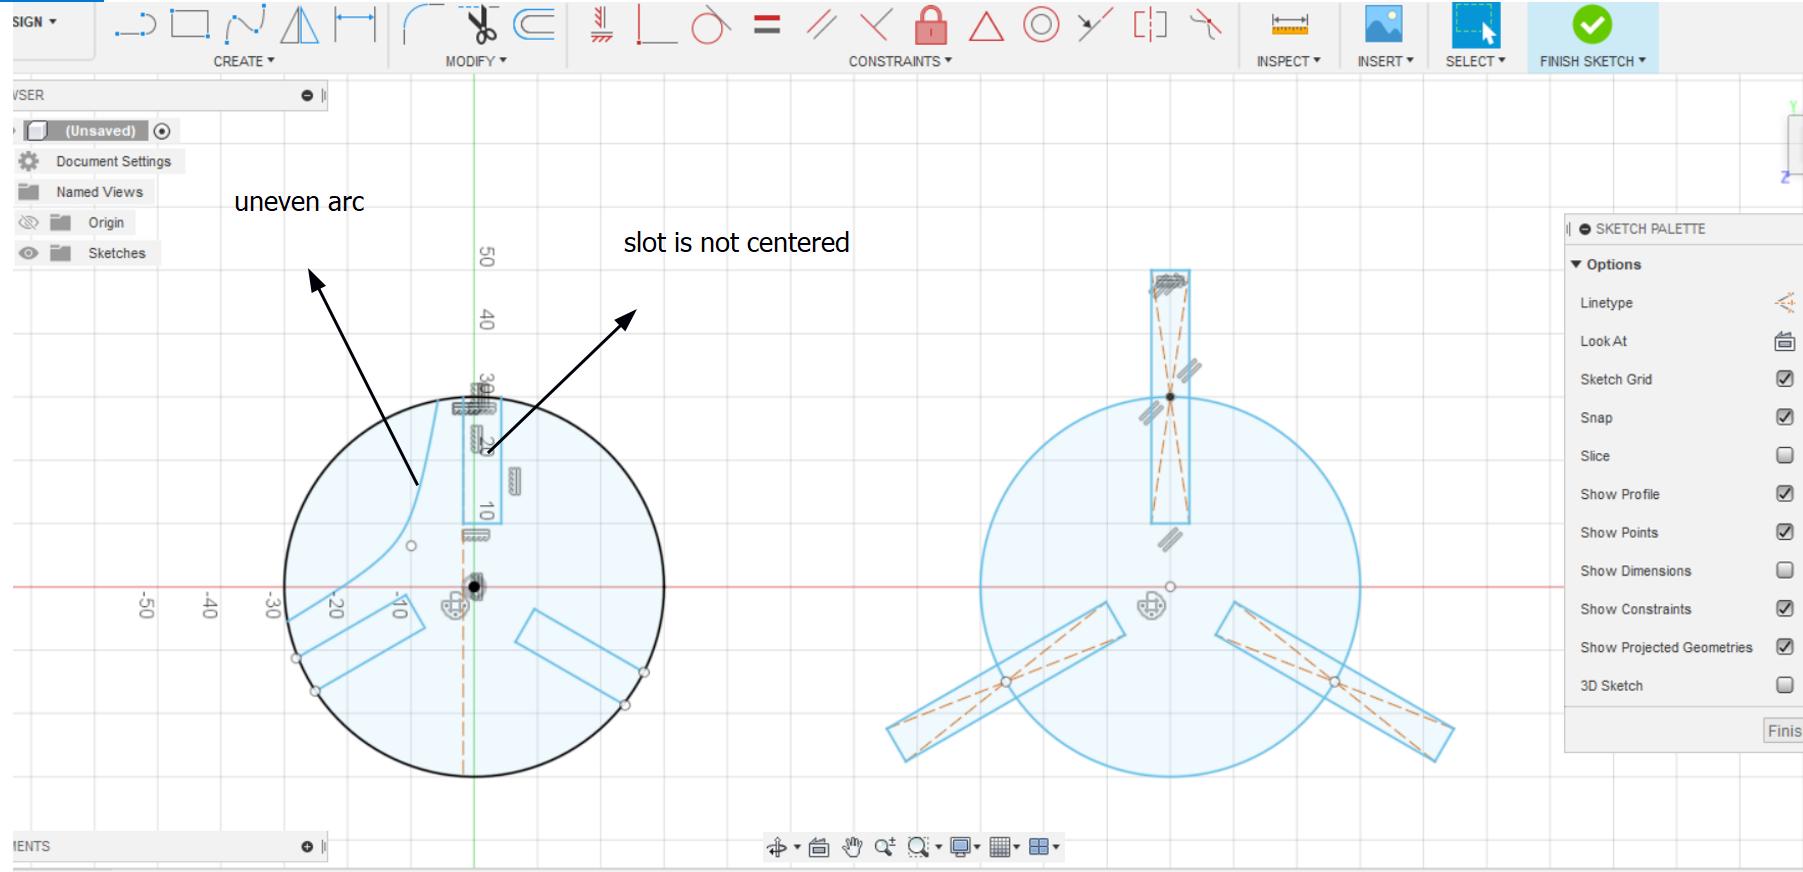
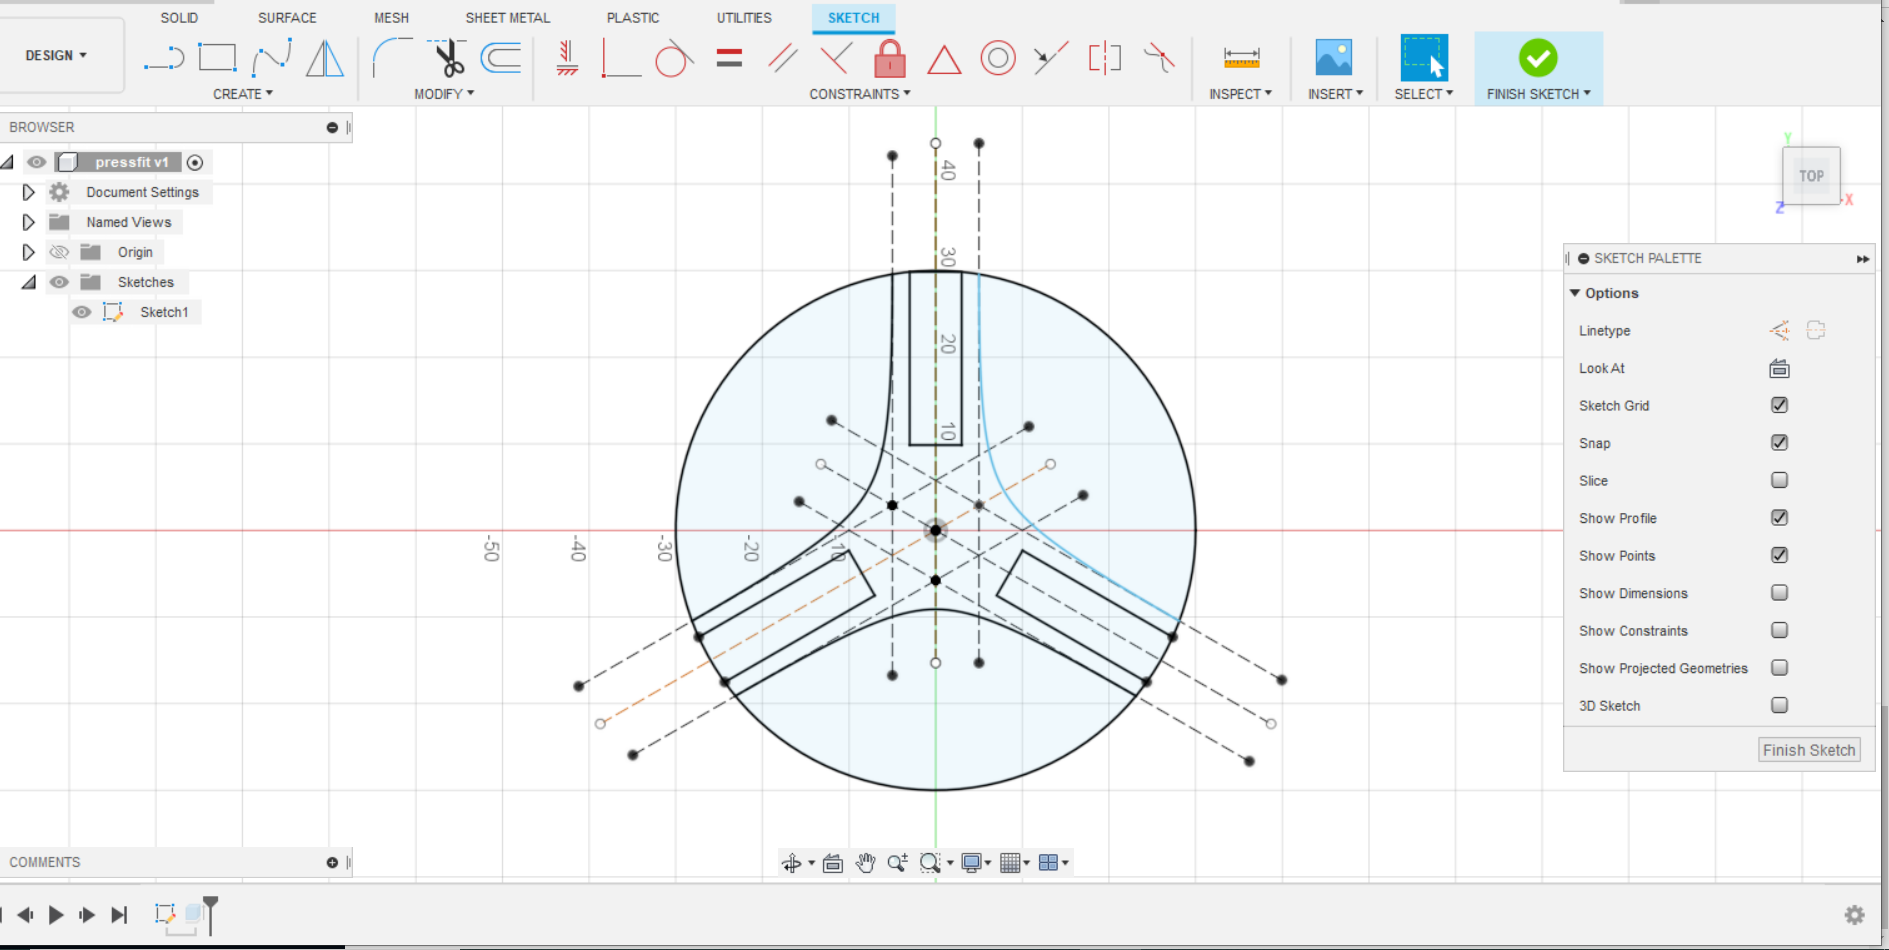
I wanted to create one of these shapes. So my initial idea was to draw a circle and then draw the arcs. After doing that I realised how uneven my arcs looked. After few failed attempts, I asked Mr.Takemura san for help and he adviced me to use construction lines.
Construction lines are temporary linework entities, which is used as a reference wjile creating and positioning other objects or lineworks.
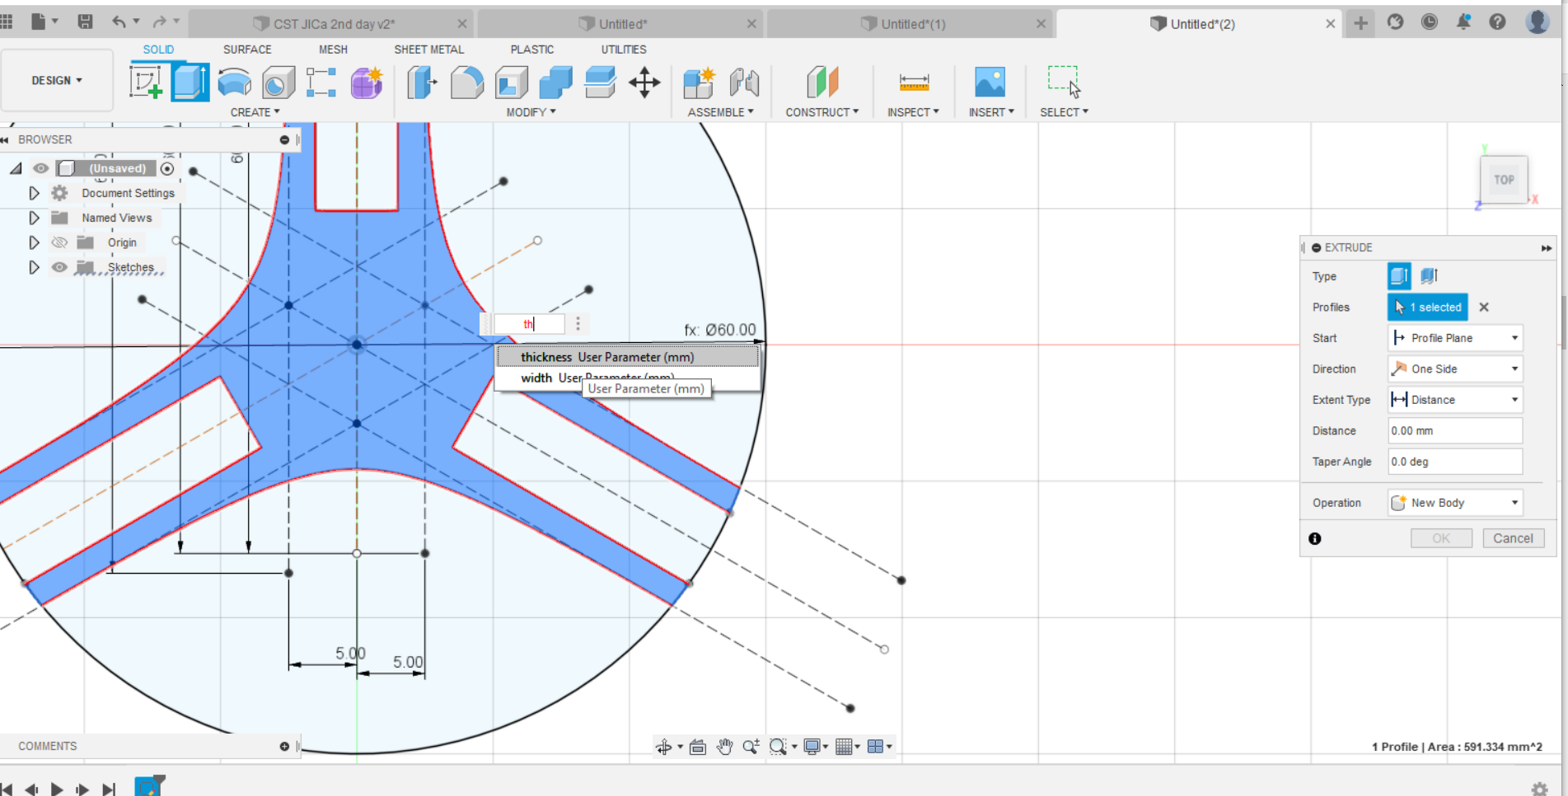
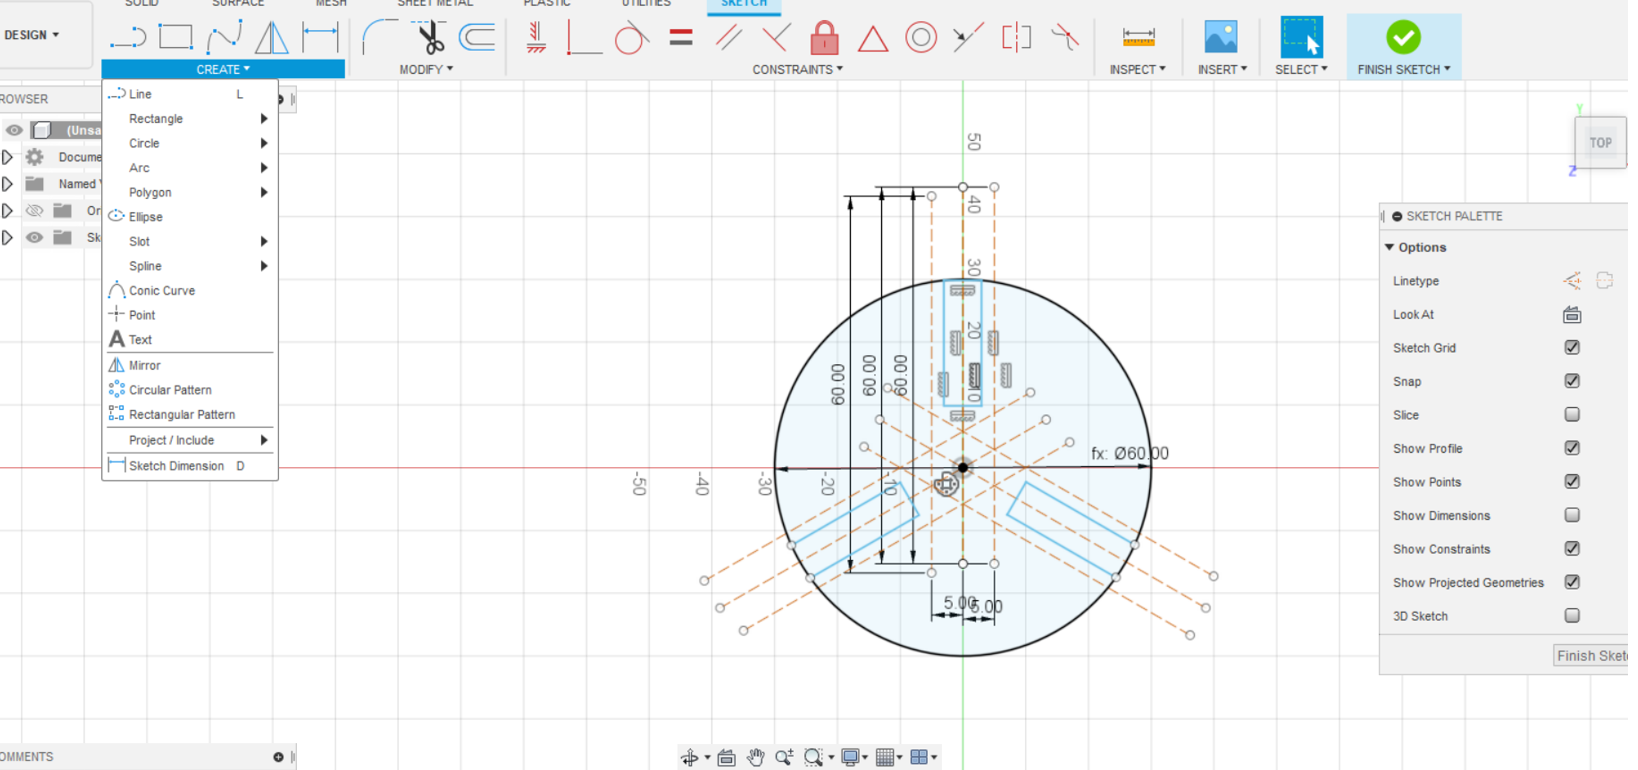
After using constructions lines to help me draw the arcs and to find the mid points for my slots, I used the circular pattern to multiply the slots to three numbers. For this design I used a simple rectangugalr slot and considering the laser kerf, I kept the diameter 4mm.
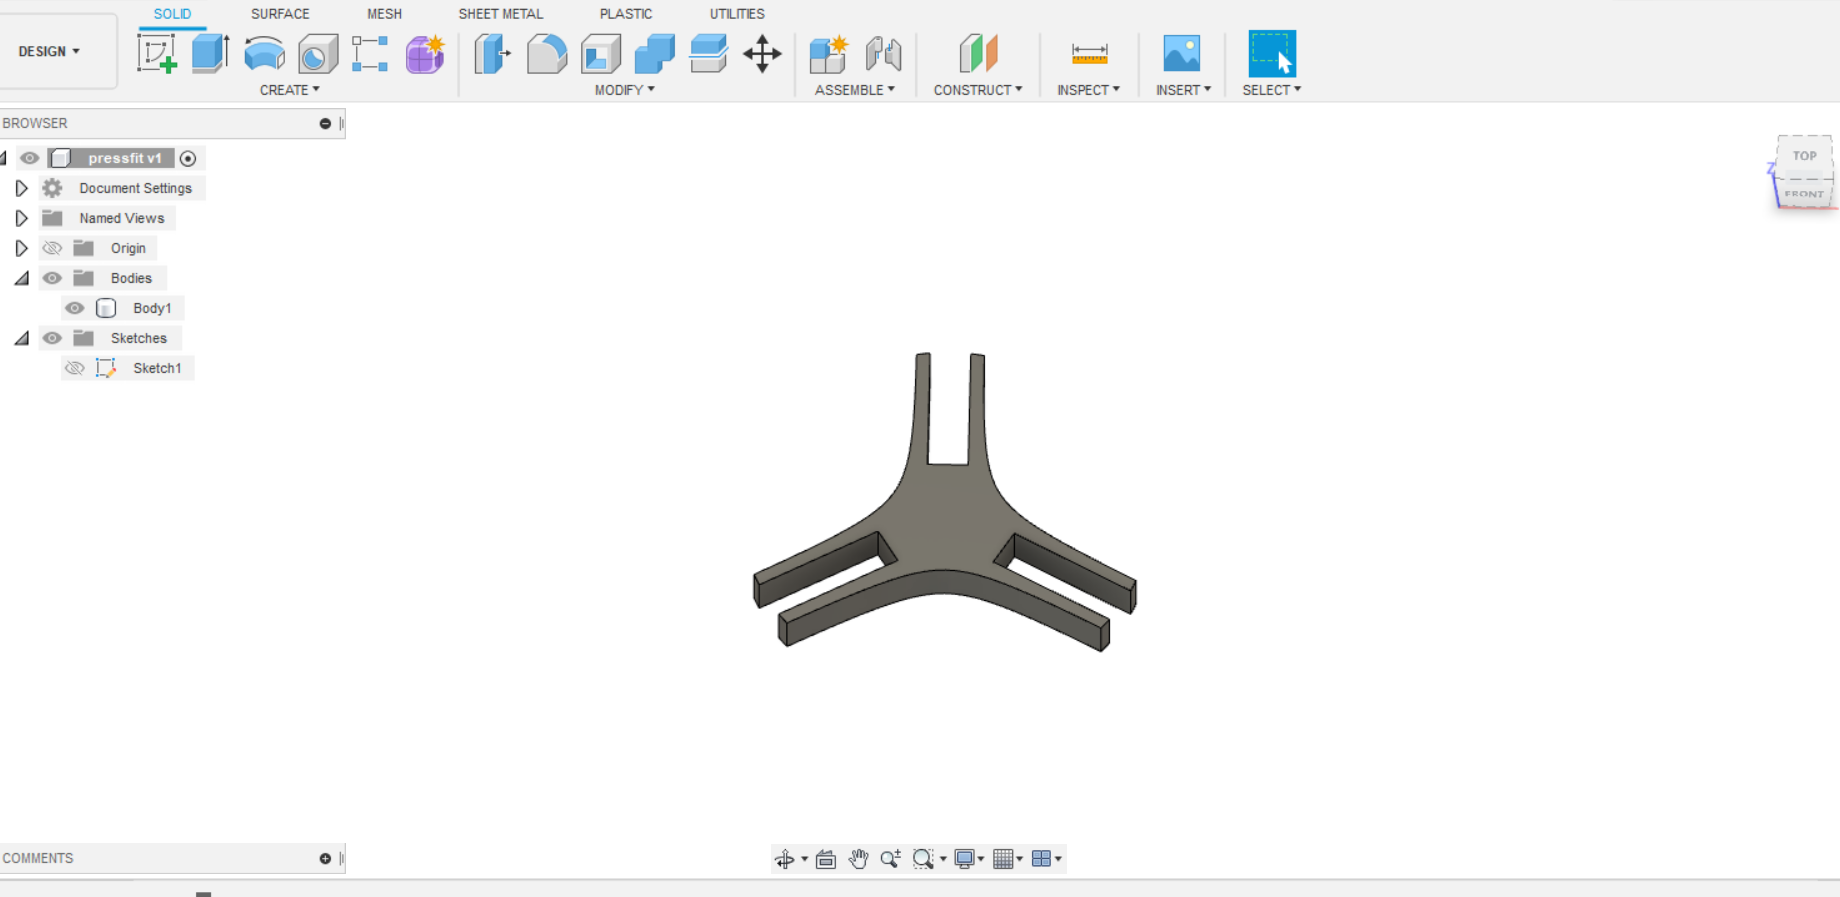
After constraining my sketch and extruding them. I had a design like this. Not really the shape I wanted but functions.
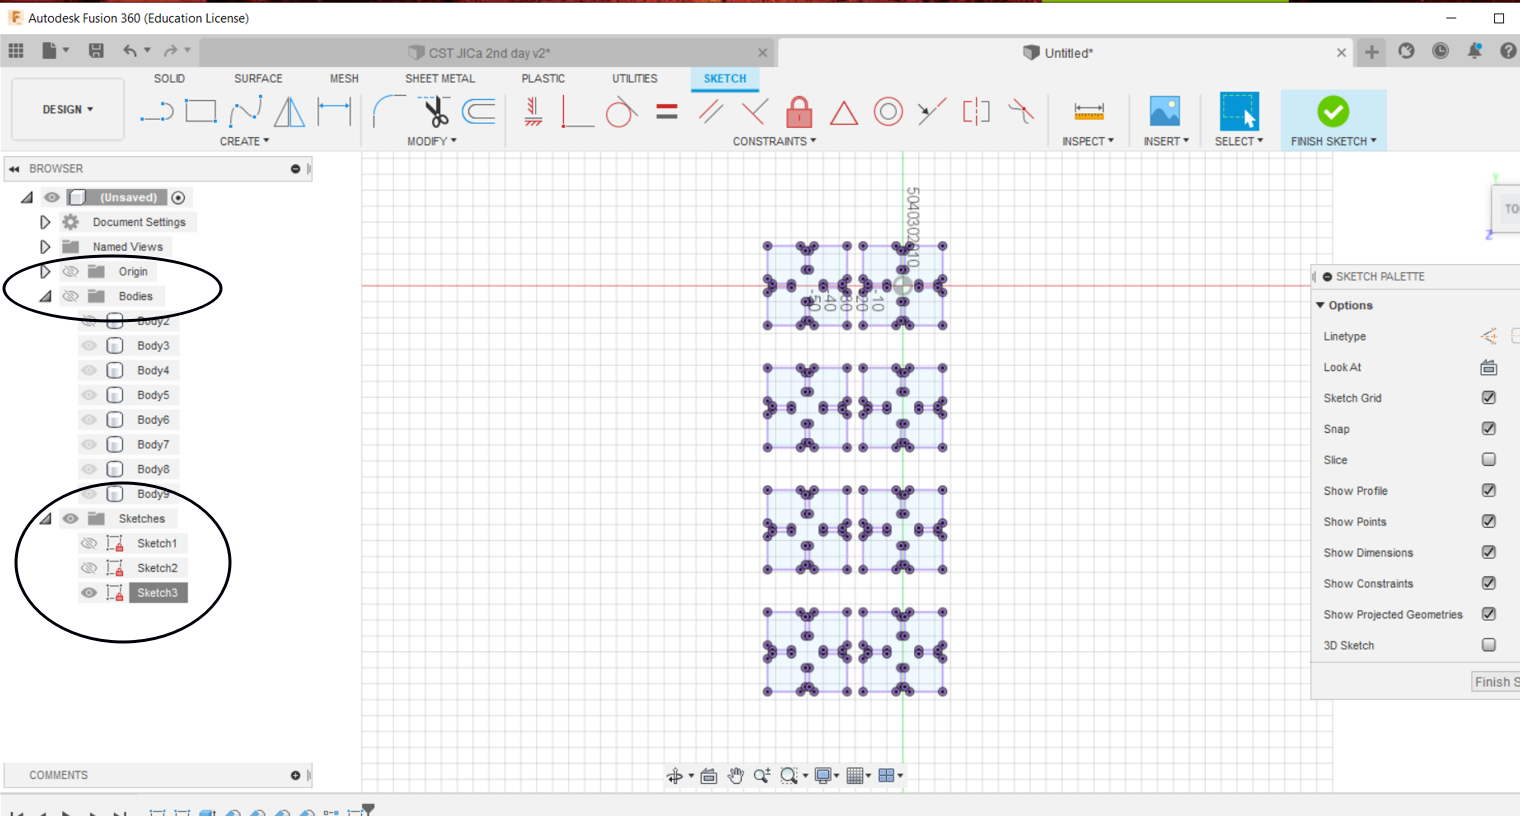
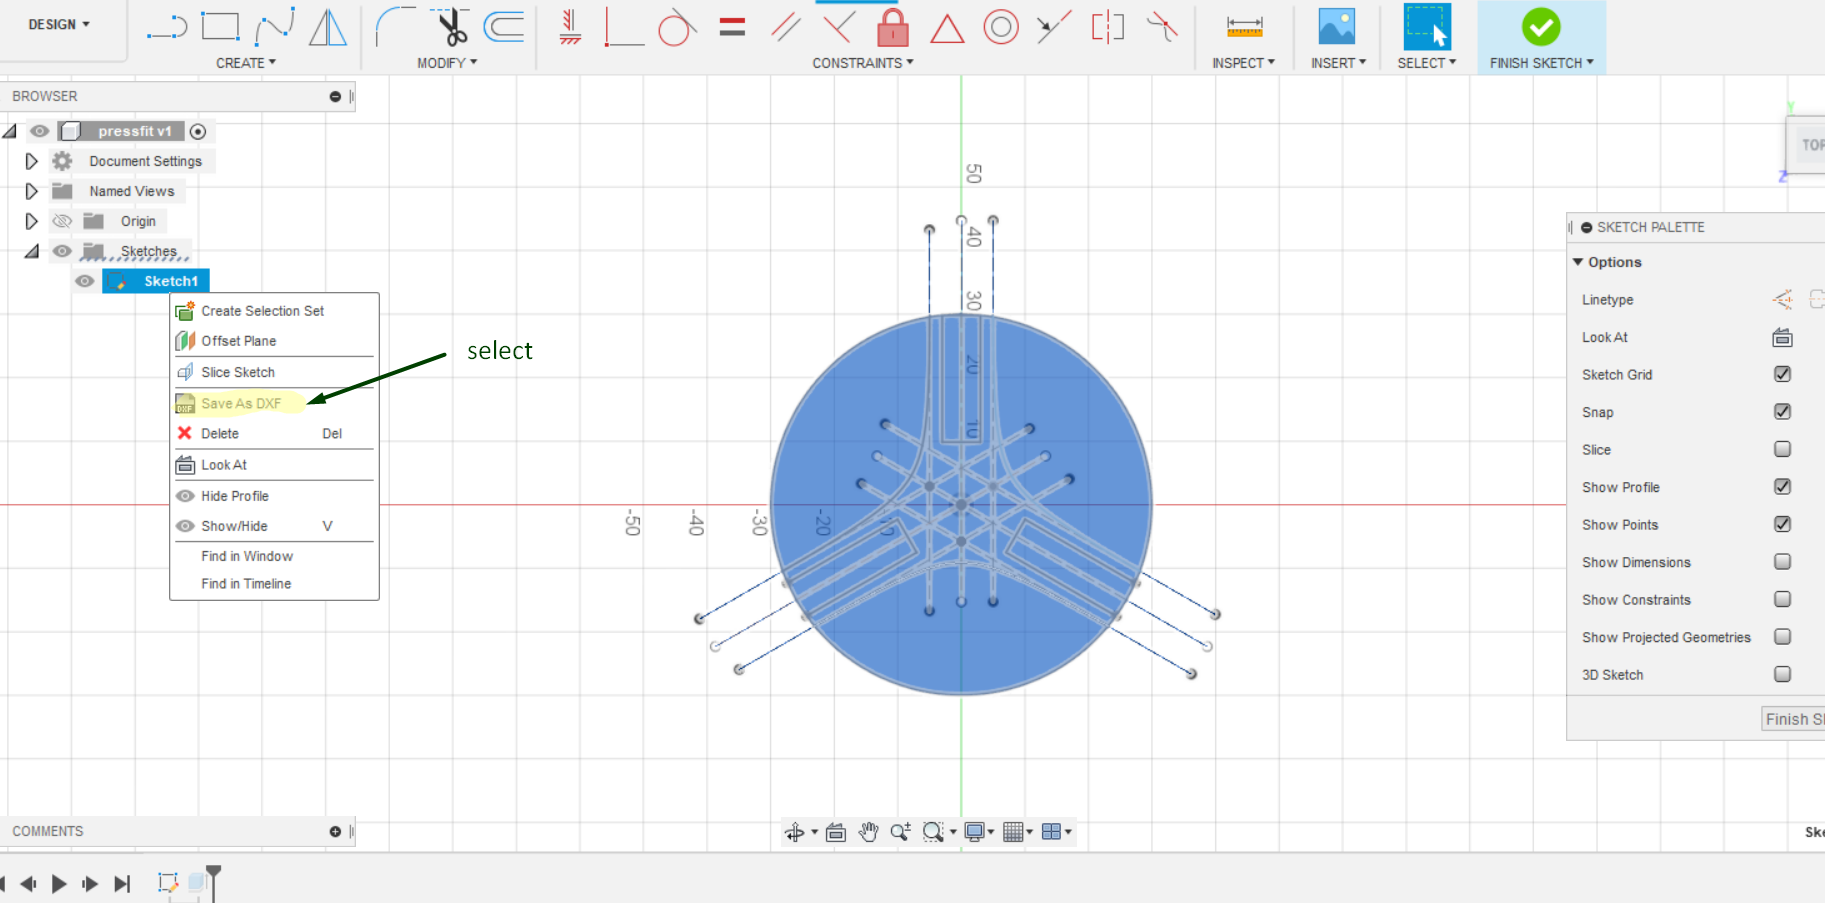
Eporting to DXF file
Laser cutting with coral draw
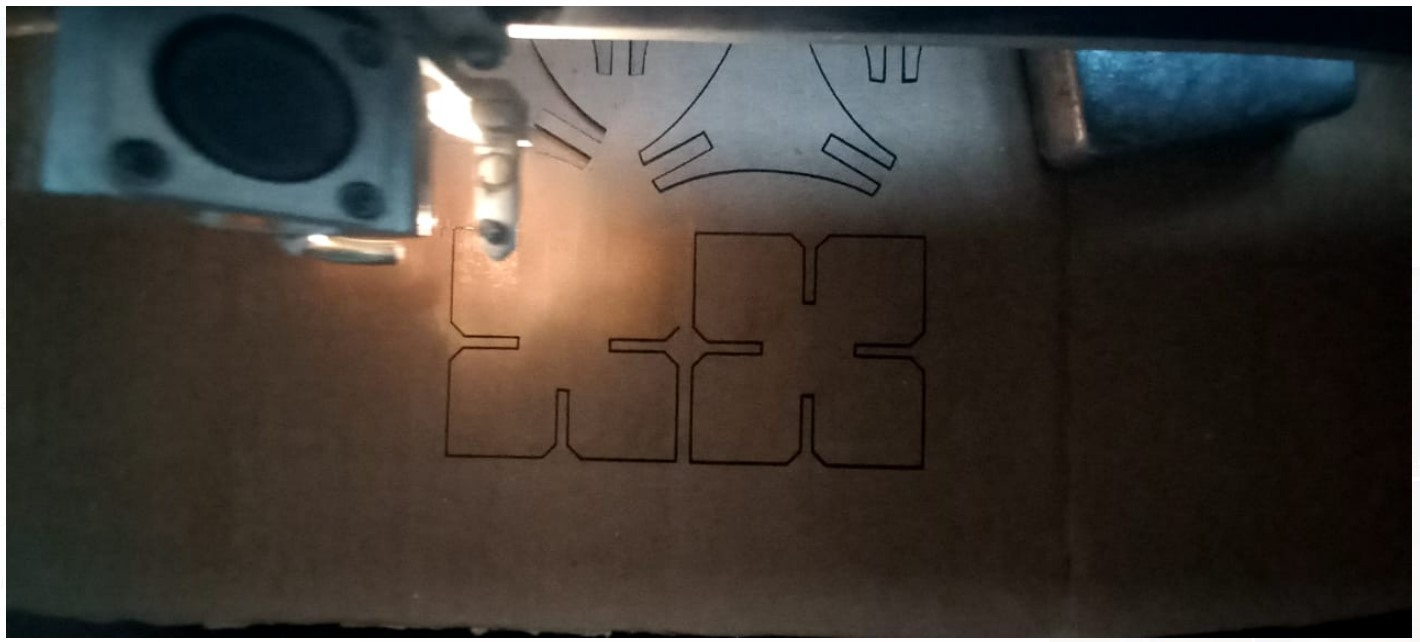
Time to laser cut.
- Heres the steps followed for laser cutting my press-fit kits using coral draw.
- Import the dxf file in coral draw.
- Copy and paste your designs(number of press-fits you will need) and arrange properly
- Then you type Ctrl + P and a change the preferences there.
- I chose the vector setting since I only had to cut the pressfit and had no graphics. I kept my speed at 25%, Power 80% and Freq. to 2500 Hz.
- Job type- if you only have graphics to be printed choose raster. For cutting choose vectoring and if you need to print your graphics as well as cut it, choose combined. For my job, I only need vectoring.
- Piece Size(mm)- insert the work area of your laser cutter. Our Epilog laser cut work area was 609.6mm X 304.8mm
- Don't forget to select Auto foucs. The autofocus pen senses the correct focus distance from the laser head to the target material and signals the Z-axis motor to automatically raise or lower the workbed to the perfect focus height. Take the stress and guesswork out of the focus process and achieve consistent accuracy. Automatic focus saves you both time and labor, so you can stay focused on your designs and laser settings!
Setting up the laser cutter
Since this is my trial and error test, I used a recycled cartoon box (milk packaging box) as my material. Since, we don't have access to materials easily due to the lockdown restrictions, its important to make wise and good use of our resouces. It also helps with recycling.
- Simple steps to set up laser cutter
- Put on the power and the exhaust fan (very important!)
- On the control panel, disable the X and Y motors.
- With the Red Dot Pointer turned on, move the carriage by hand so that it is placed at you new home position.
- Press the "Set Home" button and you're done!
The process
Final result
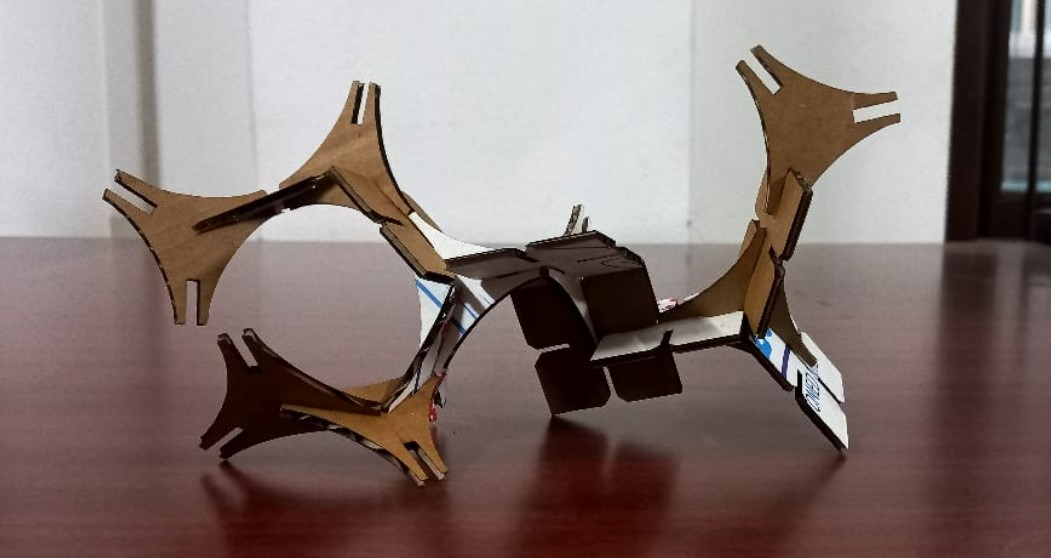
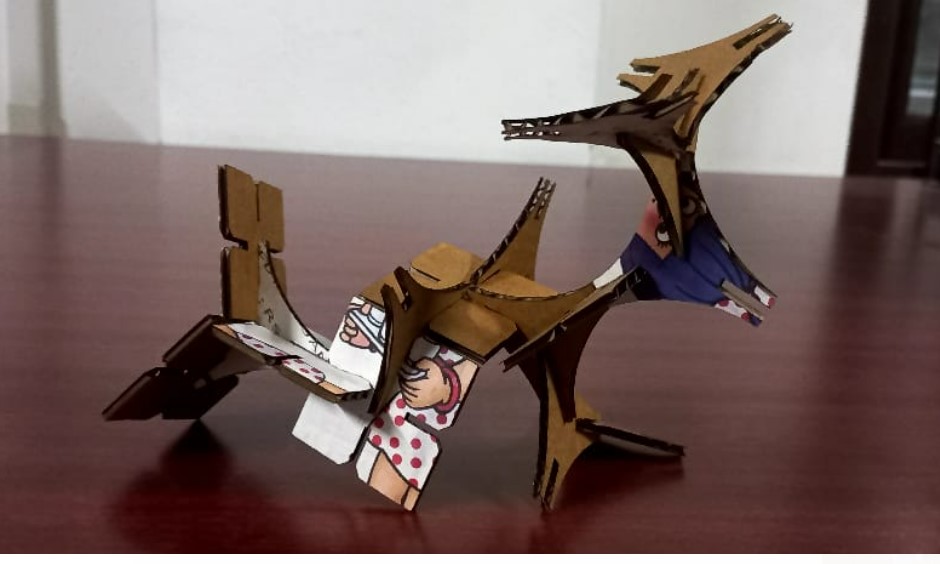
A Reindeer to the rescue.
Vinyl Cutter
When you say Vinyl cutter, the immediate idea that comes into my head is Customized Stickers. Had the best experiece with it.
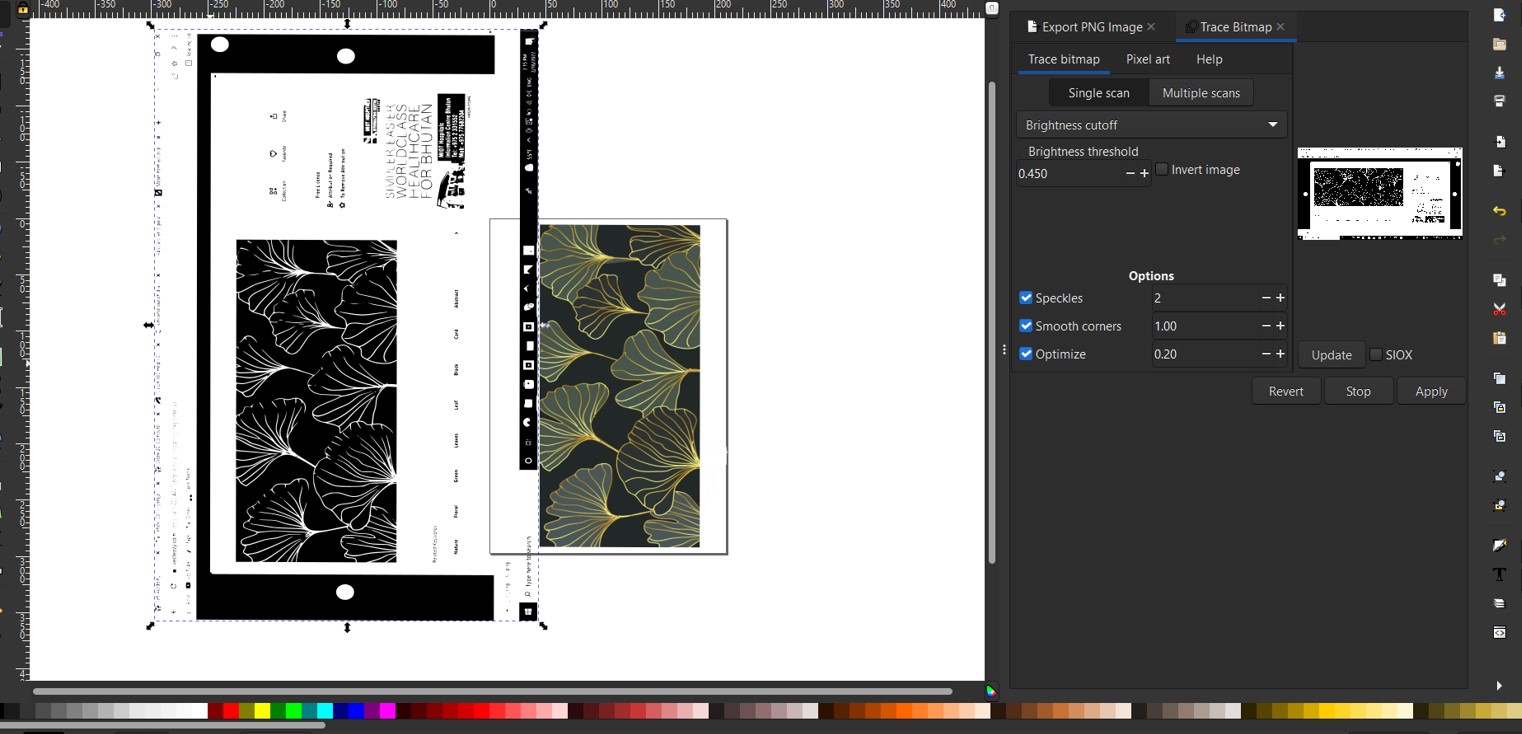
So we were to design something and print it using Vinyl cutter. For my design I downloaded few images and imported it into Inkscape to vectorise it. Vectorising images in inkscape is quick and easy.
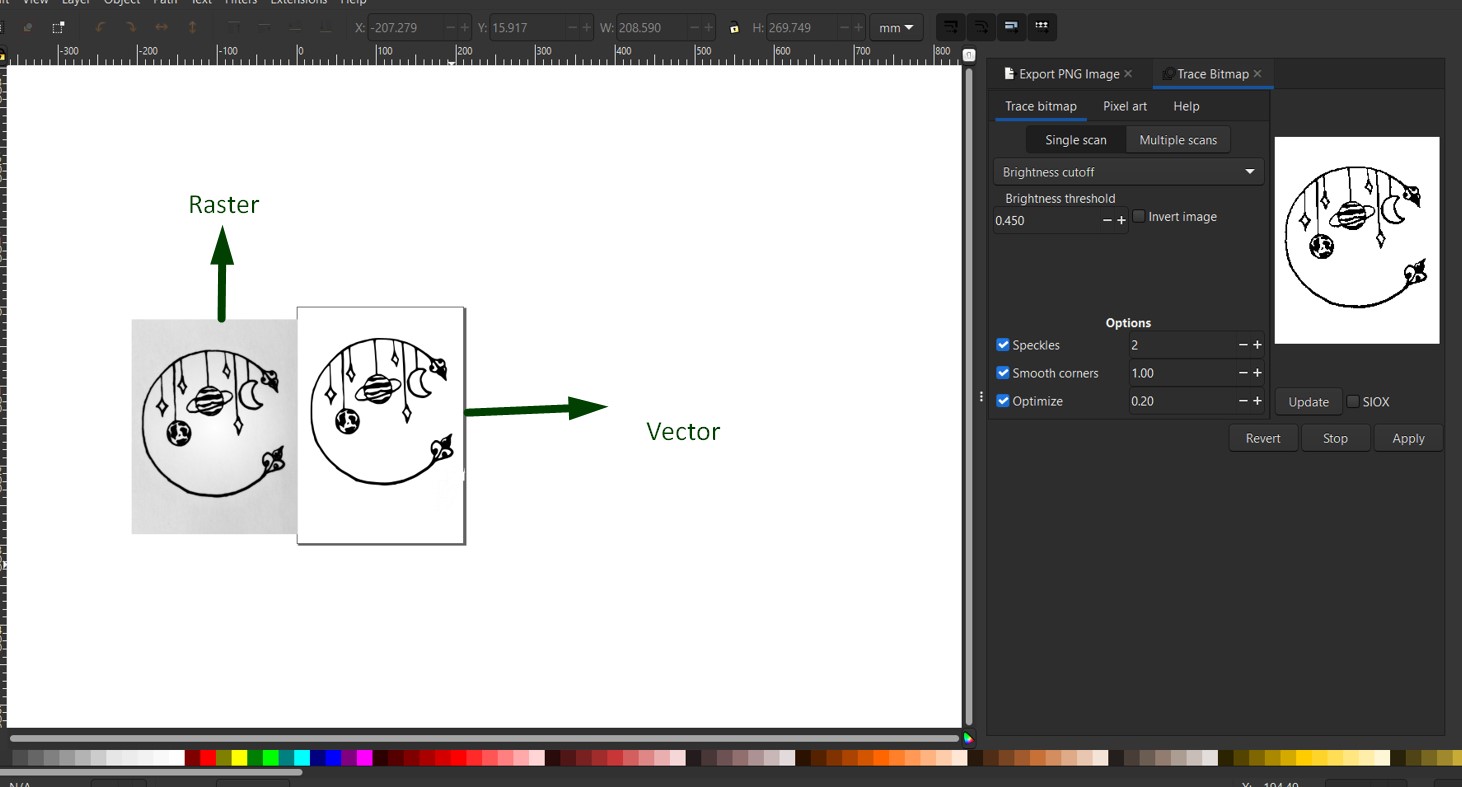
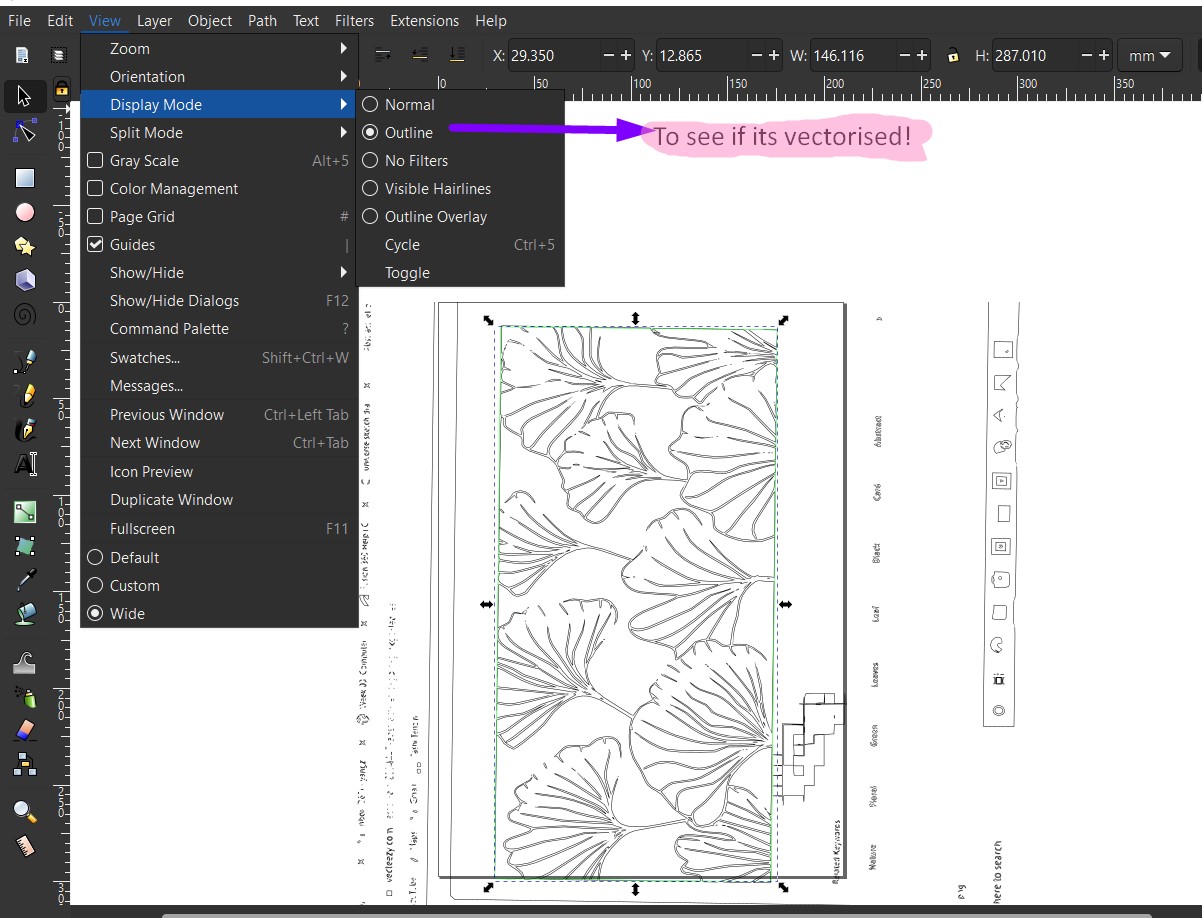
After this make sure you check that your design is vectorise. For that click on the View tool bar-select the Display mode-and selct the outline. If you see the outlines for your design then you are good to go.
Printing time!
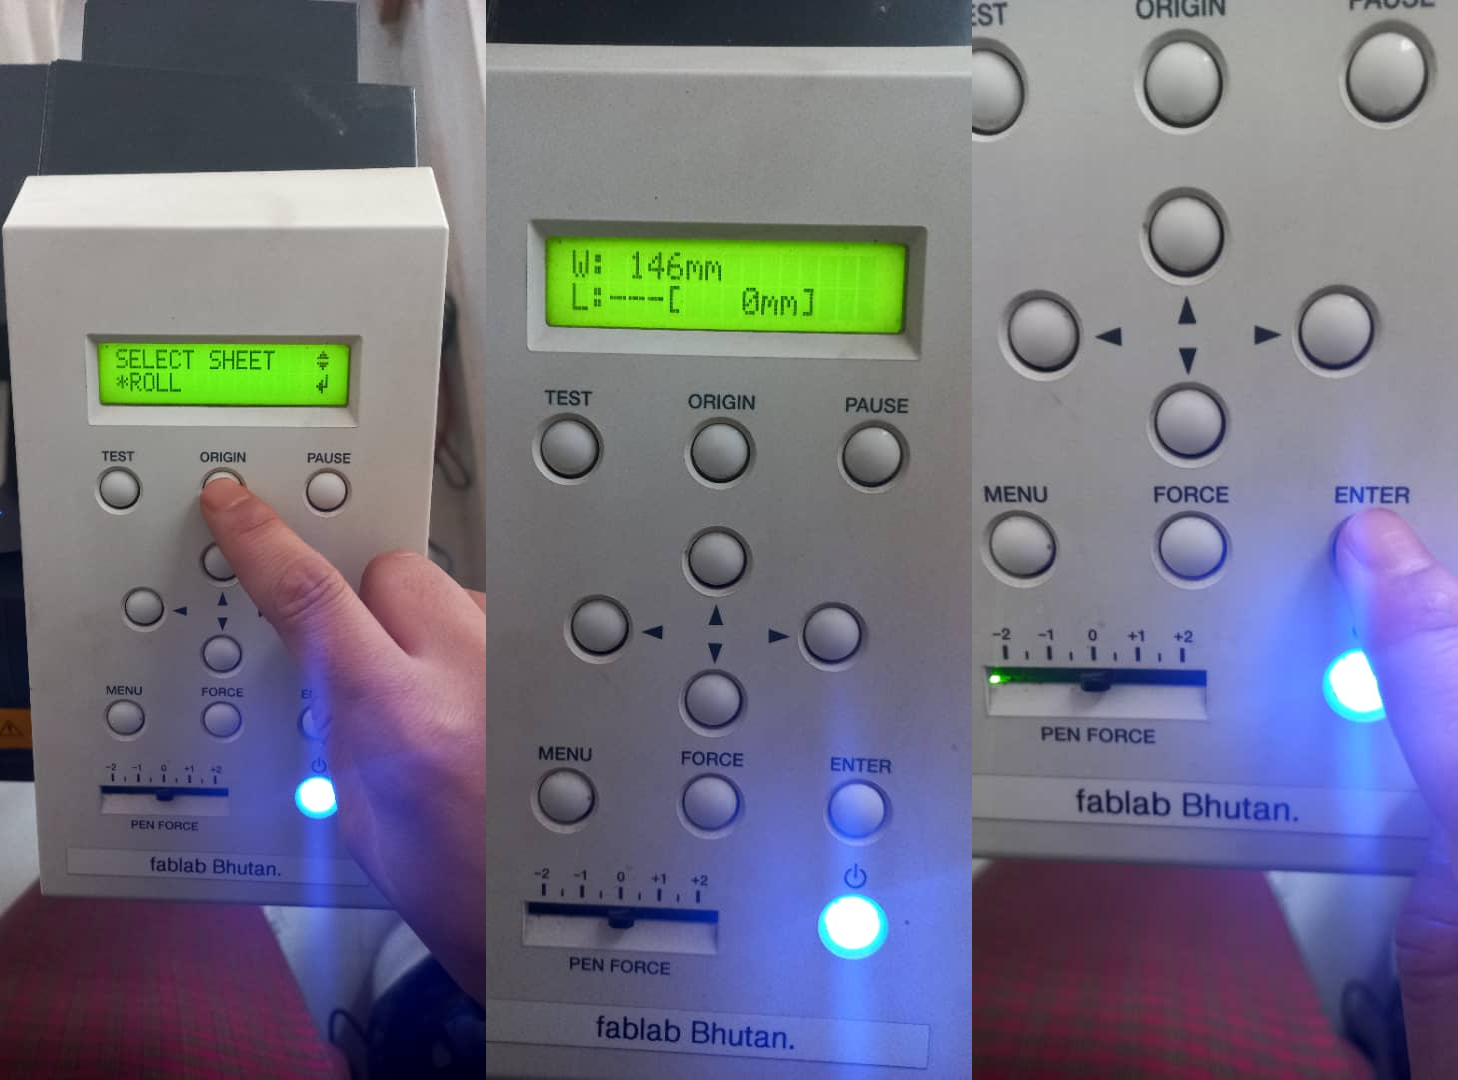
Simple steps to print in Vinyl cutter
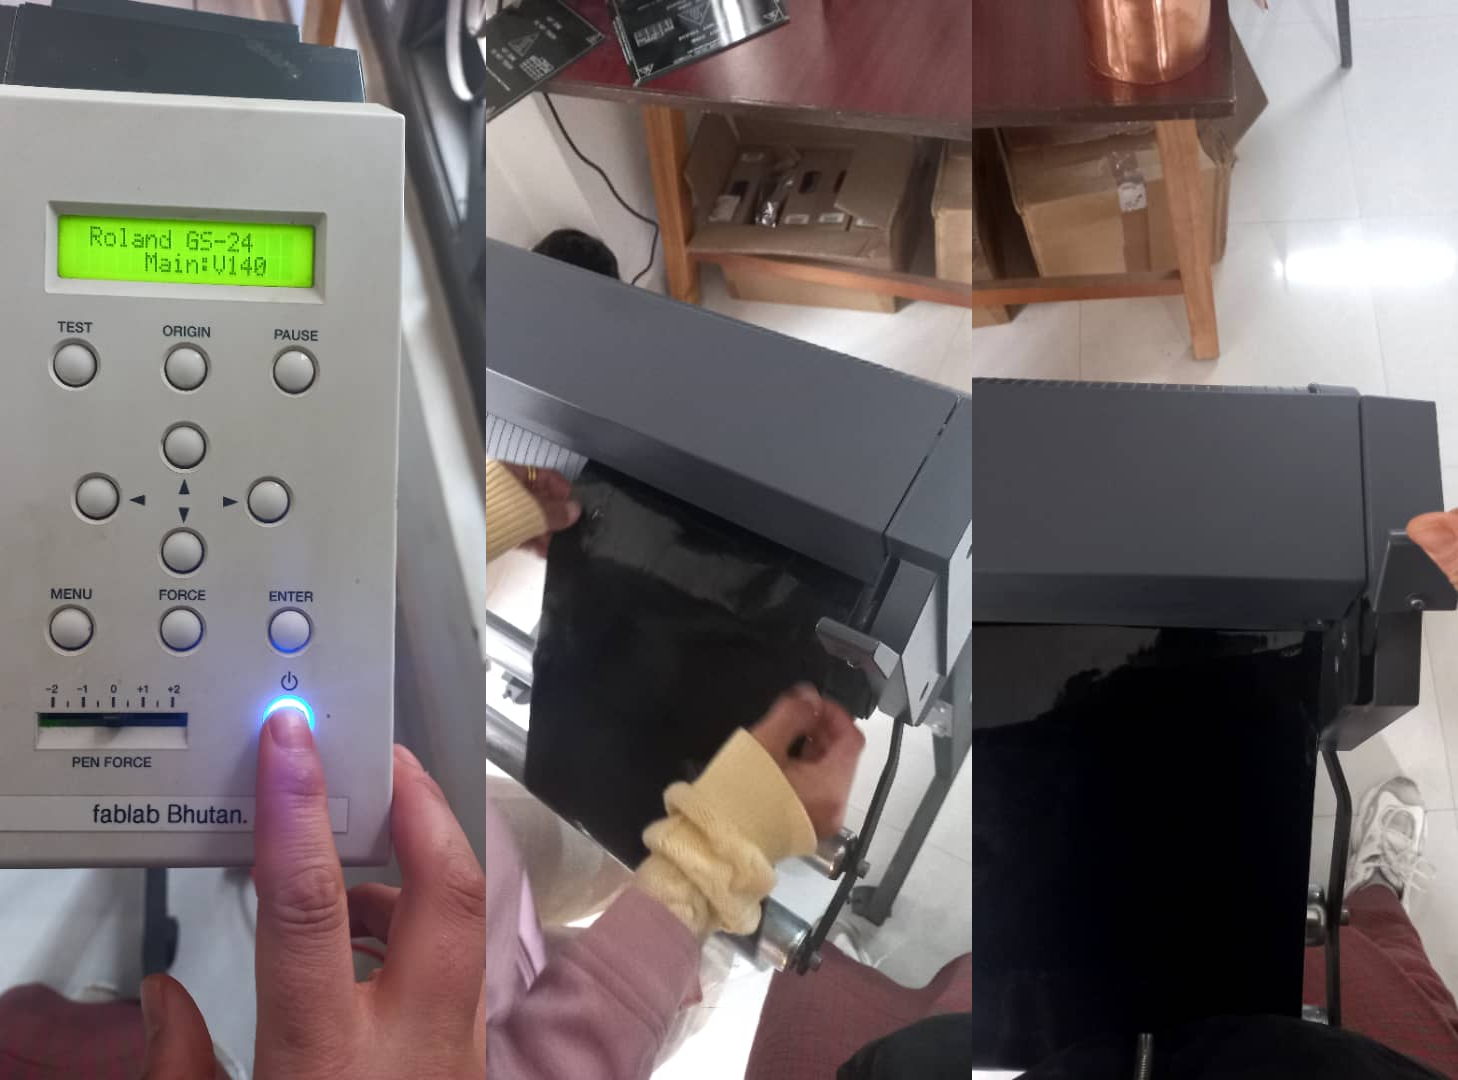
- Put on the Vinyl cutter by pushing the power button on
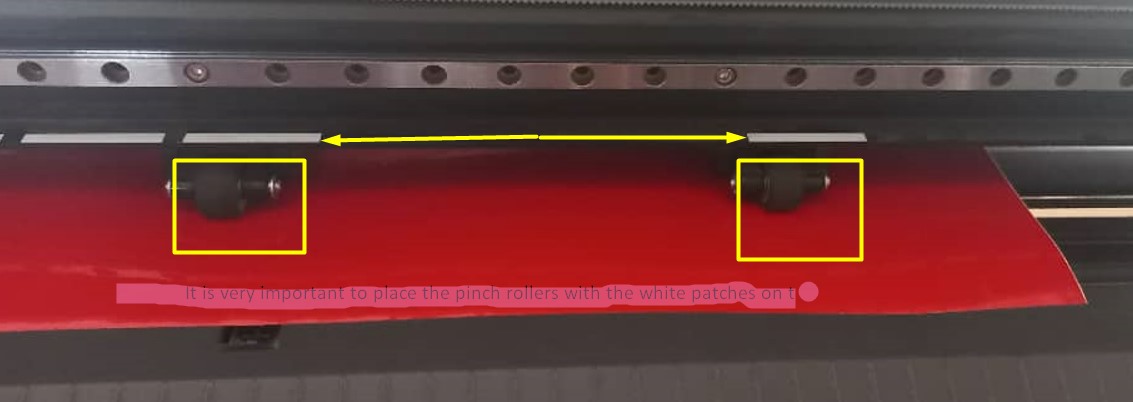
- Pull the lever like thing on side and insert your material. Its important that you place the roller right below the white patches above.
- push the lever back.
- set the origin
- And press enter
Post Processing
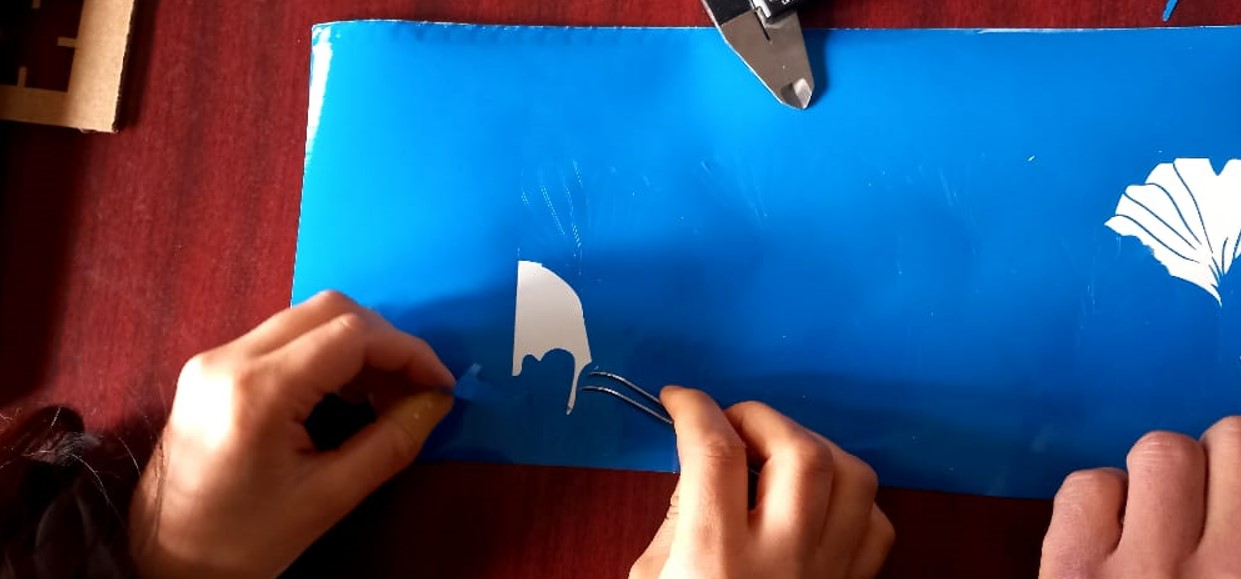
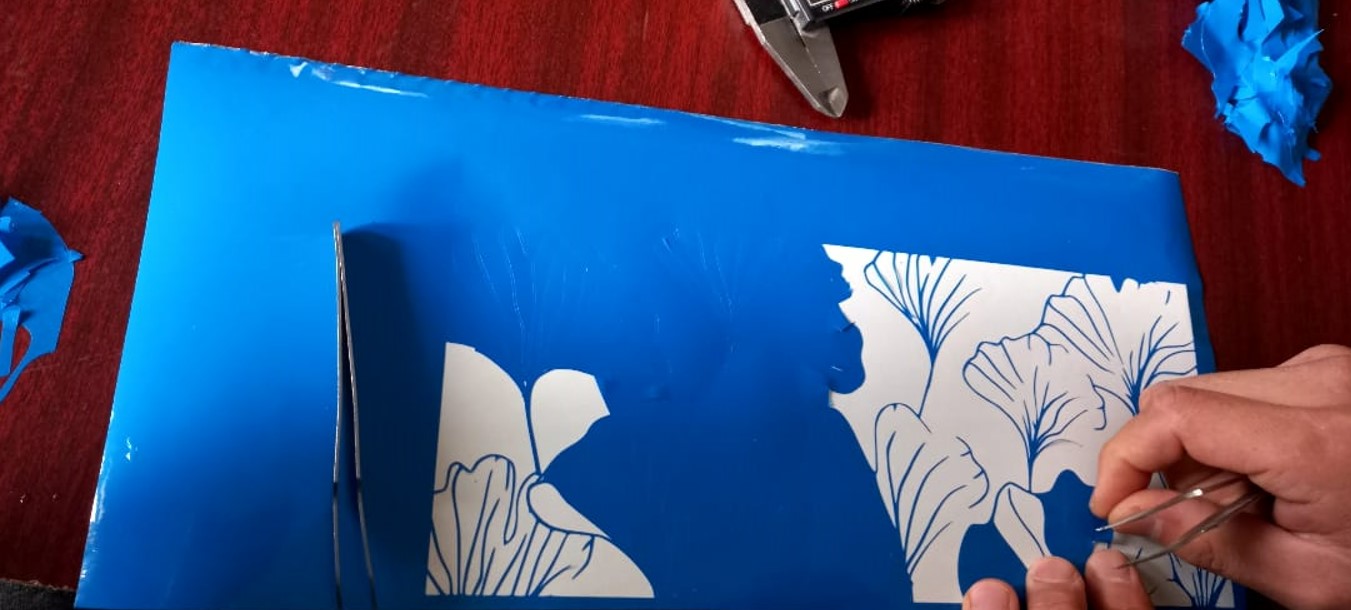
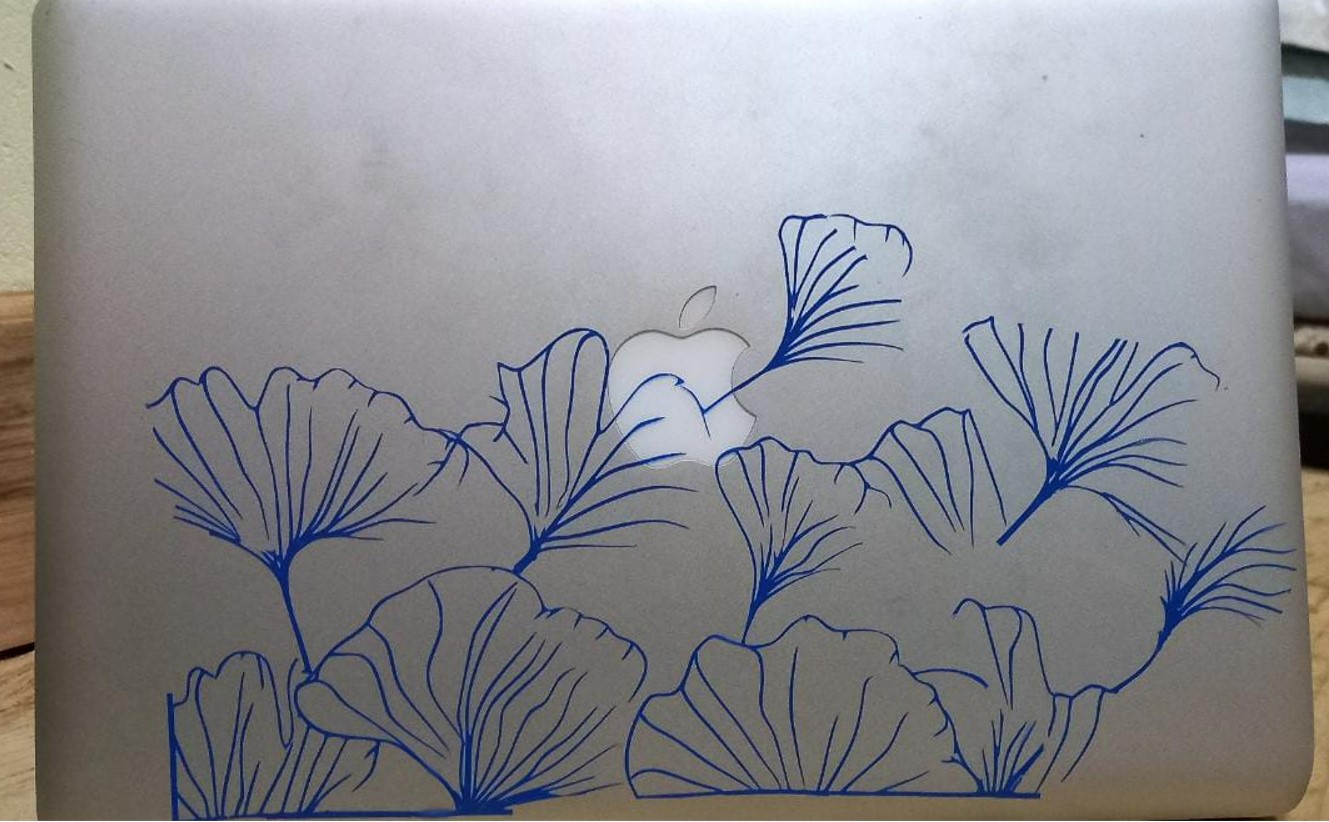
This is definetly the trickest part of the whole process.It literally took me half an hour and help from three of my collegues and guru to tranfer the sticker on the laptop.
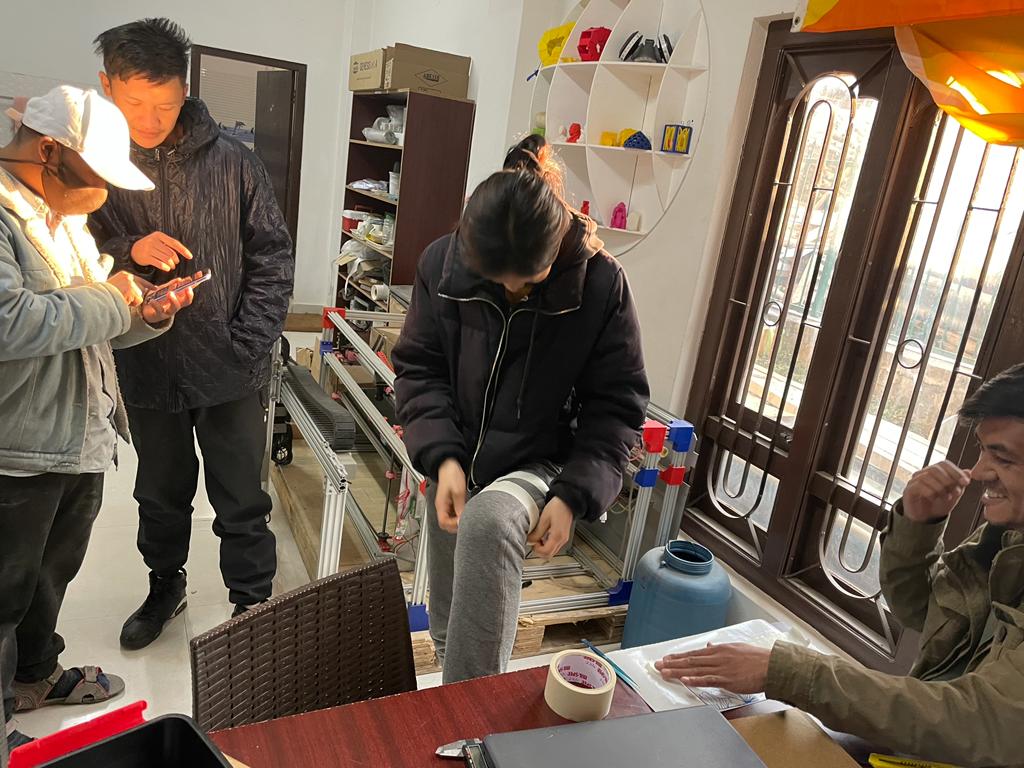
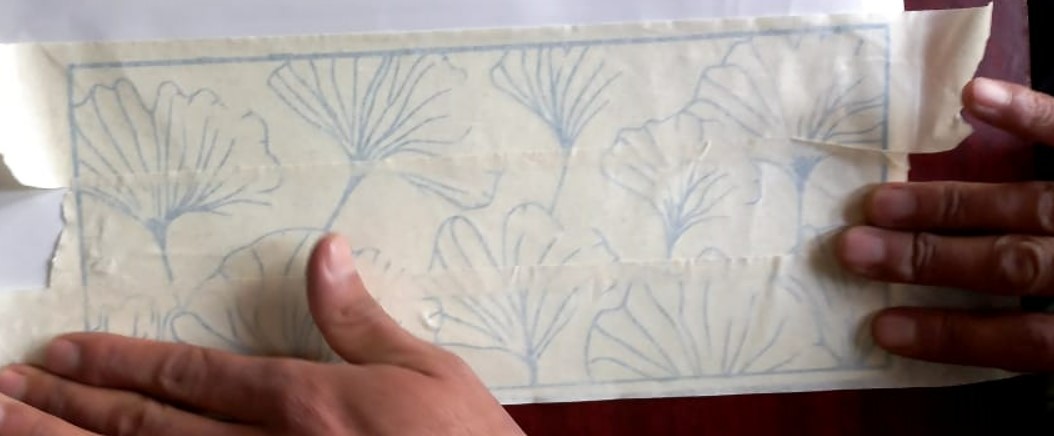
Since we didnt have transfer sheet to transfer the sticker, we used masking tape. The masking tape was too sticky so we reduced its stickiness by rubbing it on our cloths.
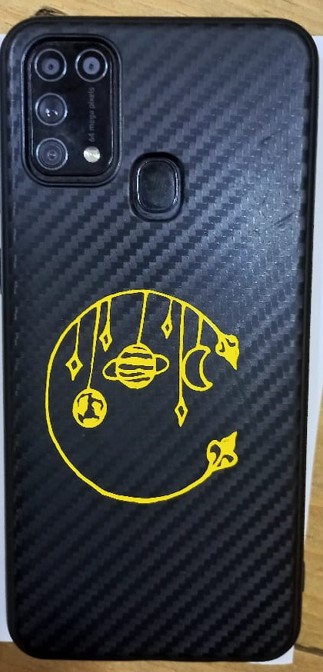
Final output
Group Assignment
Click here for the group assignment.
Files
Paramatric Design FileParamatric Design File 1
Vinyl Cutter Design file
Vinyl Cutter Design 1
Vinyl Cutter Design 2

