Test the design rules for your 3D printer(s).
For this week’s assignment, we looked at 3D Scanning and printing. The group assignment was to test the design rules of the Labs 3D printer(s), document the work done, and explain the limits of the printer(s).
3D printing uses computer-aided design (CAD) to create three-dimensional objects through a layering method. Sometimes referred to as additive manufacturing, 3D printing involves layering materials, like plastics, composites or bio-materials to create objects that range in shape, size, rigidity and color.
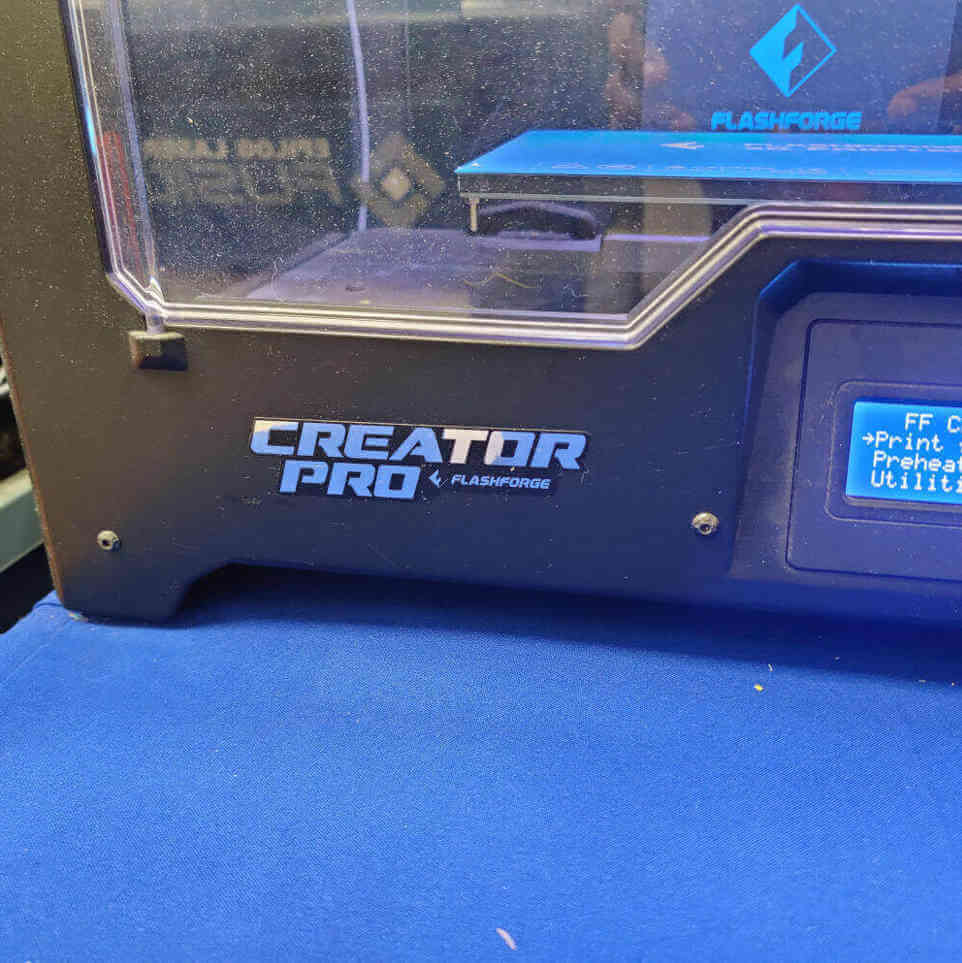
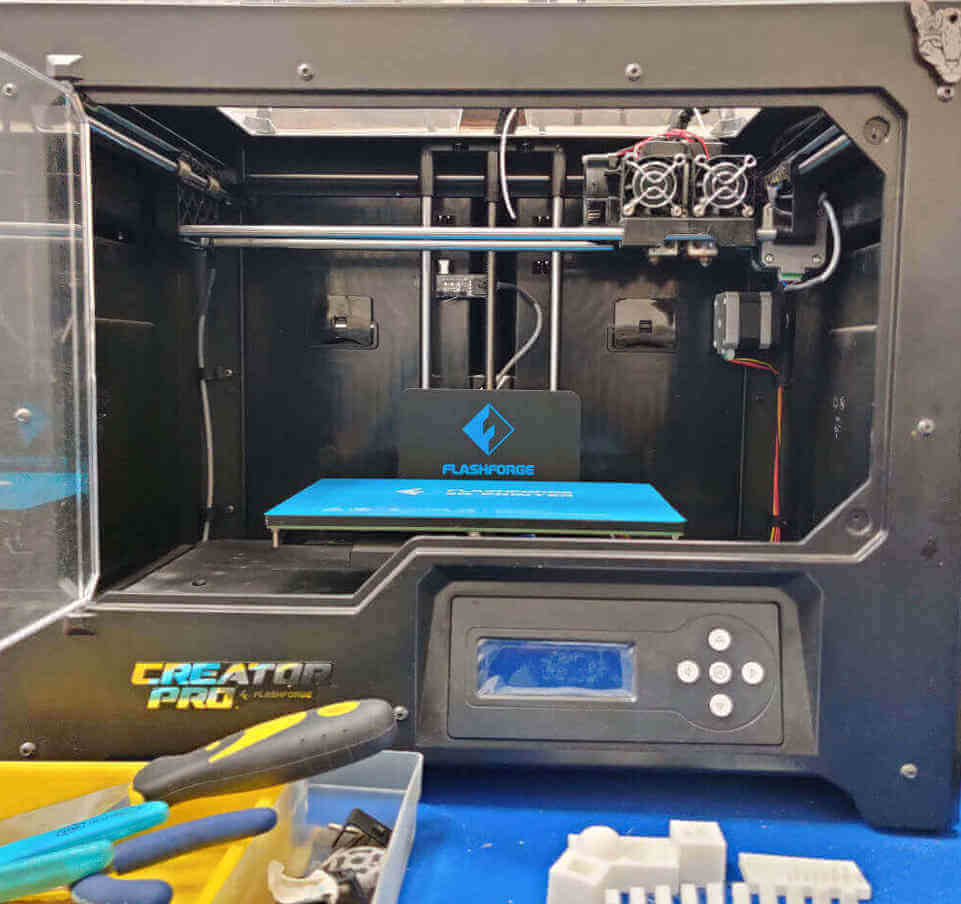
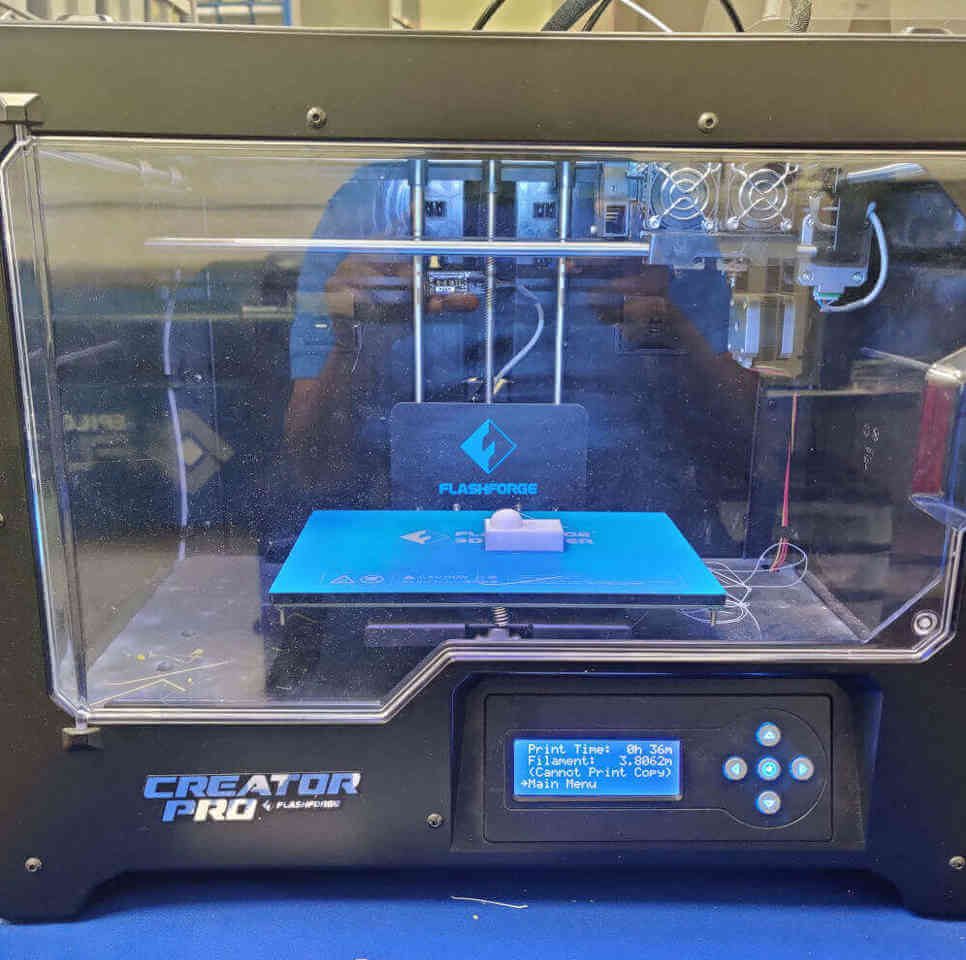
In the Lab we currently have the Flash Forge Creator Pro based on open-source technology. It allows owners to upgrade various parts of the printer, making it very flexible. This 3D printer has the following features:
The Flash Forge Creator Pro is not restricted by proprietary software meaning that users have many options to use when working with this printer such as:
Note: ReplicatorG is currently software used with the printer.
The build plate is approximately 6.5mm thick and made from aluminum. It also has the additional ability to be heated to various temperatures meaning that it can work with different materials.
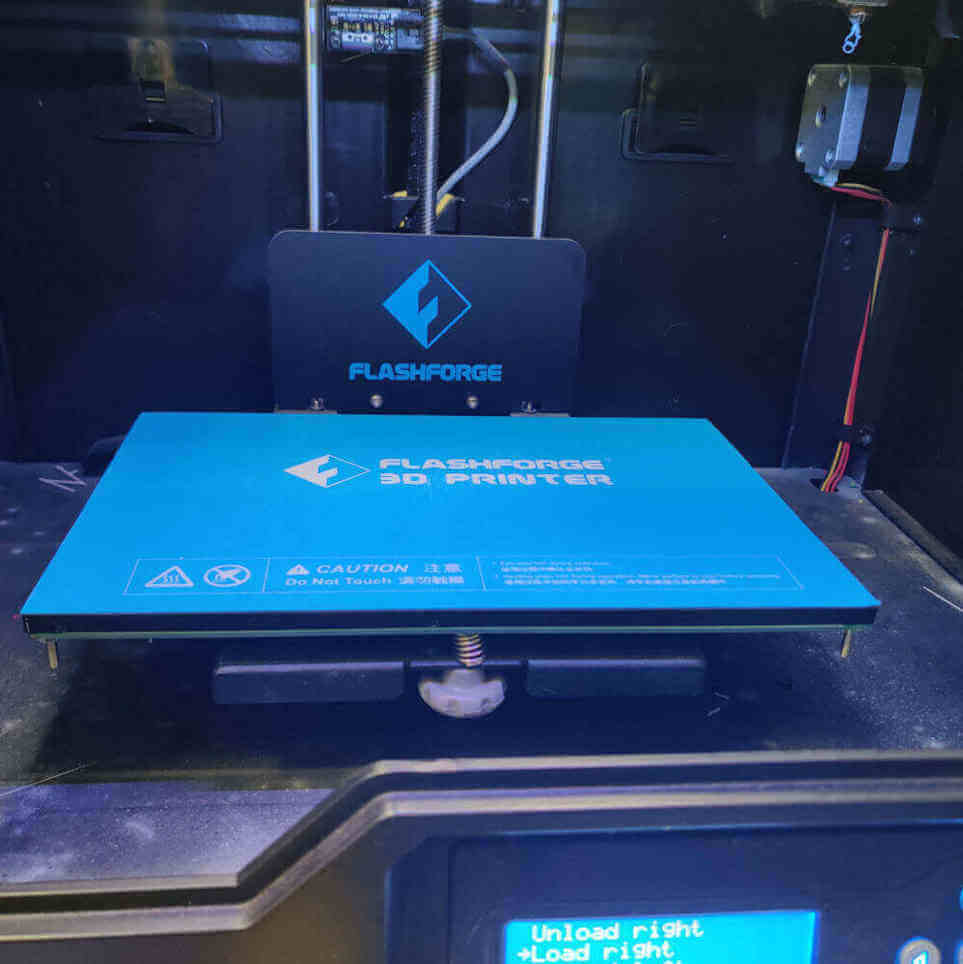
Note: Be cautious not to burn your hand when removing parts from the bed.
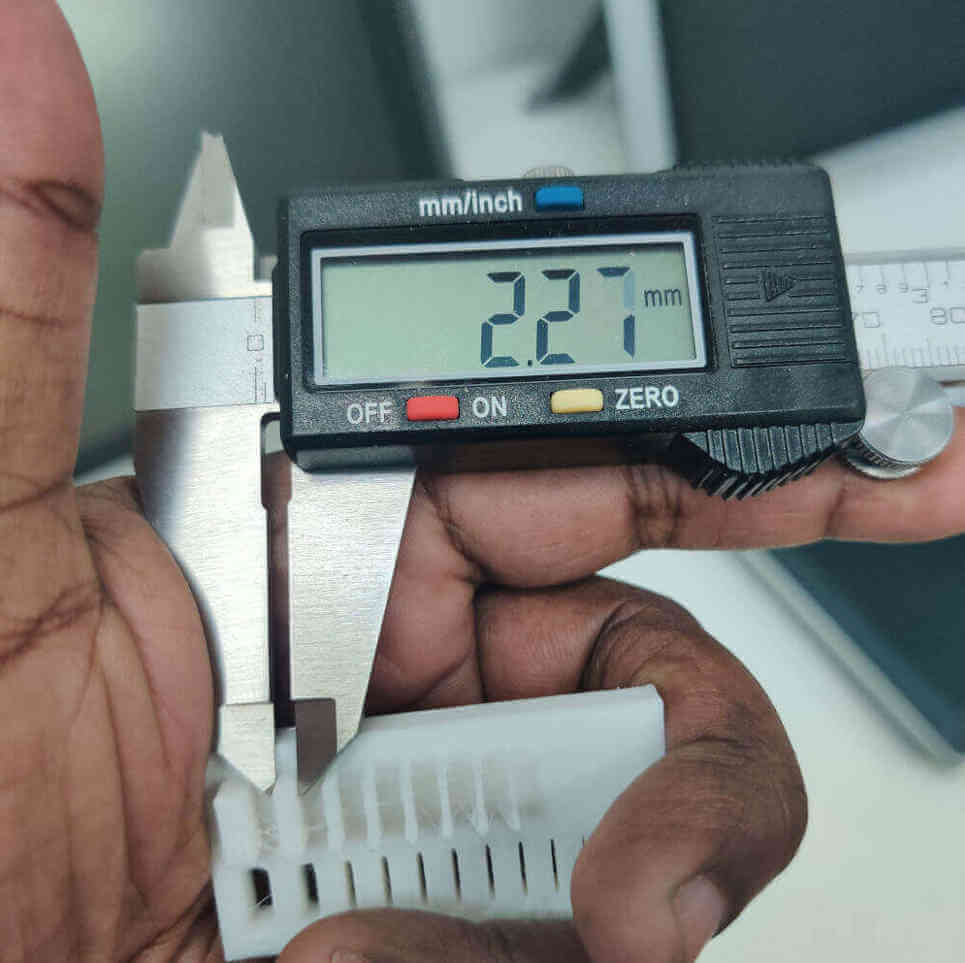
The build volume of this machine is approximately 227mm (L) X 148mm (W) X 150mm (H) or 8.94inches (L) X 5.83inches (W) X 5.91inches (H).
Note: If parts or models are larger than the build volume, consider breaking up the model into smaller parts that can be printed by the machine and then assembling after.
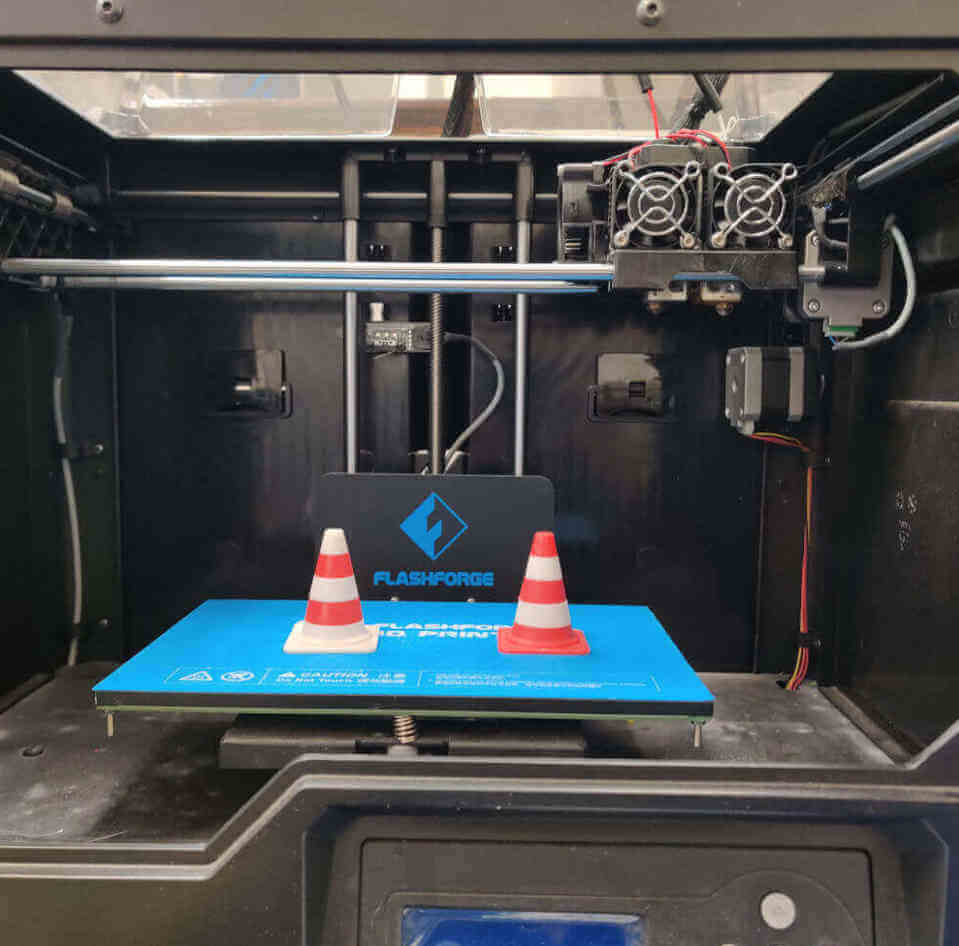
This printer is a dual extruder (left & right) and allows for smooth filament loading. The extruders also contain fans to improve modeling and both extruders can also print at the same time. Also, by the nozzle diameter for both extruders are .4mm and can reach temperatures of 240 C (463 F).


Note: Dual extruders allow for the printing of two materials at the same time increasing model variety.
Apart from its ability to use two materials at the same time the printer also allows this use of different types of materials such as PLA, ABS, woodfill, copperfill, brassfill and flexible filament.
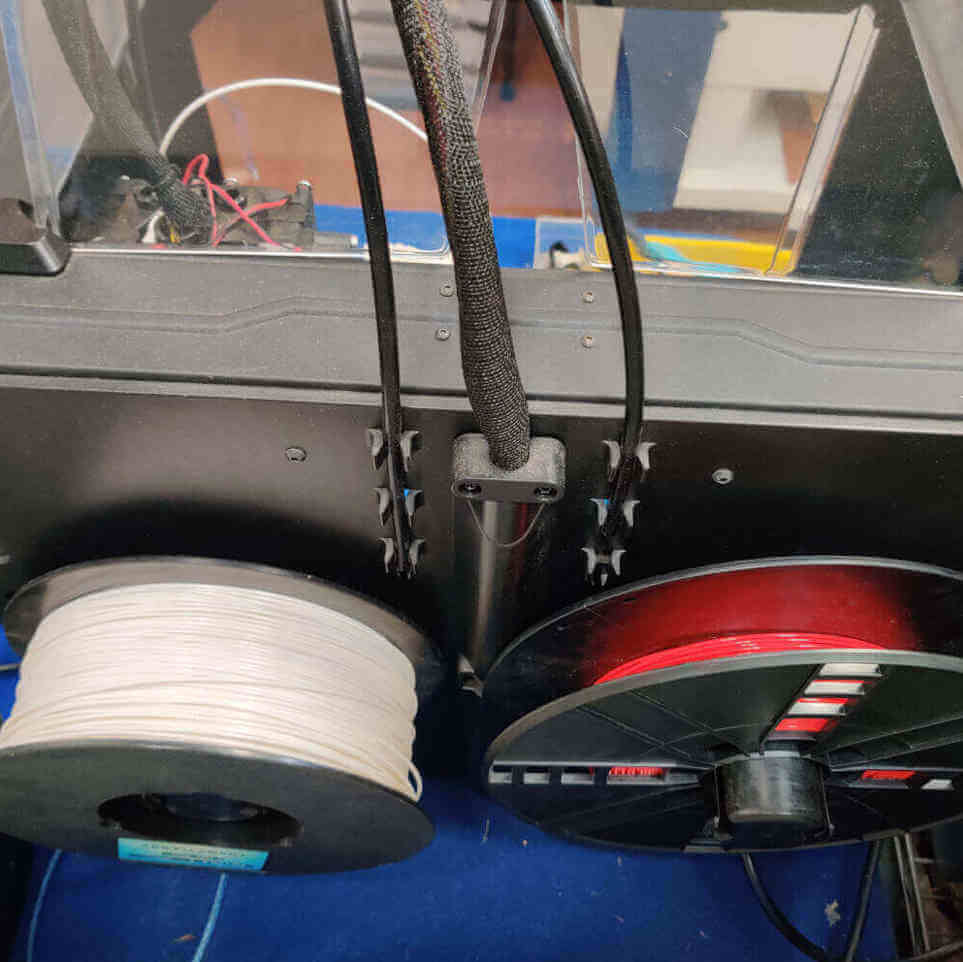
Note: Each filament may require a different temperature to be used effectively.
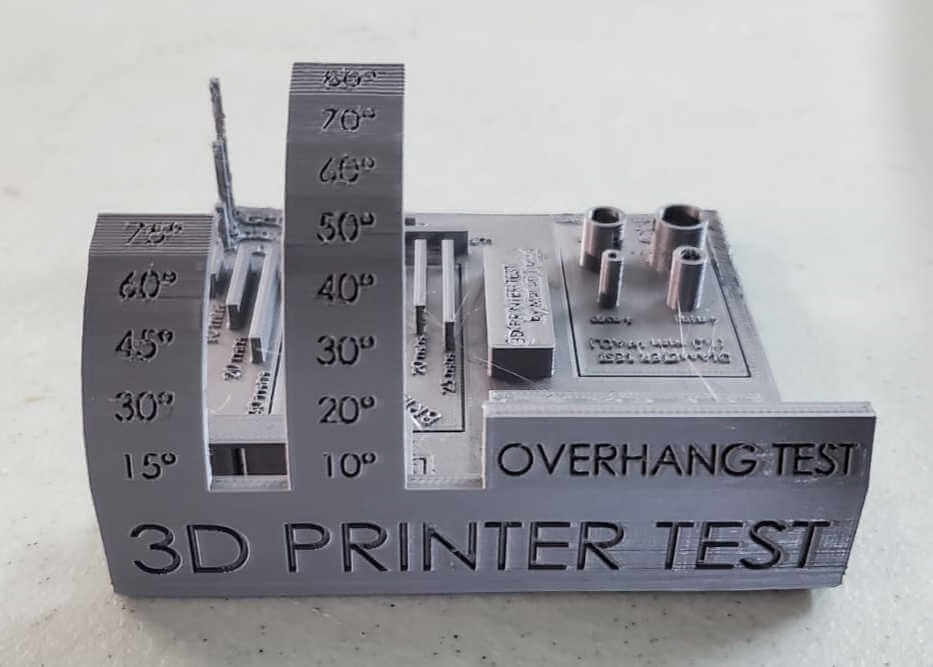
In order to test the limitations of the printer we used the various test builds provided on the Fab Academy Schedule for the 3D Scanning and Printing week click here
This test looked at what angle could be successfully printed without requiring any support. The angles used were 0,10,20,30,40,50,60,70,80 &90. Following the test, it was observed that angles between 0-40 all had some defects whereas 50-90 appeared to be ok.

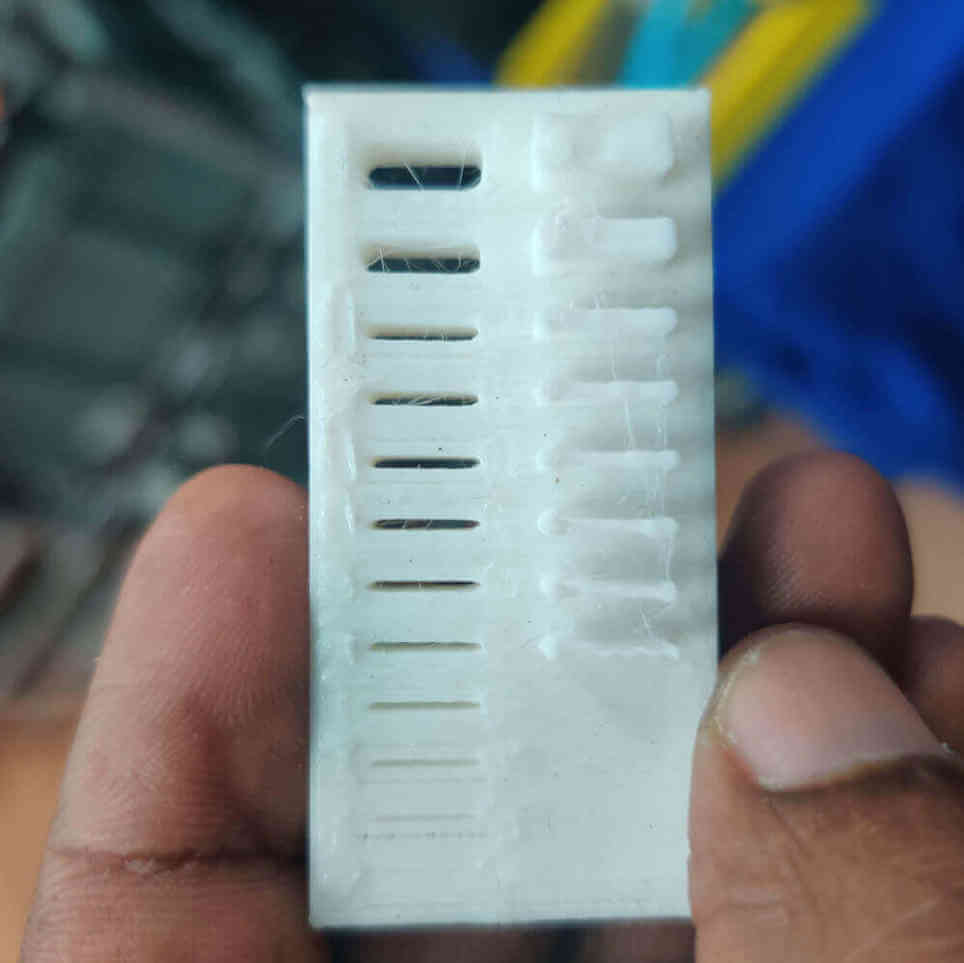
This test looked at the distance that material can be placed without having support. The distances used were 1mm to 10 mm. Following the test, it was observed that most of the pieces had errors.
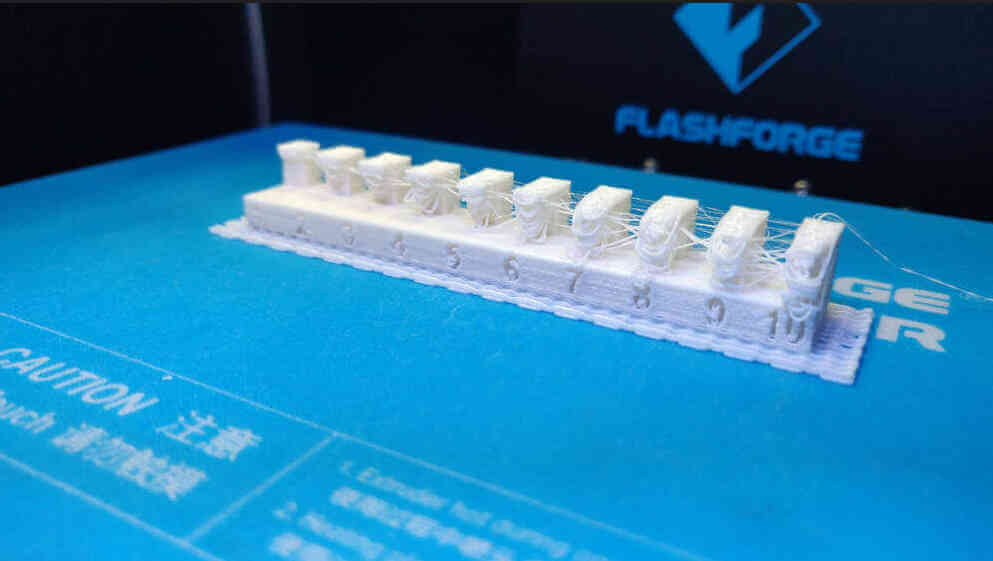

This test looked at the distance material can be placed without having supports. The distances used were2mm,4mm,6mm,8mm,10mm,12mm,14mm,16mm,18mm and 20mm.Following the test it was observed that distances between 6mm-20mm resulted in errors in the build while distances between 2mm-4mm showed no errors.
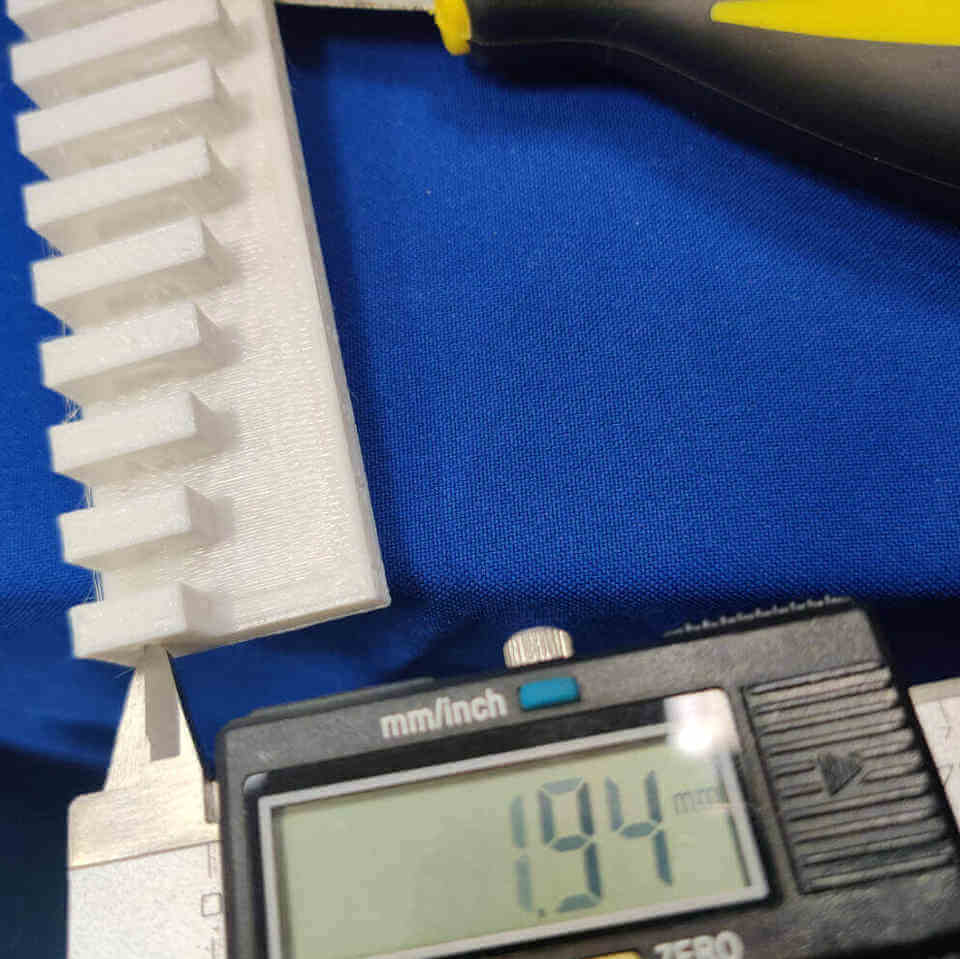
This test looked at the minimum thickness a wall could be using the 3Dprinter. The thicknesses used were 2mm,4mm,6mm,8mm,10mm,12mm,14mm,16mm,18mm and 20mm.Following the test it was observed that thicknesses between 6mm-20mm was not suitable for walls.

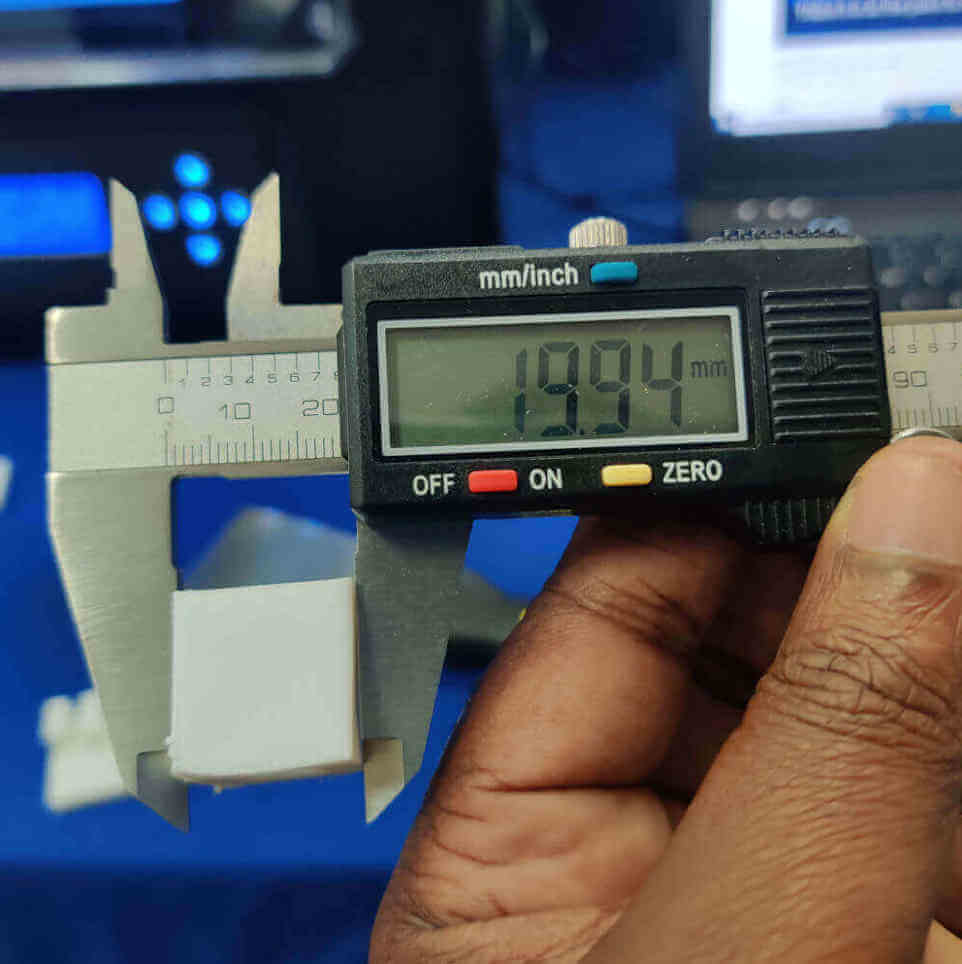
This test compared the dimensions of the design vs the dimensions of the 3D print. Following the test it was observed that the dimensions of the 3D print varied by .06 mm from the design.


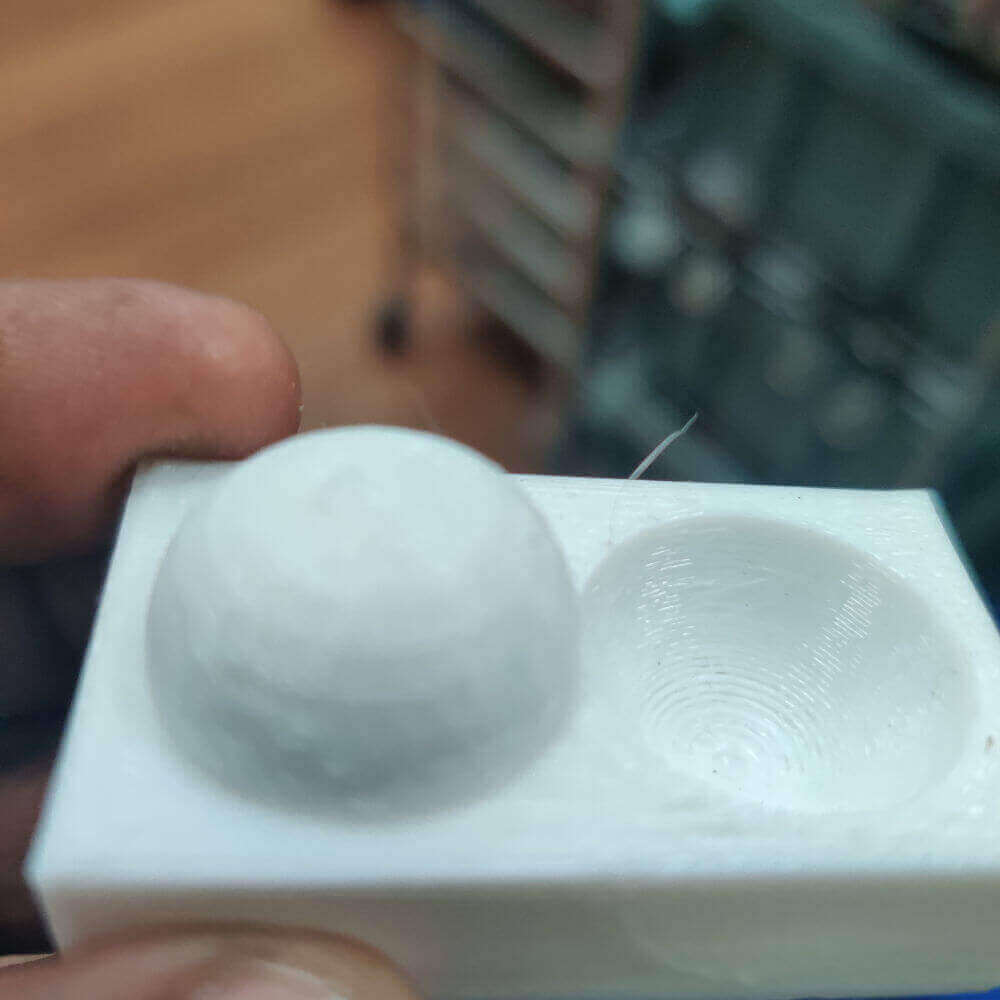
This test looked at the at the finish of the final part created.

This software can run a variety of 3D printers from MakerBot Replicator, Thing-O-Matic, CupCake CNC, RepRap machine, or generic CNC machines. It accepts either GCode or STL files. It’s a cross platform, easily installed, and is based on the familiar Arduino / Processing environments. ReplicatorG is growing the number of printers it can operate.
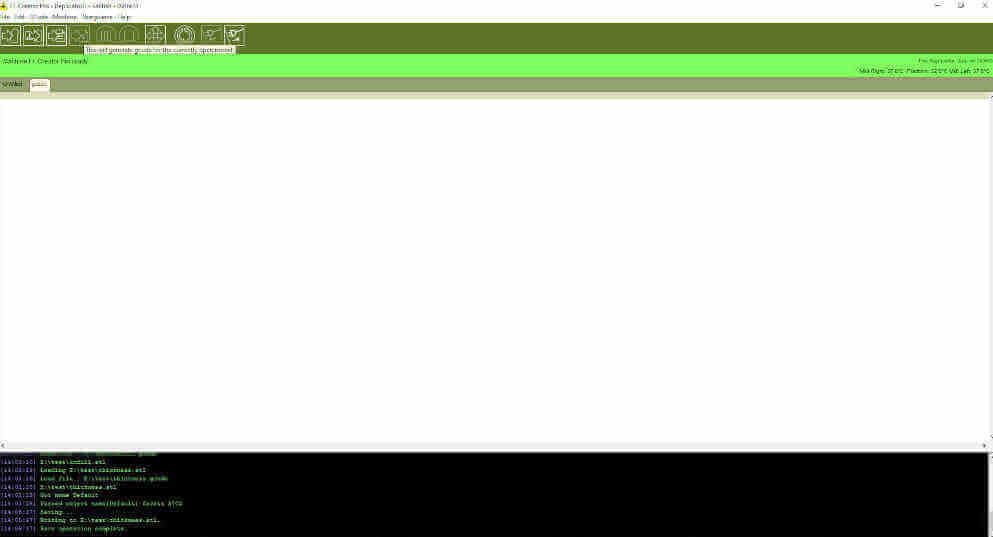
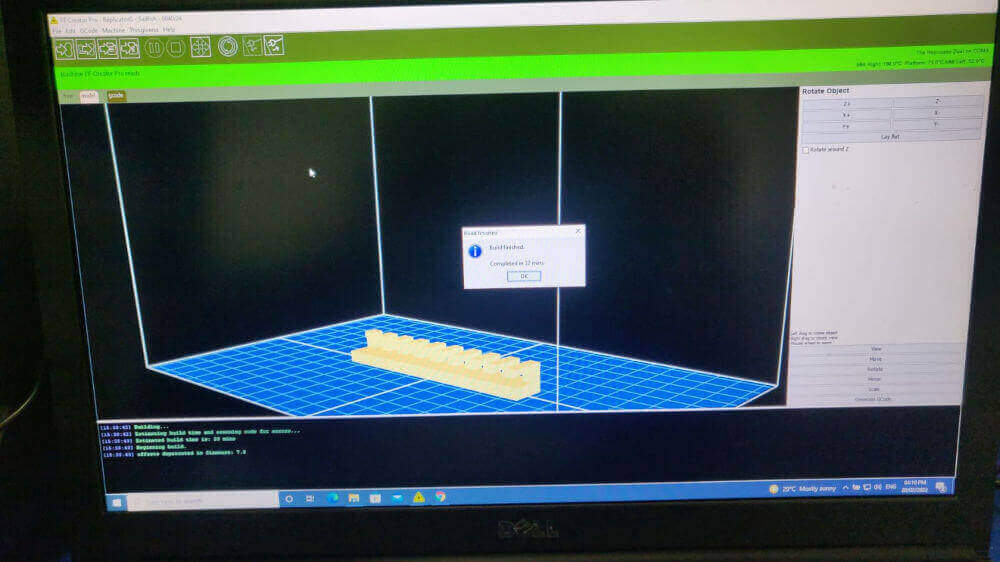
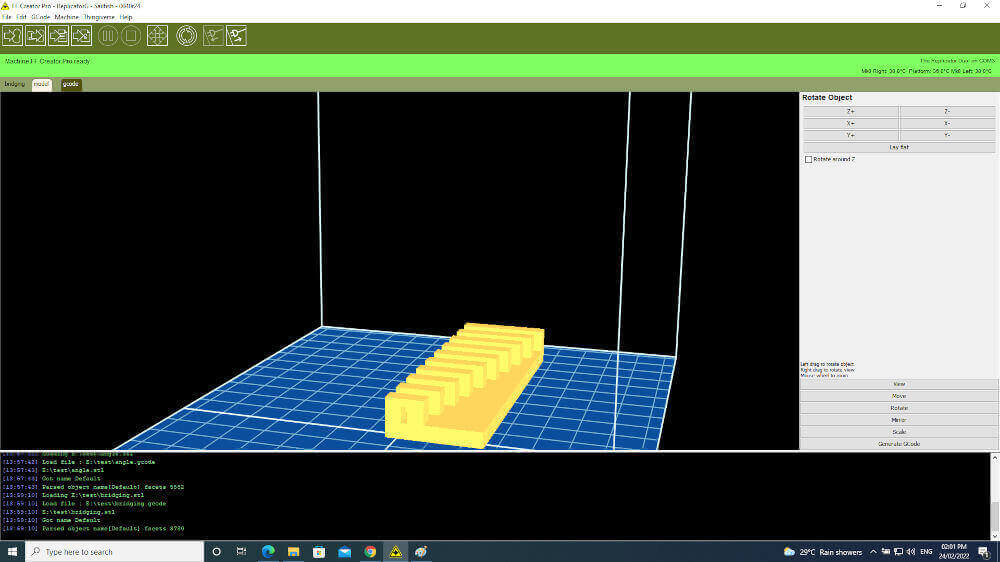
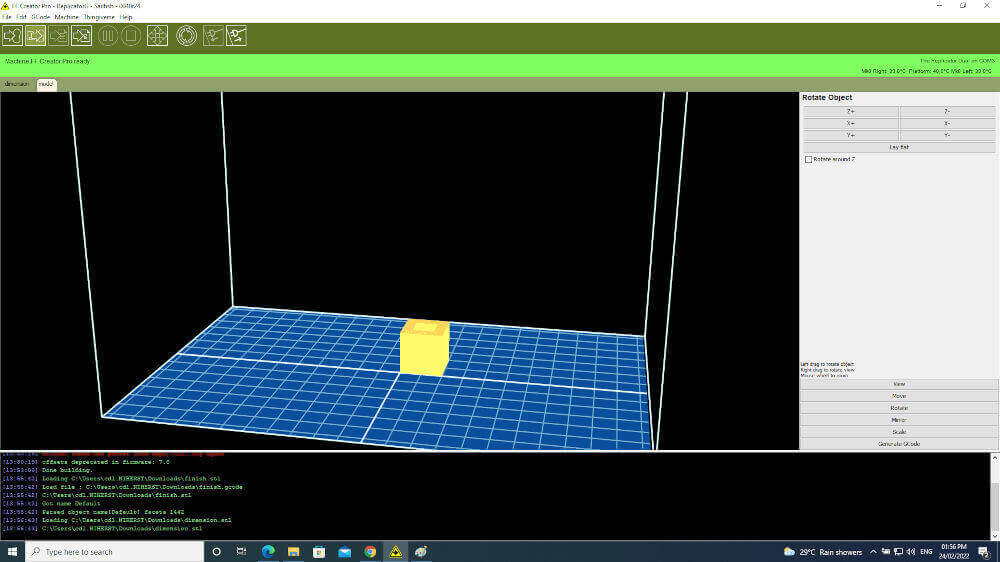
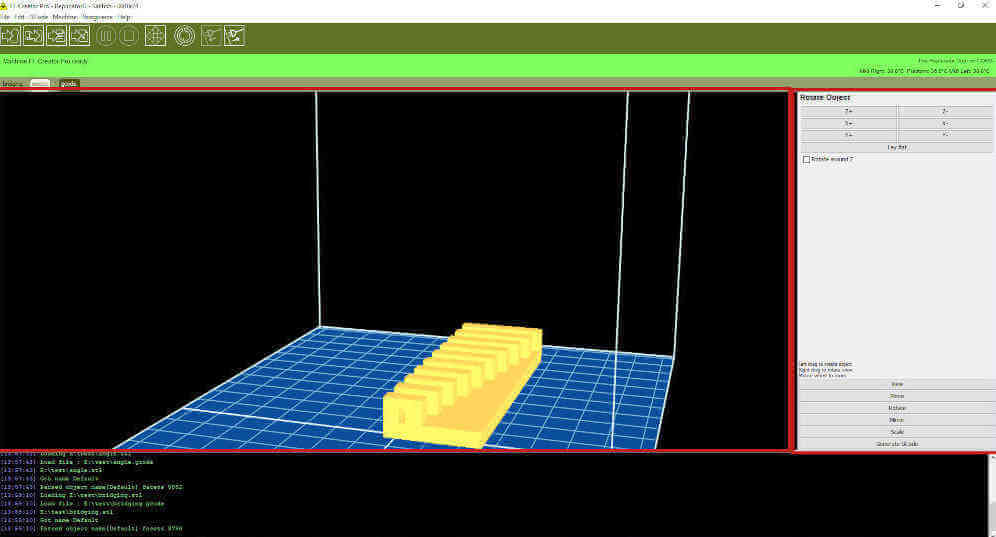
When you open the application, you will find a blank page and it will identify the connected printer.
When an stl file or gcode is added a model will appear in the black area with options for manipulating the model.
To print the model select generate code and options will appear that control various settings of the 3D printer such as extruder temperature, build plate temperature, infill, extruder to be used, supports, and rafts. After the preferred options have been selected and generate the gcode to create the object. When this is completed select the build option an the printing process will begin.
Note: While the machine tab provides a list of printers that can be used with the software. The Thingiverse tab links to a database where many models can be found to use with the machine.

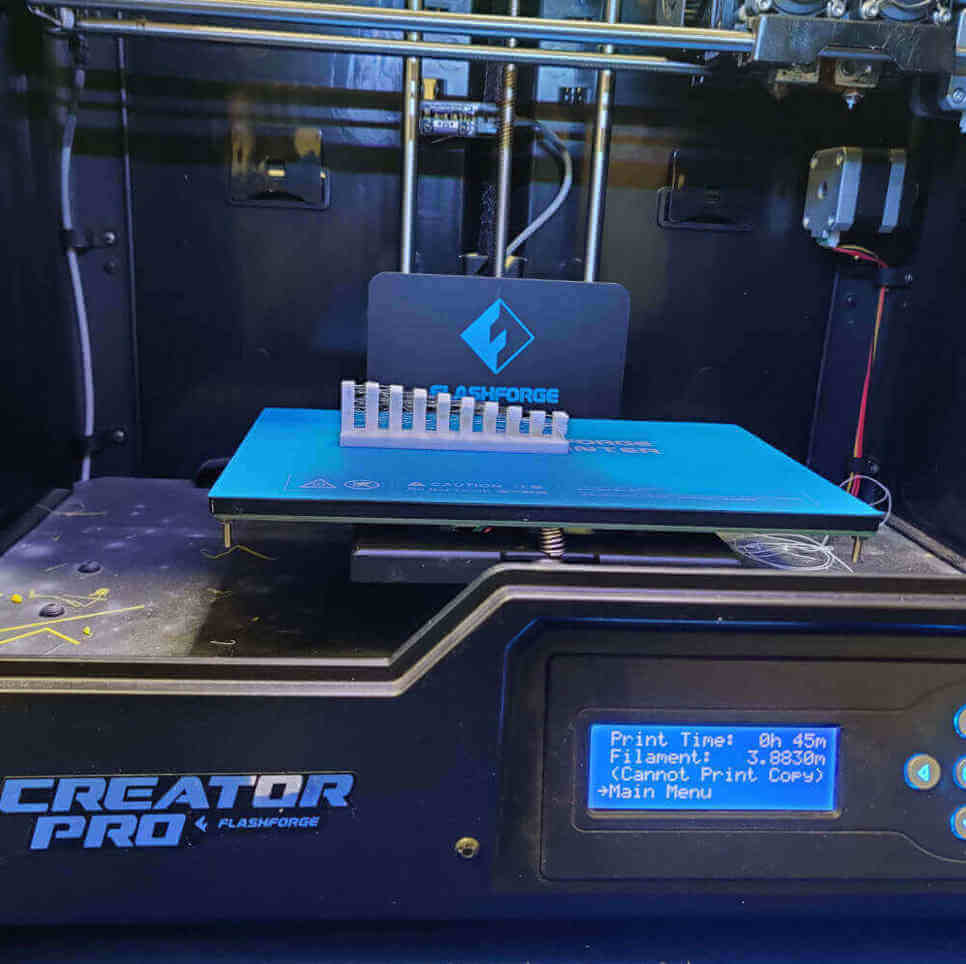
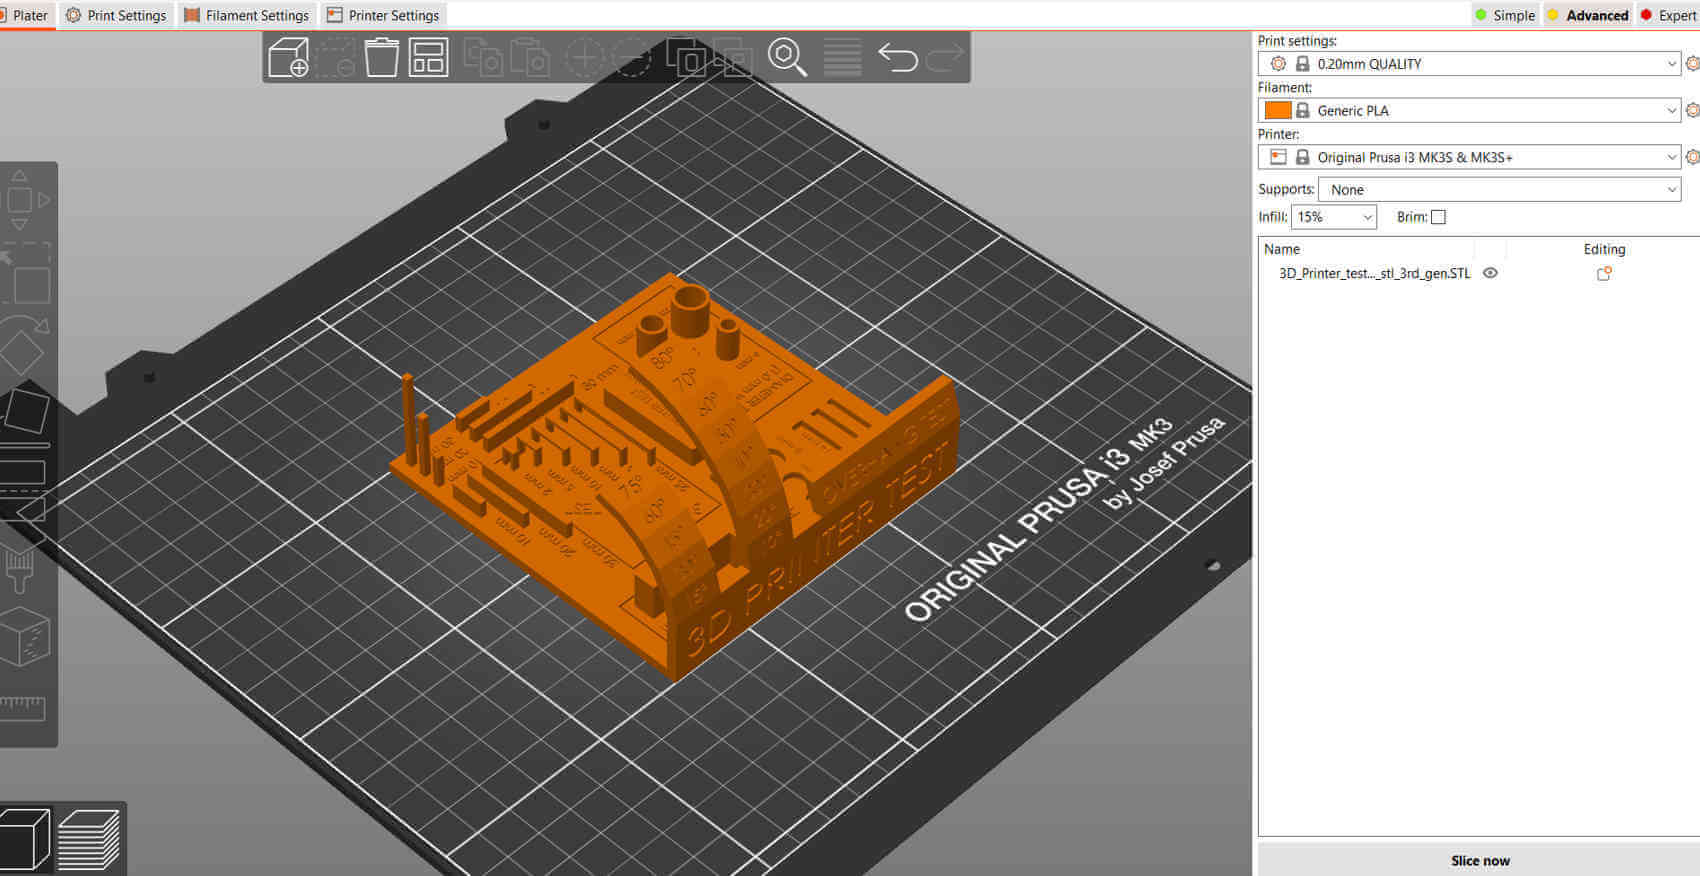
This printer was our newest printer so not much time was taken to run detailed test as the Flashforge. A test piece comprising of all the basic print test was produced by the printer using most of the default settings with some simple adjustments such as the infill, layer height and temperature settings.
The Prusa Slicer was used to prepare 3D images to send to the printer.
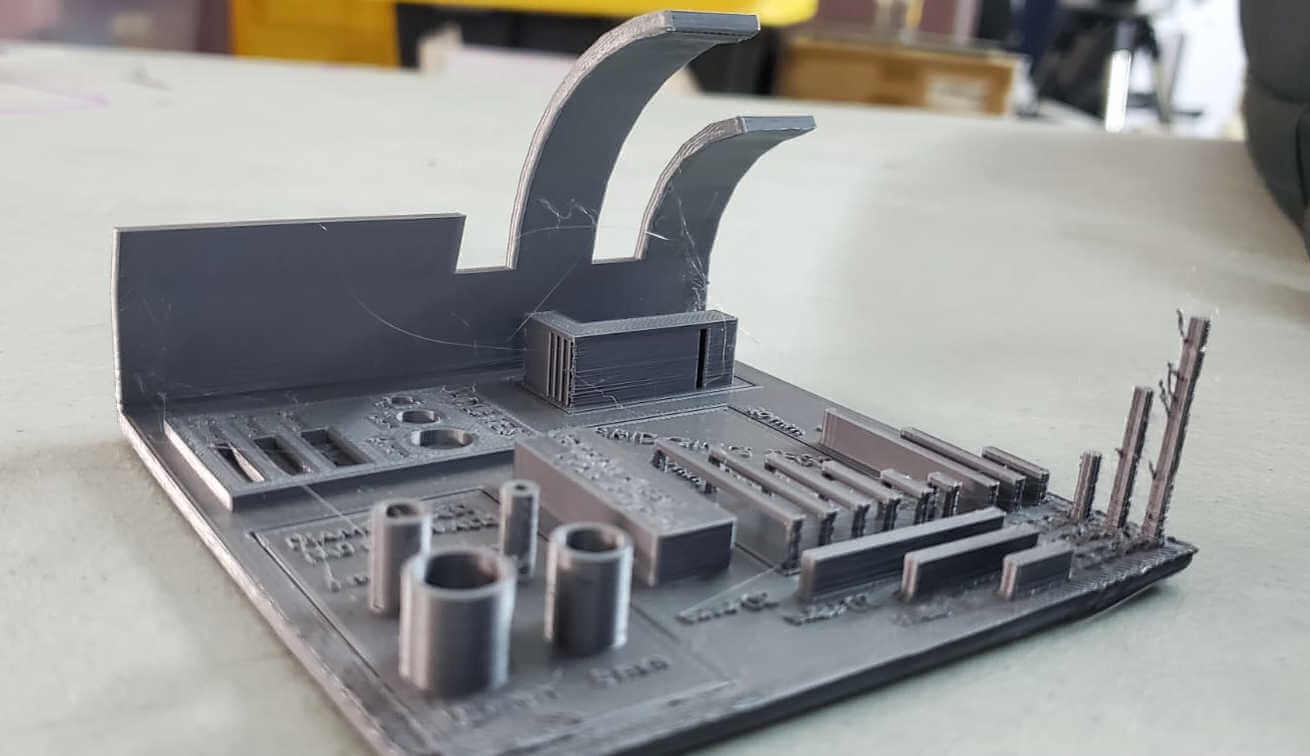

When comparing the calibration test print of the Prusa MK3+ to the FlashForge Creator Pro, it's clear that the Prusa takes the lead. The Prusa MK3+ improves on precision, consistency, producing smoother and more uniform prints. Its user-friendly features, including auto-leveling, make it accessible to newcomers, while its thriving open-source community provides readily available calibration profiles and troubleshooting resources. Moreover, the Prusa's reputation for reliability ensures that calibration settings remain stable over time, leading to consistently high-quality test prints. In contrast, the FlashForge Creator Pro, though capable, may require slower print speeds and more manual adjustments, making it less user-friendly and potentially less reliable in the long run.