
Characterize your lasercutter's focus, power, speed, rate, kerf, joint clearance and types.
Among all the machines at our FabLab, my favorite is the laser cutter.
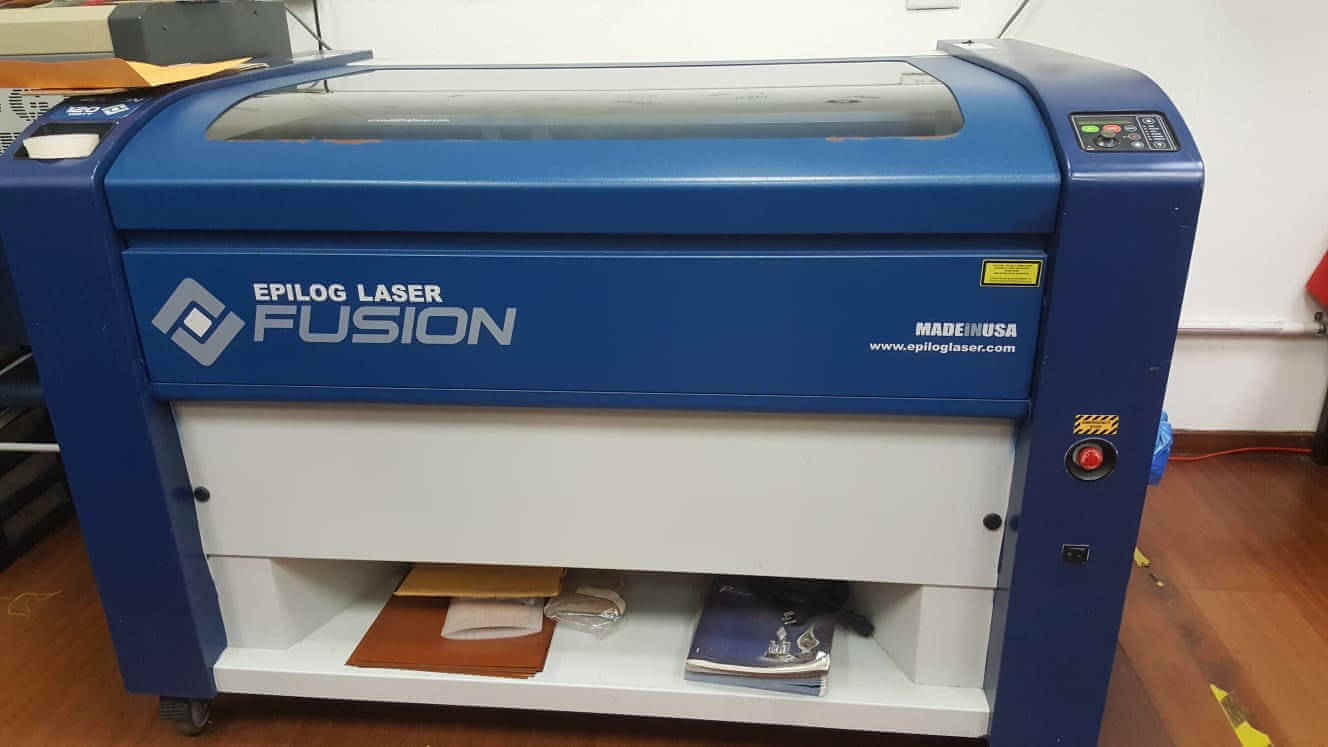
There are two laser cutters that we use, but for this assignment we used the Epilog Fusion 120.
This laser cutter has a 120W laser tube and a bed size of 28" x
40".
Epilog Fusion 120
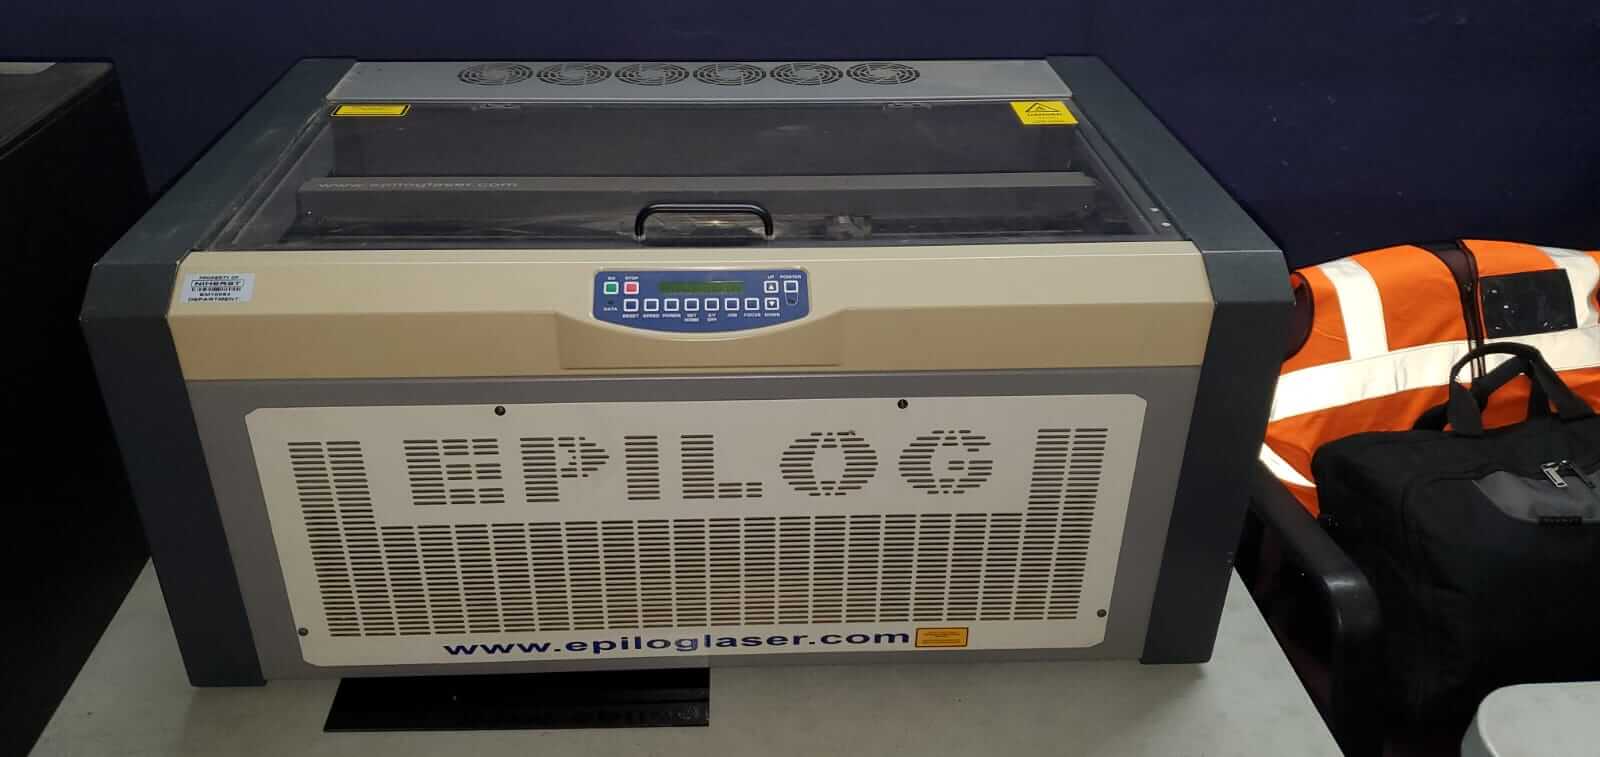
Epilog Mini Helix
A scheduled maintenance on the machine is done after a period of hours of work and depending on the type of material that was used a lot.
For thiis assignment we were required to characterize our machine.
First test was done to check
the laser focus and bed level (if the bed is not level, this can also affect focus on different areas of the bed)
To check the focus we ensured that the laser hits the same spot as the red laser light guide. when confirmed they both
hit the same spot we then checked that the the red laser light reflects on the correct position of each mirror and that it passes through the center of the lens.
The carriage is then moved to different positions of the bed to ensure
that the red laser light remains in the same position through the lens.
To find the best focus height we adjusted the height manually until the red laser light was a very clear but tiny dot.
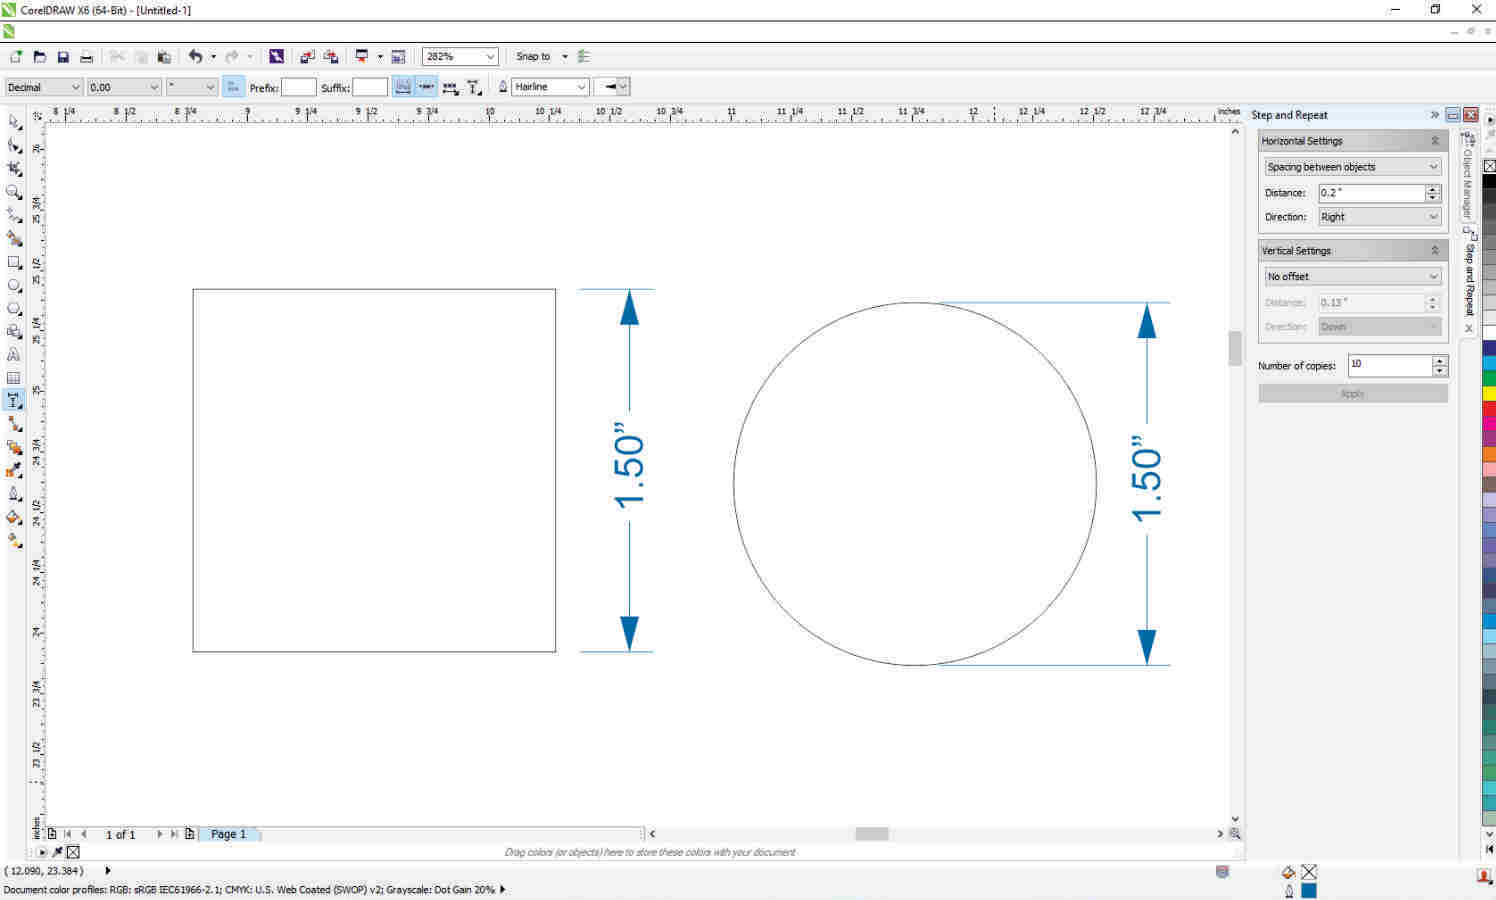
To send jobs to the laser cutter we
use CorelDraw.
A drawing of a square and a circle was done to begin testing on various materials.
The focus, speed, power, rate, etc all need to be varied for the different types of materials, therefore the kerf and joint clearance and so on are expected to vary also.
Tests were done on five different materials: 4mm cardboard, 1/8"
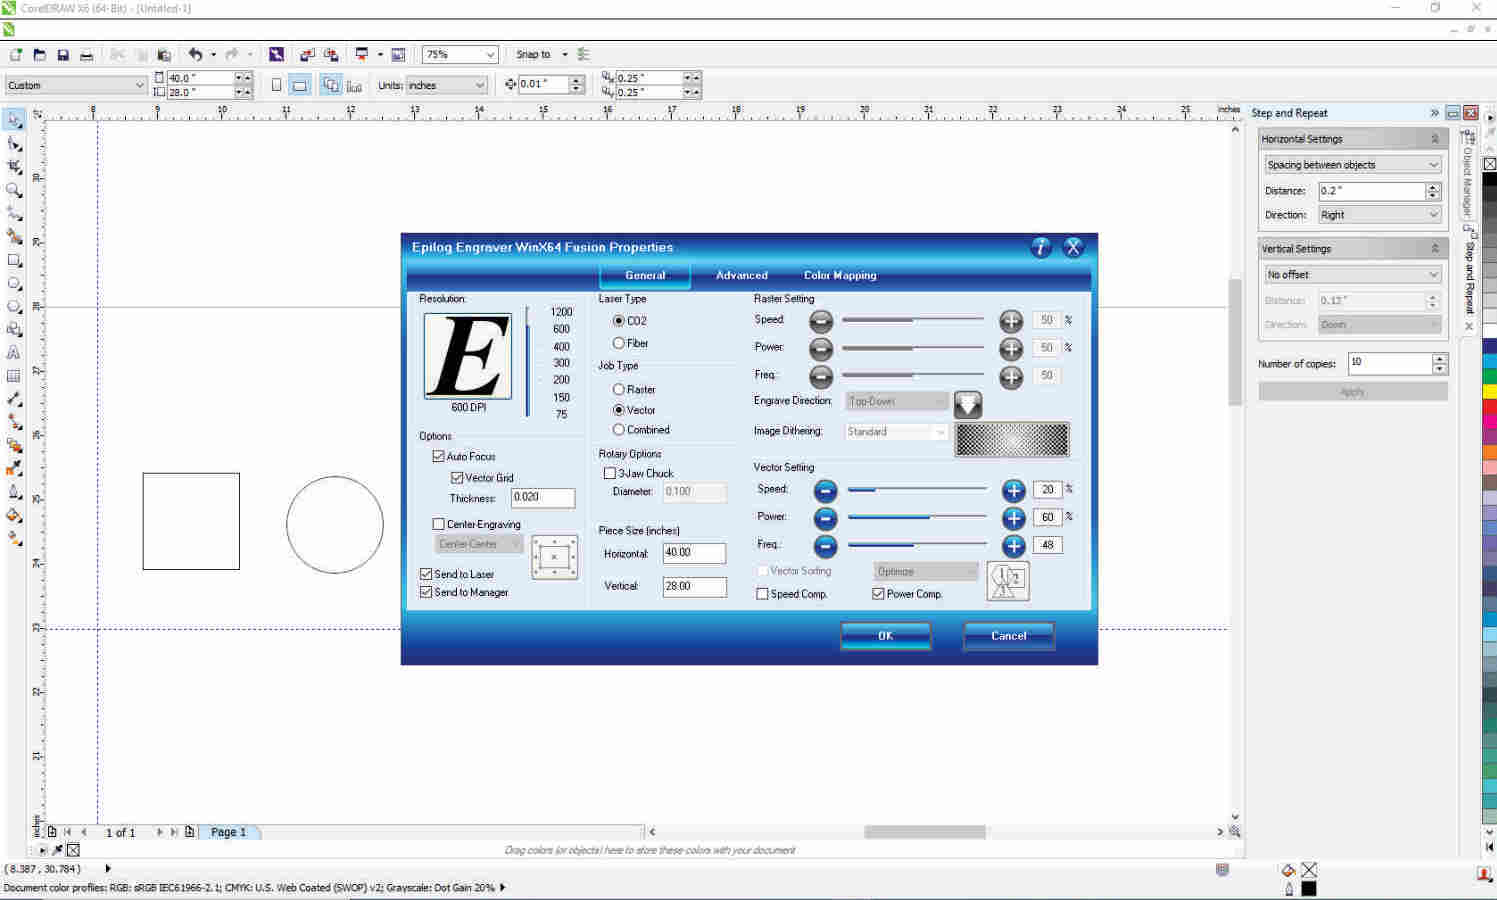
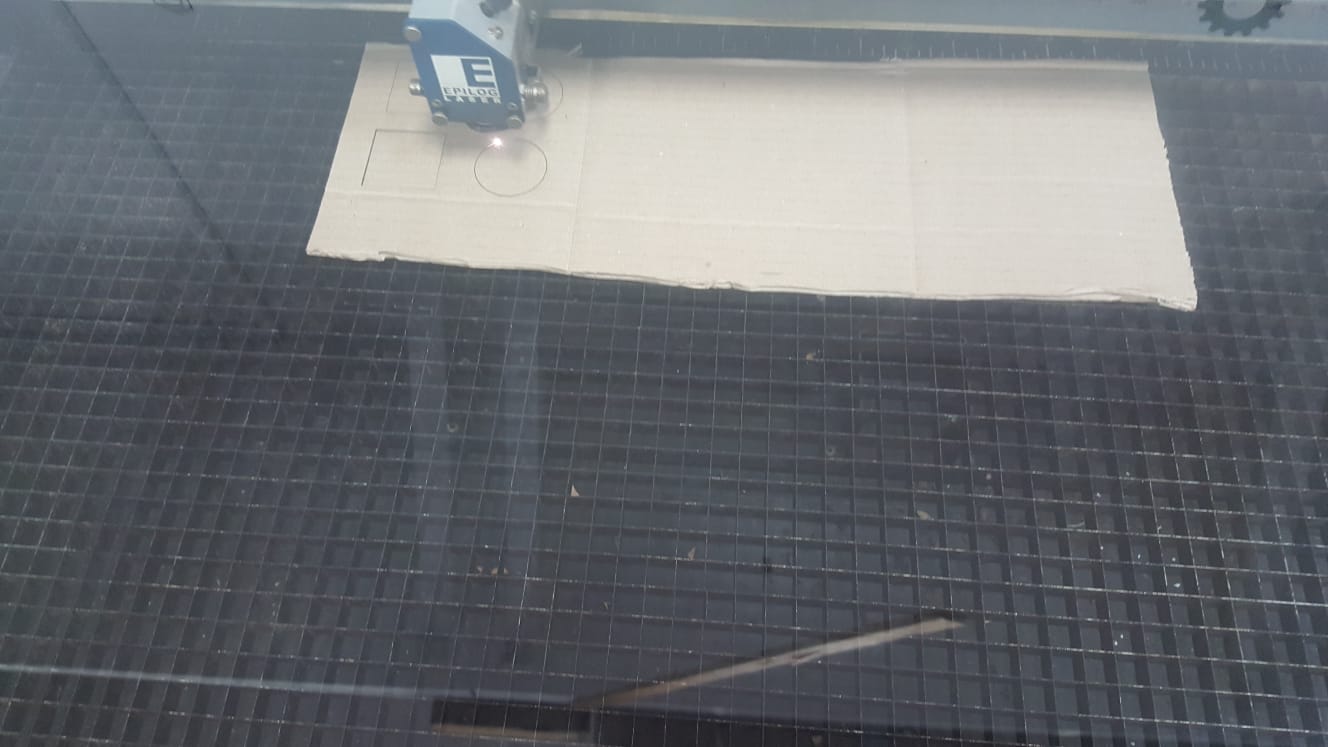
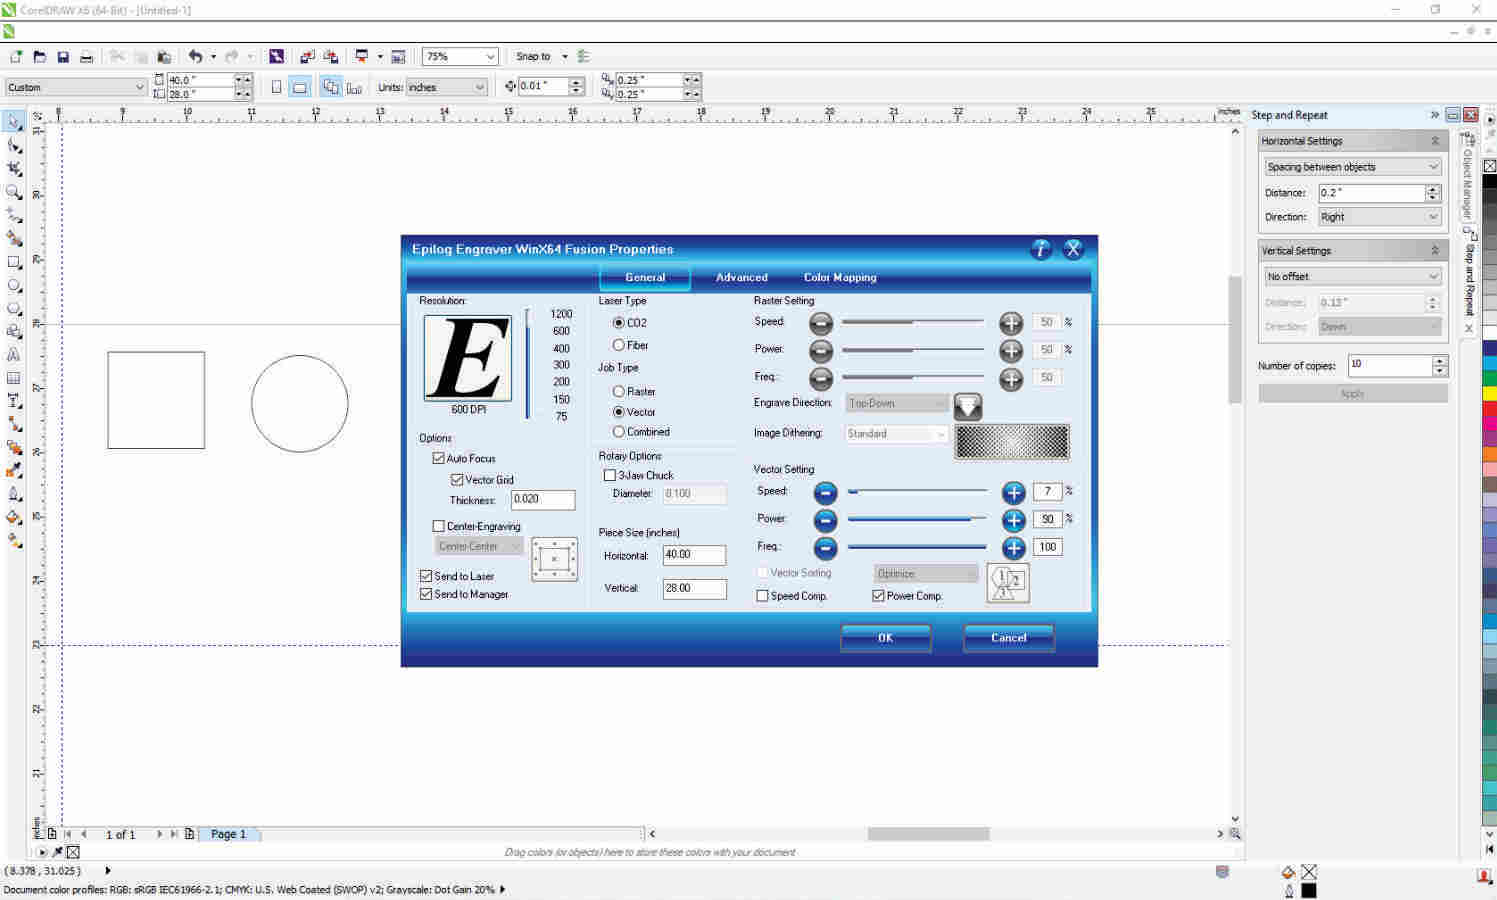
acrylic, 1/4" acrylic, 1/4" MDF and 1/8" plyboard. Multiple settings were used for each, but the following images shows the settings with the best results for each material.
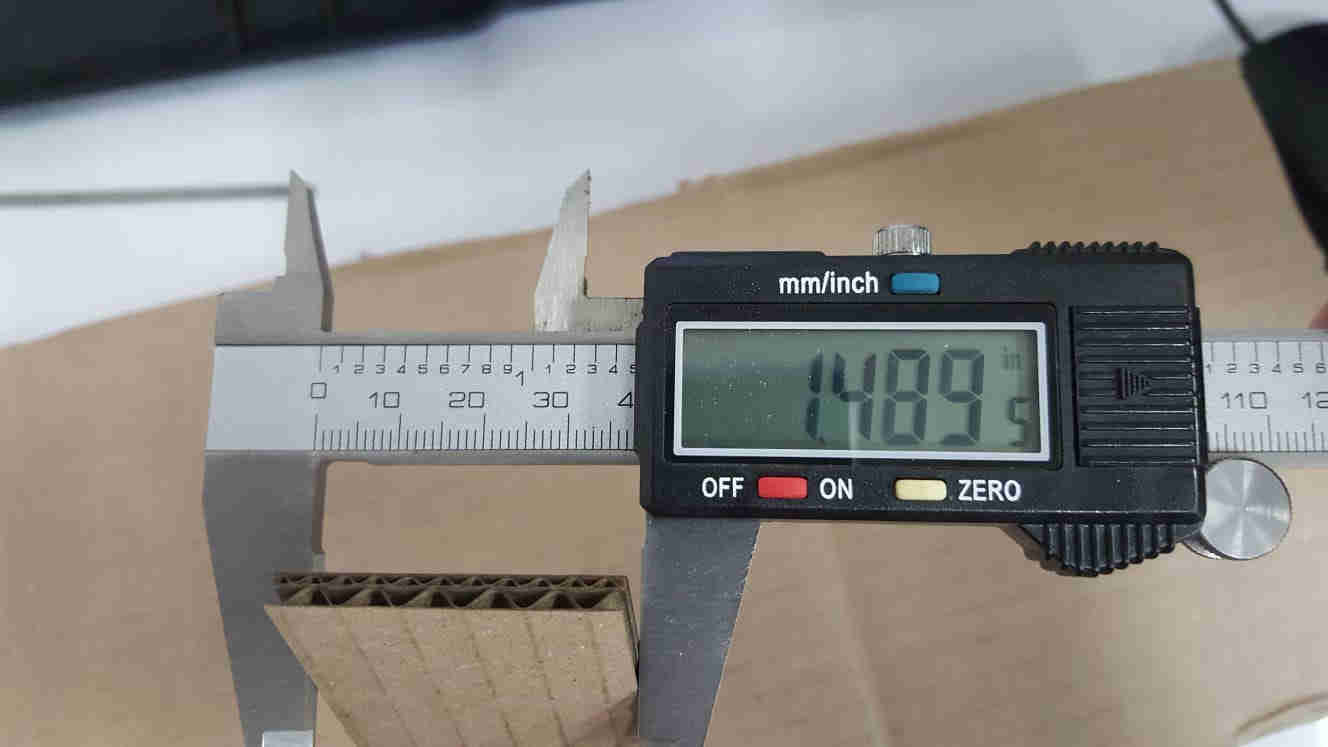
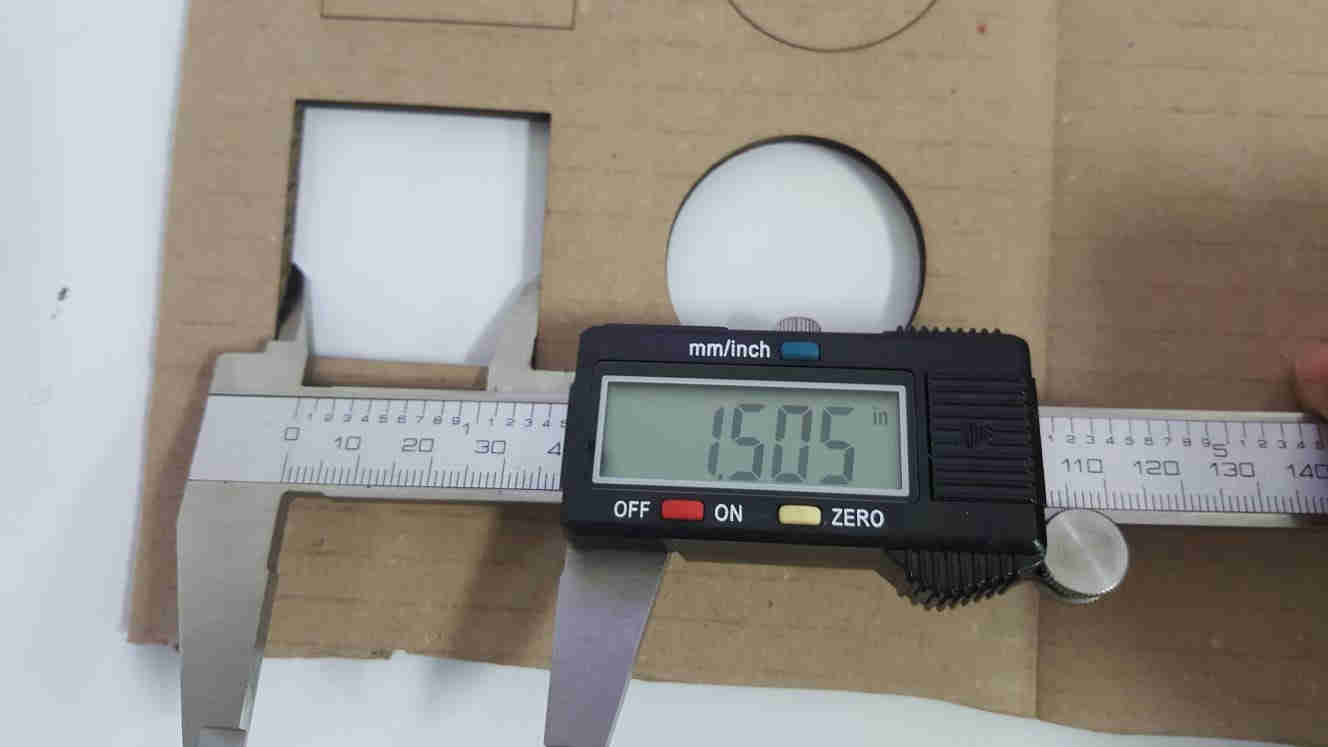
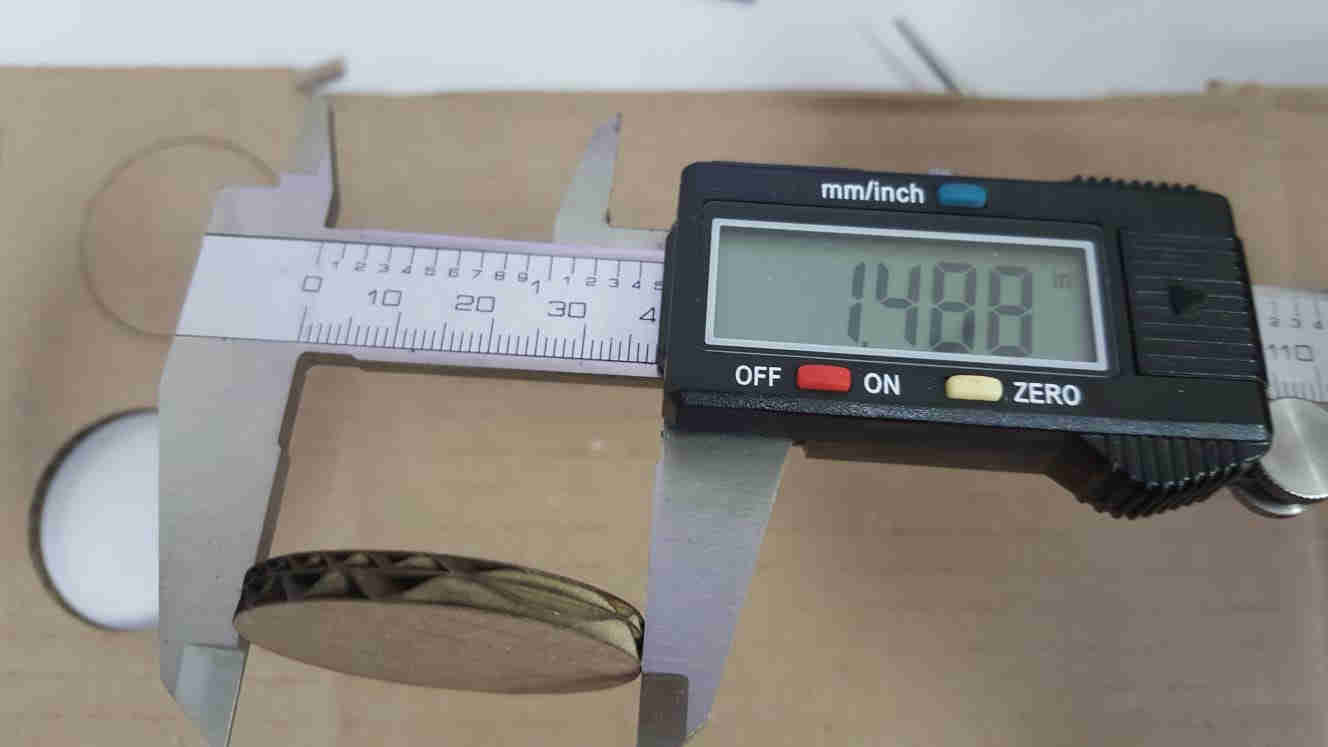
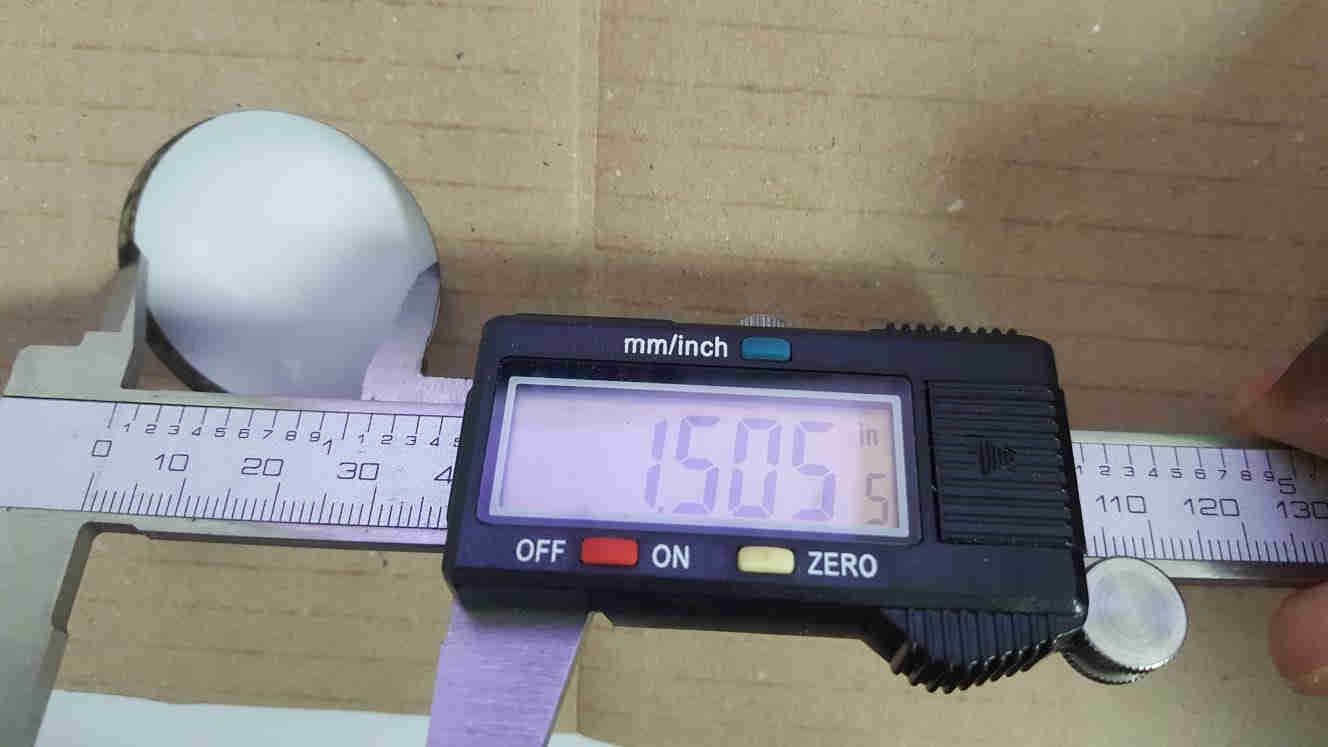
Settings and kerf check for 4mm cardboard
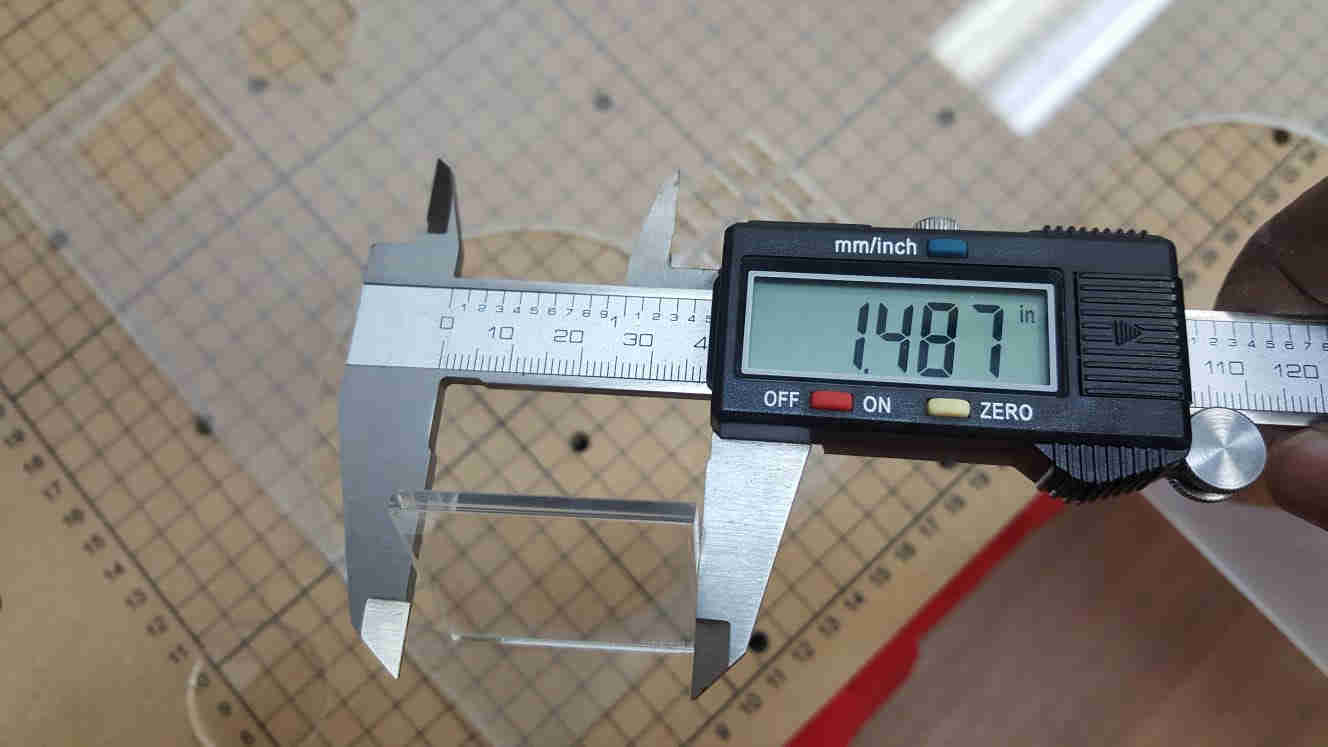
Settings and kerf check for 1/8" acrylic
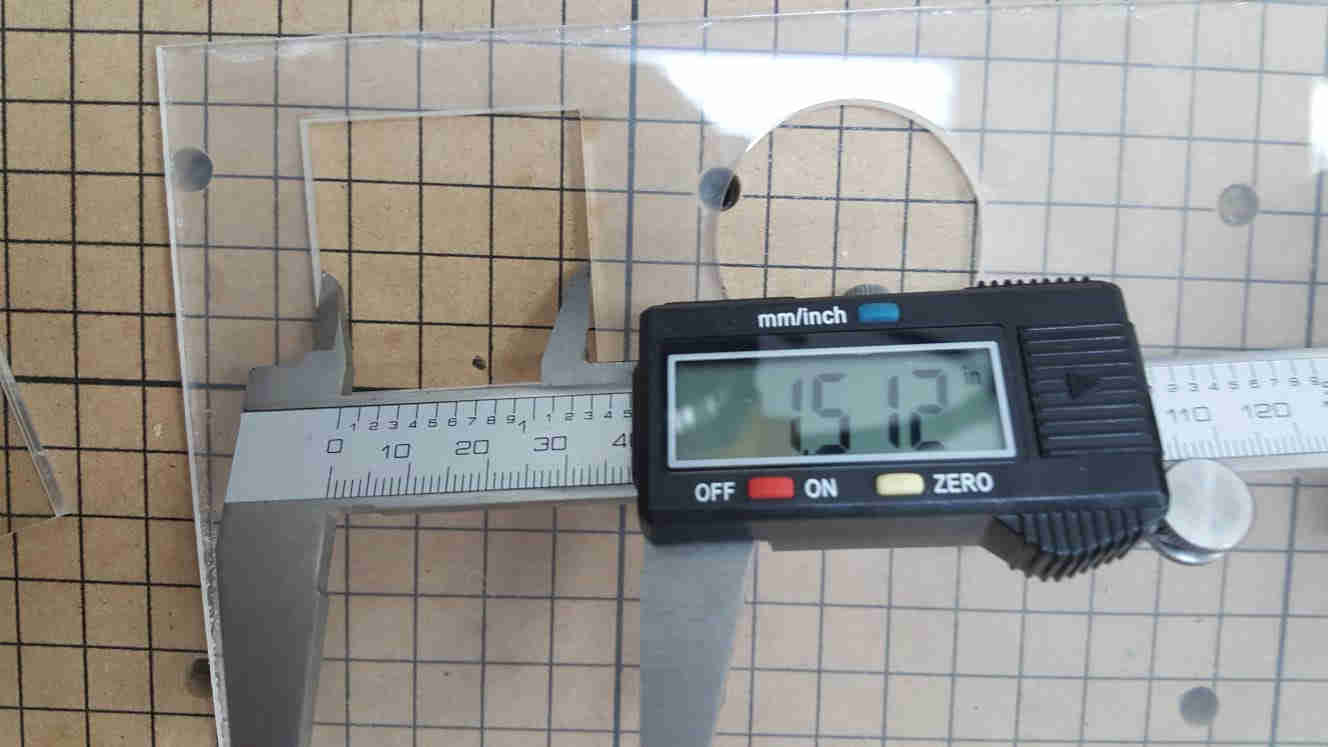
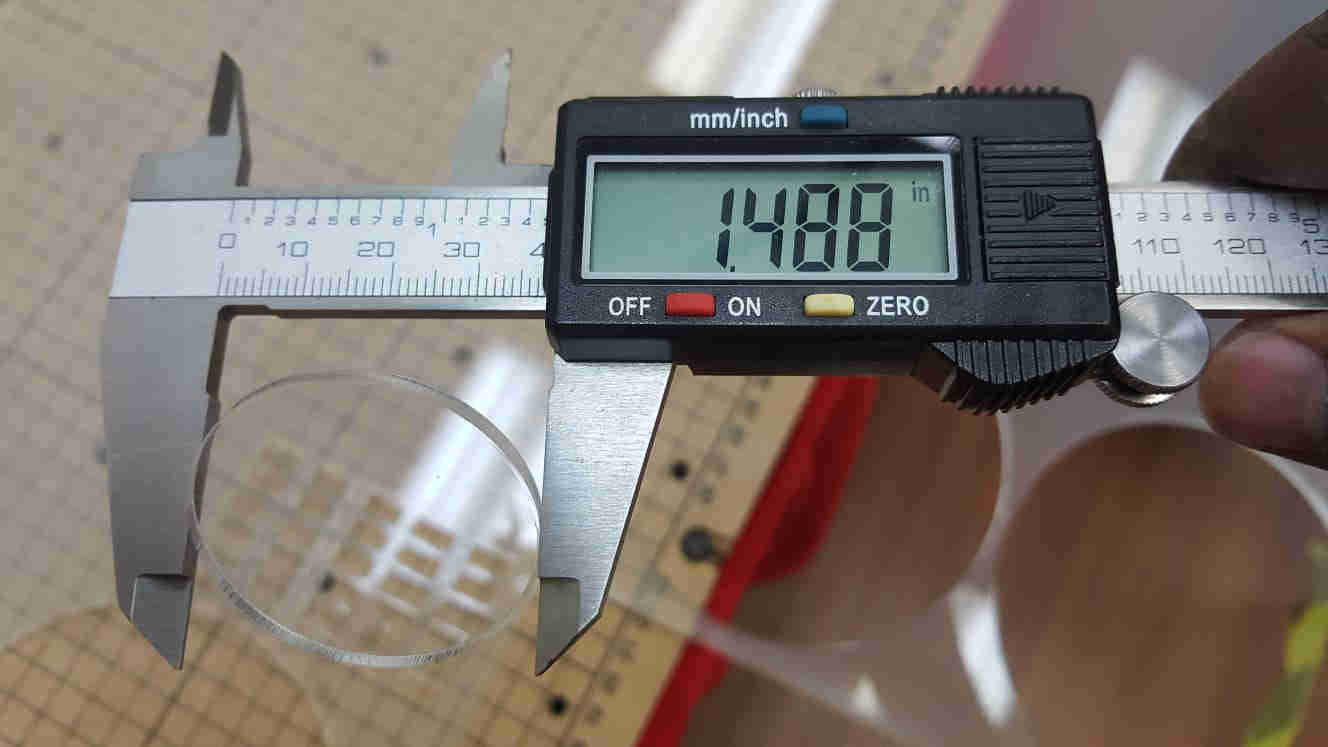
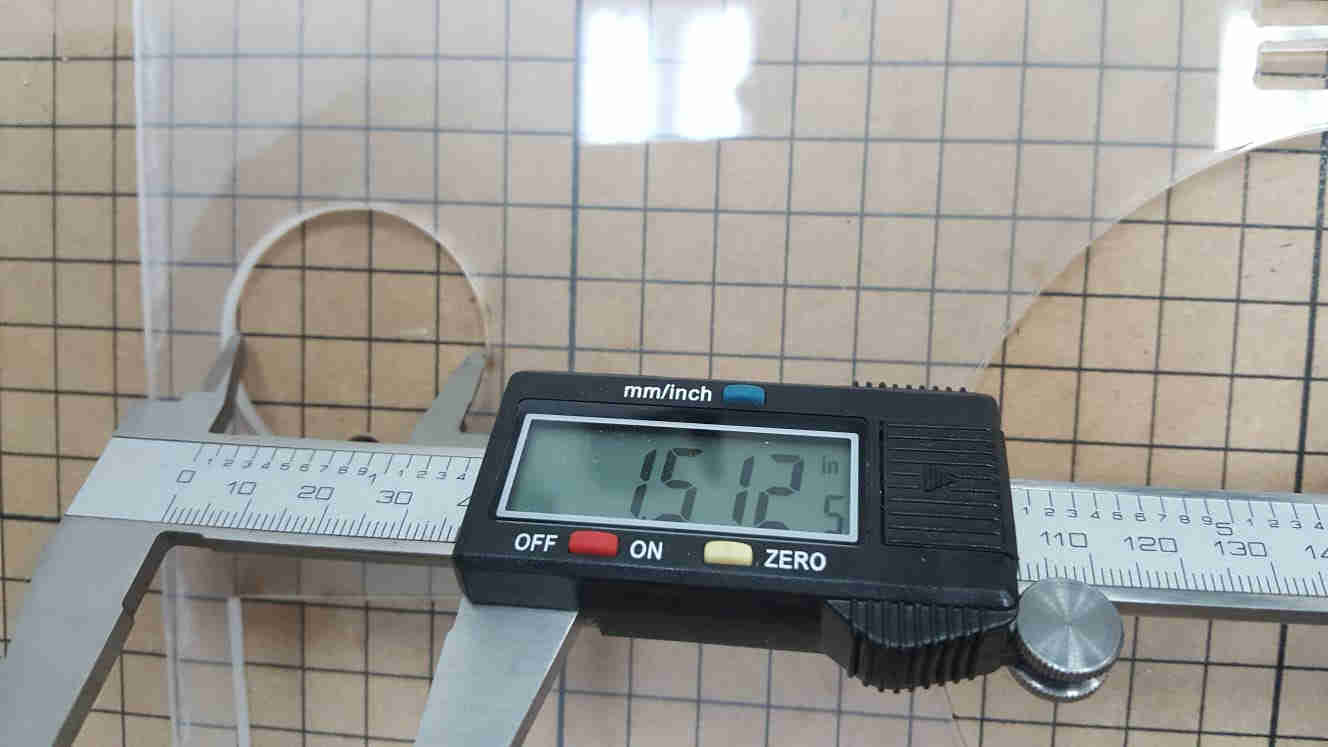
Settings and kerf check for 1/4" acrylic
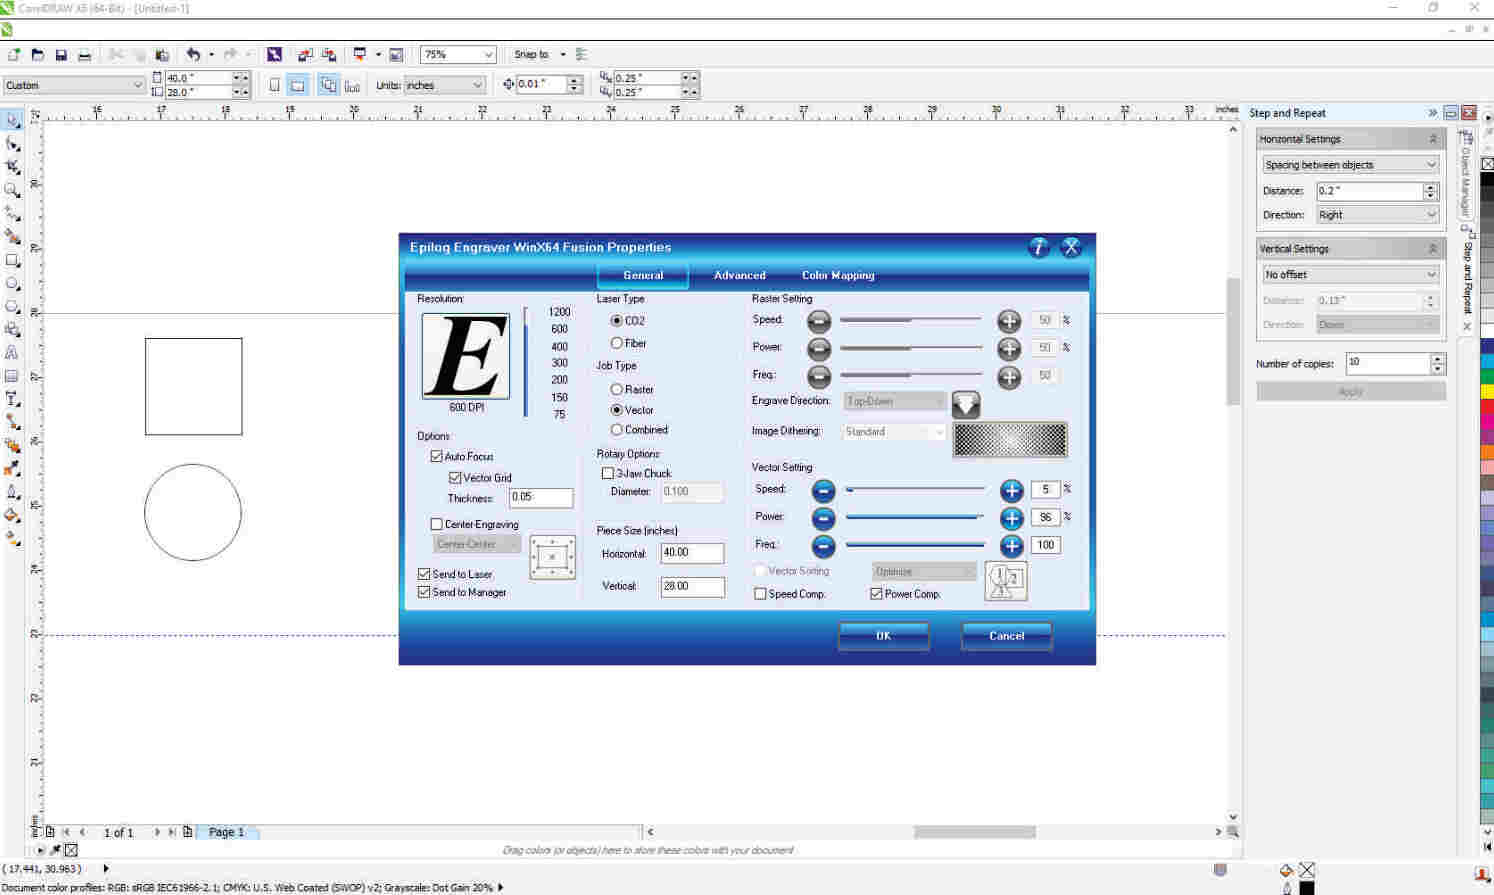
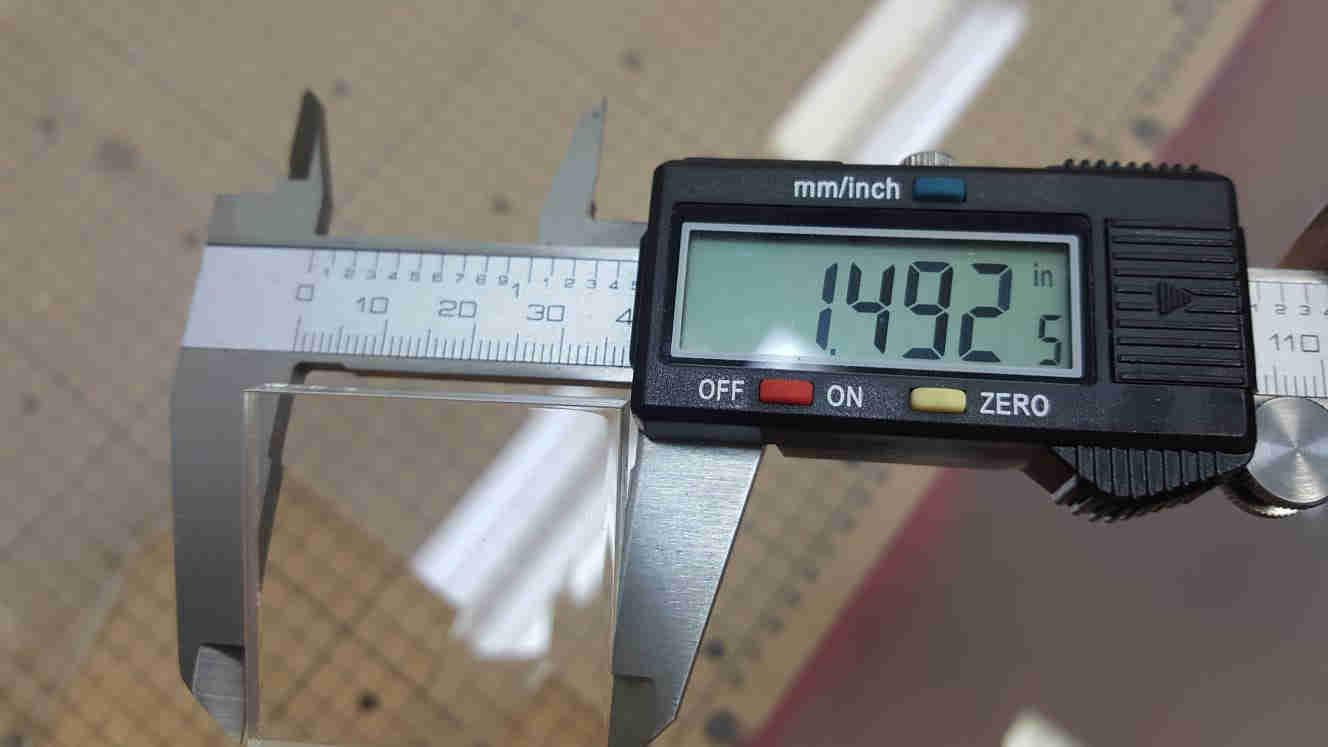
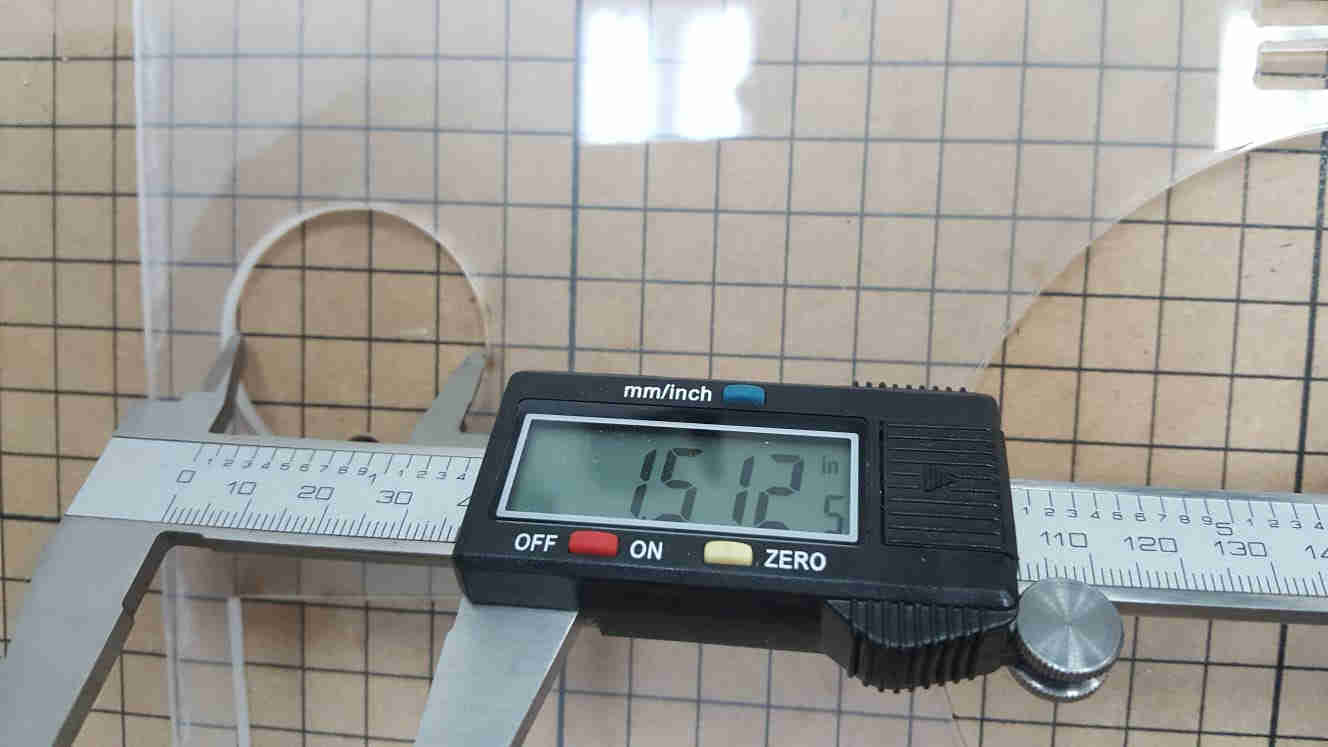
Settings and kerf check for 1/4" MDF
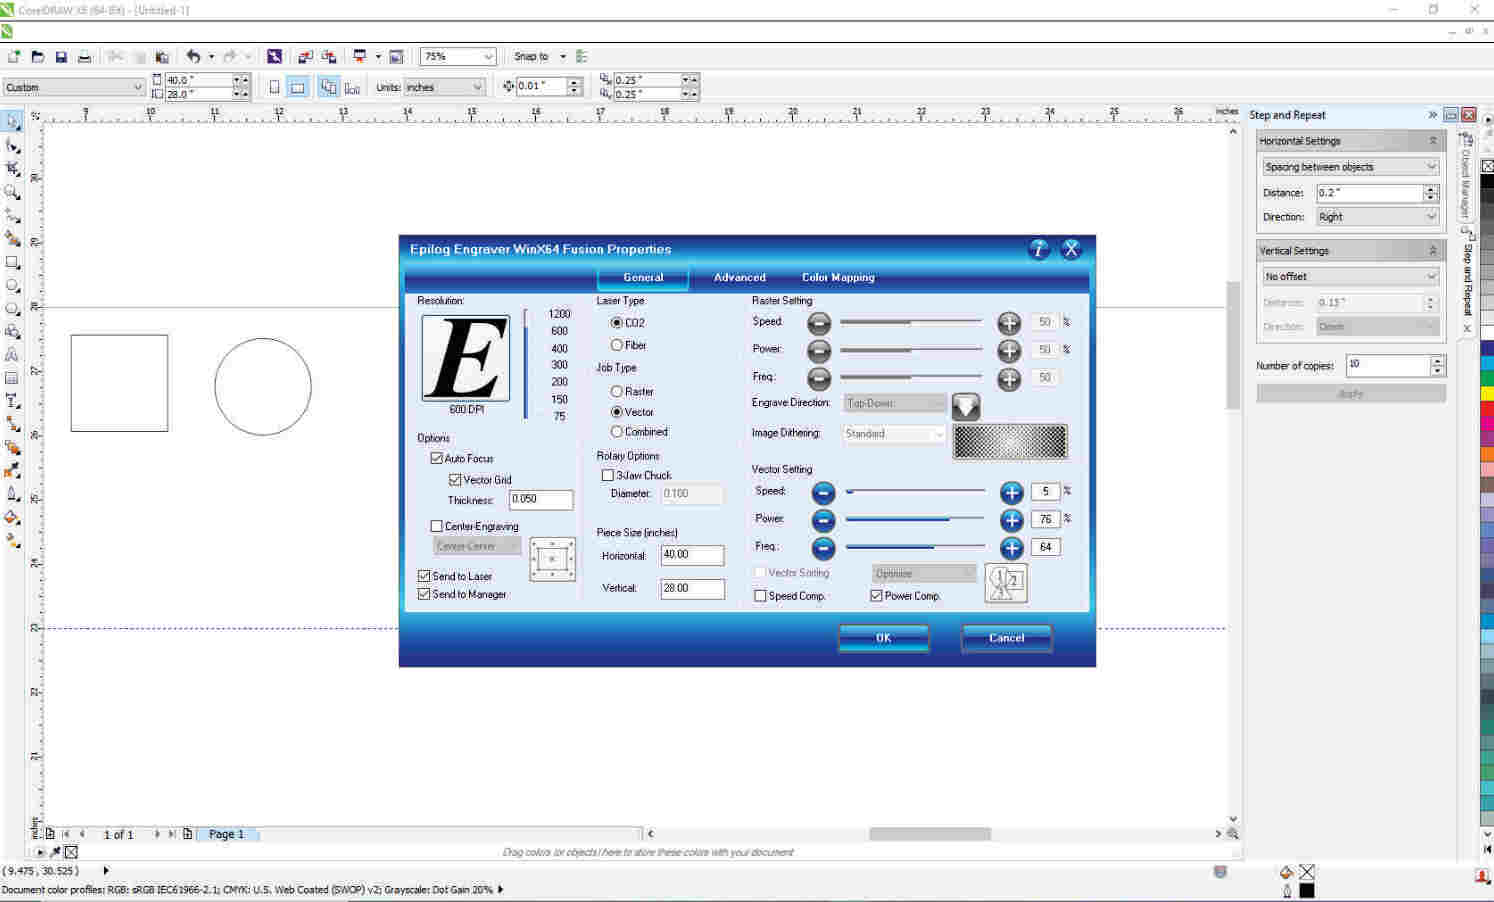
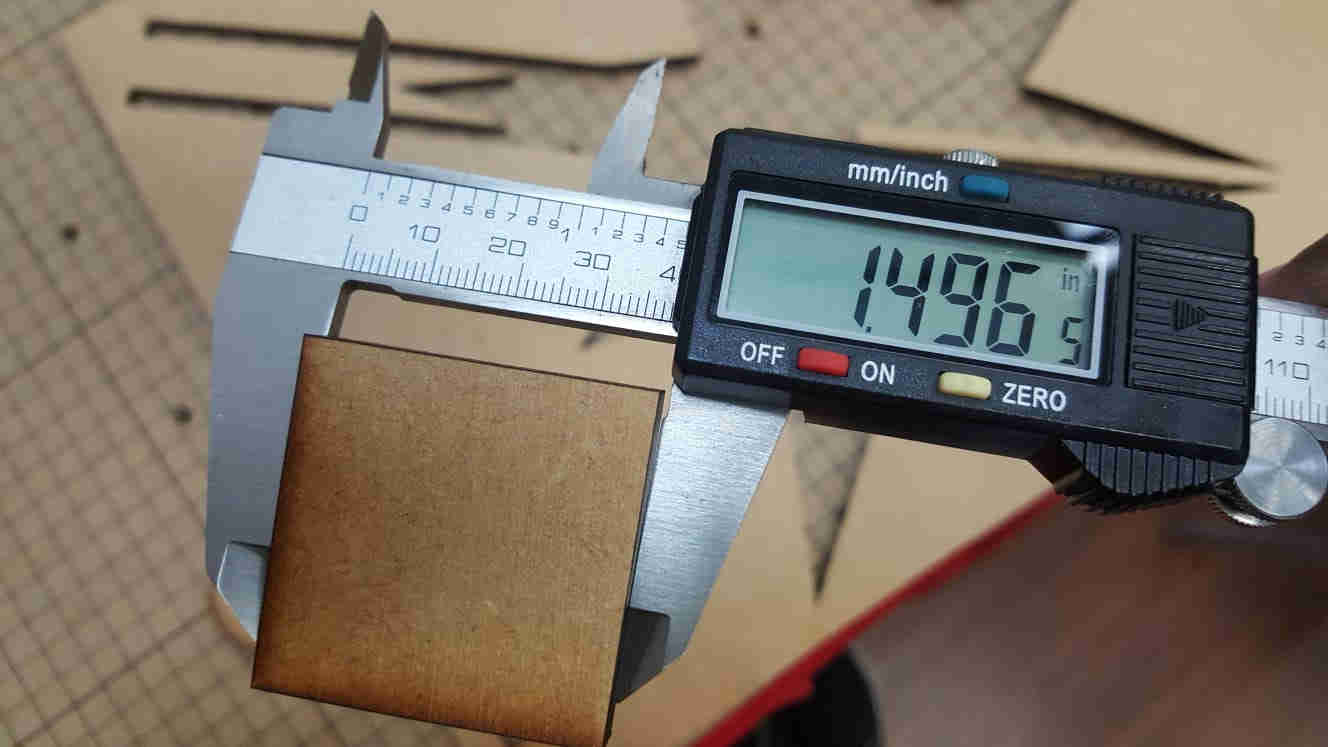
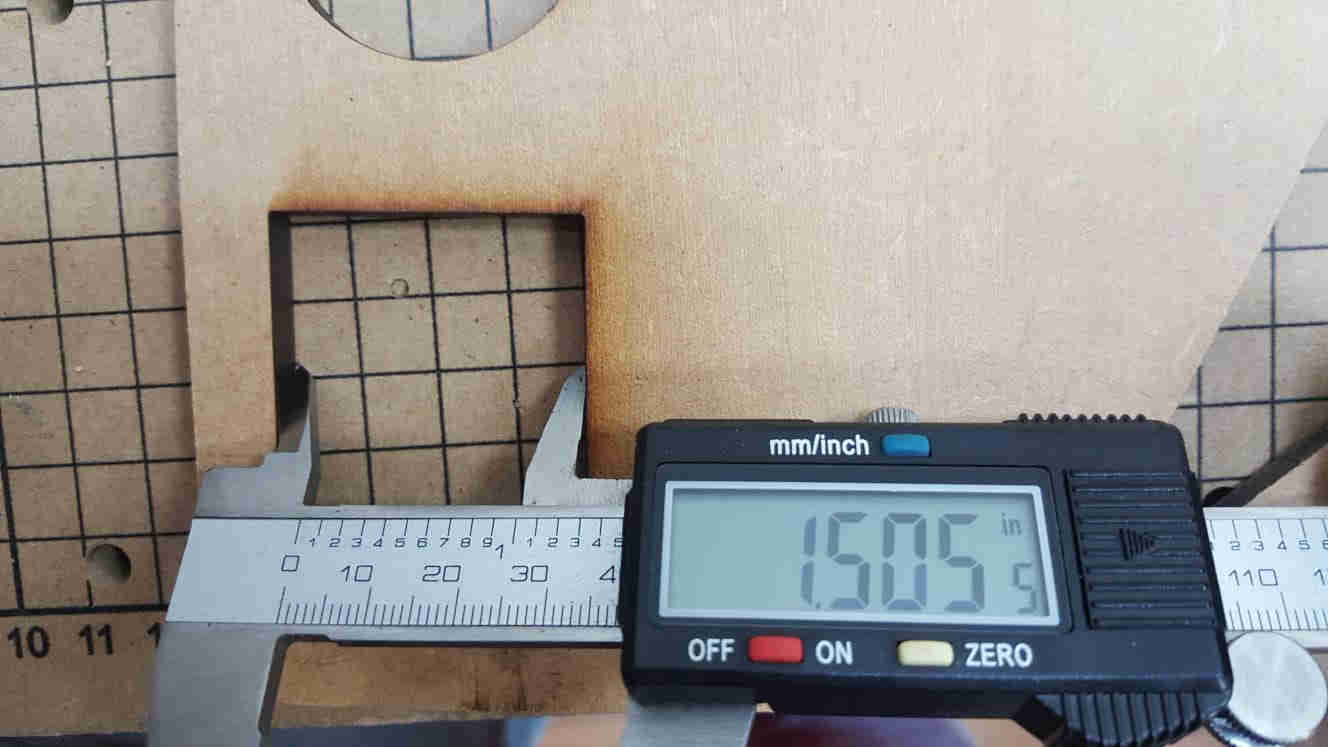
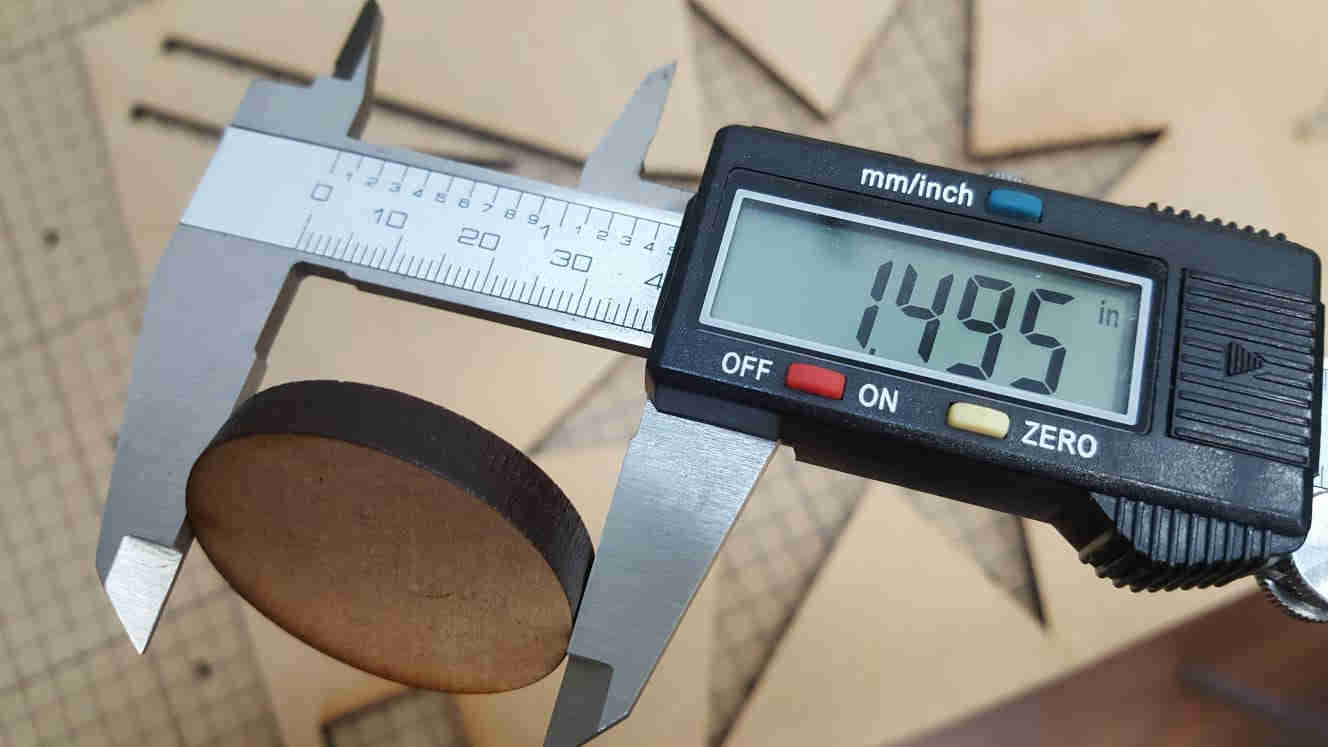
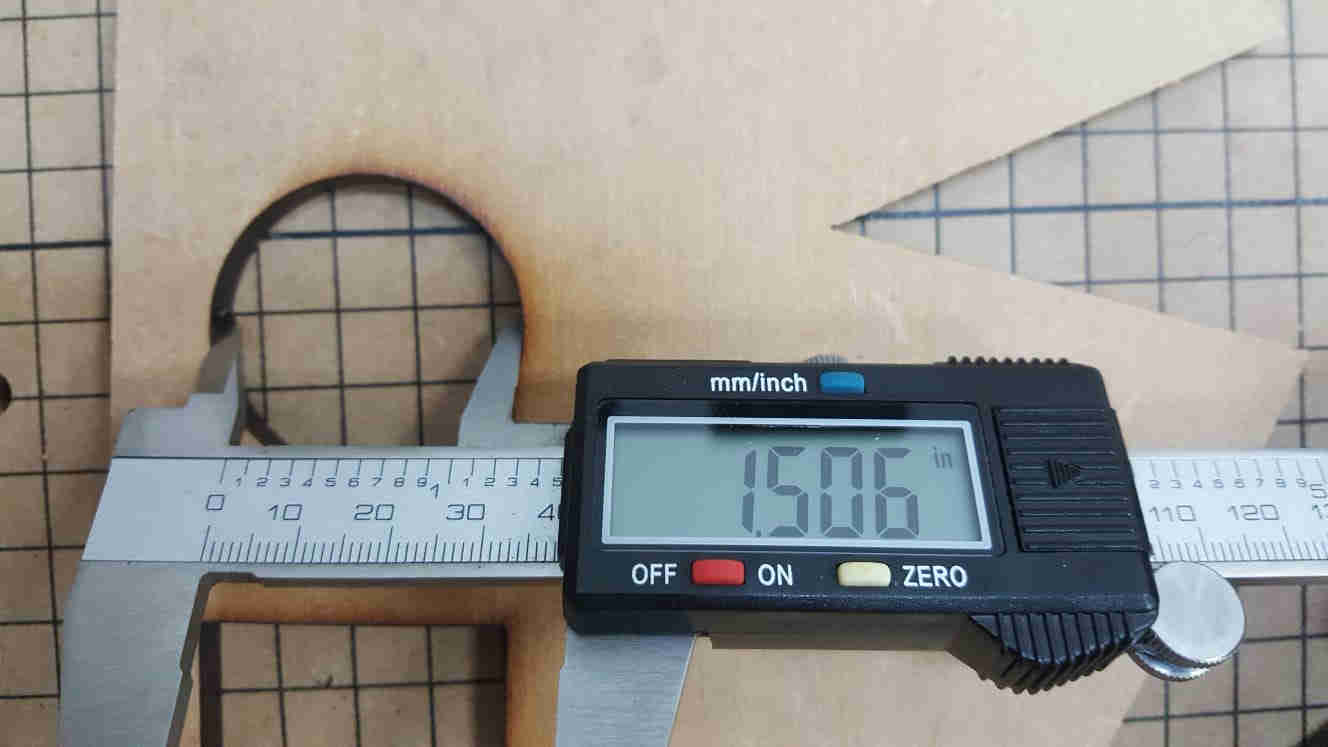
Settings and kerf check for 1/8" Plyboard
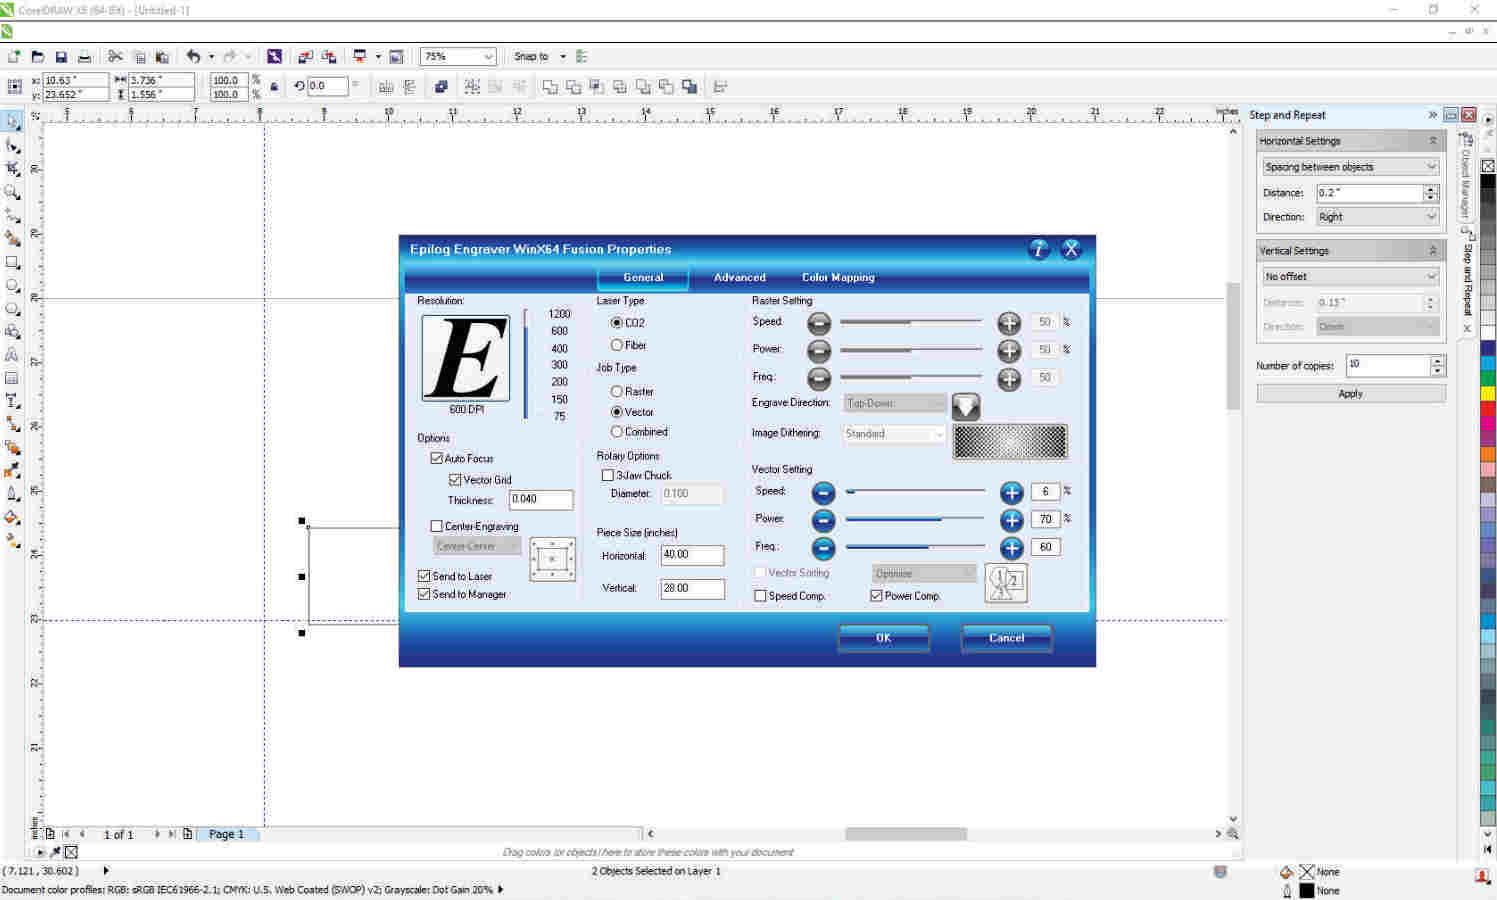
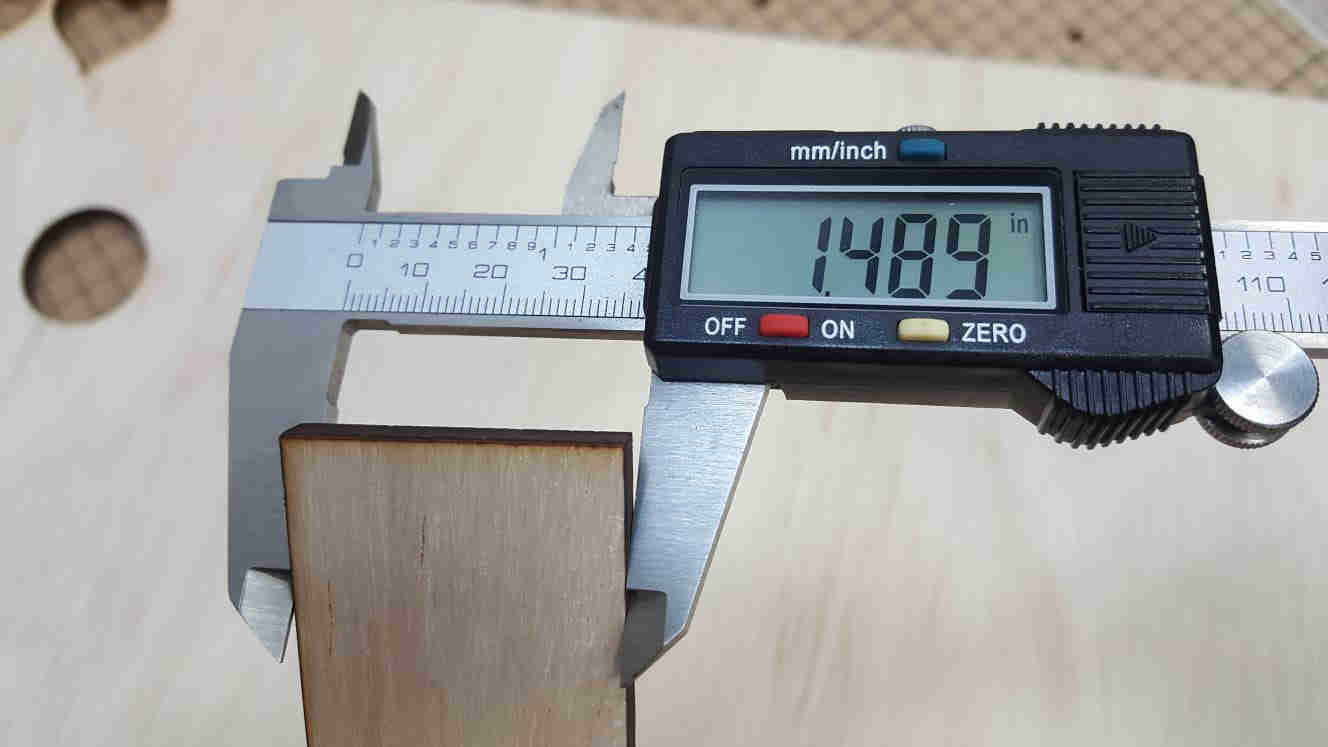
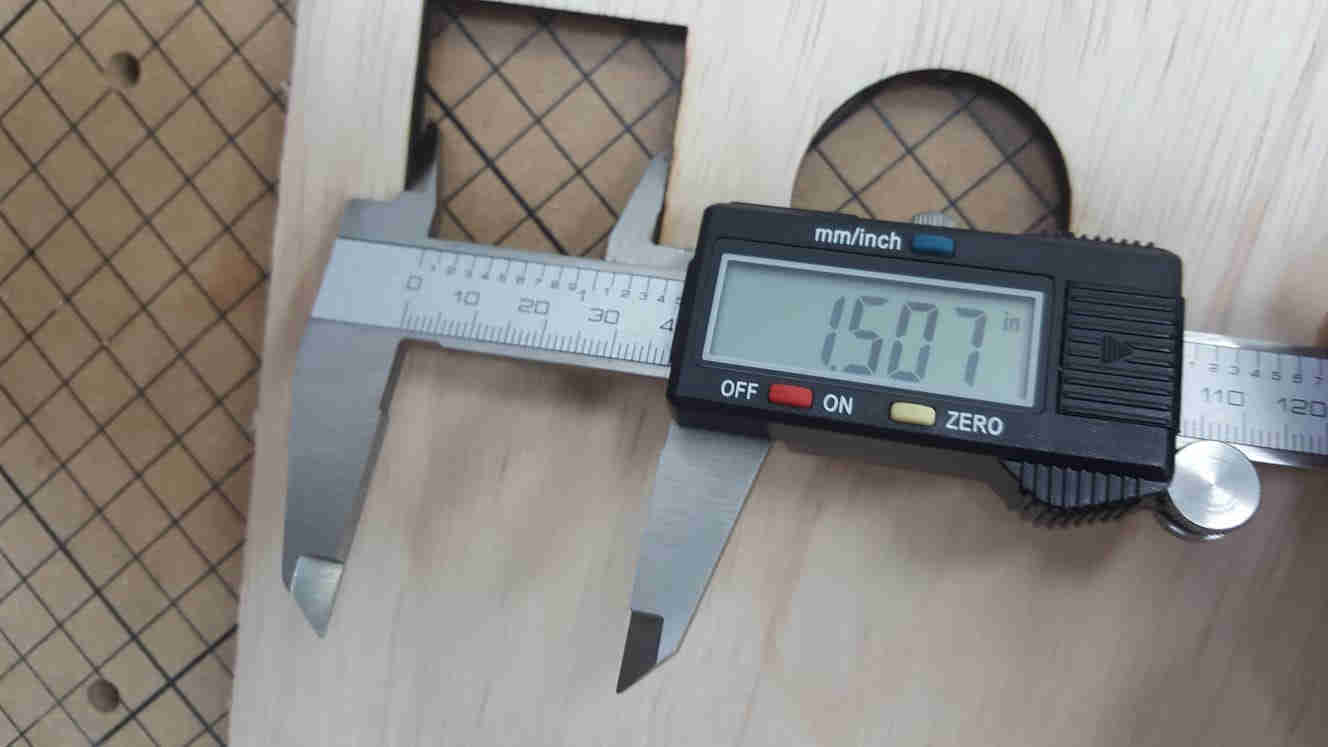
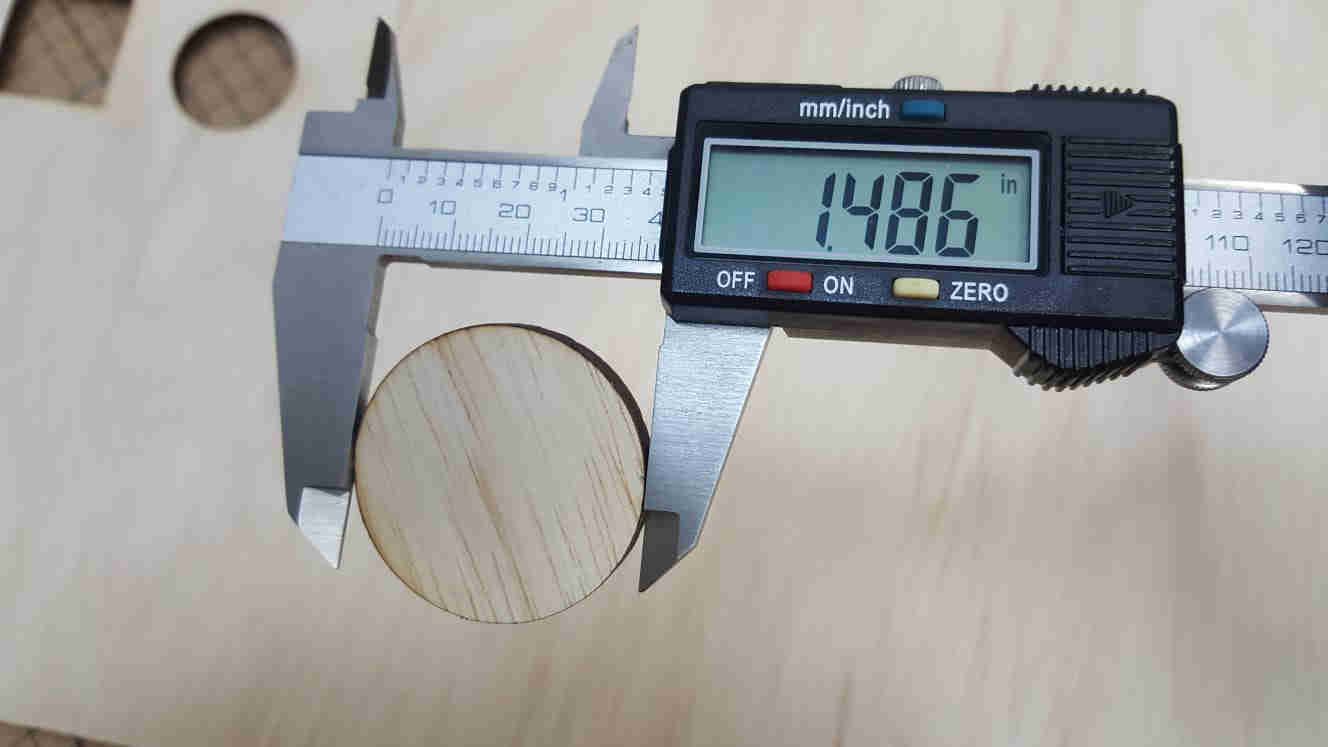
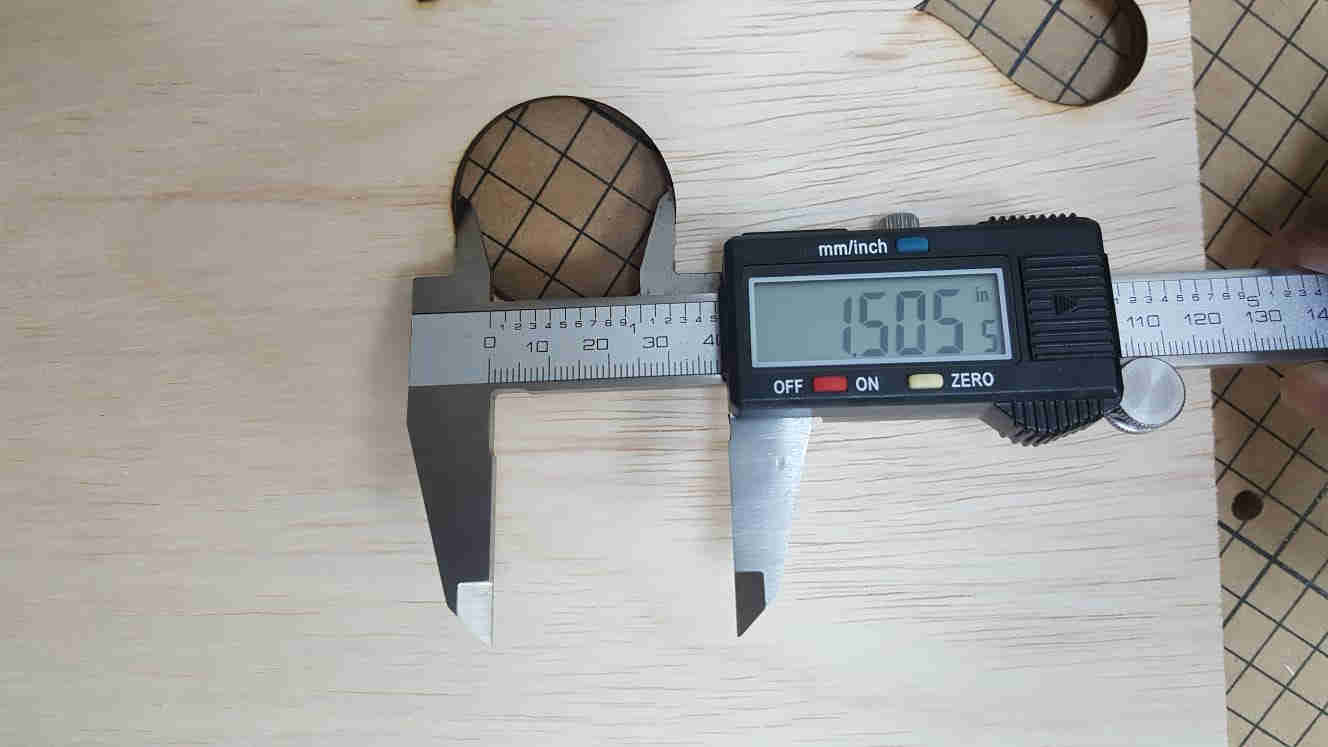
The kerf was noticed varying very slightly for each material and settings, however the average kerf was found to be .oo8" on a single line.
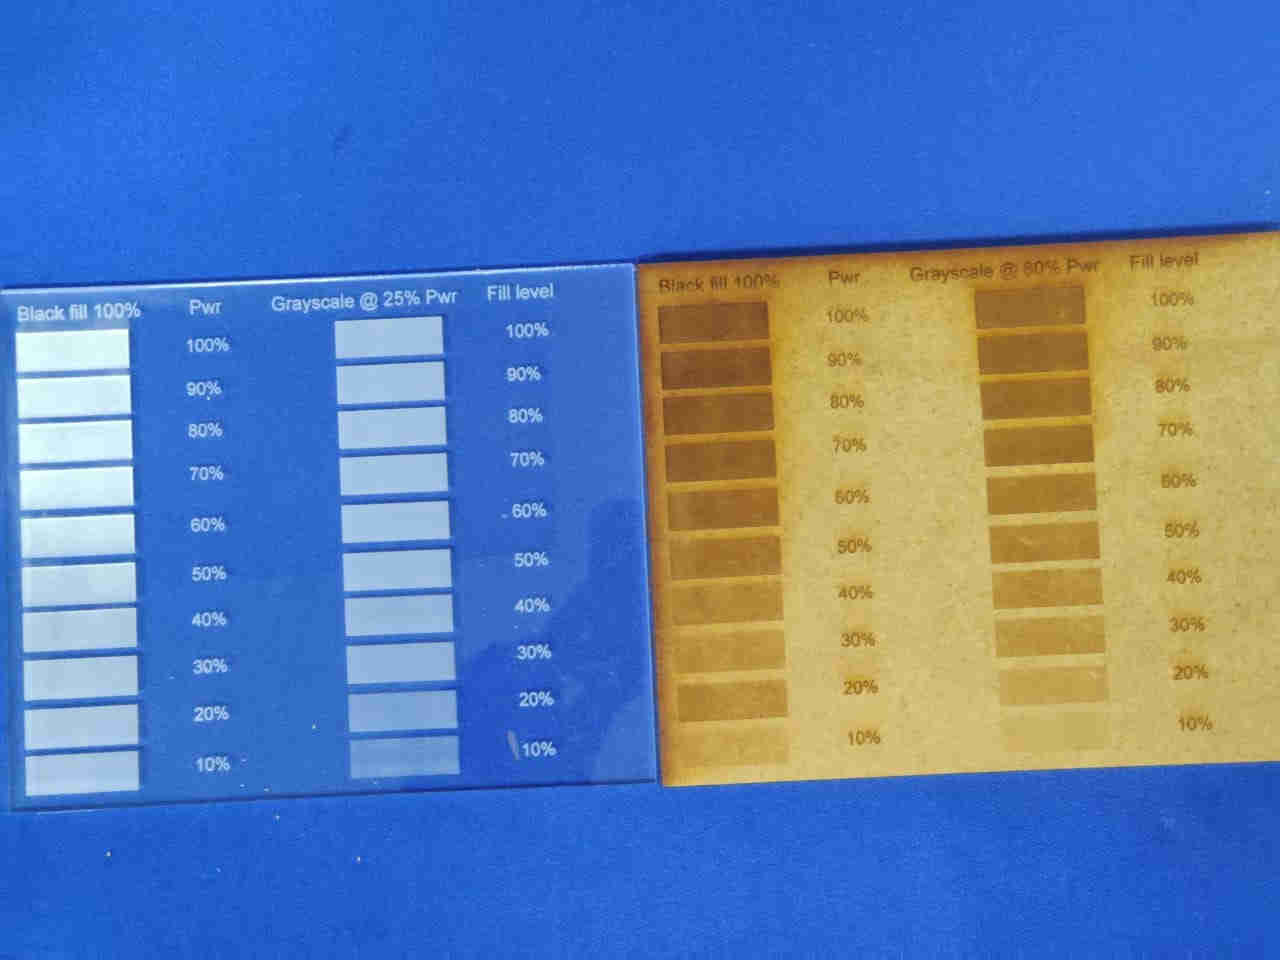
Another test was done to check engraving settings for acrylic and MDF
This test checked the
quality of black at different power levels and also shades of grayscale at a fixed power level.
The following picture shows the results, however it was a bit difficult to get the photo to look like the real objects so the image looks
slightly different from the real objects.
