
WEEK 3
1. Computer-Controlled Cutting
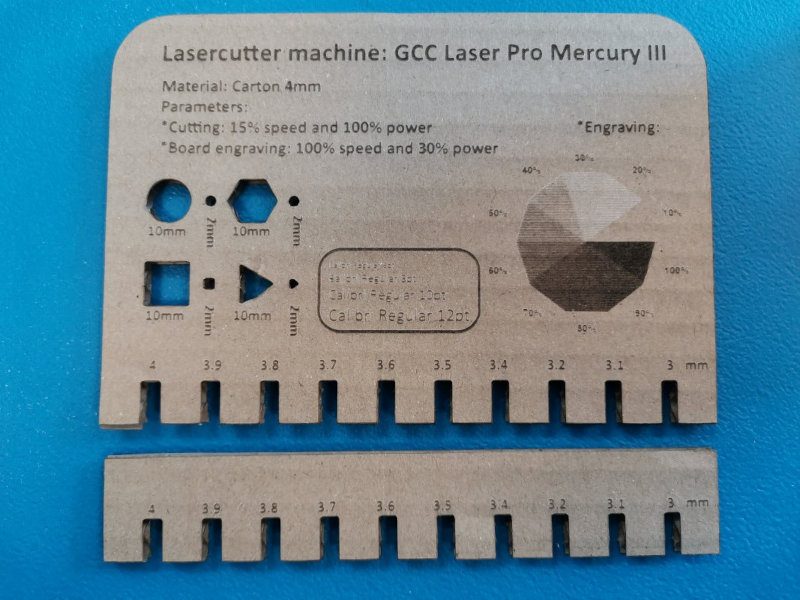
Group assignment: characterize your lasercutter's focus, power, speed, rate, kerf, joint clearance and types.
Individual assignment: cut something on the vinylcutter design, lasercut, and document a parametric construction kit, accounting for the lasercutter kerf, which can be assembled in multiple ways, and for extra credit include elements that aren't flat.
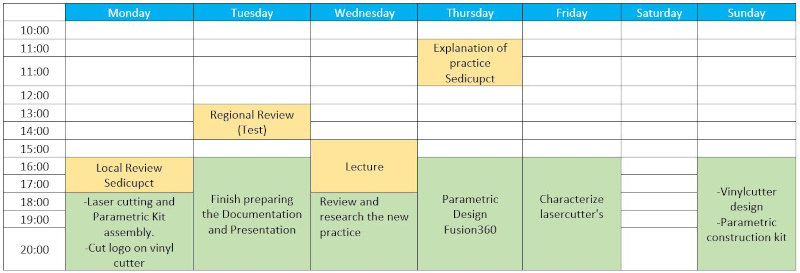
I have developed a weekly work plan that I describe in the following calendar.
1 Group assignment
Go to the Sedicupct website
2 Parametric construction kit
2.1 Parameterize with Fusion360
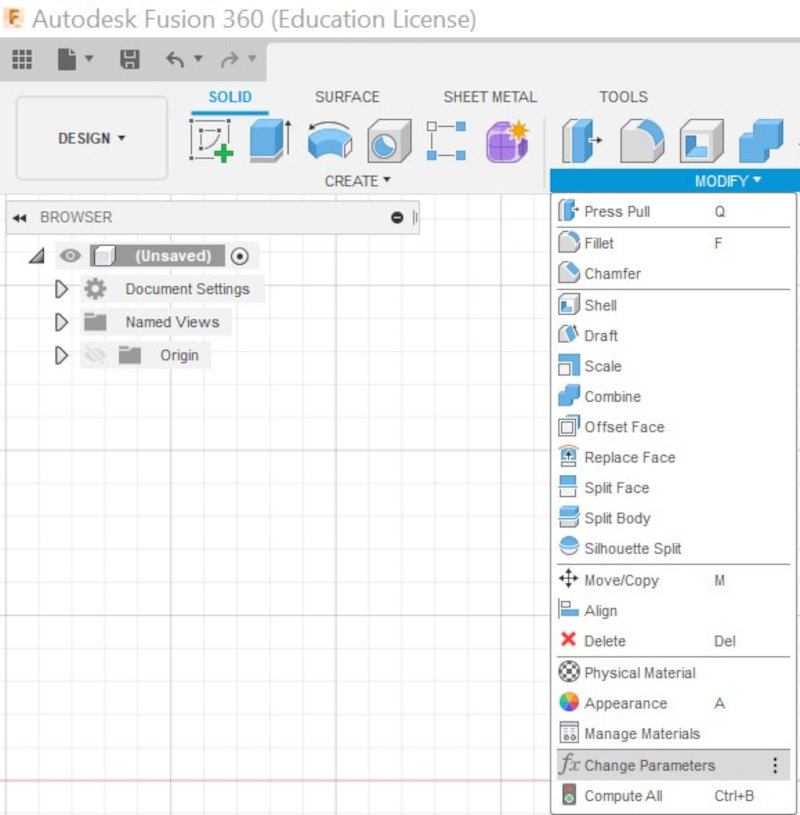
I have followed the following tutorial. In Tool - Modify - Change Parameters, the table of parametric values is created.
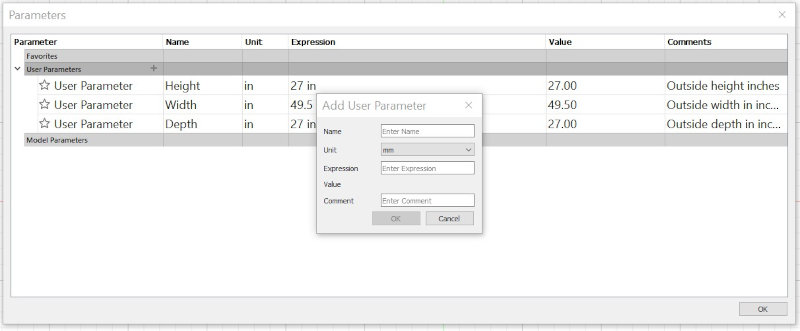
In the parameter table, to include a parameter click on (+).
The parametric value can be included in the sketch dimension.
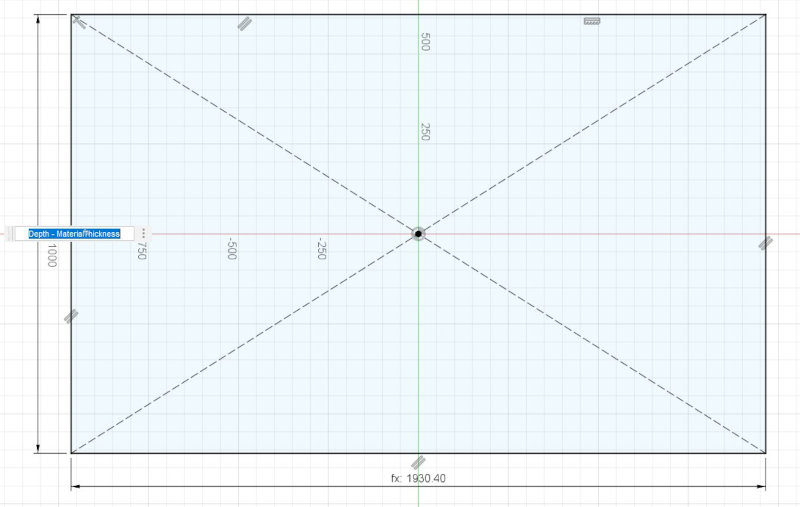
Changing the values in the parametric table will modify the dimensions of the parametric model.
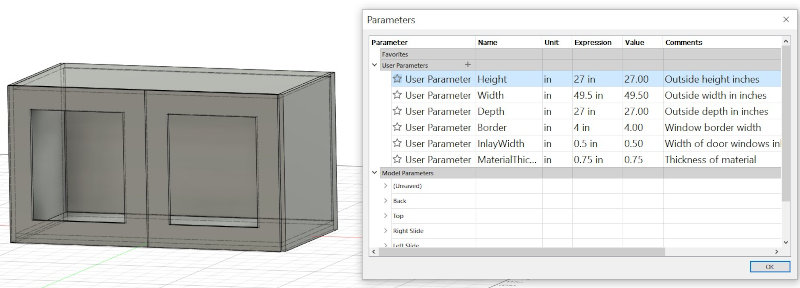
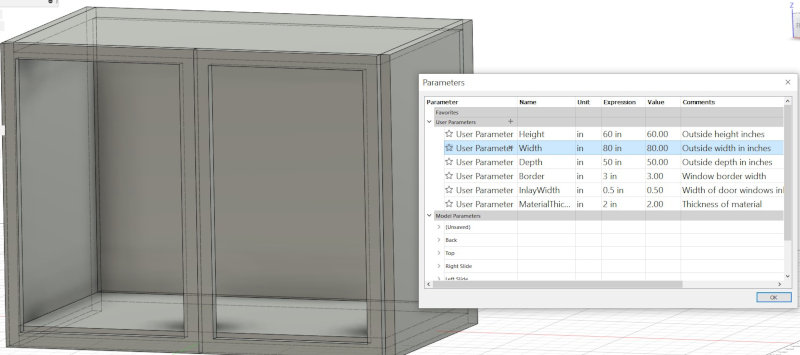
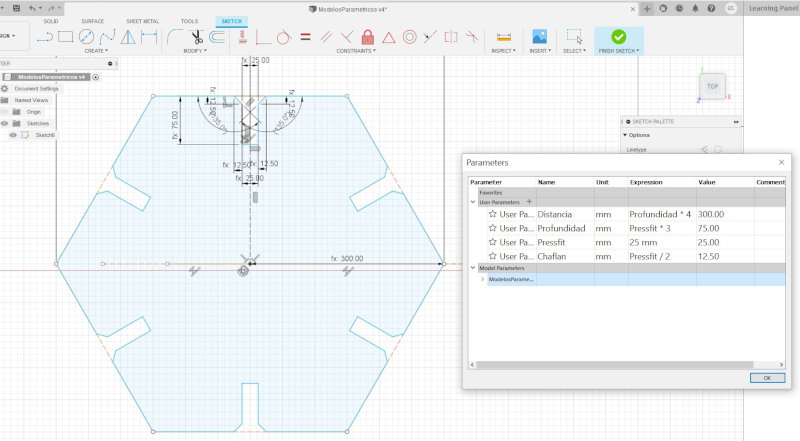
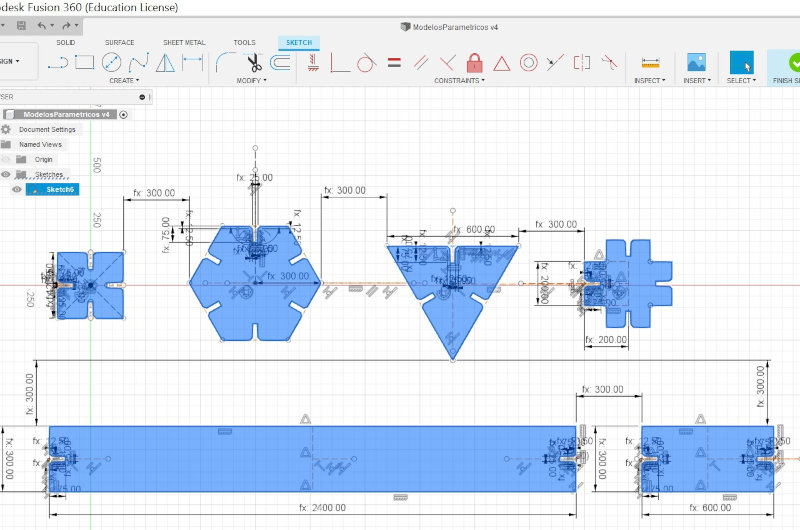
I have designed several models for my parametric construction kit. All models include a chamfer to facilitate assembly. By modifying only the Pressfit value, the other parameters of the models are automatically modified.
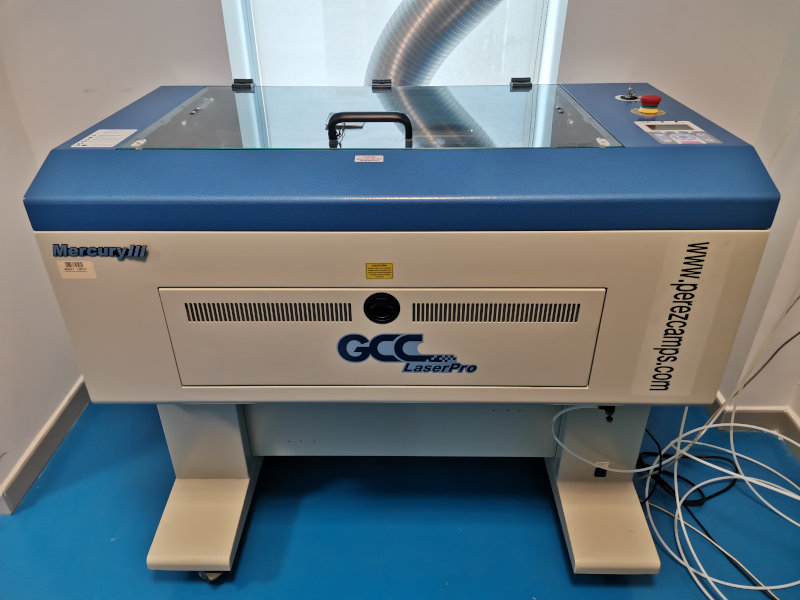
The laser cutter I use is the MercuryIII.
Use the 4mm cardboard material printing template from the group assembly. The optimal pressfit is 3.5mm.
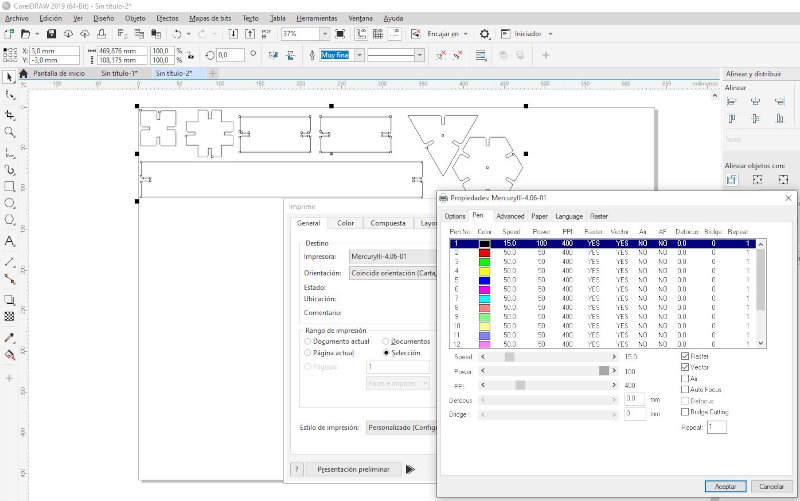
I have parameterized the models with a 3.5mm pressfit in the Fusion360 project and export it in ".dwg" format. I import the .dwg file into a new CorelDraw project. I select the thickness "Very fine" and I give it "print". Configure the printer "MercuryIII" and the properties of Speed and Power of laser cutting of the template for cardboard material "Speed: 15% and power: 100%".
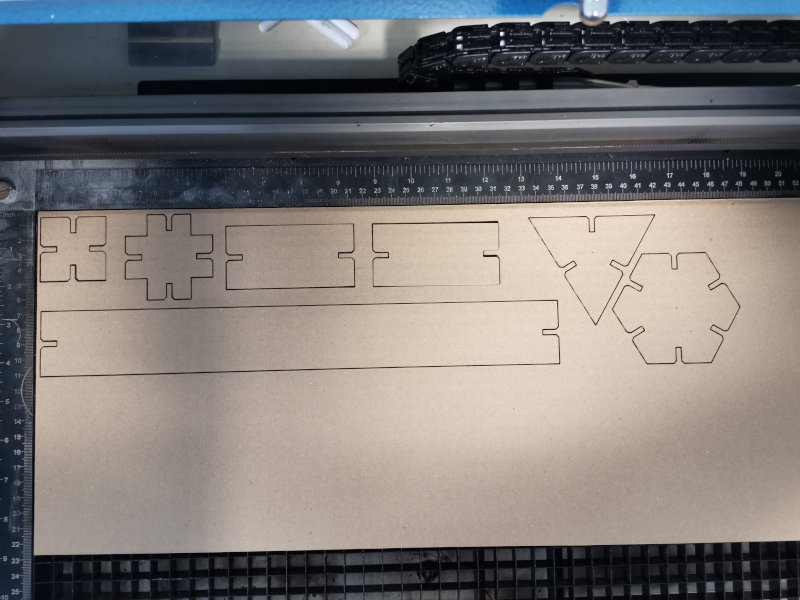
The file is sent to the laser cutter and cutting of the material begins. It is important that the exhaust system is working.
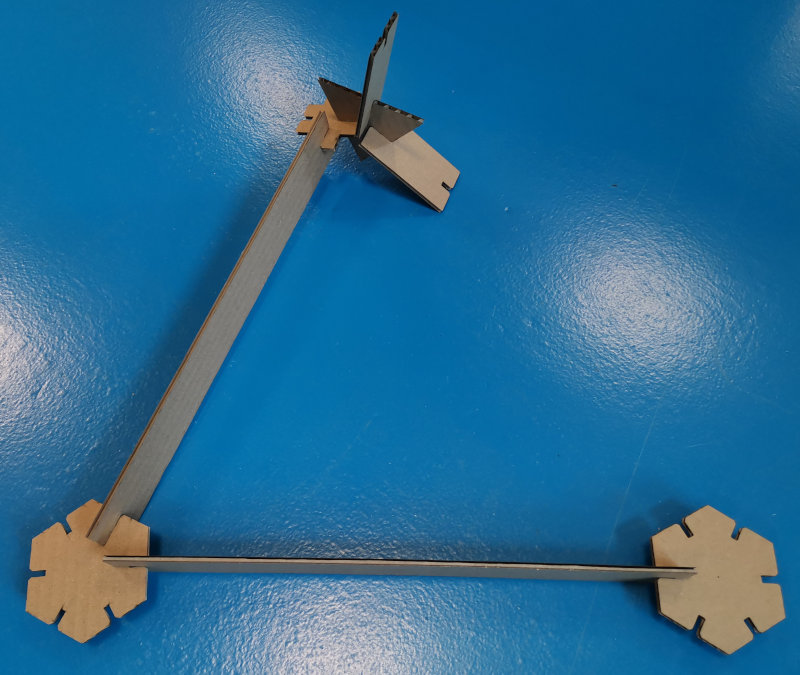
With the cut cardboard pieces, I assemble the design of an electric scooter.
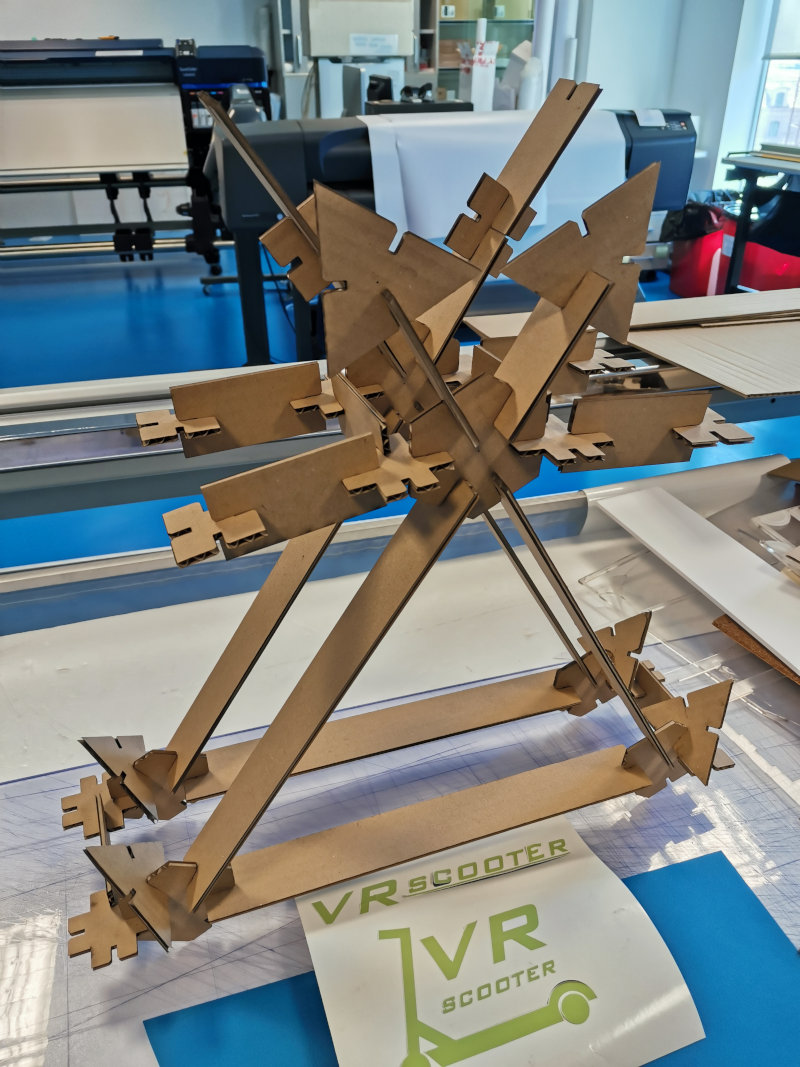
I also create another assembly of an abstract figure.
2.2 Cut logo on the vinylcutter design
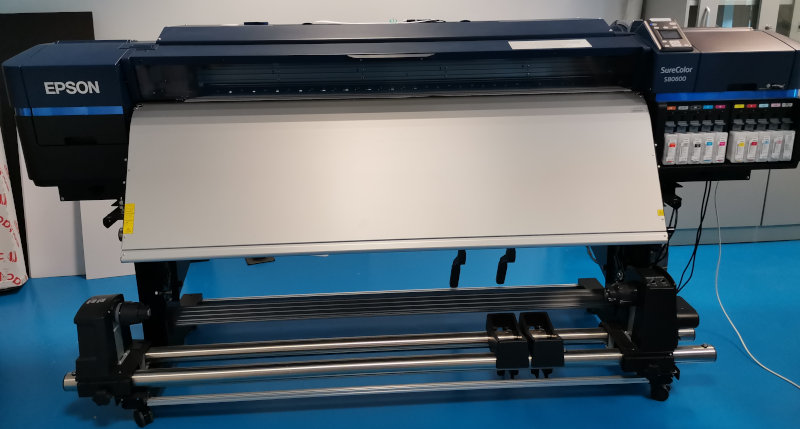
I used the Epson SureColorS80600 plotter to print the designs on vinyl.
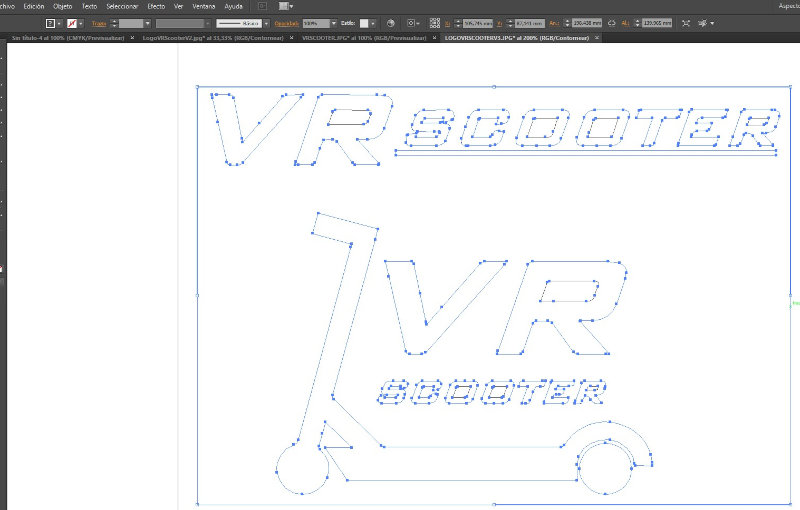
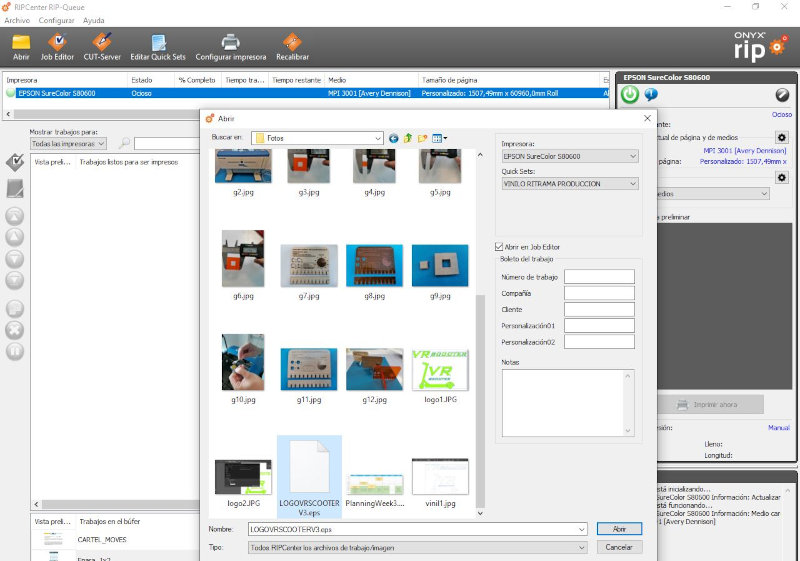
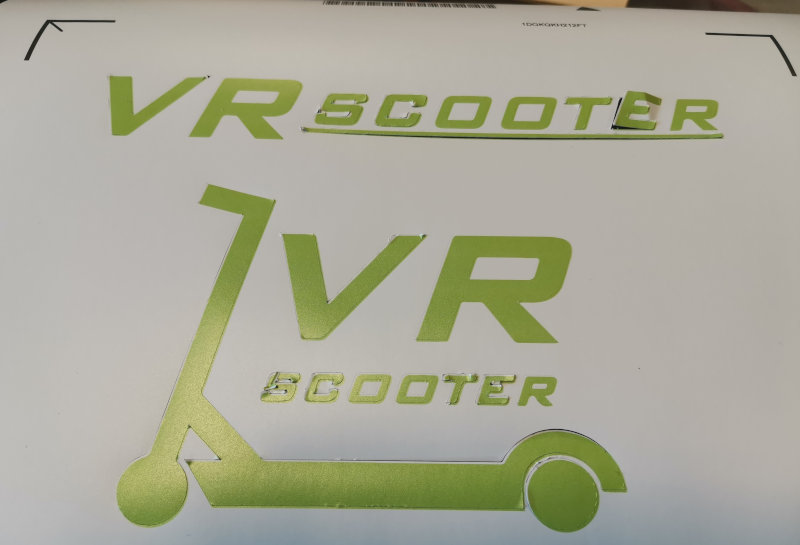
With Adobe Illustrator I vectorized the logos of my final project and exported the file in “.eps” format. I will stick the logos on the electric scooter and a print on a shirt.
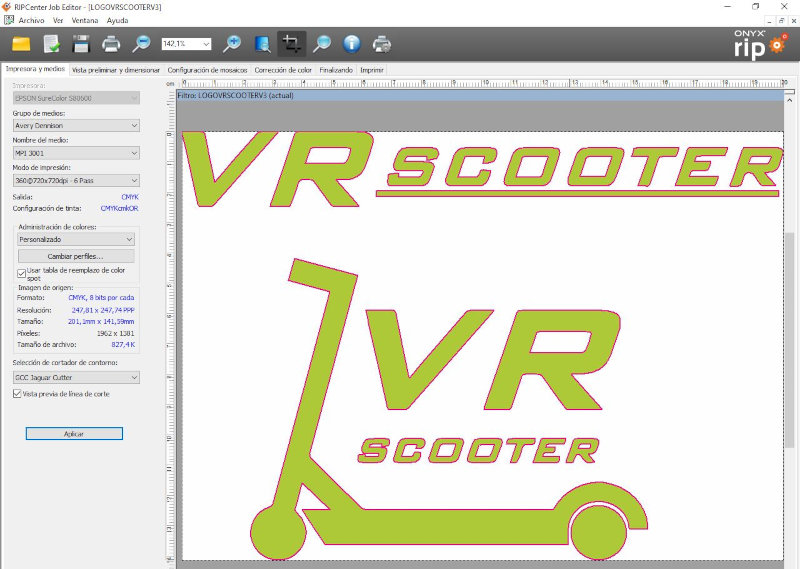
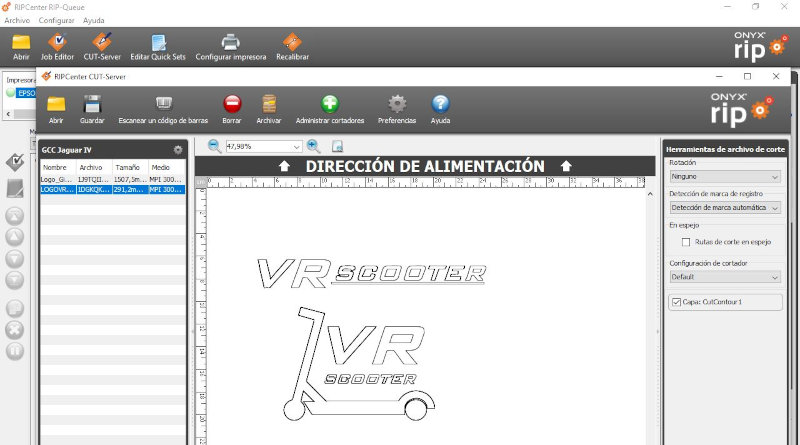
I open the file with the extension ".eps" in the RIPCenter program. I select the Epson SureColor S80600 printer and the "Ritrama Production Vinyl".
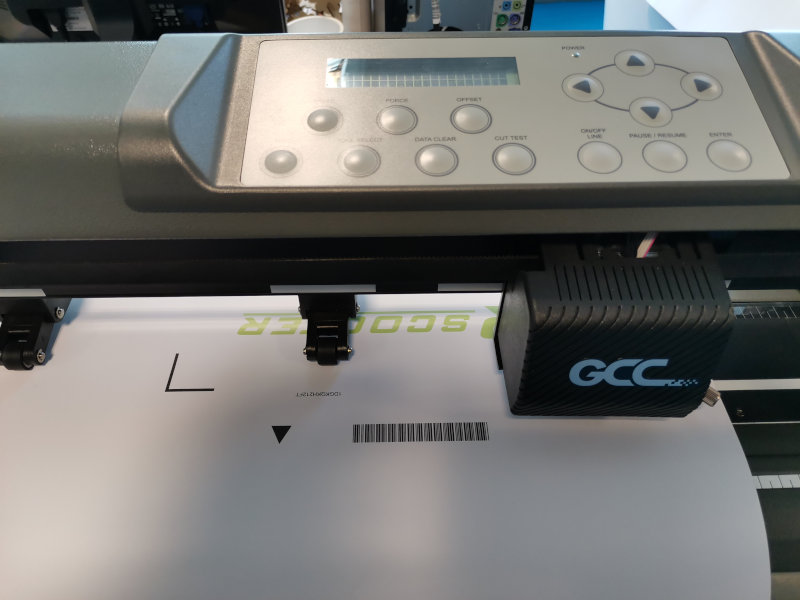
I also configure the contour cutter with the “GCC Jaguar Cutter” vinyl cutter, then hit Apply.
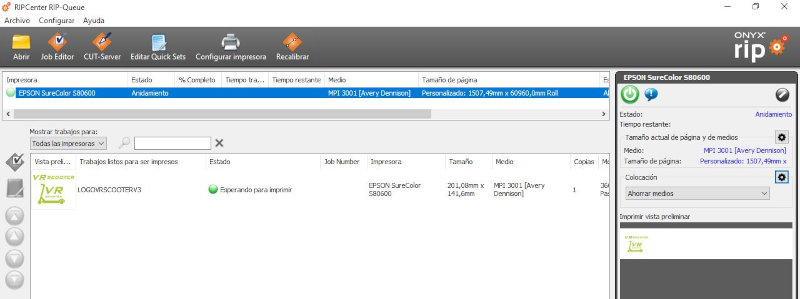
For automatic cutting use the “JaguarIV GCC” vinyl cutter.
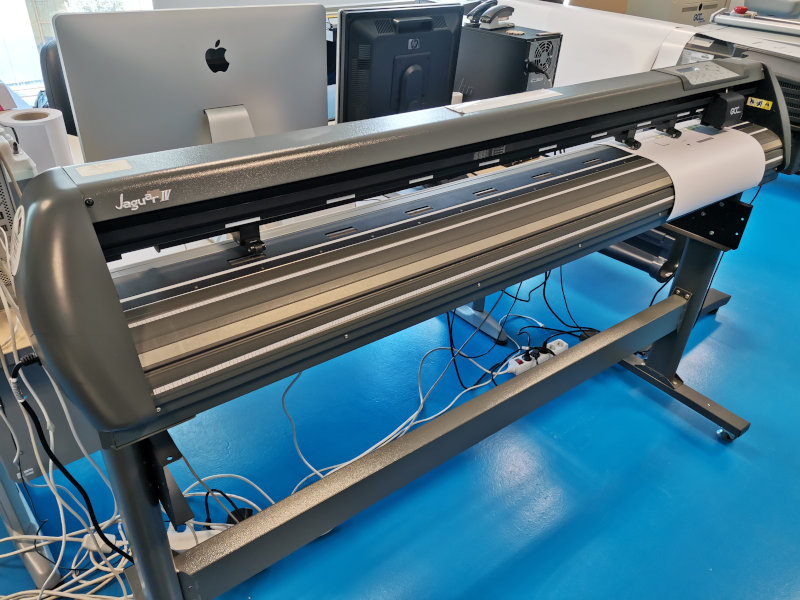
I place the vinyl on the Jaguar cutter and position the landmarks.
In the "RIPCenter" program I open the logo file in ".eps" format.
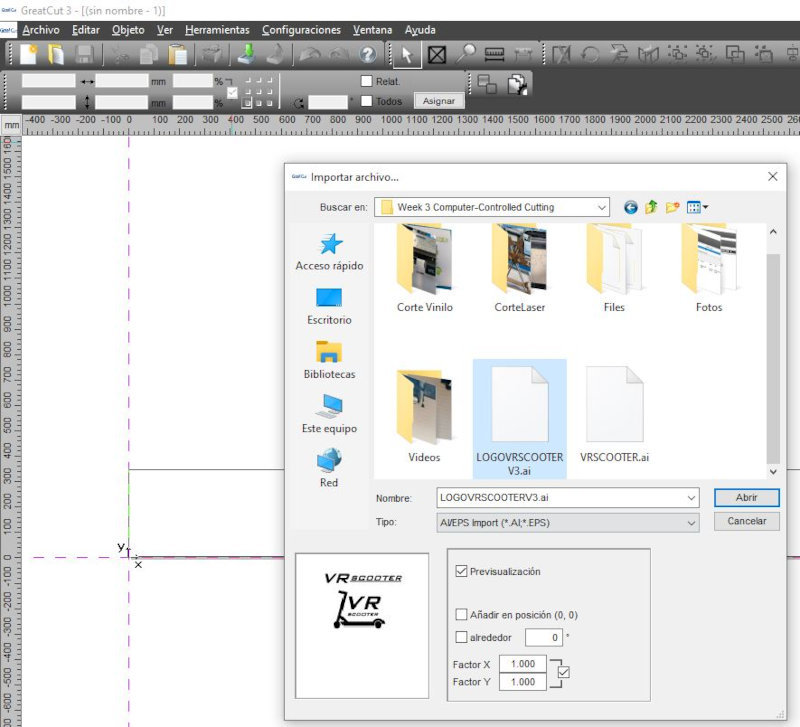
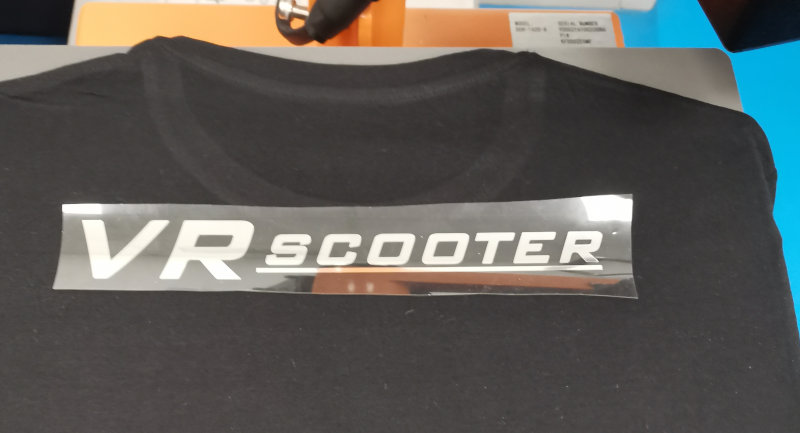
For the logo printed on the shirt I will use a silver vinyl. I import my logo file in .eps format into the “GreatCut3” software.
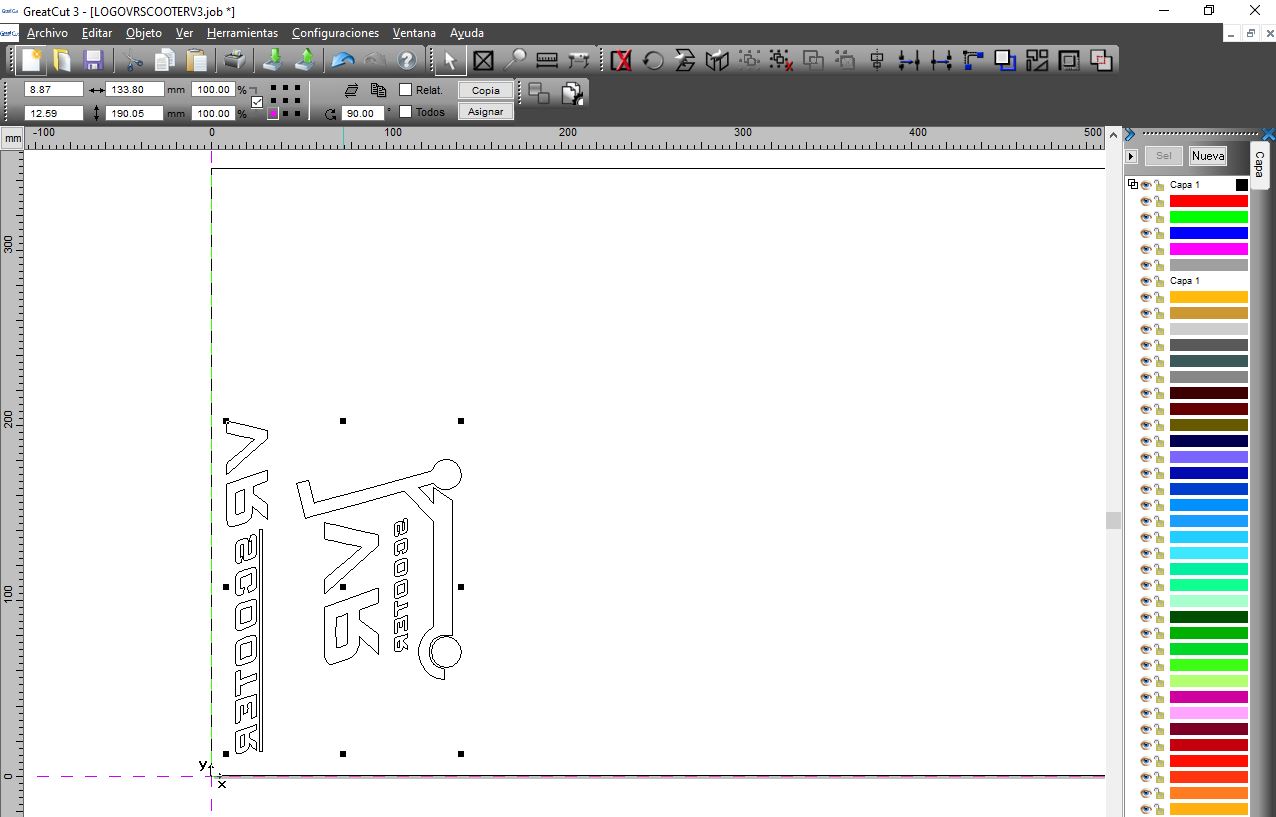
Configure the work table and the dimensions of the logo.
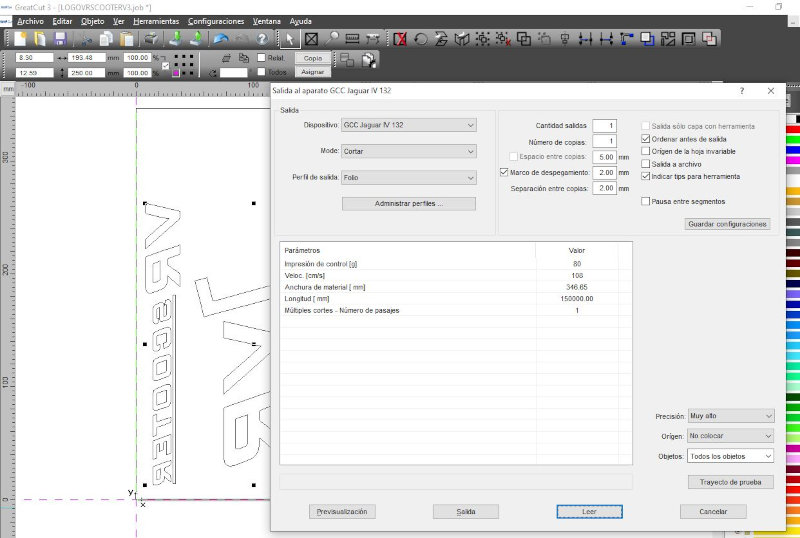
Select the output device for the JaguarIV vinyl cutter. Click on "read" and "Exit" to start cutting the vinyl.
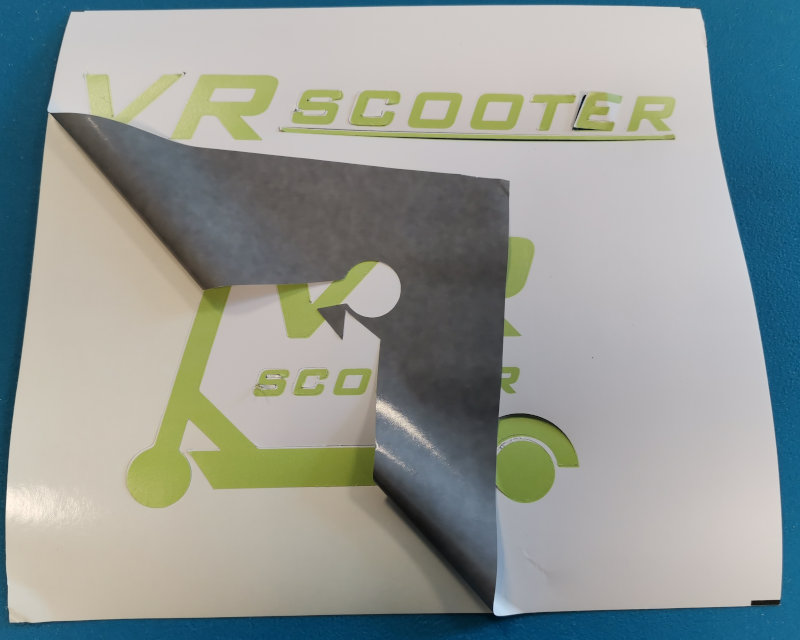
Peel off any excess silver vinyl.


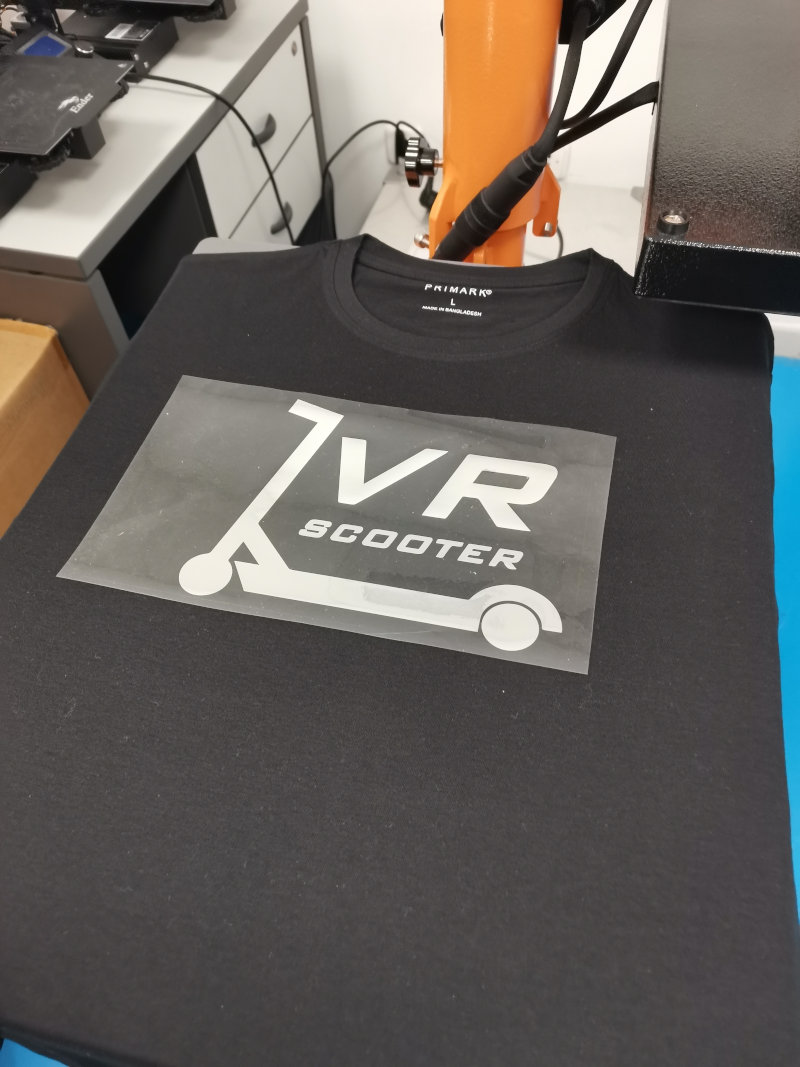
Logo print on a T-shirt.
I used the Beinsen thermal press for stamping. First I select the temperature according to the type of vinyl. For this vinyl the temperature has to be 150ºC. Then I select the ironing time, 15s, and wait for it to warm up. While I put the shirt and the vinyl.
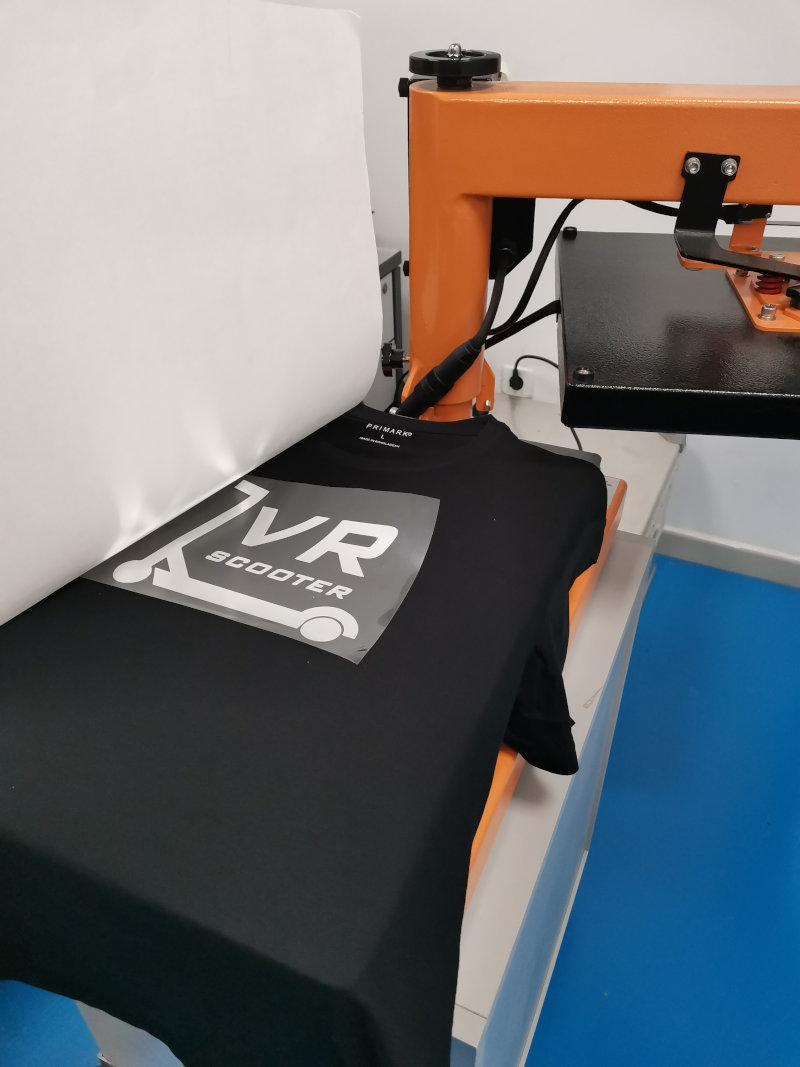
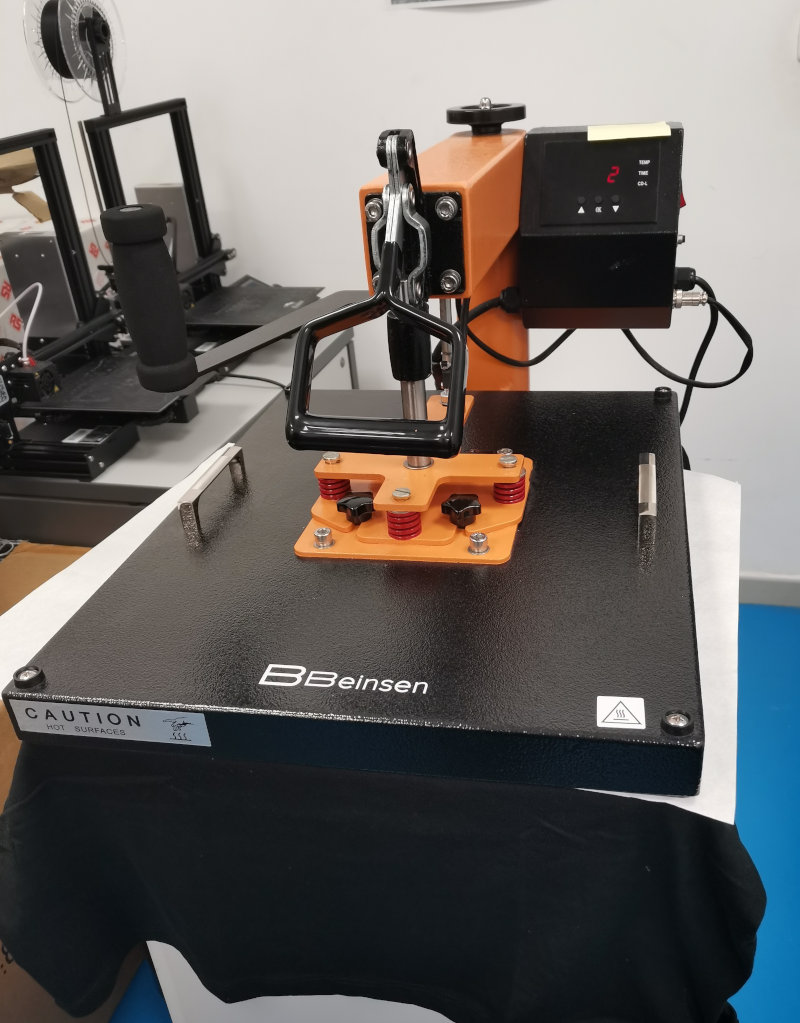
After 10 minutes, the iron is already hot. Under the lever to press and a countdown is activated that warns me of the weather. When I finish I lift the press.
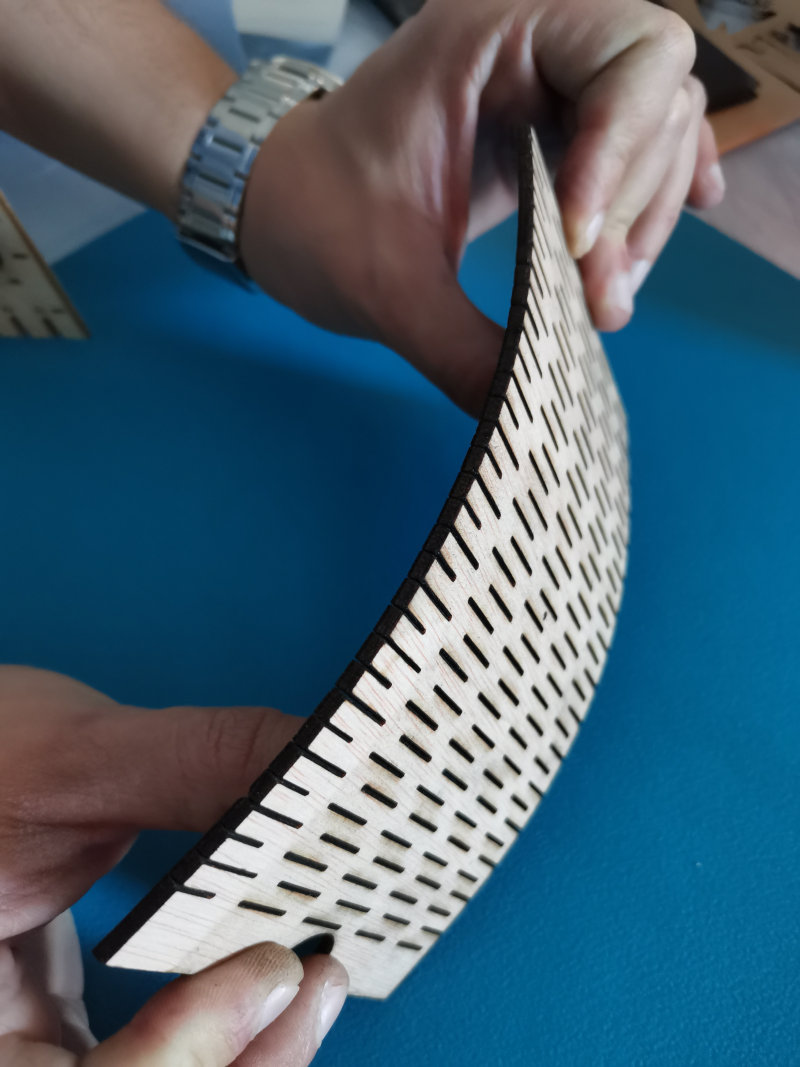
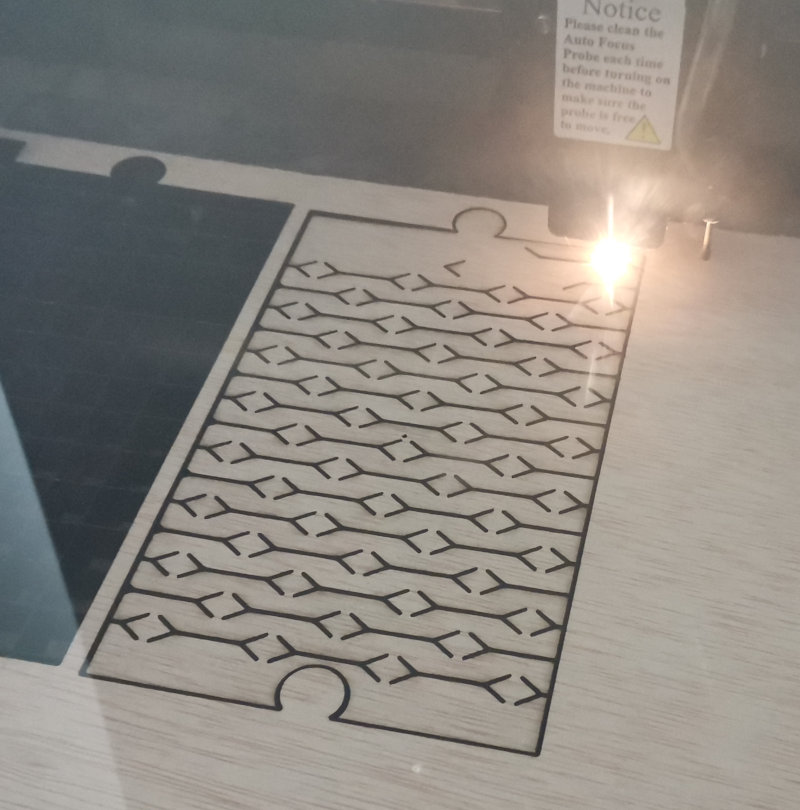
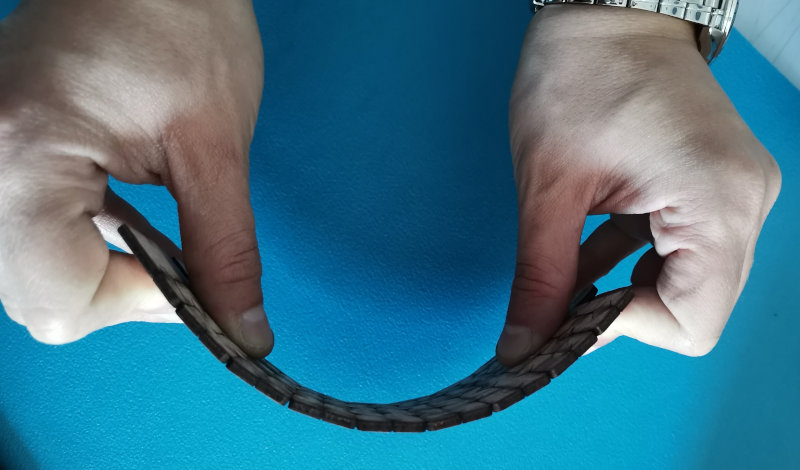
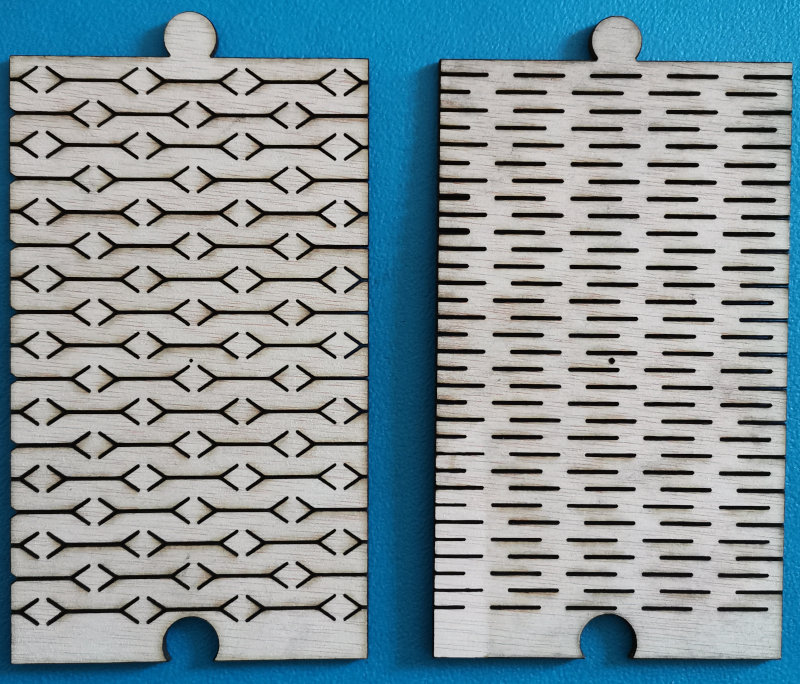
3 flexible cut
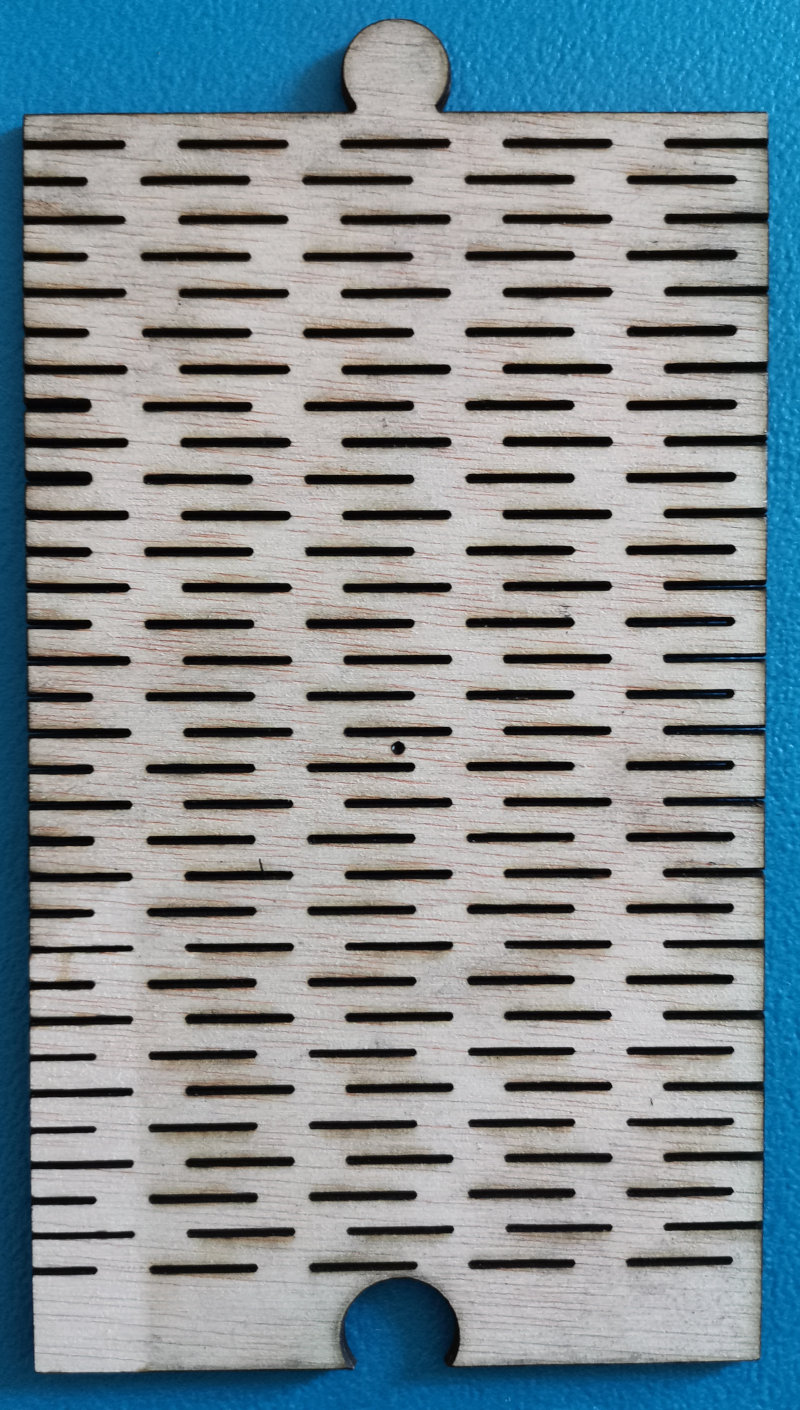
I have created two templates for flexible cutting in fusion360 and export them in .dwg format. Then I import the files in CorelDraw and print them in the MercuryIII.
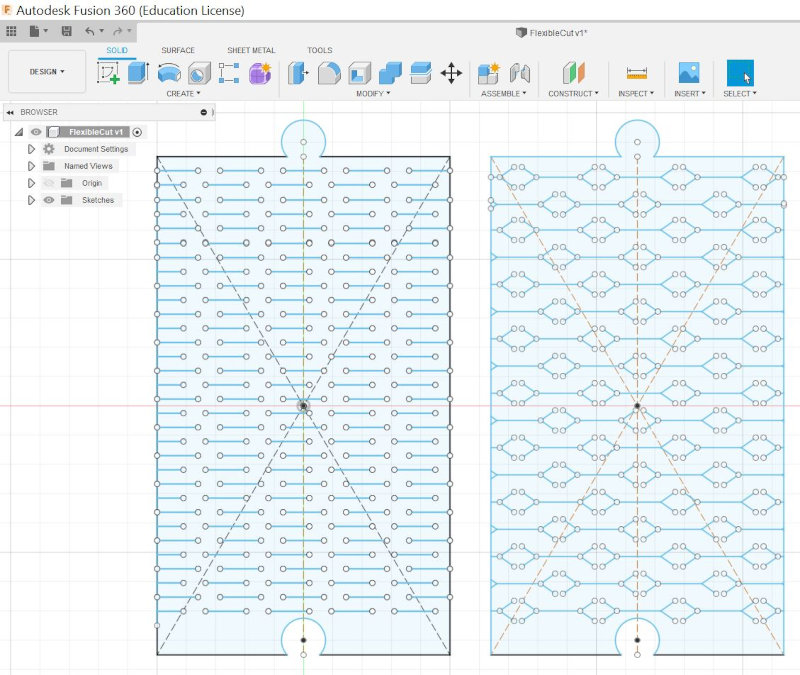
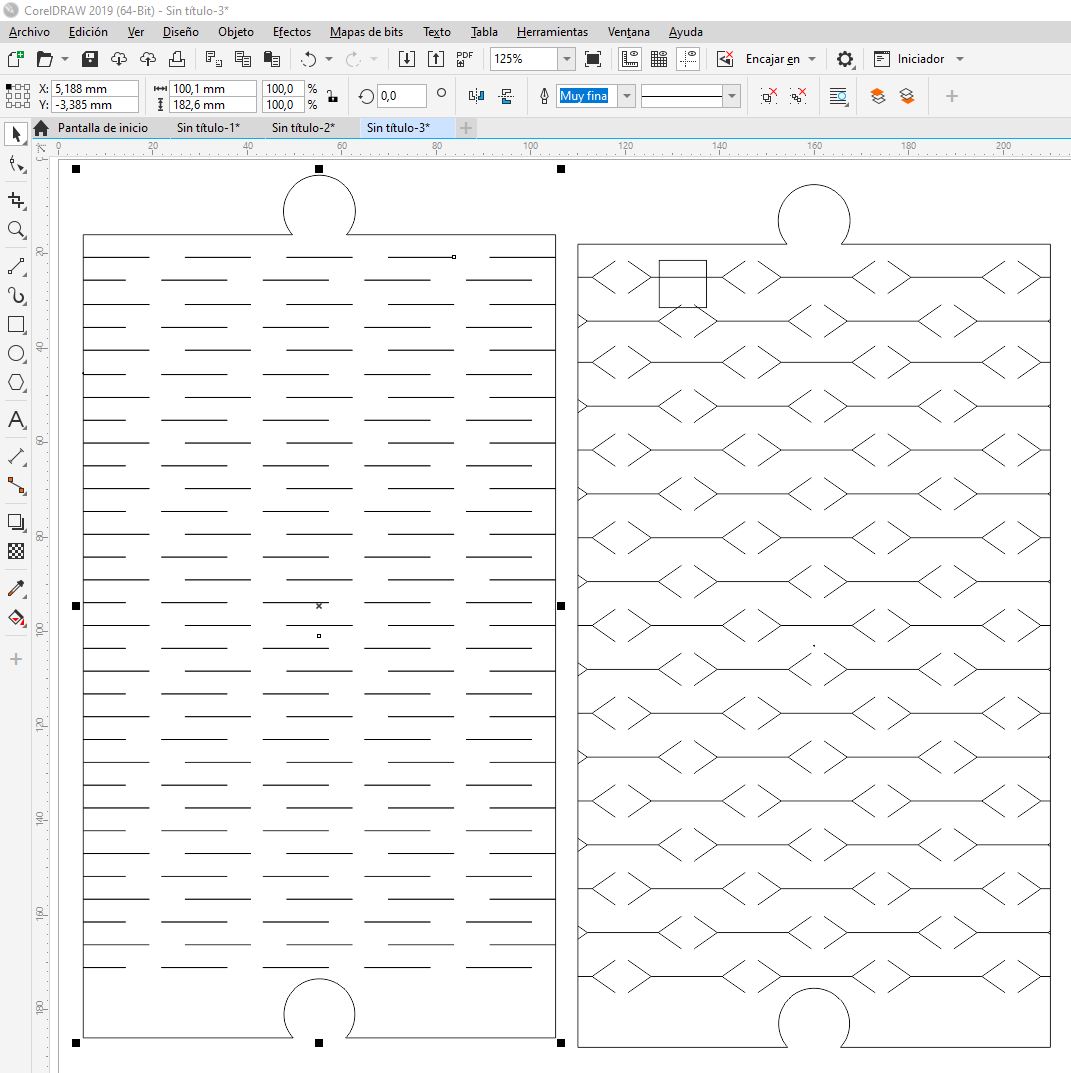
The first template is not that flexible. The second template has greater flexibility. Straight cutting line from a stable radius. The further apart the cut lines are, the larger the bend radius will be. Although it only allows bending in one direction, it is the basic bending template.
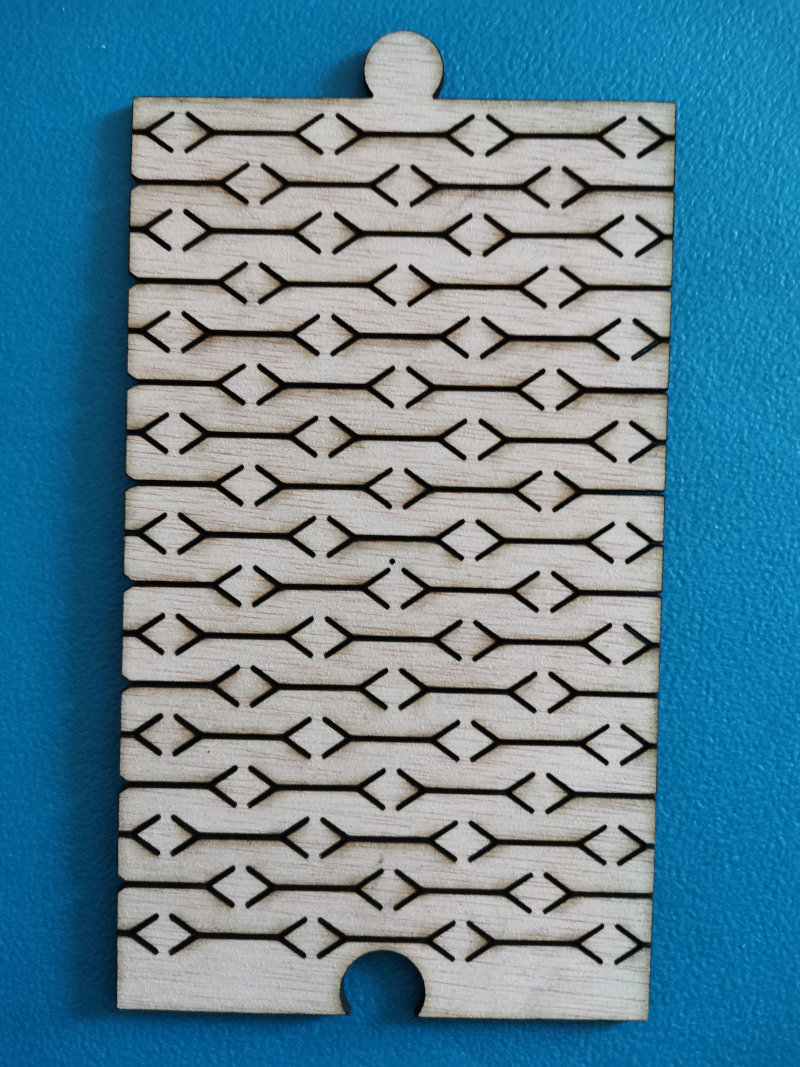
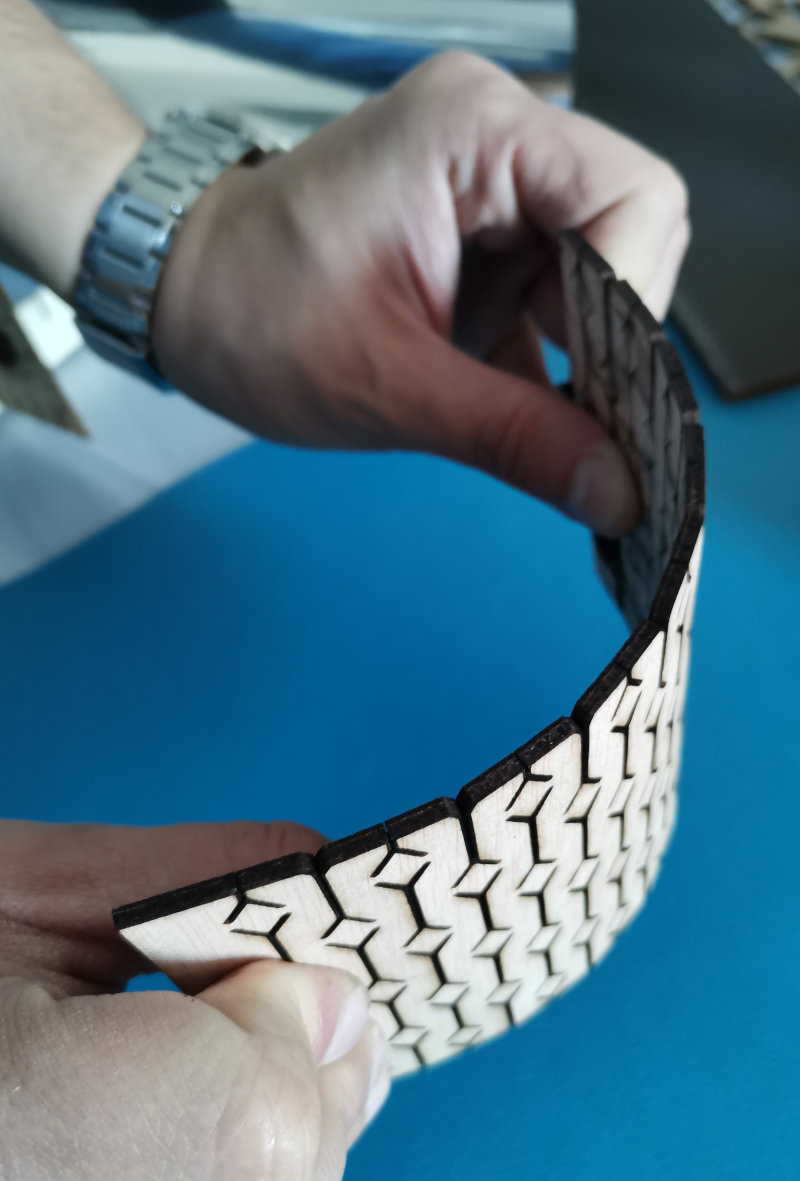
The second pattern is called the Honeycomb Cut Line, it allows flexibility in all directions and allows more flexibility of the material.
4. Conclusions of the week
This week has been one of new experiences because I did not know laser cutting or parametric designs. At first I did several tests with the parametric design until I found the one that would work best for my design.
Using the Laser cutter is not complicated, although I had trouble finding the correct power to display the letters on the cardboard, I did several tests until I finally found an appropriate value "100% power".
The first time I used the MercuryIII, I forgot to turn on the extraction system and the room filled with a smell of burnt wood, so I opened the windows, for the following cutting tests connect the extraction system first.
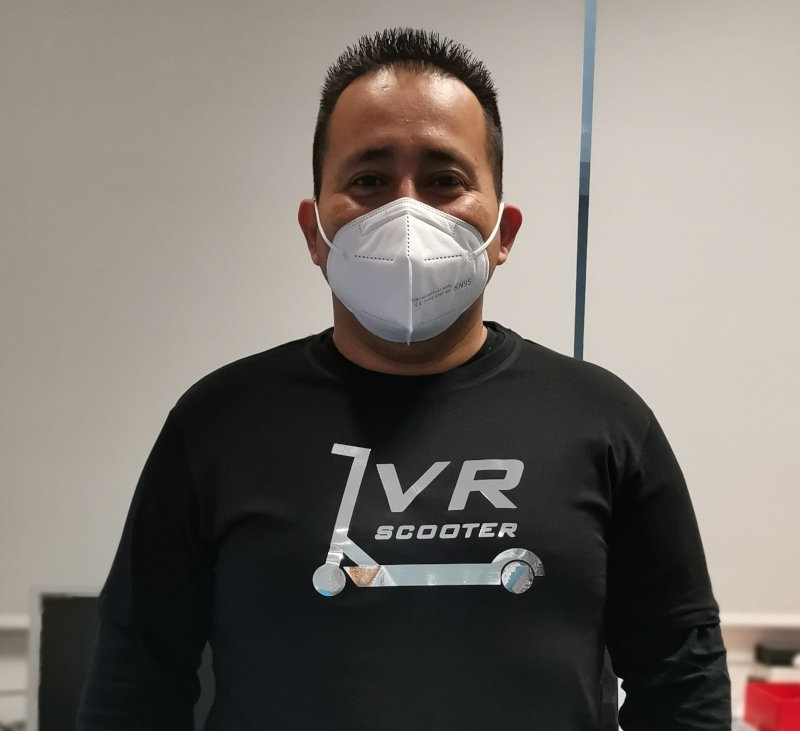
With vinyl cutting the experience was pleasant, because I had no problem developing the logo design and cutting it, I also liked being able to print it on a t-shirt..