Reading Data Sheet And Safety Precautions
Use in a properly ventilated area (“room size” ventilation). Wear safety glasses, long sleeves and rubber gloves to minimize contamination risk. Wear vinyl gloves only. Latex gloves will inhibit the cure of the rubber. The thing is most of the mixing process involved is exothermic and you can use heat resistant gloves(if its a metal casting)Contact with skin and eyes may cause irritation. Flush eyes with water for 15 minutes and seek immediate medical attention. Remove from skin with waterless hand cleaner followed by soap and water.You can also use Safety glasses to avoid eye splashes.Personal precautions, protective equipment and emergency procedures Only properly protected personnel should remain in the spill area; dike and contain spill. Stop or reduce discharge if it can be done safely.Never eat, drink, or smoke in work areas. Practice good personal hygiene after using this material, especially before eating, drinking, smoking, using the toilet, or applying cosmetics. Wash thoroughly after handling.
Data Sheets
It’s always important to first read the datasheet to make sure you take the right safety preconditions. In the datasheets you can find the ‘Hazardous materials identification system’ (HMIS), this is a system that checks materials and gives information on four criteria: Health, Flammability, physical hazard and personal protection. More detailed information can found on the Wikipedia page HMIS-system.
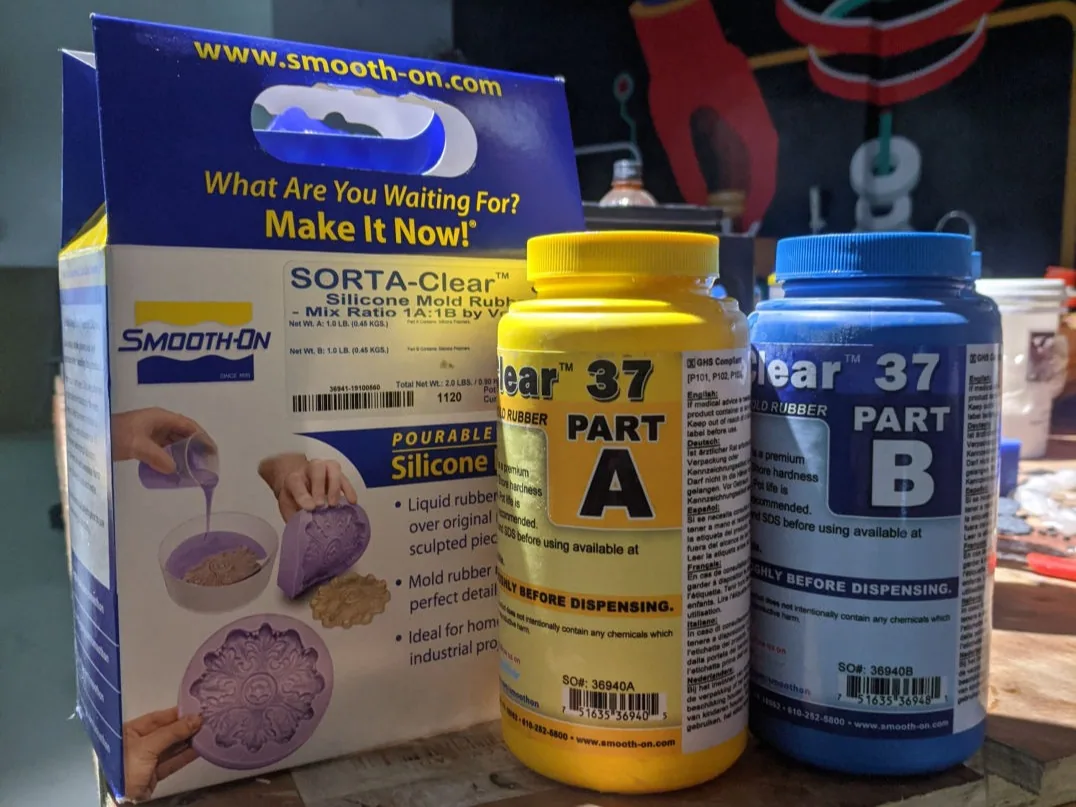
SortA-Clear 37
SORTA-Clear 37 is a premium water white translucent silicone rubbers (platinum catalyst) which cure at room temperature with negligible shrinkage. These rubbers feature high tensile and tear strength. They offer the convenience of a 1A:1B by volume mix ratio. They are ideal for making prototype, jewelry or other molds of any configuration where model visibility is
important (i.e. extracting a model from the mold via cutting). Materials such as urethane, epoxy or polyester resins can then be cast into these silicone without application of a release agent. Other materials such as wax and low melt metal alloys can also be cast into the mold made out from this rubber. These can be pigmented with SILC Pig™ silicone pigments. They are also FOOD SAFE and can be used for culinary applications including casting chocolate and other confections.
You can download the technical data and process to use SortA clear 37 from this link. Please follow the safety regulations according to the safety datasheet in this link.
Testing
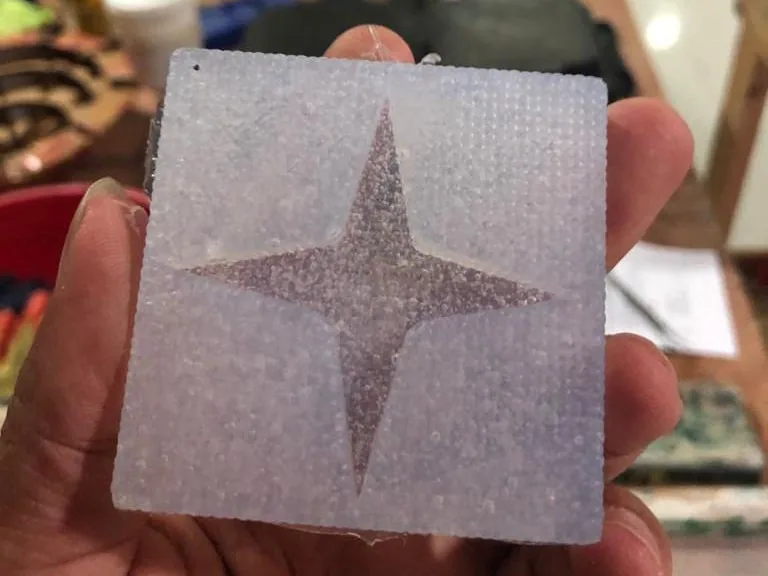
Since the SortA-Clear 37 which we had been using was old, there were bubbles already in the rubber before mixing. First we decided to save time for understanding the process safety and the quality of the mold so used the old milled was for molding.
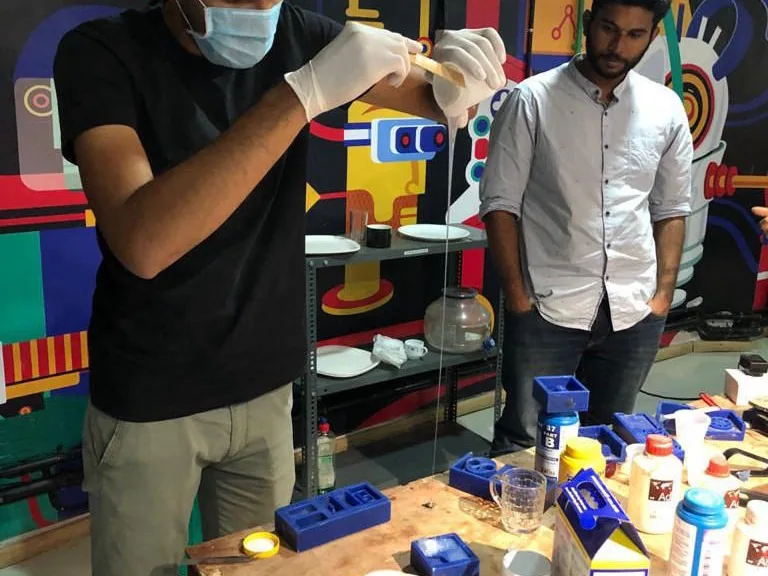
Main thing first, since the mix has a pot life of 25 min, keep everything ready on the table so that the process goes uninterrupted, wear your safety gears like gloves, masks, and glasses.
First trying the SortA-Clear 37, it had the ratio of 1:1 by volume and also 1:1 by weight for part A : Part B. There are 3 ways three ways to mix Part A and Part B.
1. Pour a volume of Part A and same volume of Part B and mix it
2. Pour a weight of Part A and pour same weight of Part B
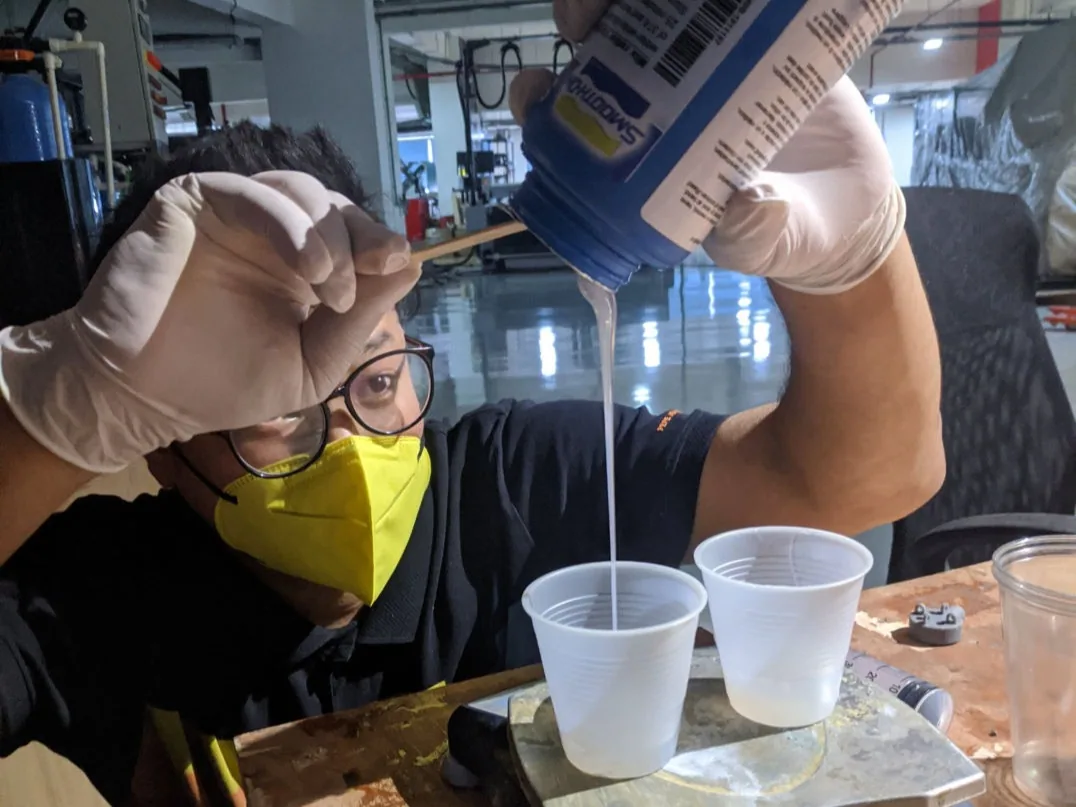
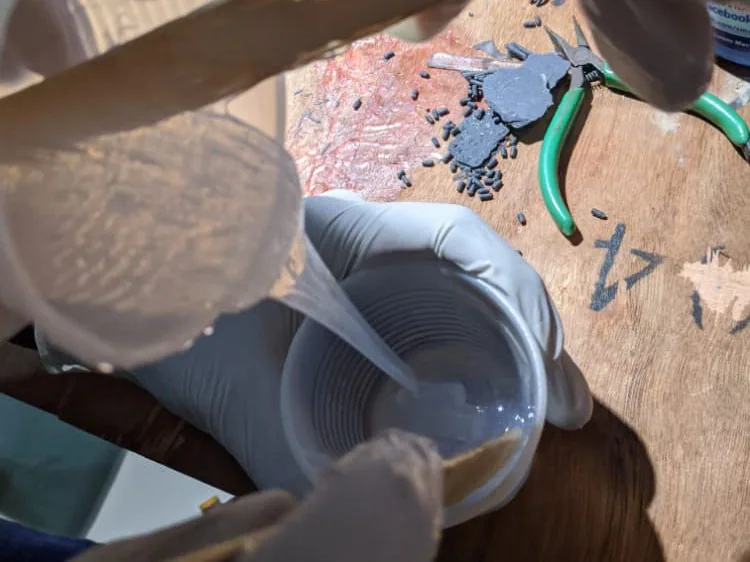
In our case, we used the second one, mix by weight, but took reference of amount of material by volume. To estimate the amount we should be mixing, the volume of the mix has to be known so as to prepare it so take a cup, translucent or transparent, pour water into the milled part , pour the water into the cup, mark the total volume and mark half the volume. Now put the cup on the weighing scale set the weight to zero with the cup (In case you cant set zero the weight with cut, please consider the weight of the cup and use the difference for calculation). Pour Part A up till half mark we made on the cup or a little bit more for being safe of amount of mix. Weigh it and add Part B of same weight.
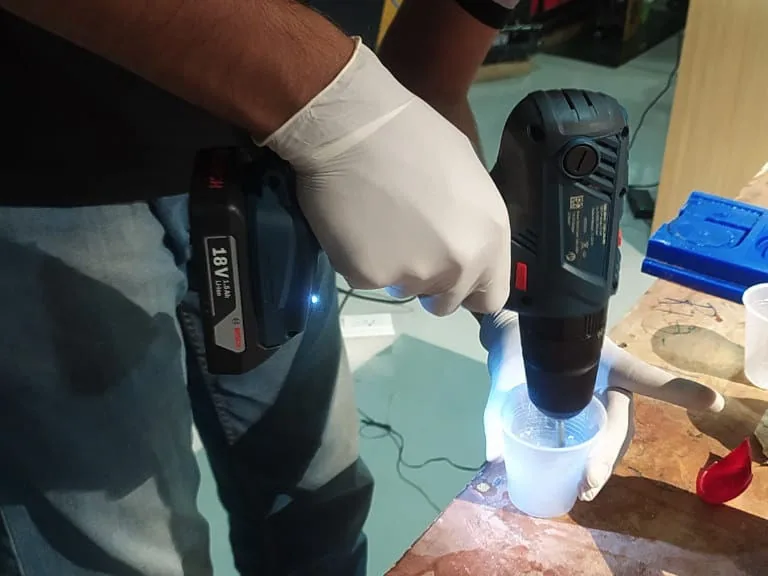
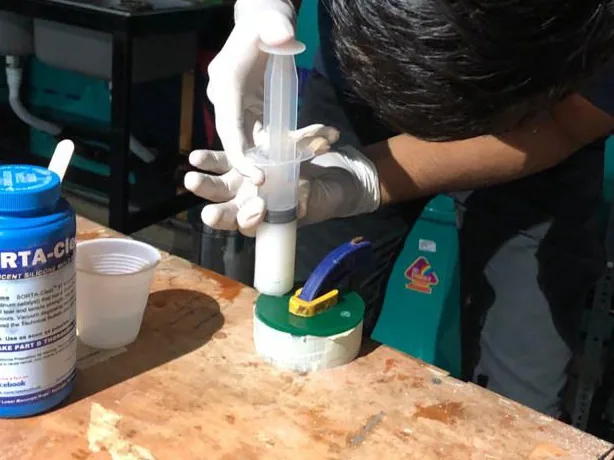
Then mix it with only horizontal strokes, not vertical strokes or it might add the air bubbles into the mix. Less the air bubble, better your mold will be.slow mix has to be done so that the air bubble do not form. You might use vacuum chamber to remove the air bubbles if you have it in your lab. We did not have it in our lab so we were unable to use it. If the bubble comes in the surface where the material is cased, you might have defect in your mold and the part which will be cast out of that mold. You can follow this link to know other ways to eliminate bubbles. Remember that the pot life of the mix is just 25 minute of do not let the mix stay for more than that. It might be different for your material which should be mentioned in the datasheet.
Chain Link Loops Using Molding And Casting
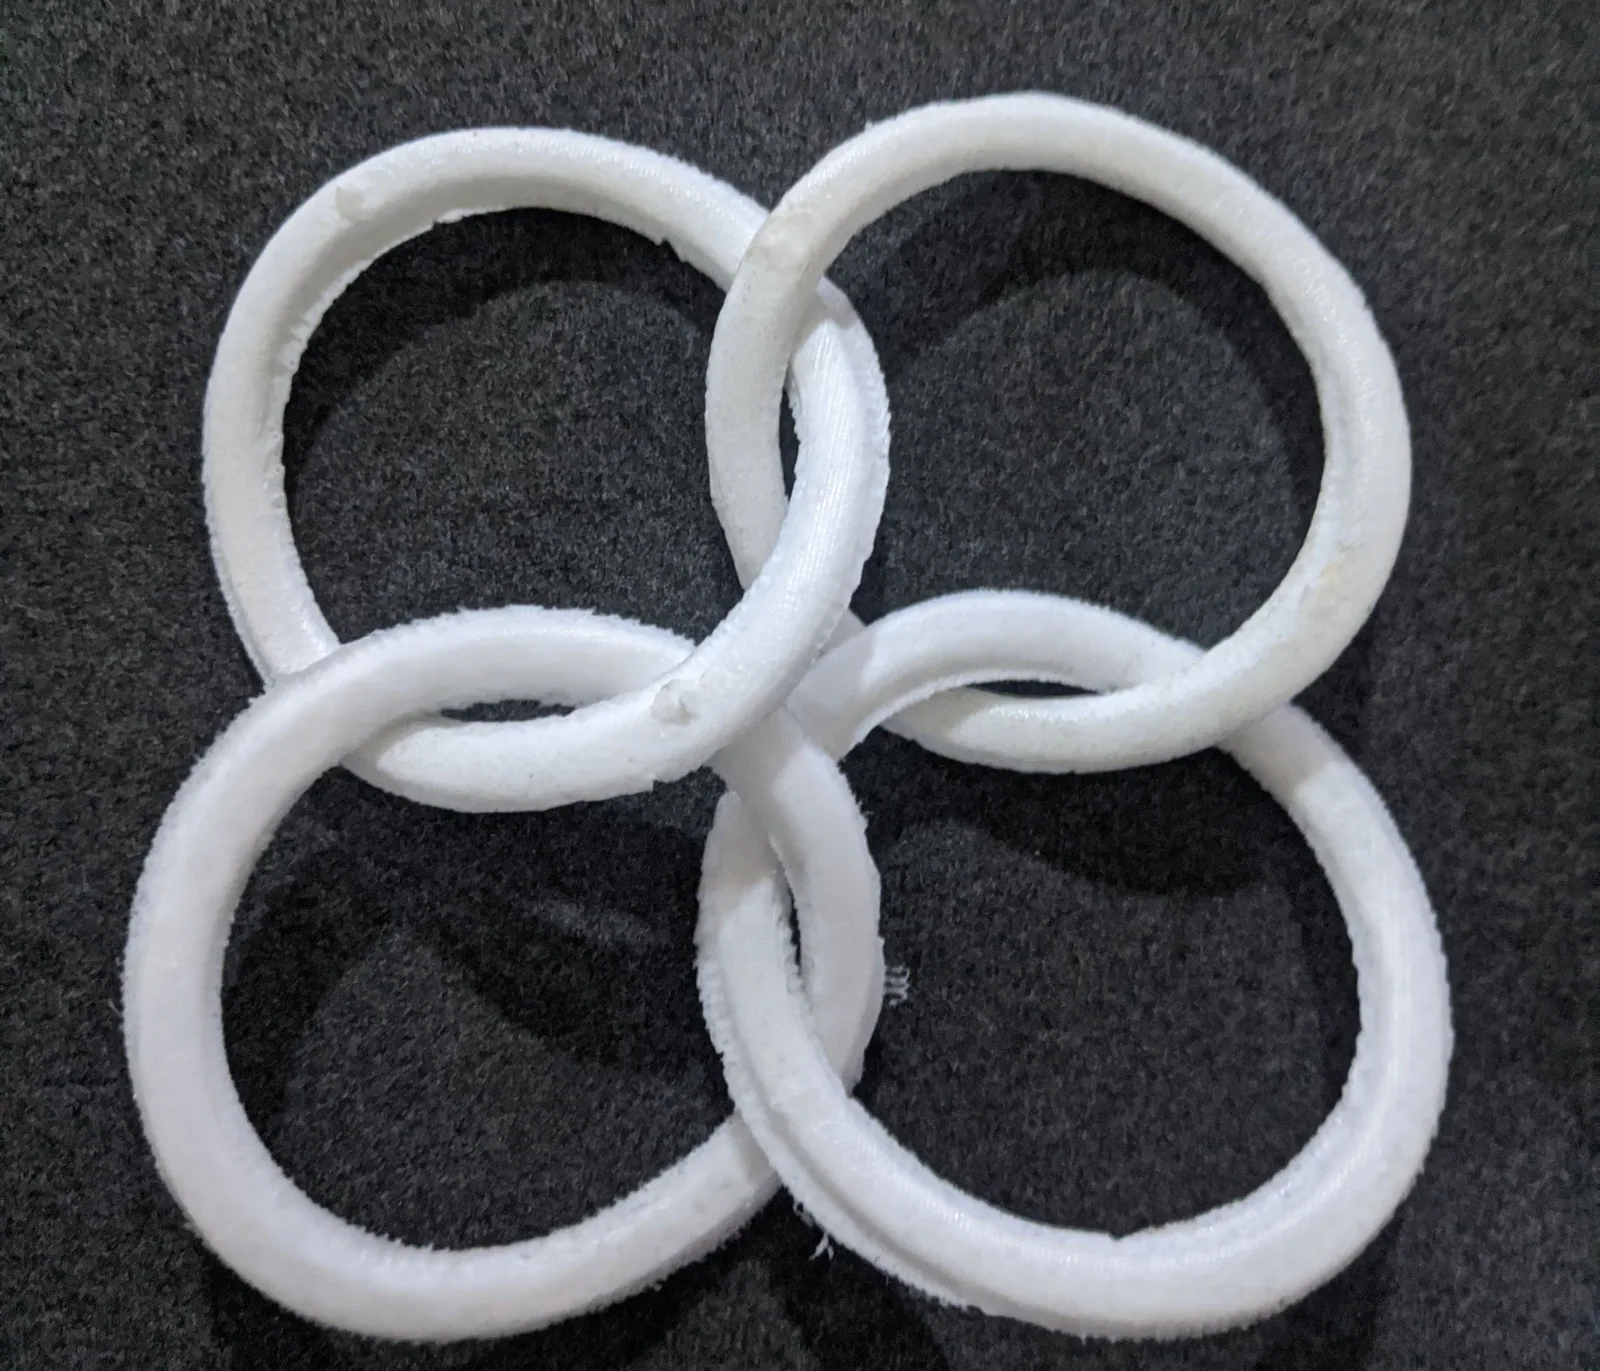
For my assignment, this week is to create a chain links.So I started of designing links in Fusion 360.

Mold Design in Fusion 360.
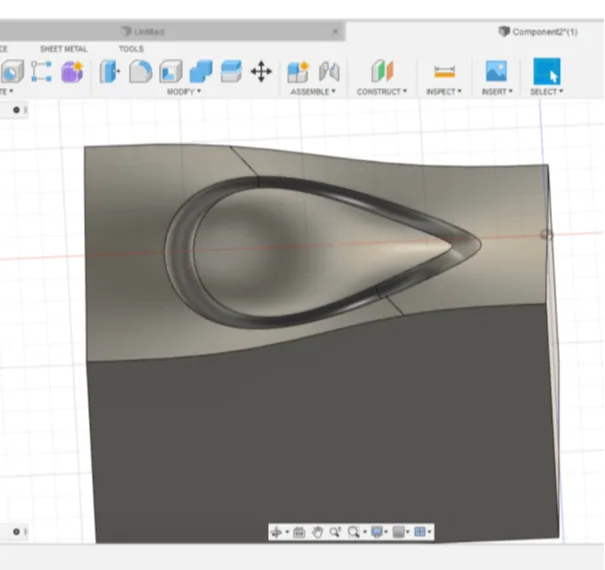
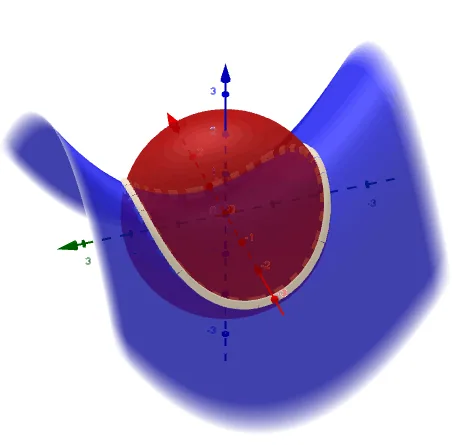
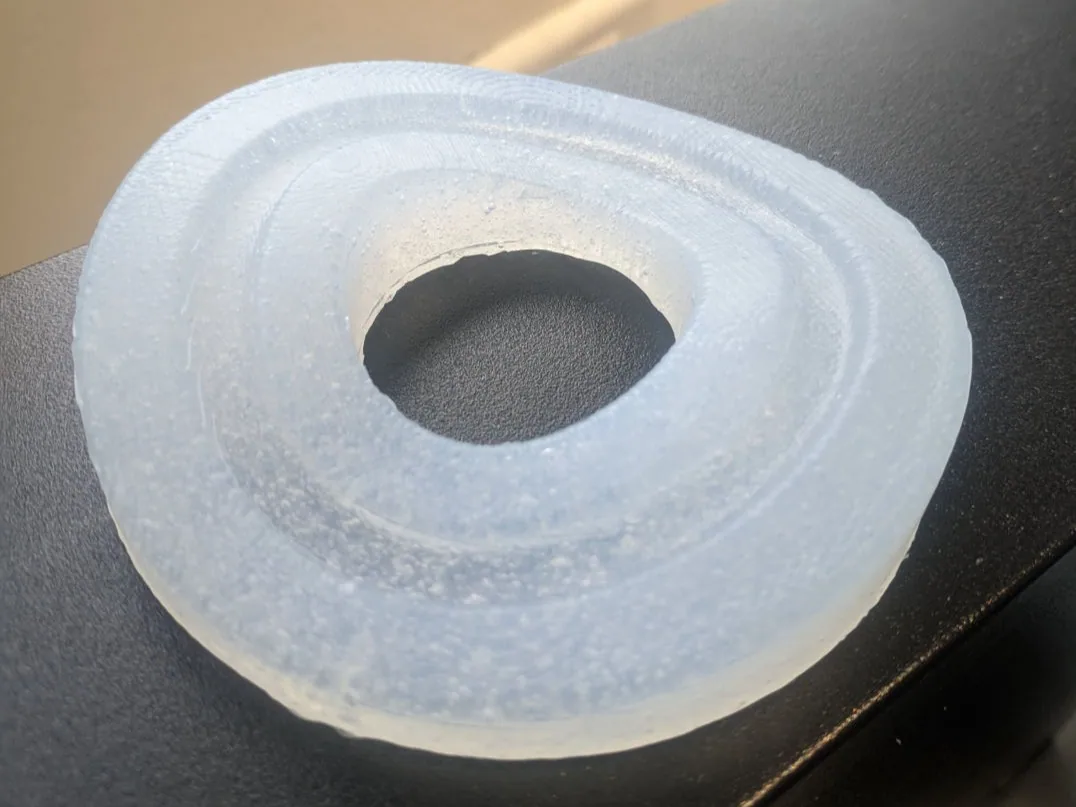
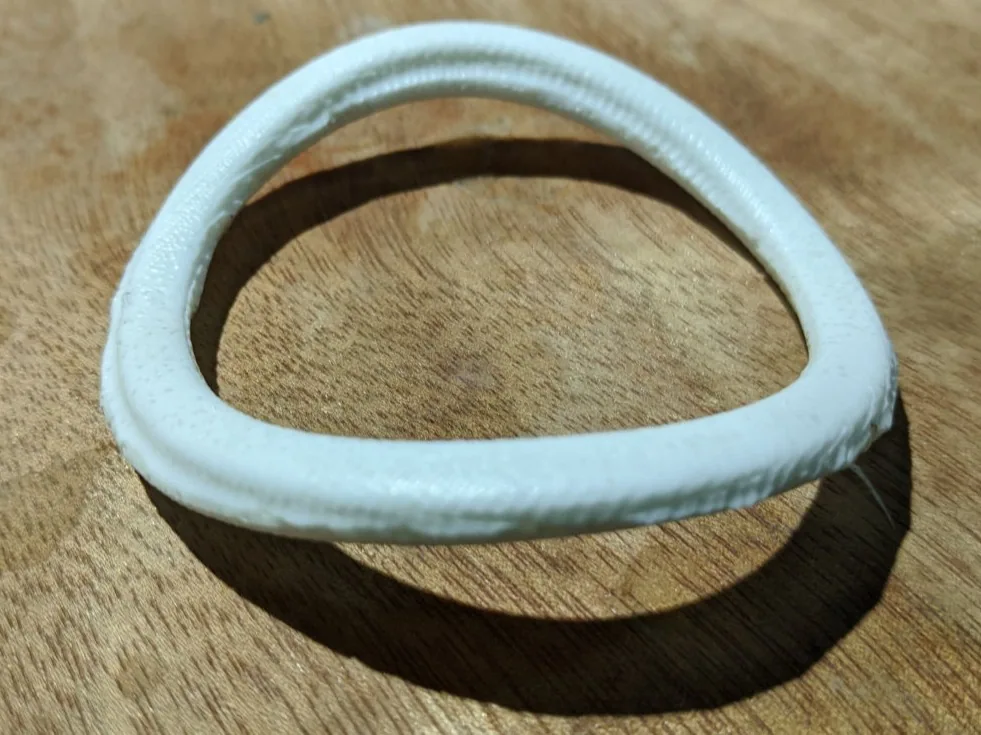
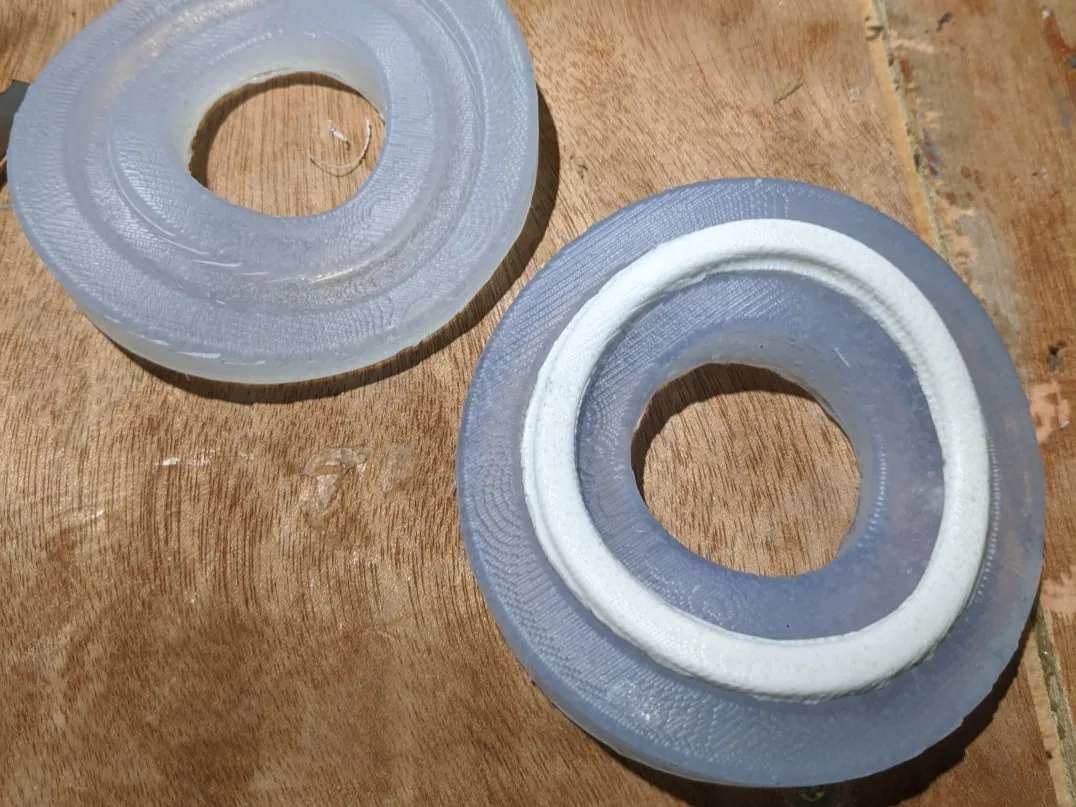
I want to have my own cast Hyperbolic Paraboloid rings.Creating mold that can open up to loop around the previous link. The mold has to be small enough to fit through the previous element of the chain.The curvature of the surface is symmetrical, the two halves of the mold could be identical, meaning I would only have to machine one half of the mold from wax and could cast silicone off of that cavity twice.
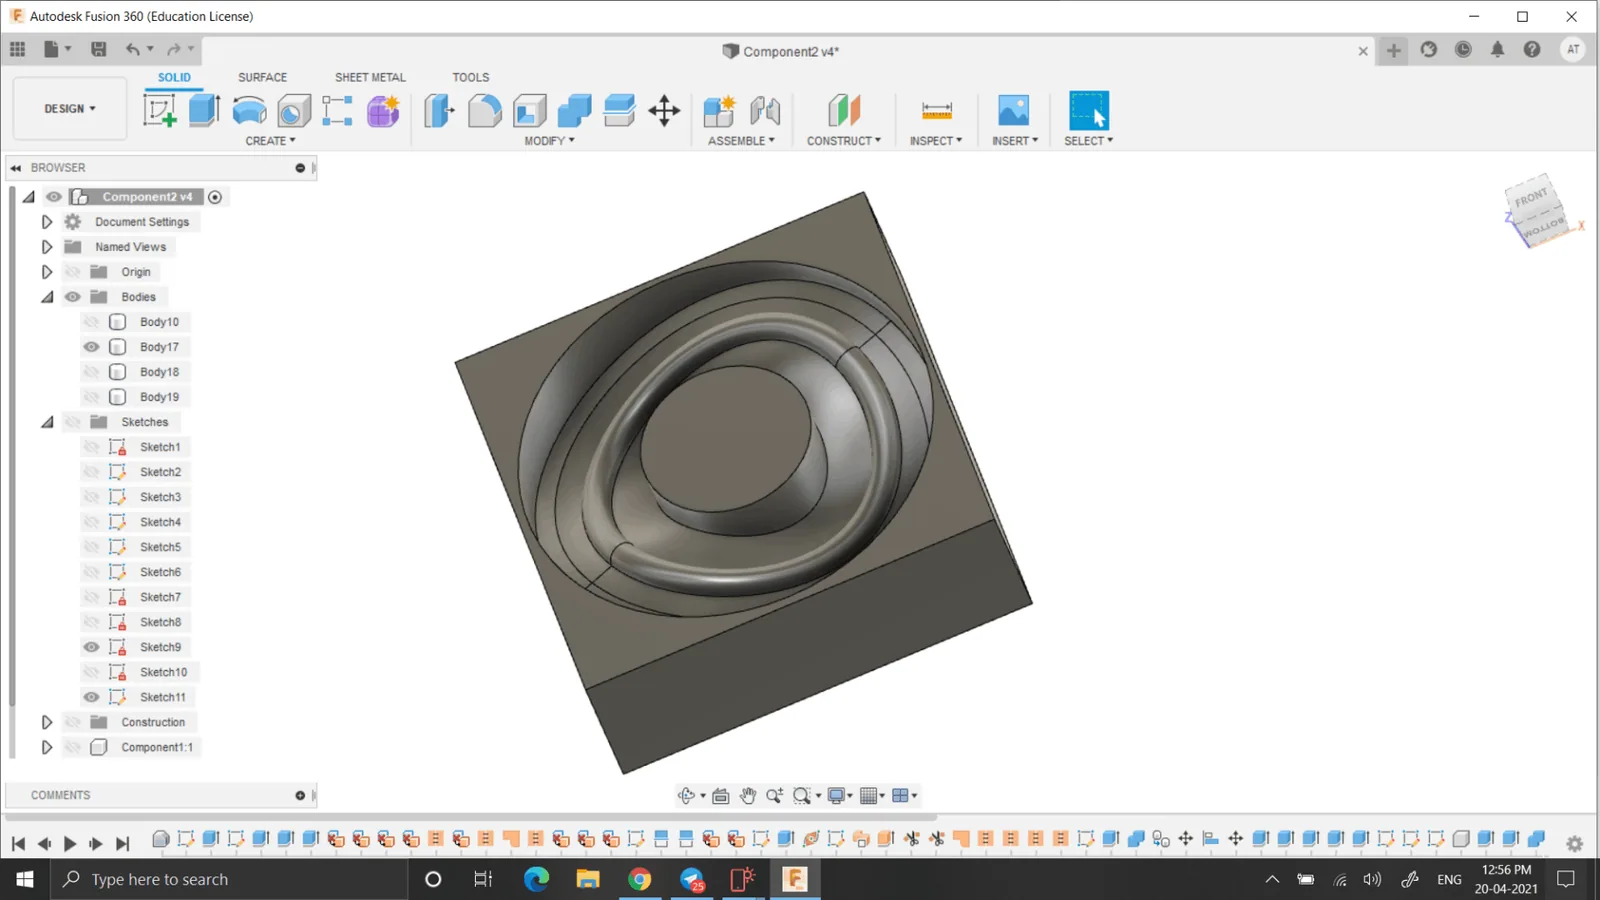
Milling in the Machinable Wax
For milling process the I am using "1/8 inch" ball end 4 flute bit and I had attached it to the Roland Molling machine as usual.then wax block and attach a double sided tape to the back side. Then you need to stick the wax block to the milling machine bed
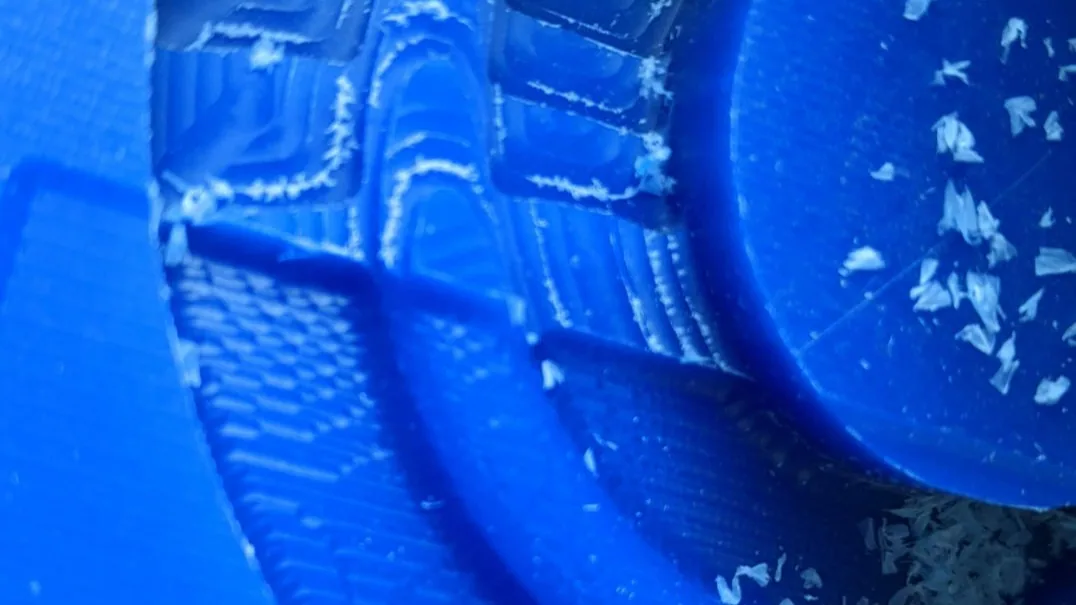
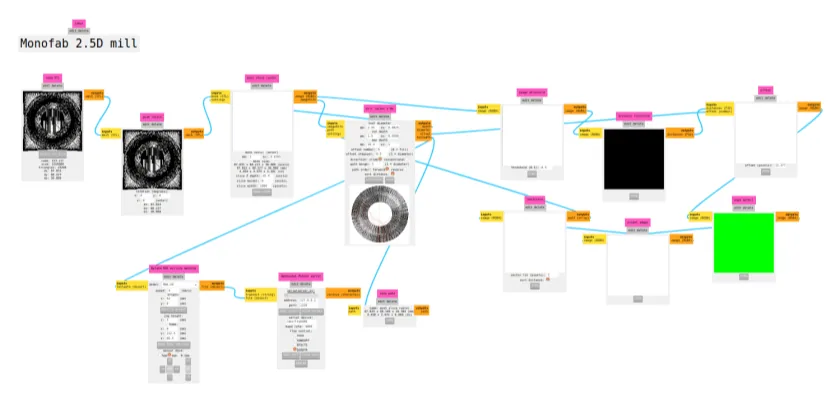
First for the rough cut, 3mm Flat End mill was set on the tool head. Open mods, go to programs and click on 2.5D mill inside Mdx-20.
(Imp: Do not use milling tool with more flutes on wax. If more fluted tool is used, there might be a problem for material removal and may start melting of the wax and finally stopping the rotation of the bit. This might also break the bit if thin bit is used.
Then the X, Y and Z axis. Load the STL file in the mods. Make sure that the tool size is correct. Check the feed, speed, and hit calculate. For me the speed was 10mm/s, feed was 1.5mm. You can see the toolpath in the preview and confirm the shape you are making. after everything is OK send the file which should start the milling operation.
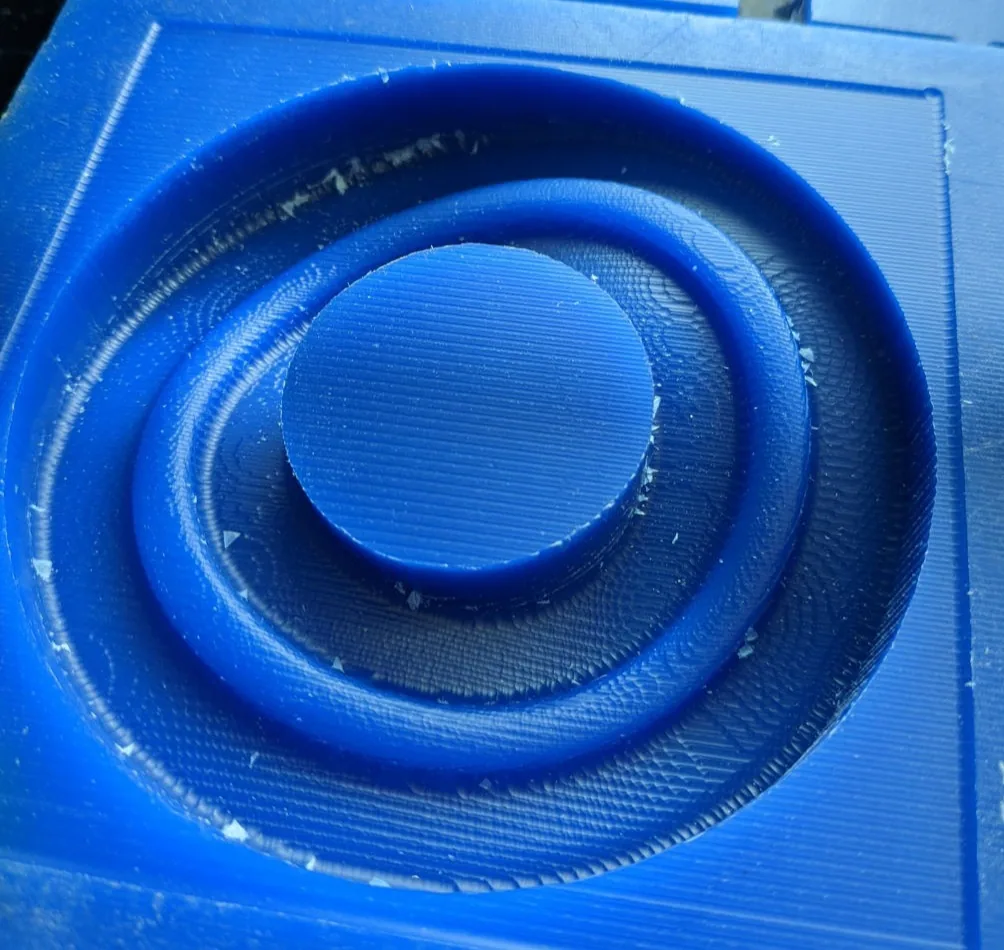
Casting The Mold in the Wax-Mold
Once we have milled the wax mold, we have to calculate the volume of silicone that we are going to need. To do this by reviewing documentation from other students, there are two options. Use rice or use water.
Casting in the Silicone Mold
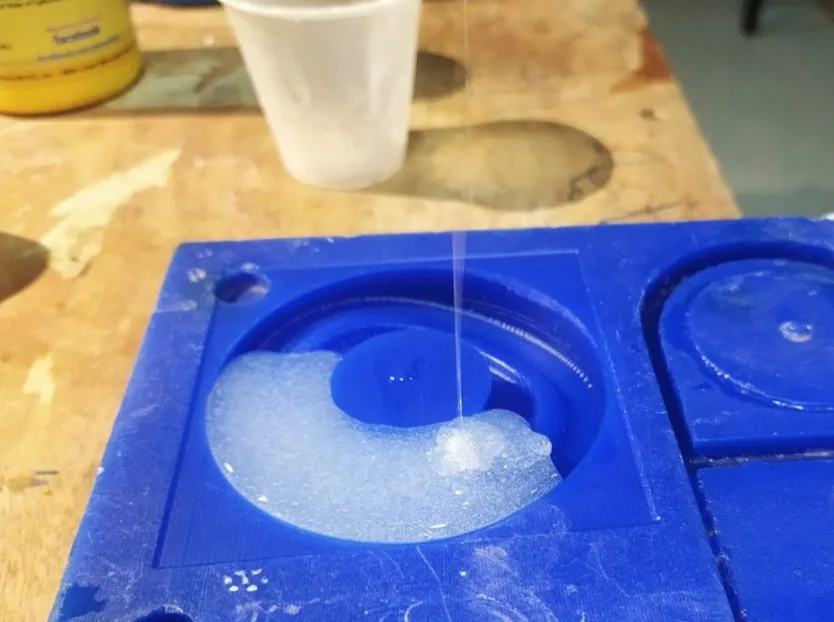
For casting I had used Smooth-On SMOOTH CAST 305 which is bright white liquid plastic. They are are ultra-low viscosity casting resins that yield castings that are bright white and virtually bubble free. Vacuum degassing is not necessary. They offer the convenience of a 1A:1B by volume or 100A:90B by weight mix ratio.
Creating
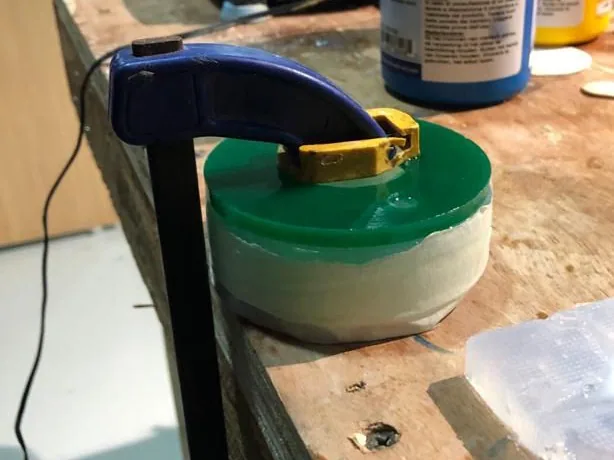
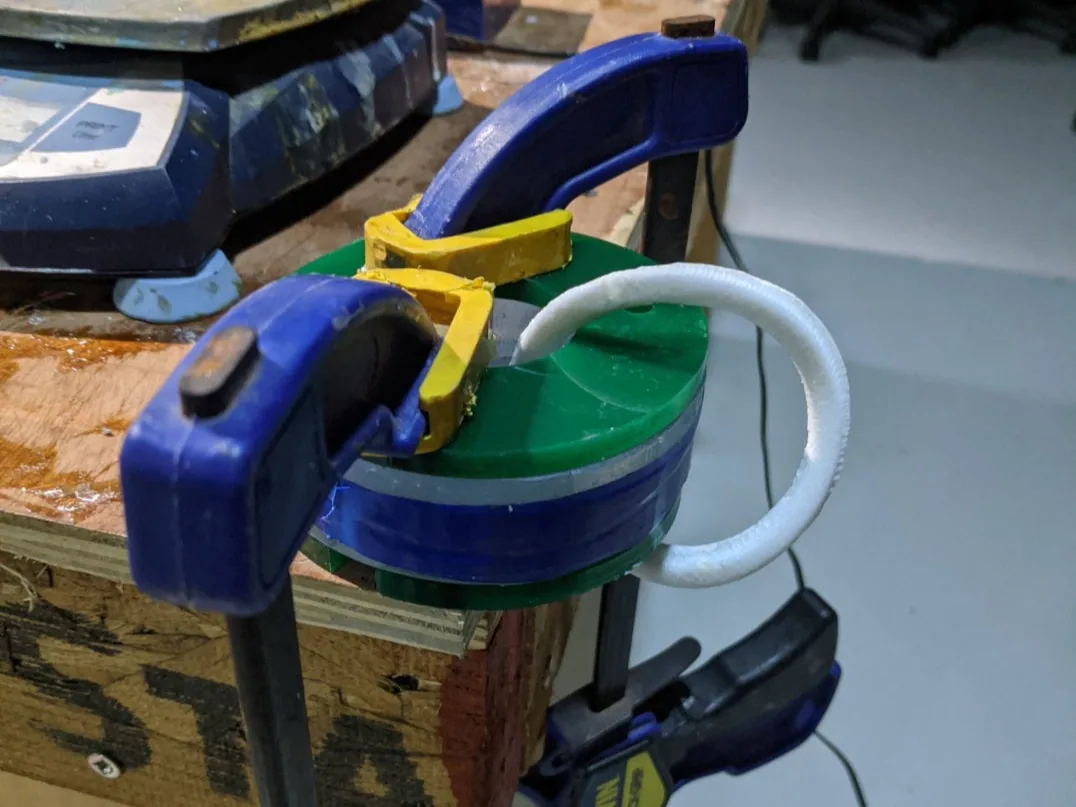
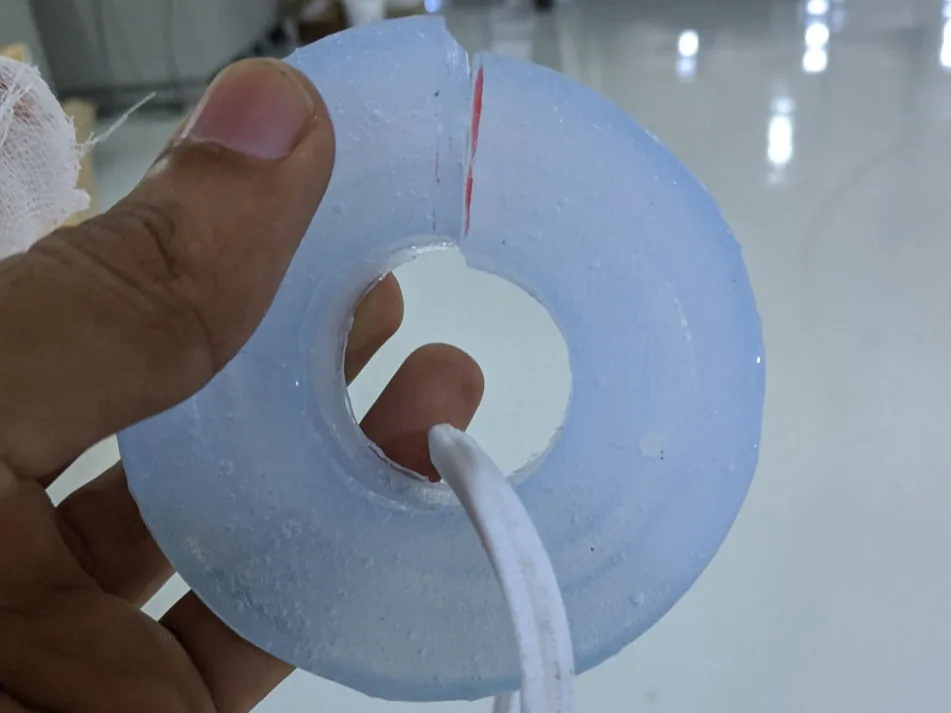
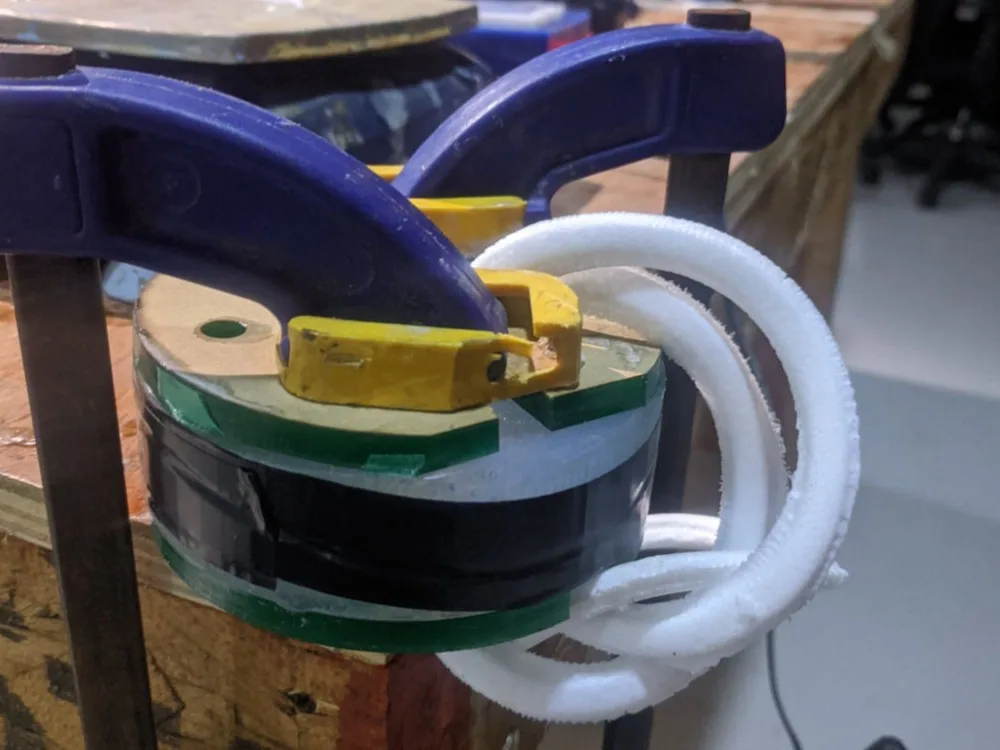
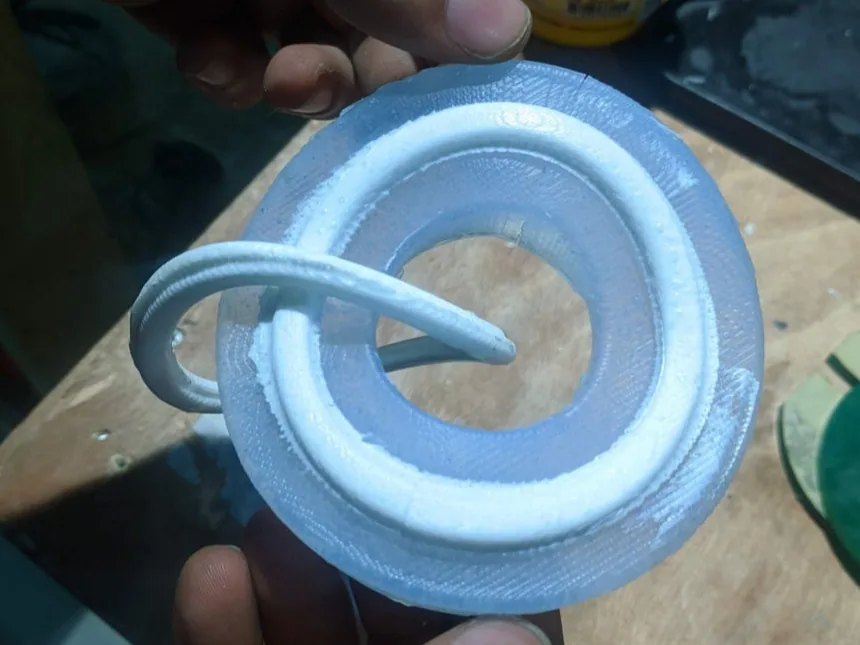
For creating chain parts i just cut out the supports and mold and re-casted putting a cast product inside.
Download design Files.Click here.