Principles and Practices
Final project plan and sketch
A prosthetic arm has been chosen for the final project. The initial description and sketch can be found here.
Student agreement
The signed Fab Academy student agreement can be found here.
Project Management
Version control
Version control of a software or a website, or any product for that matter, comprises of saving a history of changes to the project. This is somewhat similar to a backup, but the difference is in that the differences are being saved each time, so not only is it a continuous process, but as a result of saving a history of changes, the amount of storage needed is considerably less than backing it up every single time. And it makes going back to the original version a lot more easier.
The web-based version control repository recommended by Fab Academy is GitLab, where the source code for this website is also located.
The Atlassian has a great tutorial for Git which can be accessed online, and I partially followed.
Once Git has been downloaded for Windows, the Bash terminal came with it. All the commands through the course were executed through the bash terminal, not the native Windows terminal.
When using the Bash terminal for Git commands,
always make sure you're in the Git repository directory. Besides changing directories through the terminal,
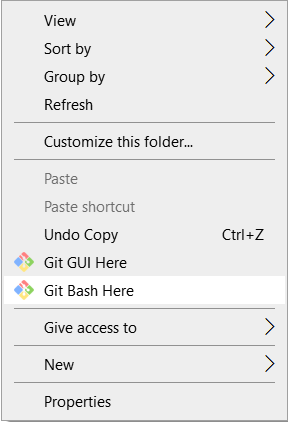
one easy shortcut is to go to the repository directory in Windows, right click, and choose Git Bash Here,
which will opent he Bash Window with the path set to the same directory.
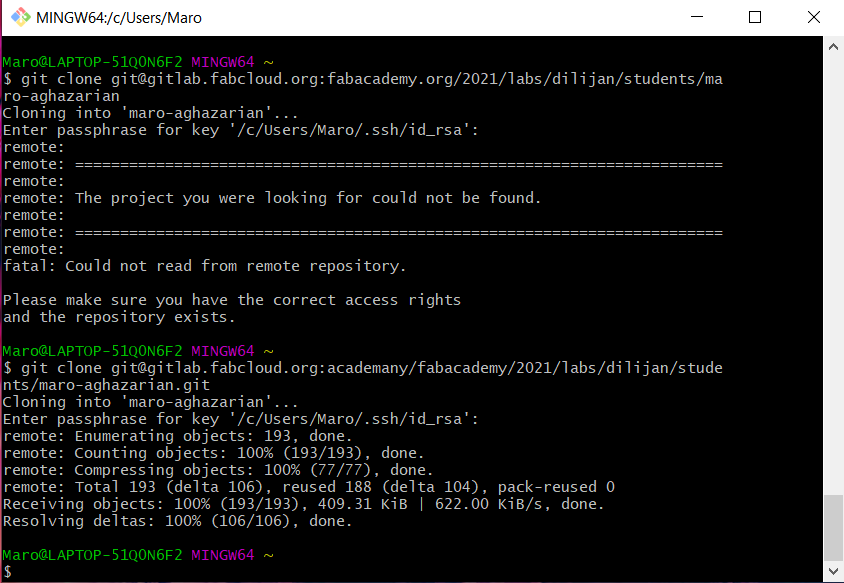
Since an initial placeholder website using MkDocs had already been setup for us by the Academy at the corresponding address, I tried to clone that first. While the attempt was unsuccessful initially due to typing the wrong address, it was easy to correct and have a successful clone on my computer:
After setting up and configuring the Git repository, these are the commands that were used every week to upload my changes:
git status

                      git add .

                      git commit -m "here's a summary of modifications I've made"

                      git push
These four commands are used over and over again. In the end of the course, these are what I remember best. However, once in need of a command, git itself is very helpful in suggesting the right one.
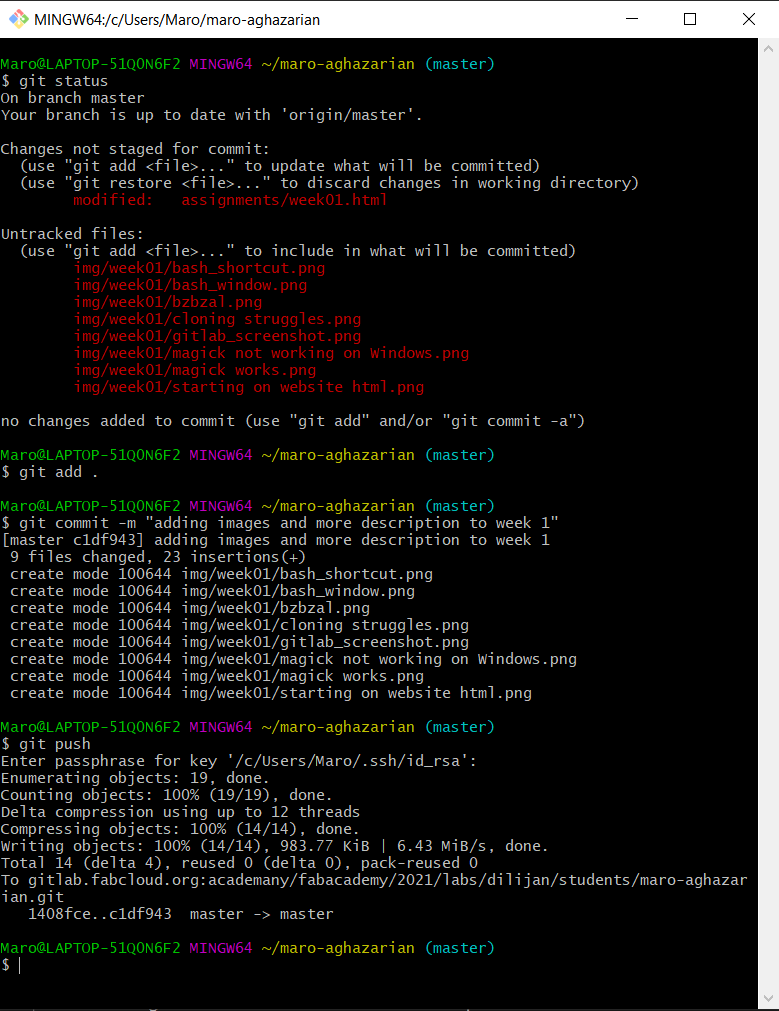
The first line shows all the modifications that have been made to the yet unuploaded files.
The second line asks git to start tracking *all* (that's the '.') the untracked files and modifications. Alternatively,
git add file.html can be used to track a single file, if the summary is going to be only about that file.
The third lines adds the summary of the changes you've made in the new version.
And the fourth line 'pushes' the files/modifications in git lingo, or alternatively, uploads them to the online repository. This is why after hitting enter it'll ask you for your git password.
The way I'd like to think of git is as the history pages in Wiki websites, or for example how Fusion 360 or ANSYS DesignModeler keep track of the history of the changes, and you can go back anytime and make changes midway and things can be recalculated from that point on. You can also reverse changes all the way to the version you want.
Website development
The weekly Fab Academy assignments of each student will be posted online on a personal website hosted by Fab Cloud. As such, each student was assigned to create their own website for the first week, one result of which you see in front of you.
In order to create these websites, a number of editors were discussed, among them the free and Vim, tools of the titans. Among other editors that were recommended to try were Atom and Visual Studio Code. The former is a free software, and the latter is a gratis software developed by Microsoft, yet also available for Linux and Mac. I downloaded both and ended up mainly using Visual Studio Code, as the Emmet toolkit built right into it just won the day for me.
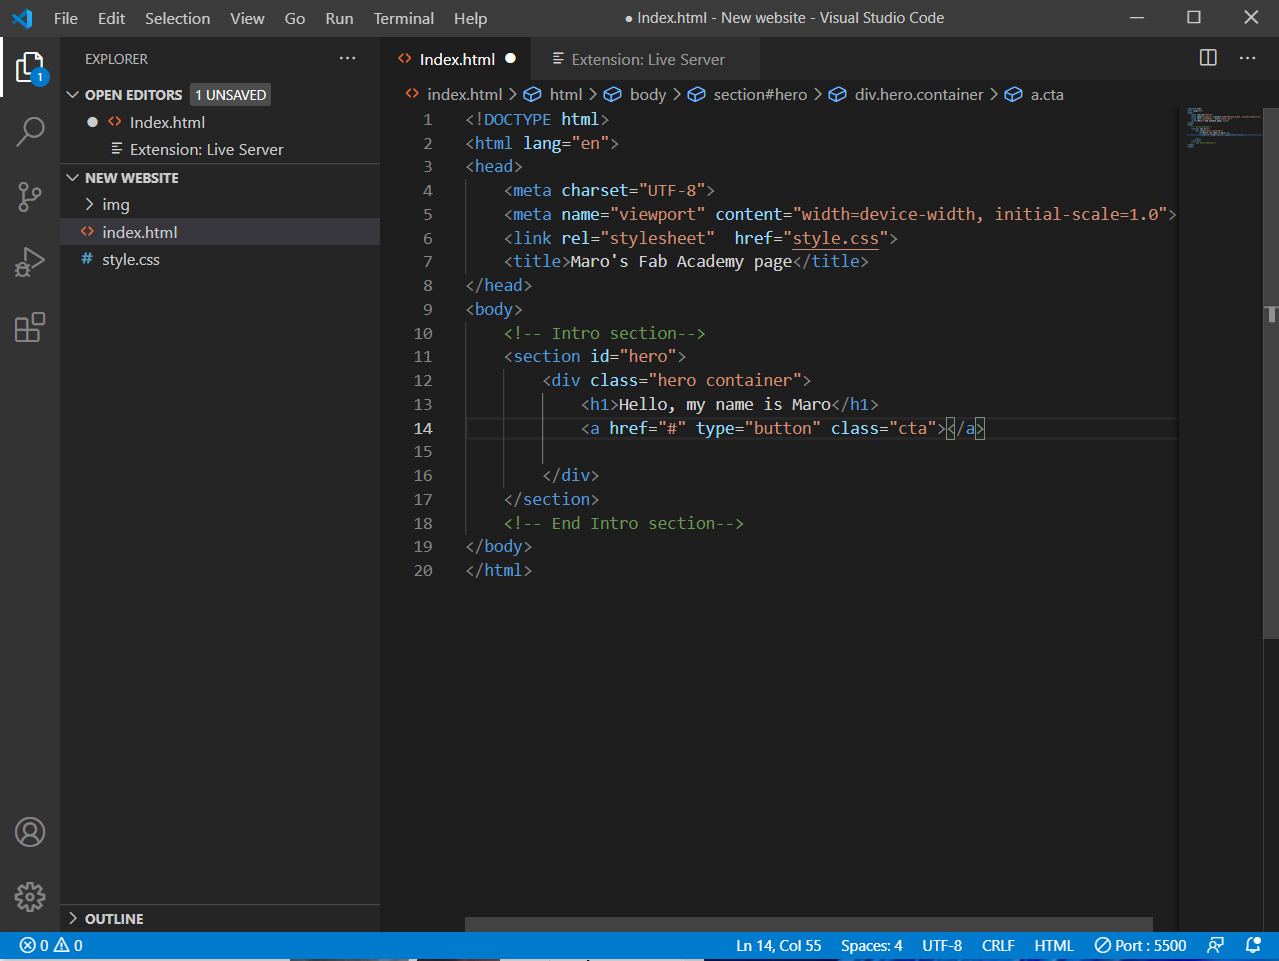
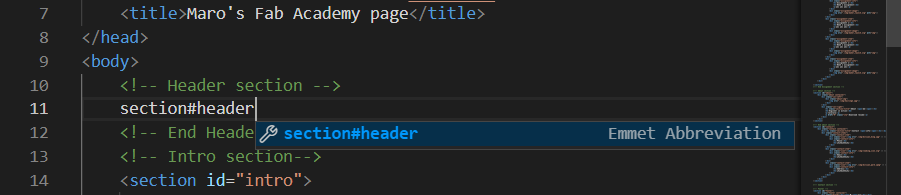
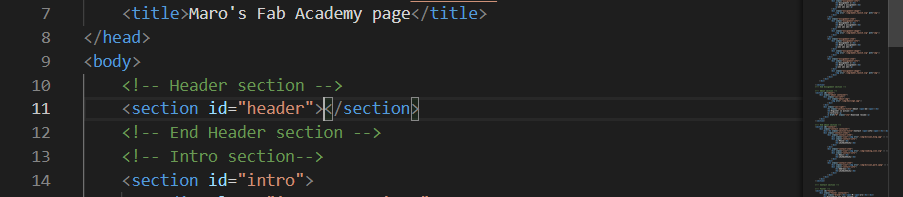
I decided to make my website using html and CSS only (no Javascript so far). Here are just a few examples of how having Emmet in Visual Studio Code made typing html so much easier. You just start typing div.name, and press tab and Emmet just automatically creates the html code for a division called 'name'. If you type div#name and press tab, then Emmet automatically creates a division with the ID 'name':


There are many more abbreviation for Emmet; here's a good cheatsheet for them.
Another great feature of Visual Studio Code is its Live Server extension, which once activated, allows a localhost to be created which automatically refreshes the website you have opened in your browser to refresh every time you save your code. This amazing extension can be activated by right-clicking you code and choosing 'Open with Live Server'.
Yet another beautiful shortcut through Visual Studio Code is that you can indent an entire paragraph of selected code using Tab at once; also, you can unindent a paragraph using Shift+Tab.
I followed a very helpful tutorial on YouTube on how to create a responsive one-page website that you can watch below:
It took me a very long time to come up with the look and functioning of the website, since it was entirely based on html and css, with no javascript. It remains an evolving process with adding various features as the need arises in various weeks.

I still have to work on the responsiveness of my websites, and there are a lot of rough corners to be polished, but overall I'm satisfied with the look, with the question remaining whether it is easy on the eyes to read.
I'd also like to add a drop-down list of assignments once one hovers on 'Assignments' section of the navigation bar. I'd also like to possibly have a 'Previous' and 'Next' assignment link on assignment pages. The assignment buttons on the main page also need to be made a lot more responsive, and I'm thinking about changing the icons to something more relevant to the assignment that is/should be completed.
Another great software introduction for this week was to ImageMagick, which is a powerful tool for editing images through a terminal, single file or in a batch. It can accomplish a multitude of tasks, including resizing, cropping, changing the quality, changing the file type, and more.
Initially, there were some problems with installing Magick on Windows.
But after a few simple tricks, I believe including restarting the computer, Magick was working.
Then it was just a matter of familiarizing oneself with the Magick commands.
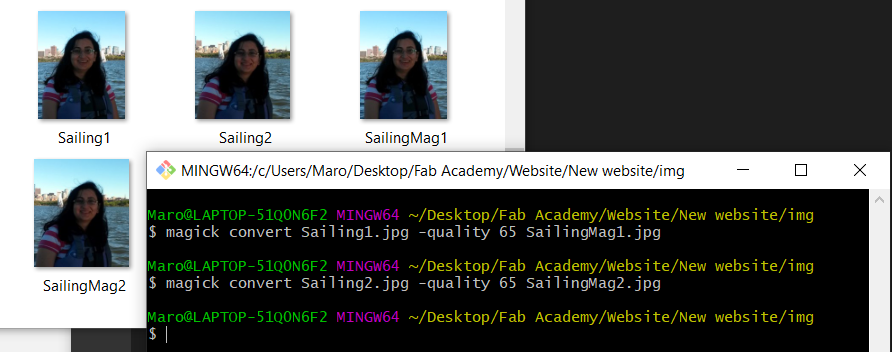
A useful command that came in handy to batch resize all images in the current folder and leave them in the 'resize' folder is:
magick mogrify -path resize -resize 30% -quality 60 *.jpg
Another useful command to convert all png images in the current folder to jpg images (as png images are hard to compress in order to commit to a git repository) is the following:
magick mogrify -format jpg *.png

