How to make (almost) anything.
Week 15. Wildcard week: Vacuum forming.
Work done in the Lab under the guidance of my remote Instructor to accomplish the weekly assignments.
During my molding and casting assignment I realized how efficient a mold can be in a large production compared to other manufacturing processes and I wanted to learn more so I researched what other types of molds are out there and found the vacuum forming, which is used to make molds and blisters. In the lab we have a new desktop vacuum forming machine and since I hadn't had a chance to test it, I took advantage of this week to learn how to use it.
|
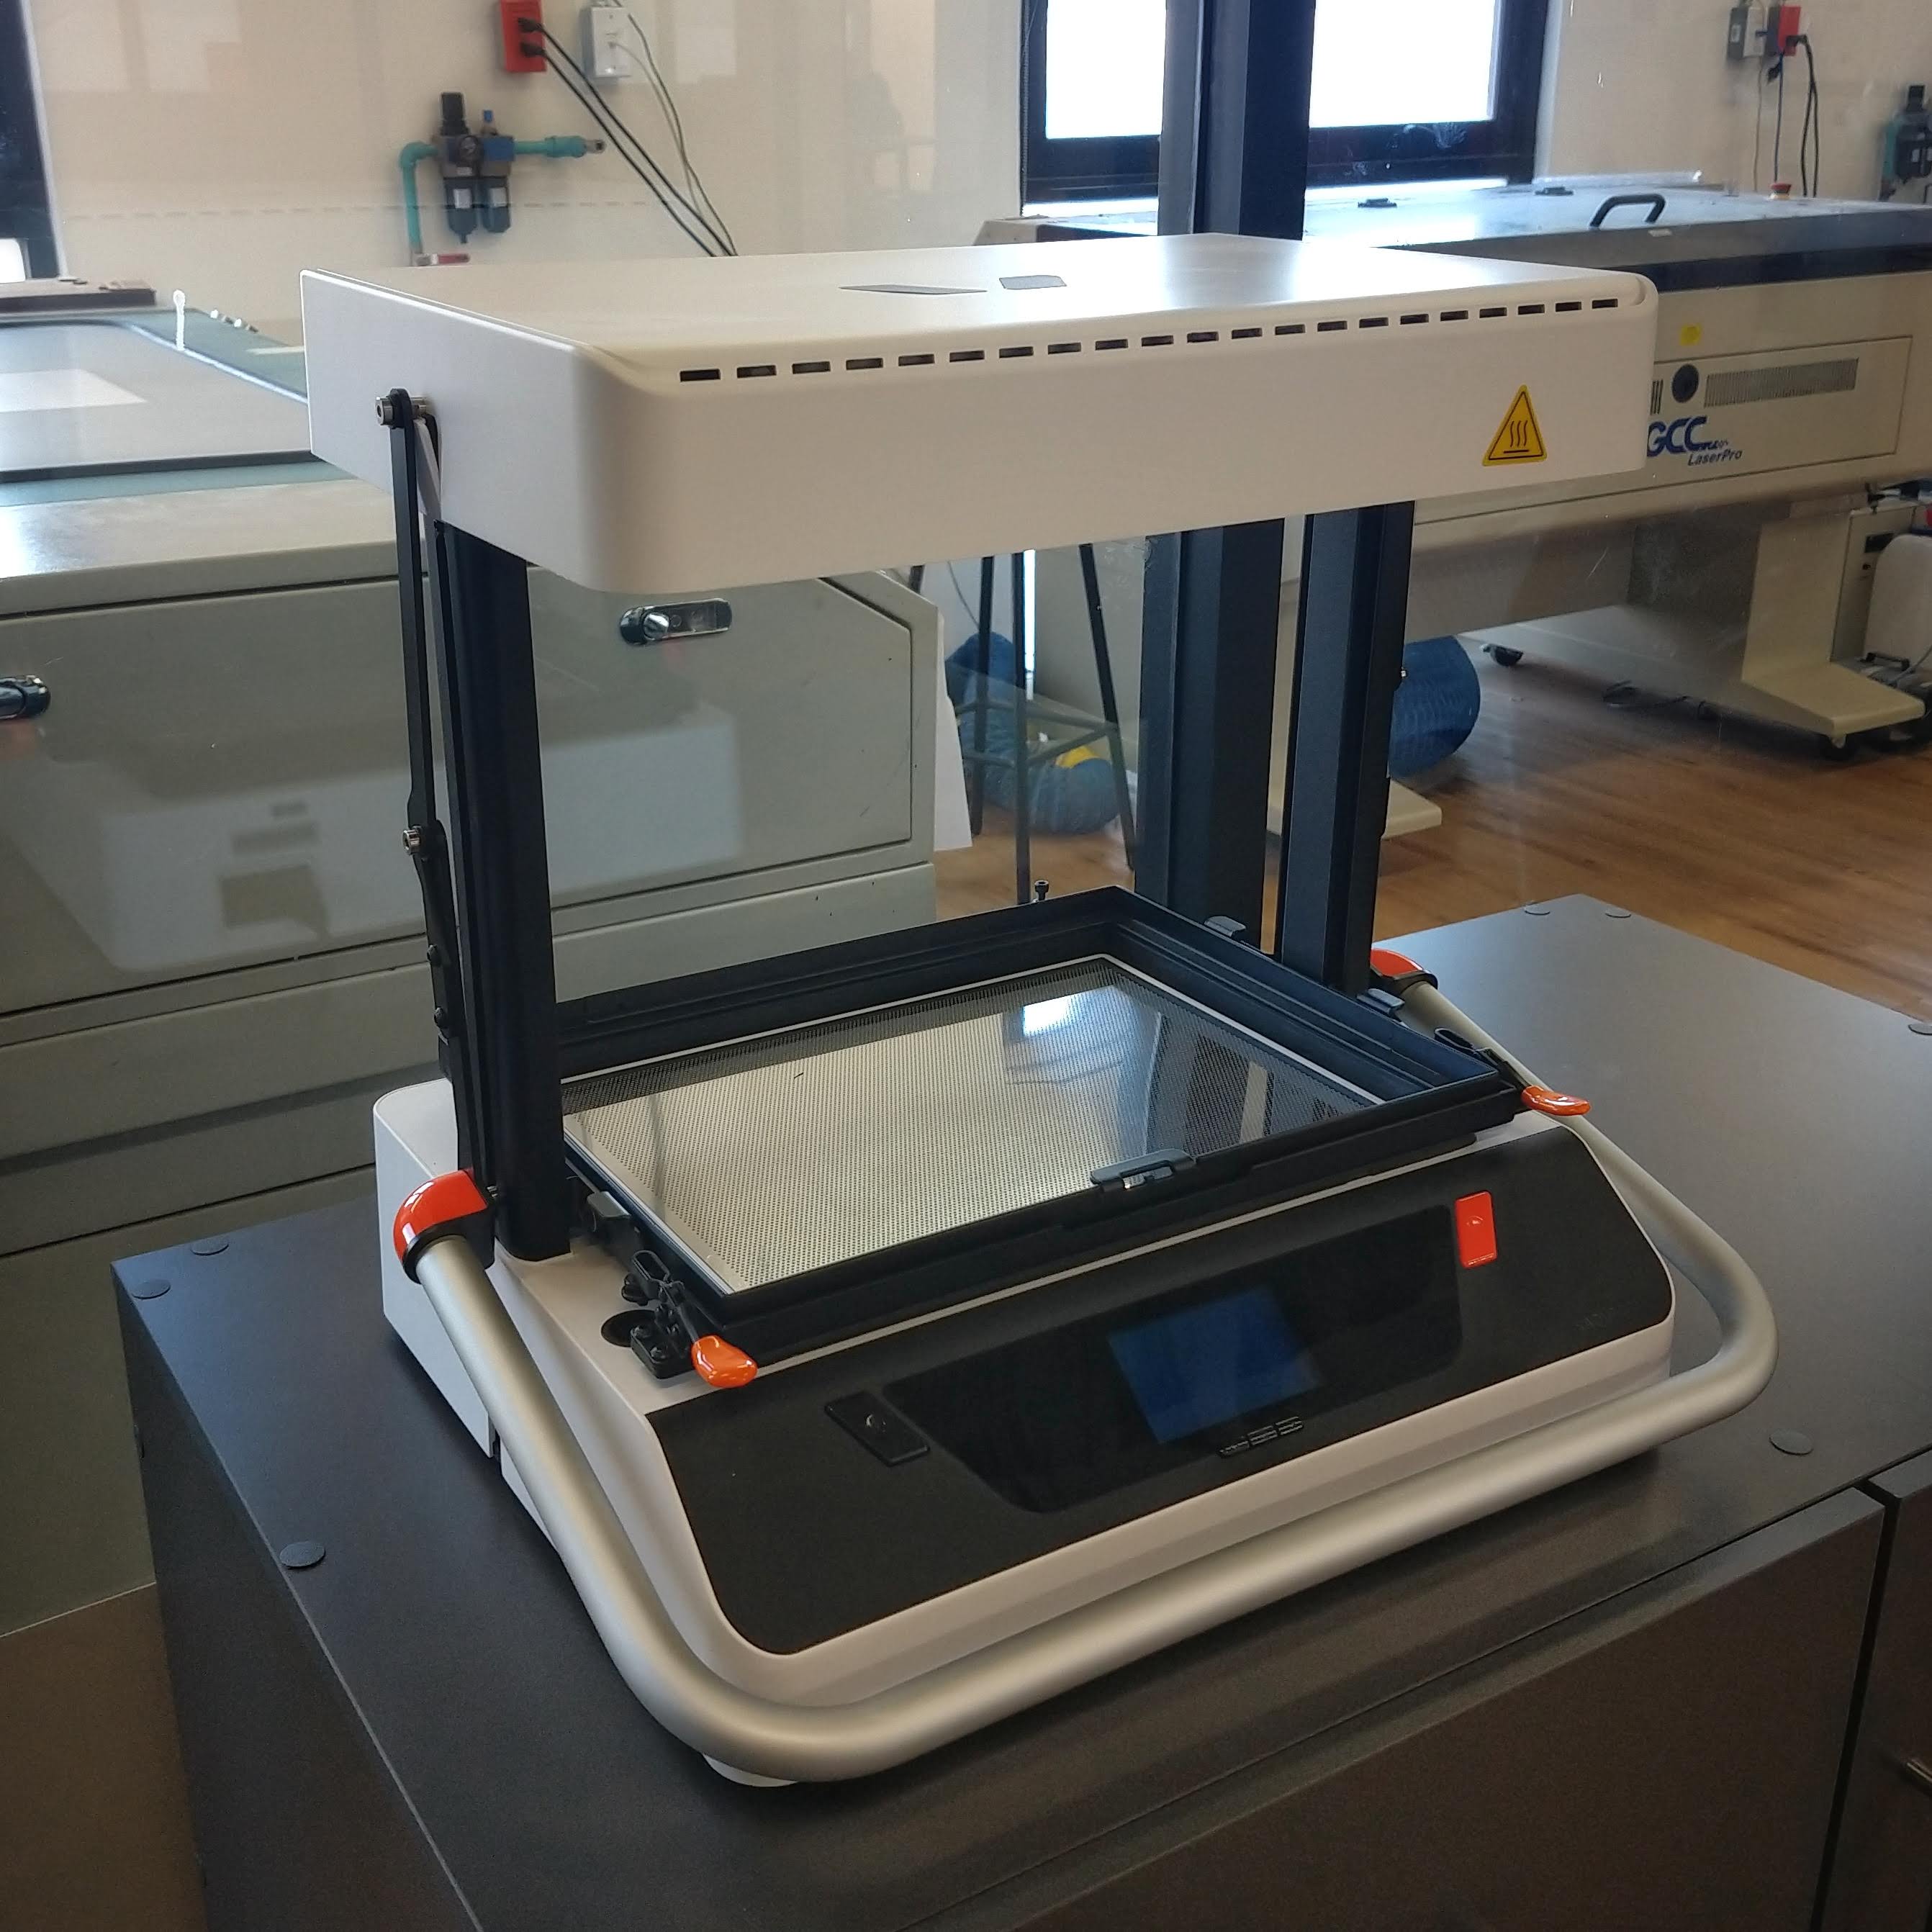
Vaquform DT2 Compatible with HIPS, PET-G, ABS, PVC, PMMA, EVA, Polyethylene, Polypropylene, Polycarbonate and Acrylics.
|
What this machine offers is comfort and practicality. Normally a vacuum forming machine is a huge and cumbersome piece of equipment since almost all of them are focused on the packaging industry, and in the industry there is no problem with large machines or with a high consumption of electrical energy. The Vaquform offers a device with an integrated vacuum pump, a real-time temperature regulator and predefined settings for different materials and thicknesses, so you can use it at home and you don't need previous experience.
The operation of the Vaquform is very simple: you place the material on the frame, the piece on the base and select the temperature and pressure settings on the screen (or one of the predefined settings that already have considered the best combination according to the material and its thickness), you wait for it to reach the correct temperature and the vacuum pump activates automatically (making a lot of noise, which works as an audible alert), at that moment you lower the handlebar and the plastic sheet acquires the shape of the object you put on the base, once the material has cooled you can remove it from the frame and you have your mold ready.
This machine can be used in many different ways within a FabLab, which is why I documented the vacuum forming of parts made with additive and subtractive manufacturing.
Vacuum forming 3D printed models
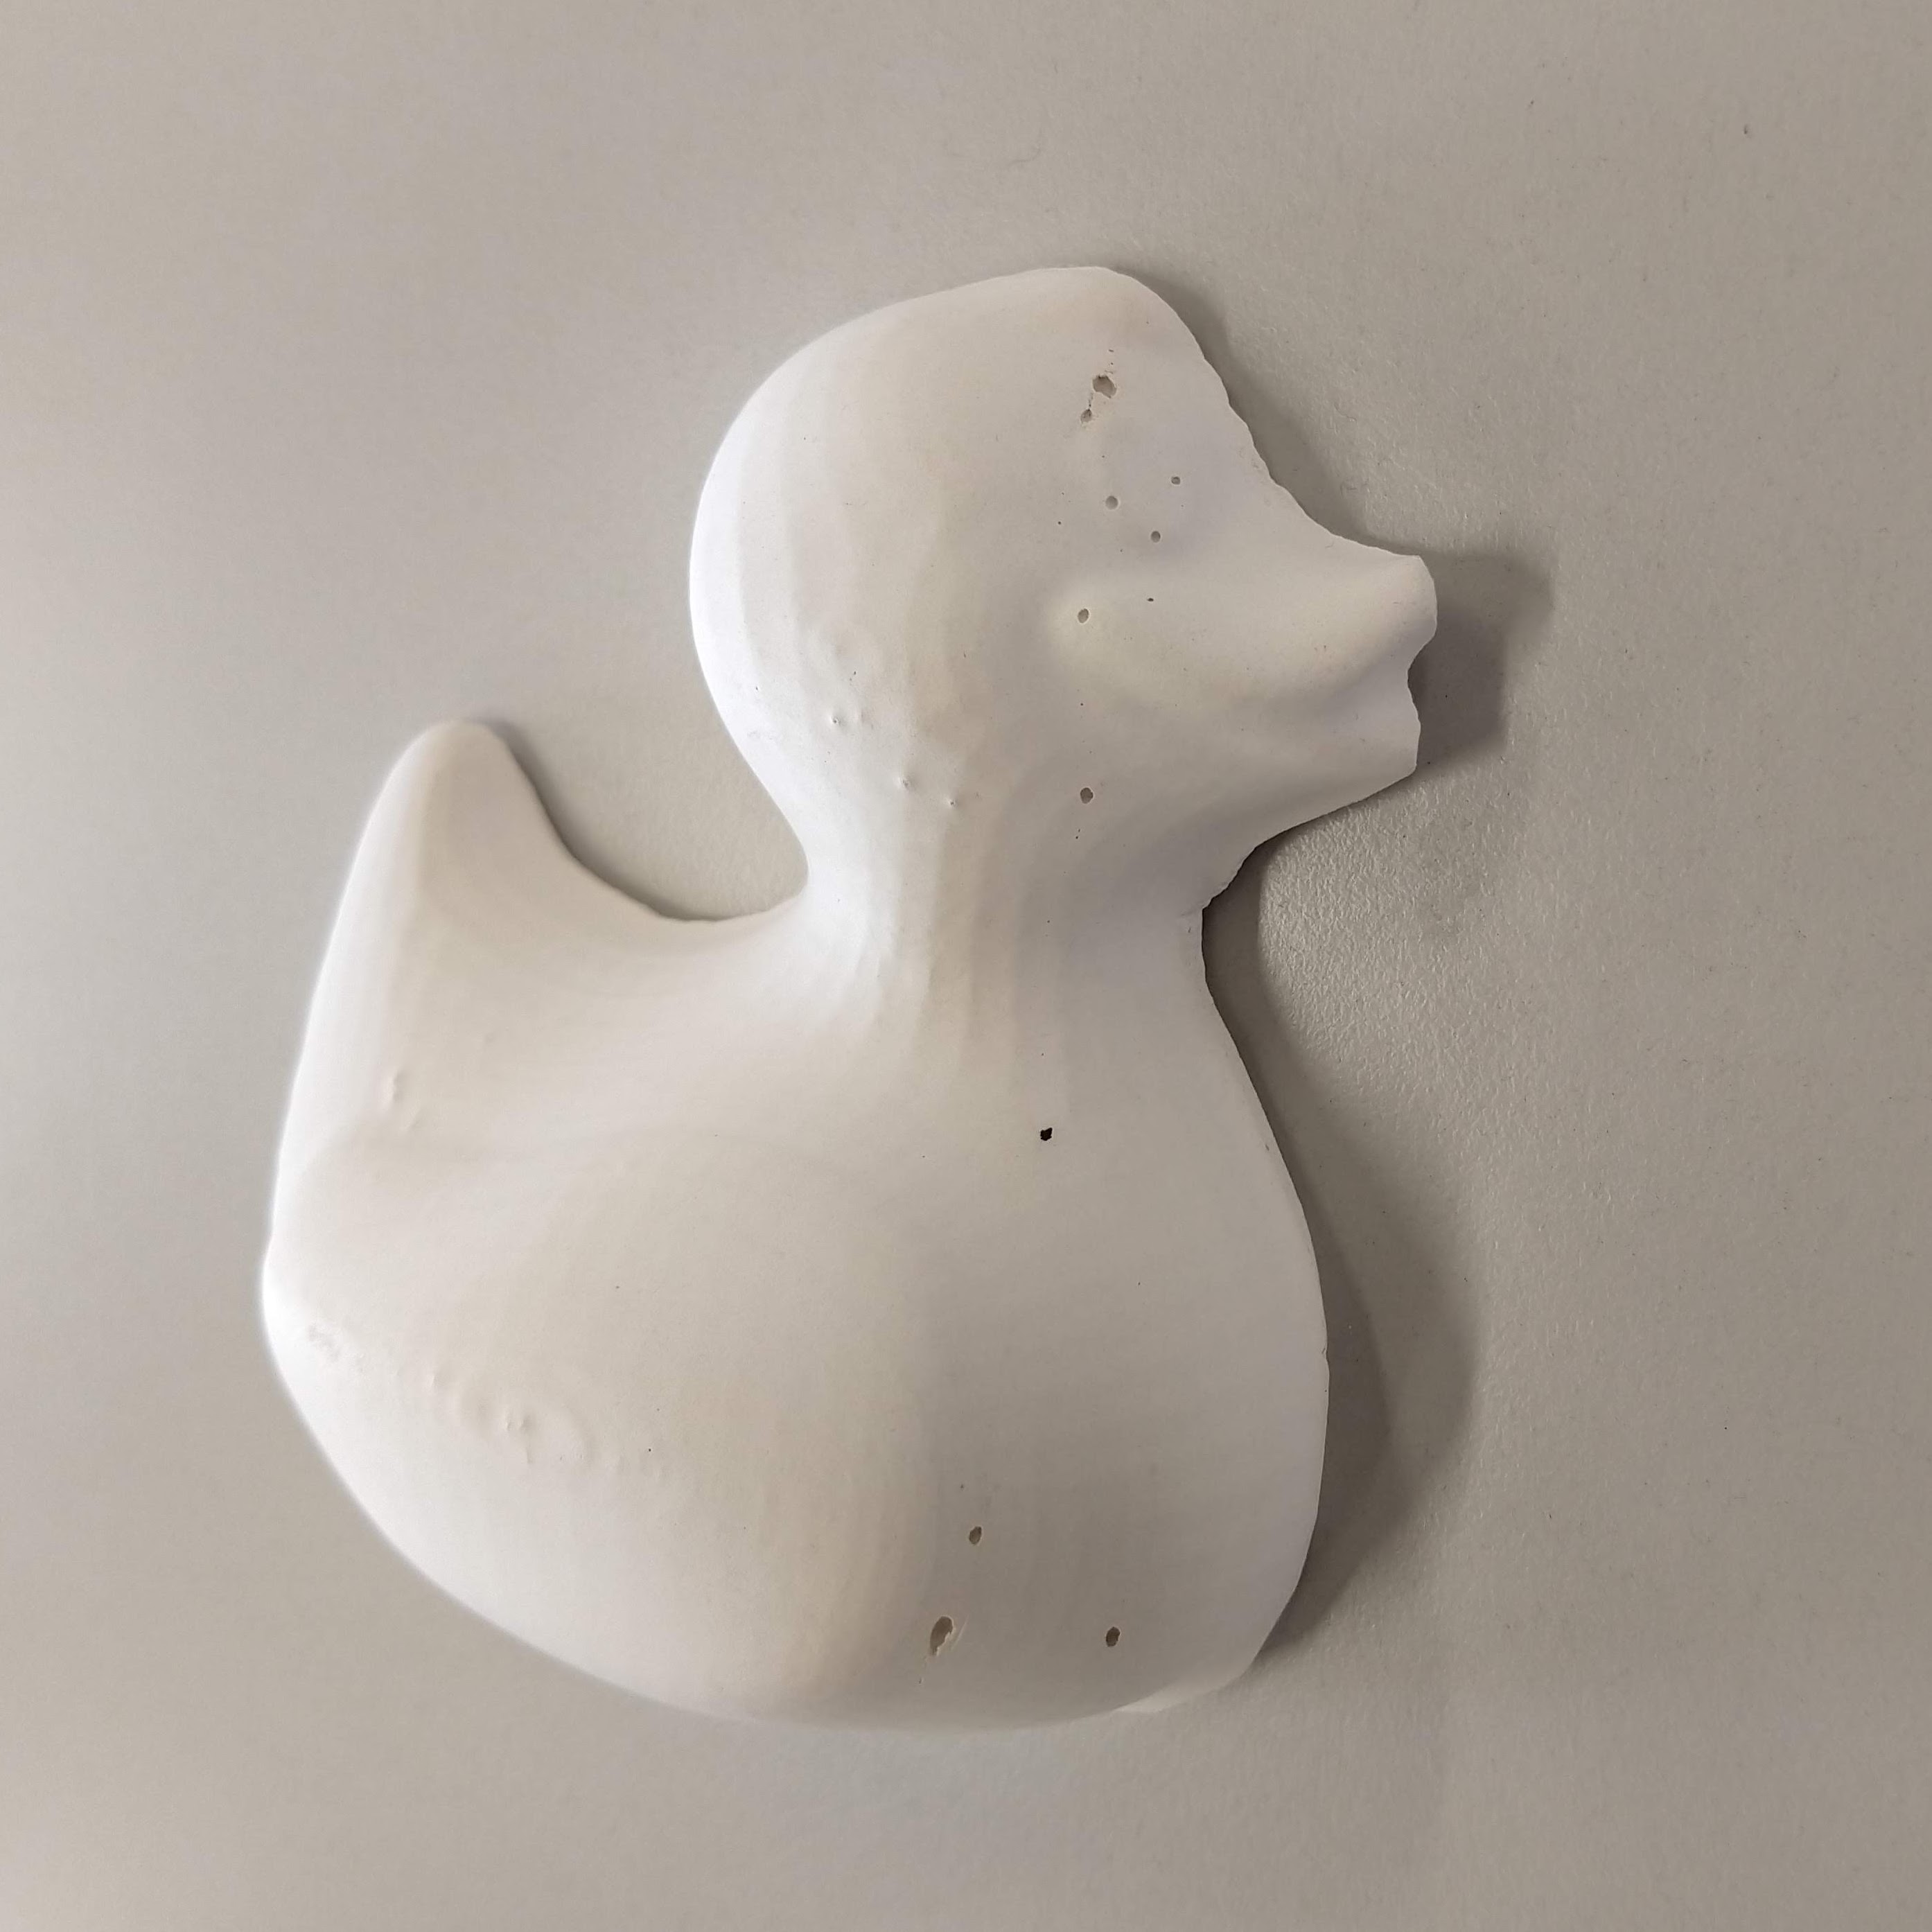
To test the vacuum forming of 3D printed parts, I made the mold of a duck from this 3D model.
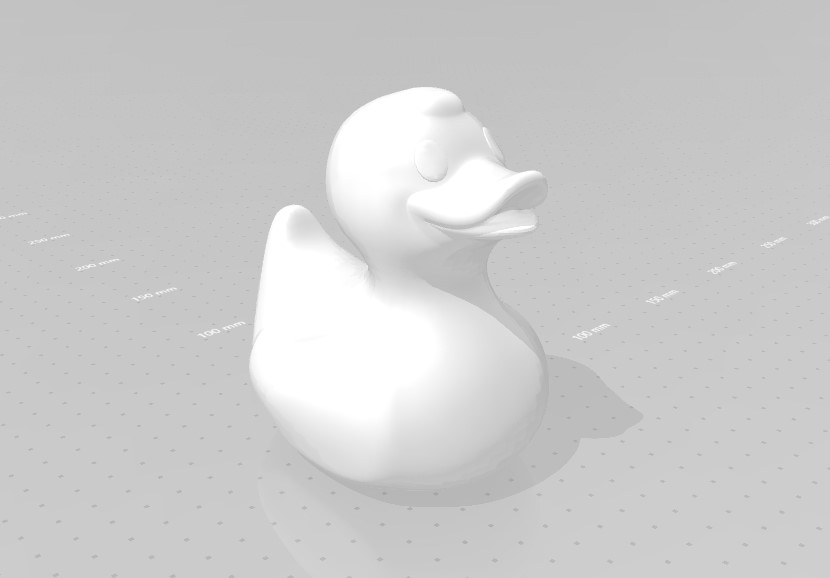
The original model cannot be vacuum formed due to its shape that does not include outlet angles that allow the piece to be unmolded, for this reason I split the model vertically and printed it in two pieces, this can be done from different software but an easy and free alternative is Meshmixer.
I printed both halves using only 25% infill, in theory to save time and material.
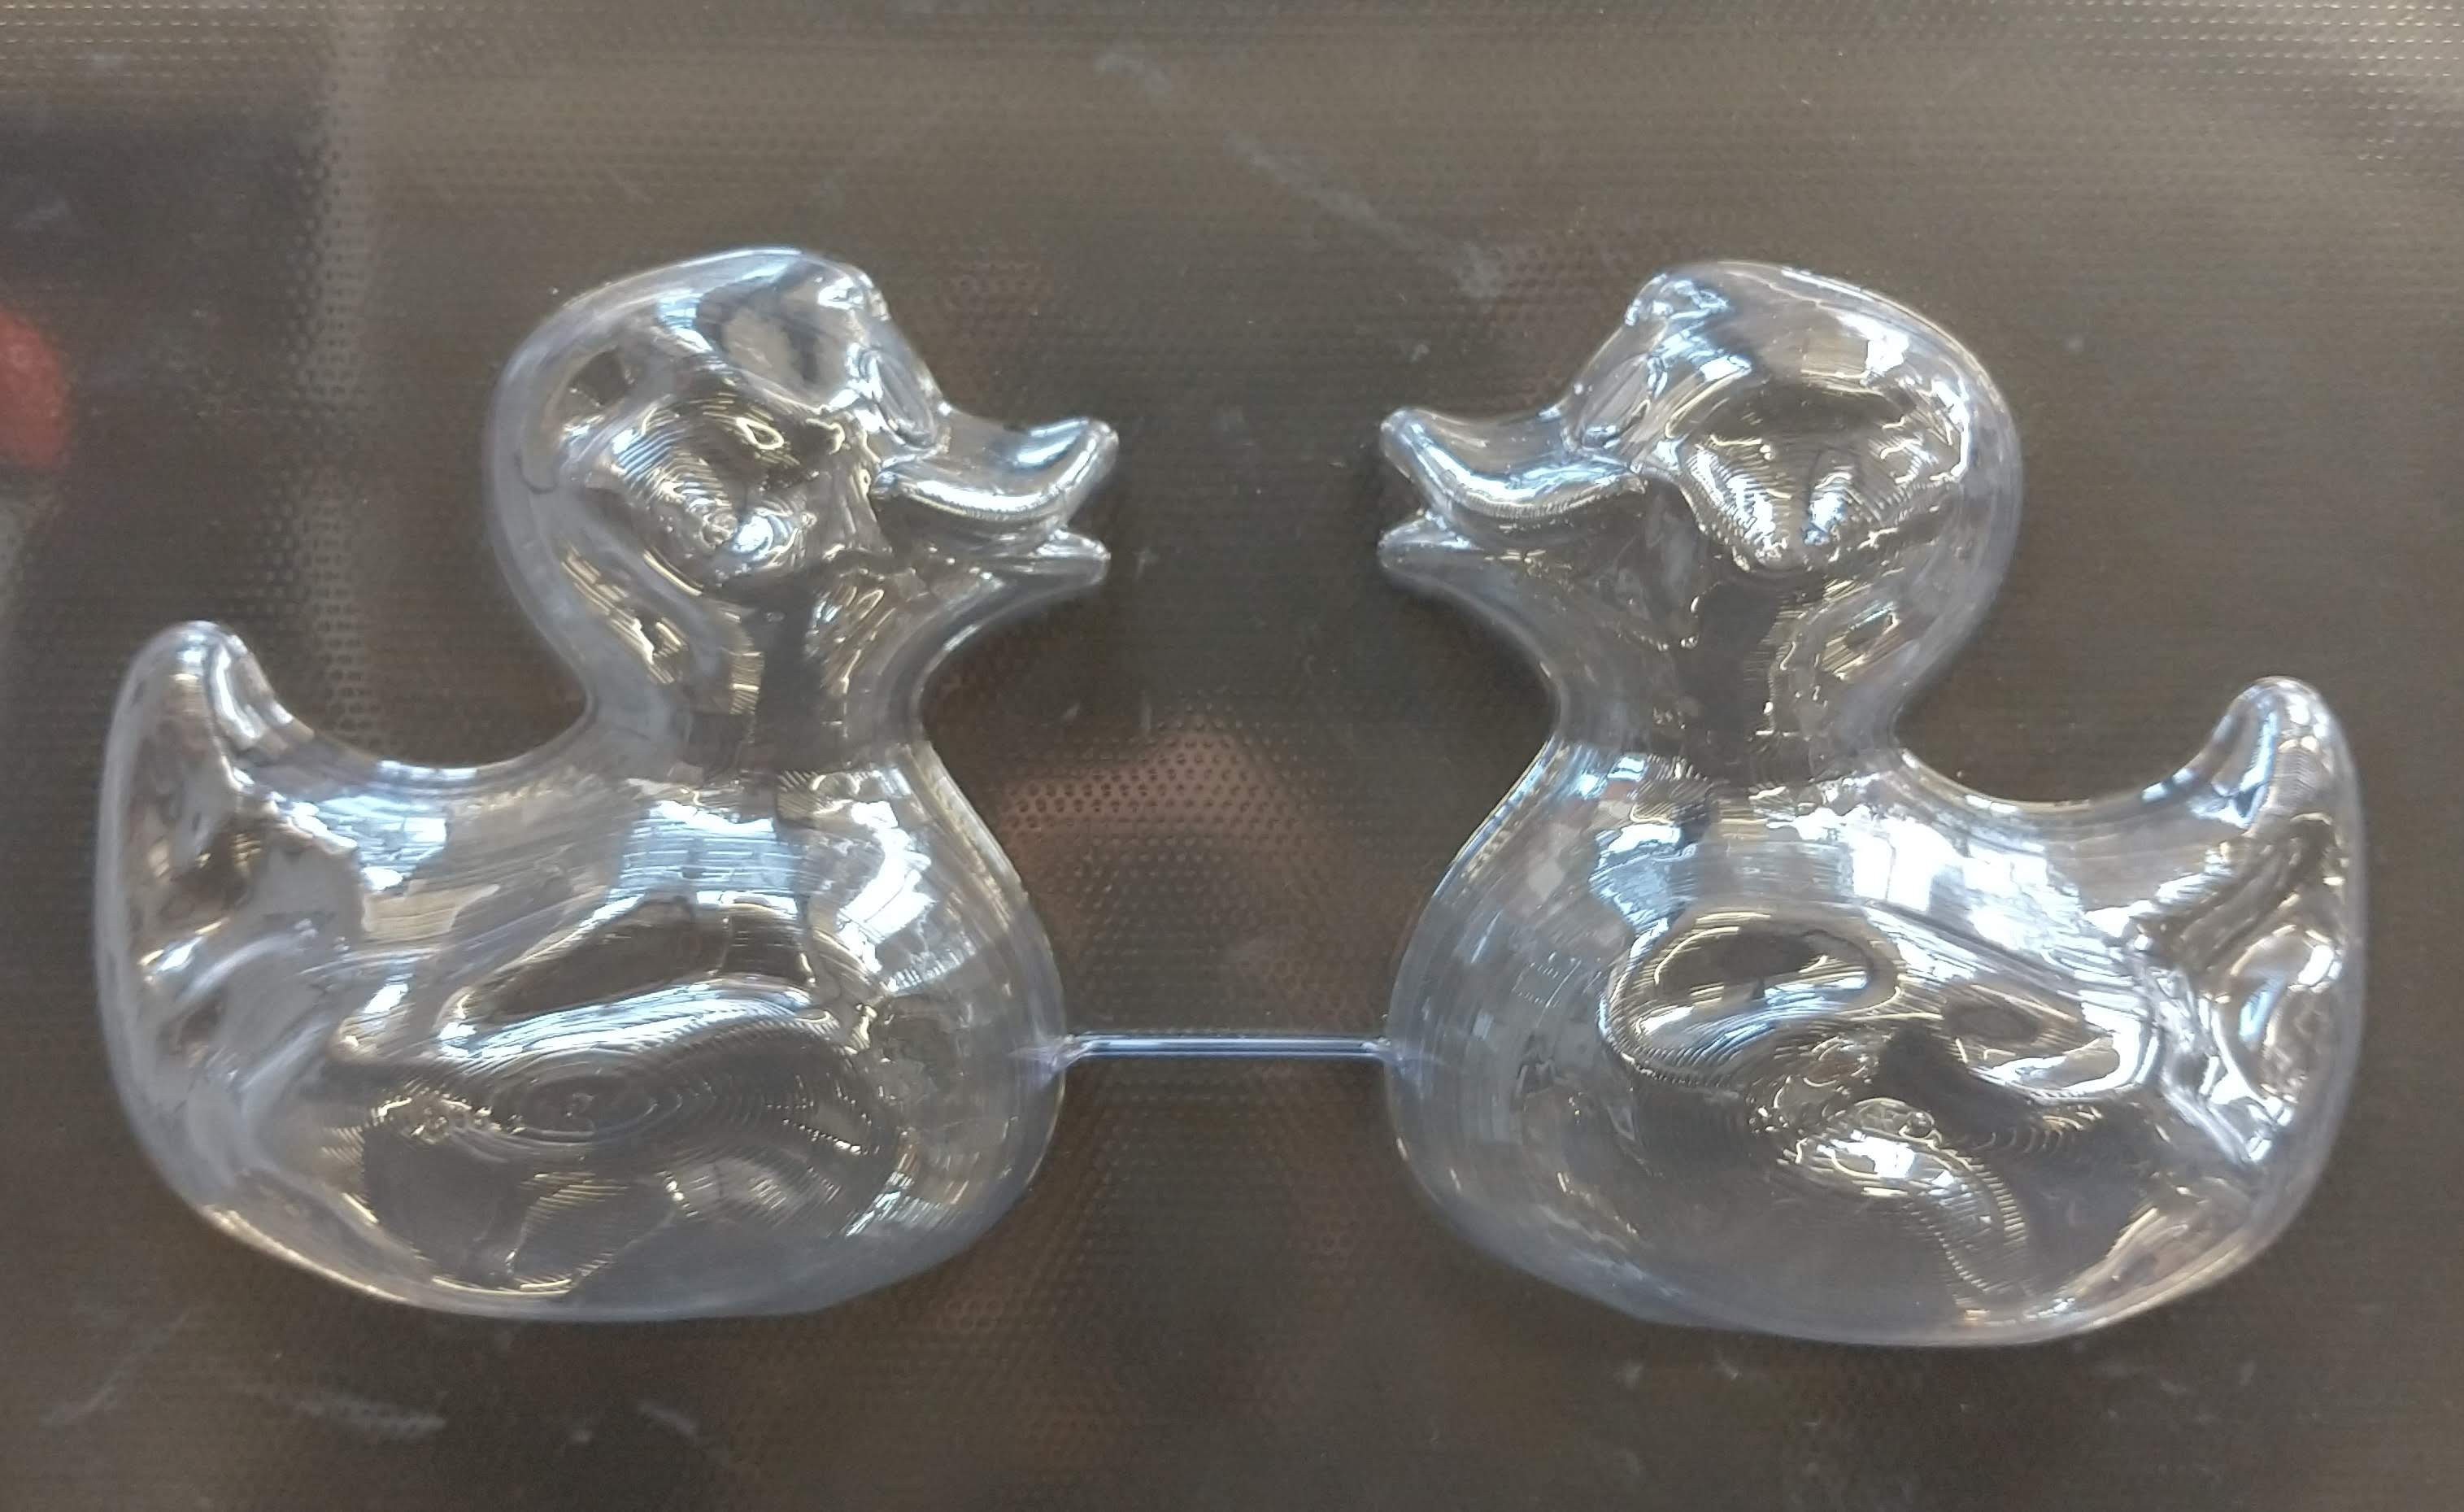
I did a first test in 0.5mm HIPS using the default settings for the material, which was successful.
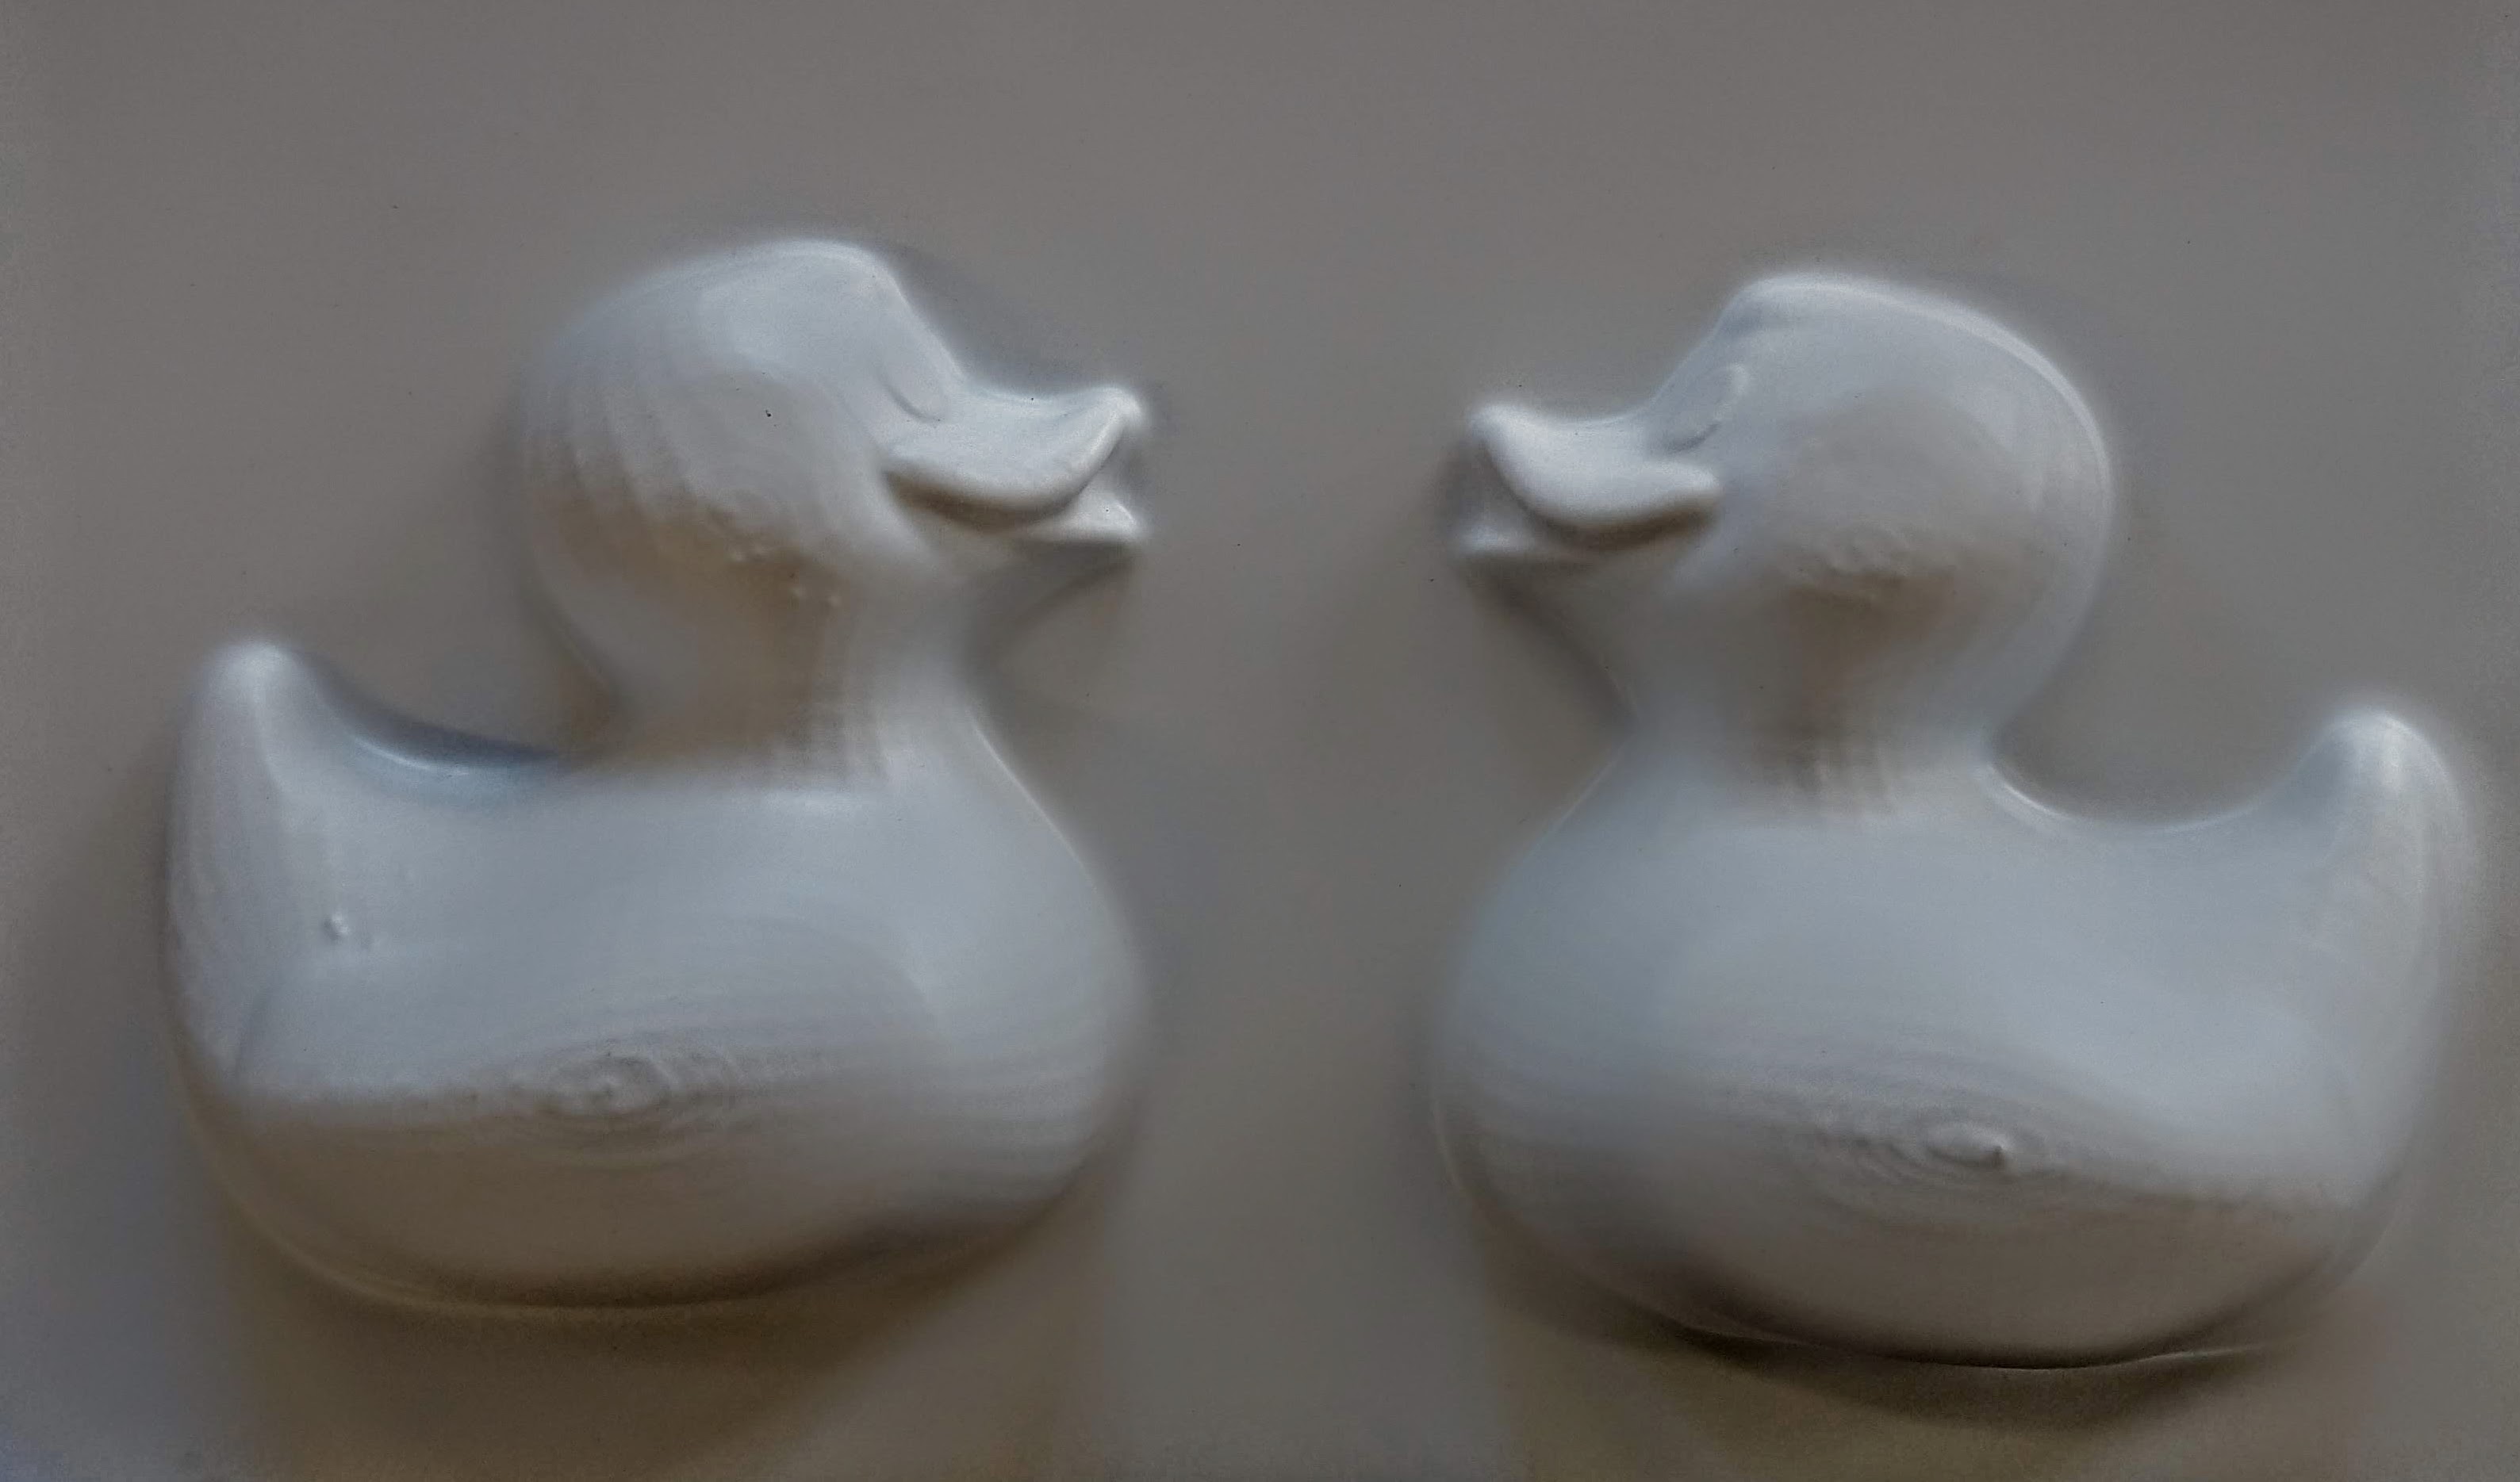
I made a second test in 2mm PET-G using the default settings for the material, which failed due to the high temperature that the material requires to be able to thermoform, which, combined with the vacuum pressure made by the machine and the low infill, deformed the two prints (you can see where there is padding, and where there is not).
As a last step, I made a plaster cast in the first mold that I made, it was unmolded without difficulty and the resulting piece can be used to make another mold even in the thick PET-G since the high temperature will not affect this material.
Vacuum forming laser cut pieces
To test the vacuum forming of laser cut pieces I made a chocolate mold. When I have projects in the lab and there is the possibility of choosing between additive and subtractive manufacturing, I always choose the latter because it's faster, for this reason I wanted to test if it was really possible to make a mold from flat pieces.
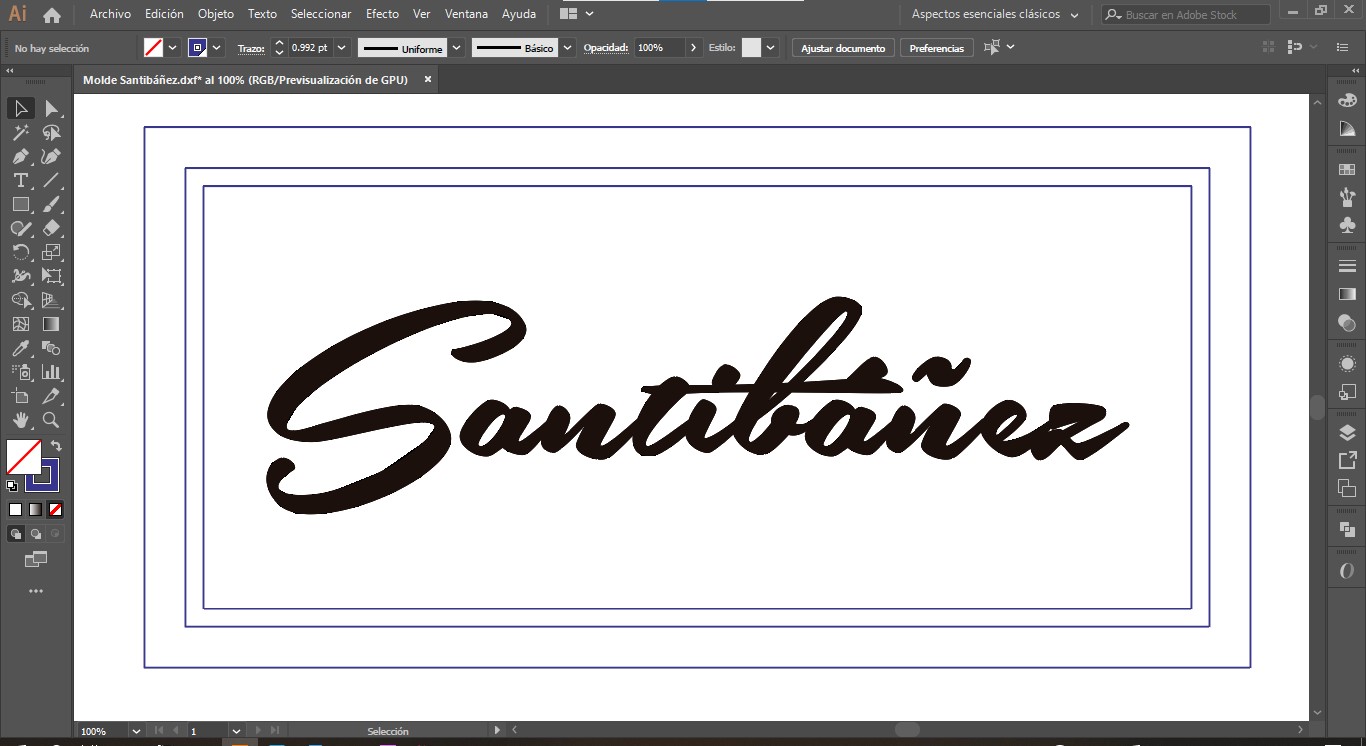
In Illustrator I drew a logo and a couple of perimeter rectangles.
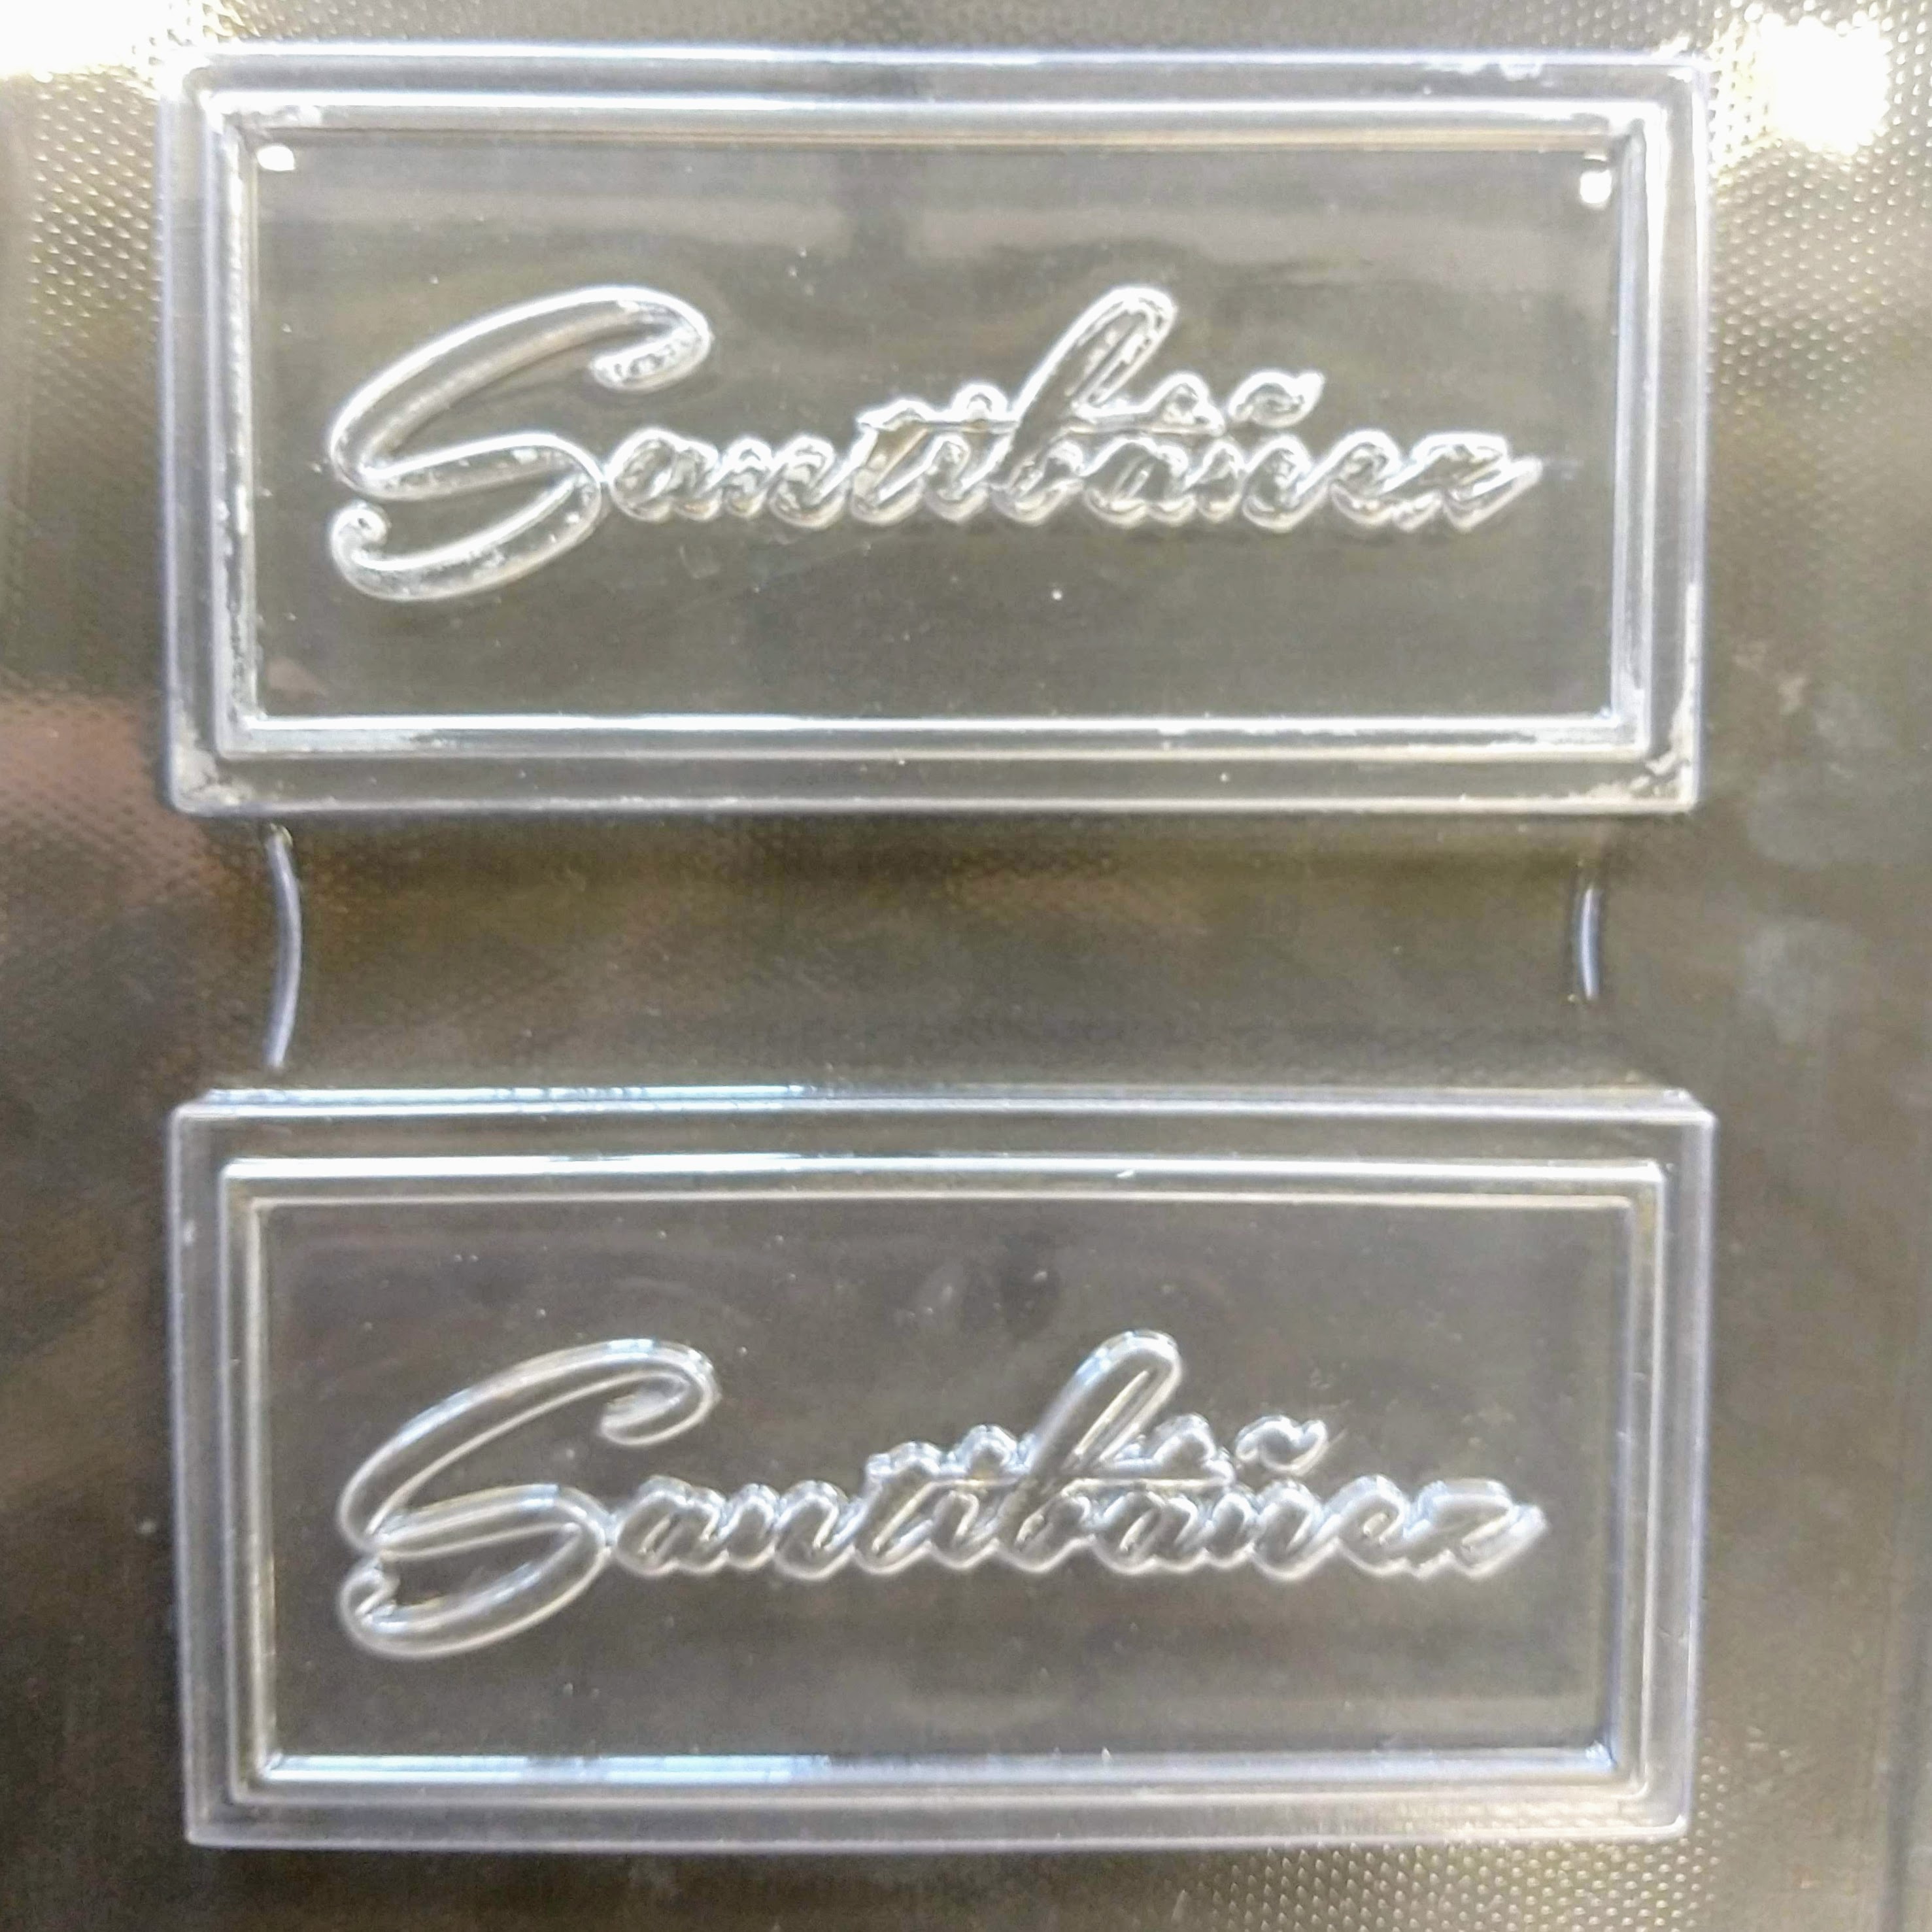
I cut the same piece twice, in 3mm and 6mm MDF.
I assembled the pieces so that they generated two different heights to have the letters in high relief in 6mm and the body in 3mm. I used white glue to immobilize all the pieces to make sure that the pressure of the machine would not move any layers of material.
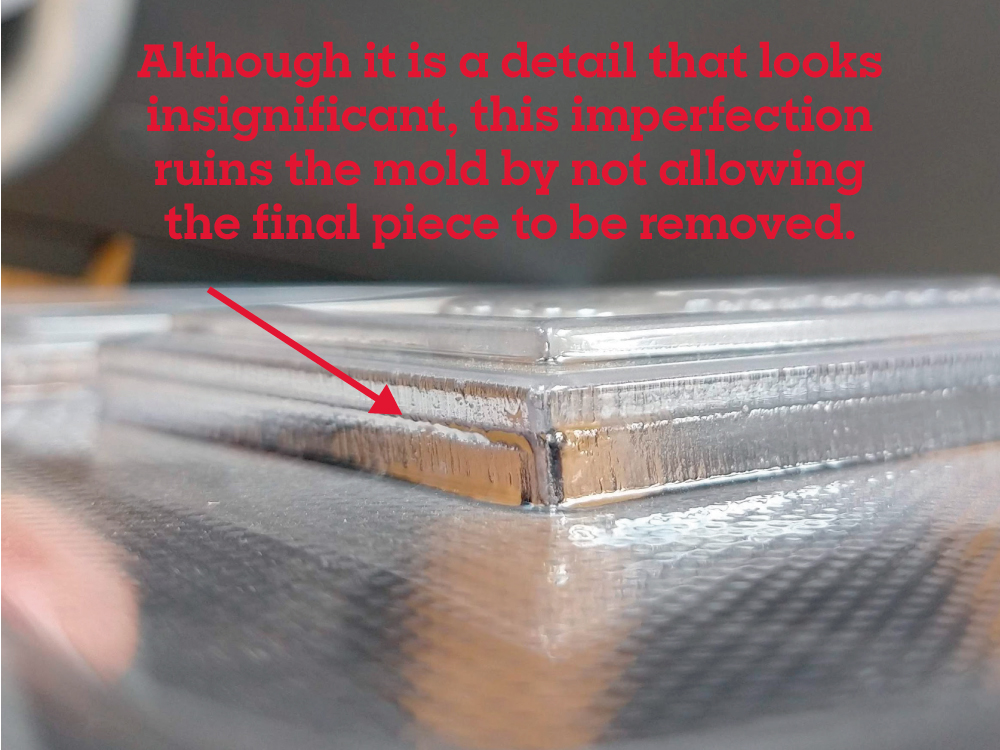
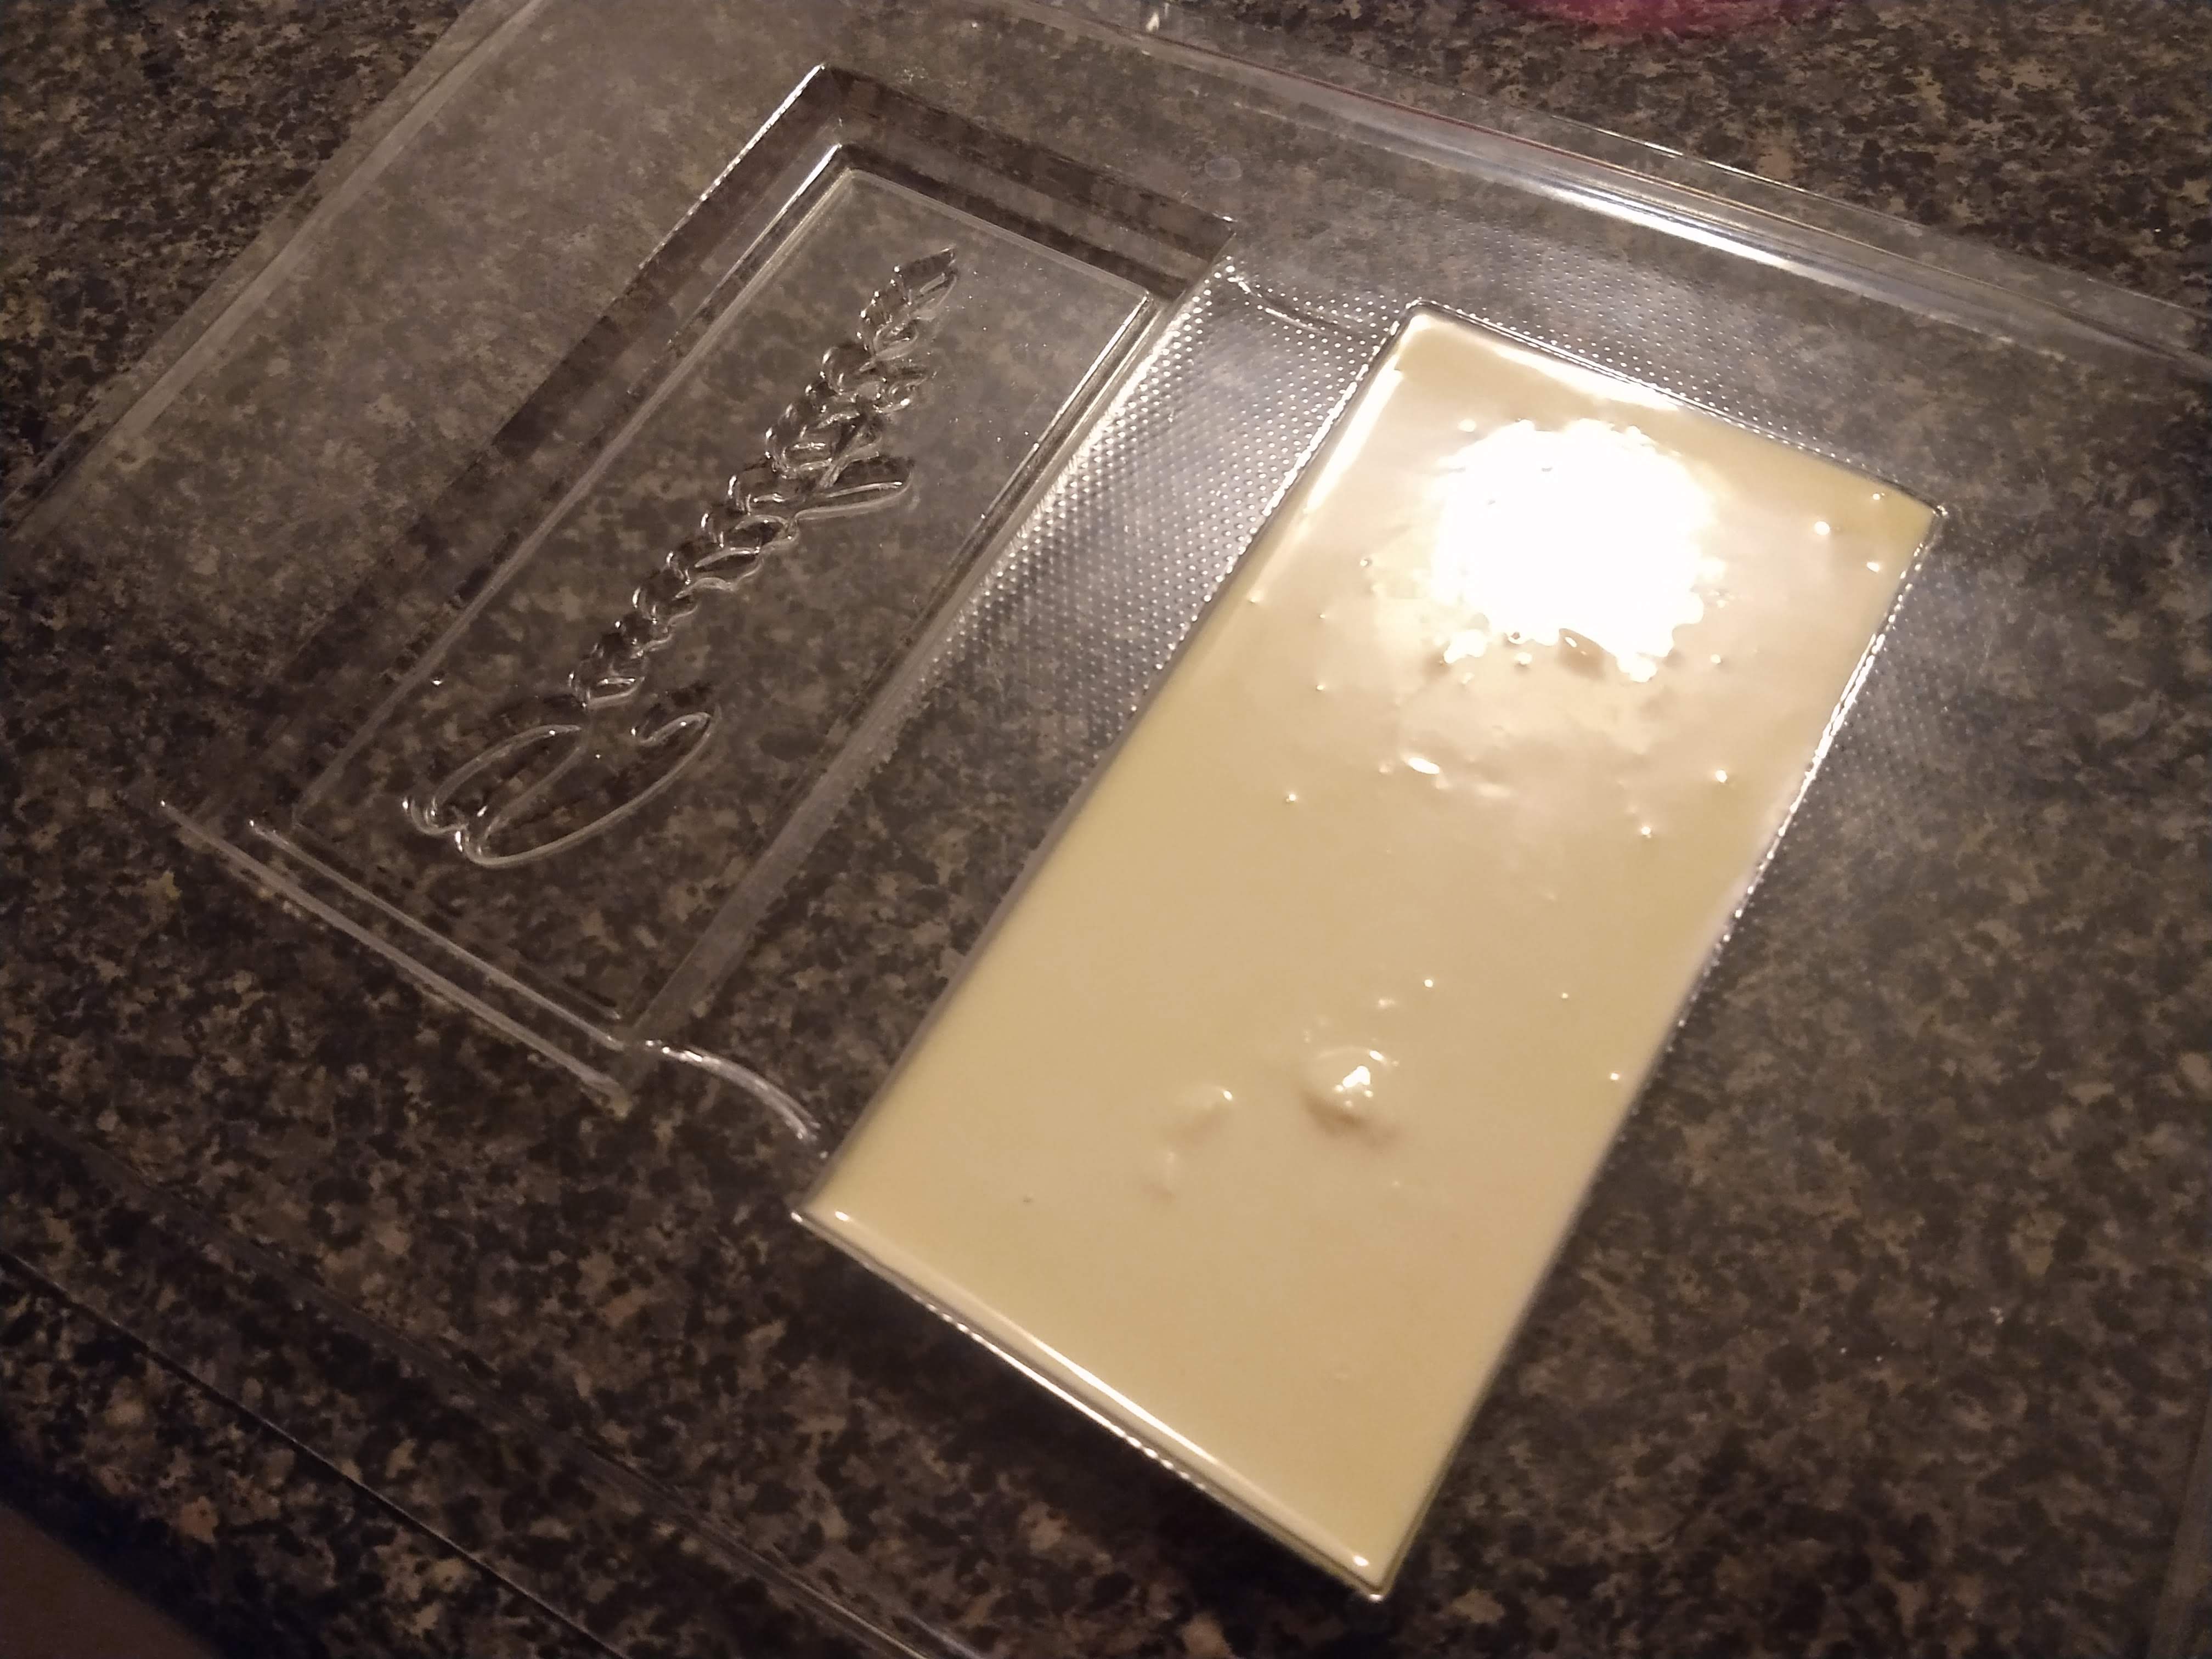
I did the vacuum forming of two pieces, one came out perfect but the other was not properly glued and the space between layers made the mold material slip through there. Because it was wood I was able to remove it by letting it soak on water, but when pouring chocolate the piece would break when unmolding it since it would get stuck in that part.
I melted 25 grams of white chocolate in the microwave for 40 seconds, stirred it to make it melt evenly, and put it in for another 40 seconds. I poured it into the mold as fast as I could because it hardens instantly, I let it sit for a couple of minutes and then I put it in the fridge for half an hour.
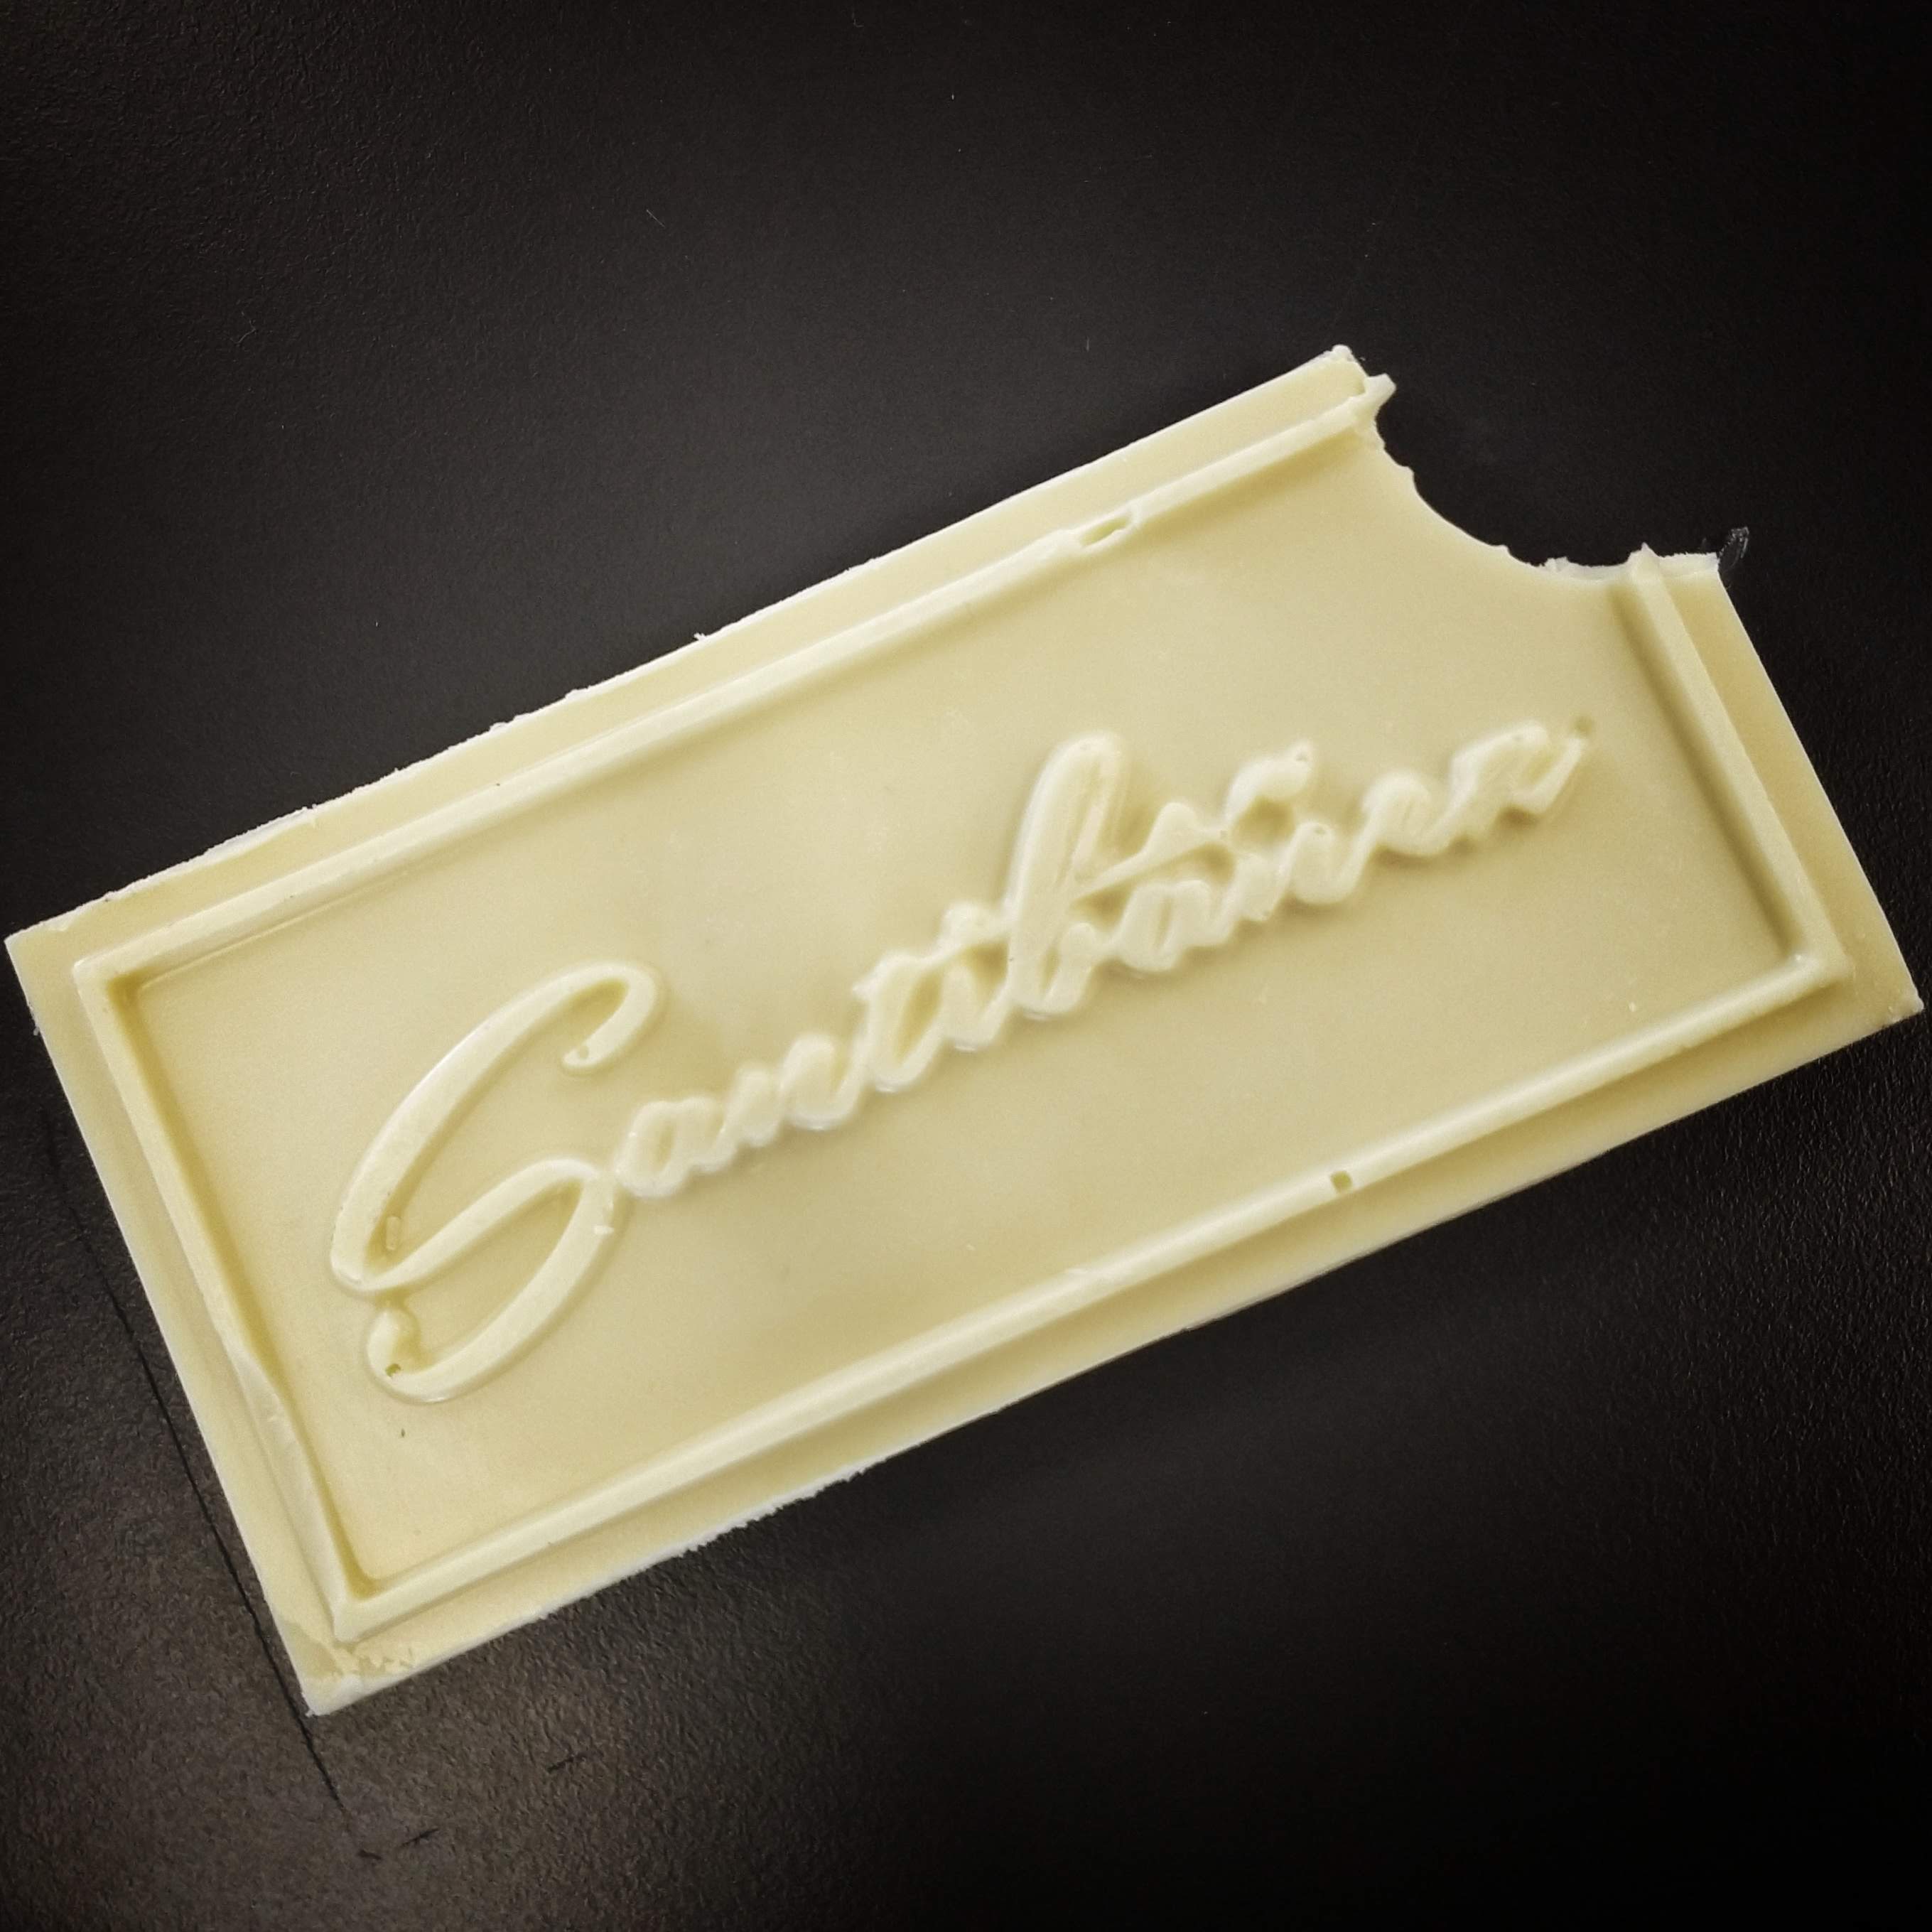
I unmolded carefully and did not break the final piece, it only lost some details of the perimeter frames according to the original piece that transferred its imperfections to the mold.
Here is my hero shot:
Files
You can download the duck for 3D print here: left piece, right piece.
You can download the file for laser cutting here.
|
For this assignment I:
|