How to make (almost) anything.
Principles and practices / Project management
Work done in the Lab under the guidance of my remote Instructor to accomplish the weekly assignments.
This week I made a basic sketch of my idea of final project, created the template for my webpage and uploaded it to my GitLab repository.
My weekly schedule:
| Wednesday, January 27 | Thursday, January 28 | Friday, January 29 | Saturday, January 30 | Sunday, January 31 | Monday, February 1 | Tuesday, February 2 |
| Global class |
Final project sketch Web development |
Web development |
Web development |
Web development |
Recitation GIT configuration |
Upload documentation |
Principles and practices
Final Project sketch
I usually sleep a lot, when I get into a dark room I just need a few minutes to fall asleep. This isn´t a problem unless you are watching a movie with your girlfriend or attending a class with the lights turned off (I must be honest, my college friends always laughed at me for this).

But since the beginning of the pandemic my sleep routine went through many changes because of my slowed life rhythm and the fear of getting infected, lose my job or even worst, lose my loved ones. I could be for hours in the bed without really rest, and a lot of people worldwide were in the same situation. My mom has been taking sleeping pills for some years and I think she’s already addict, sad but true, so I tried to avoid these. I investigated and the solution for me was meditation and breathing exercises to keep my mind clear and take control of my anxiety.
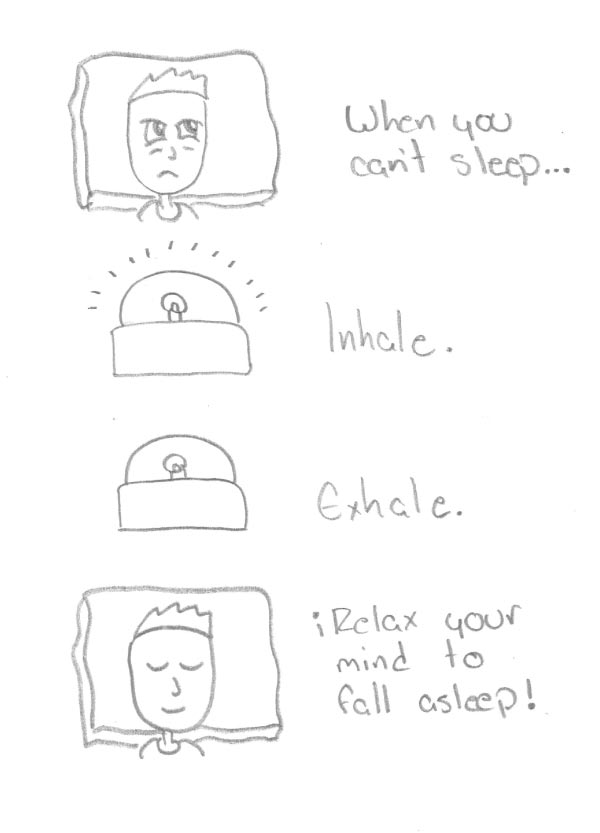
This insomnia problem is real, so I wanted to share my experience with everyone and teach how did I solve it. For this purpose I’m thinking of a device that will help to set the breath rhythm of the user, I can describe it as some kind of metronome (like those used by musicians) with inhale and exhale indicators, but instead of a pendulum this one will use a light with a dim and bright secuence for a few minutes.
Considering that I don't have much free time, I will try to make progress in my final project taking advantage of the weekly assignments as I organized them in this table:
| Week | Progress |
| 2. Computer-aided design | Overall design of the lamp |
| 3. Computer controlled cutting | Acrylic laser cutting of the light diffuser |
| 5. 3D Scanning and printing | 3D printing the electronics case |
| 6. Electronics design | Electronics design |
| 10. Input devices | Button programming |
| 12. Output devices | LED programming |
| 15. Wildcard week | Vacuum forming the package |
Let´s see how it goes!
Project management
Web development
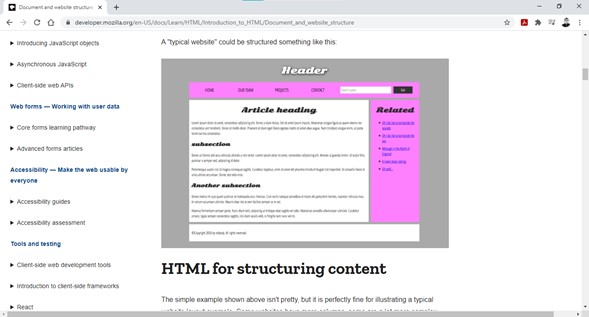
Beyond Blogspot website builder I have no experience in web development so I tried to create my page from scratch instead of using a template, this way I can gradually improve my page, but most importantly, knowing its structure so that I can modify it according to my needs, it would not do me any good to use a nice template that even integrates JavaScript if I am not going to understand even what I have to modify change the elements from a simple menu. I downloaded Brackets (a powerful open source HTML, CSS and Javascript editor) and started analizing the example page, and after reading a few HTML manuals I was able to make my basic page. Mozilla has a very useful guide for HTML with graphic examples, it helped me a lot.
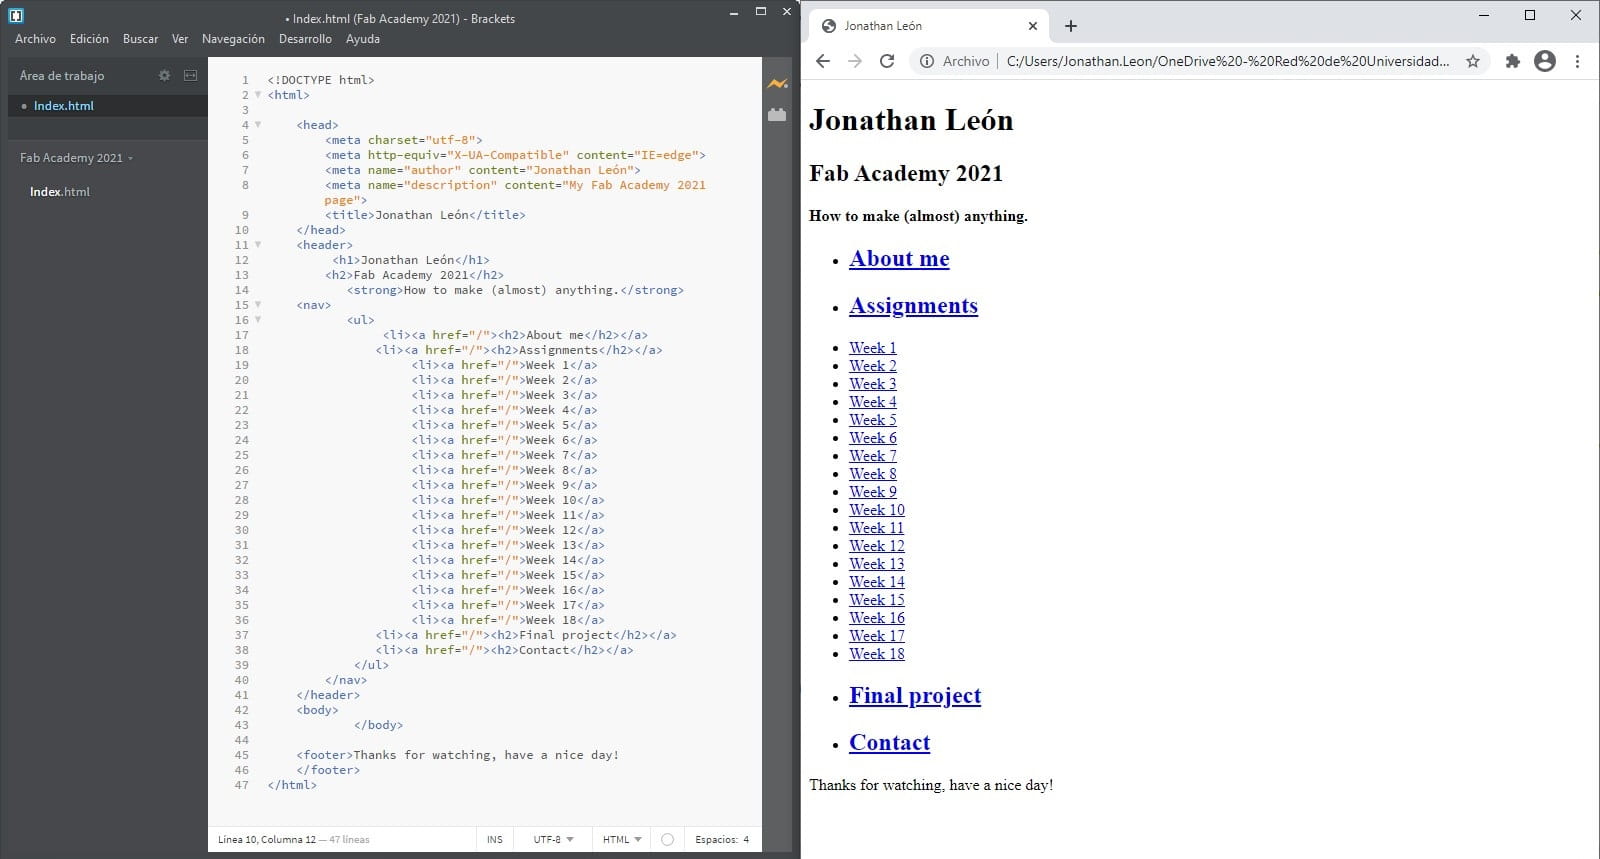
I will try to apply all my new learnings in this Academy course to my final project, so i made this home page draft instead of a “Hello World” page. I've been watching videos of the previous FabAcademy classes and Neil always says that the structure of the site should be as efficient as possible, you should be able to get to any page with just a couple of clicks, so I'll just do four pages (Home page, About me, Assignments, Final project) and the last two will have subsections to organize the work every week or the different parts of my project.
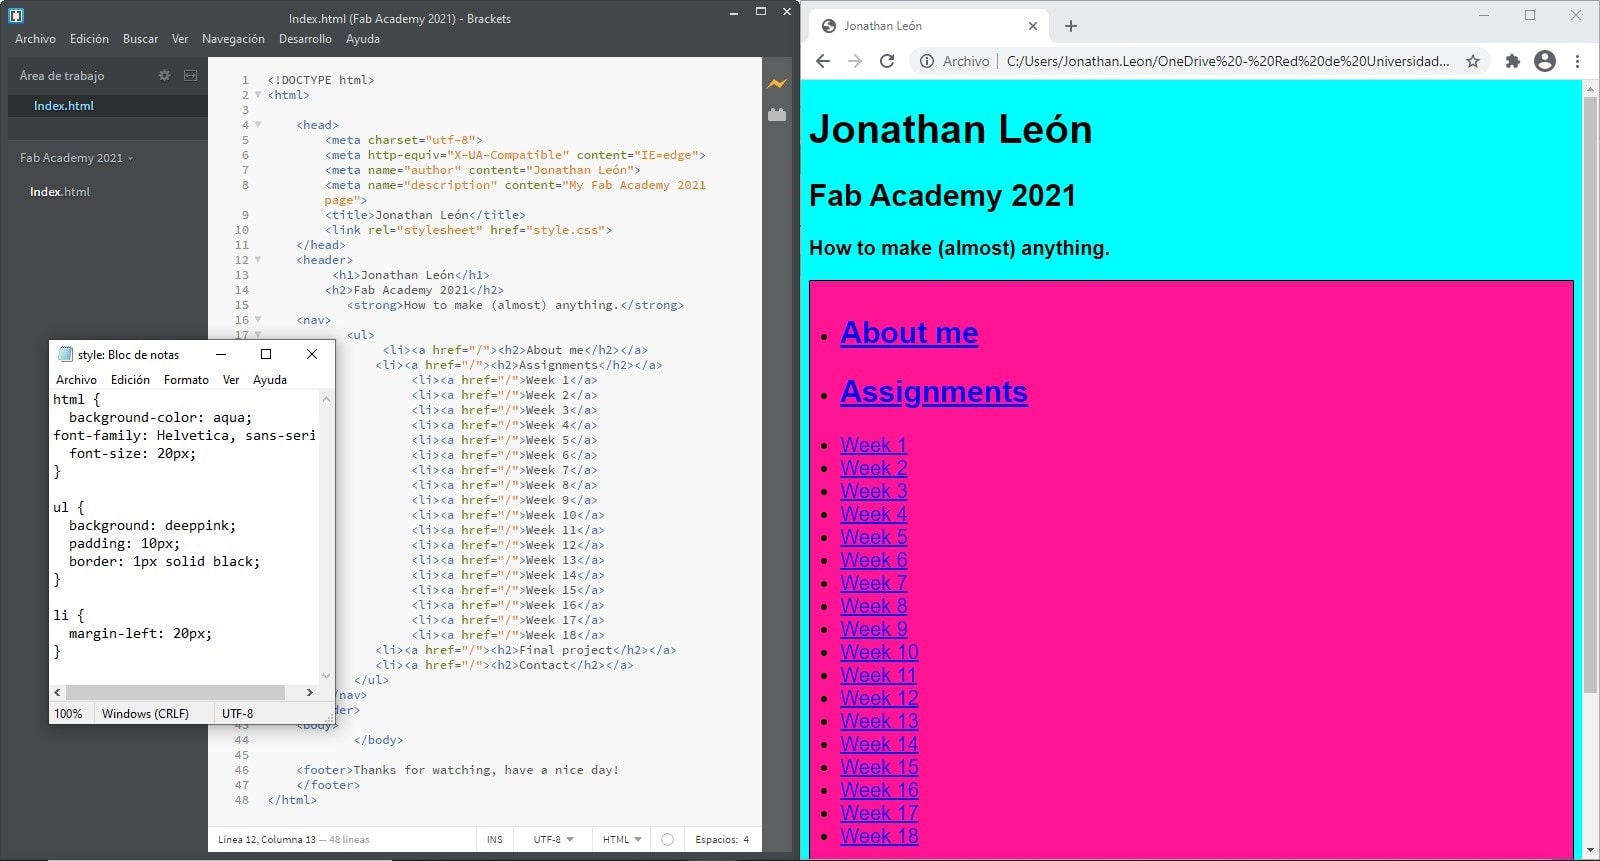
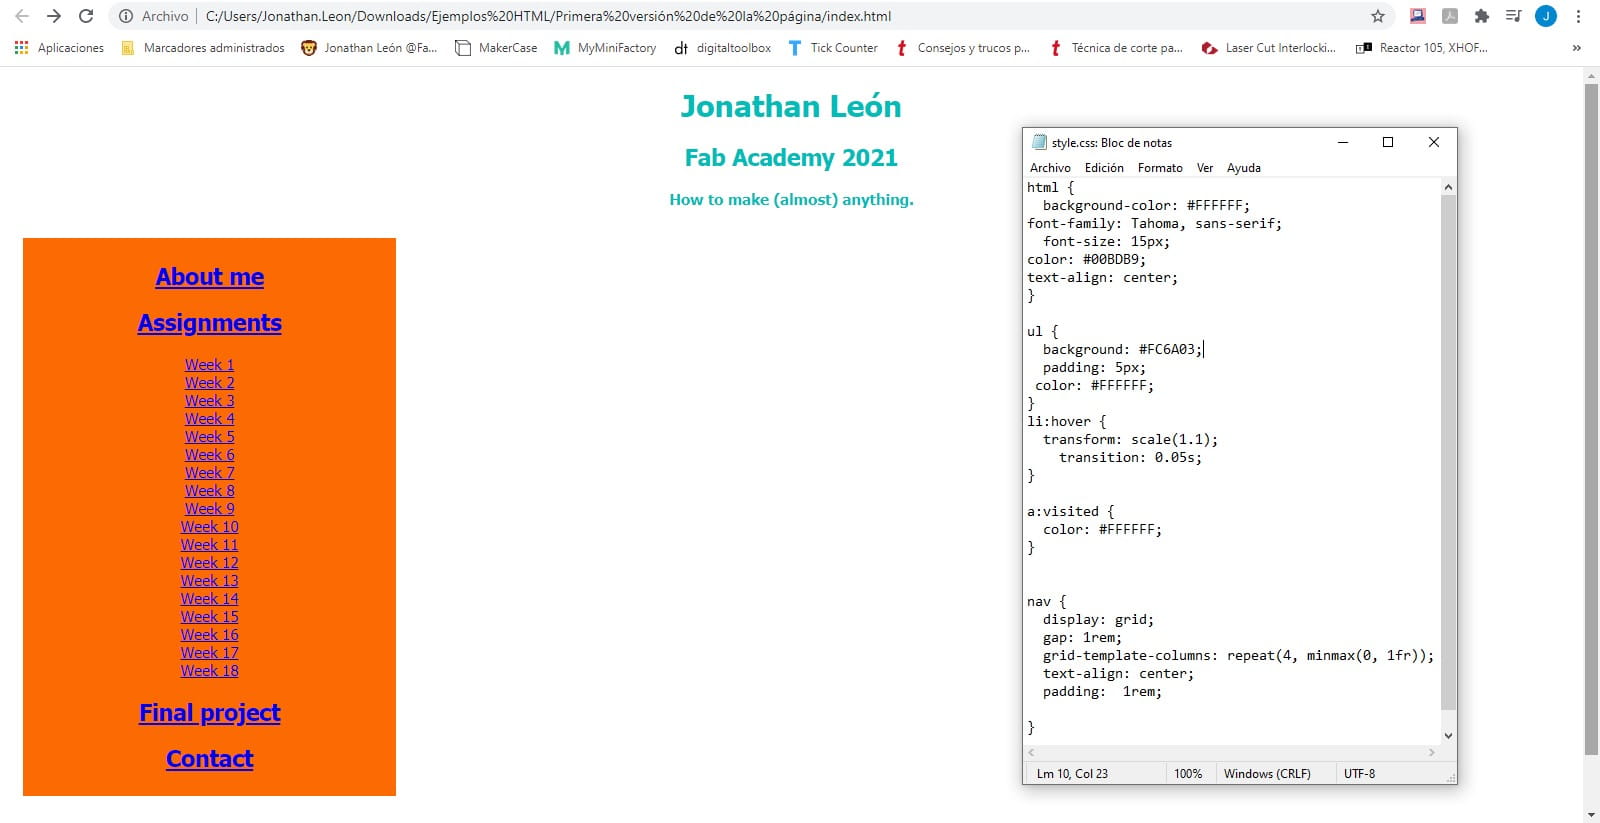
The basic test page looked ugly, so I searched for some CSS information. The CSS file describes how HTML elements will be displayed on screen. Each element can be assigned as a div class (or you can use a generic selector as h1, body, etc), and this way each of them can have a unique style configuration.
In this example I set a blue background color for the entire page and Helvetica as the font, then set the list to have a pink background color and the border of its container to be 1 pixel thick.
And even with CSS the page looked awful cause I didn´t like any of my color combinations so I searched for a color palette generator and Coolors did the job pretty well.
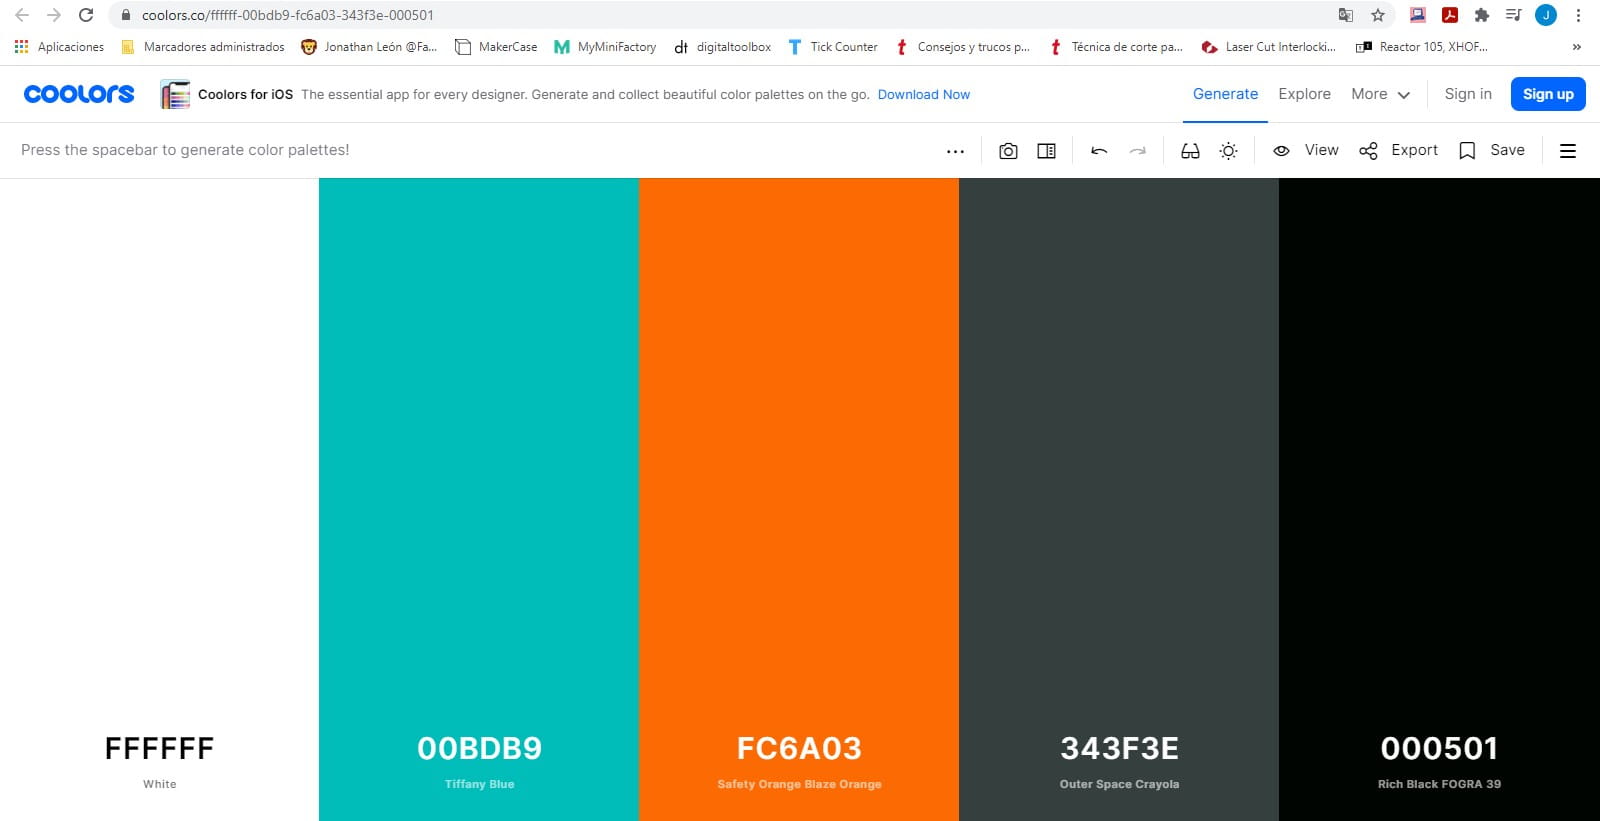
With this wonderful color palette the test page became this:
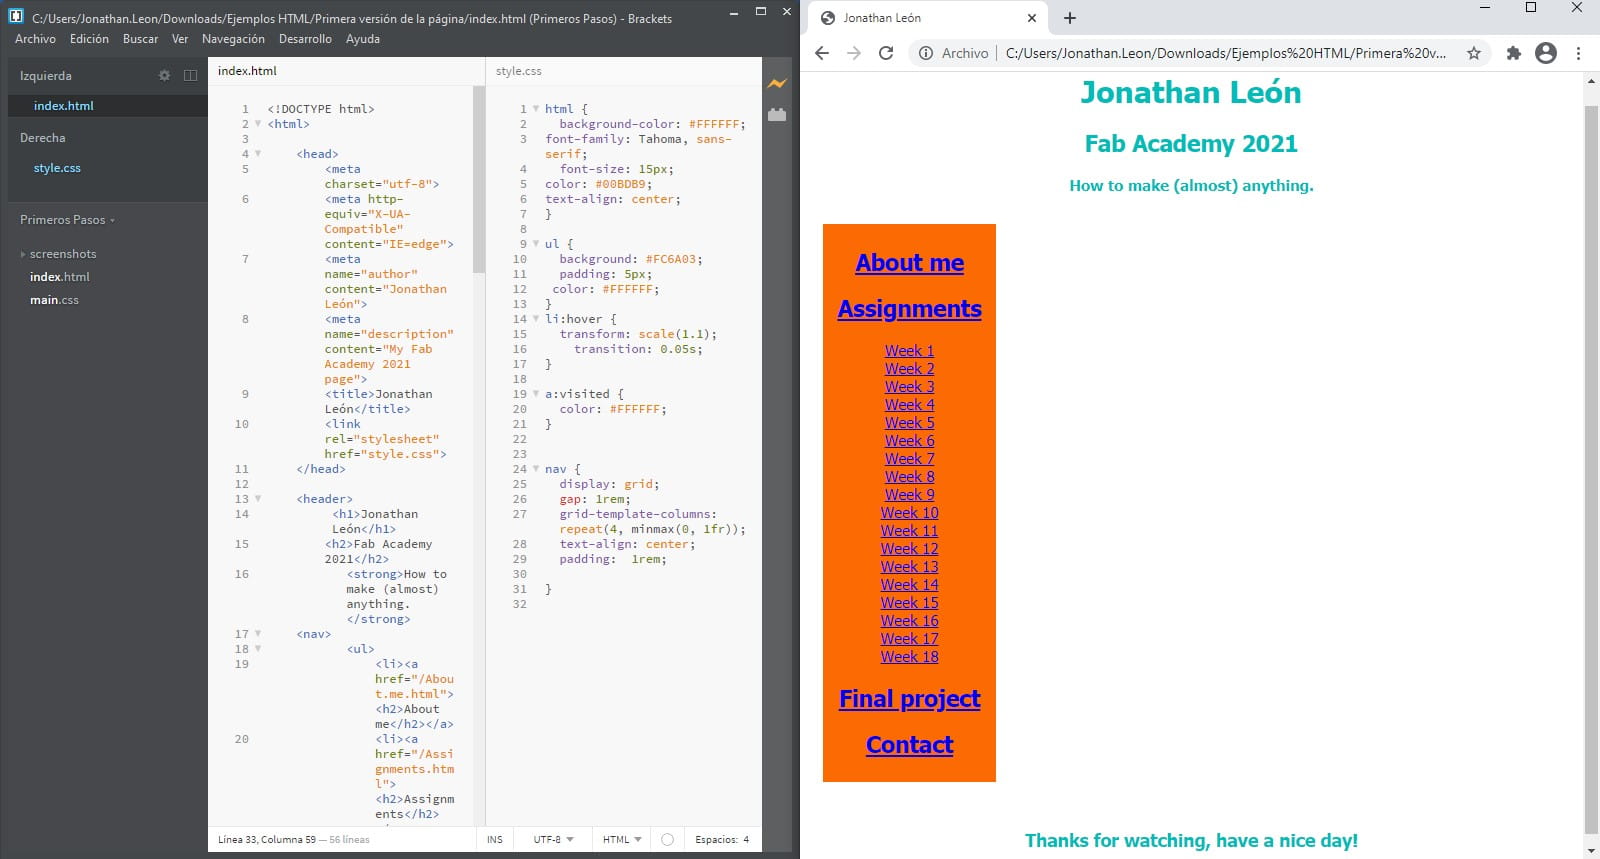
Then I found the option to open both HTML and CSS files on the same Brackets window, so I was able to greatly improve my workflow, it´s a little detail that makes a huge difference.
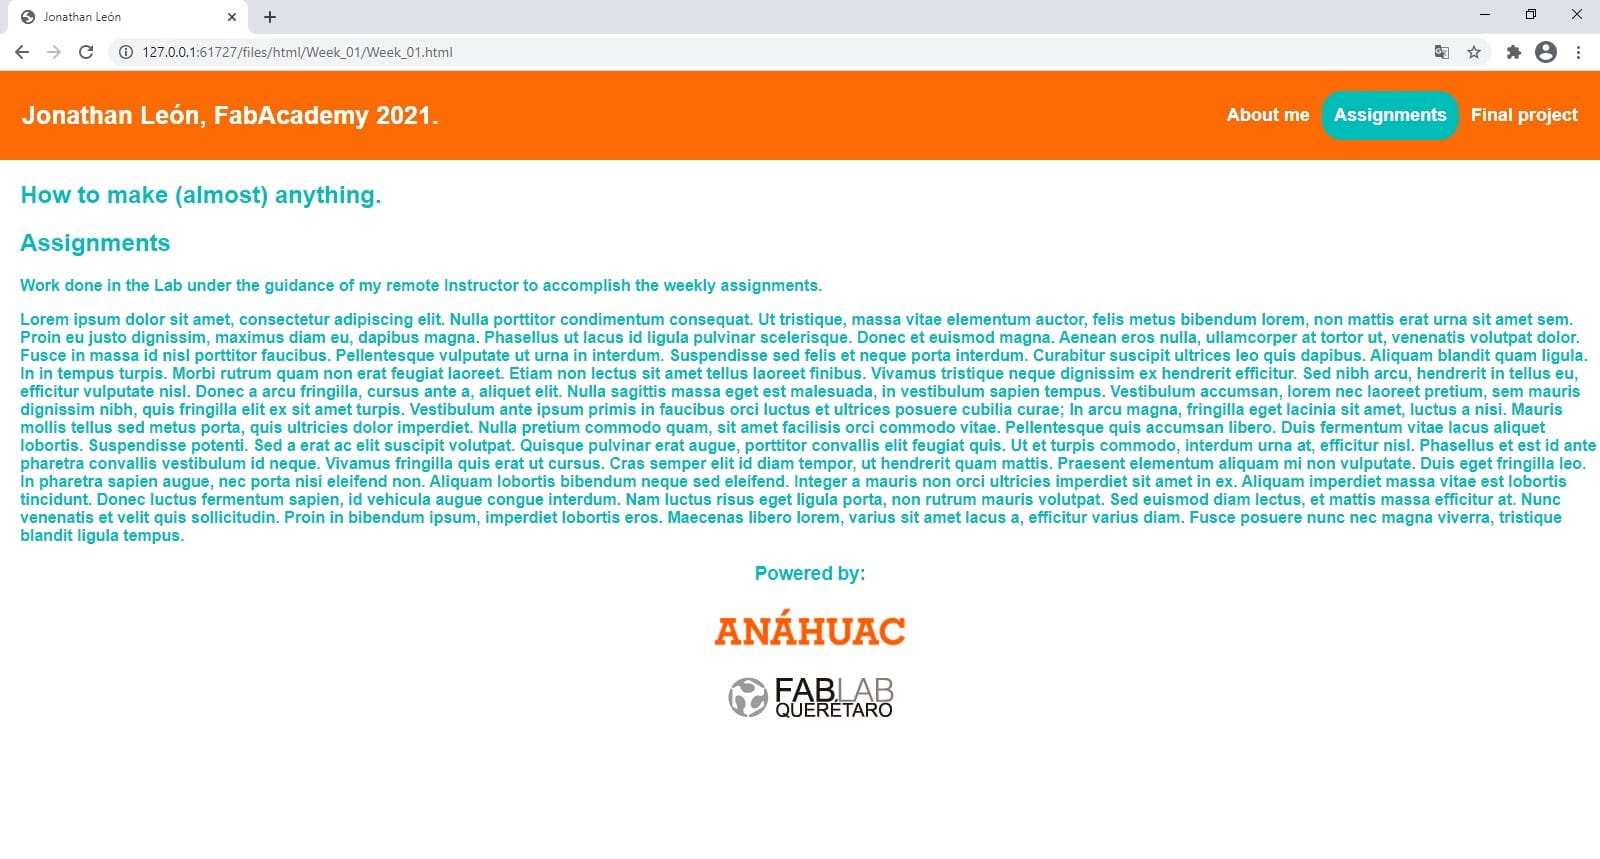
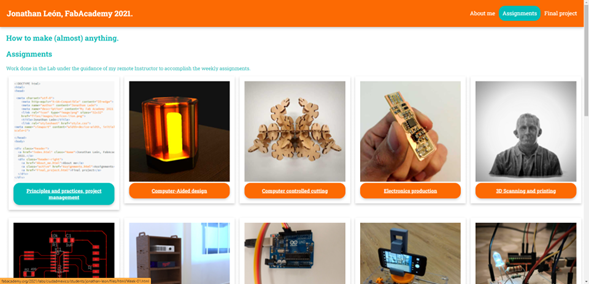
After a few hours testing different page structures and messing with CSS I got this:
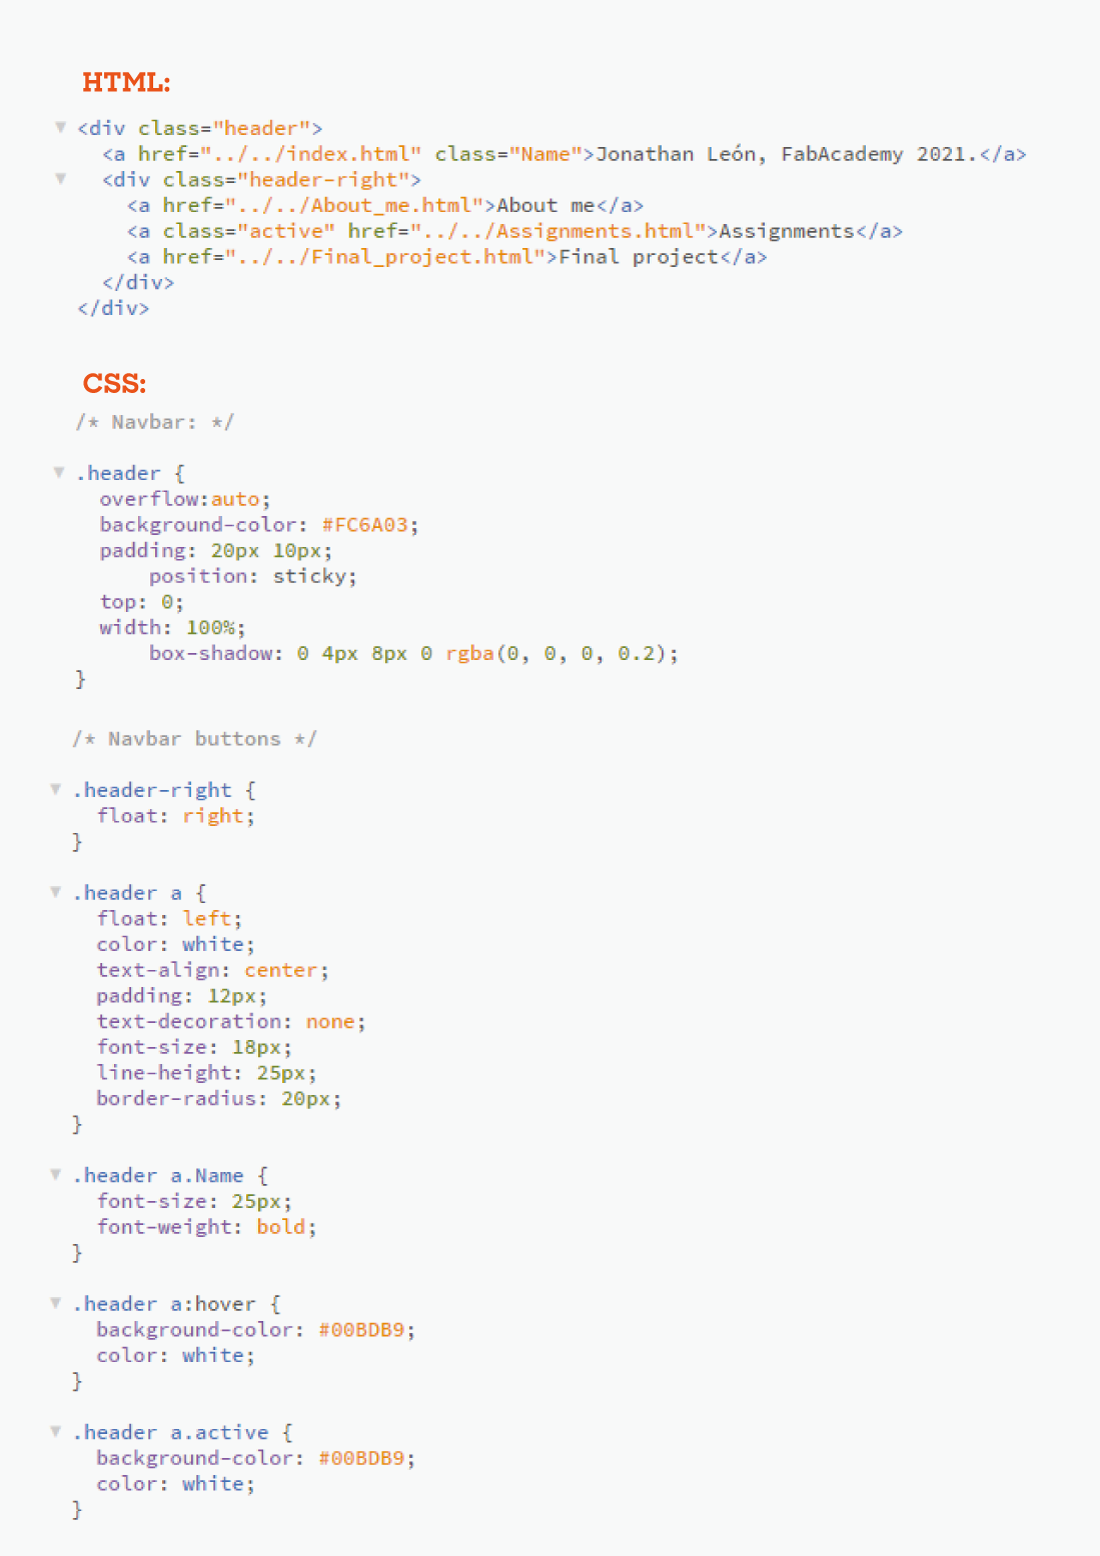
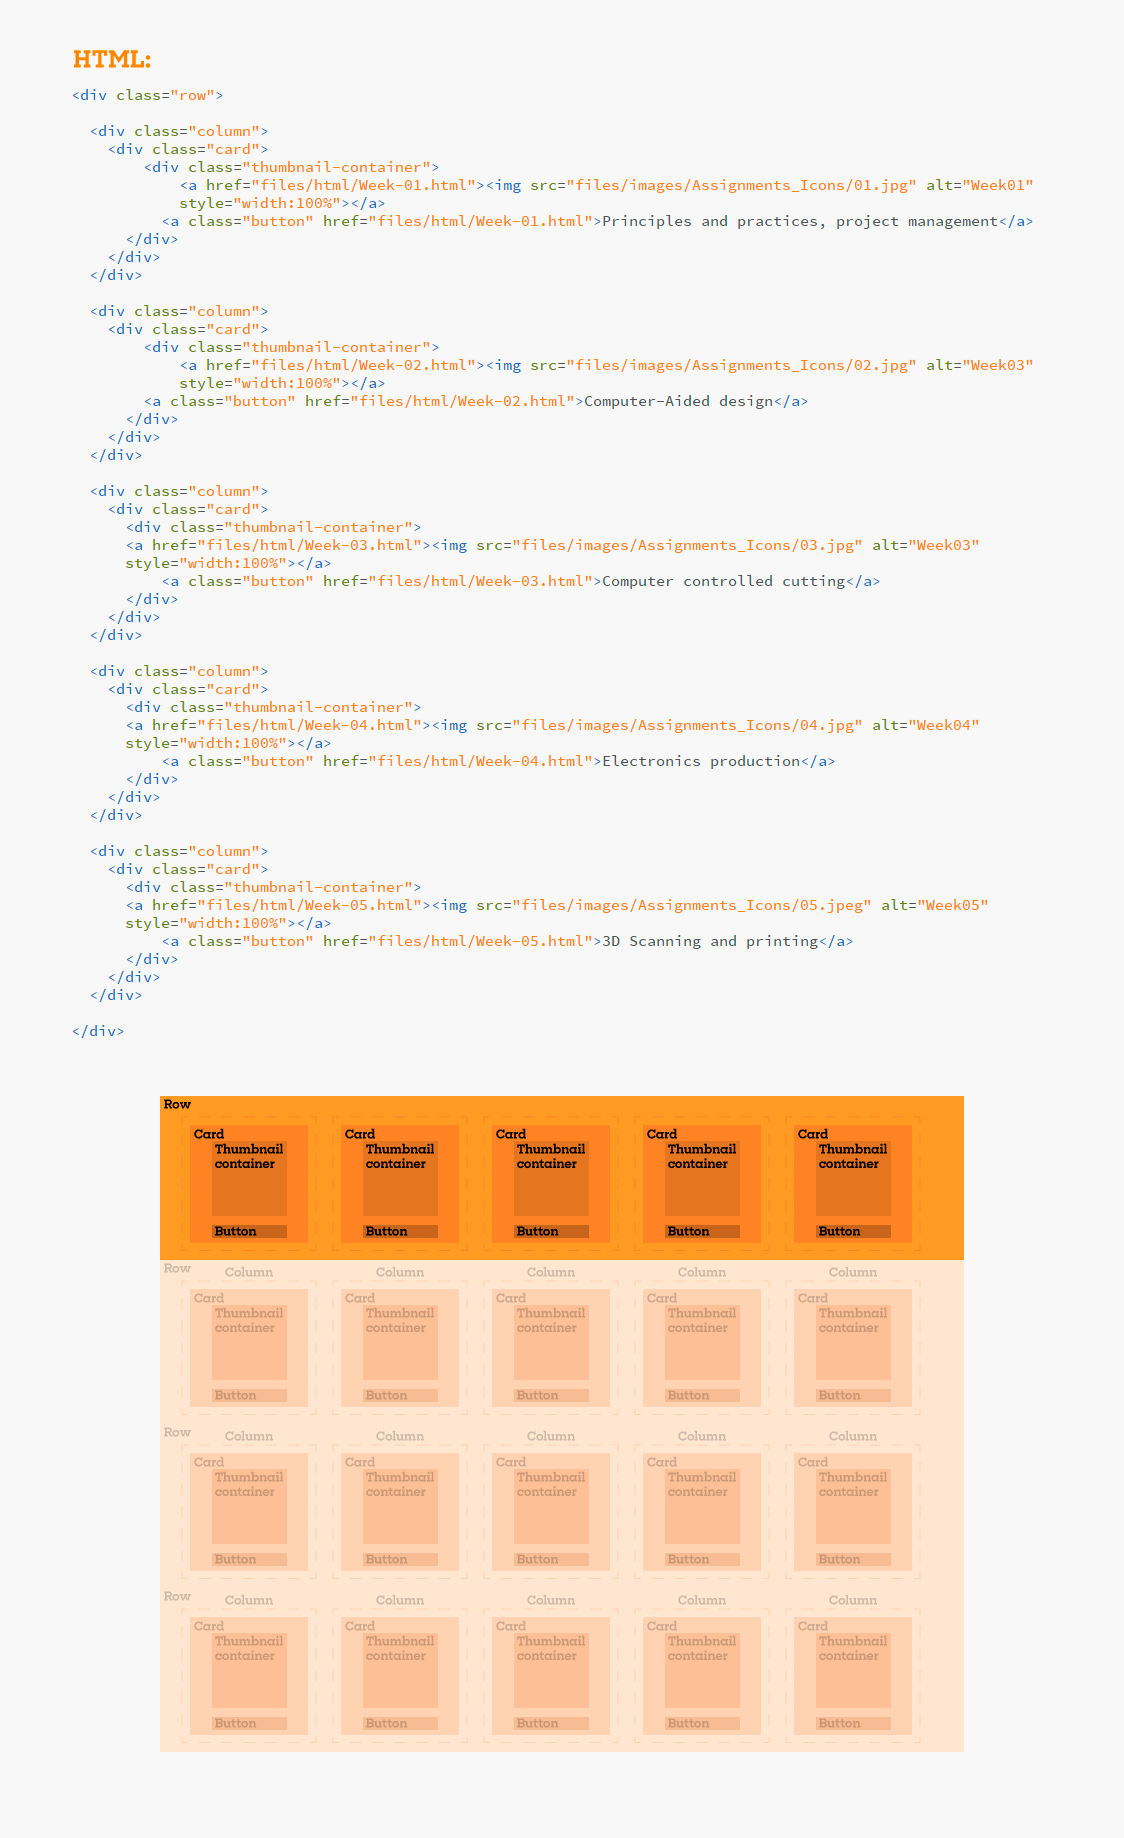
For the navbar structure I created a div with the entire top bar called “header” aligning the page title text to the left and setting an orange background color, and another div called “header-right” for all three buttons, aligning them to the right with a color change effect when hovering over the button. To set the color of the active section button I made another class called “active” that has practically the same values but with a different background color.

To present the assignments menu I wanted to show small photos of my projects to illustrate the content instead of just placing text labels. The first test looked rough and out of proportion, it was all big images and small text, and if I put more than one image I couldn't align the text.
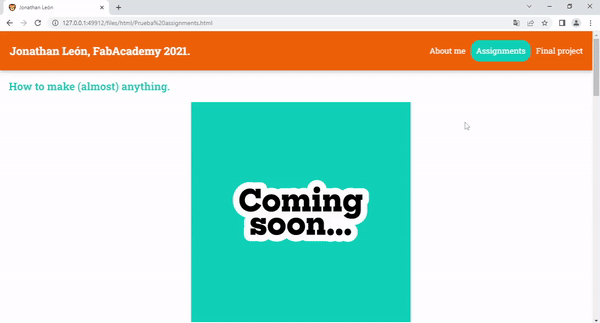
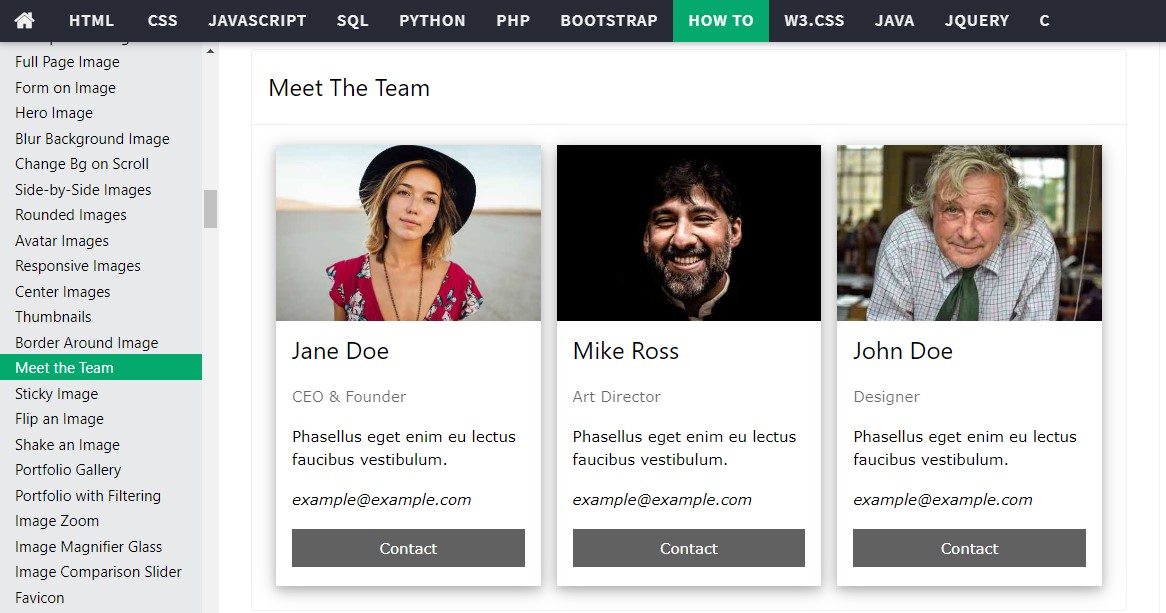
Then I analyzed the CSS code used on the W3 Schools "Meet the team" example and I remembered what I had just learned while making my navbar: in CSS all elements are boxes, my mistake was that I was placing an "element" right after the previous one, instead of placing a box inside another. With this in mind I placed the image inside a container that also had a button and a text label, all inside one column and all the columns inside one row. Then I modified the appearance of these containers ("cards" on the CSS file) to look like Polaroid photos, with a white frame around and the same color scheme as the navigation bar.
There is more useful information about "The box model" here.
The only thing that gave me a problem was the code of the buttons as the link only appeared when clicking on the text (not on the button). Everything seemed correct in my code (Brackets is very efficient at highlighting syntax errors) but my error was simply the position of the href since I had it next to the title of the assignment, and after comparing it to the code in the navbar I realized that the reference should go inside the button tag.
To finish the graphic part, I looked for a lion emoticon and established it as my FavIcon to give my page a personalized touch, you can see it in your browser in the page title.
I was happy with the result. I will be updating this web page on a weekly basis so there will possibly be some changes over time but I want it to remain a basic yet functional page made simply with HTML and CSS.
To have a clean looking repository I tried to organize my files on folders but there was a conflict with file managing on HTML because I changed all my routes, so instead of replacing manually every broken link I just used the Search and replace function on Brackets.
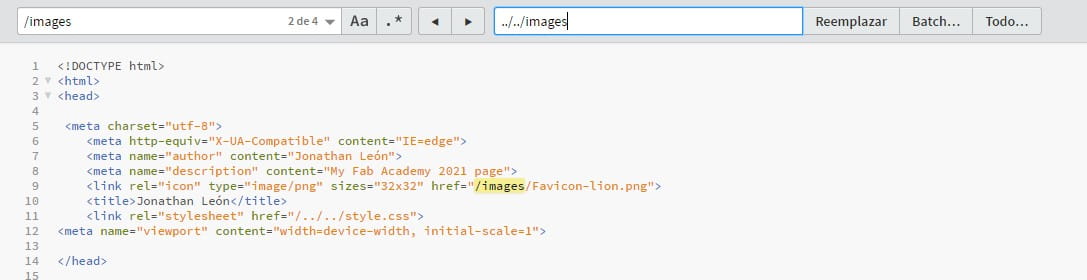
To avoid problems again with the organization of the files (and the links to them in my pages) I established the order of my repository: in the root I have the HTML files of the four main pages (index / Home page, About me, Assignments and Final project ) as well as the CSS for all the pages, the setup YML and a sitemap to improve search engine rankings (I have the same name as a famous soccer player, who is obviously more famous) and a folder called files containing four folders to categorize the content: images, videos, html (from the weekly assignments and my final project sections, so you don't have all the HTML in the root), and editable-files (to have all the design files there ready for your download).
GIT
When I got a decent result and every file link worked was the time to upload to the Gitlab repository, so I needed to look for a Git tutorial and the one in the Academy tutorials page was pretty straight forward. I didn´t had a clean installation of Git so it gave me a couple “fatal” errors, but I reinstalled it again and I got my files uploaded with the help of my friend Luis who took the Academy in 2020.
- $ cd desktop/jonathan-leon The route of my folder
- $ git config –-global user.name “jonathan-leon” My user name
- $ git config -–global user.email jonathan.leon@anahuac.mx My mail, you can send me greetings or some memes
- $ cat ~/.ssh/id_rsa.pub SSH check because I had an old key on my first Git installation and it was giving problems, while the new installation didn´t show any
- $ ssh-keygen -t rsa -C "jonathan.leon@anahuac.mx" The SSH key was created
- $ cat ~/.ssh/id_rsa.pub SSH check
- $ clip < ~/.ssh/id_rsa.pub The key was copied to the clipboard
The process after the installation was this:
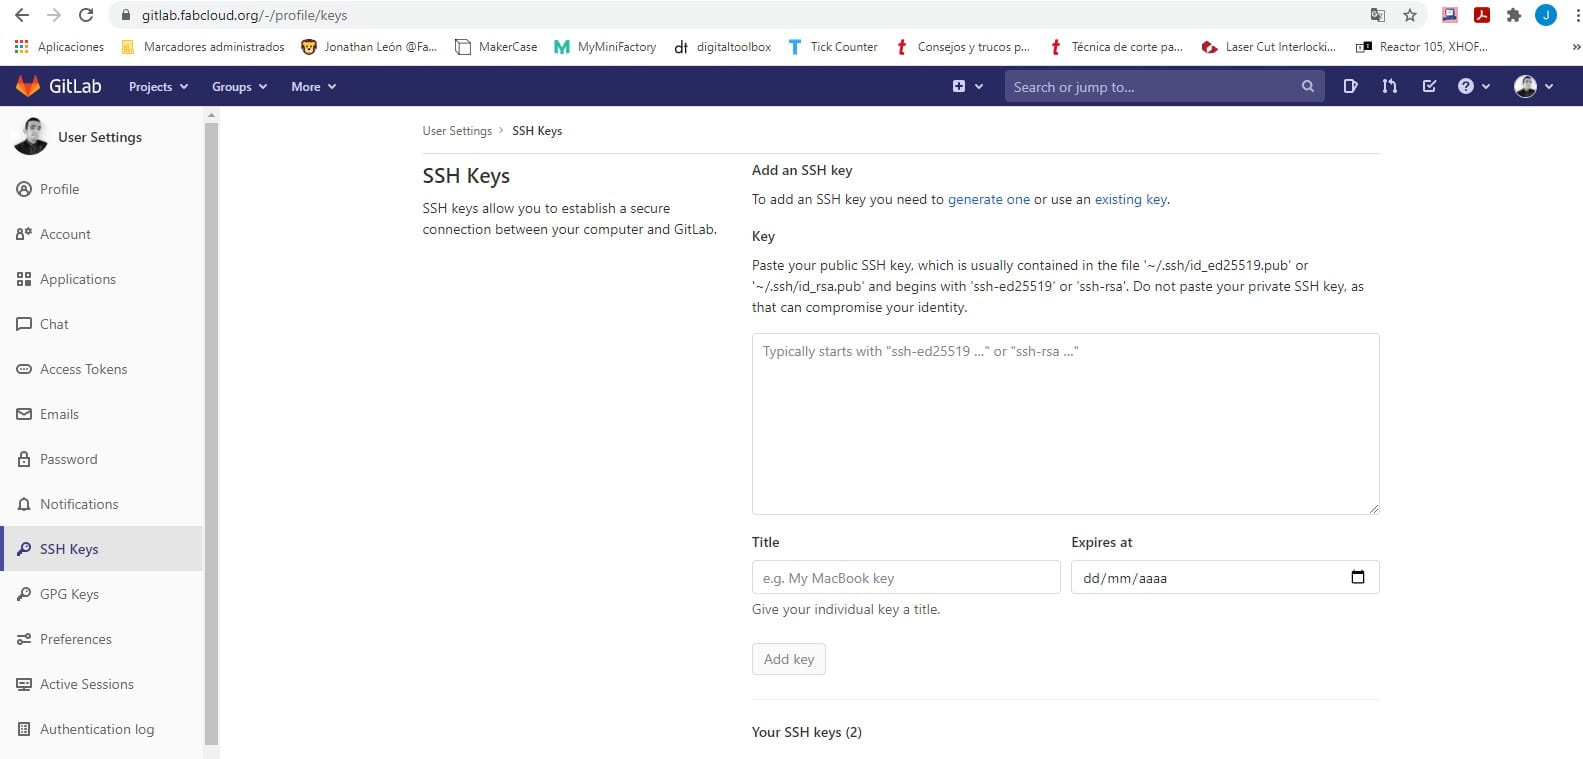
And pasted in the SSH Keys section on Gitlab settings:
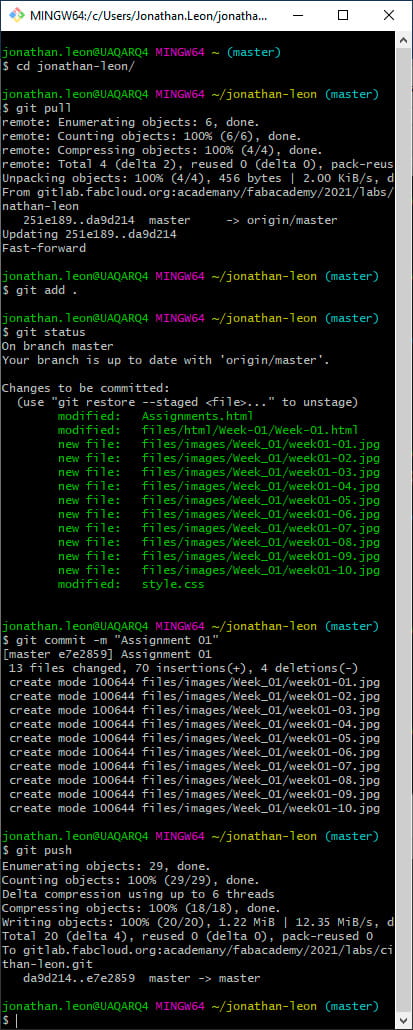
- $ cd jonathan-leon I navigate to the my folder
- $ git pull Git downloads the files updated since the last time I worked on my repository
- I paste the new files into the local repository folder
- $ git add . Brings the files into a Git temporary bin
- $ git commit -m "Updates label" Creates the new commit ready to be uploaded along with the label
- $ git push Uploads the commit with all the files to the repository
- I refresh the page in my browser to verify that the updates were made correctly
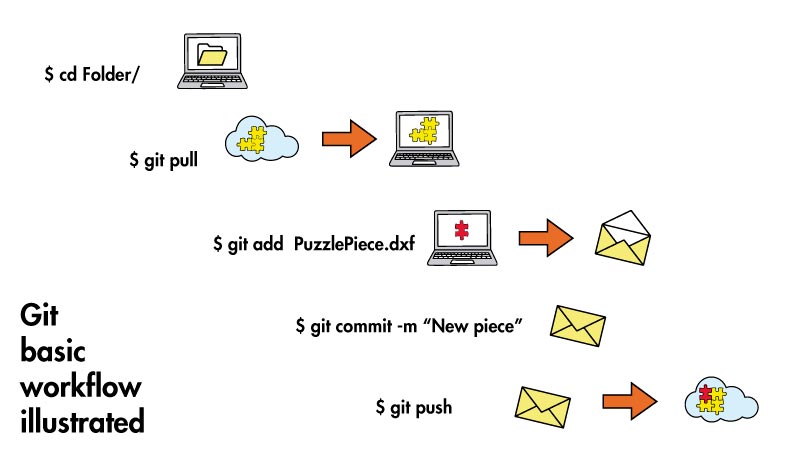
To update my repo my workflow is this:
After a few commits I'm getting used to it, so this screenshot could be my cheat sheet:
But I tend to learn more easily with graphics instead of text so I explained my everyday workflow with this (maybe if I start working with a collaborative repository I could add information on branches and merges but this works for now):
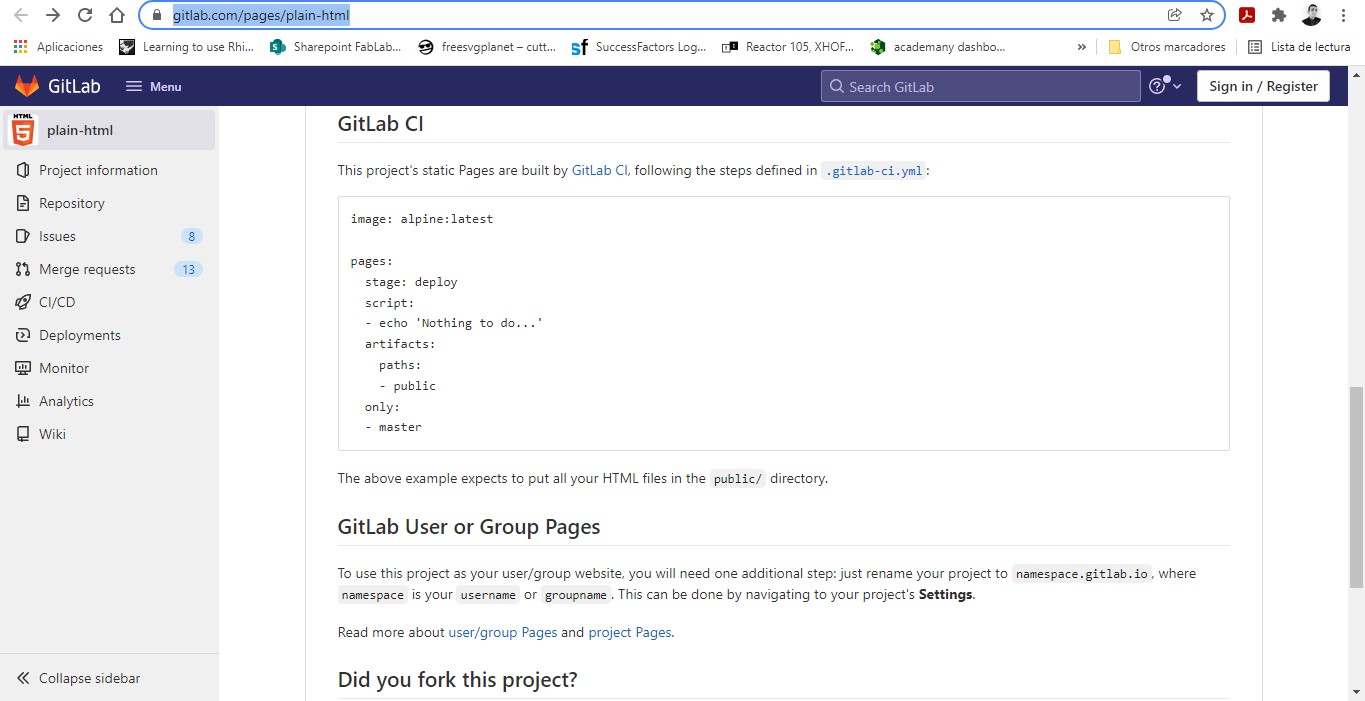
My project's static pages are built by GitLab CI following the steps defined in .gitlab-ci.yml so I just borrow the template file on the Gitlab HTML tutorial page.
So I got my files uploaded, but after all this hard work my page didn´t work online.
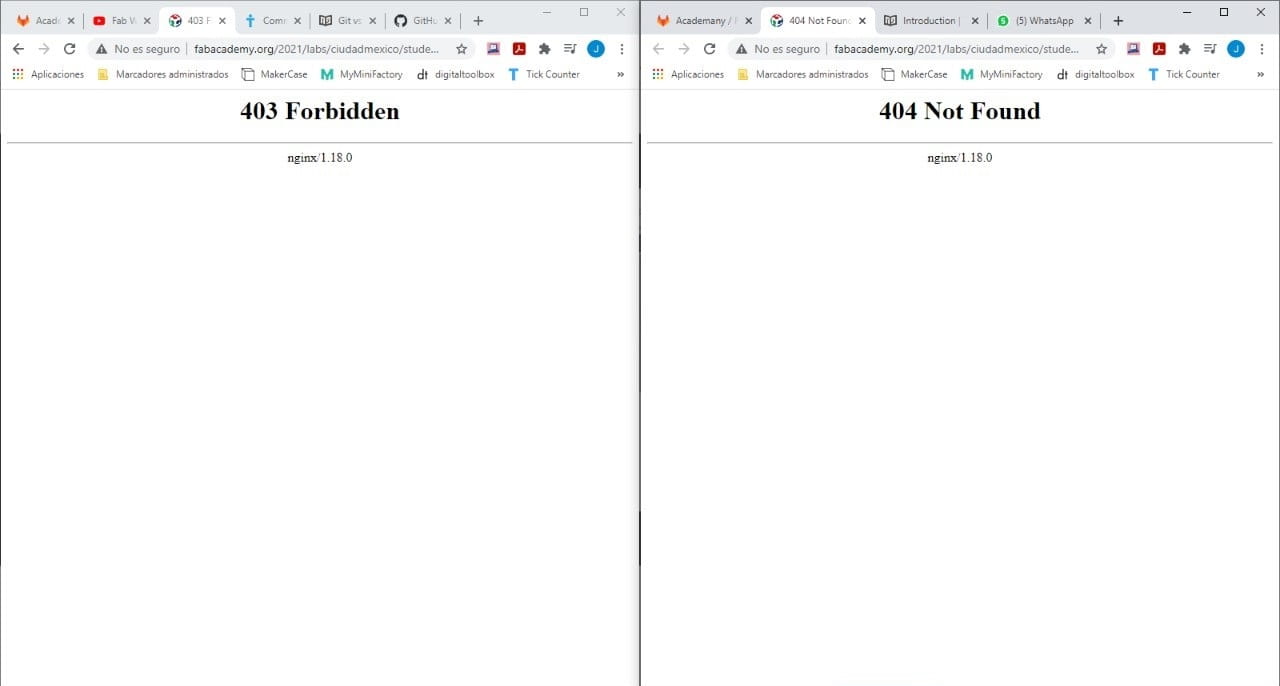
I asked for help to my instructor Iván and he told me the problem was the capital letter on the file name of my index.html file so I just renamed it and finally my page worked. From now on I will name all my files without capital letters or spaces.
With my last commit I've also uploaded my Student Agreement on my Git repository but I think it´s a nice way to understand FabLabs ethics, so I'll post it there to have it handy.
Update. June 25, 2021.
After eighteen months uploading files to my GIT repository, I finally had the need to take advantage of version control. I mistakenly deleted part of the content of the HTML file corresponding to one of my assignment pages (week 8): I modified the file to add a comment about my final project and inadvertently deleted the lines of code from the individual assignment. Until I received feedback from my instructor during the evaluation in Nueval, I reviewed this page and was unpleasantly surprised that all the content developed in 2021 had been removed. As part of my workflow I try to have all my documentation backed up in the cloud, but that particular assignment took me months to complete working at home and in the lab (sometimes without internet access), testing at every chance I got and not always storing the screenshots in the same place so unfortunately I couldn't just copy and paste the text and media as one of the computers I worked on had already been formatted for maintenance. One of the advantages that GIT offers is that you can review the content of each commit made and download a copy of the file in that version, so after my brief panic attack when I saw that my draft in Word did not have the complete information, it was enough to go to my Gitlab repository and review the commit history that involved the HTML file from week 8, the last modification from last year contained the information that I had deleted by mistake so I just had to copy, paste and update with the latest updated information.
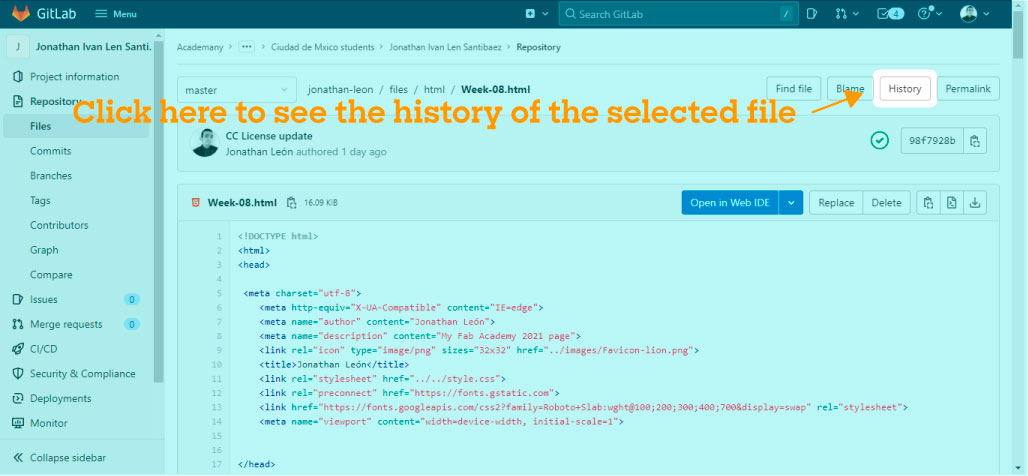
How to recover the previous version of a file hosted on Gitlab?
In your repository find the file you want to review and click the History button:
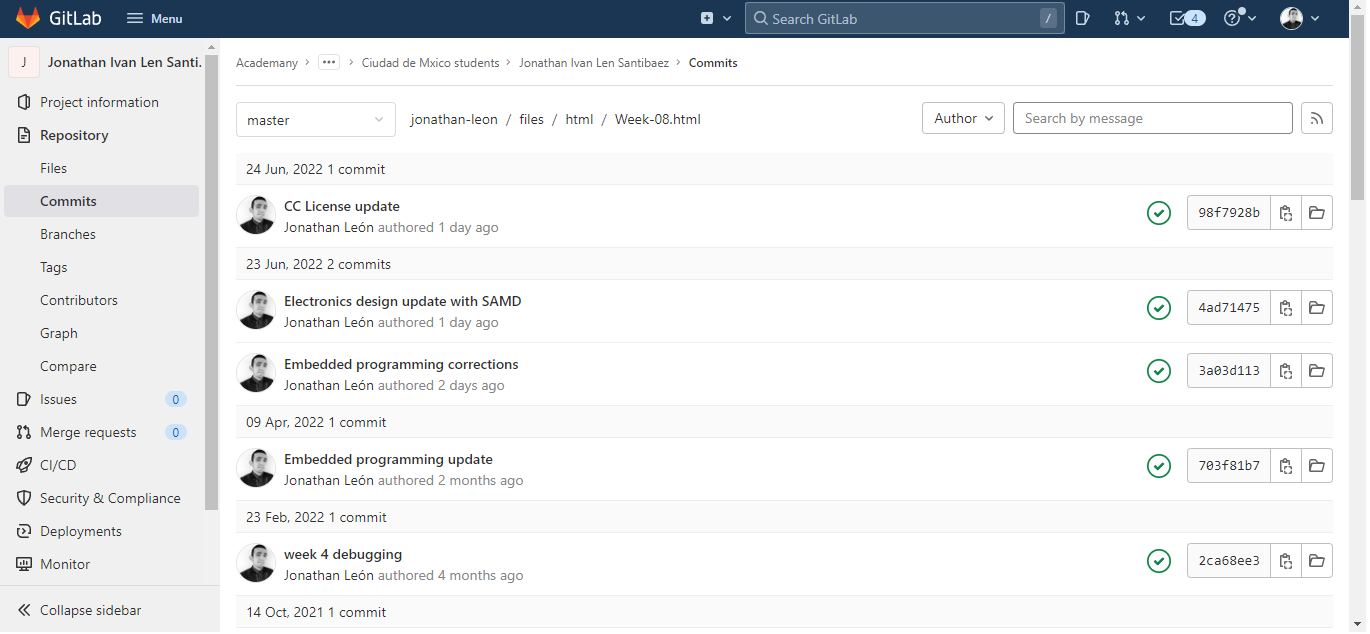
Gitlab will show you all the commits that have affected that file, by selecting it you can review all the content and download the file you need (or just copy the lines of code like I did).
The lines that are marked in red were the ones that I accidentally deleted in that commit:
PS. I love GIT.
Files
You can download the template for this page: HTML and CSS.
|
For this assignment I:
|