Process Description Embroidery
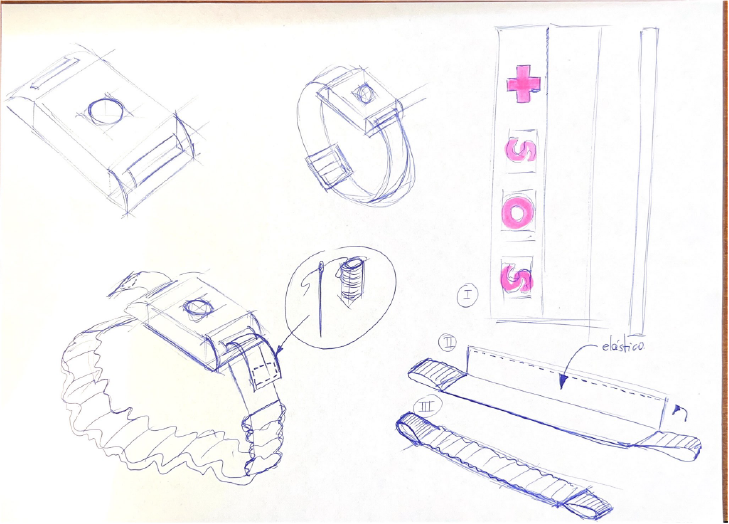
Bracelet Design: The design of the bracelet was defined, taking into account the necessary size and shape to fit the emergency watch developed during the program's process. A piece of paper was used to create a sketch of the bracelet.
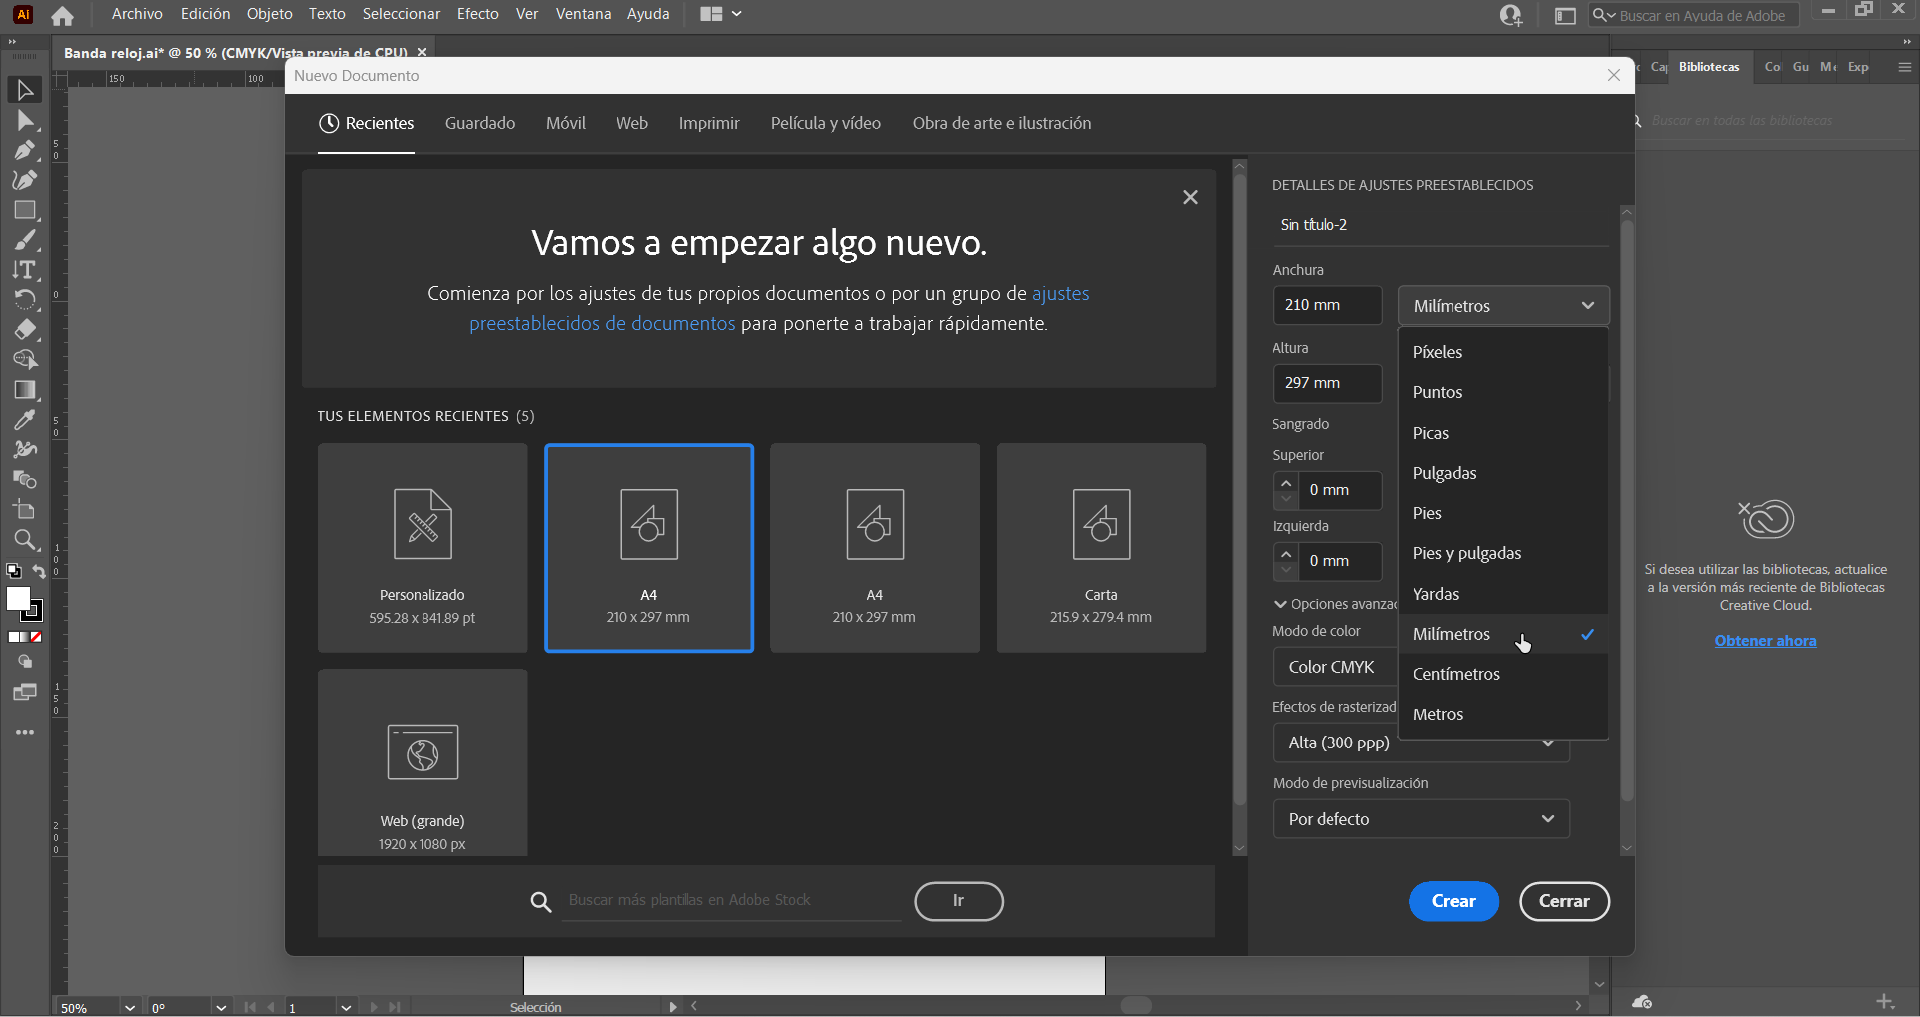
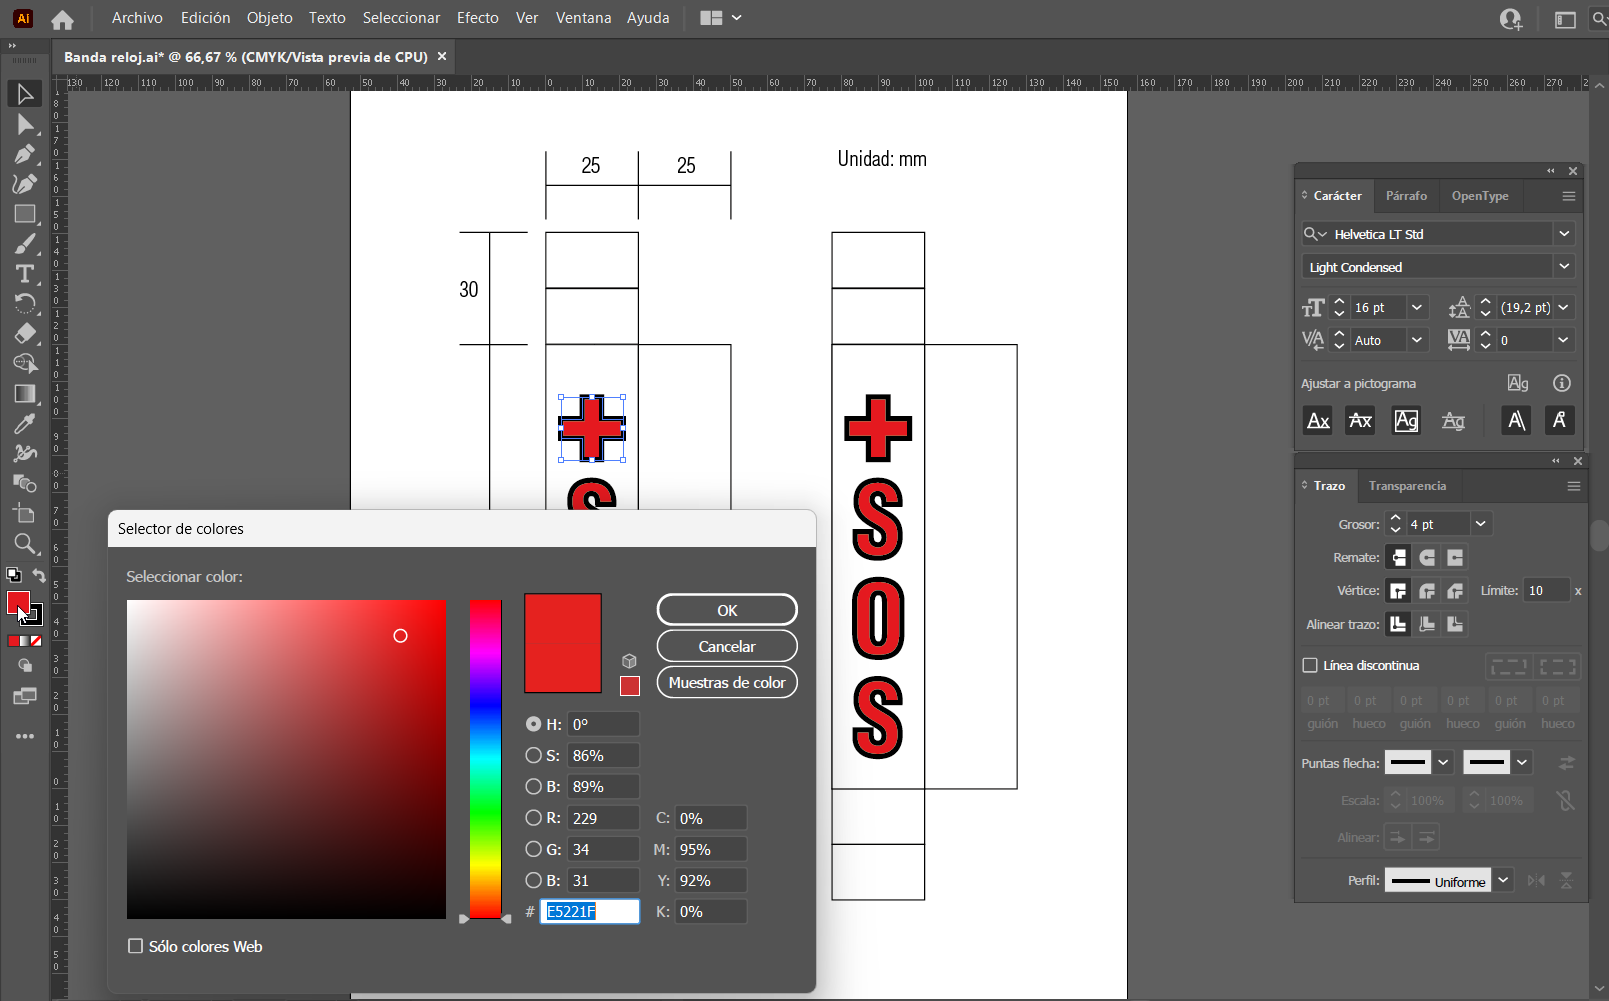
I worked with Adobe Illustrator to digitize the hand-drawn design and thereby define sizes and colors. Millimeters were selected as the unit of measurement because it is easier for me to work in this way. The chosen format was A4.
I defined the dimensions of the bracelet for the watch and chose the Helvetica font for its readability and to avoid any obstacles with the embroidery stitches later on.
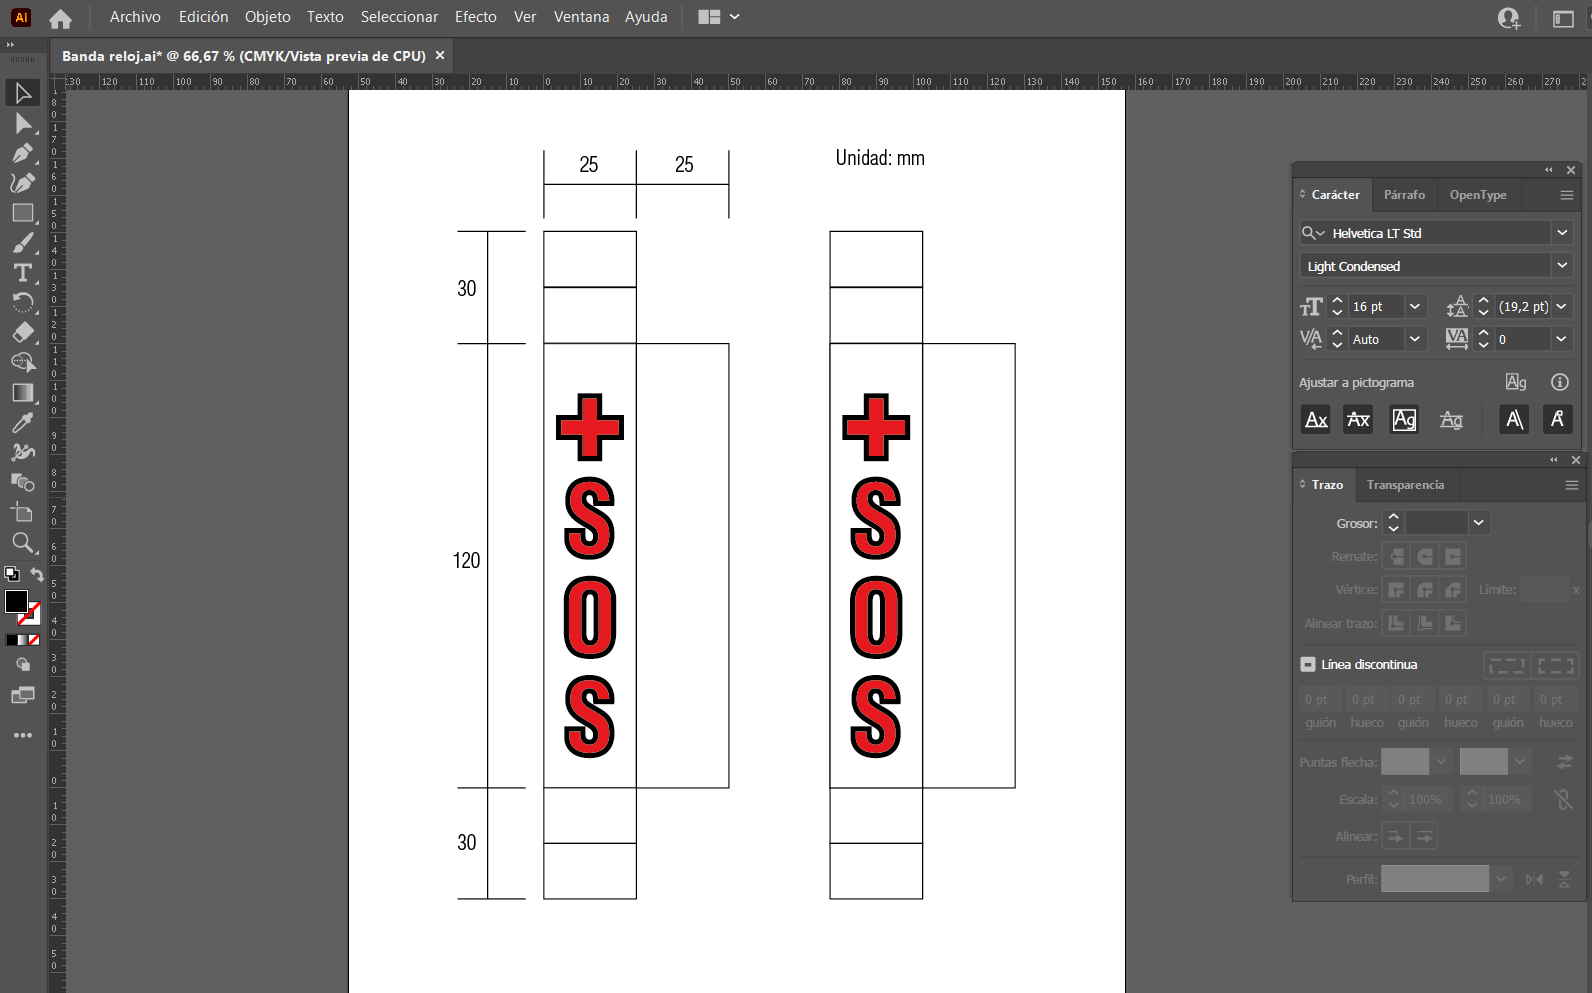
The SOS acronym was chosen for the watch bracelet, and a 4-point thick black border was used to contain the red color of the letters, with future embroidery in mind.

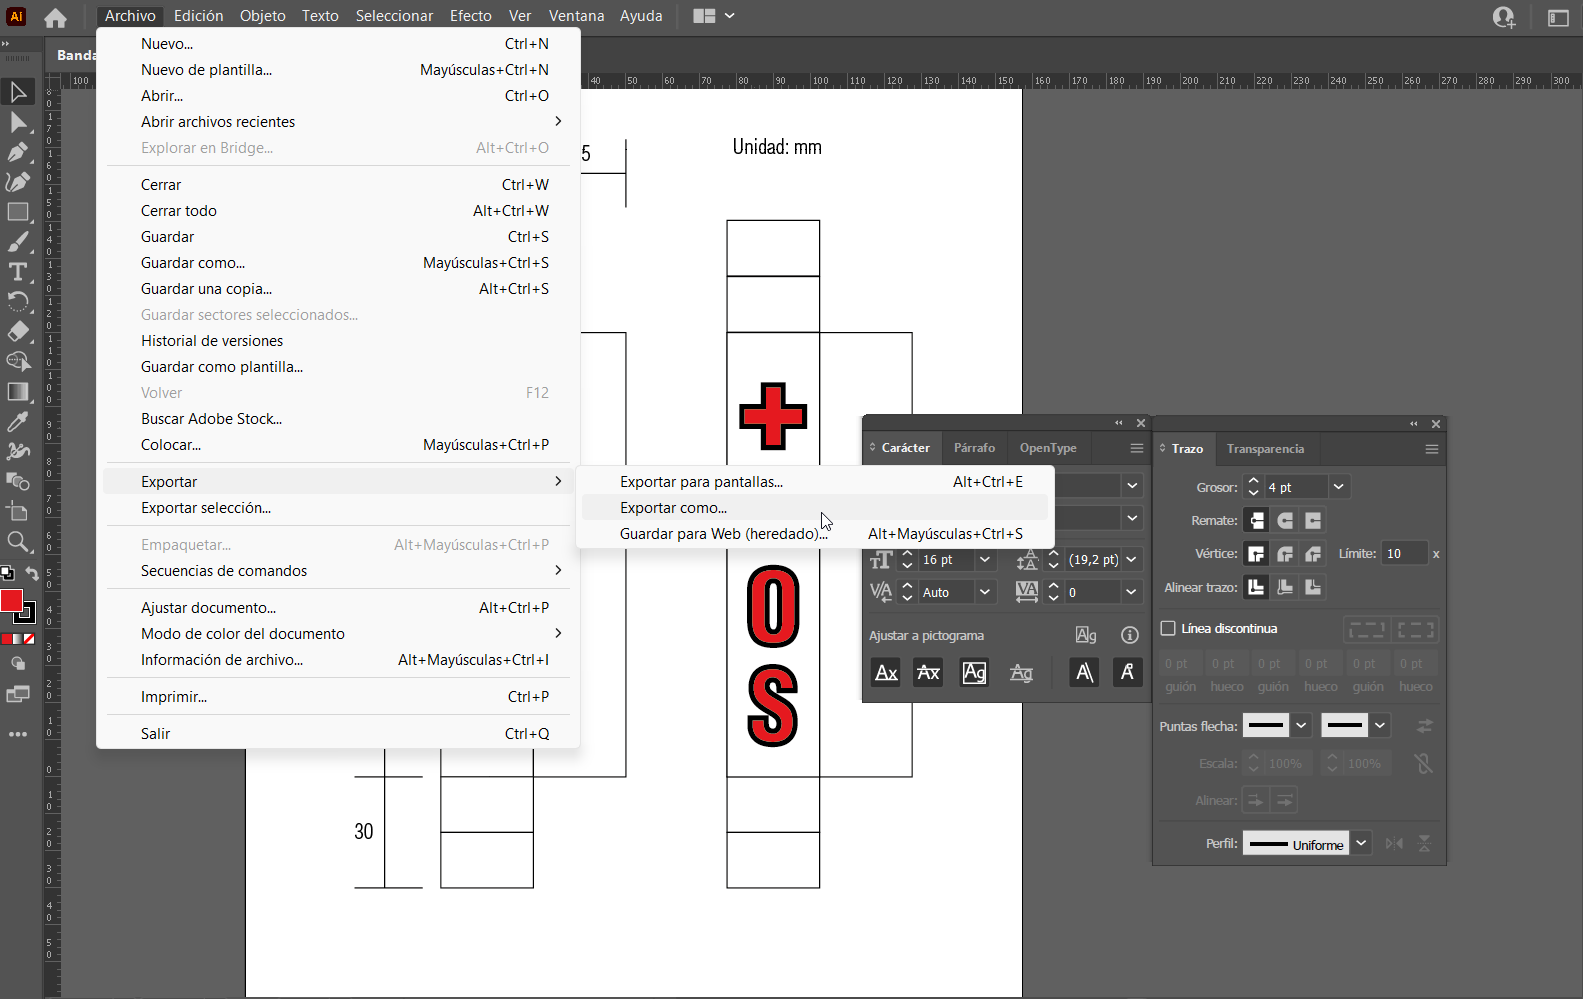
Once the file was prepared, I exported it in WMF format to bring it into the Embroidery Software Wilcom for the embroidery machine.

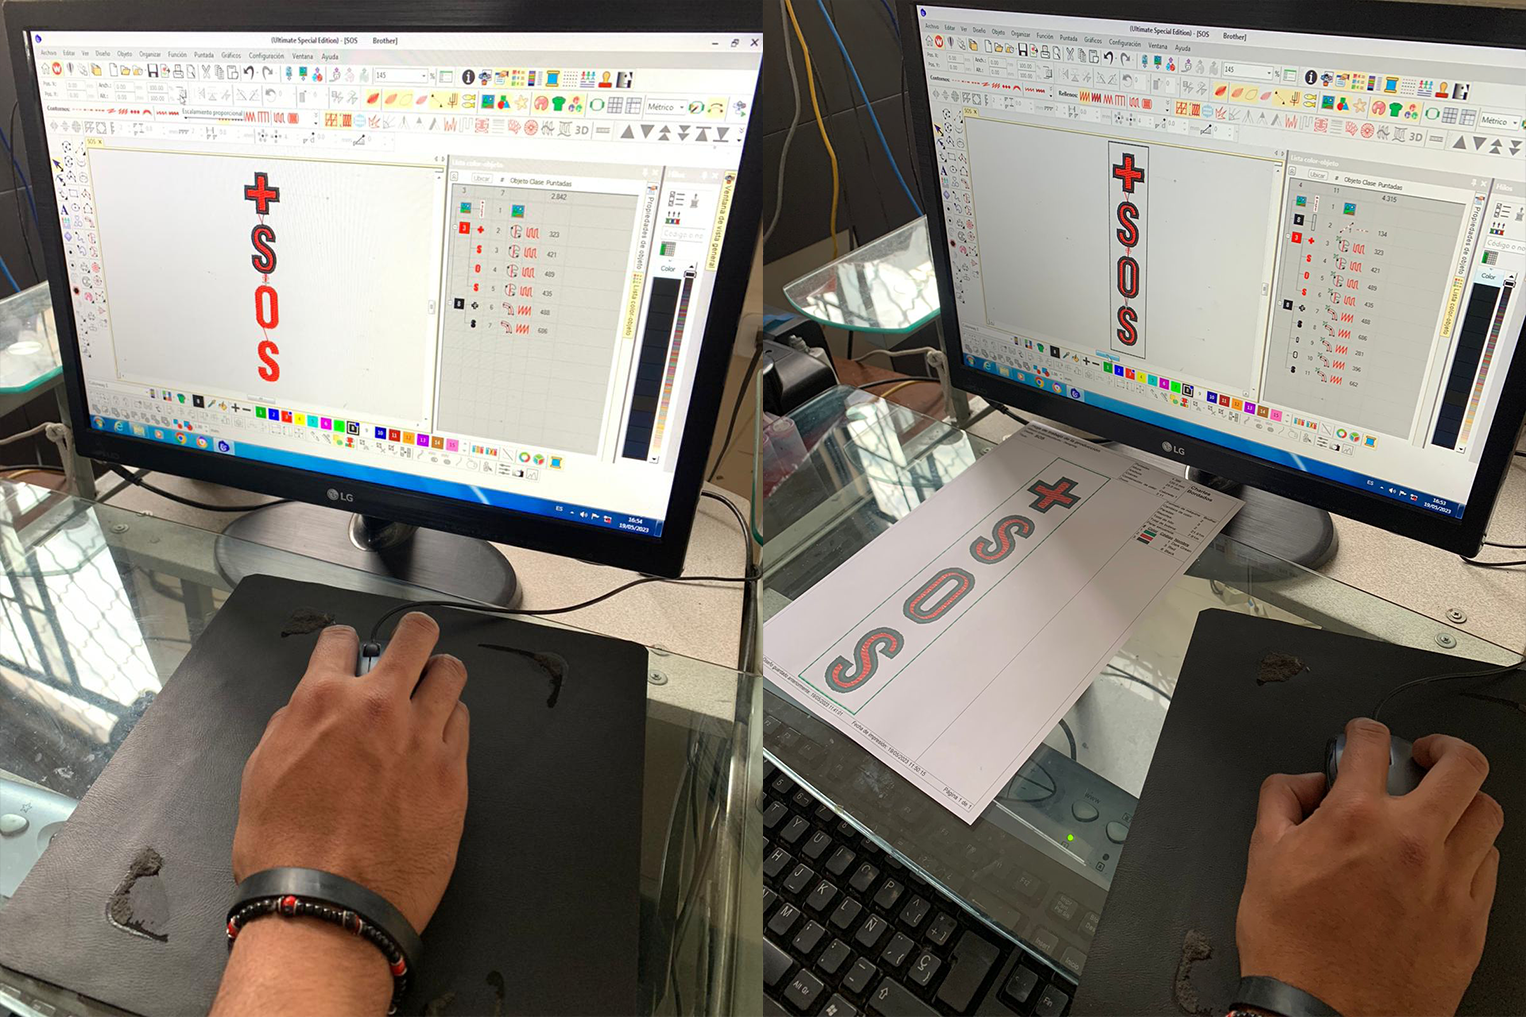
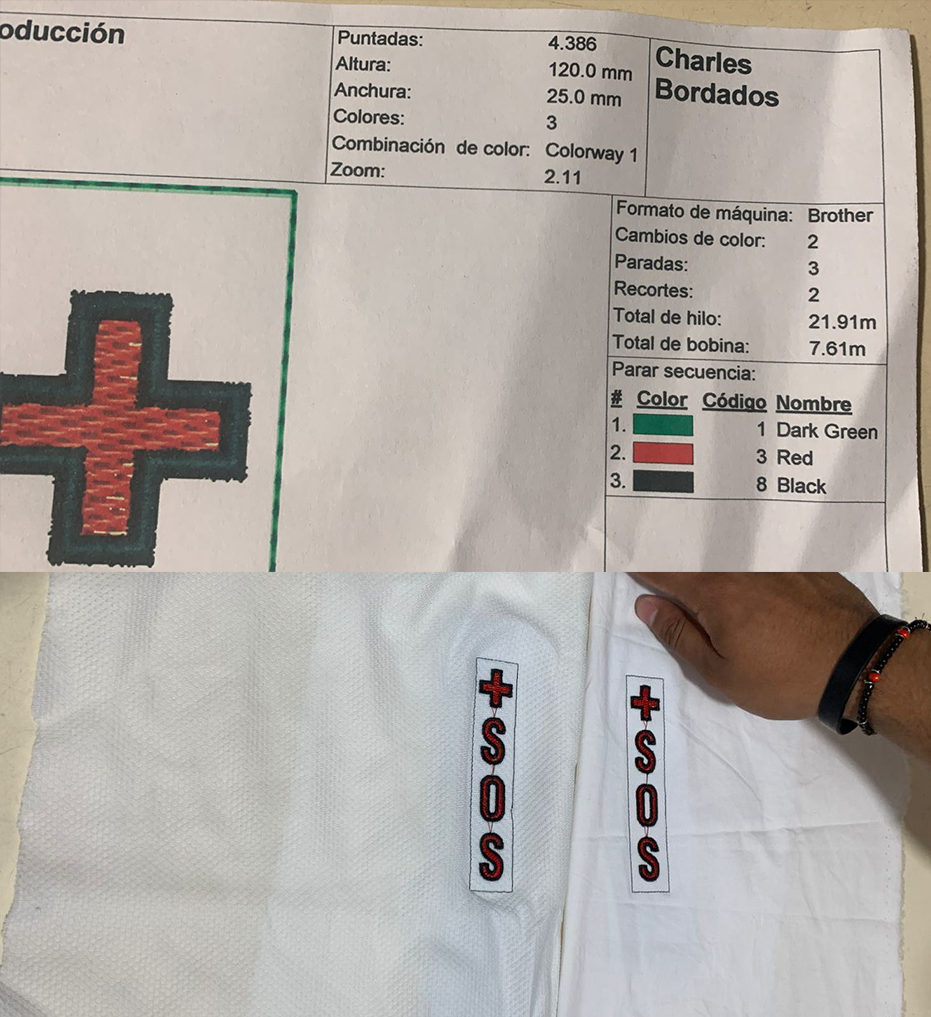
In Embroidery Software Wilcom, the SOS image was uploaded to determine the stitch count and stitch type. Furthermore, the embroidery color scheme was selected, with red for the letters, green for the background fill, and black for the borders.bracelet.
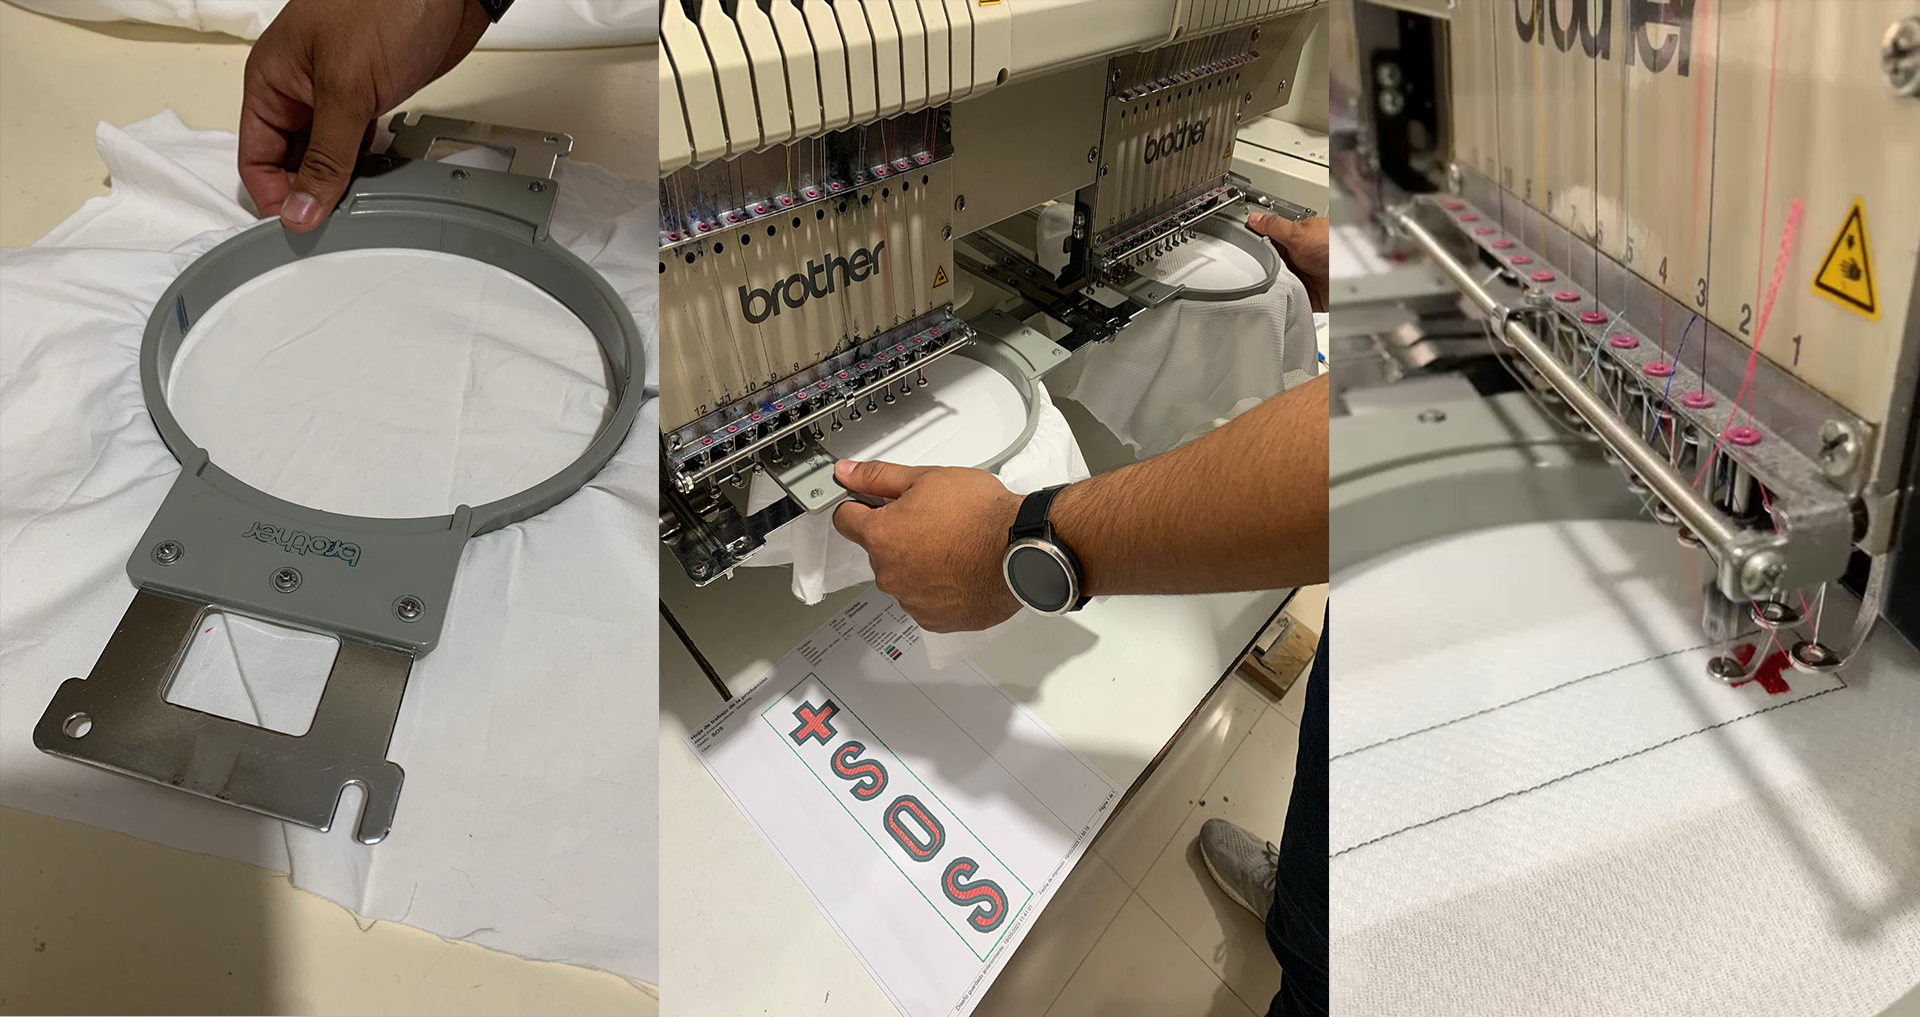
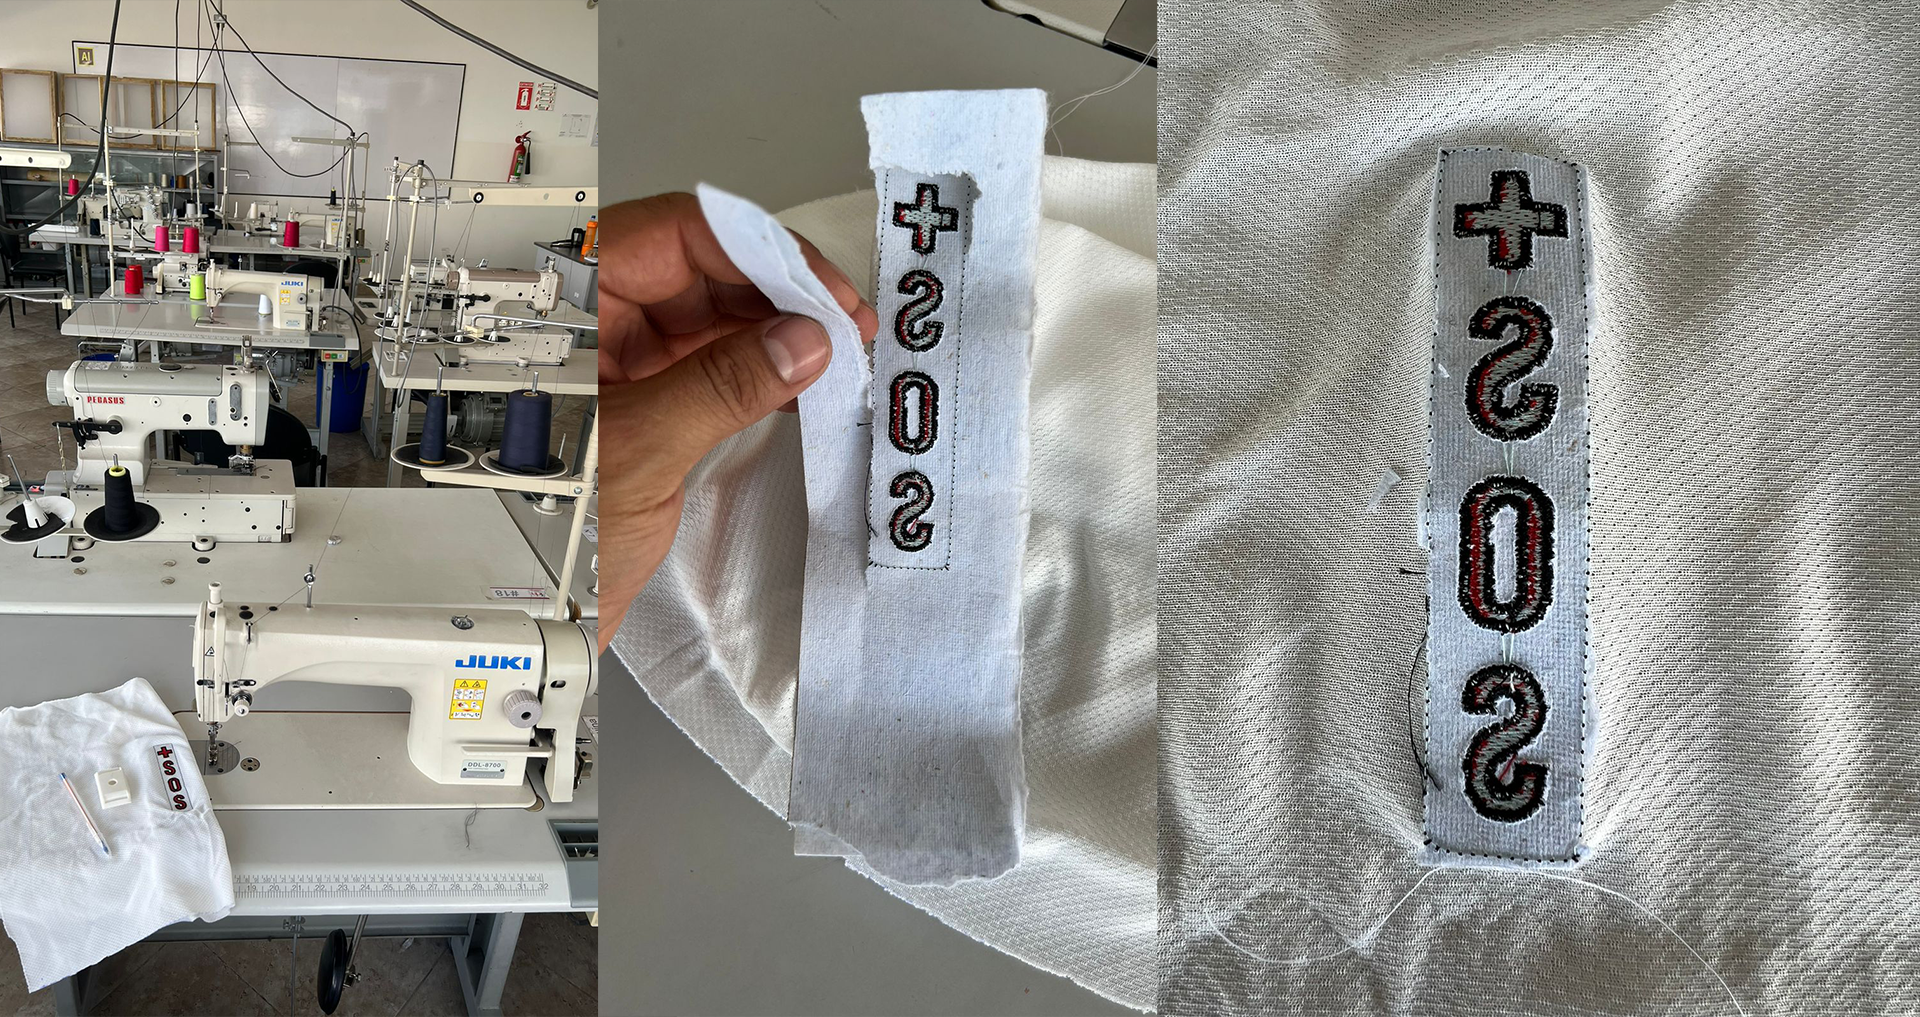
Once the design was ready in Embroidery Software Wilcom, two fabric types were selected for the embroidery process. The fabric was placed in the hoop container, with a stabilizer fabric placed underneath to protect the main fabric during embroidery. Luckily, the machine provided by a friend had two heads, enabling the testing to be done on two fabrics simultaneously.

It is highly recommended to use ear protection as the embroidery machine can generate a significant amount of noise. It is important to be present while the machine is in operation.
This is the control sheet that my friend recommended printing to check the design and keep track of the stitch count and thread usage.
Fortunately, the university where I work has a sewing classroom with sewing machines, and they lent me a straight stitch machine to sew the bracelet.
I sewed it simply using white thread on the opposite side of the embroidery. Then, I trimmed the excess stabilizer fabric and also cut off any extra fabric from the main piece. After that, I flipped the bracelet and proceeded to sew it onto the emergency watch. In the end, it turned out beautiful to me!
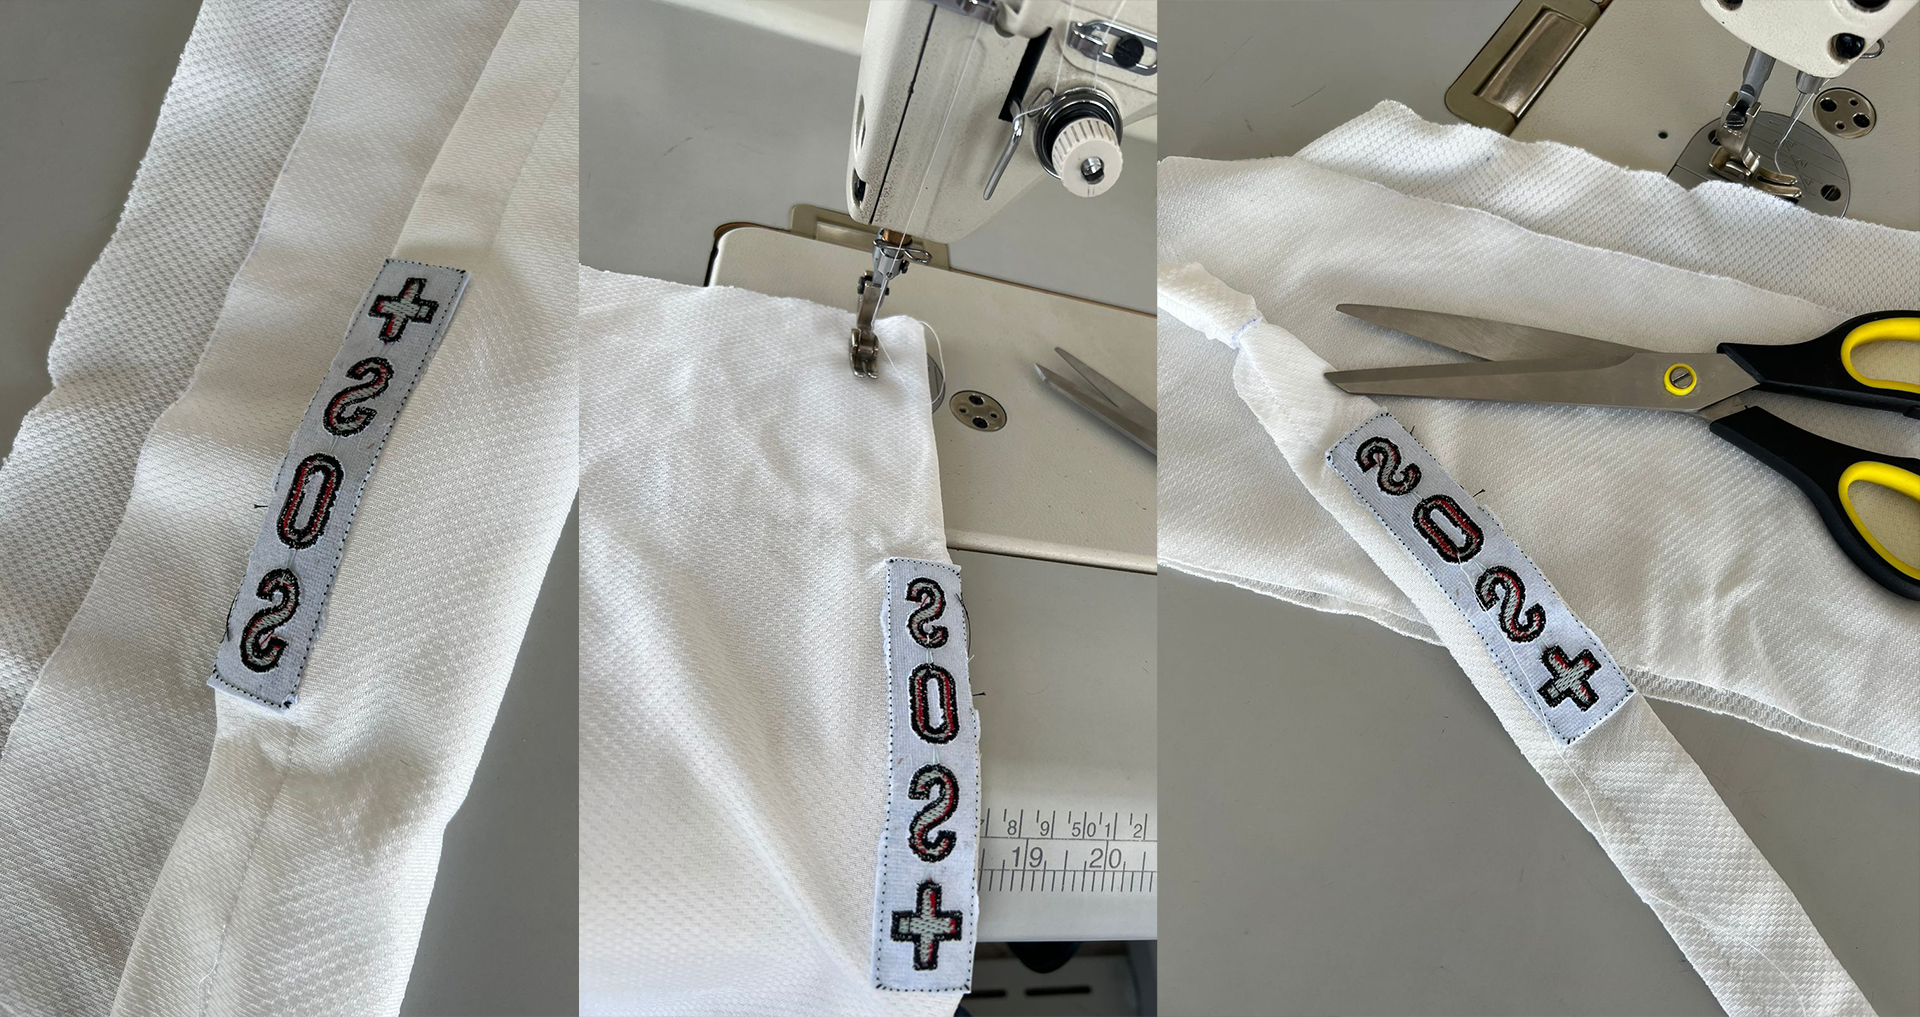

I It fit perfectly on the hand :)!!
I was thrilled to come across this monster: BROTHER EMBROIDERY SYSTEMS.
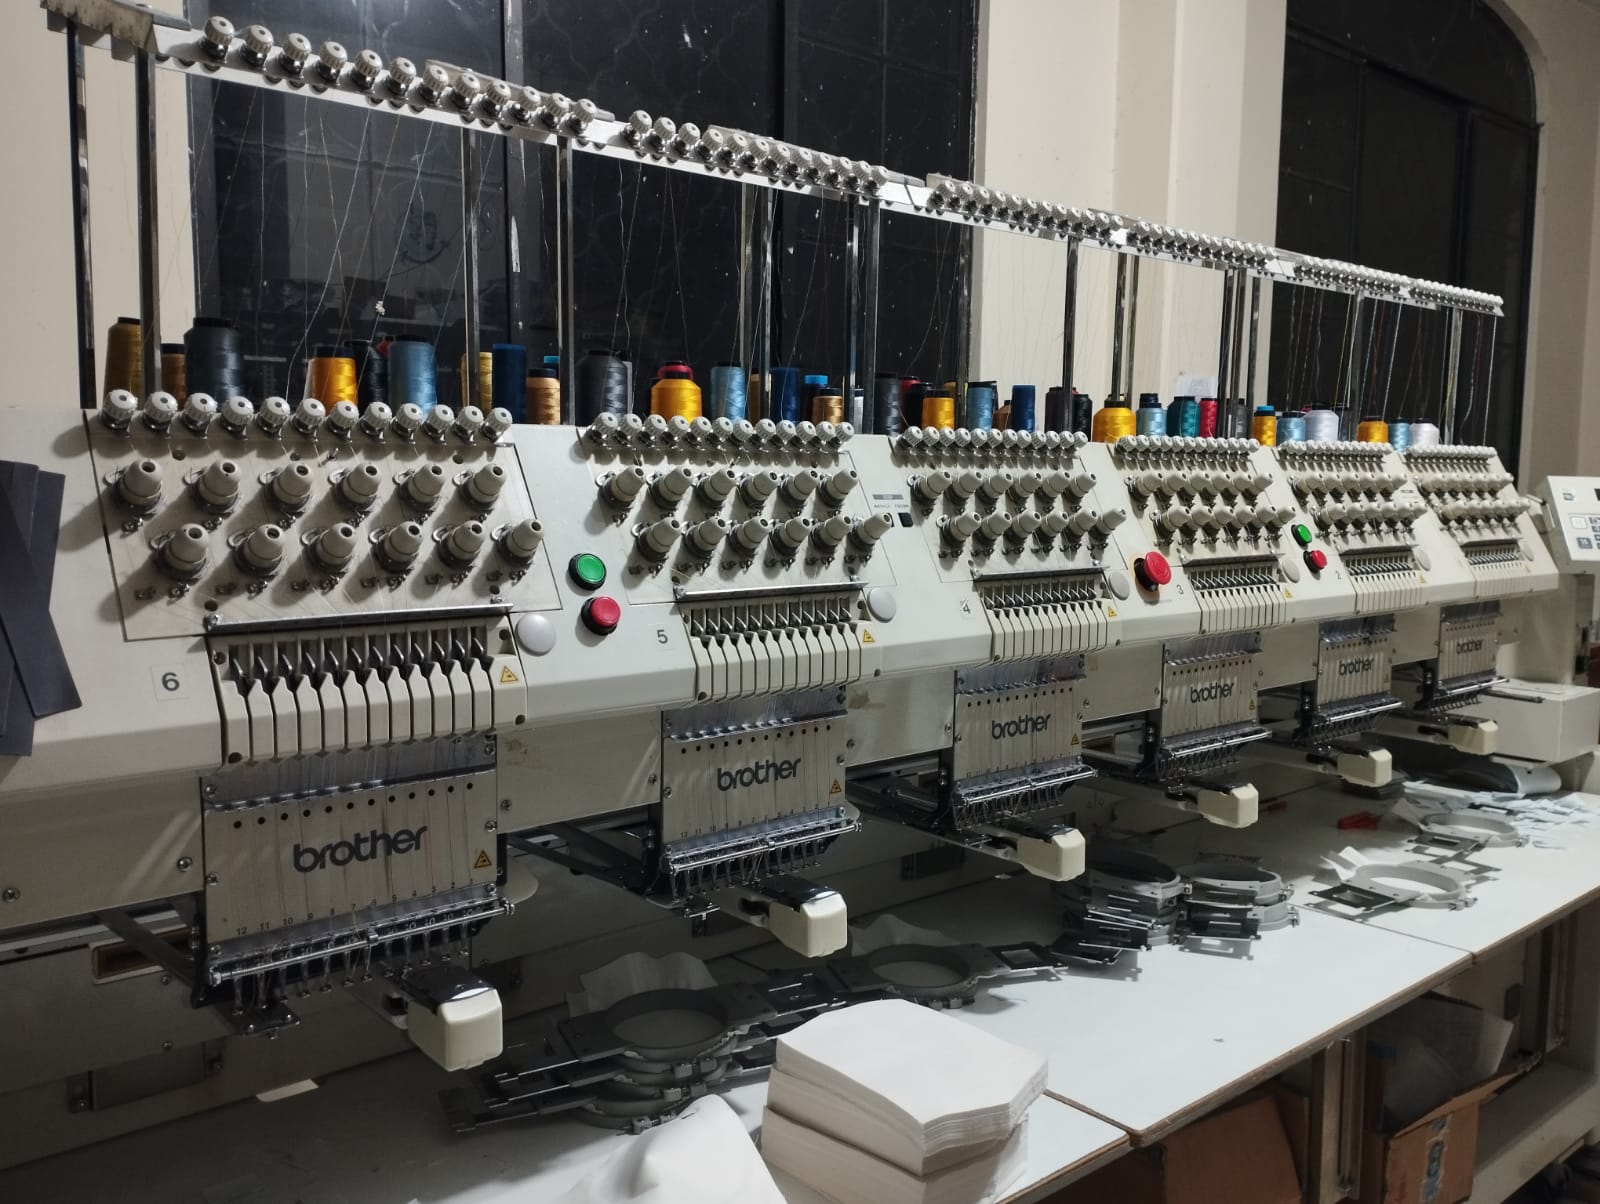 BROTHER EMBROIDERY SYSTEMS is a state-of-the-art machine equipped with six embroidery heads. This advanced system offers high precision and efficiency in embroidery production. With its multiple heads, it enables simultaneous embroidery on multiple garments or fabrics, significantly reducing production time. Its cutting-edge technology ensures impeccable stitching and intricate designs. The BROTHER EMBROIDERY SYSTEMS is a game-changer in the textile industry, providing unmatched performance and versatility for creative projects.
Technical features
- • Speed: 850 RPM.
- • Working area: 40cm x 45cm (flat).
- • 12 Colors per head.
- • Biphasic power supply.
- • USB reading port.
- • 100,000,000 stitch memory.
- • Automatic thread feeding.
- • High and low speed adjustment.
- • Automatic embroidery repetition.
- • Dahao panel.
- • Function screen.
- • Thread breakage detector.
- • Model: ETM-1206
- • Brand: ETM.
- Additional Information:
- Weight: 850 kg.
- Dimensions: 330 × 110 × 150 cm.
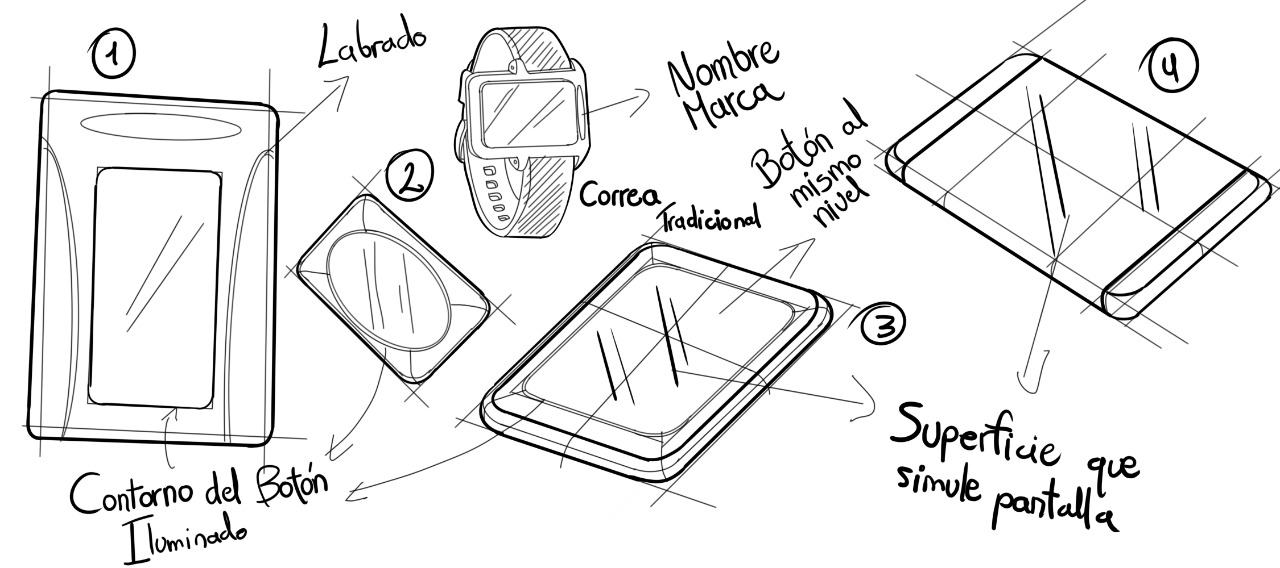
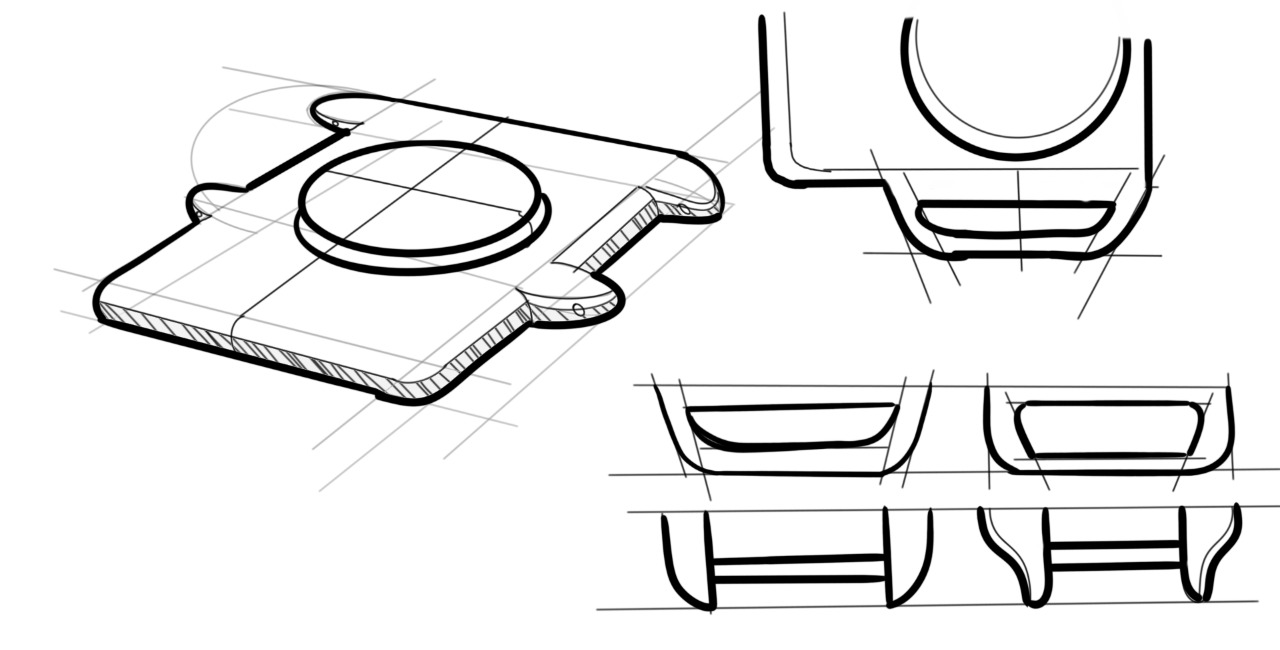
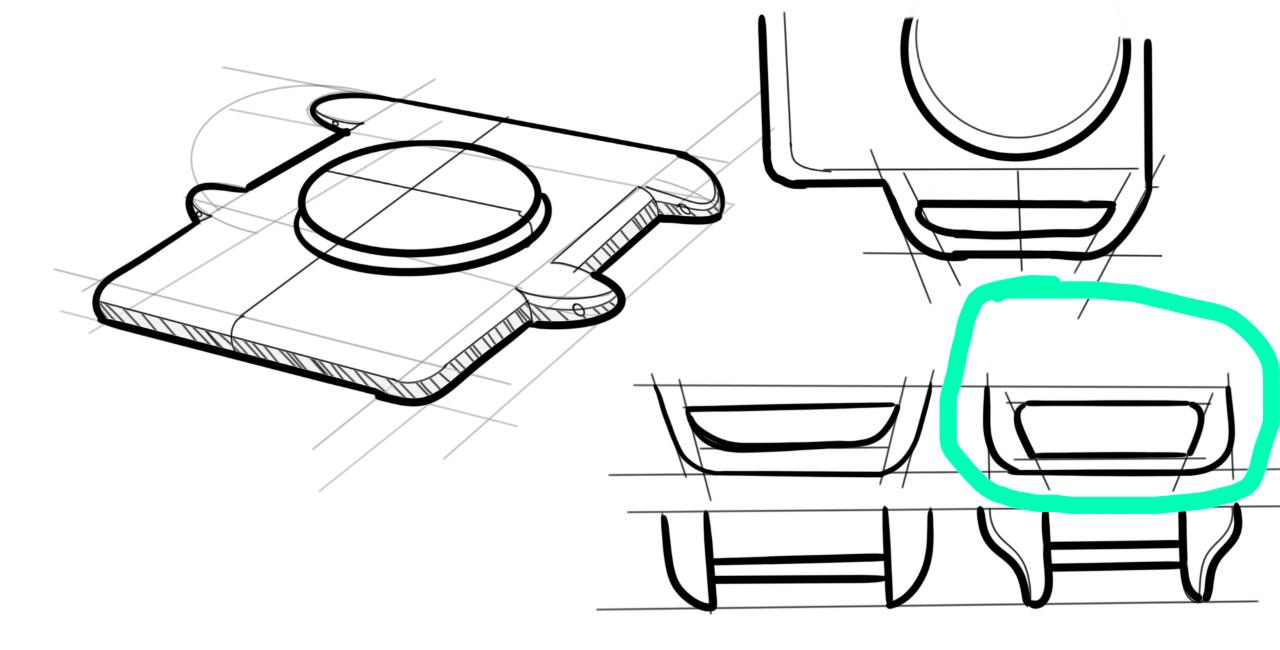
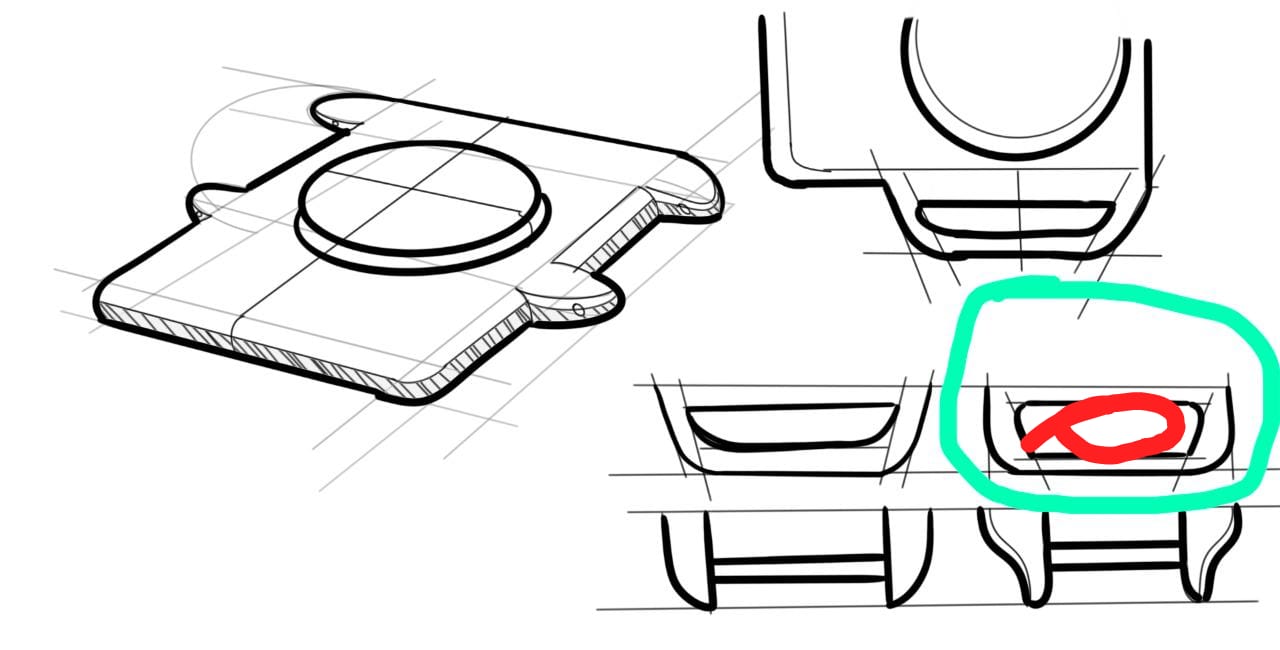
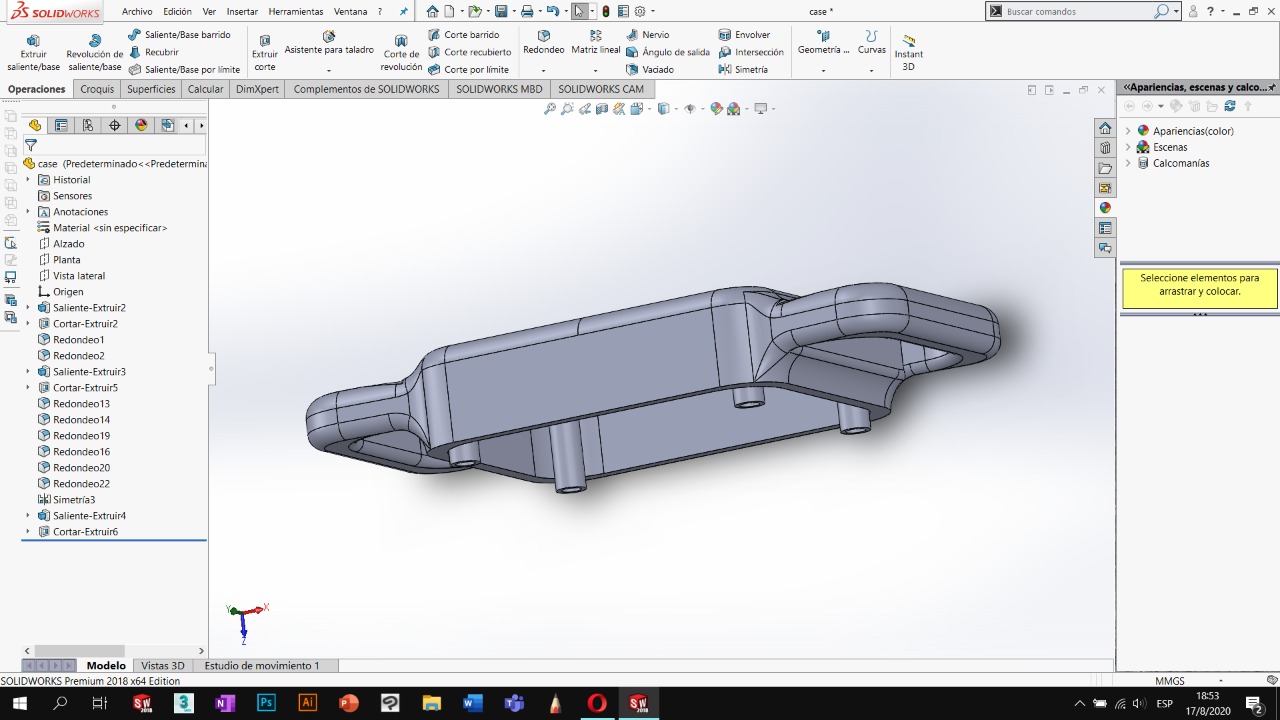
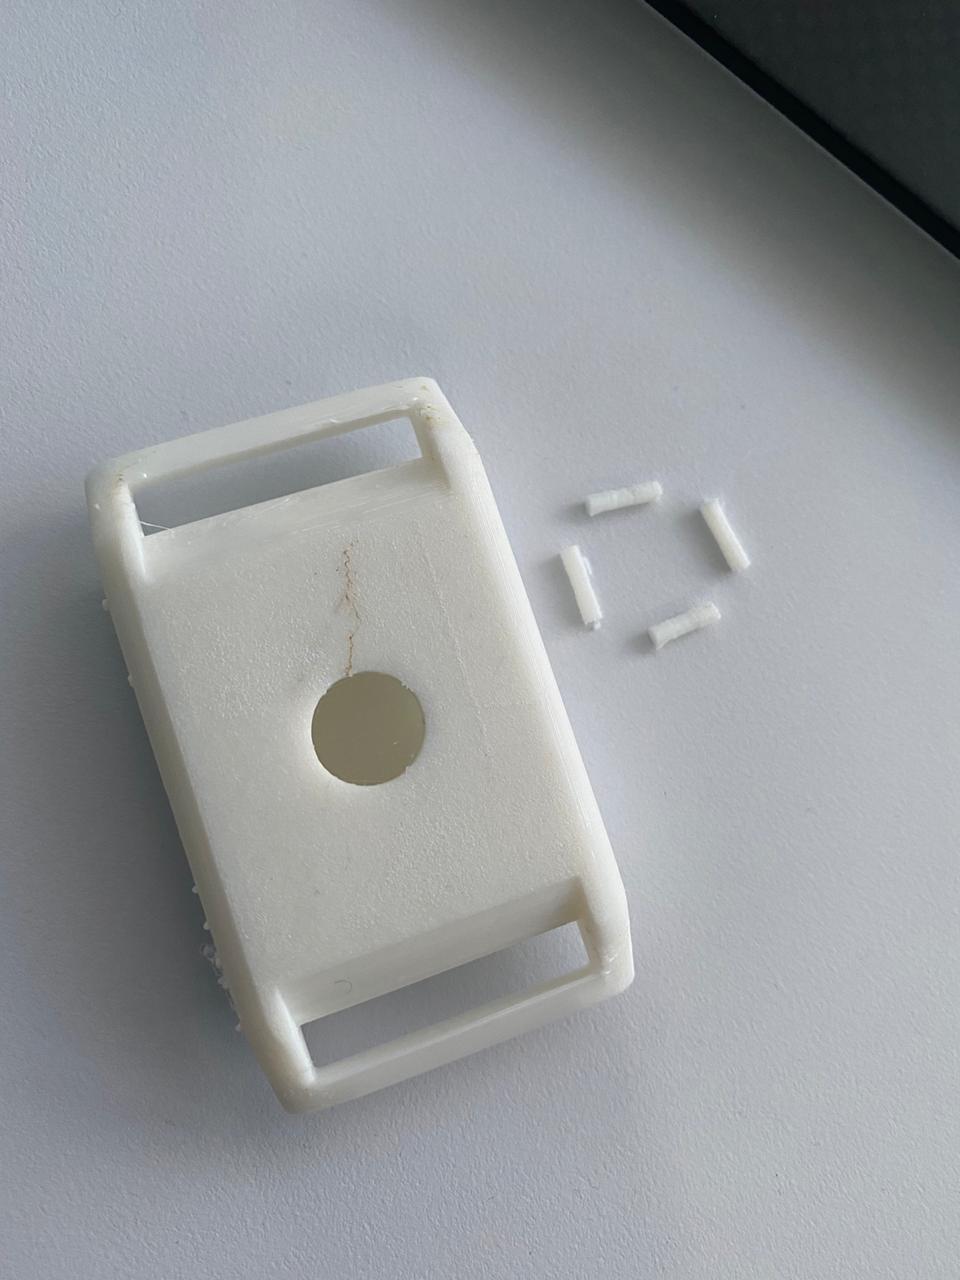
Enhancing Emergency Watch Functionality with Bands
Design and proposal
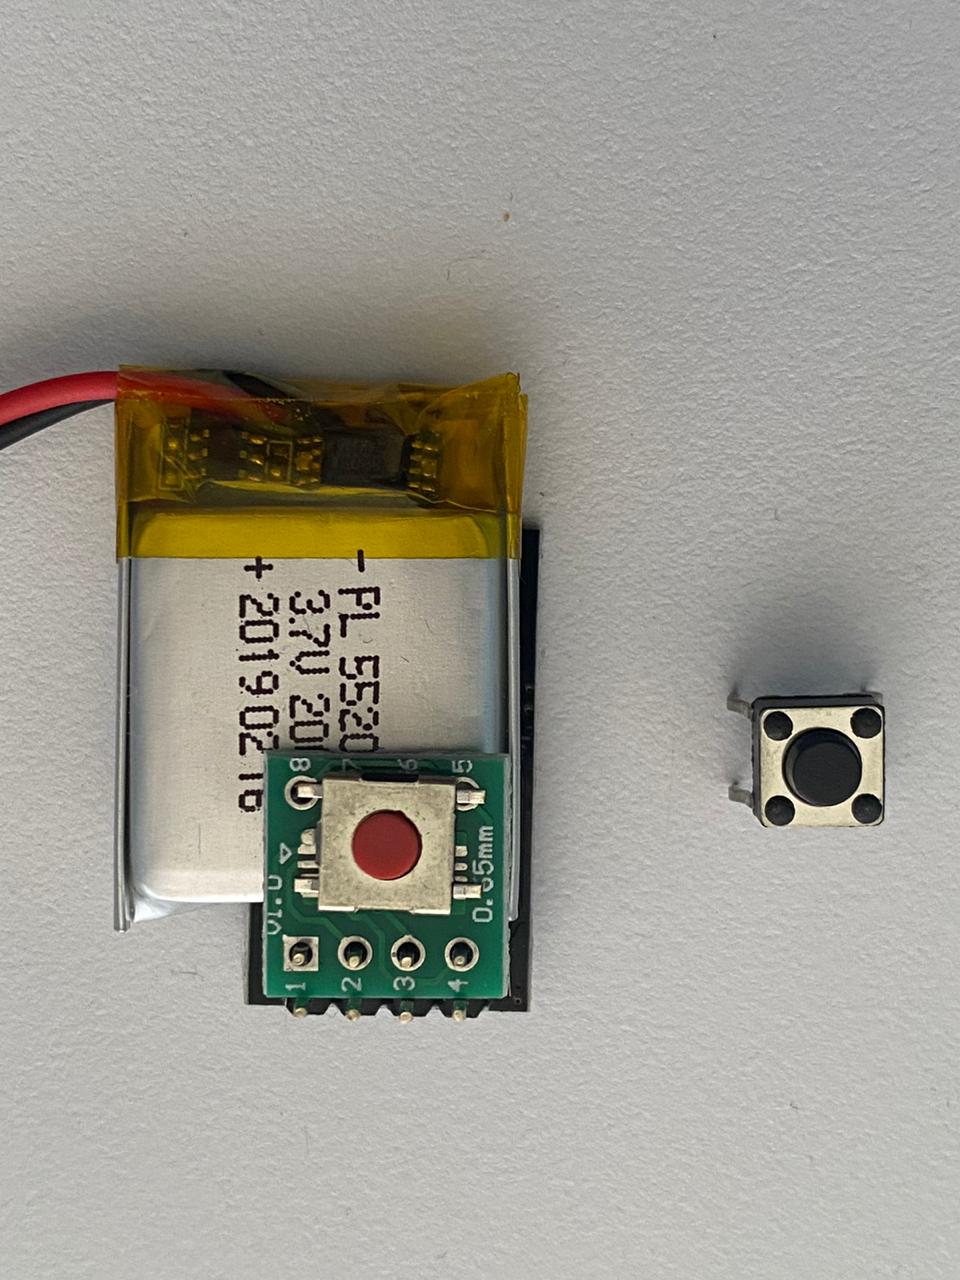
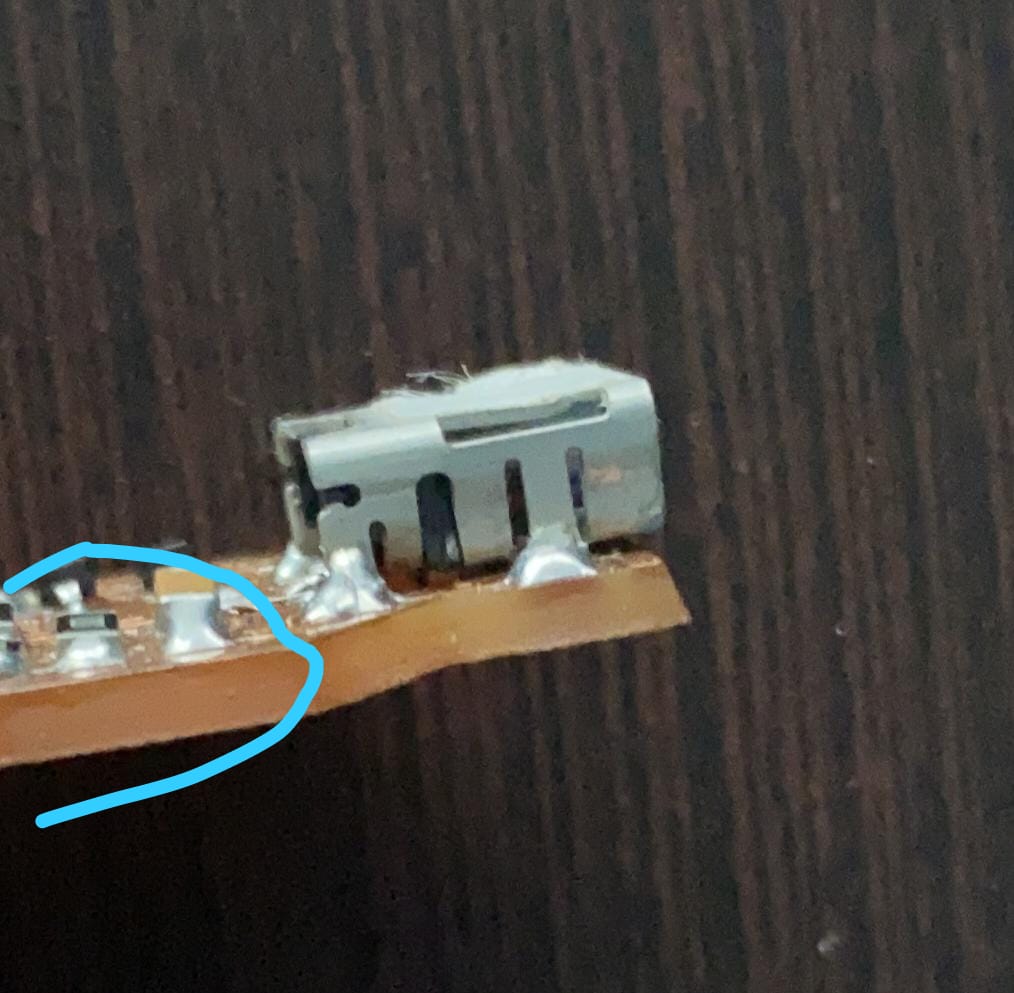

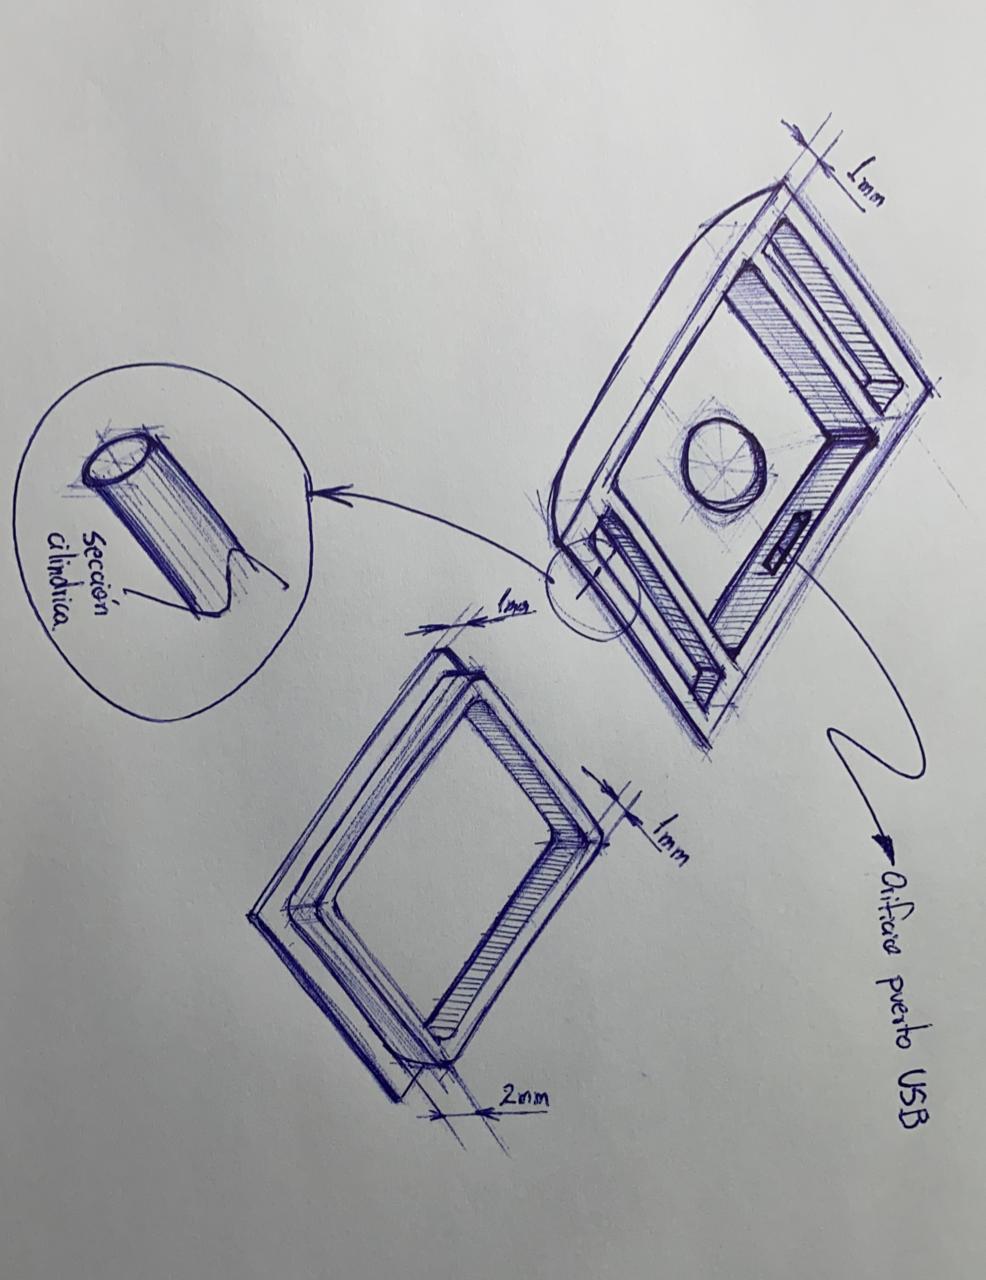
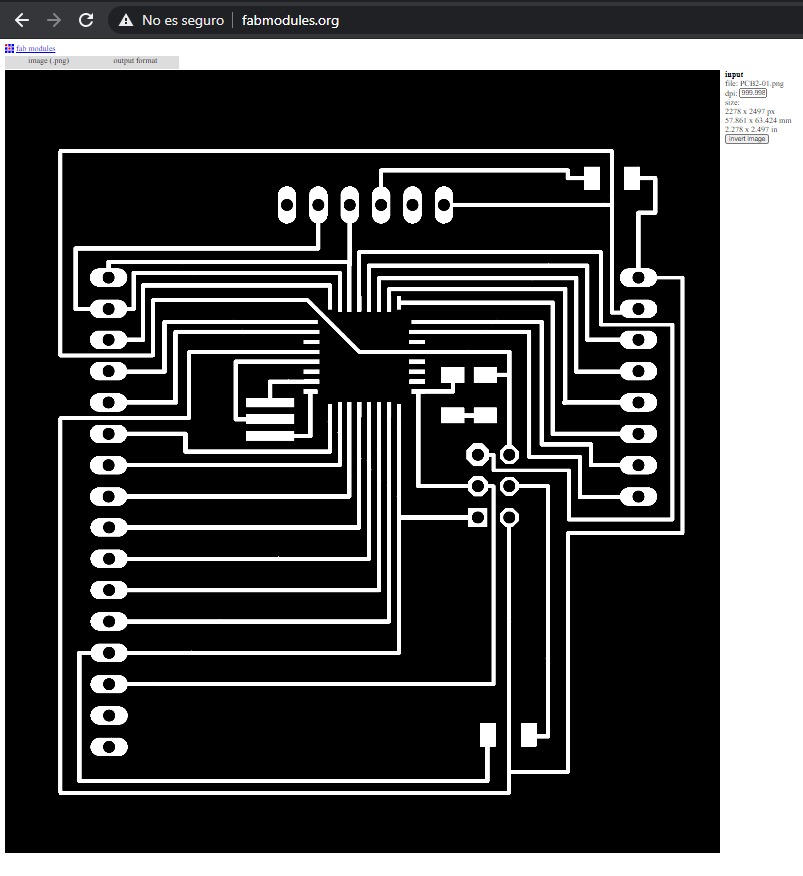
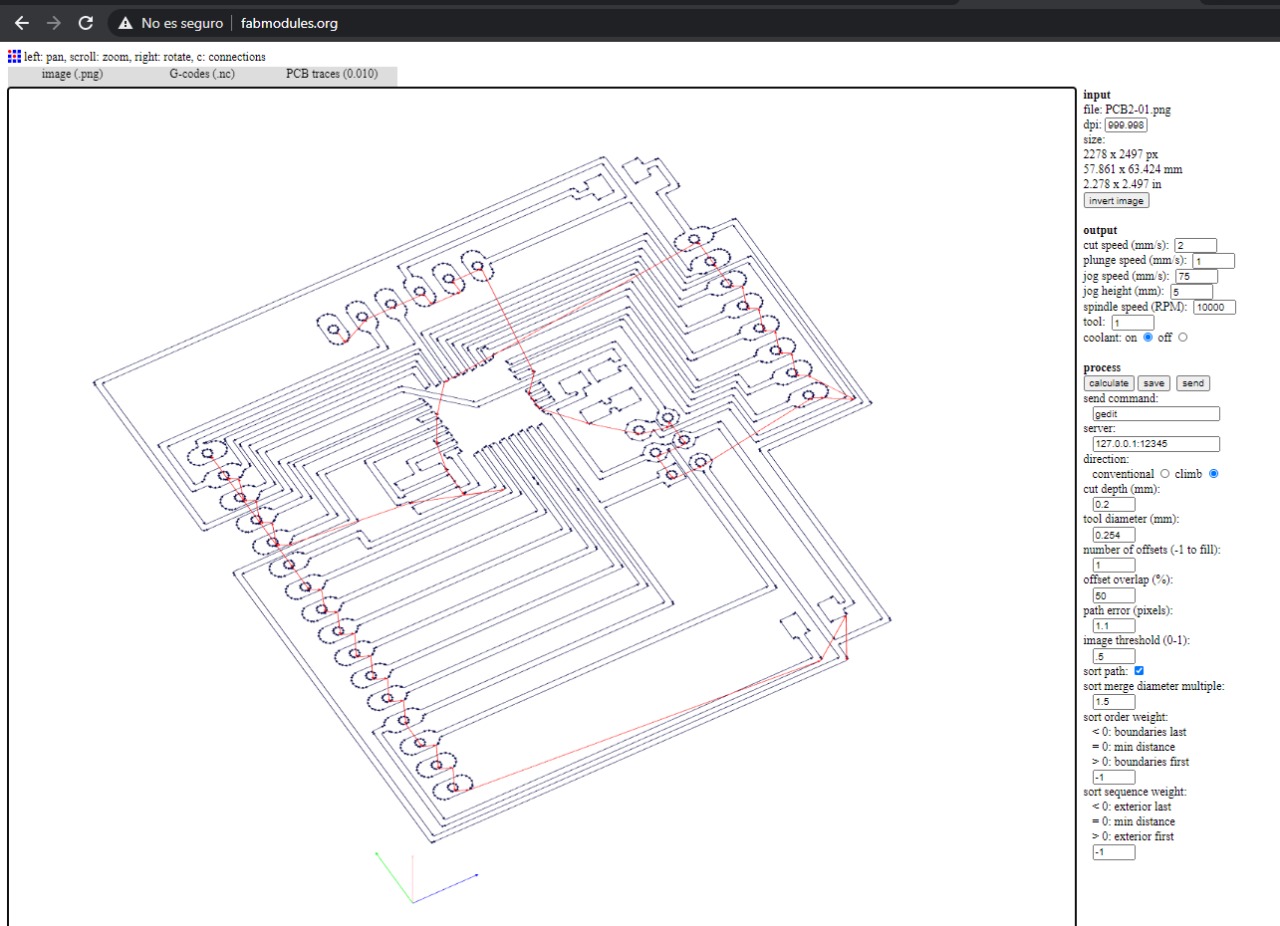
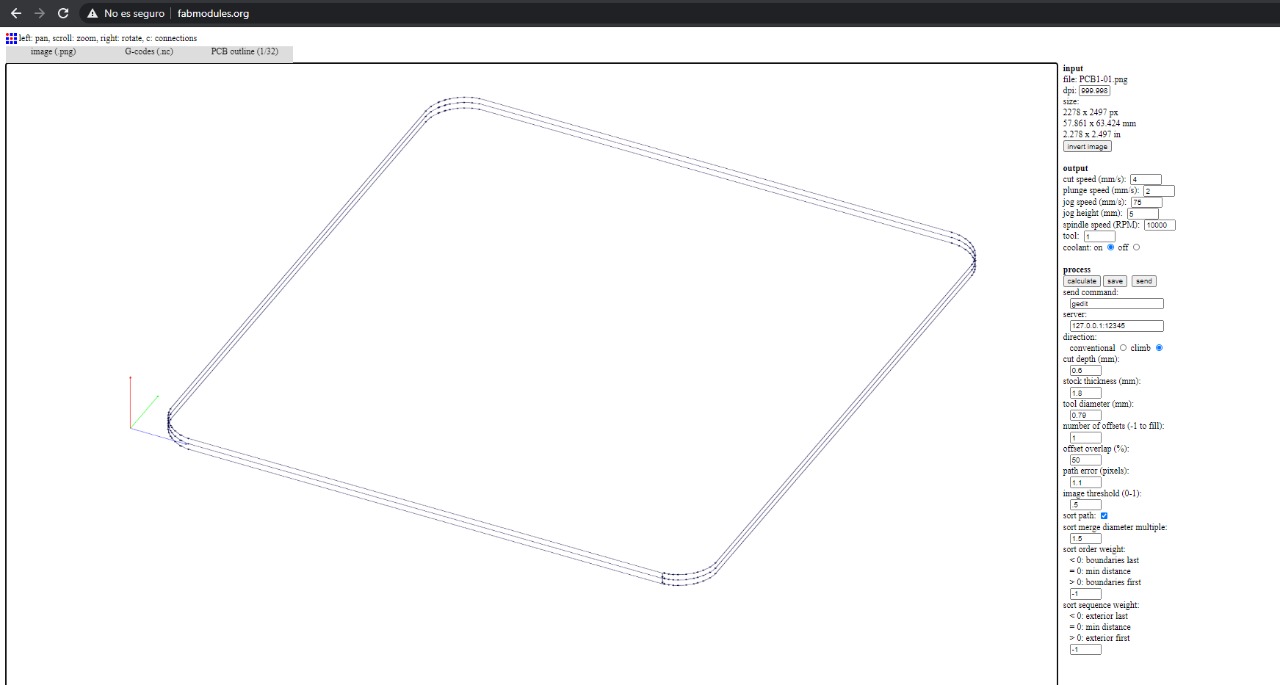
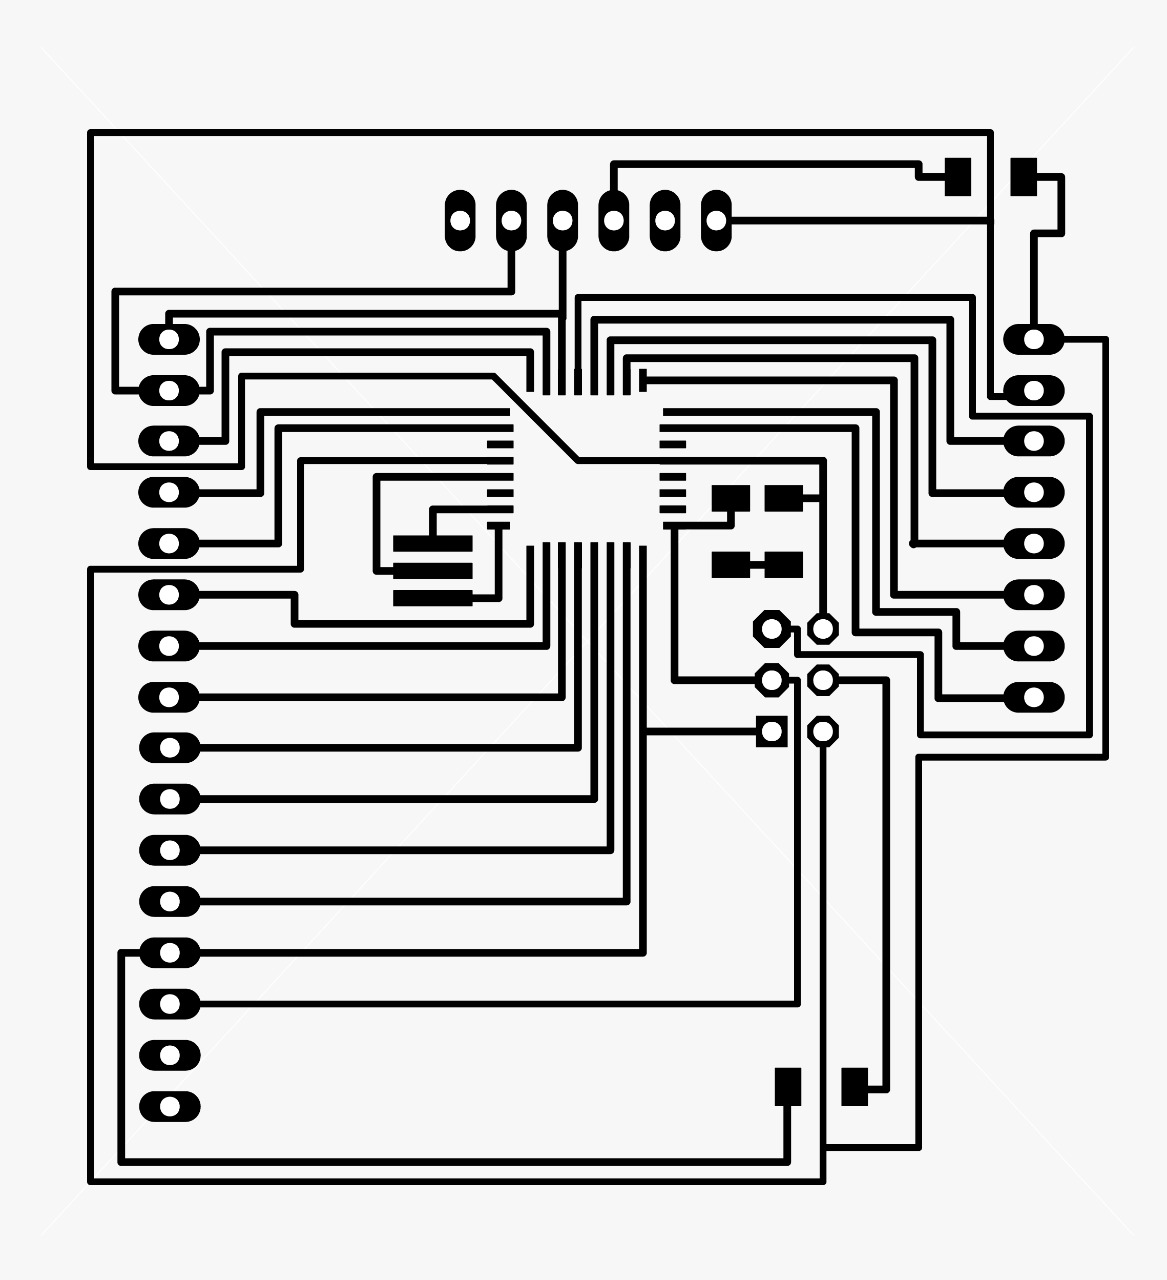
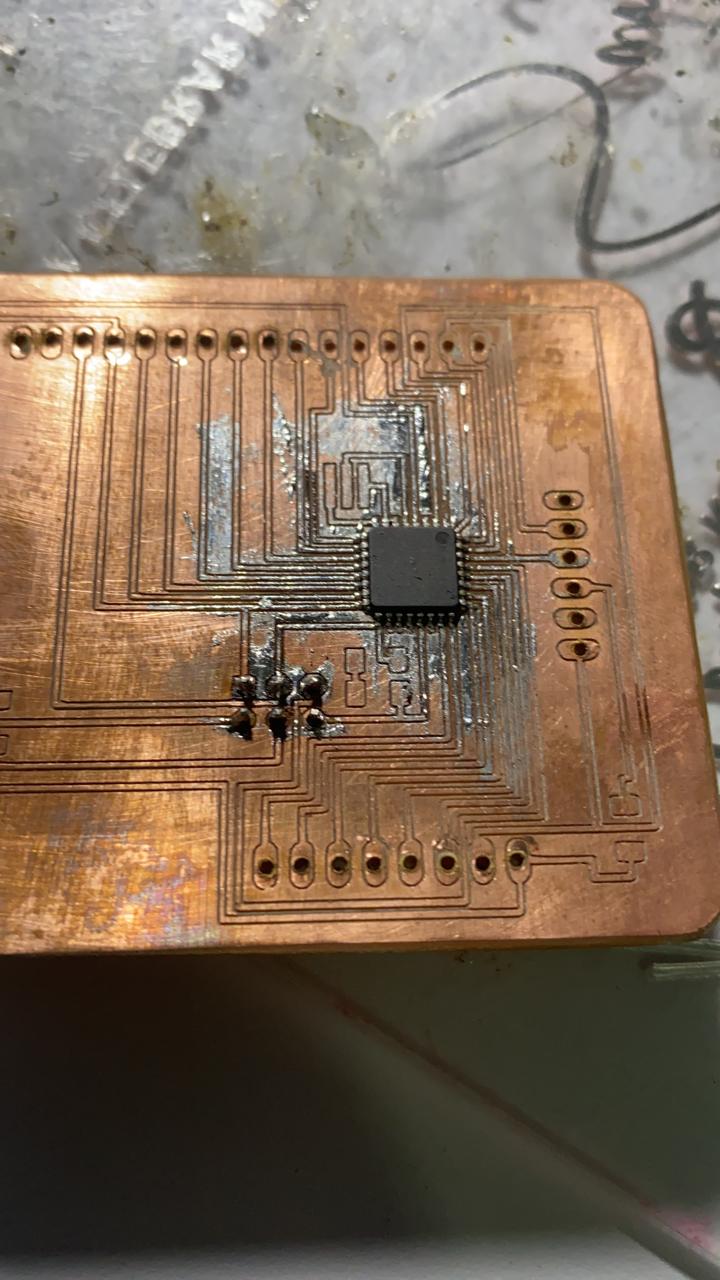
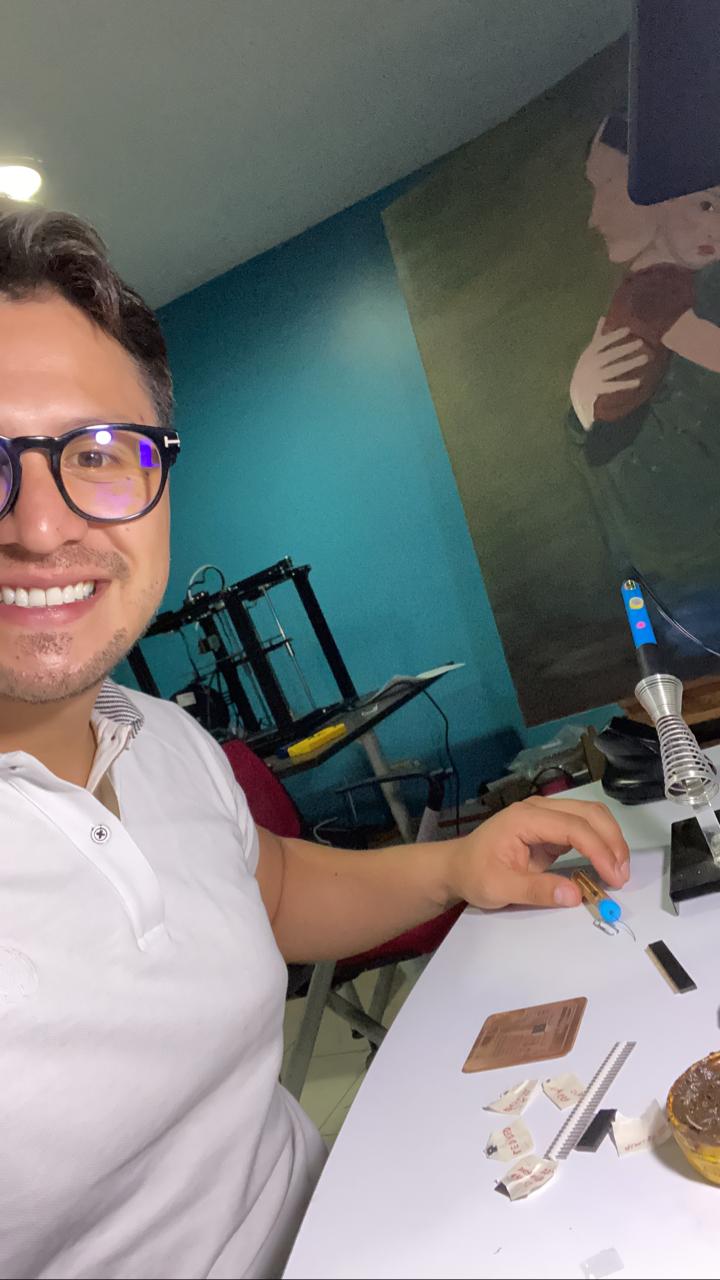
Work with PCB
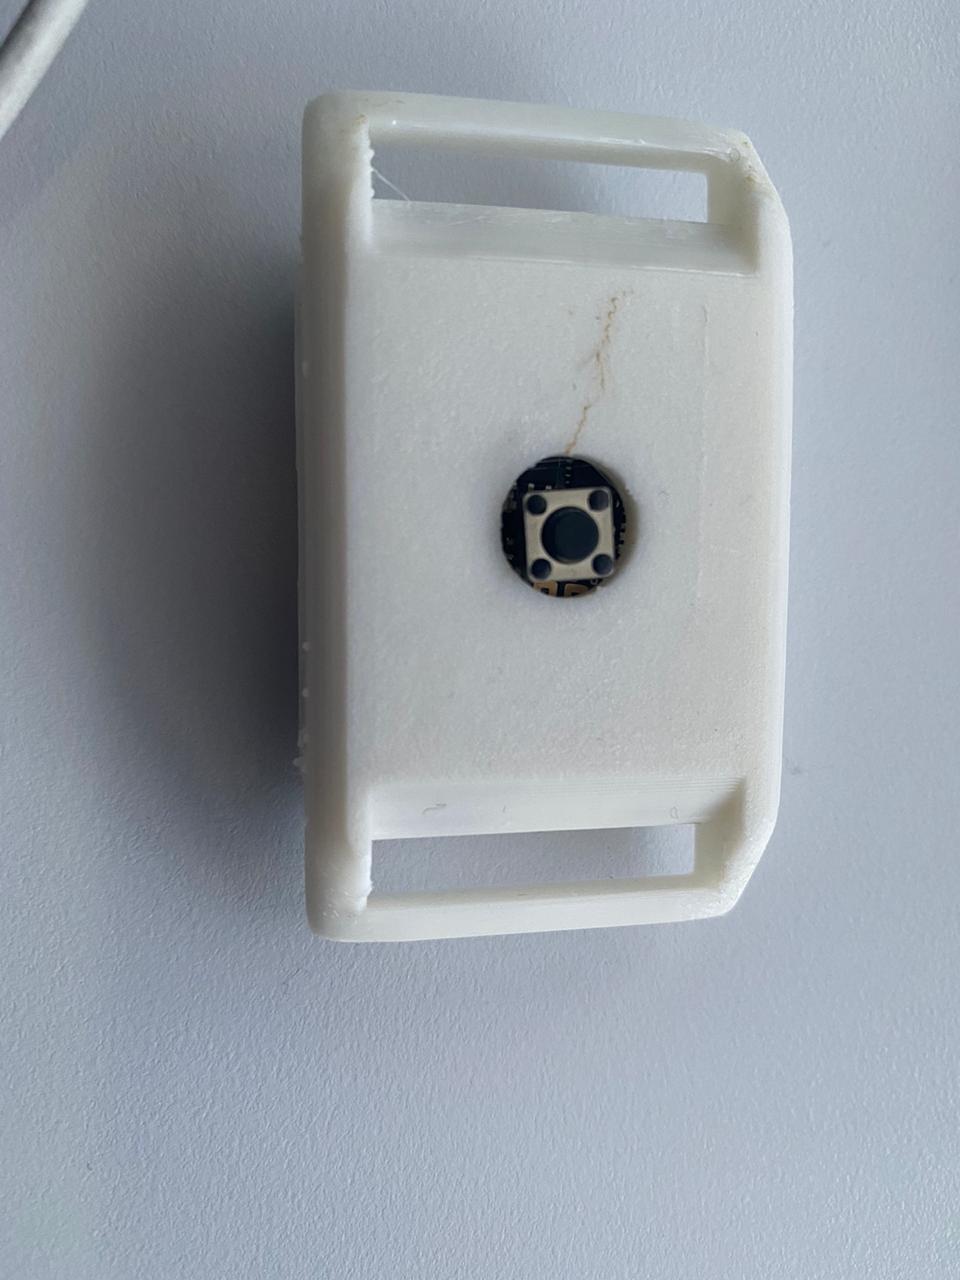
The big Fail
I tried to replicate an Arduino but I faild because I decided tu use a new machine and this is the result: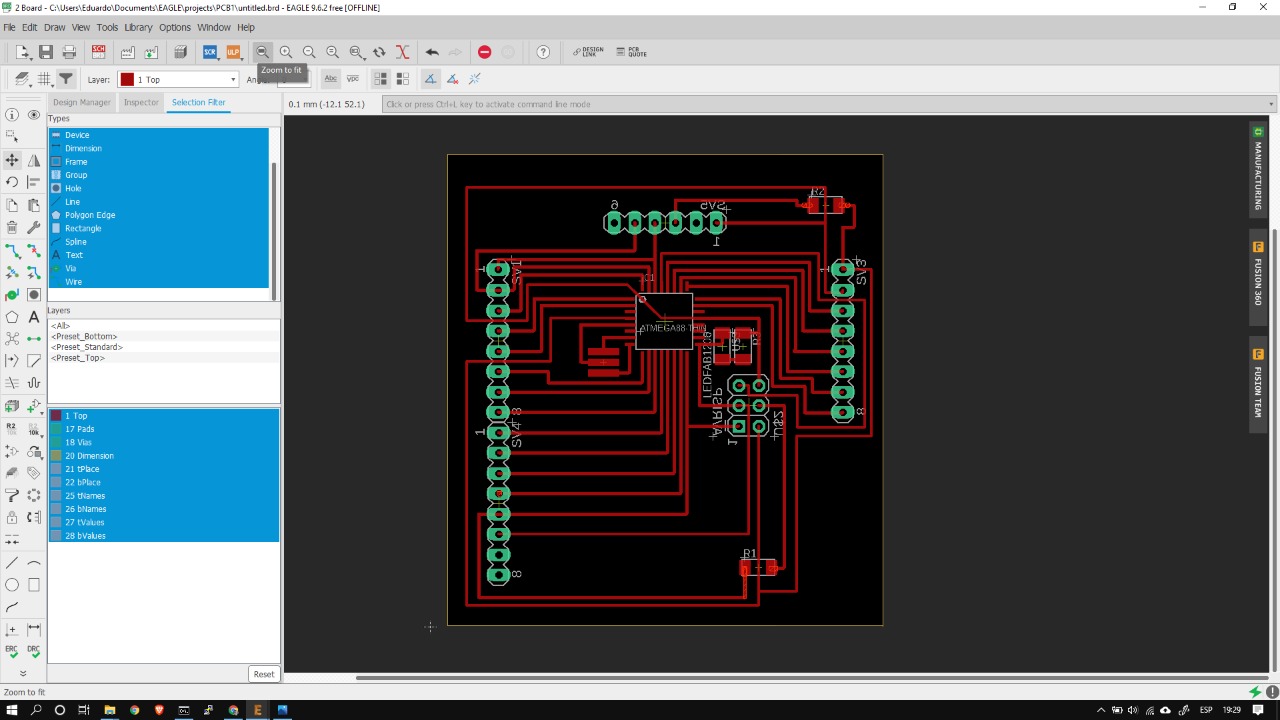


Conclusion
- Verify the electronic elements before starting with any design, you can have the same problem I got.
- Everything goes better if you have a plan before, I didn´t plan anything before this assignment, so I can say I was lucky.
- Work with Eagle it´s still complicated for me and any kind of design takes me hours, so the recommendation here is be patient.
- The best way I found actually is work first with the virtual tools befores start working with the real electronic elements.
File of the design
Files Watch