Computer-Controlled Machining
This week I worked on computer controlled machining, so I was able to do a first design as a test to see the capabilities of the machine, before for reasons of the covid-19 it was not possible to enter the laboratory

First design and test
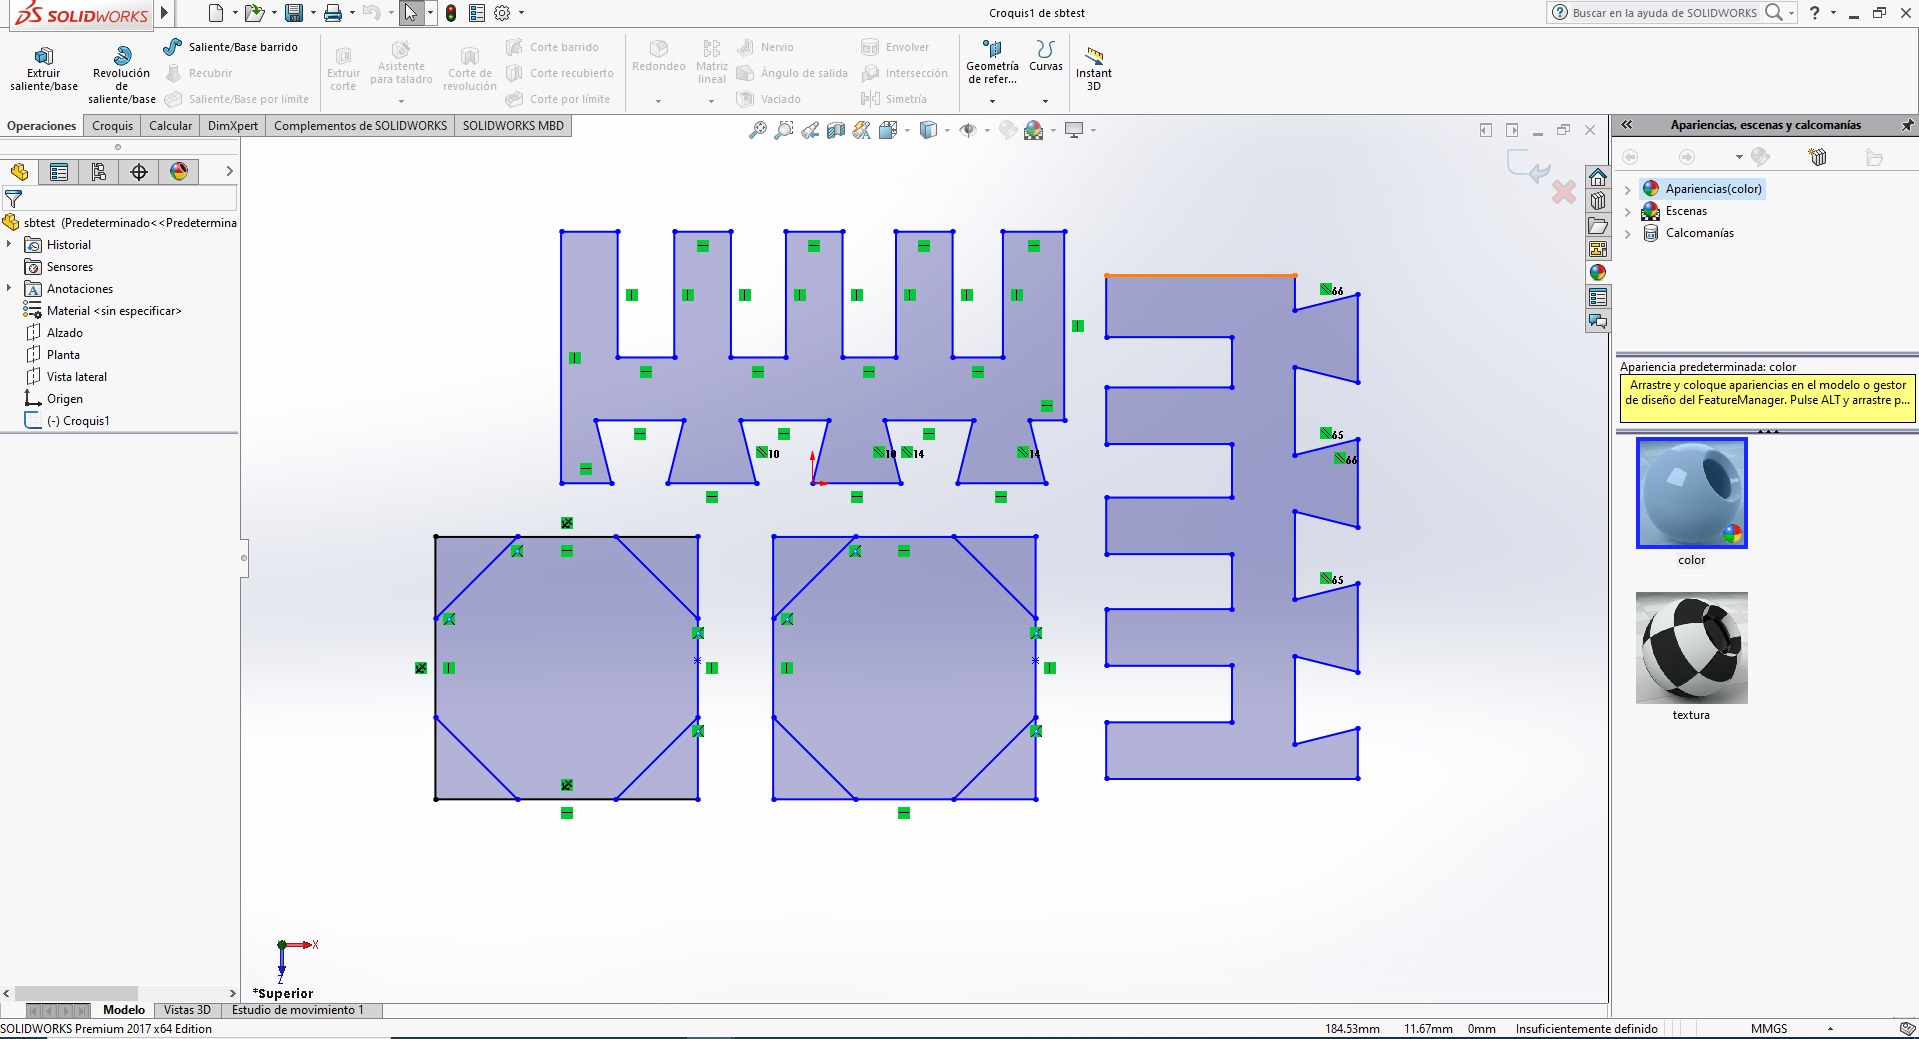
I made a design in solidworks
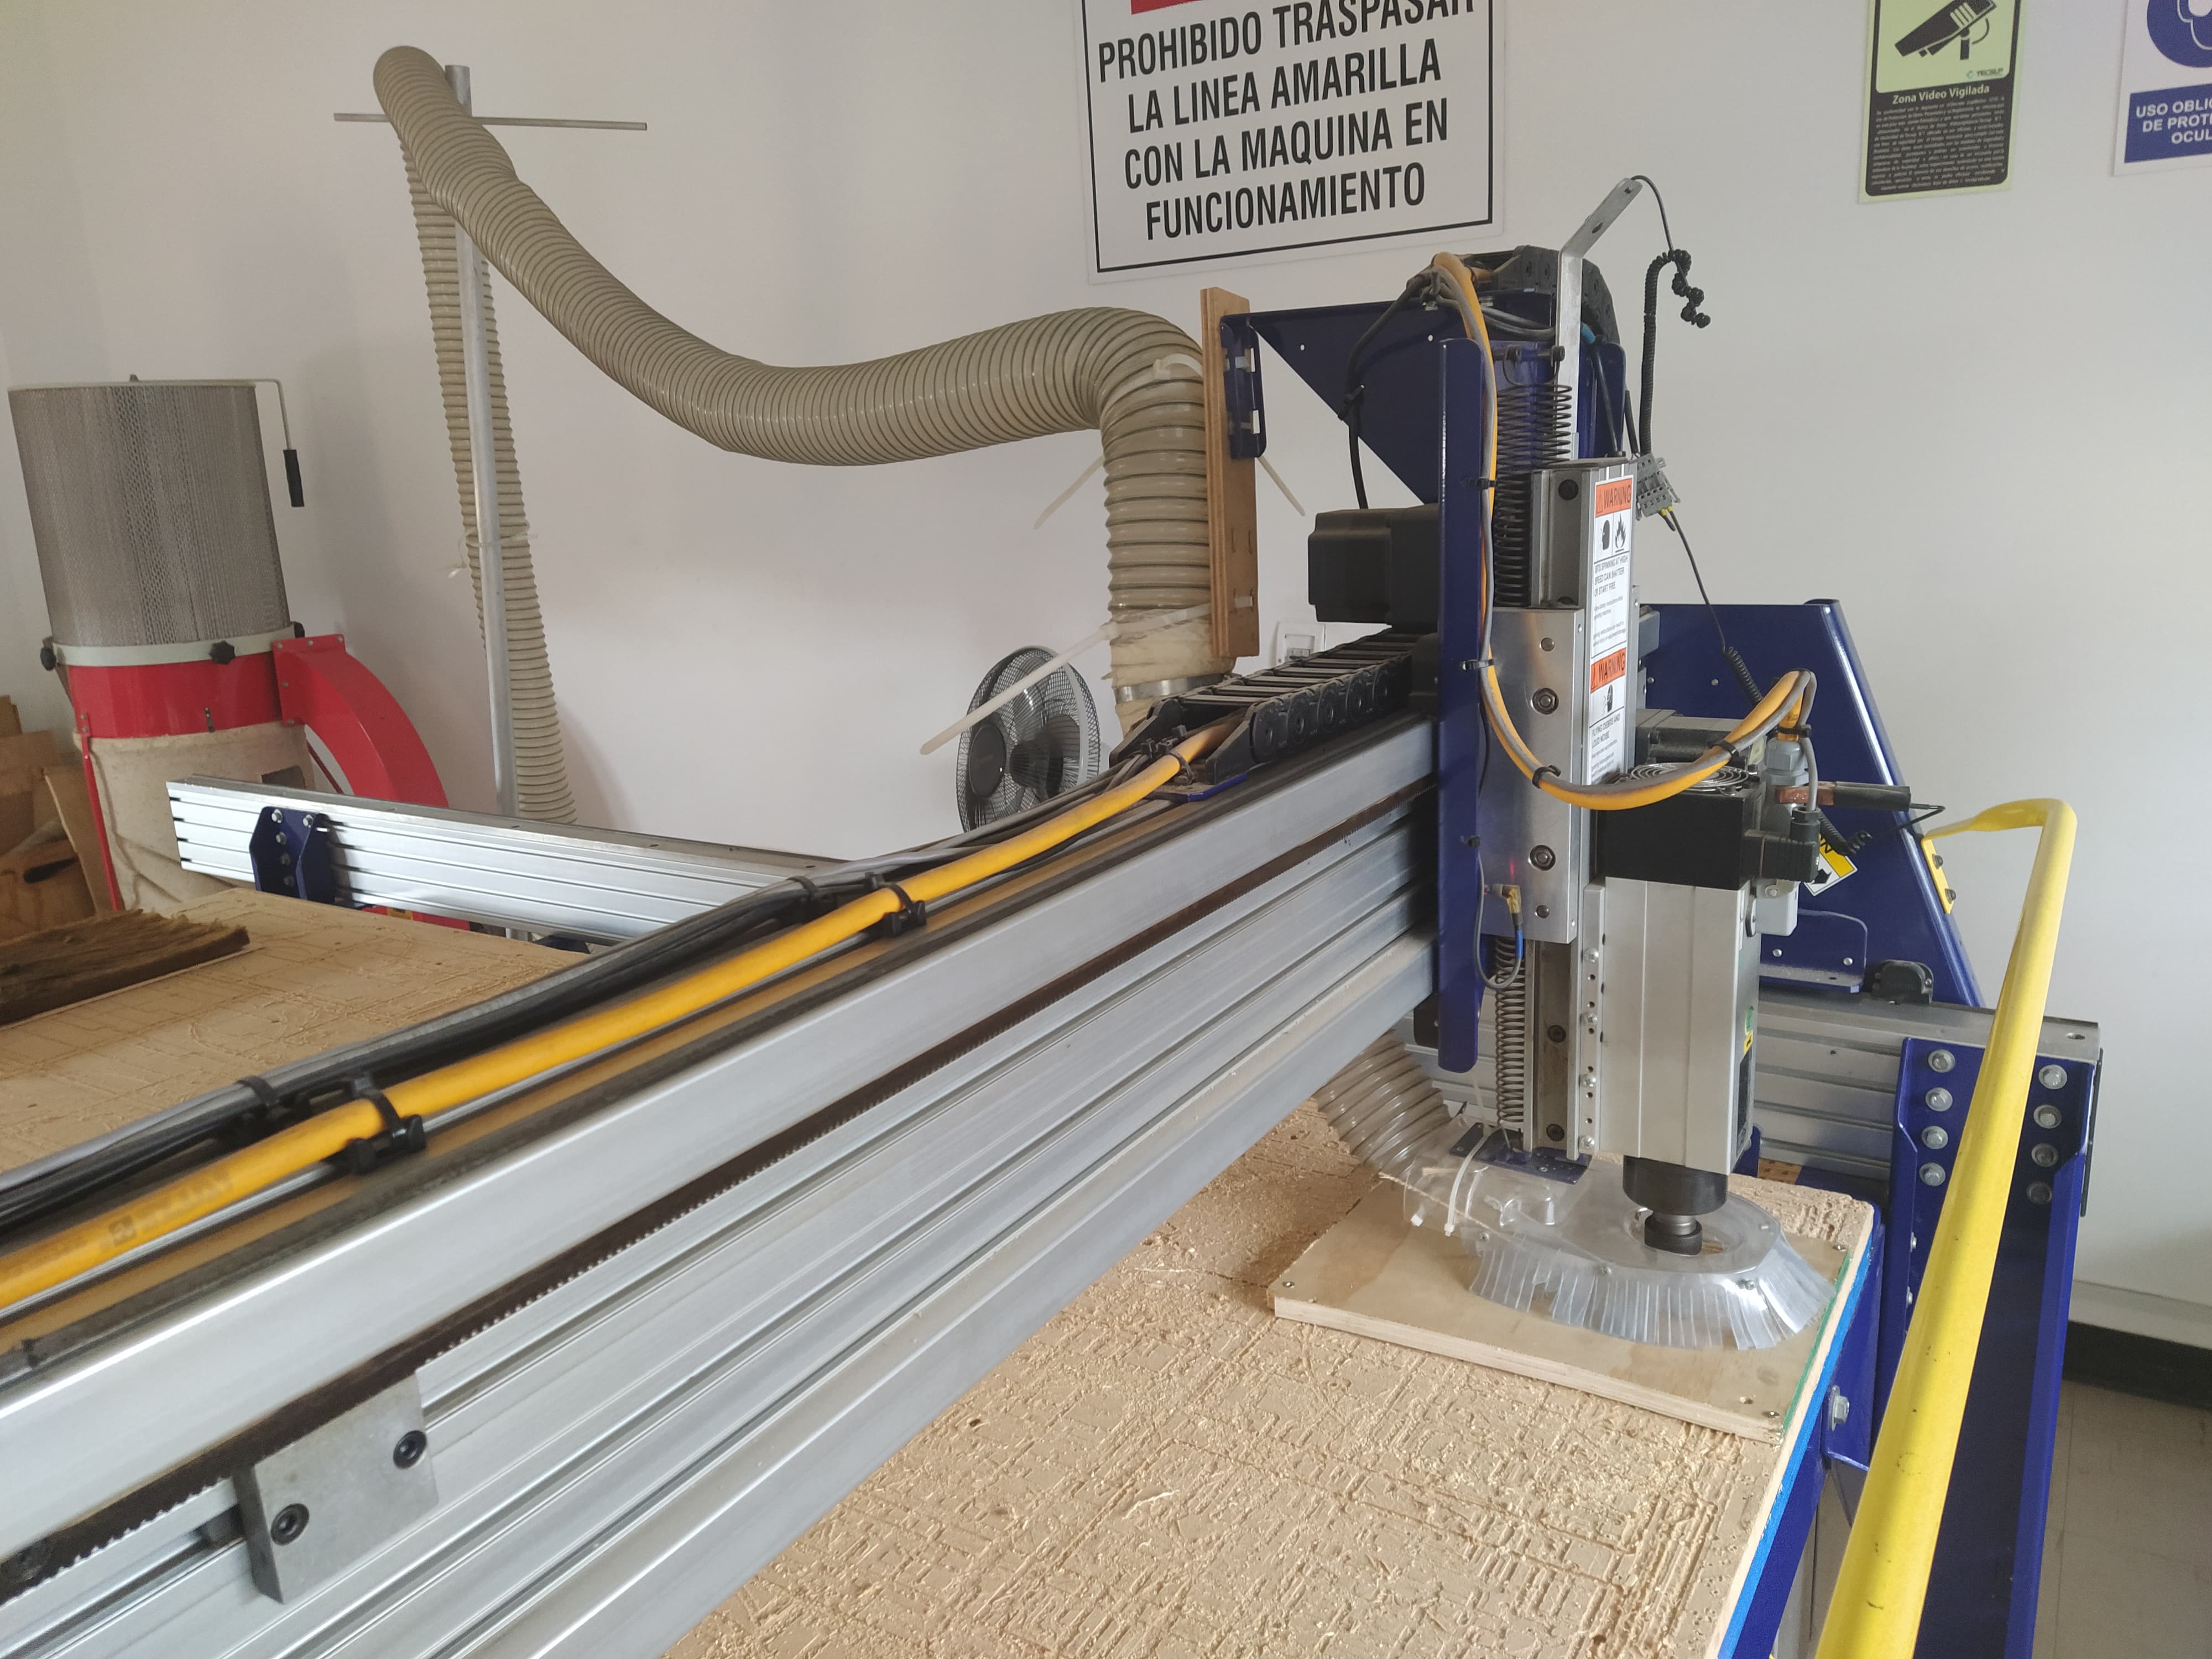
Perform a quick inspection on the parts of the PRSalpha ATC 96-48-8 shopbot
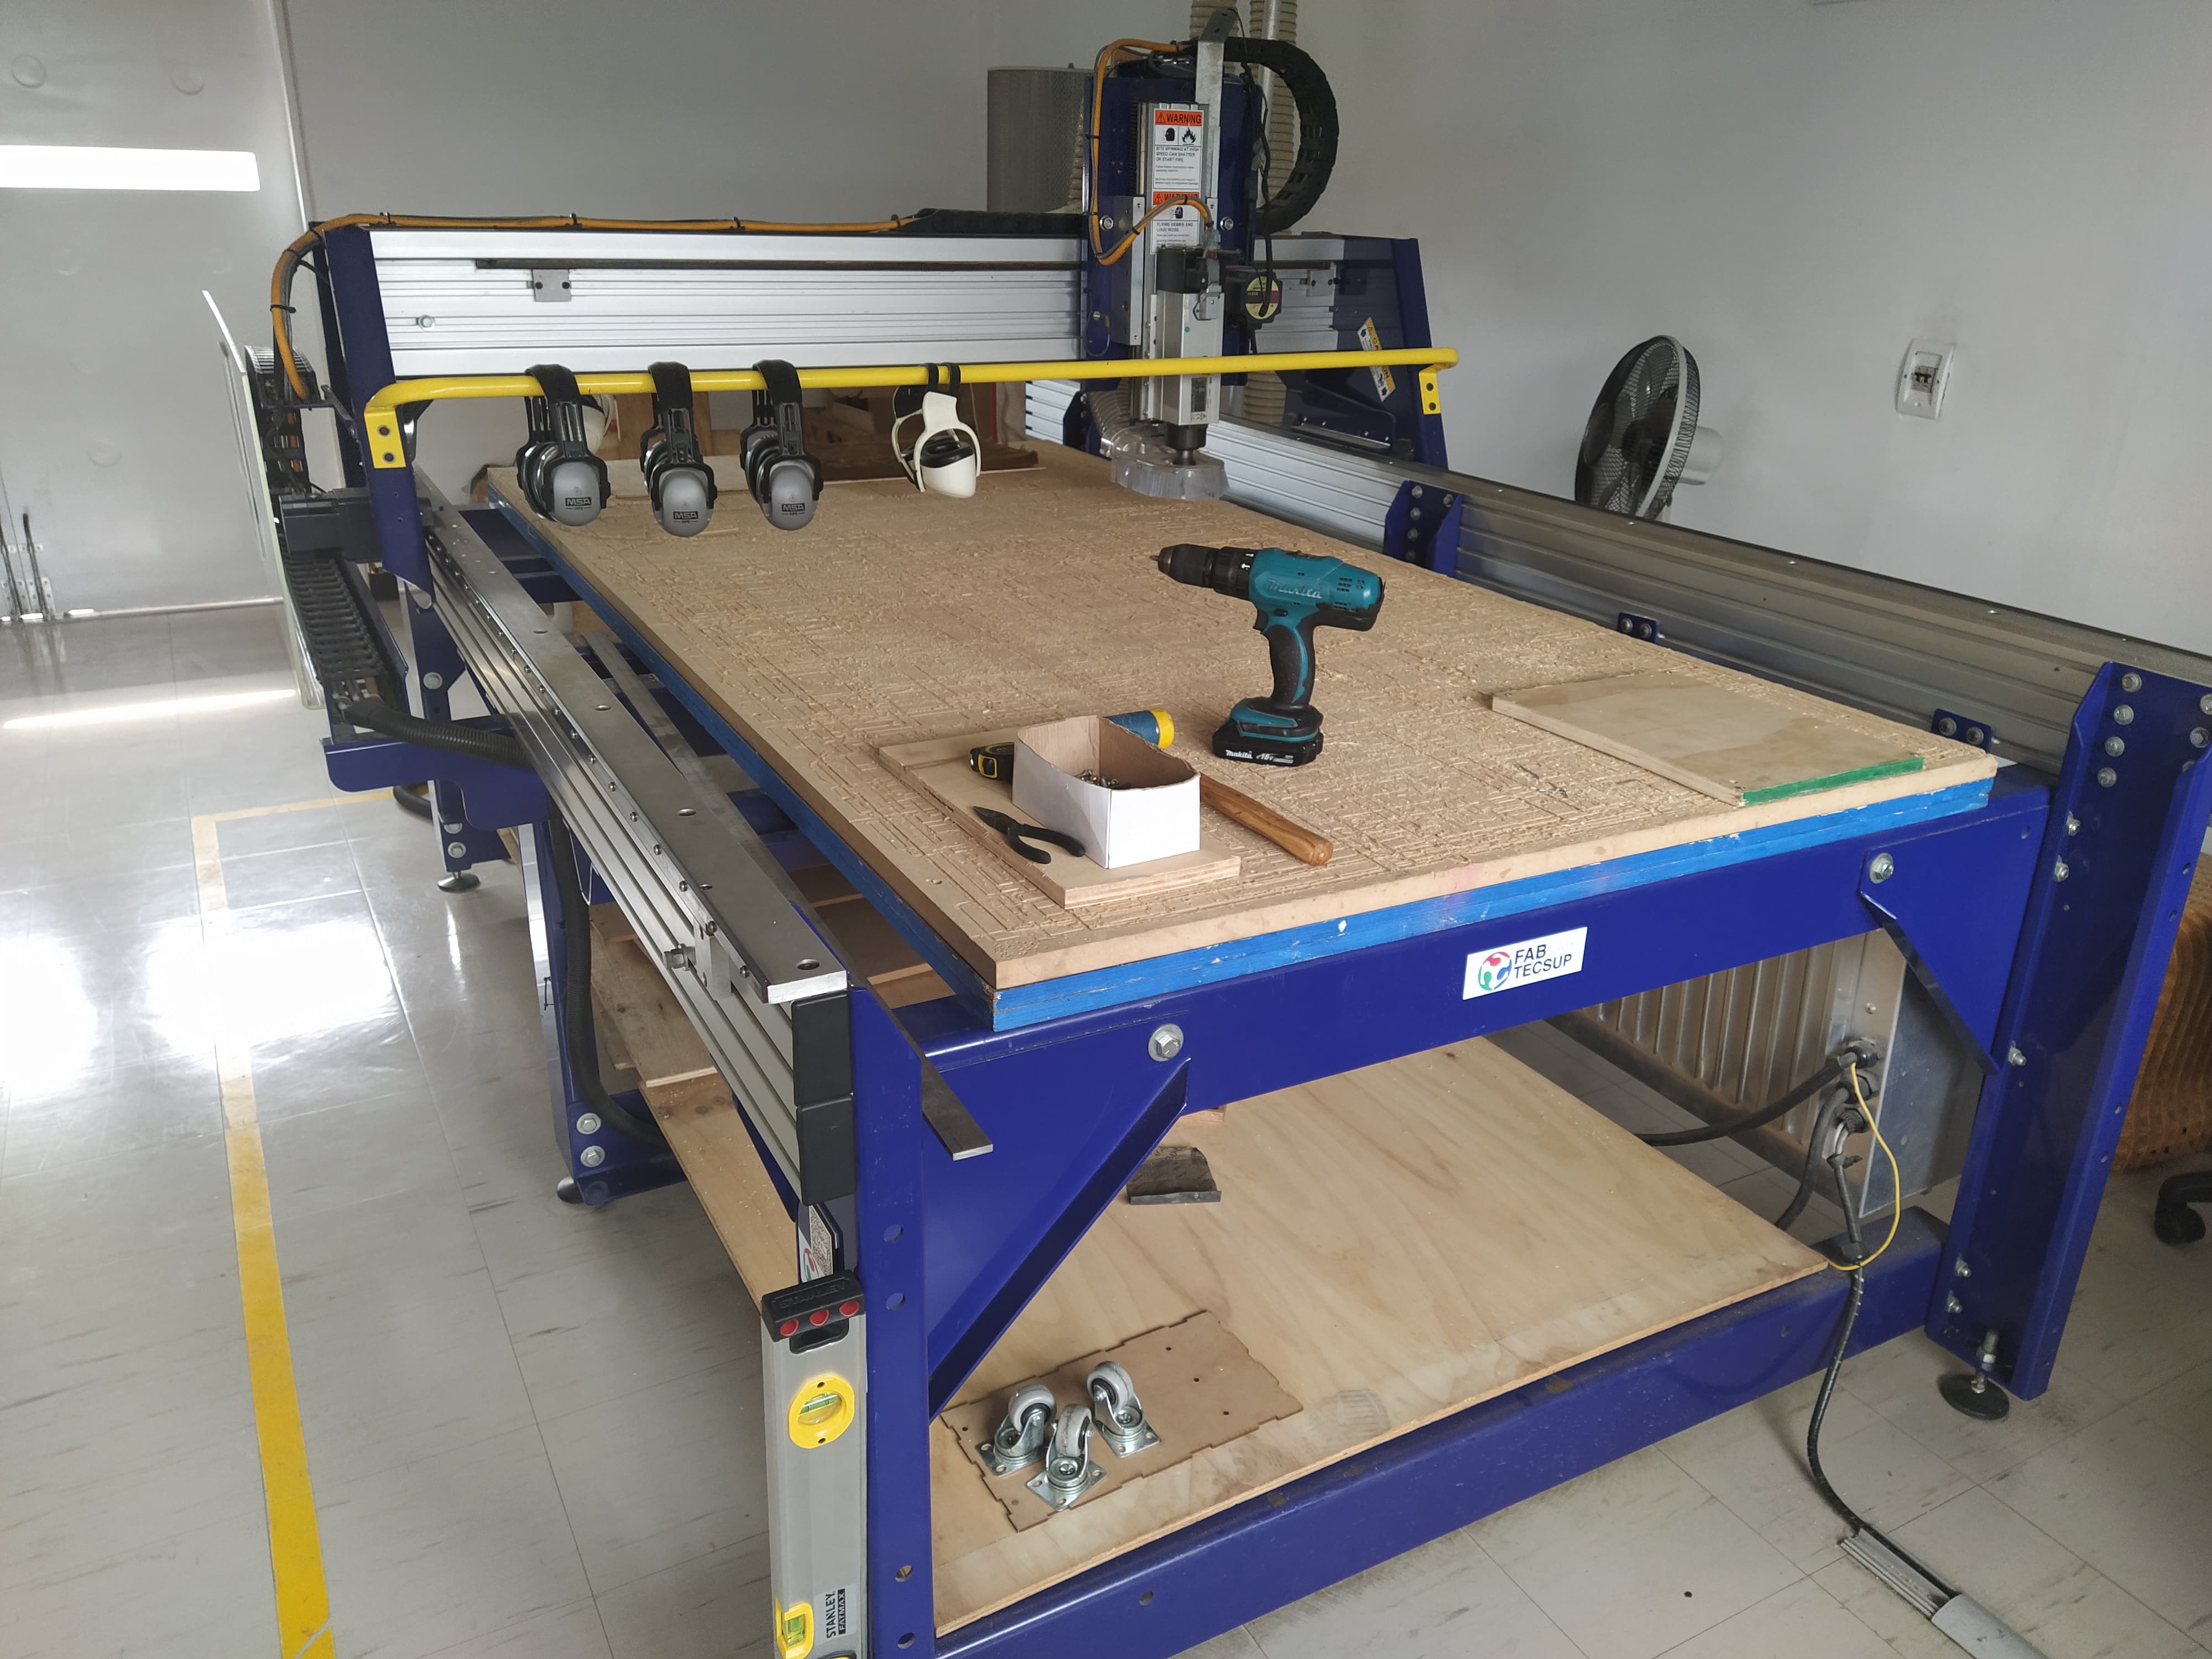
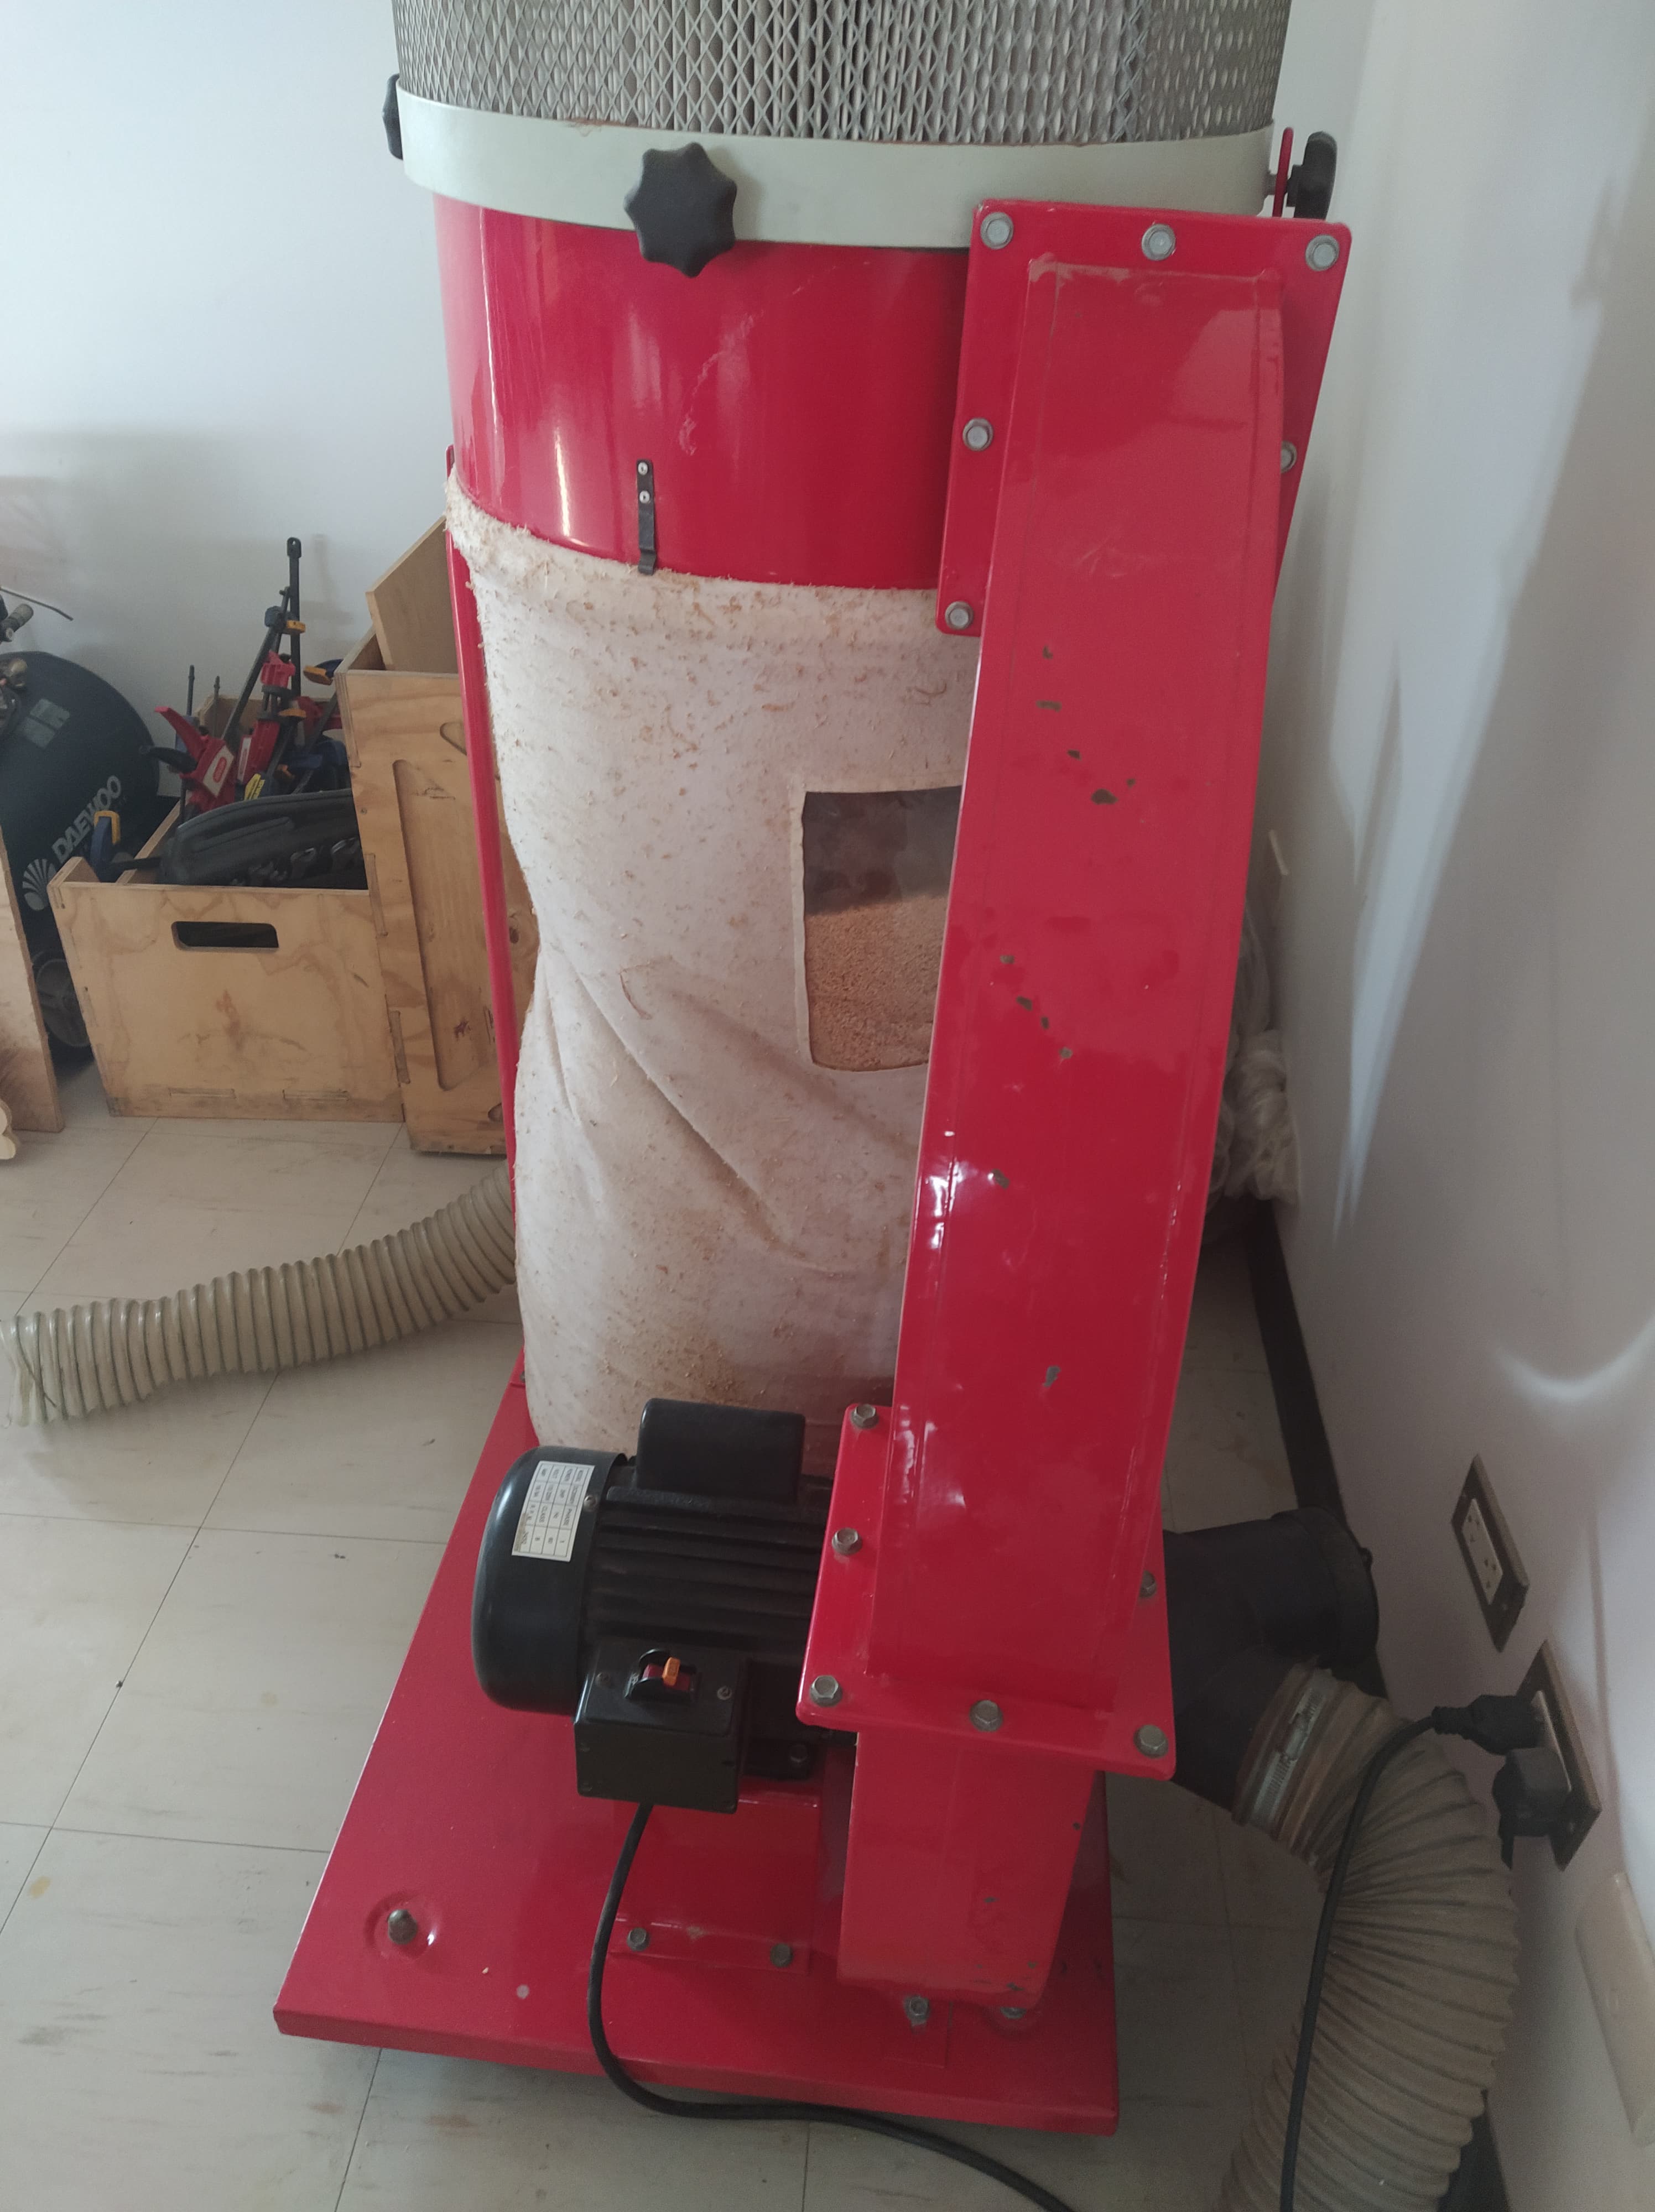
In addition to the shopbot there is a high-power biruta extractor
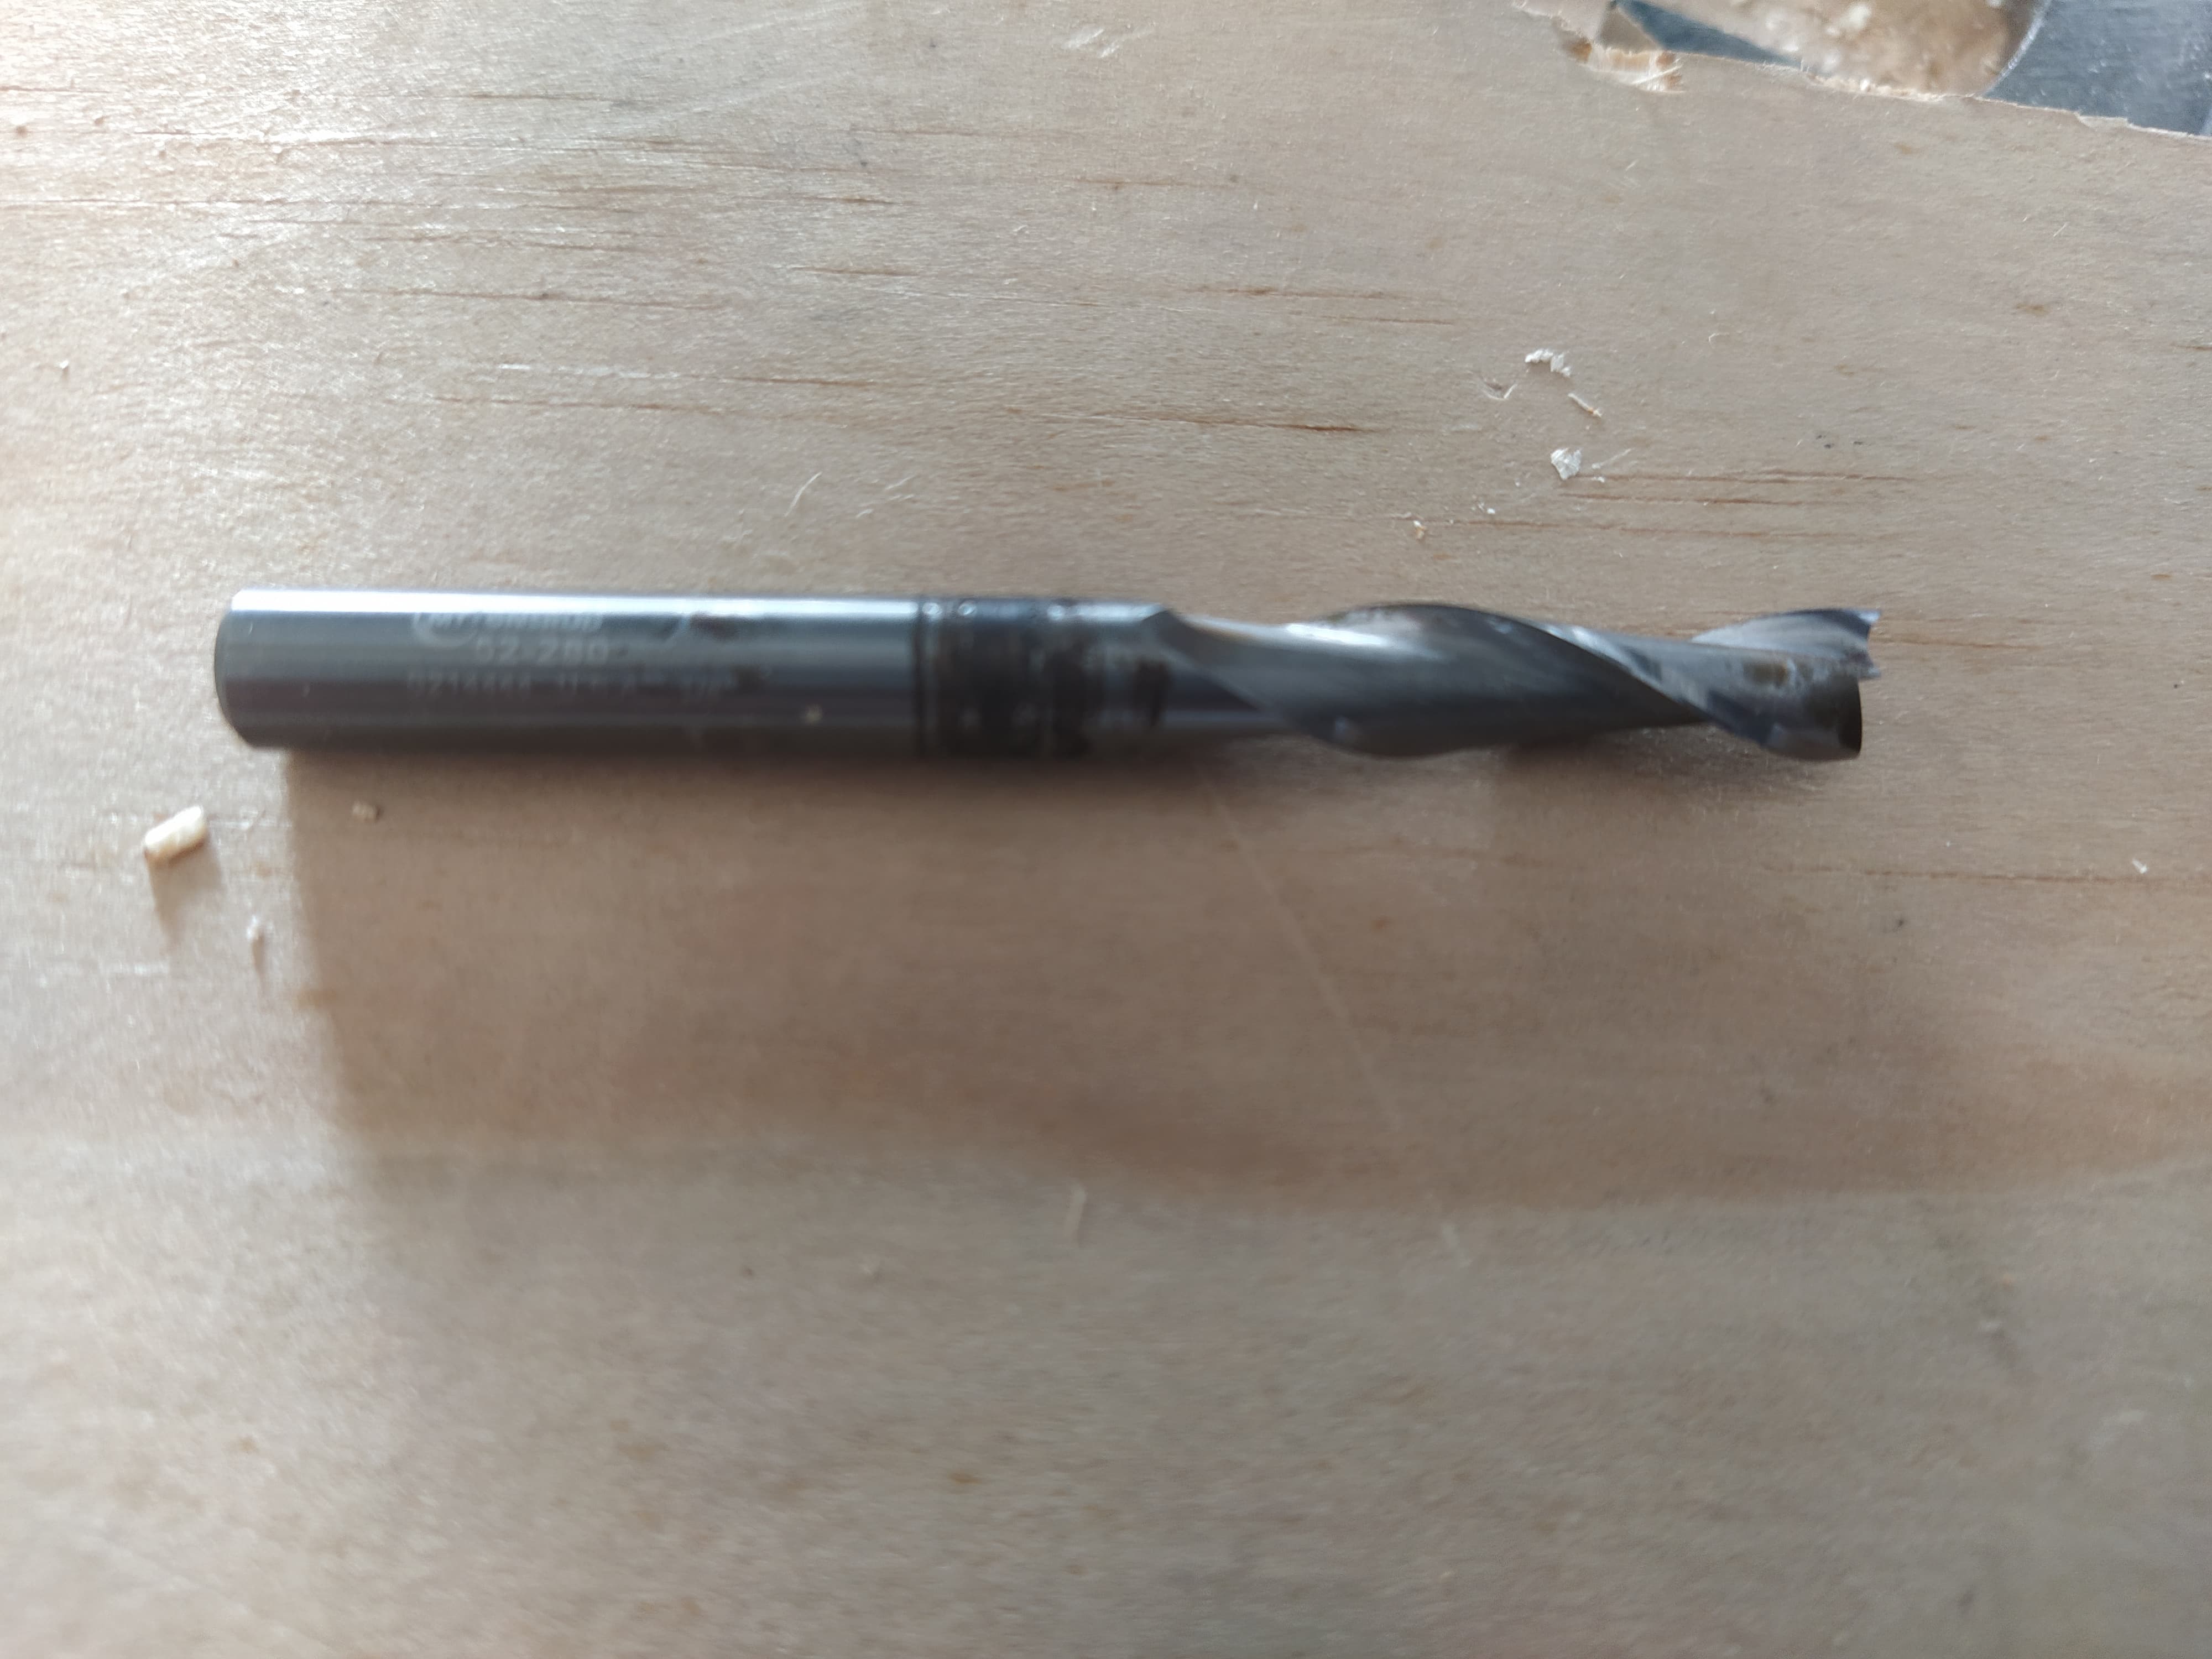
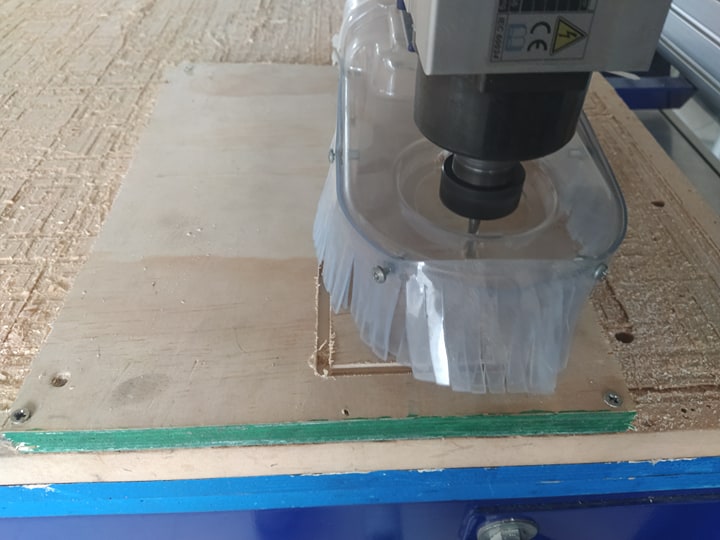
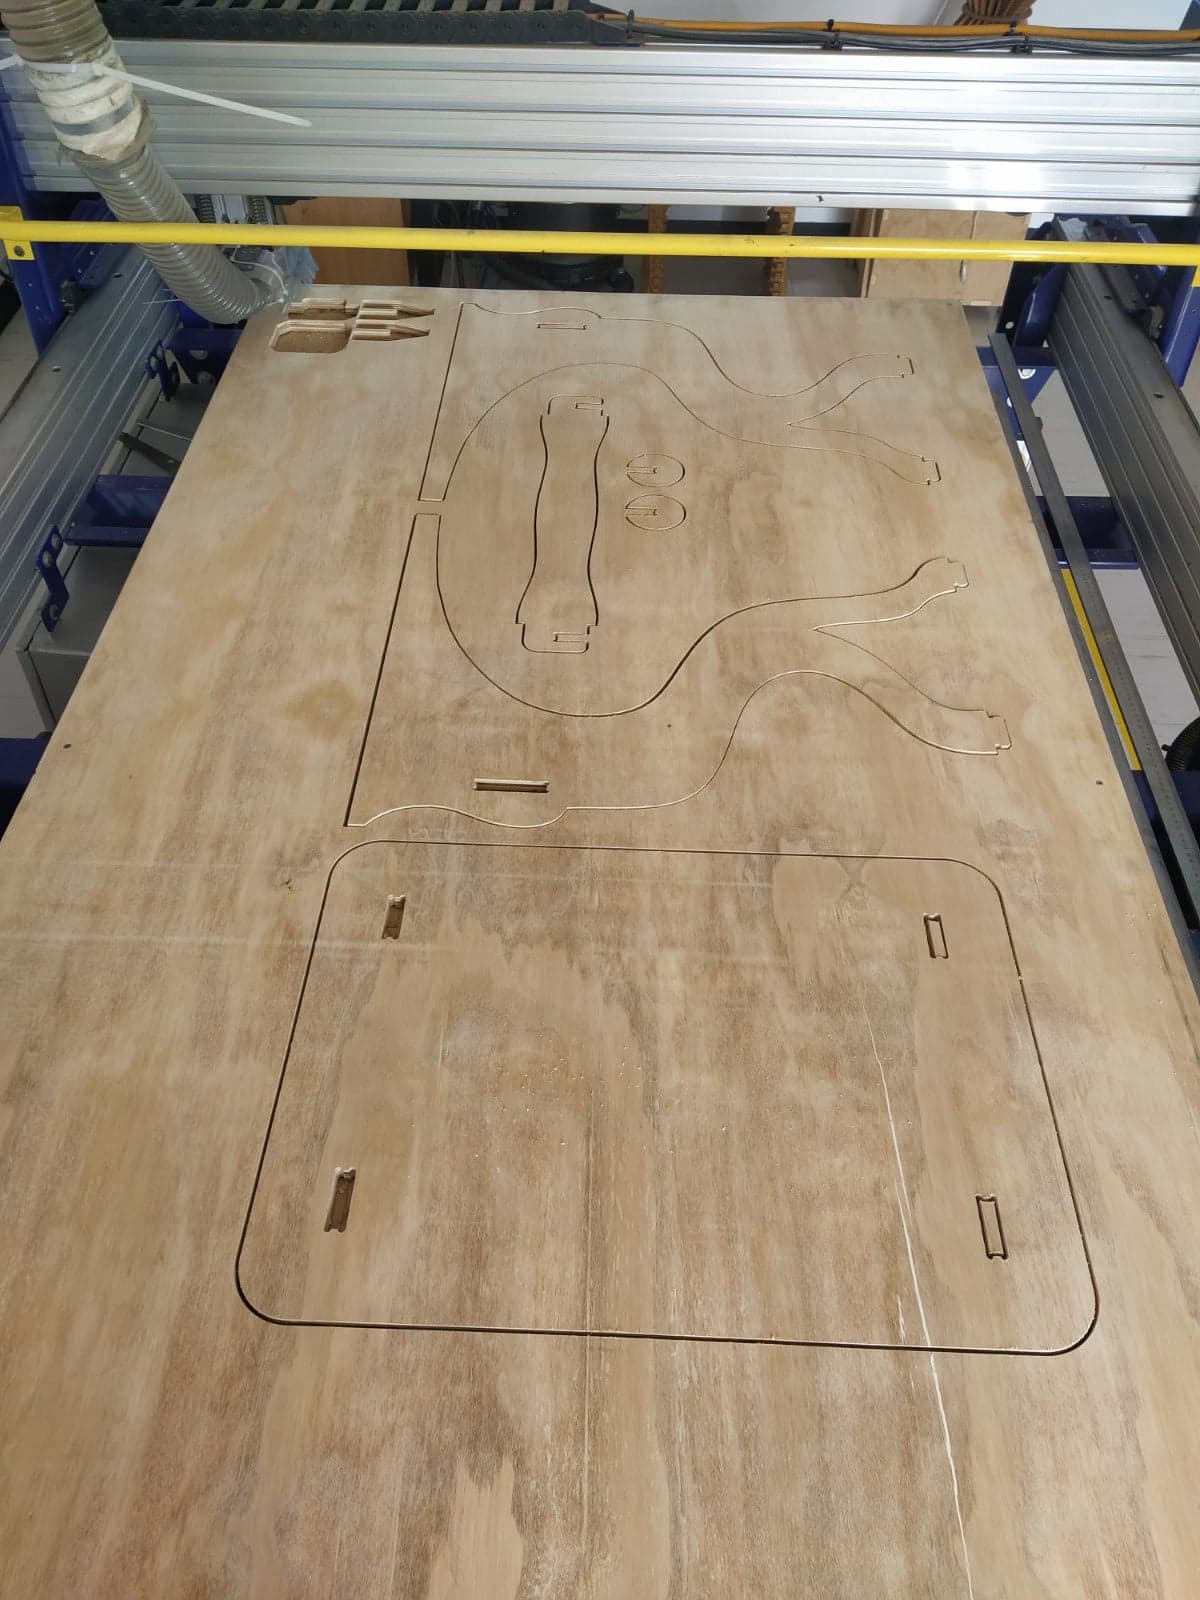
I used a 1/16 milling machine to perform the machining
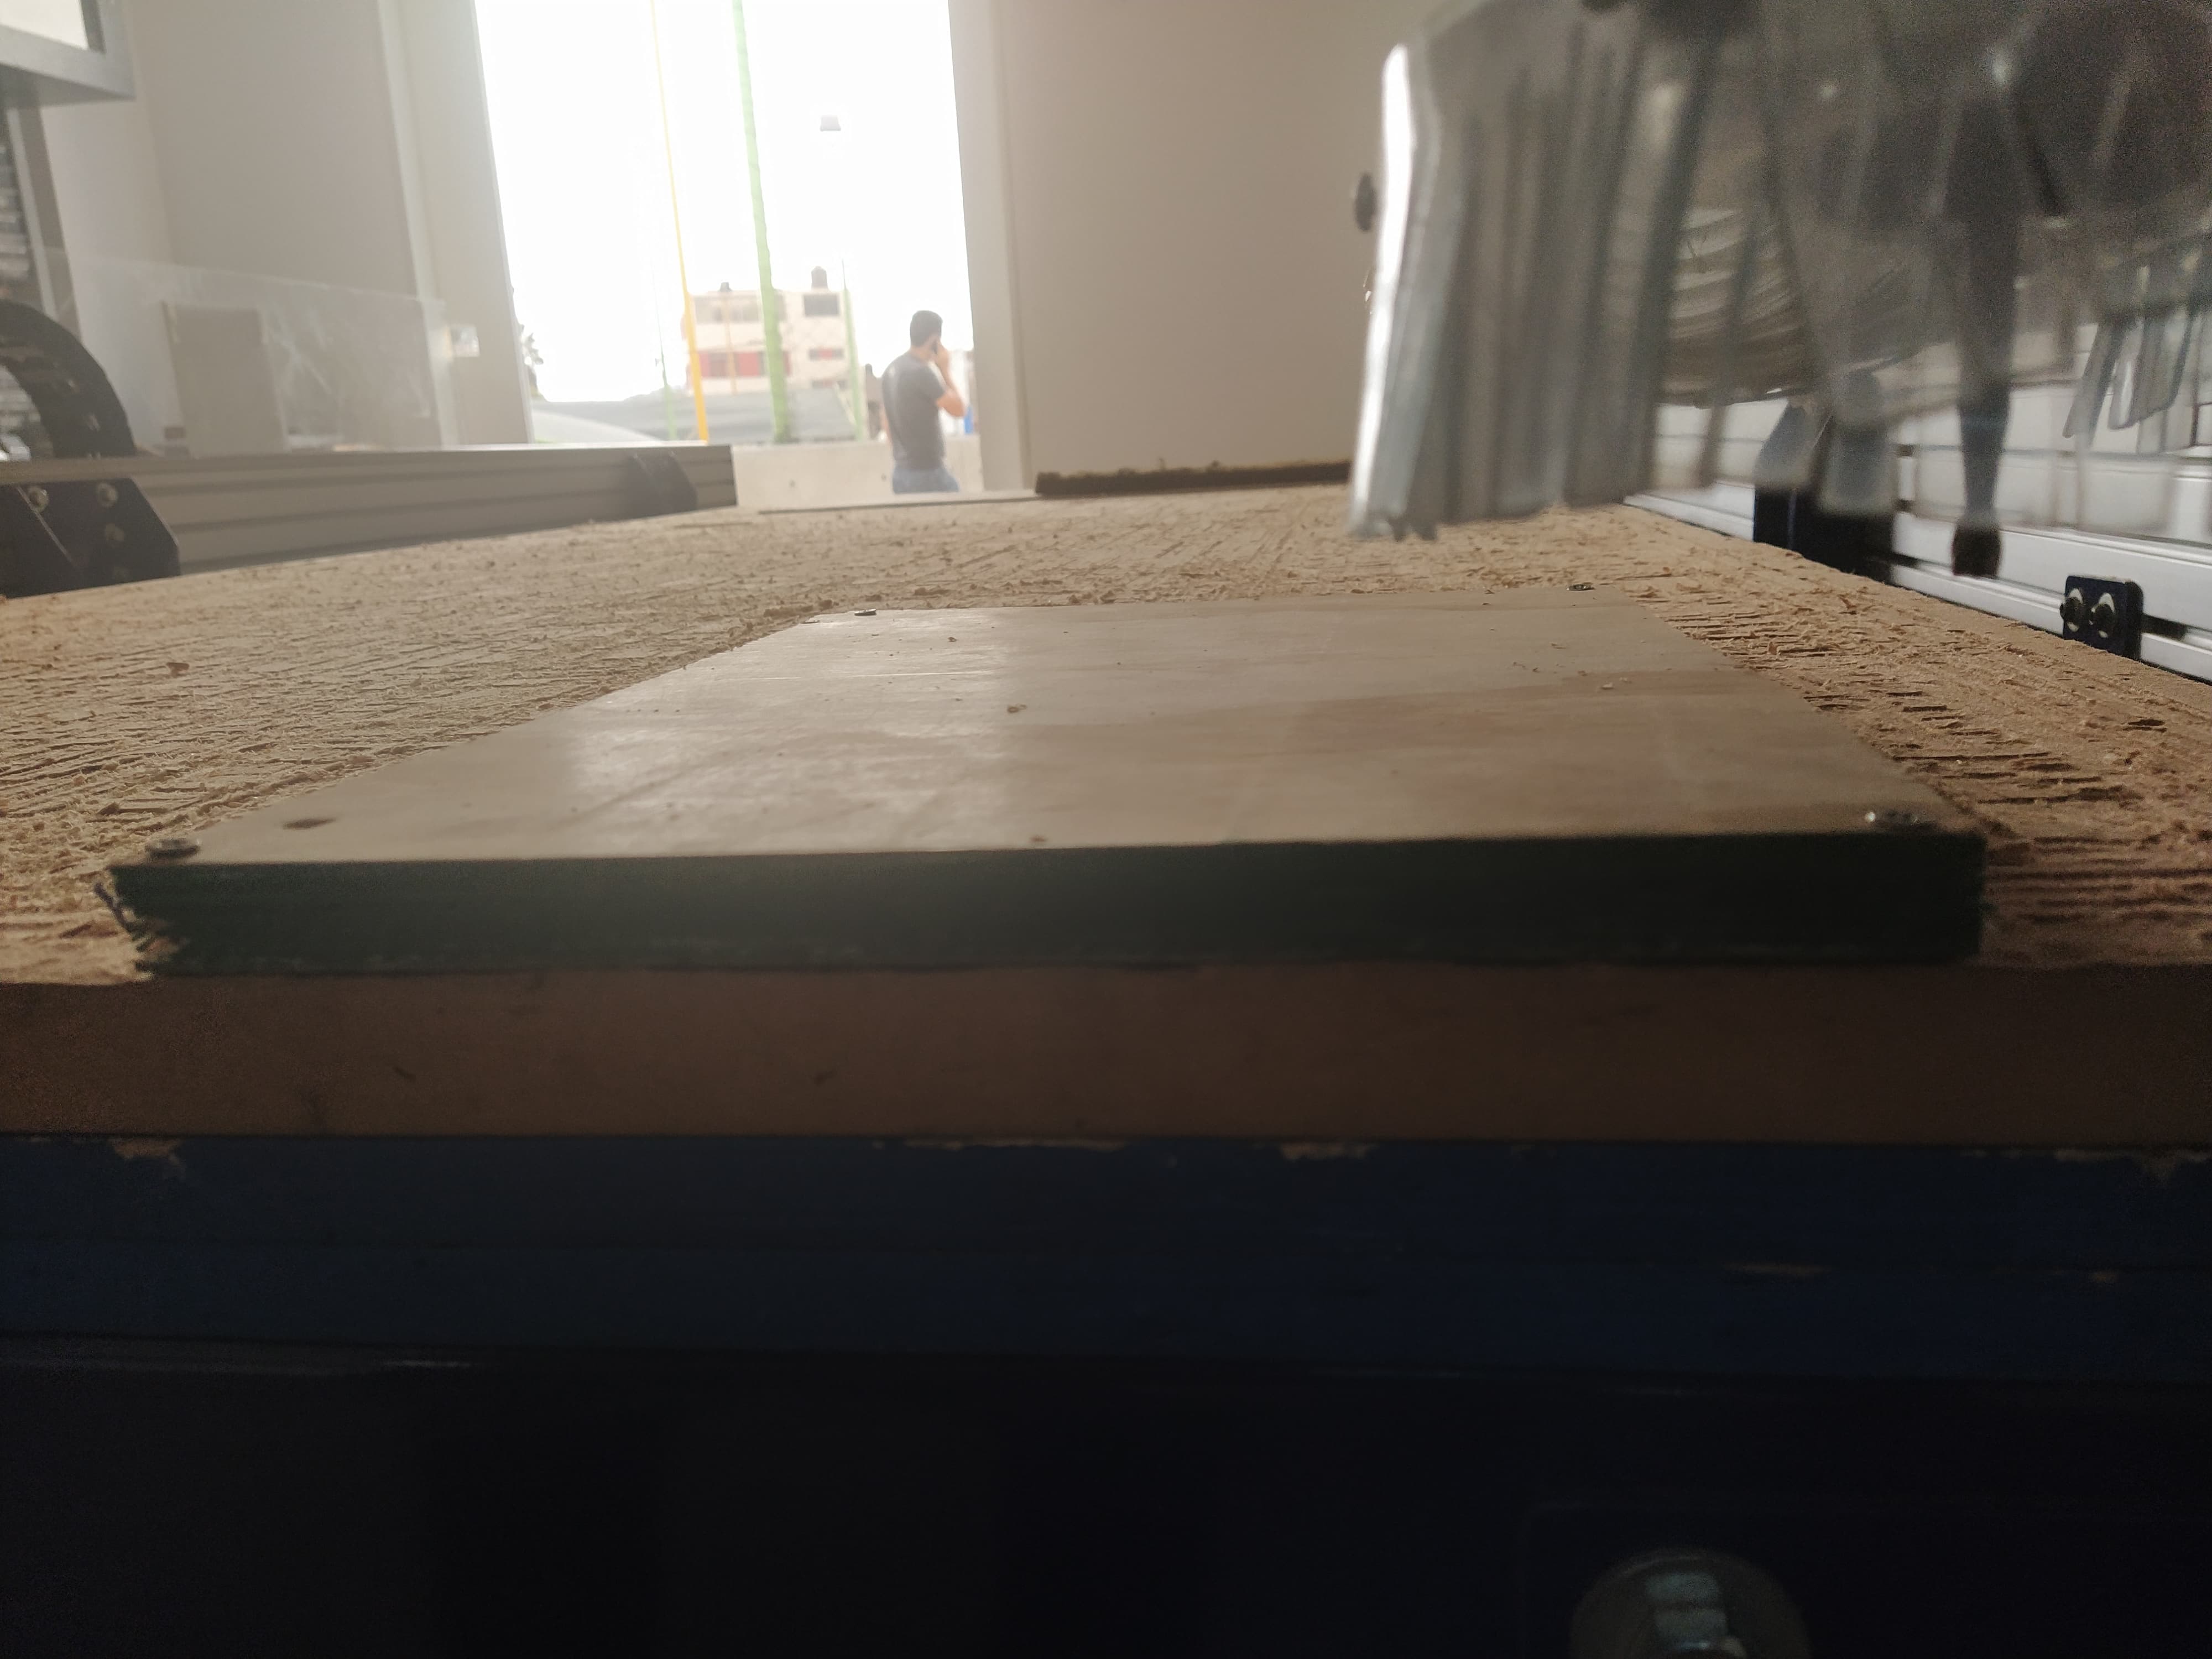
It is necessary to screw the iron to be milled to the working table.
The starting point of the machine must be located before milling
Once all the settings have been made we can proceed to the start, not forgetting to use the personal protection equipmen
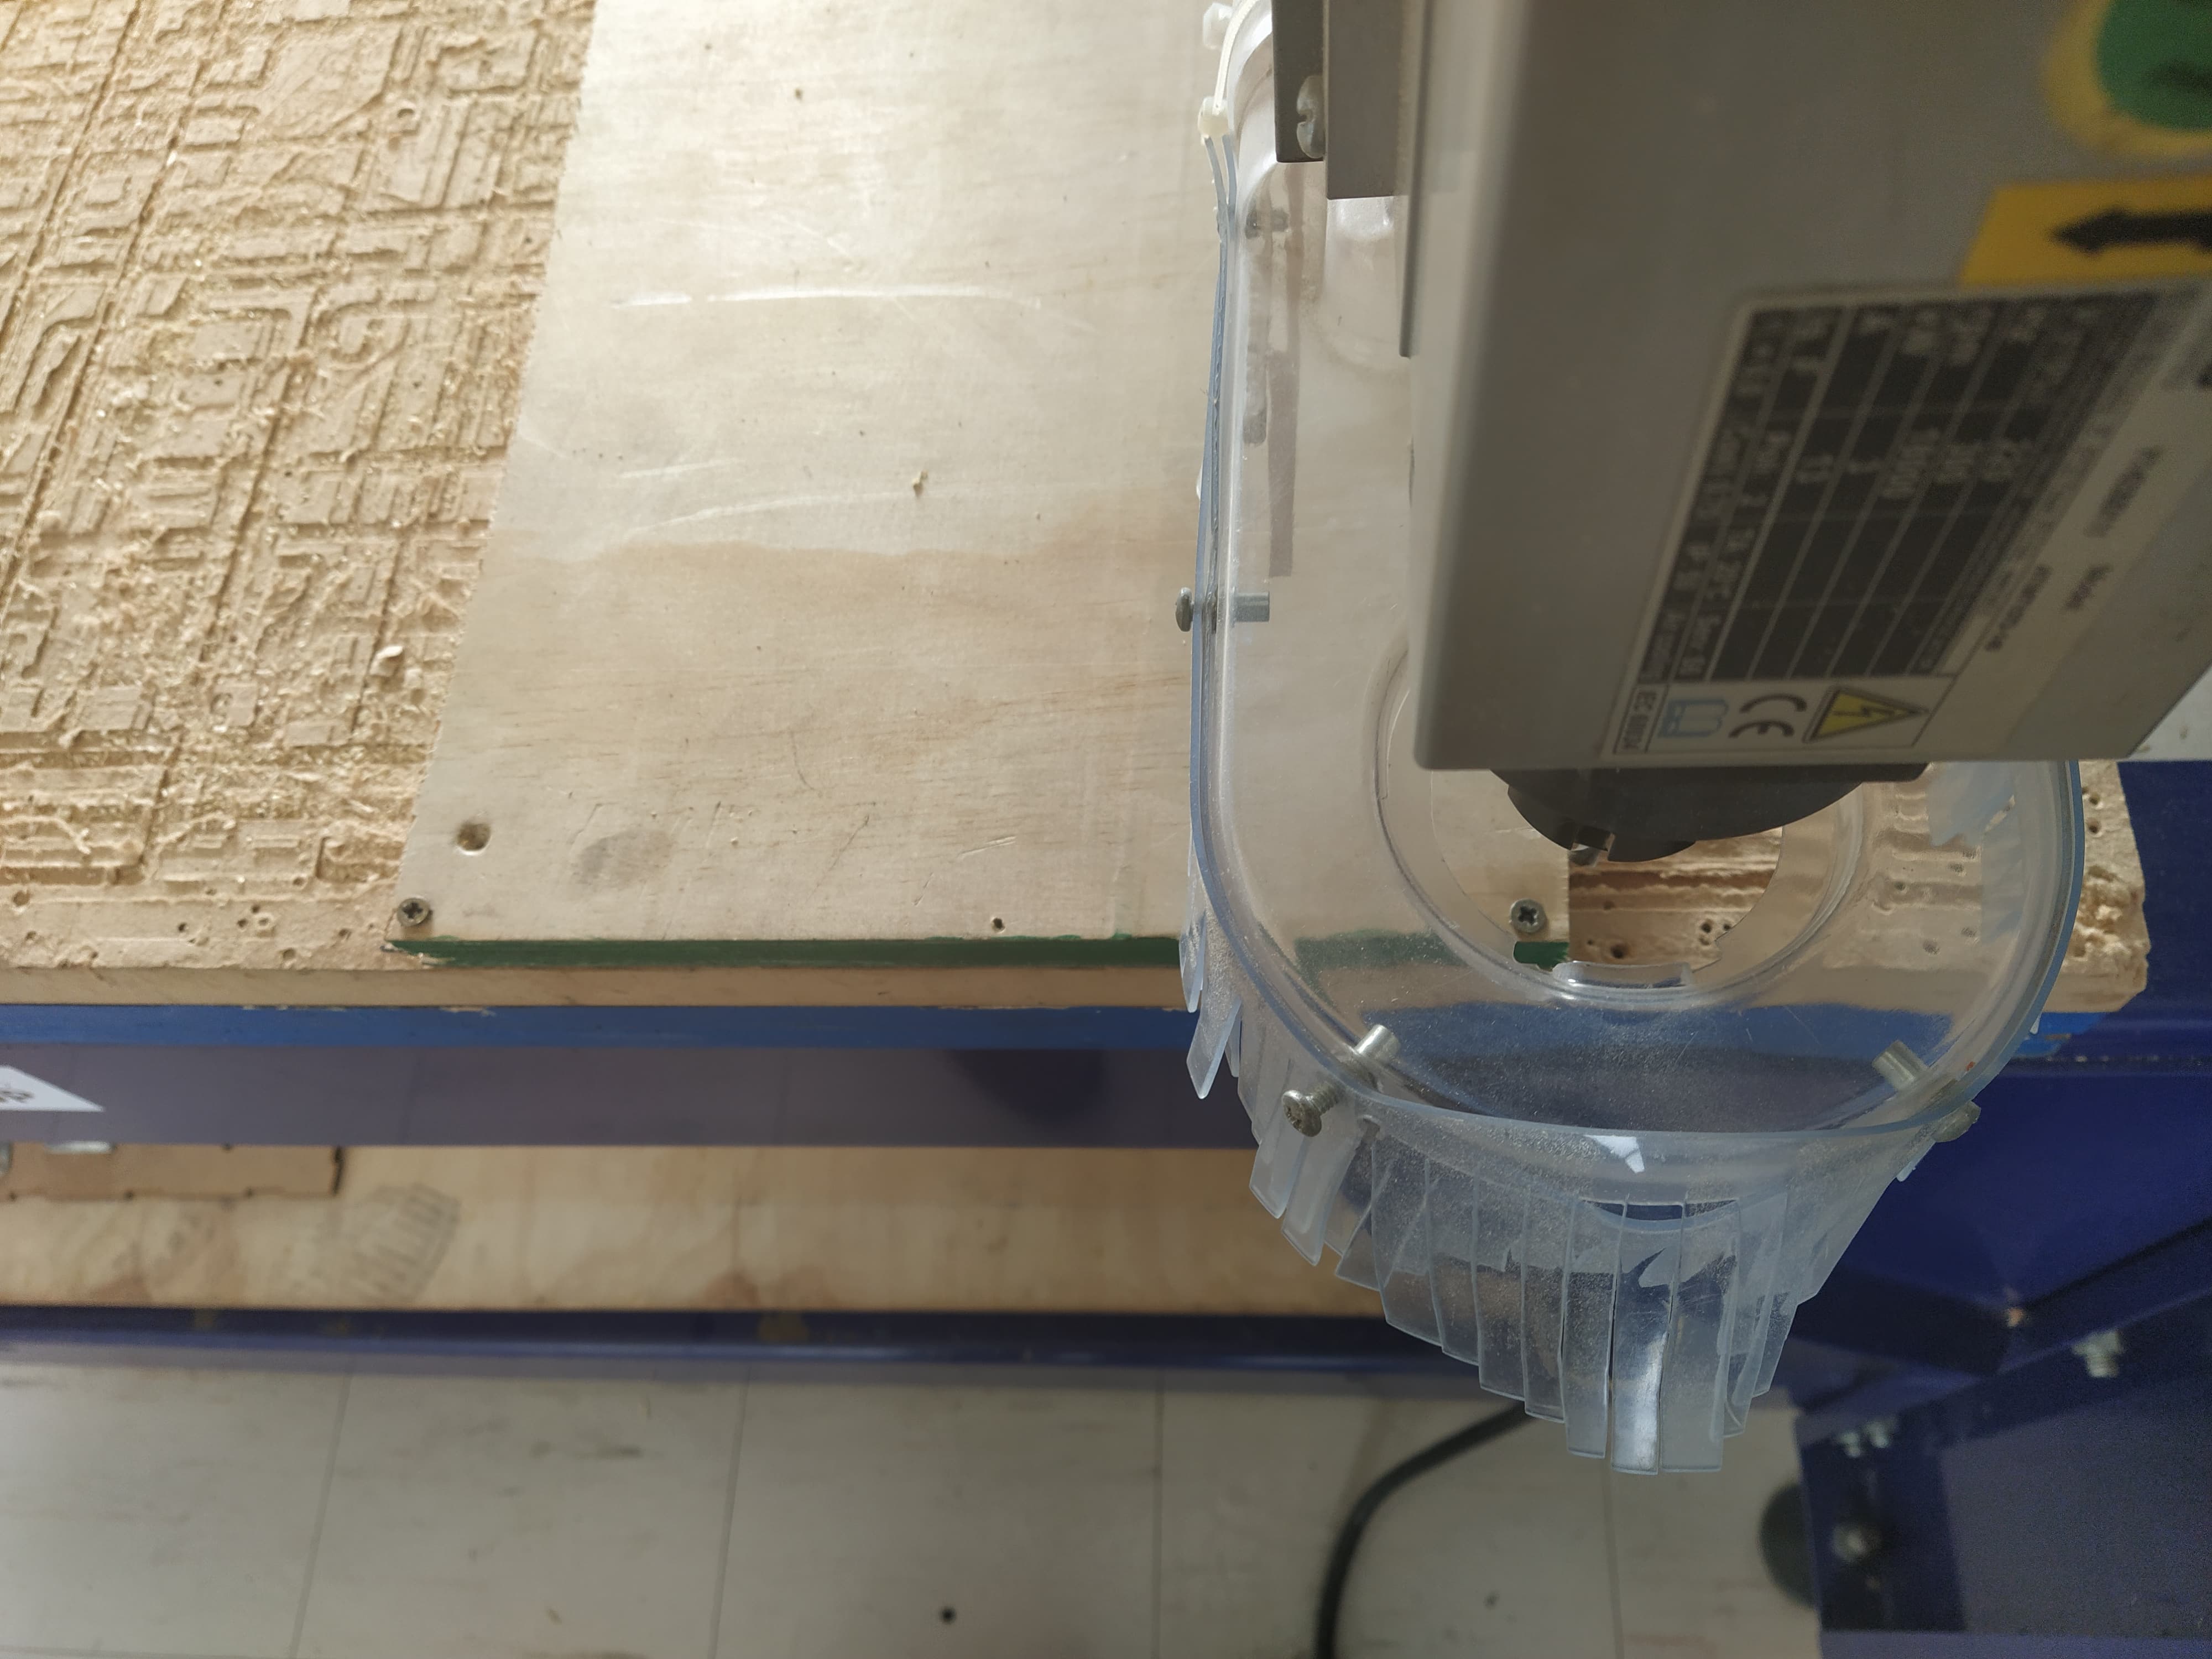
It is observed how the strawberry is giving shape according to the design
the result of the work is as follows:
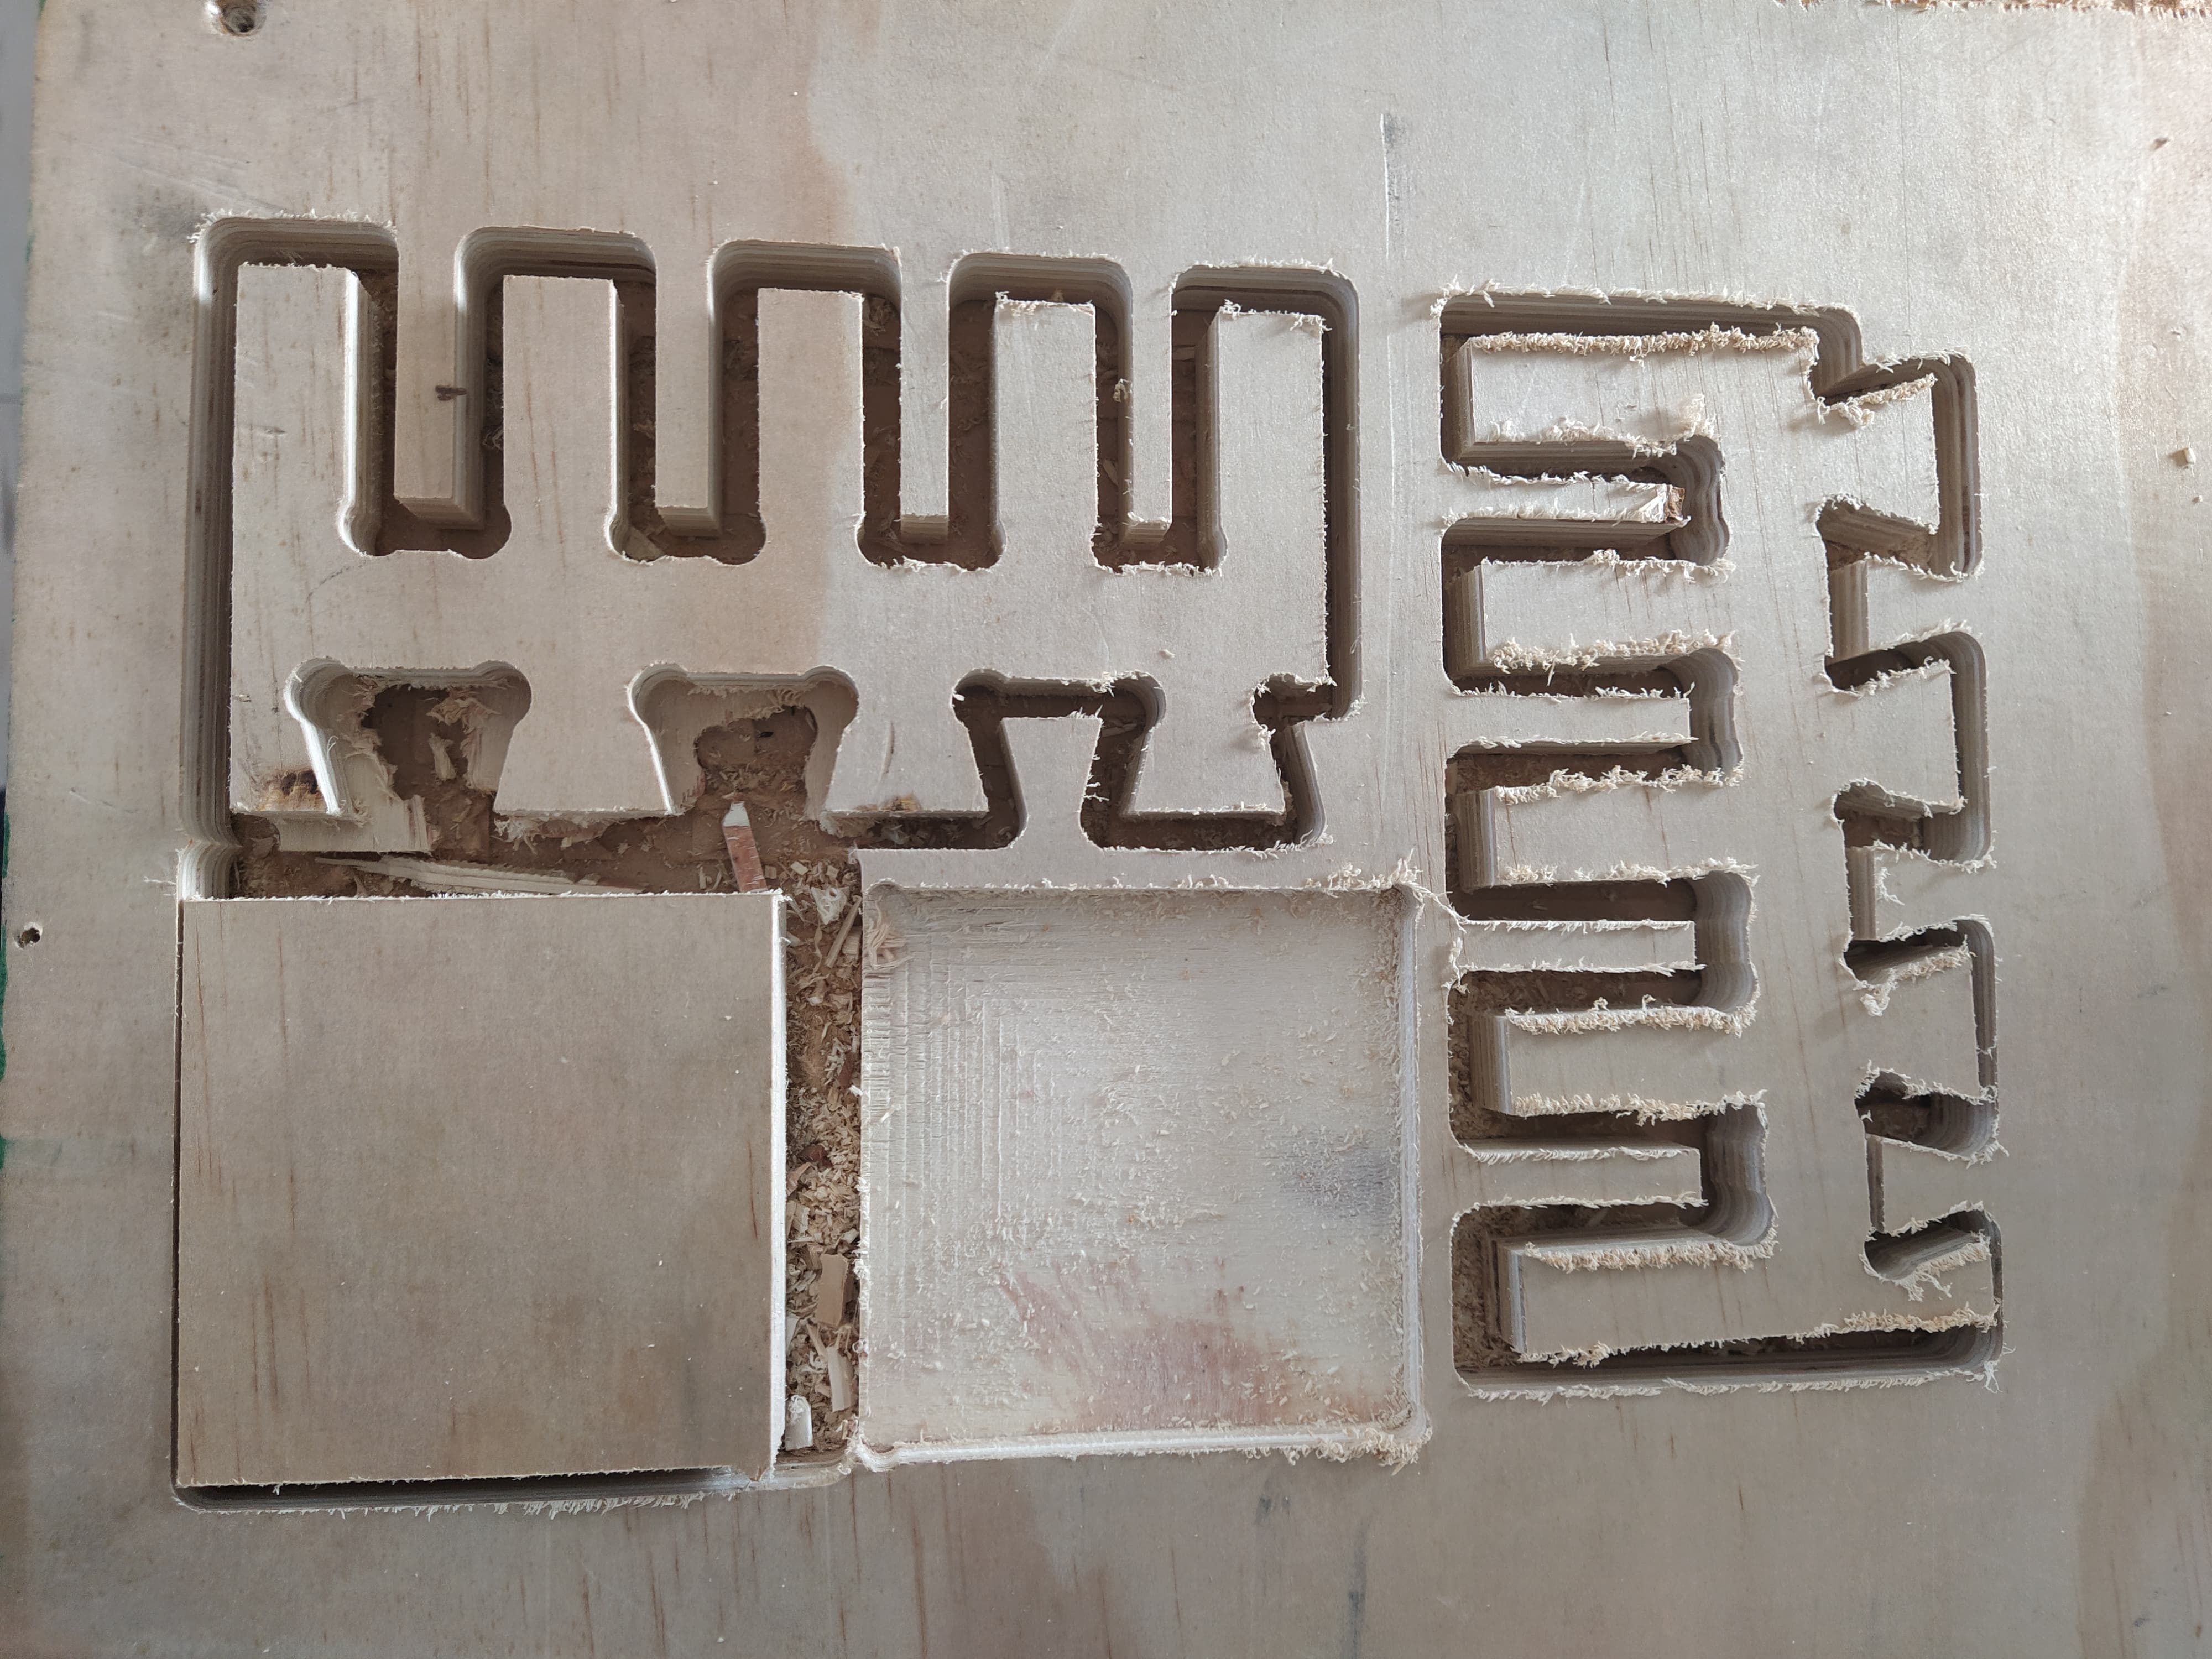
I was able to make adjustments and the strawberry change


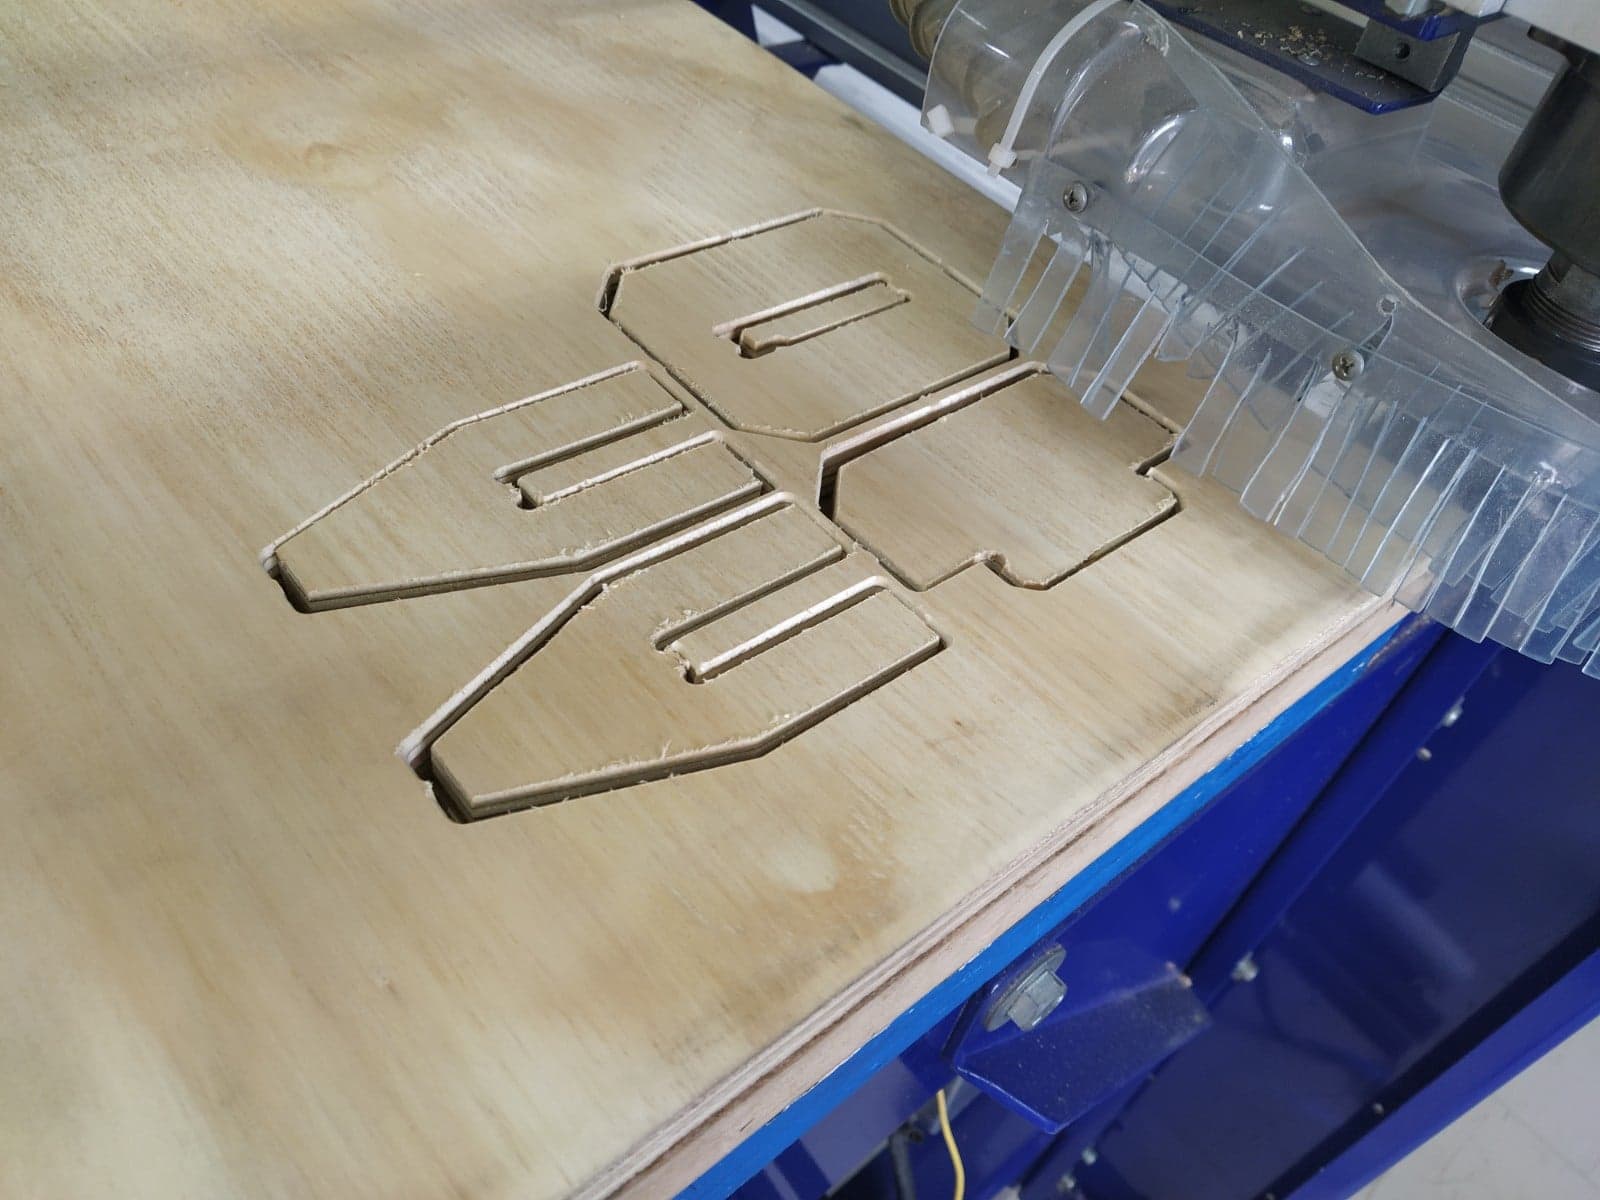
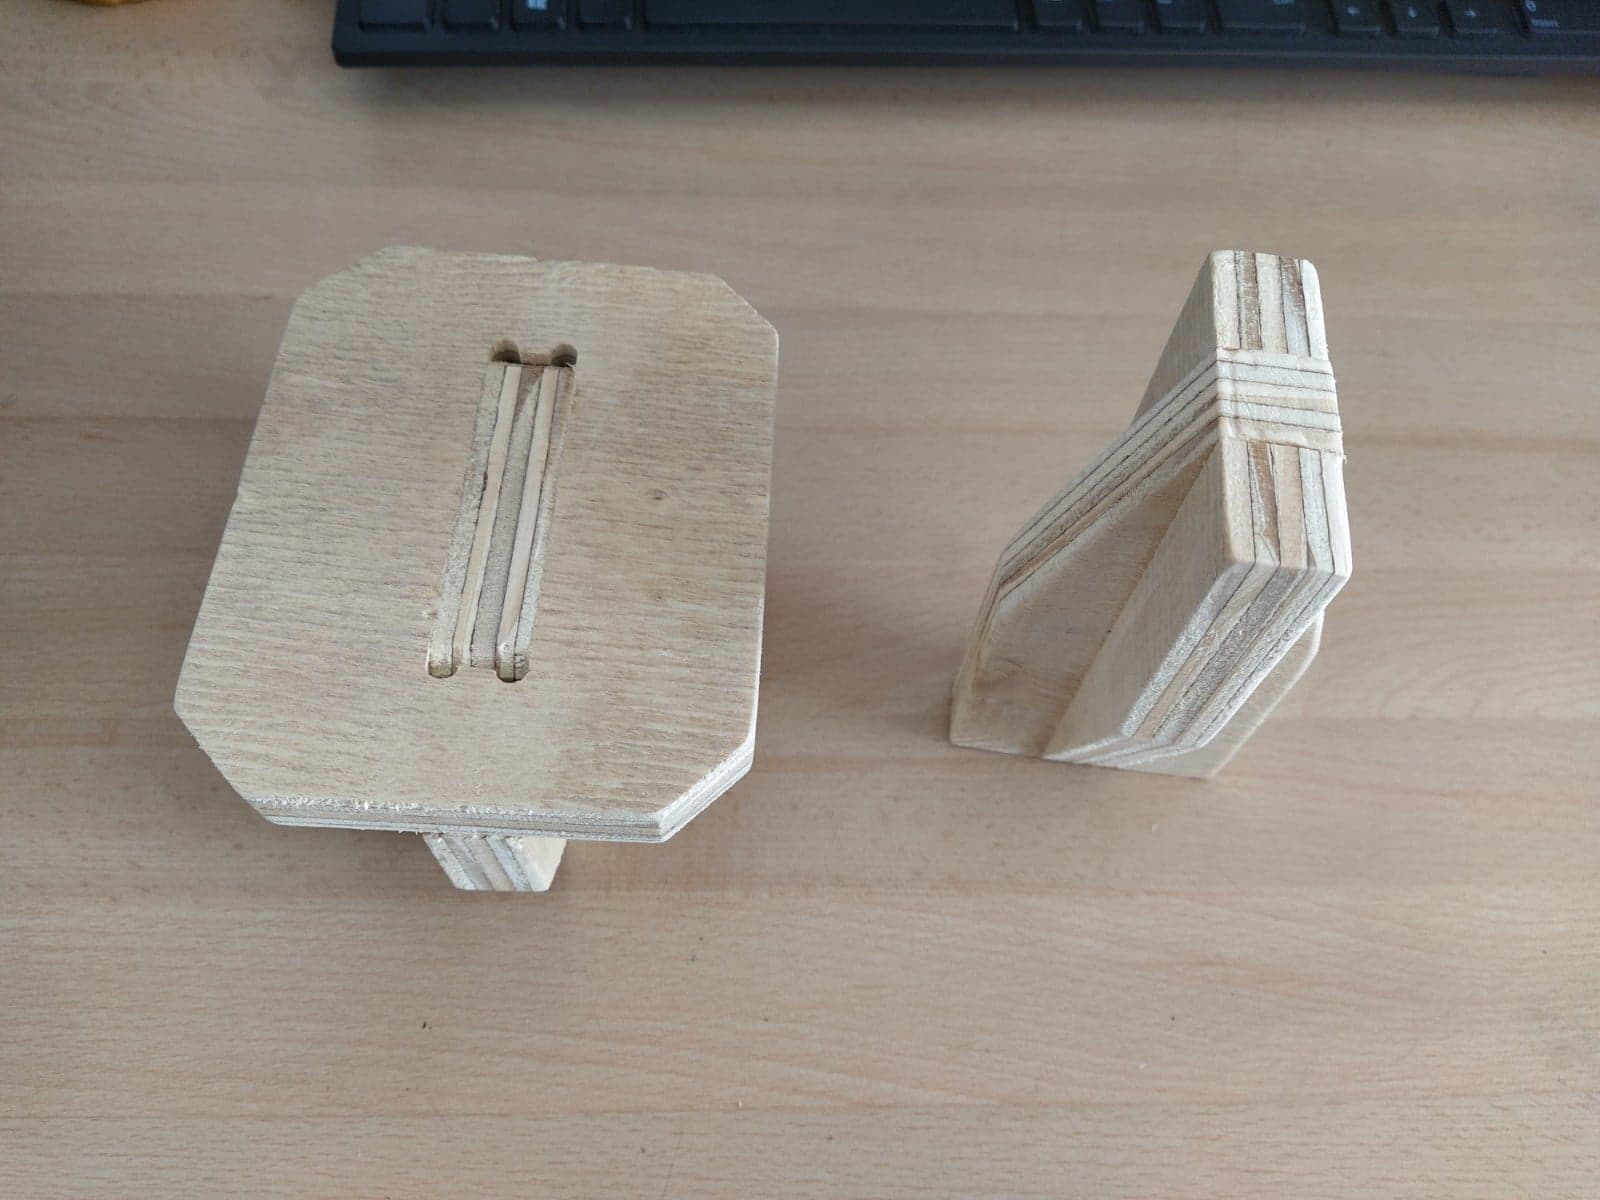
I made the design of pieces to test the union of the parts of my project.

I made the cut and tested the joining of the pieces to verify they have the correct fit.
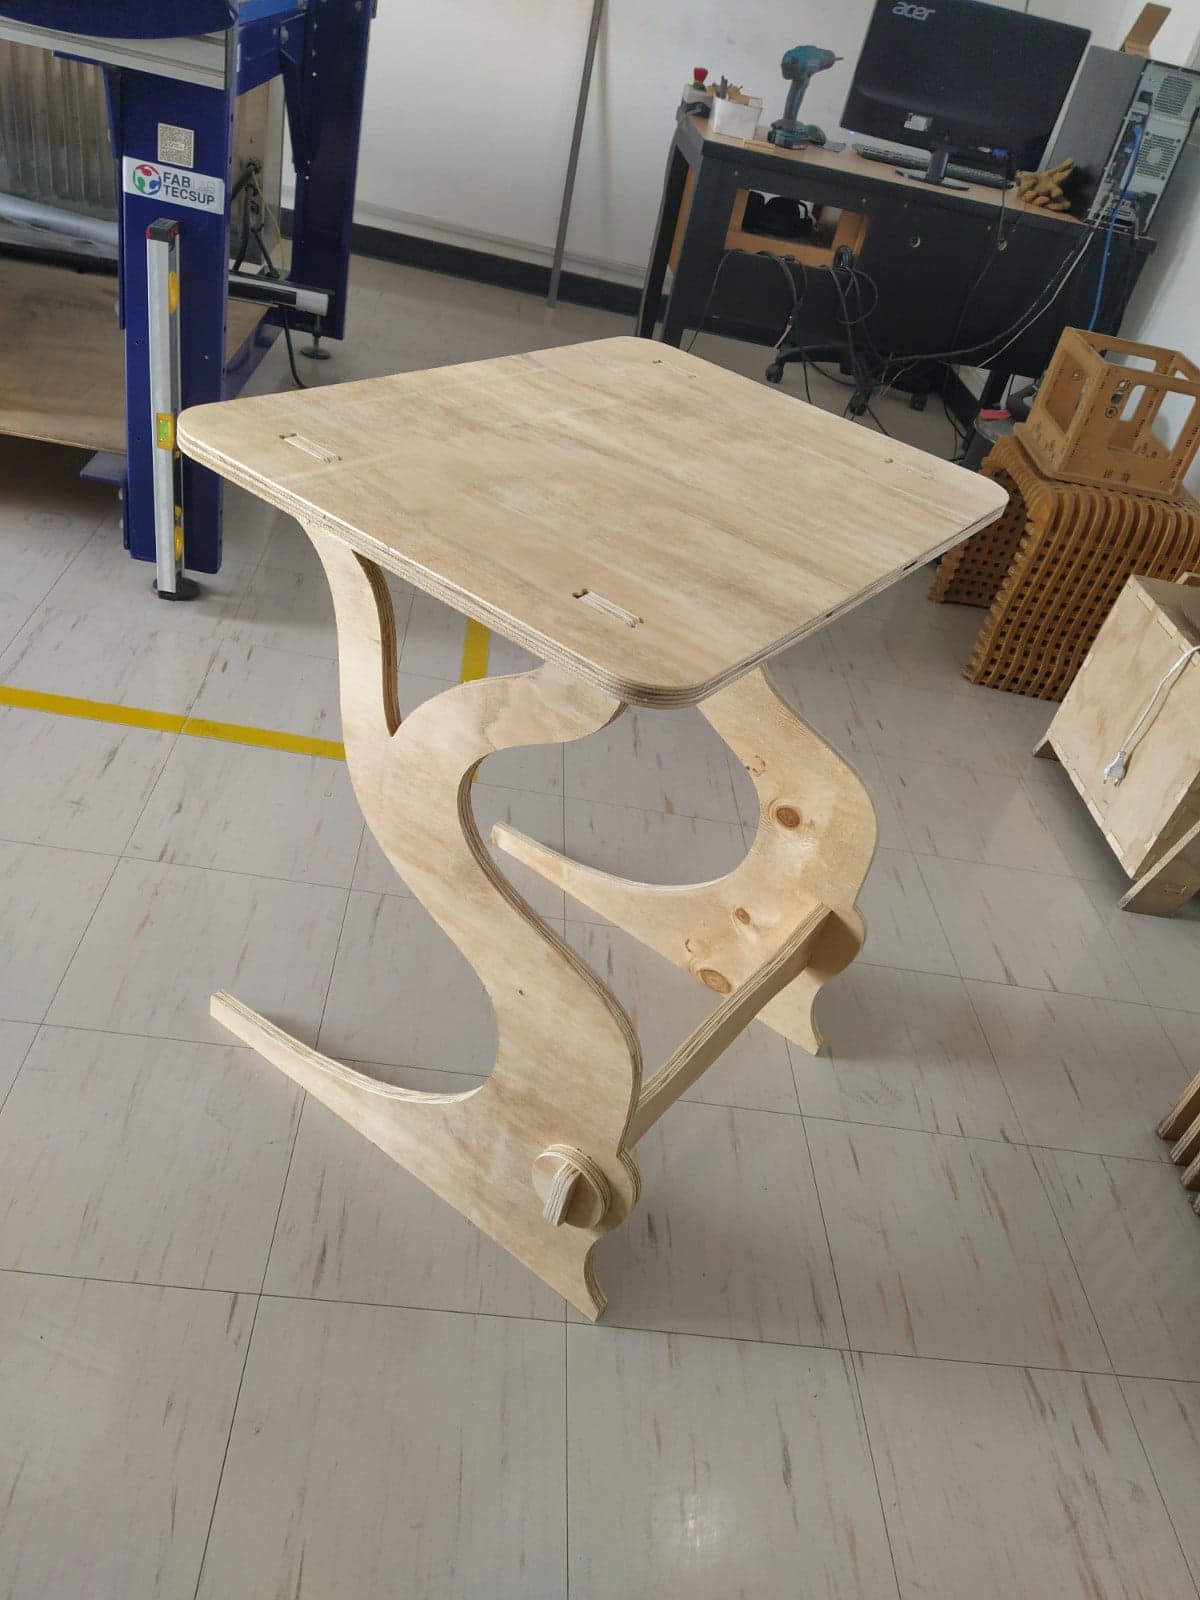
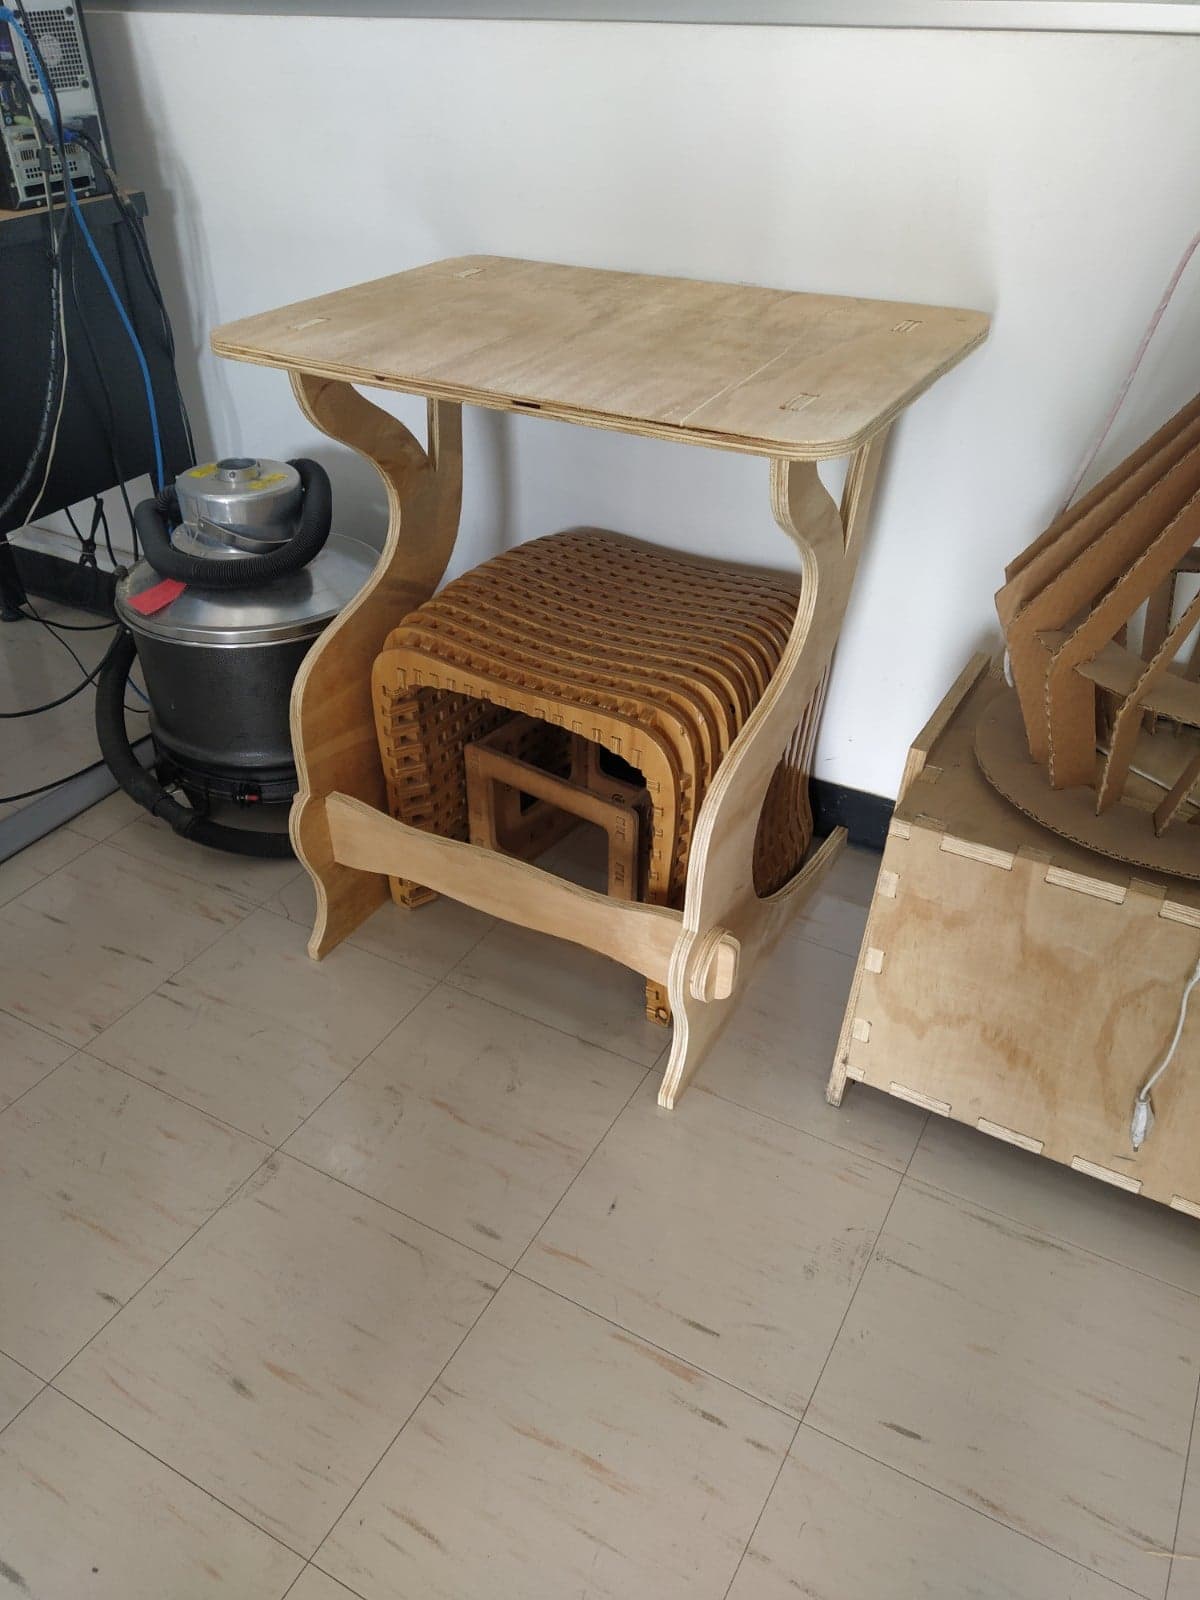
I designed a table whose legs are shaped like a tree trunk and which is easy to store in the fablab.


I proceeded to assemble the pieces using a rubber mallet.

This is the end result of my tabletop project.