Redraw an echo hello-world board, add (at least) a button and LED (with current-limiting resistor) check the design rules, make it, and test it extra credit: simulate its operation
I used KiCAD, It was not easy it is my first time. I learned my self and I watched youTube tutorial. and I start to draw the circuit. This is the link for the video I used to learn it CLICK HERE
Here I was starting to choose the components
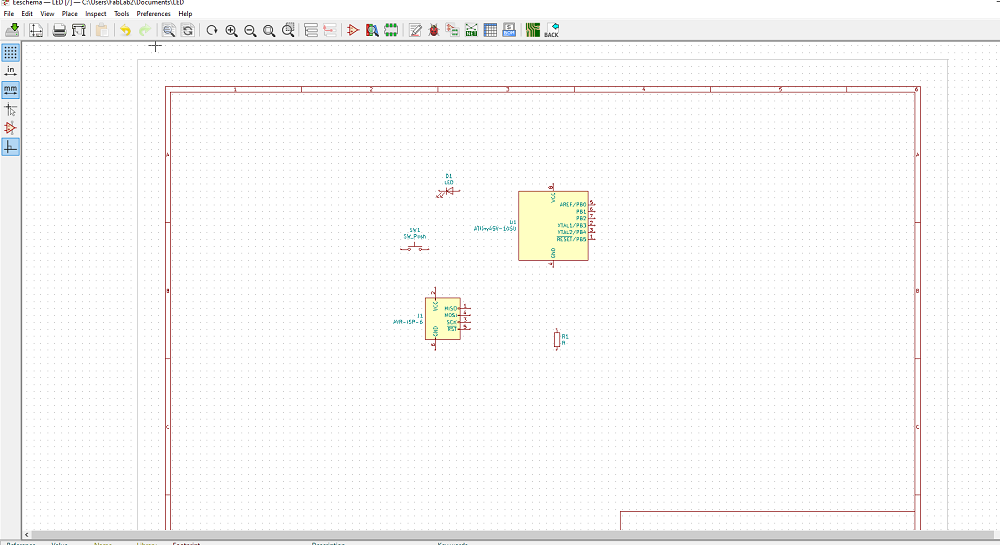
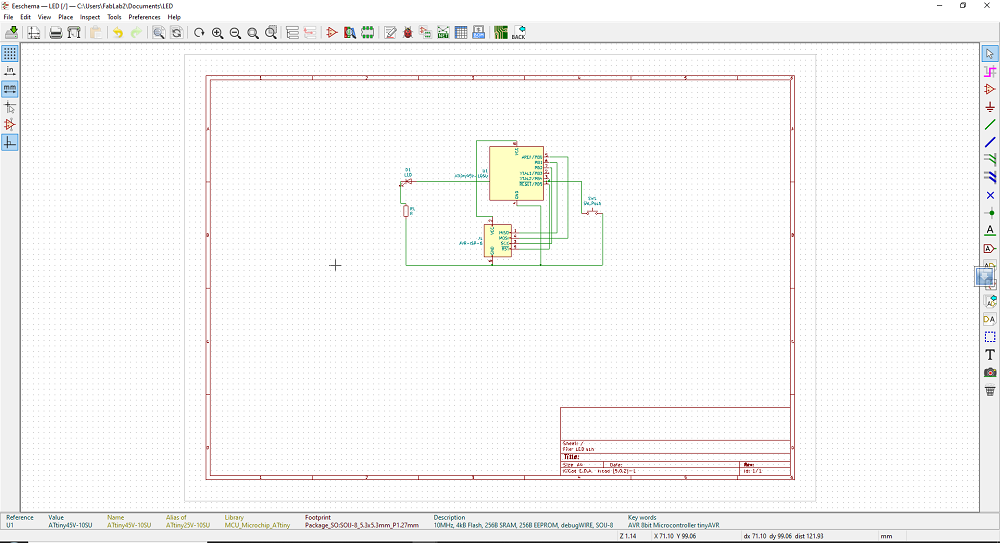
This image bellow, I connected my circuit
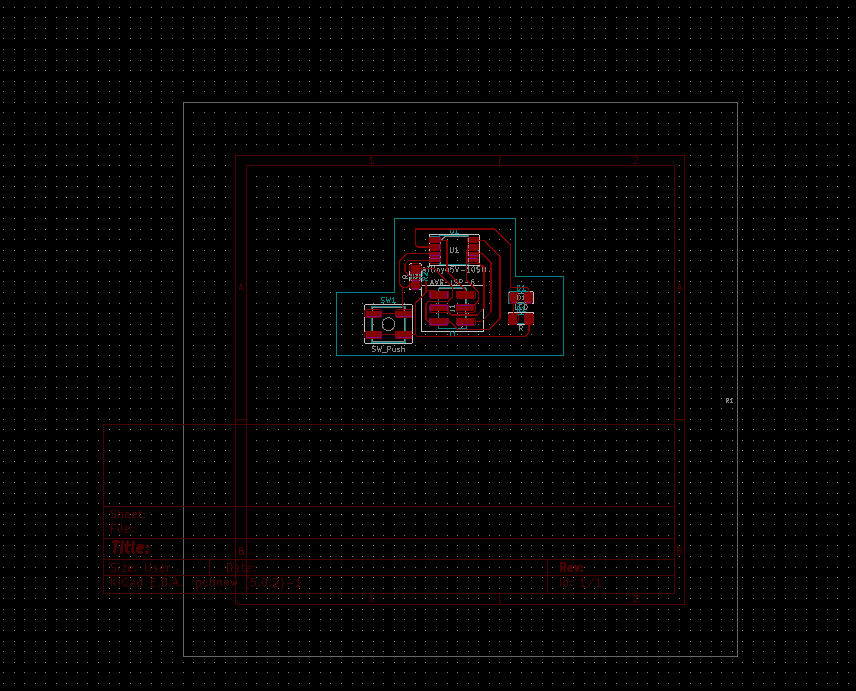
this image bellow it is footprint of the PCB Design
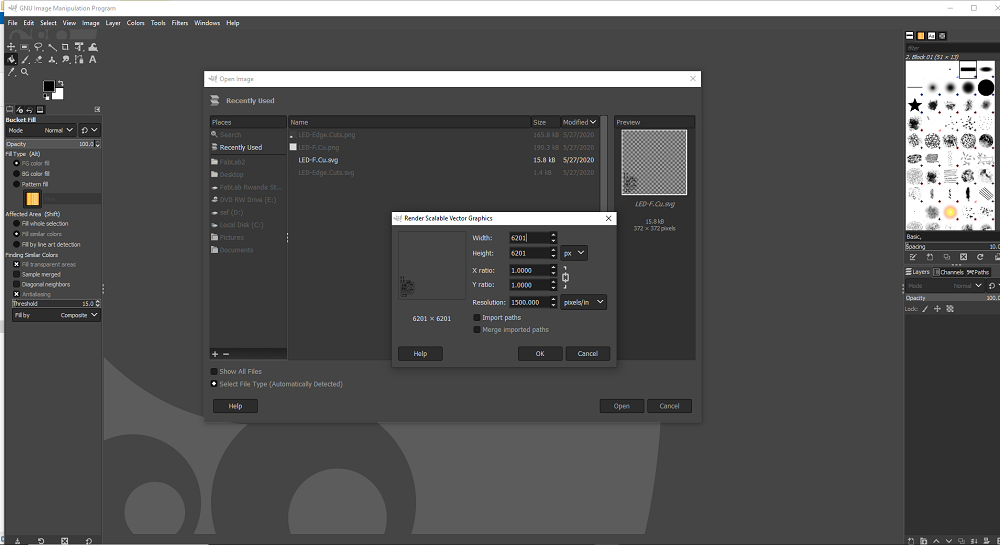
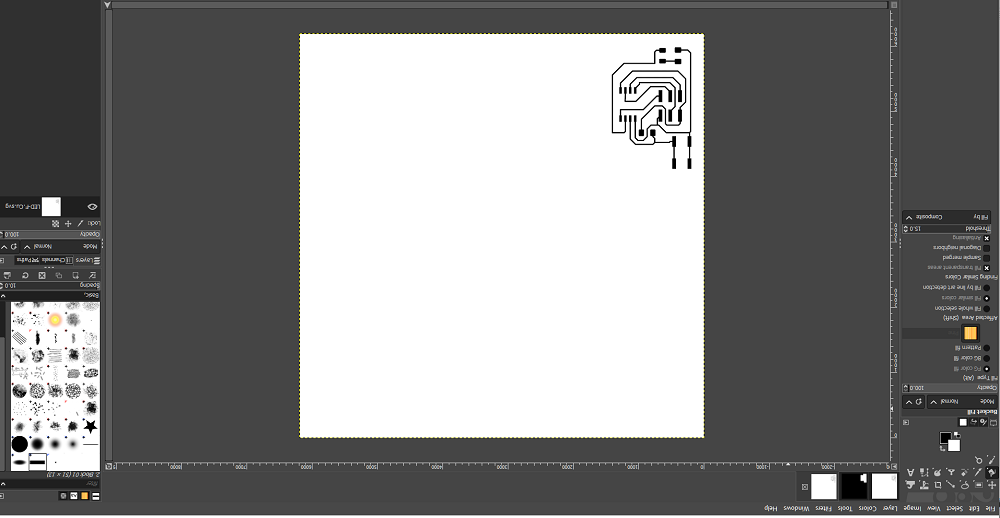
After making the footprint, I saved in svg file and I open the GIMP for making the image in PNG
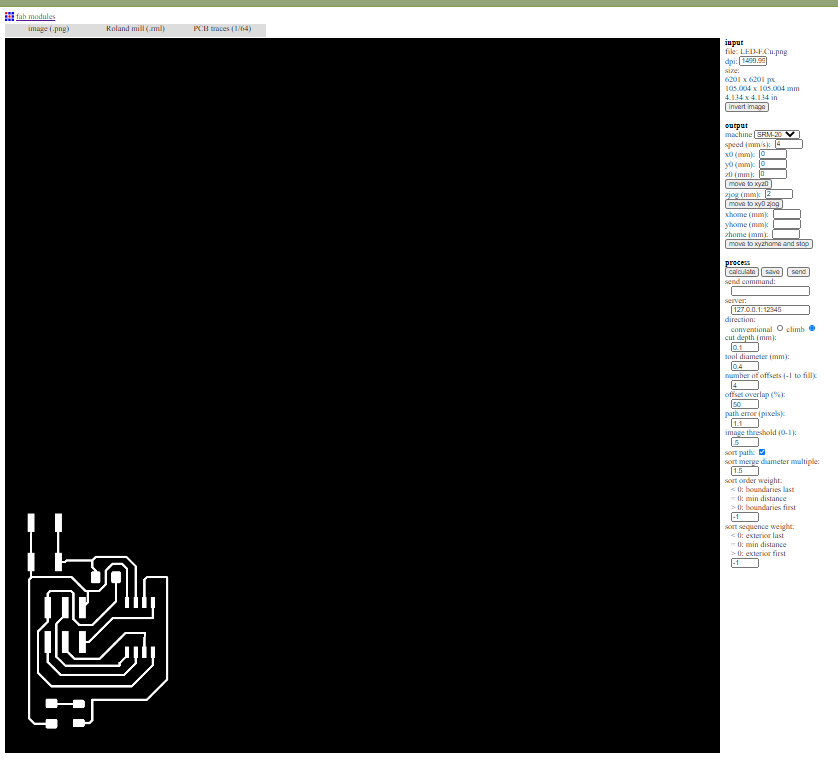
I created files to be used in fabmodules which will generate files roland machine can understand. To create files for fabmodules, I open plot feature of the KiCAD and selected SVG and plot only front copper F.Cu and bottom copper B.Cu. Below there are files generated.
I imported SVG images of the board in GIMP to generate their PNG.
This is Trace image.
I imported the PNG images created in fabmodules to get RML files which will be used in Roland monoFab machine.
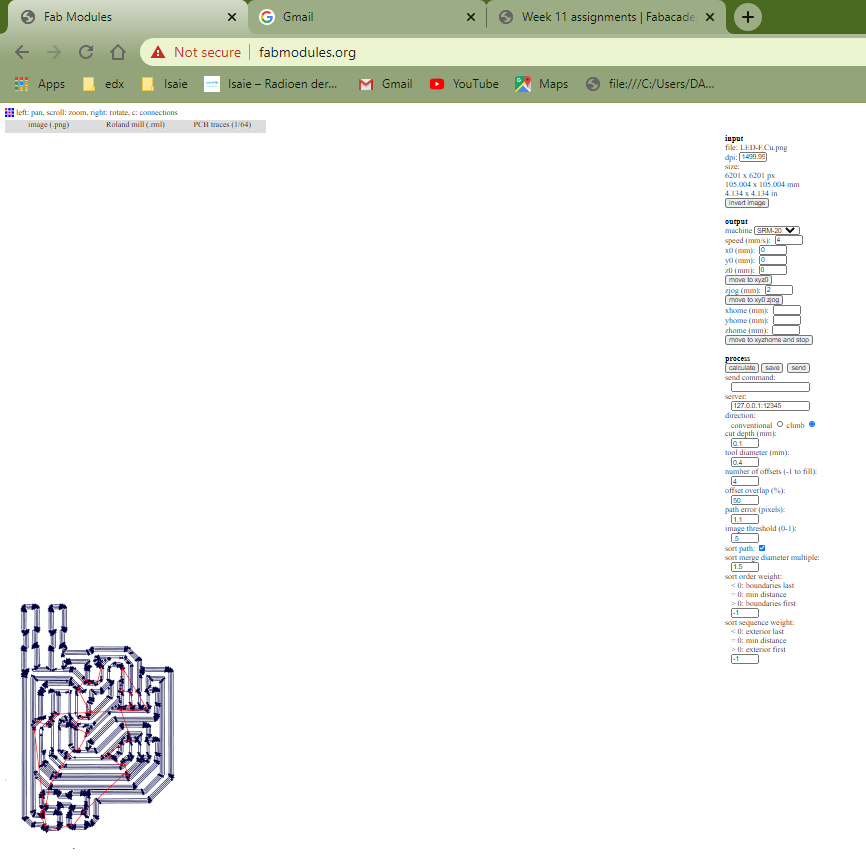
Here I imported Traces image in FabModules and on the right you can see setting I used to generate RML file for Traces.
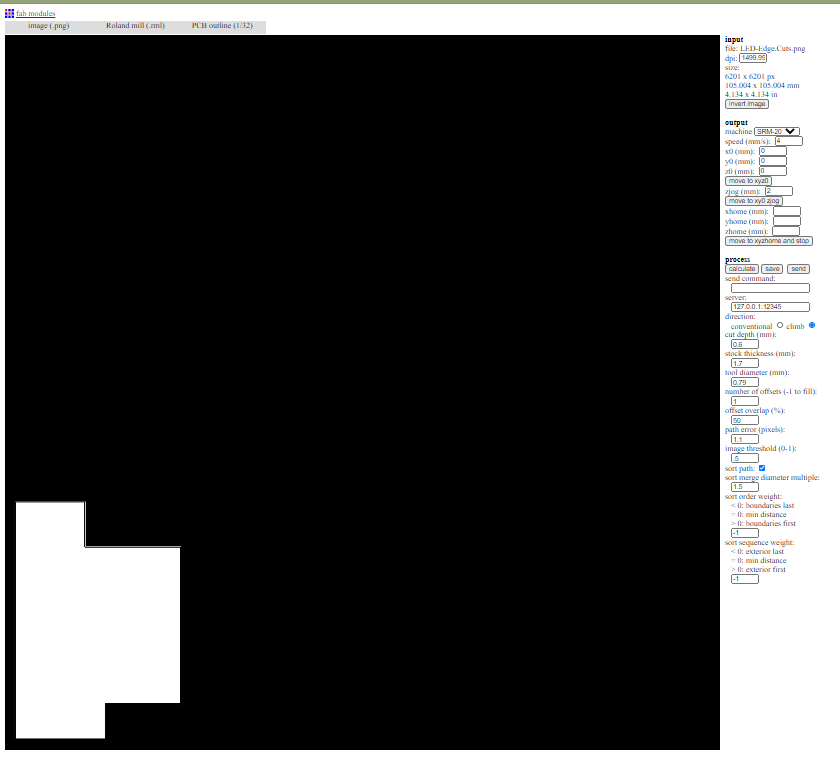
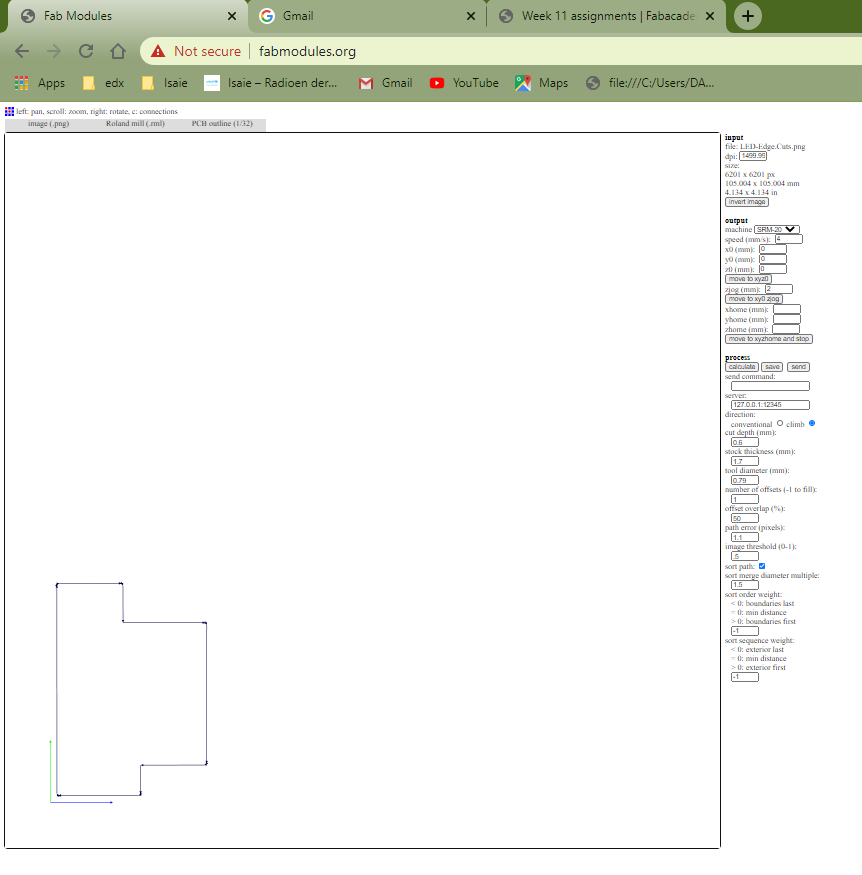
I imported Outline and generated RML file through FabModules.
The RML file is composed of the pass the Roland MonoFab machine will use to make the board
From the below image you can see the passes the machine will go through to make the Trace of the board.
In the below image is for the pass for making Outline of the board.
For steps and process of cutting the board you can refer to Week 4. I didn't add them to reduce the repetition.
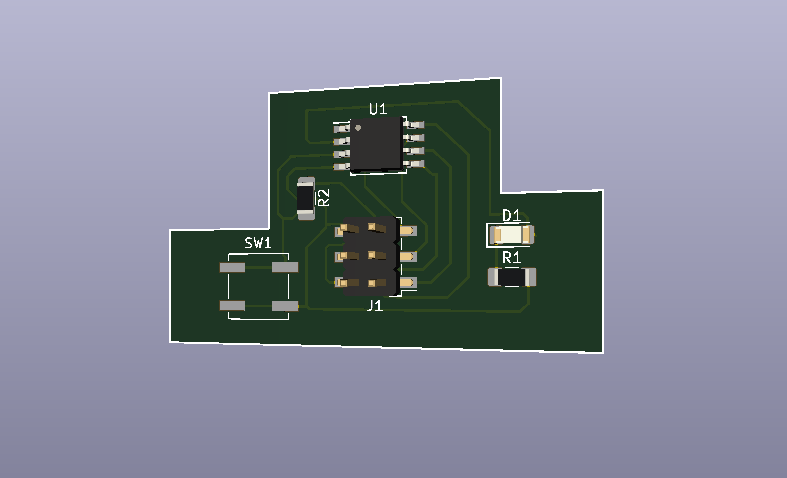
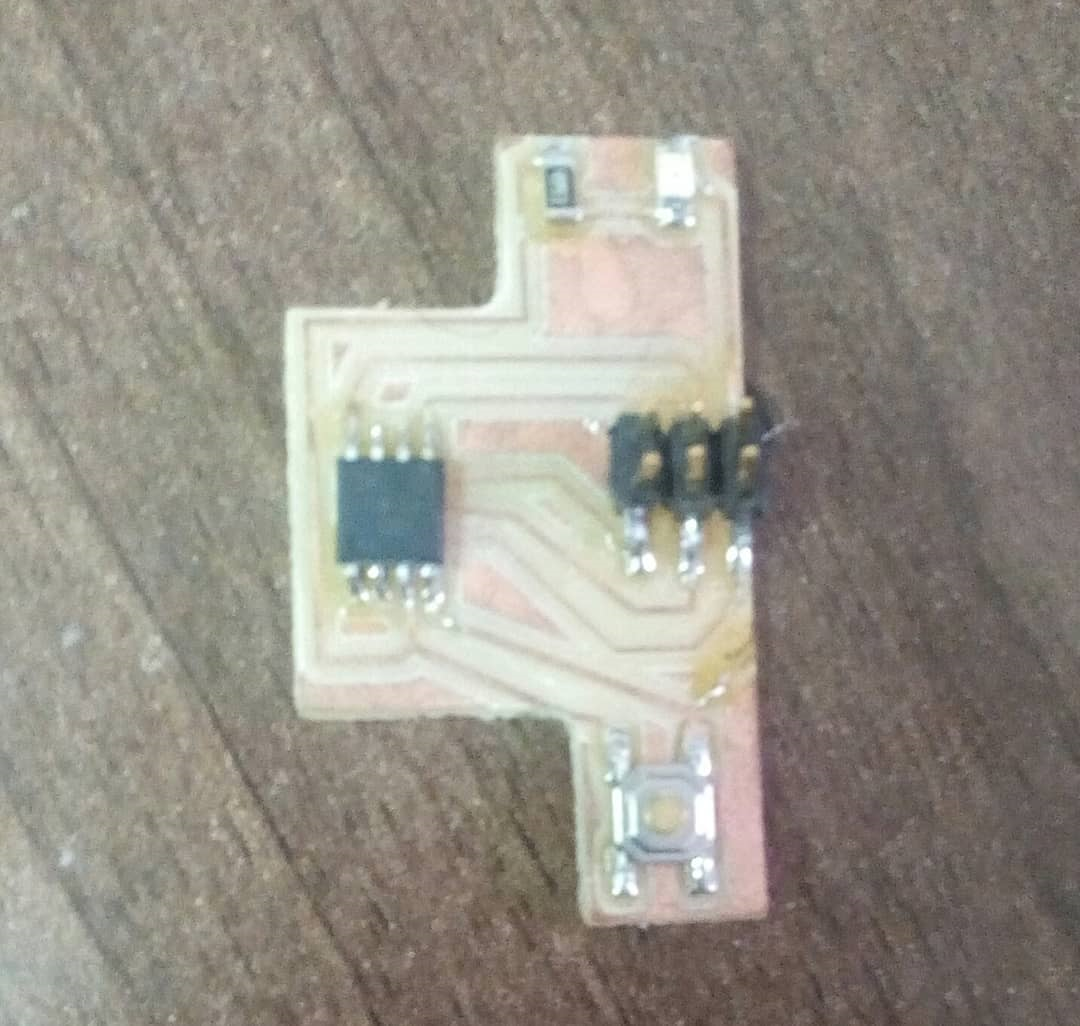
Here is the board after soldering all components and ready to be used.
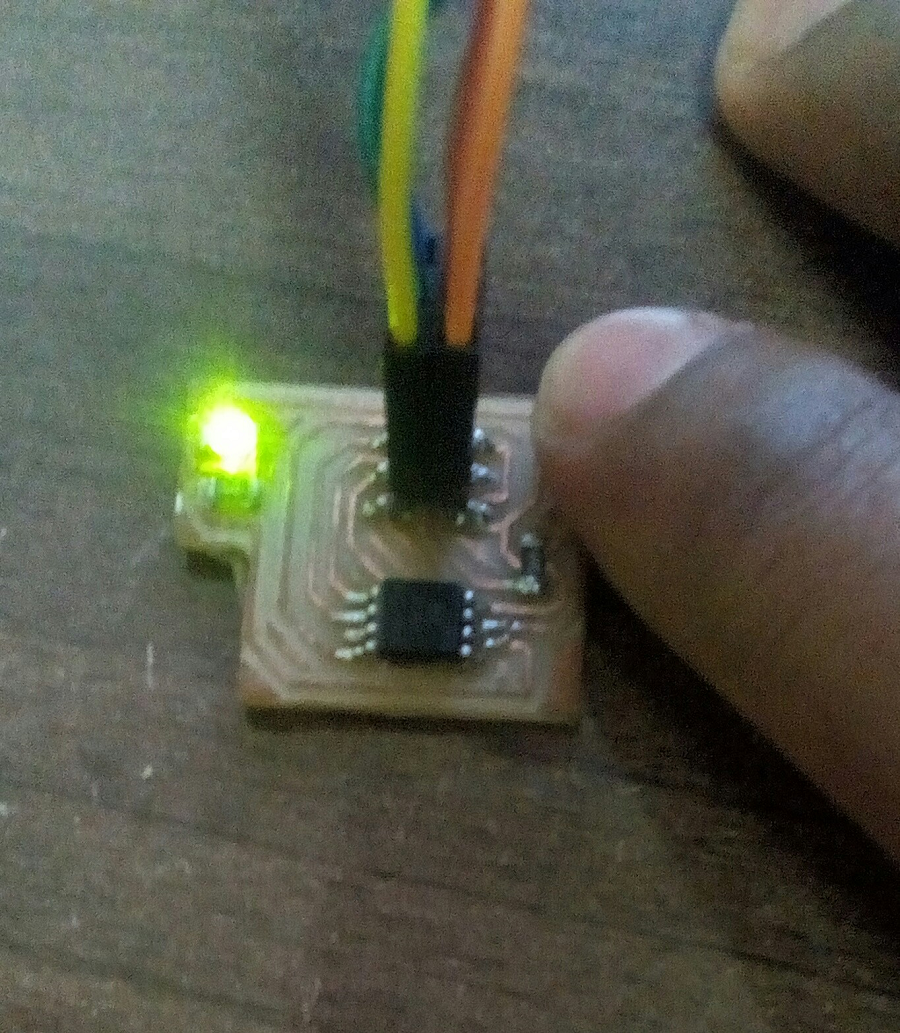
Here is the hero shot for the final board.
The original files used for this assignment can be downloaded here.