
Objectives
The purpose of this week session was to complete a individual task and group task. This session was introduction to 3D Printing and Scanning. The following is the breakdown of tasks for Week 5.
Individual Task: Design and 3D Print a Object and 3D scan the same printed object.
Group Task: Test the parameters for 3D Printing using available 3D Printers in the FabLab.
Individual Task: 3D Print and 3D Scanning!
3D Printing of a Spiral Vase
This task was about 3D printing a model and for this task, I had designed a spiral vase in the SolidWorks software using multiple features such as Revolve, Sweep, Fillet, Shell and Circular Pattern as shown in image below.

Then the 3D model of Spiral Vase was saved as .STL file format in order to be imported into 3D Printer software.
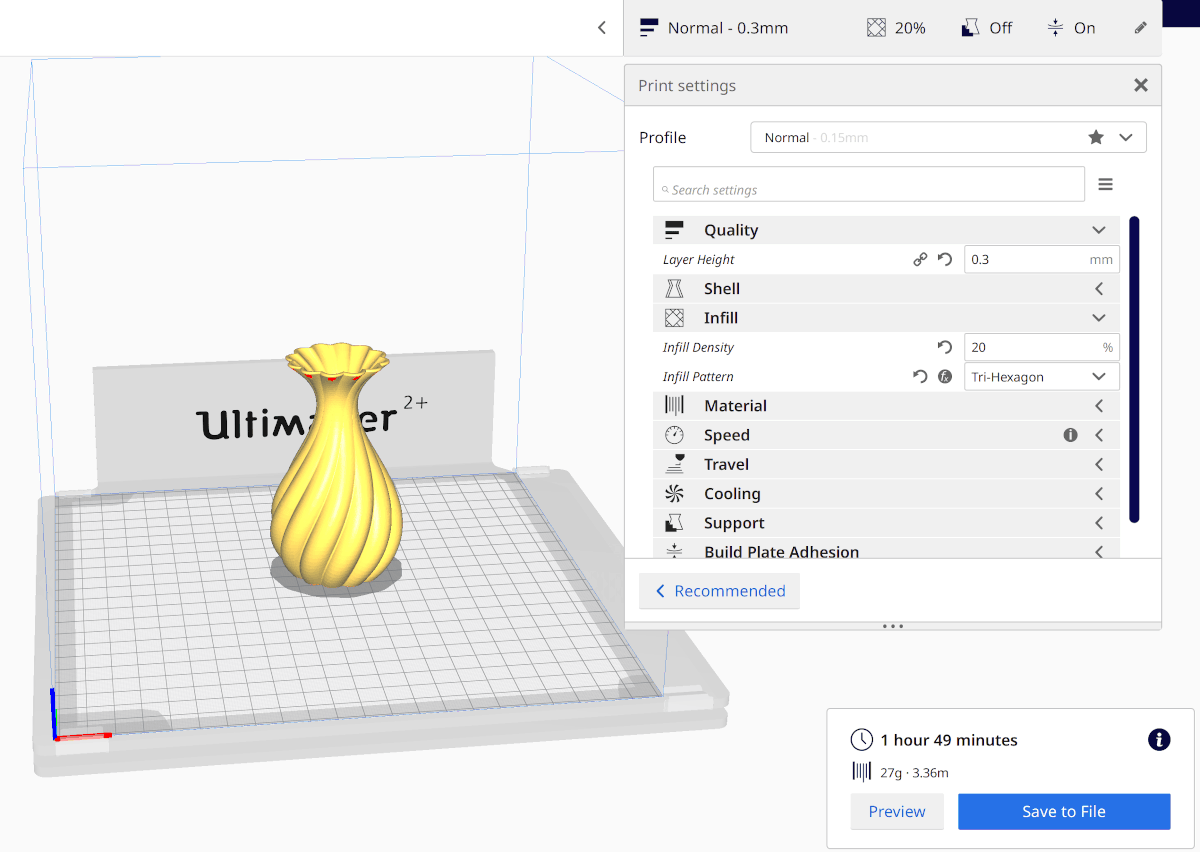
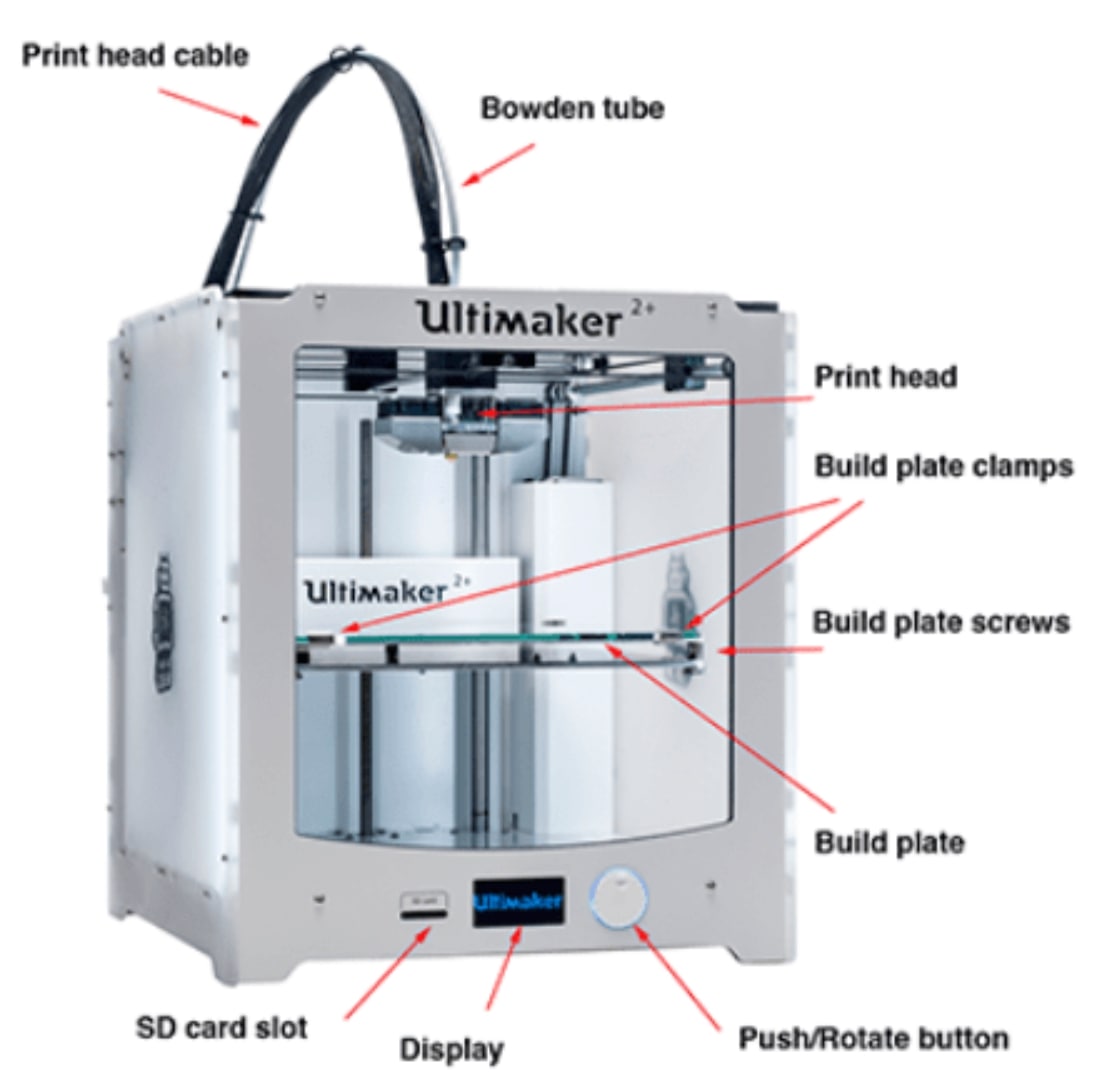
Then the .STL file of the Spiral Vase model was imported into CURA software of Ultimaker in order to be calibrated to be 3D printed. The layer height for the 3D printed model was set at 0.3mm and infill density for the model was set at 20%. The entire model was set to be 3D printed without support material as the design does not feature any angles greater than 45 degrees thus making it easy to print without support.
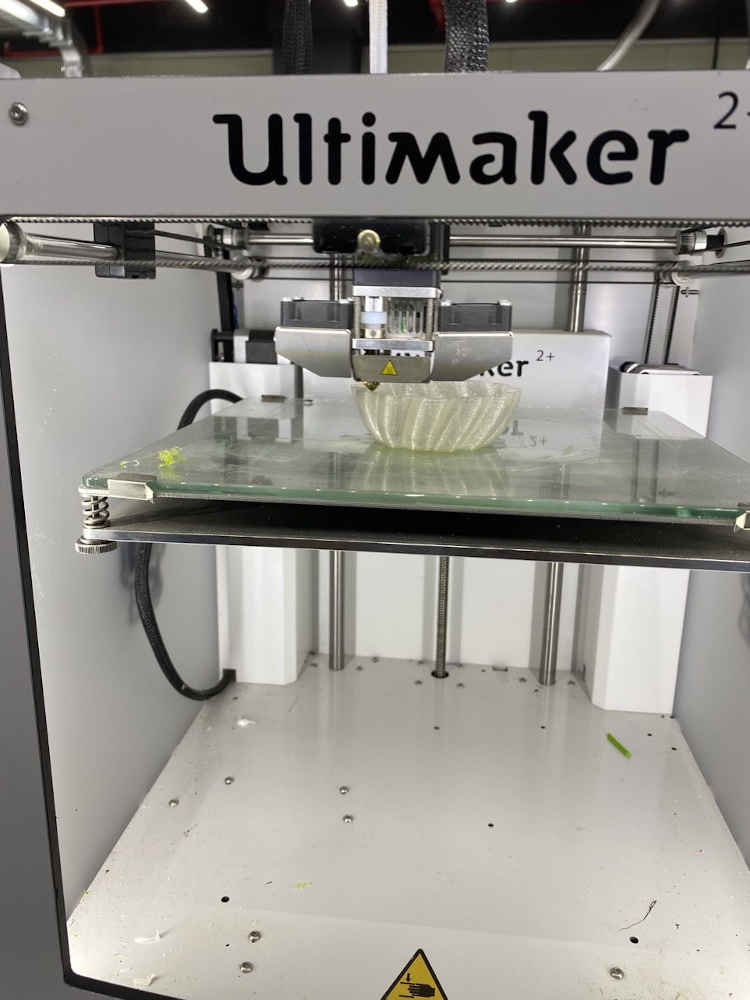
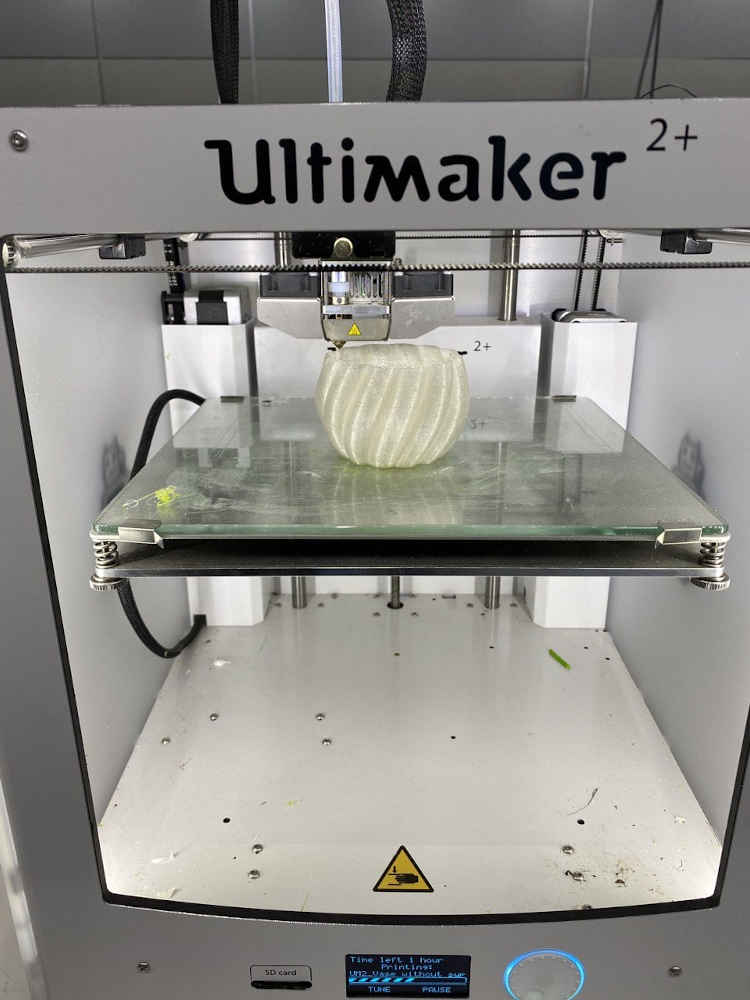
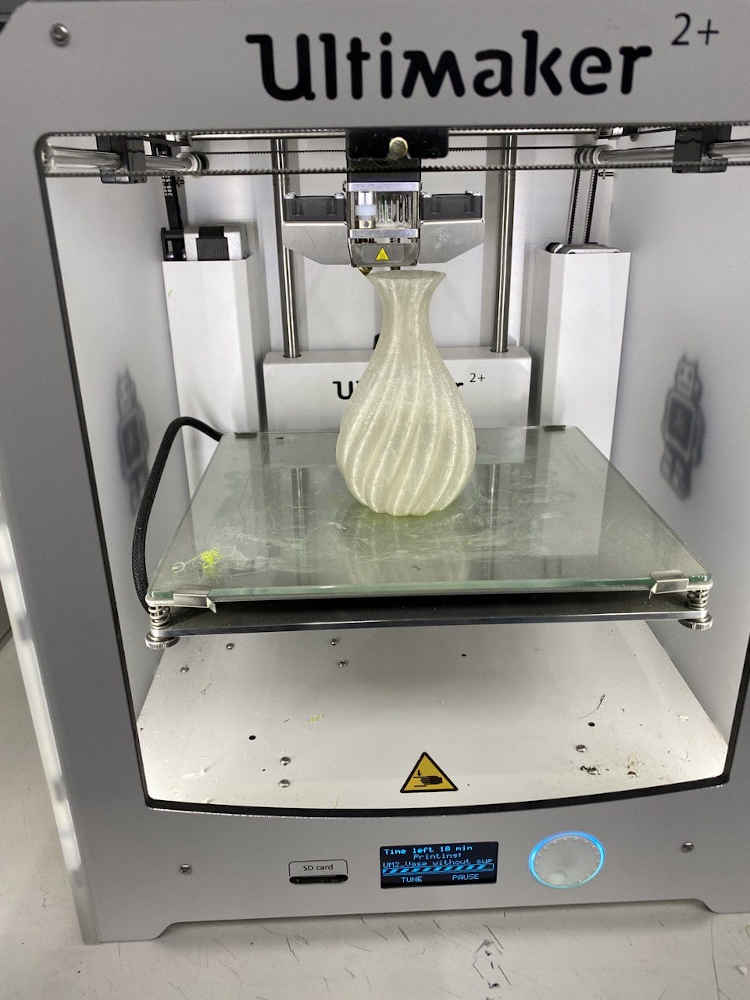
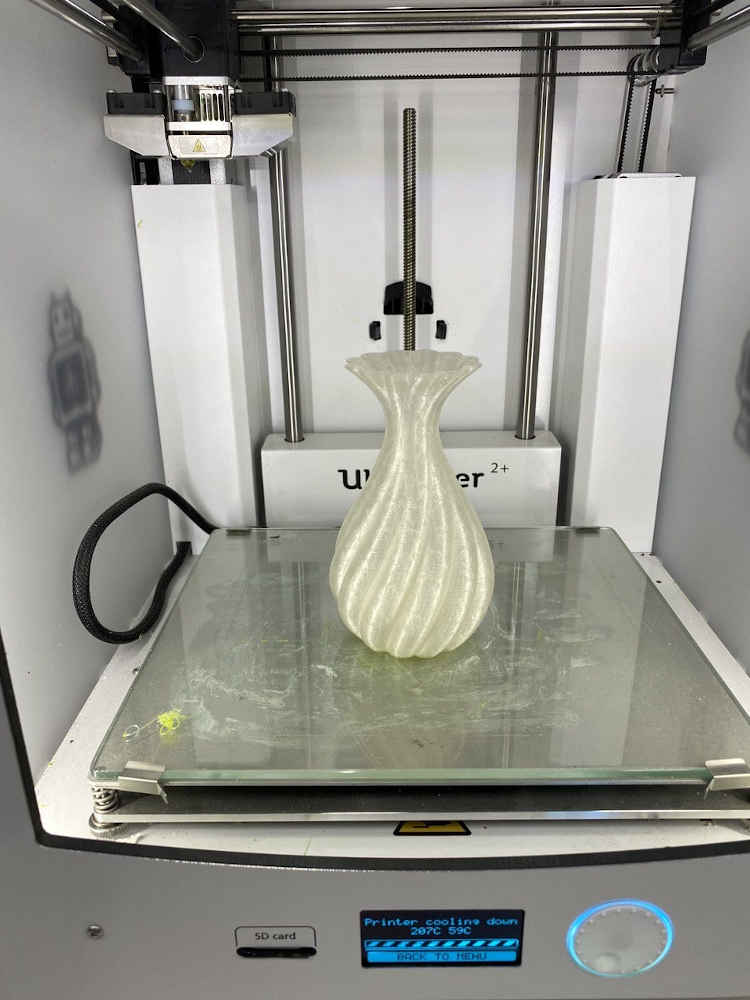
The Gcodes generated by the Ultimaker Printer was taken in a flash and added the 3D printer to begin the printing process. The following are the 3D Printing process of the Spiral Vase in the Ultimaker 2+ Printer at the FabLab.

3D Scanning of a Spiral Vase
After completing the 3D printing of the Spiral Vase then the model was 3D scanned using the scanning tool in the FabLab. The following are steps for 3D scanning of the model.
Tn order to do a 3D scan we used the Microsoft Kinect 3D scan device which is easy to use and works well with majority of the 3D scanning software.
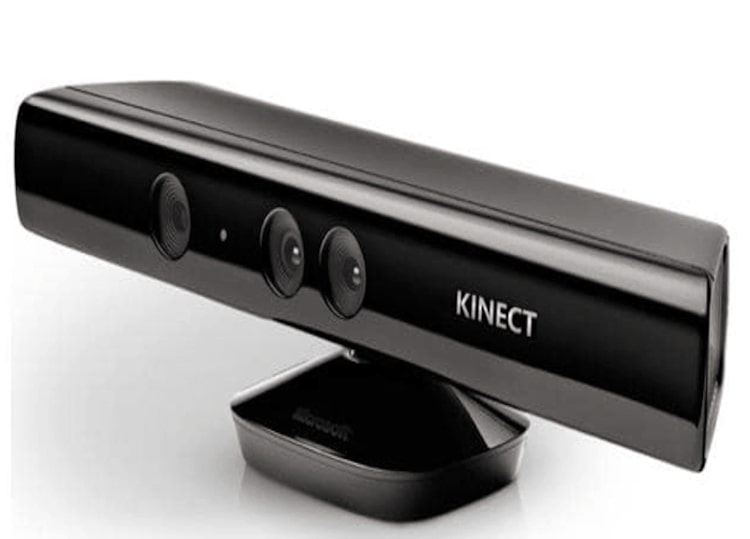
Then the printed 3D model of the Spiral Vase was placed on a rotating platform in order to create a complete 360 view of the model to be scanned by the kinect sensor.

This task was about 3D printing a model and for this task, I had designed a spiral vase in the SolidWorks software using multiple features such as Revolve, Sweep, Fillet, Shell and Circular Pattern as shown in image below.
3D Scanning of a Spiral Vase
After completing the 3D printing of the Spiral Vase then the model was 3D scanned using the scanning tool in the FabLab. The following are steps for 3D scanning of the model.
Group Task: Testing the Parameters for 3D Printing
This task was about testing the printing parameters for Ultimaker Printer. The following are the steps taken to complete this task.
In order test the printing parameters, a standard 3D model was downloaded from the Thingyverse website which featured multiple factors such as overhang angles, text, extrusion, cut and shapes of varying sizes.

Apart from the standard model, infill density of varying percentage such as 20, 40 and 60 respectively was also tested.
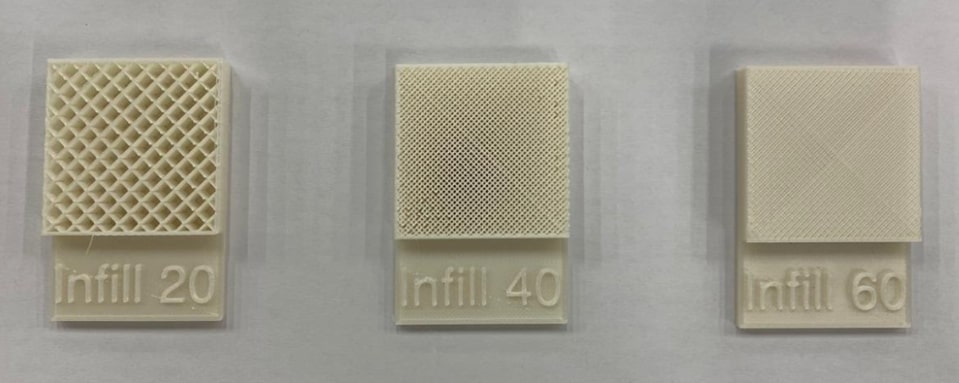
Conclusion: The standard model and infill density samples were printed using the Ultimaker 2+ printer without any major issue. The printed models were all printed in the same manner as the CAD models. It was also noted that the standard model did not required support for the overhang structure as the angle was less than 45 degrees. The rectangular holes and circular holes had variation in diameters with -0.14mm and -0.85mm respectively in comparison to CAD models. The rest of the shapes were good and the infill density samples also looked good as per the CAD models.