06. 3D Scanning and printing
Today we are printing a 3D earring.
We have two printers in the lab: Resine and Filament
Resine
It’s heavier and it breaks, but it’s very fine. It is 100% solid, making no mesh inside. That’s why it’s pretty heavy.
It’s more expensive, and is used for more brittle stuff. It only uses 1 material. The support will be generated automatically
After printing, you need to give it a bath of resine in a bath cage for 20 minutes, using goggles. And then put it in the tanning machine
It’s not very practical. However, the resin printer, despite requiring heaps of safety nets due to its high toxicity, does produce beautifully fine prints we will probably try to work with in the future.
Filament
It’s lighter and sturdier. We can print in
- PLA: the most common one, creates less particles
- ABS: a bit like legos, might be a bit toxic
- PVA: water-soluble material. It is used when the item we print requires support (eg. when you create something with a long overhang)
It prints making honeycombs or a mesh in the inside.
There are 2 nozzles on the printer: one for the print, one for the support. For the first print, we will use 2.85mm PLA + 2.85mm PVA.
First prints
We download a sketch from Instructibles. It’s a .stl file used for stereolithography
- We open Ultimaker Cura
- Select Red PLA 0.25mm and White PVA 0.25mm
- We import the 3D model we downloaded (remember it has to be watertight, i.e present a continuous mesh of triangles)
- We don’t need the Infill to be too high, we want Adhesion checked and we choose a pretty high Profile- this will create thick layers with fewer details but that are faster to print.
- We also reduce the size of the mill as we don’t need any large support around the base
- We reduce the size because we want to print something small
- We save to USB, bring it to the printer and launch the print job.
The first file is a torture test.
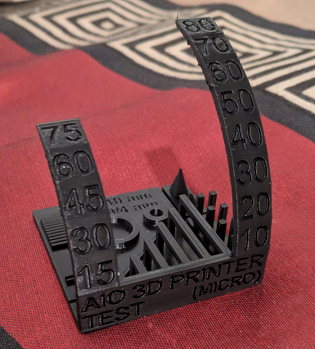
It’s clear the printer has trouble printing overhangs over 45 degrees.
The second file is an earring downloaded from Instructibles.com
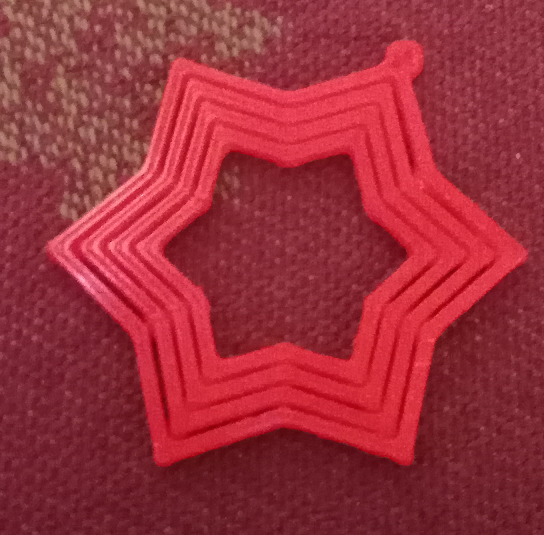
We printed it pretty small. It only took 8 minutes.
3D Scanning
We are going to scan a little statue that was printed with resine a few weeks ago. 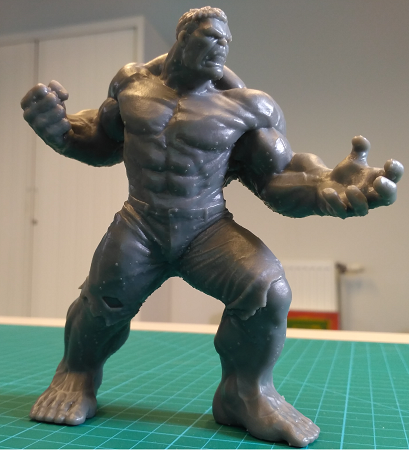
We took 2 circles of 360 pictures - one higher, one lower. 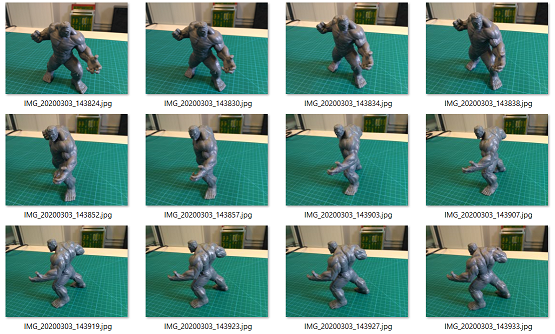
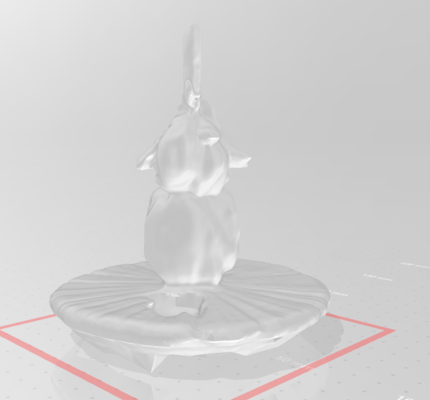
After uploading everything to Recap Photo, we waited for a few hours and got the final model. The end result is pretty weird 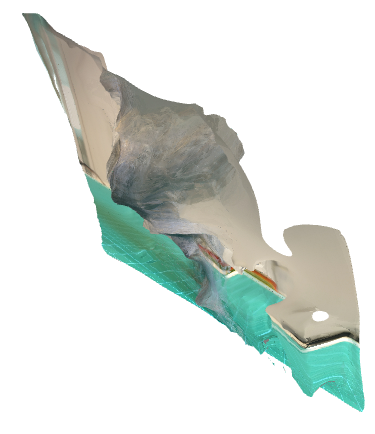
It also looks flat 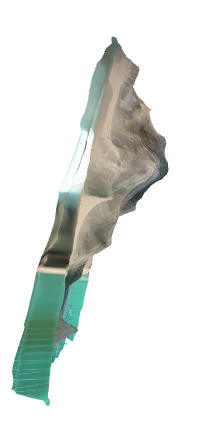
My guess is that this is due to the scanning process we used: we manually pivoted the model by 5-10 degrees after every shot while keeping the camera steady in only one place. As you can see, the background never changes. I guess this is what confused the program.
Also it seems that the lighting wasn’t ideal, with some areas too dark and some areas too glossy. We will do it a differently next time.
Re-try
This time we used a FabScan, an open-source 3D laser scanner.
This is the assembled case 
The HAT parts are pretty elementary 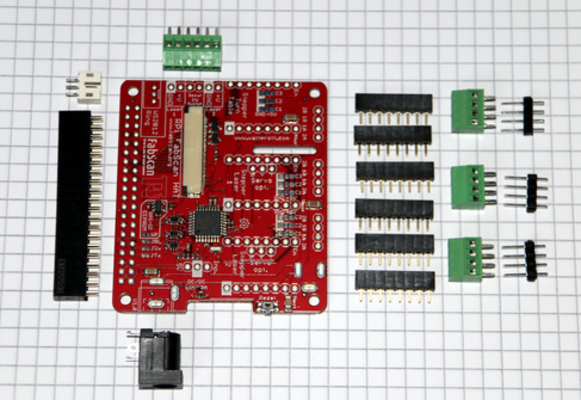
This is the FabScanPi HAT with soldered parts 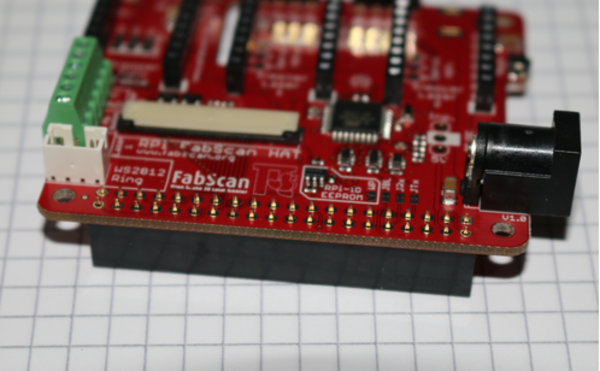
This is our first software test 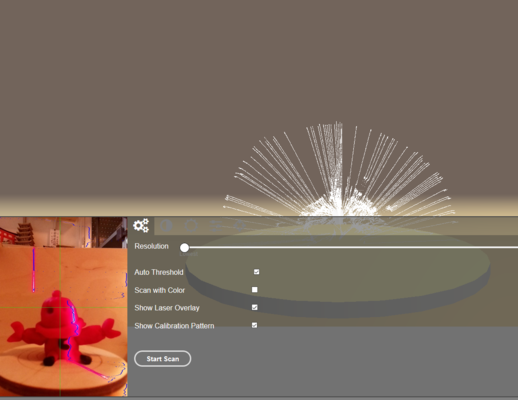
After modelizing the snowball, we get an acceptable stl file 