Home Assignments About Final Project

Rodrigo Shiordia

Week 5 Assignment: 3D Printing and Scanning


Group Assignment Modeling the part Printing the part Scanning a part 3d Printing in my final project assignment files BONUS SHOWCASE! Group Assignment Link

Group Assignment

Here is the link to the group assignment

We made two tests, one on the Rostock Printer and another on a Sindoh Printer. The Sindoh Printer had more quality. Group Assignment Page

This id the model we printed:
Sindoh Rostock Sindoh Rostock

These were the settings on both printers:


back to top

Modeling the part


Using Freps to model
I was very interested in using Freps to model this assignment. Freps are very powerful tools for modeling complex parts that can be constructed by using mathematical signed distance functions to calculate the shape of a part. I used Axolotl, a plug in for grasshopper that creates the distance objects to model the parts using constructive solid geometry.
We were asked to model something that cannot be created using conventional subtractive manufacturing, so lattices and fills are the way to go. I used a gyroid function intersected with some pipes. These were the steps to model my part:
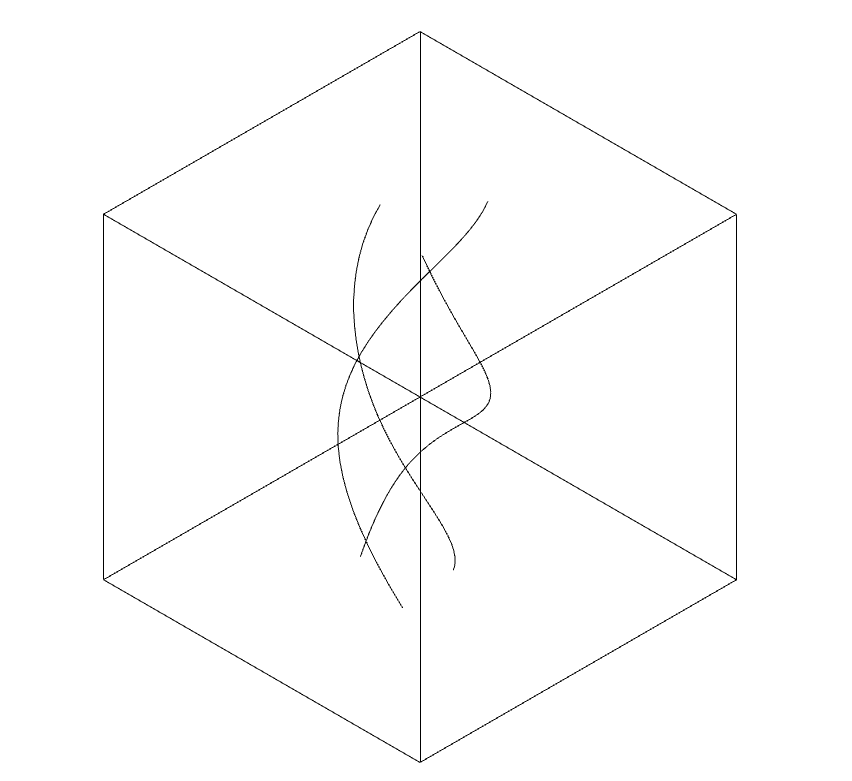
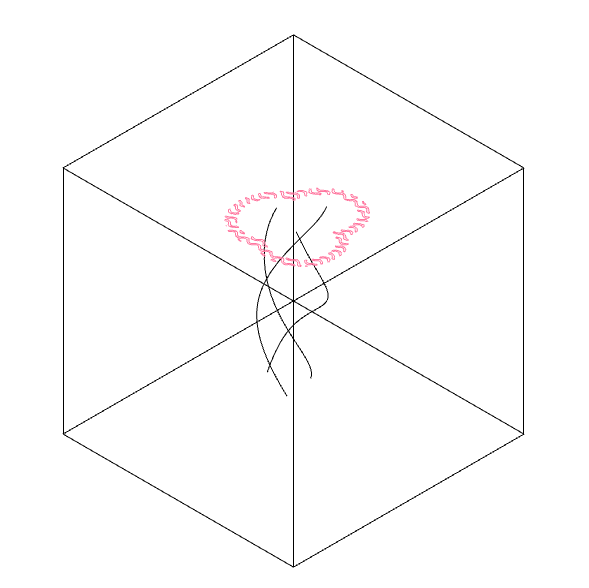
The first step was to model some curves in rhino using the curve command. I made three curves that somewhat entwine with each other. I also created a reference box, because Axolotl needs to work with predefined boundaries, or else it will completely freeze the computer. This is because axolotl is calculating your geometry in a three-dimmensional grid of points, and the bigger the space it has to do it in, the more points it calculates and this gets messy very fast, so it's better to use small boxes as boundaries. It's important to configure the bounding box and the isosurface settings correctly.
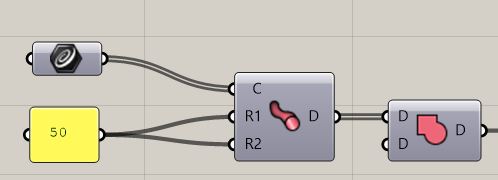
The pipes were modeled using simple curves, and thickened with Axolotl's pipe function in grasshopper. The pipes were then boolean unioned to create a single vase like object.

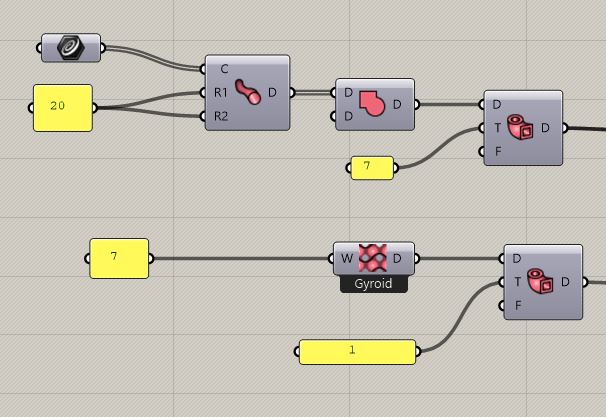
After boolean unioning the pipe objects, I used axolotl's shell component to create a hollowed out geometry.
At the same time, I'm creating a gyroid object that creates this sine based surface that tiles the space. I also thickened it with the shell component, albeit with a smaller radius.
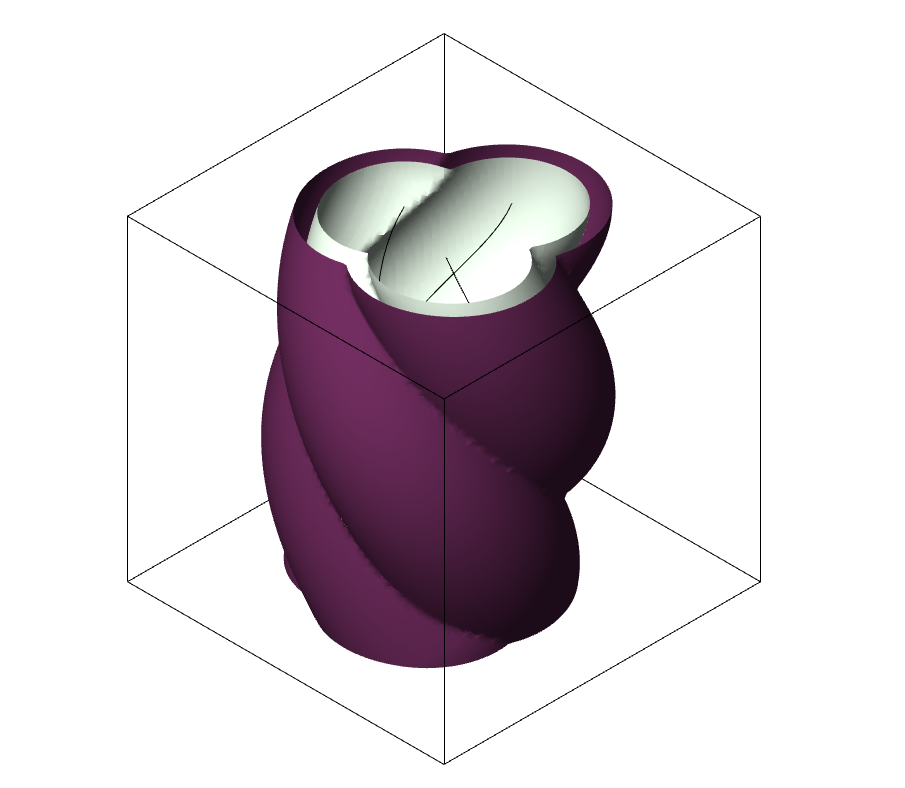
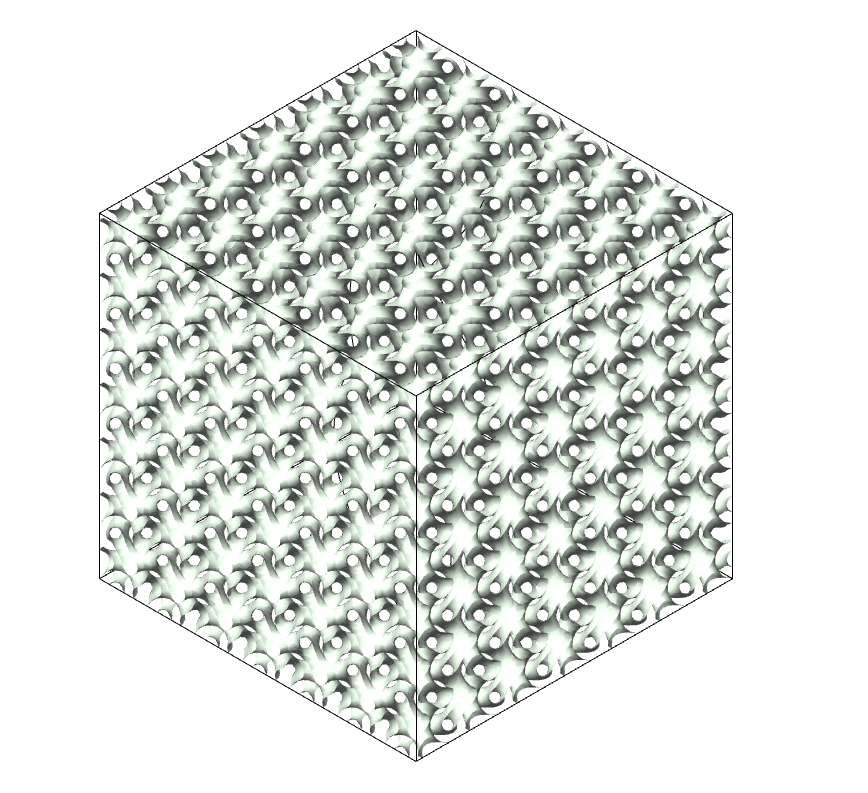
So now I have two objects, a thinkened pipe set, and a thickened gyroid object. What I'm going to do now is some interesting boolean operations.
I also made a slightlyshorter box which I used to intesect the gyroid with. This gave me a gyroid object that didn't touch the bounding box's caps.
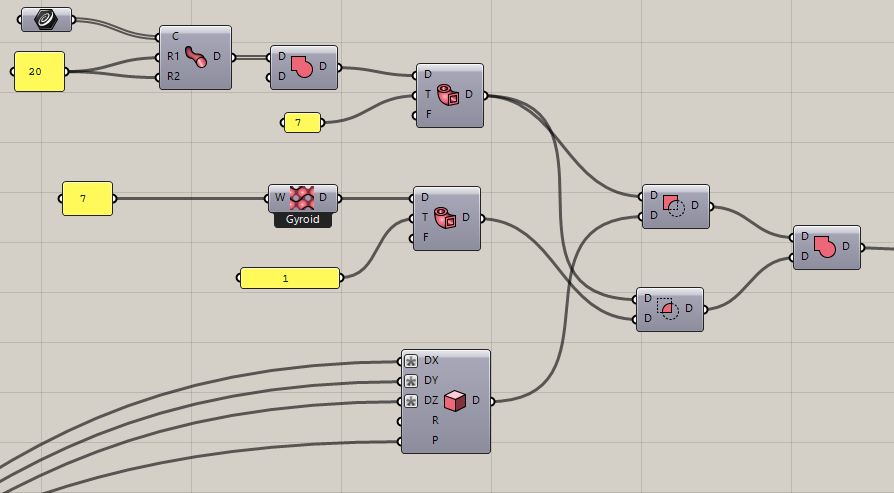
I'm subtracting the short box from the thickened pipes.
I'm intersecting the thickened pipes with the thickened gyroid
I'm uniting the slices that are left from the thickened pipes(at the top cap and at the bottom) with the intersection of the gyroit and the shortened pipes.
This gives me a thickened gyroid intersected with the thickened pipes, that also has a thin slice of the thickened pipes on the top and bottom.


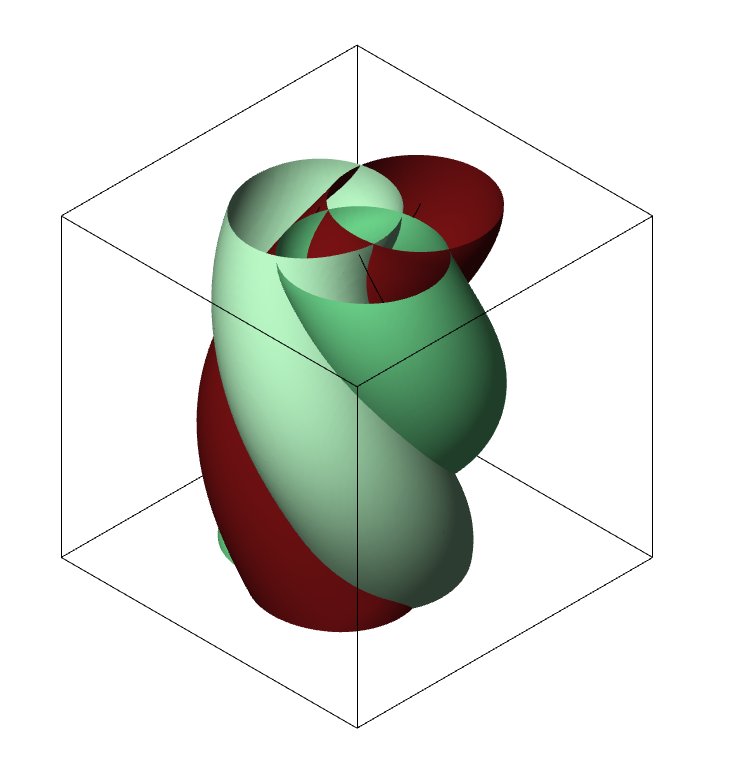
After all these operations, you can use different sections to see the model at a specific section plane:
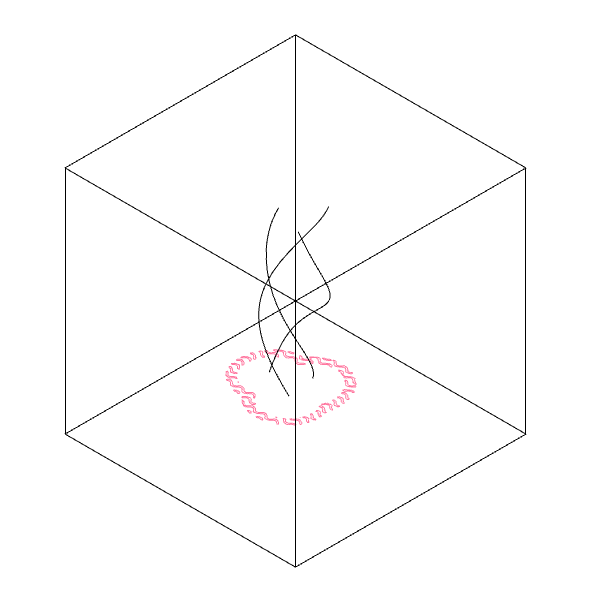
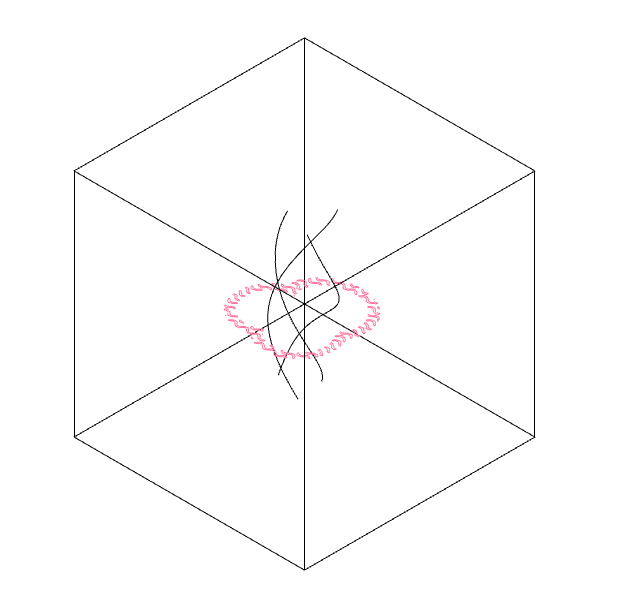
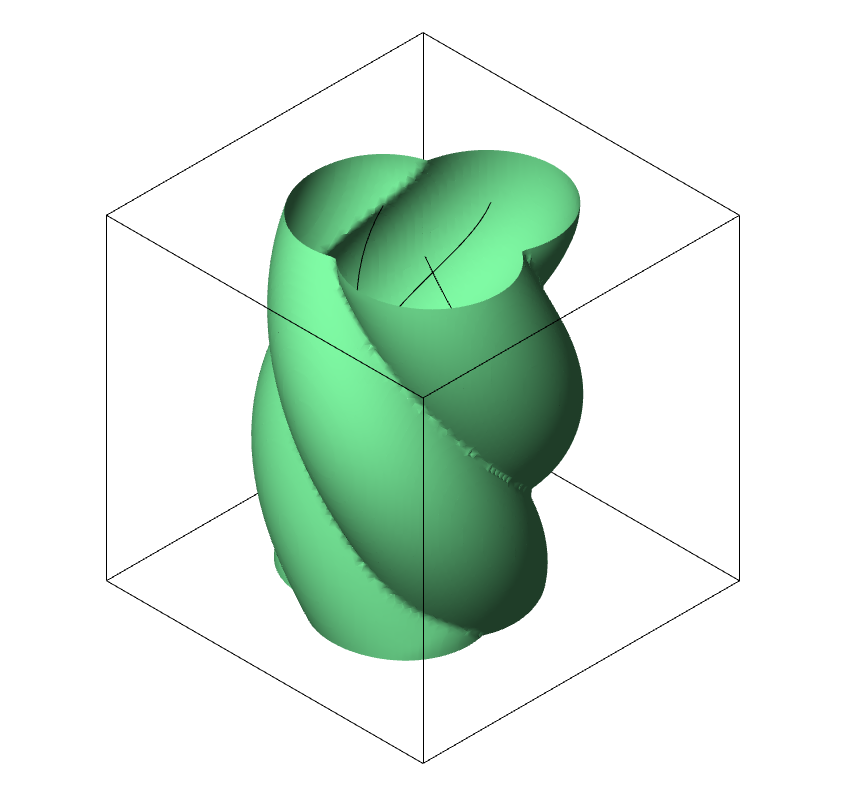
The distance object is then fed to Axolotl's Meshing component IsosurfaceDistanceFunction that uses the marching cubes algorithm to mesh the object and bake it into rhino using right click and bake option.
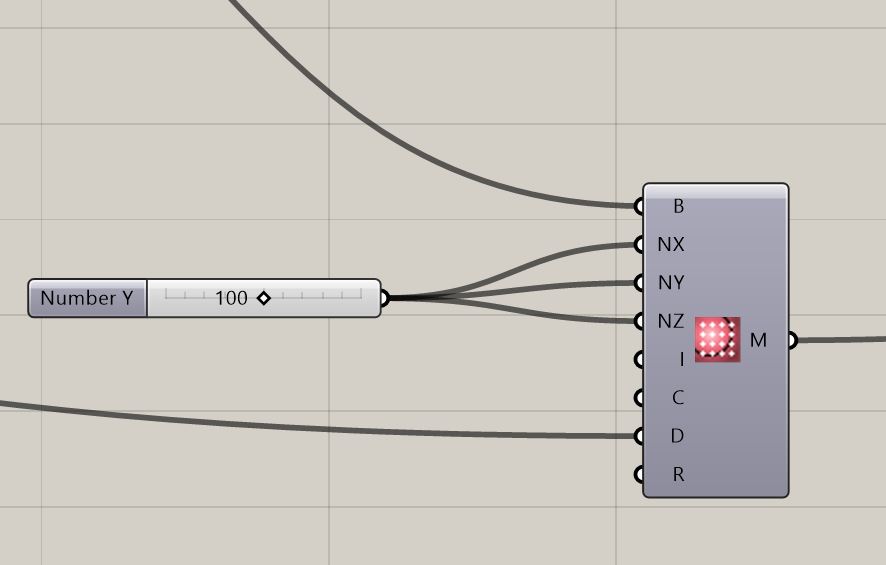

This workflow allows you to make pretty complex geometry that also is 3dprintable because gyroids generally are very printable because they have geometry that has very small overhangs. However, these geometries are very complex to model with other methods like breps, NURBS or meshes.
This is the reason that using CSG is in general a good idea for these types of strange objects.
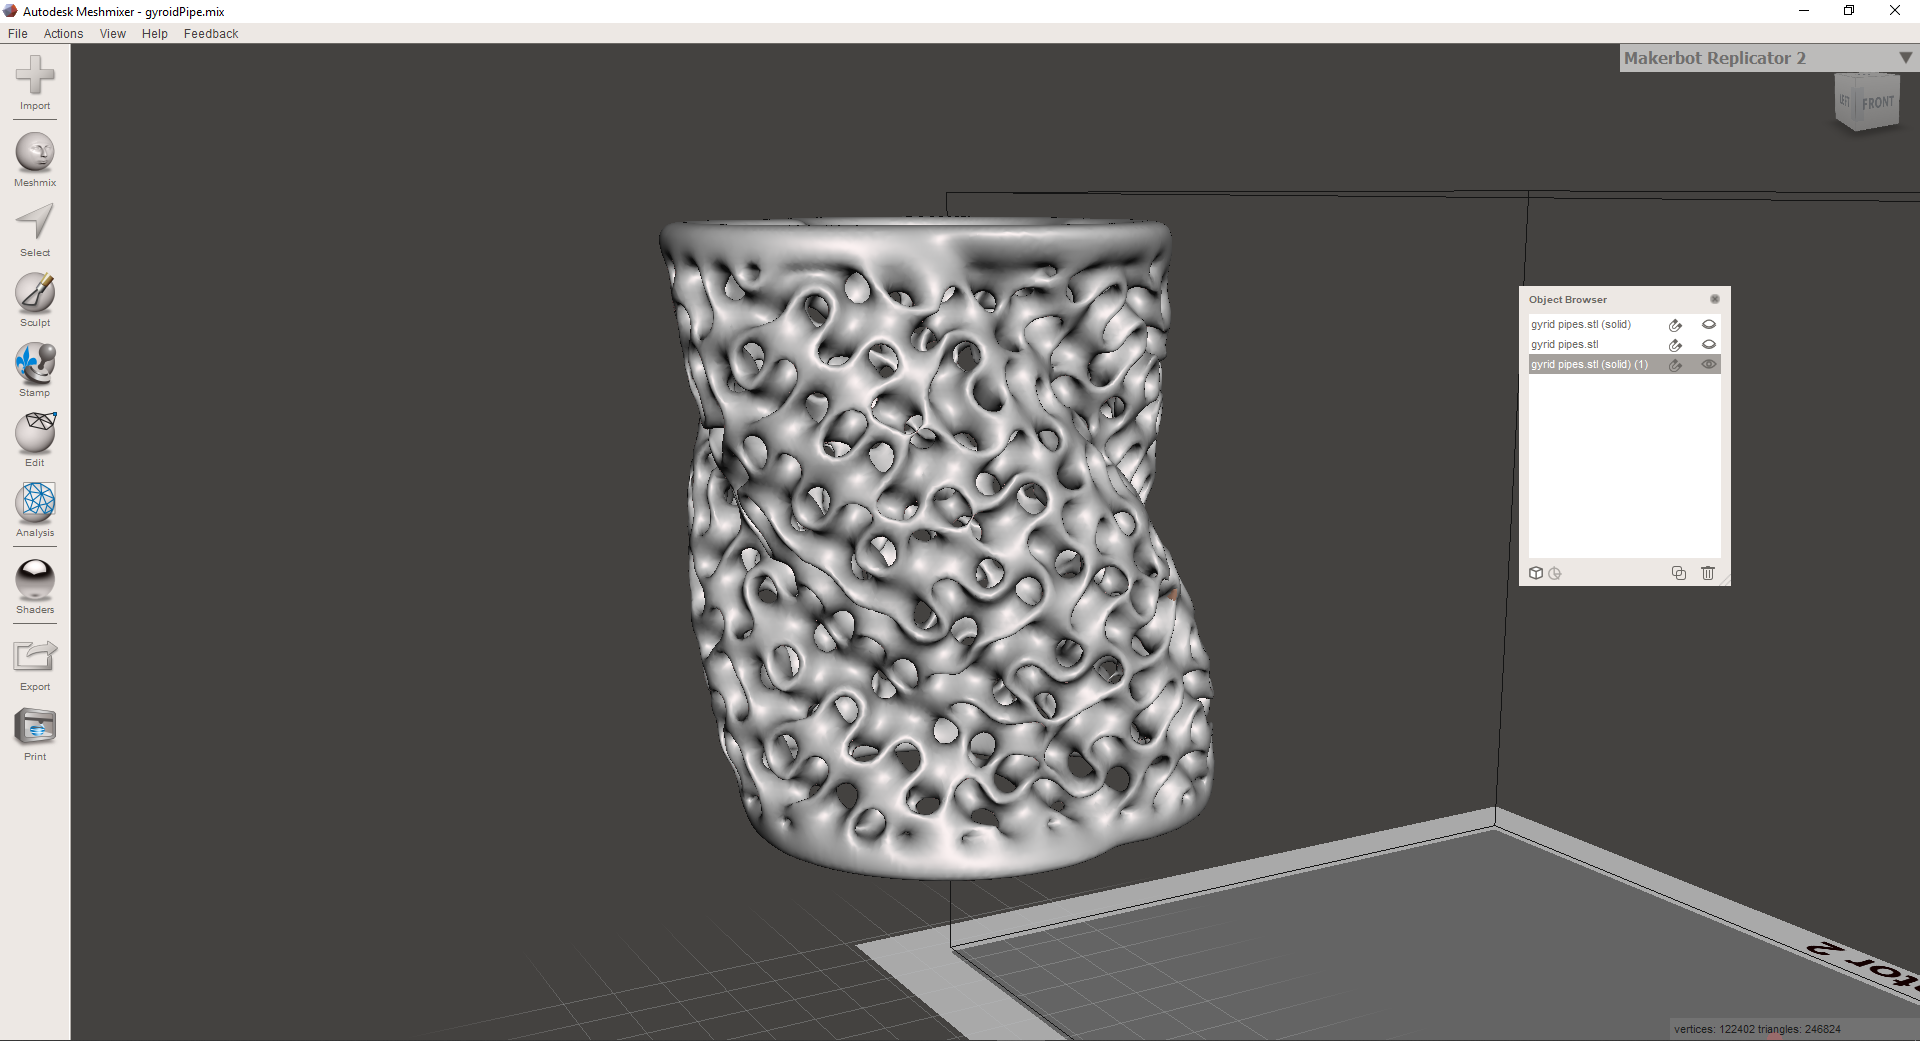
I then used meshmixer to clean up the isosurface model, which was also enhanced with a top and bottom solid as I explained.

back to top

Printing the part

3D Printing using the Sindoh Printer

The Sindoh printer is a great tool that has ready made settings and customizable settings as well. I used the following settings:

The printer has a default layer height of 0.25 so I used a slightly smaller value because I wanted the holes to look nice.
The max speed is 40mm/s but I used a slightly slower speed to have nicer layers. I think some of the overhangs look bulky because of this. Also, this model has a lot of holes, and it was pointed out to me by my global evaluator that this might lead to too many retractions while printing, and the filamnet could grind or get stuck.
To be honest I wasn't aware of this. The reason I chose the gyroid is because in general it's very printable because of the small amount of overhangs.
My model does have some overhangs which are exagerated from the intersection of the gyroid with the walled pipes in my model. So, the settings I used in reality were chosen out of a sense of having nice layers rather than avoiding filament grinds.

The finished part was great it took 5 hours to print and really looks great. I didn't use any supports since the gyroid function does not need them. I would have used a shorter layer height, maybe 0.1mm . However, I am very happy with the results.


back to top


Scanning a part

Using photogrammetric scanning on an ipad

My Friend Javi has a great scanner that hooks up to an iPad, it uses photogrammetric scanning to get parts. I decided to scan a styrofoam part from a previous project. It is a hyperbolic paraboloid surface cut with our hot wire cutter.


The tool is named Sructure Sensor and it hooks up to an iPad Mini.

The first step is to set up the part to be scanned in an area where it will not have any obstacles. The iPad needs to have a clear view of the part.

In this case I used a scrap 3d printed piece to prop up a hyperbolic paraboloid made in the lab. It is made out of styrofoam. The piece is now on a table ready to be scanned.
The Structure app includes a number of visualizations to show the raw data being captured and streamed by your Structure Sensor to your iPad.
The first is the infrared feed being captured by the Structure Sensor's infrared camera. To view this feed, connect your Structure Sensor to your iPad via the included Lightning cable, and then open the Structure app. Then, tap "IR" on the right hand menu.

The app recognizes the object and starts scanning. It paints it red where it already scanned and you have to "paint" it all over to really get all the details.
You'll notice that there is a circular target with a measurement next to it. This is the exact distance from the Structure Sensor to the object that the target is covering. You can move your iPad to move the target, or you can tap the screen to move the target without moving the iPad.

Thi is the scanned part:

The scanning was great it took 5 minutes and the ipad app sends you the files to your email. The file has some noise in the mesh, but you can clean it up using Zbrush or blender.

back to top

3D PRINTING on the Final Project
I made the tube cap and a new extruder design with 3d printing. I used much the same settings as my assignment, although I used 60% fill which is a lot and also I used a 2mm wall to make the parts extra sturdy. The default wall on the slicer is 1mm which is basically two passes for the outer wall. (makes sense, the nozzle is 0.4mm). Whith this setting, the outer wall is made of four passes of the nozzle. It makes for longer prints, but very strong parts.
This is the 3d printed cap:

After realizing that the pressure would move it from the tube I had to make a new one, that had some insert nuts.


This new design mas better mounted on the tube. this cap took 10 hours to print because of the sturdy fill, the small layer height and the thick walls.


back to top