
model (raster, vector, 2D, 3D, render, animate, simulate, ...) a possible final project, compress your images and videos, and post it on your class page

For this project I am going to model the objects in two programs mainly. One is rhinoceros because it is a software that allows you to be more precise and parameterize objects.
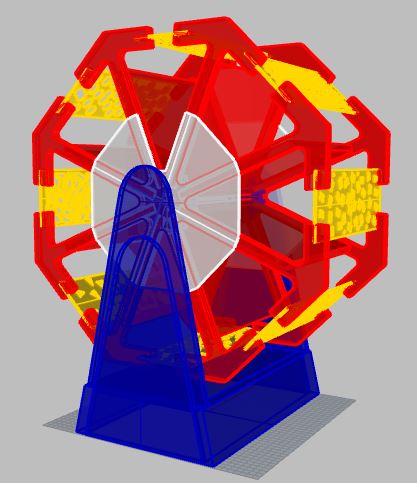
This is the modeling of the possible solution of the prize wheel
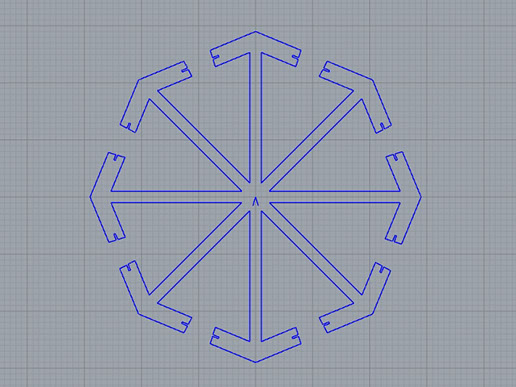
Here I am modeling the prize wheel with some assemblies that will join two parts
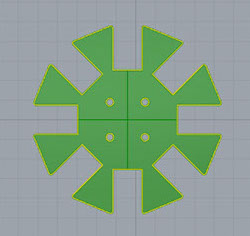
This is the model of a connector to print it in 3D that will help me to join several parts
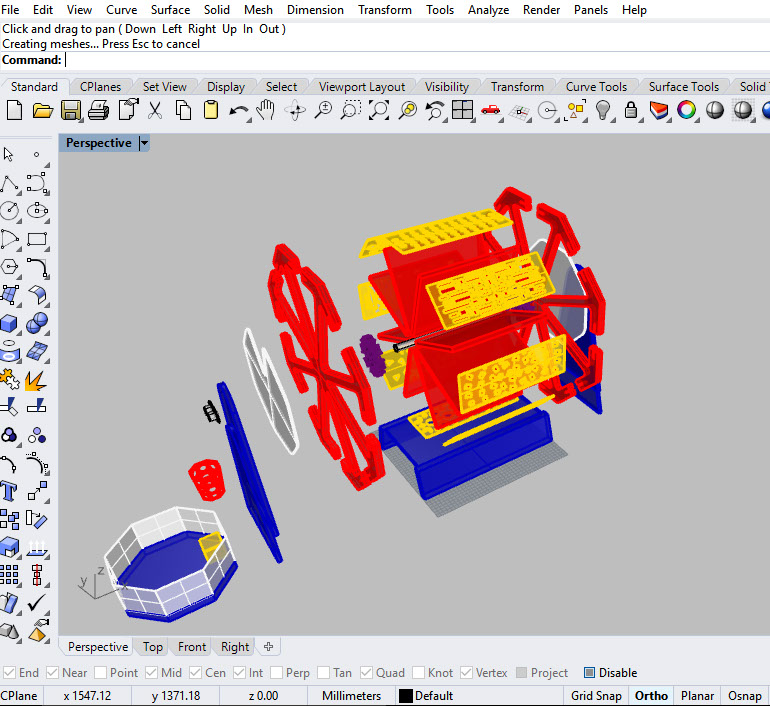
For modeling in Rhino software, the following commands are mainly used:
Polyline: Mainly used for drawing continuous and straight lines in general.
Circle: used to make this geometric figure
Trim: used to trim two or more intersecting lines to generate more sophisticated polygons.
Extrude: widely used to generate volumes in 3 dimensions from polygons generated in 2 dimensions or planes
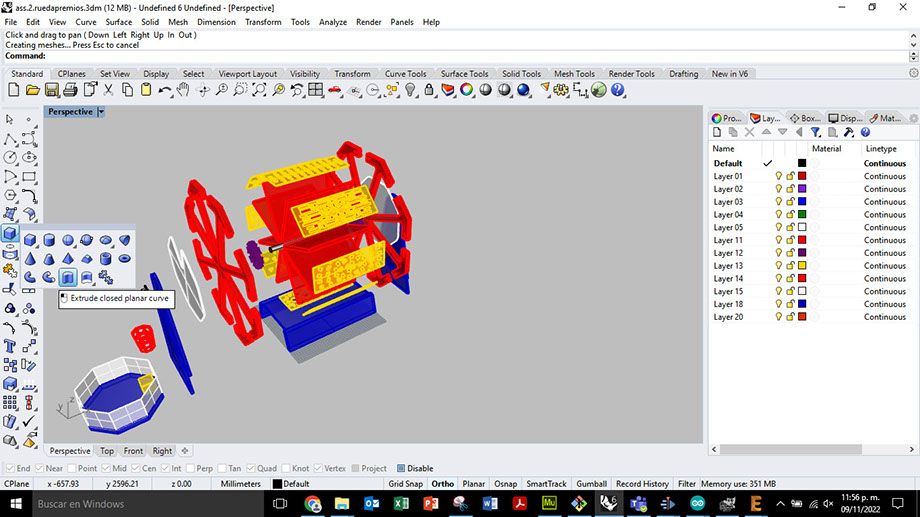
The extrude command is located within the cube or box icon submenu as described by the software. To use it, select the extrude icon and select the closed polygon that you want to extrude and give it the desired height to extrude.
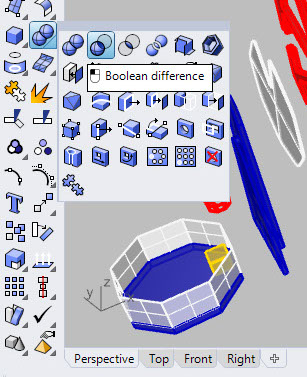
Another widely used command is that of Boolean operations, this allows us to subtract one volumetric object from another, thus creating a cavity or simply a relief depending on where and how much the objects are positioned or intersected.
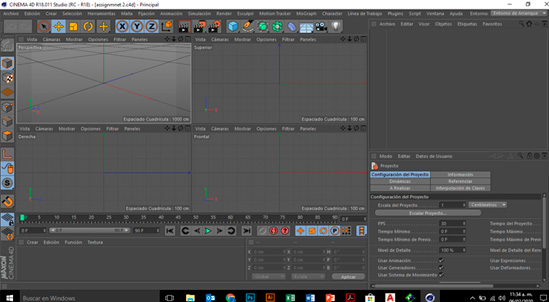
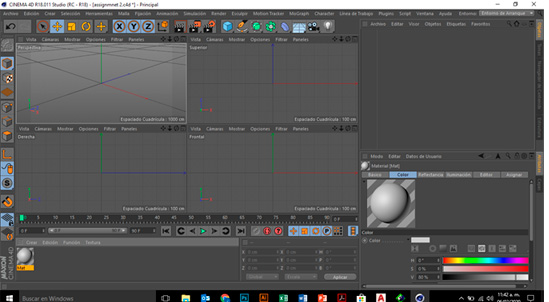
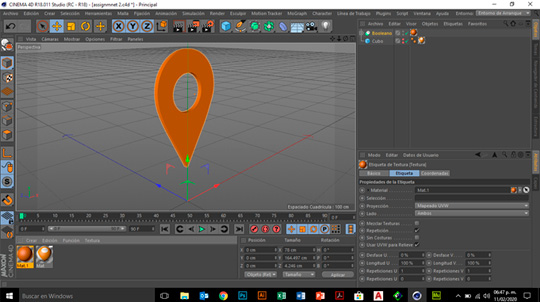
For this assignment I will use the cinema 4D software as an object modeler.
We open the software and to start tracing the object we will need a stroke guide, which will be the image we developed in Photoshop software.
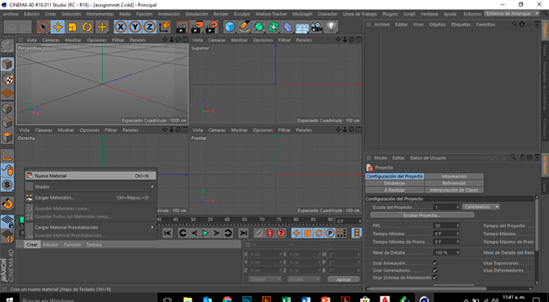
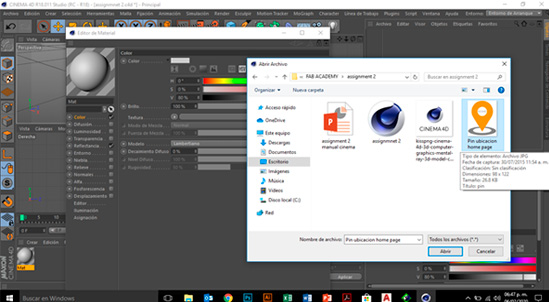
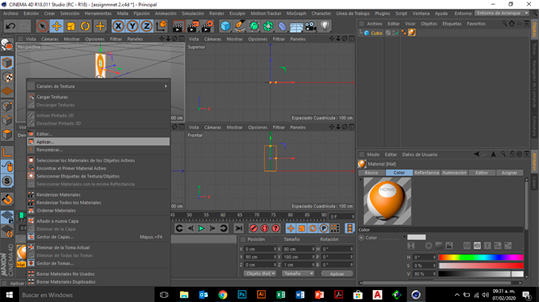
In the create menu we will select new material.
We will double click on the sphere to display the material window.
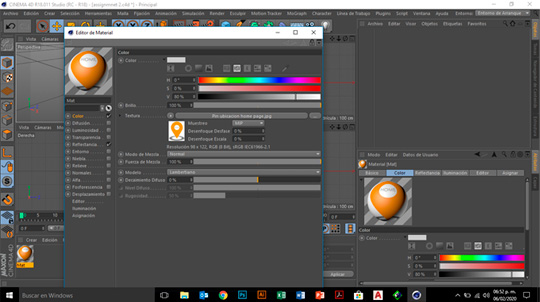
Select color and double click on the texture bar and select the image that should be .jpg to assign it as material and be able to draw on it.
We must already see the image attached to the sphere and we only close the windows (click on X)
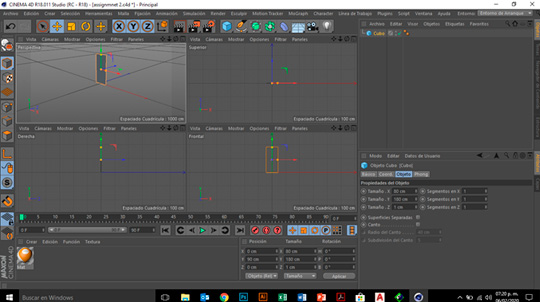
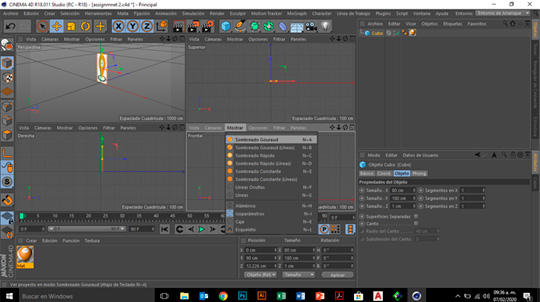
We will double click on the cube icon to select that figure
We select the cube, we give the general measurements of our object to be traced and we position it on the floor
With the right mouse button we display the material menu and apply it to the cube that must be previously selected
We click on the word show in the front view and select Gouraud shaded to see the material applied to the object
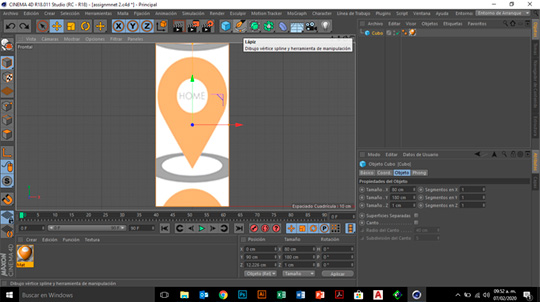
Adjust the size and position of the object
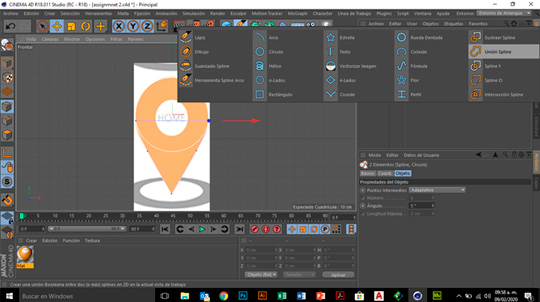
We display the pencil menu and select this option to draw the cone
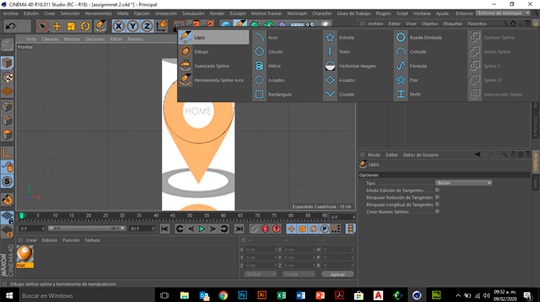
Select the circle option from the pencil menu and adjust it to the size of the image
We select the two objects and again in the pencil menu we click on the spline union option, to make a single merged object.
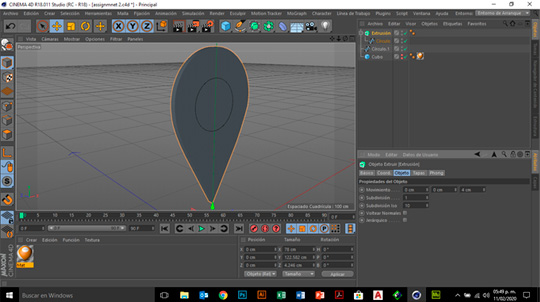
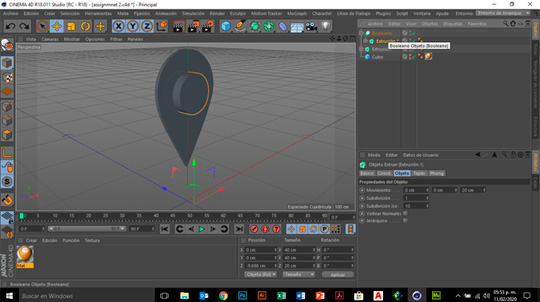
Select the Extrude tool from the surface subdivision menu
We put the circle line inside the extrude and a surface will be generated, we only regulate the desired thickness
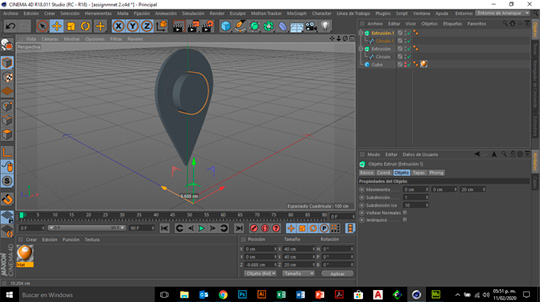
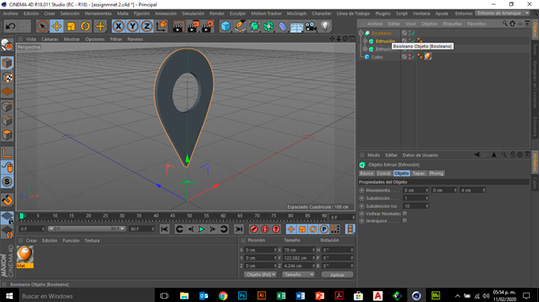
We repeat the previous step with the other circle and leave it at 20 cm, we move it until it crosses the piece on both sides
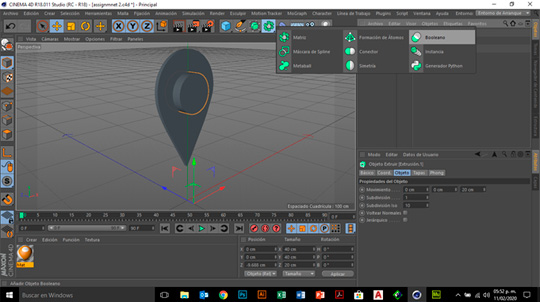
We display the matrix menu and select the boolean operation
We put the two extrude objects inside boolean
Now our piece is cut and complete
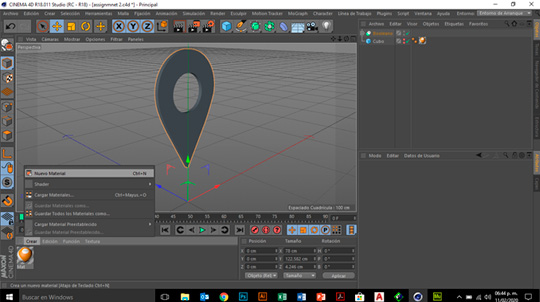
Now we are going to assign a material so in the materials menu we select the new material tab
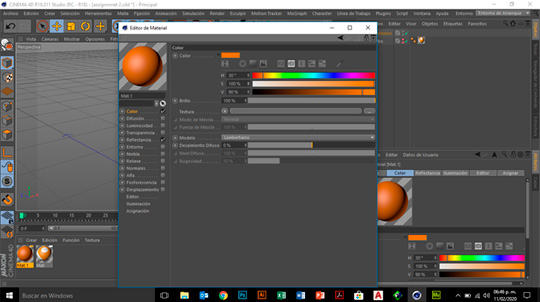
Double click on the new sphere to display the material window and assign the desired color
We assign the new material to our piece and it´s ready.


The other software that I will use is Cinema 4D since it is possible to model and make modifications to objects in a very simple way, in addition to being modeled to scale with real measurements. Here I leave a small tutorial for you to practice.