A8
Computer-Controlled Machining
This week we have a different approach, we were taught to reach for bigger things through CNC process.
Using some other tools, such as FUSION 360 with Slicer, and CAMotics, to follow a design process to create large scale assambley pieces, to understand how we can interact through structures and new milling 3-axis machines.
So, first, as a local assignment we had to test runout, alignment, speeds, feeds, and toolpaths for our lab machine.
In the meantime, we have to design a piece to assemble that reminds what i need for my final project.
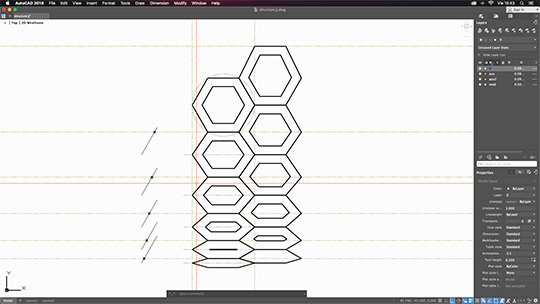
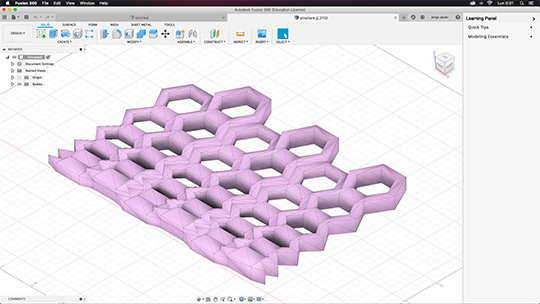
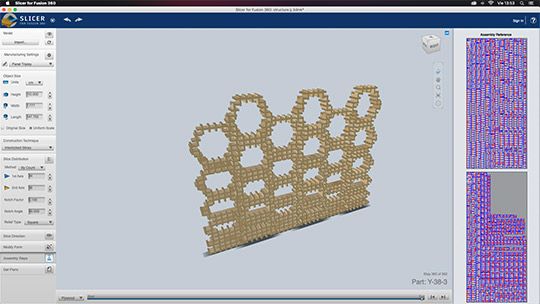
My design comes from the basic hexagon pattern, but in this case, trying to se a parametric evolutions in a vertical axis, to see how it grows.
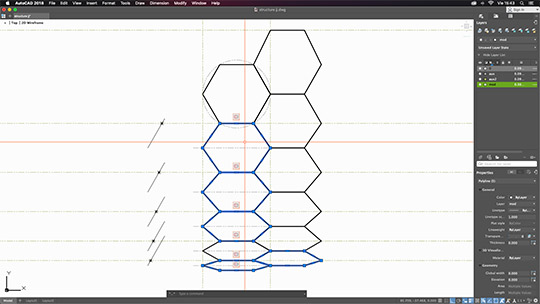
The main idea is to have a hollow piece that feels light and solid, as a lattice but emphasizing geometric profiles.
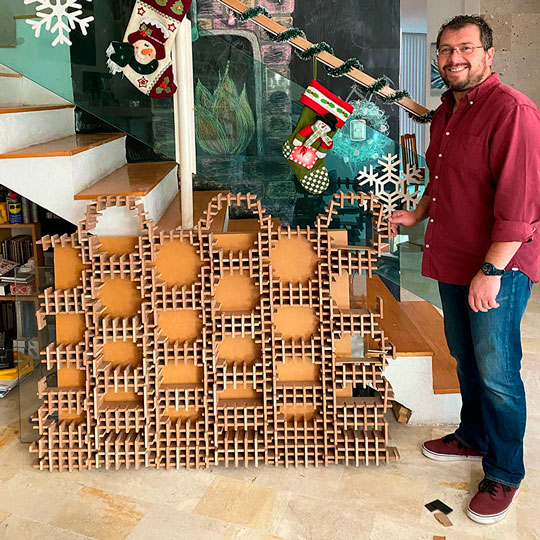
The whole piece is 1.20mts wide by 0.95 mts tall, an scaled version of a partition screen.
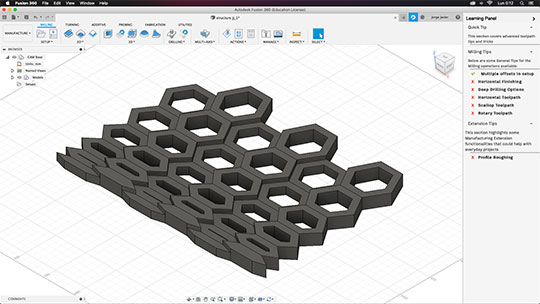
I ran a test to ensure the piece had all faces oriented.
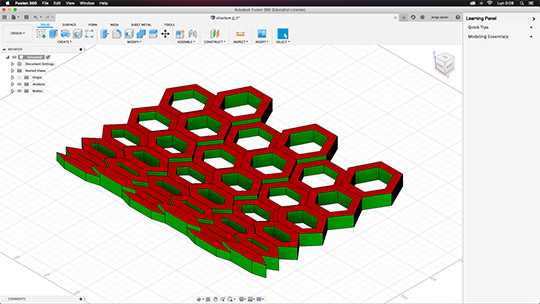
As well that the milling axis is no having problems.
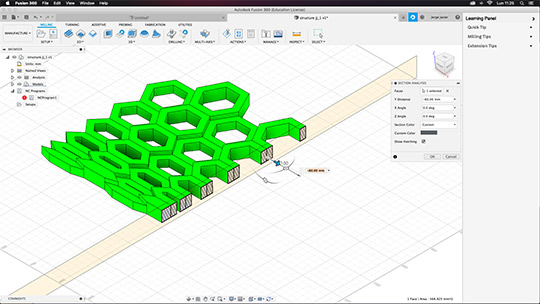
I did a section cut to see the unions in-between the different hexagons.
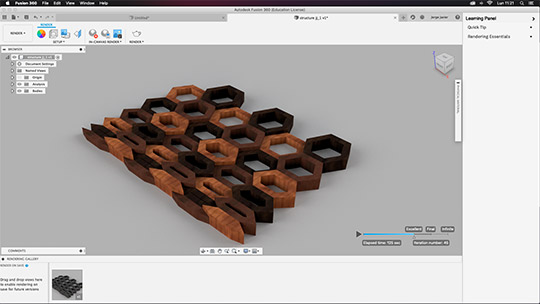
And a rendering version to see how it might work with wood.
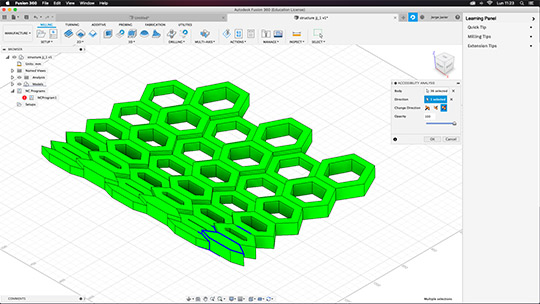
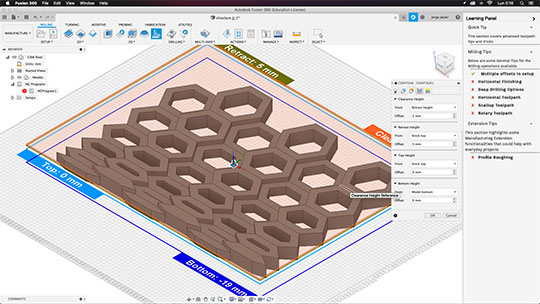
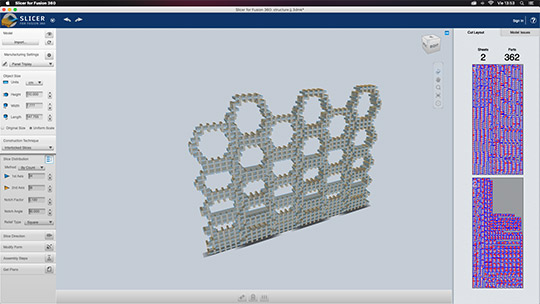
Then, i set the manufacture option to see the pieces before sending it to milling or slice.
I ran another test to have a flat-bed scenario and set tolerances.
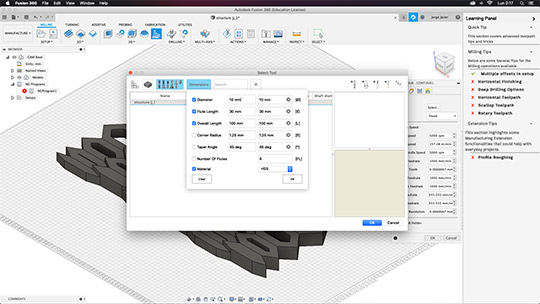
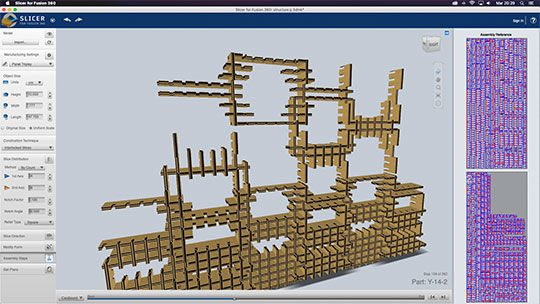
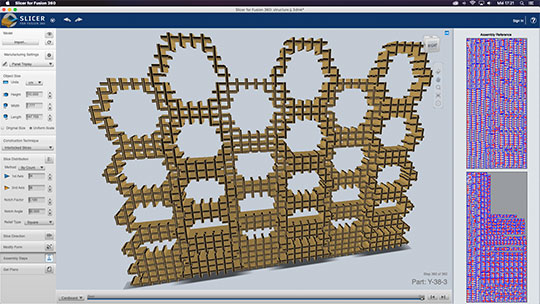
Then i went on to create the g-code archive for printing... however, the drill and pieces weren't downloaded, so instead, i send the model to SLICER.
There i set the interlocking option with a division of 36 by 38 gaps to create a reticular based profile.
Finally creating a set of different pieces to be joined altogether.
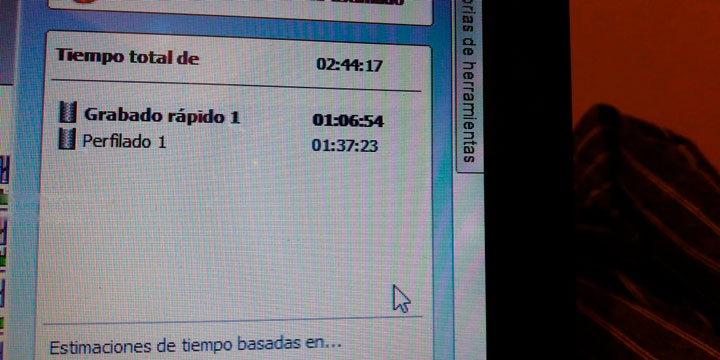
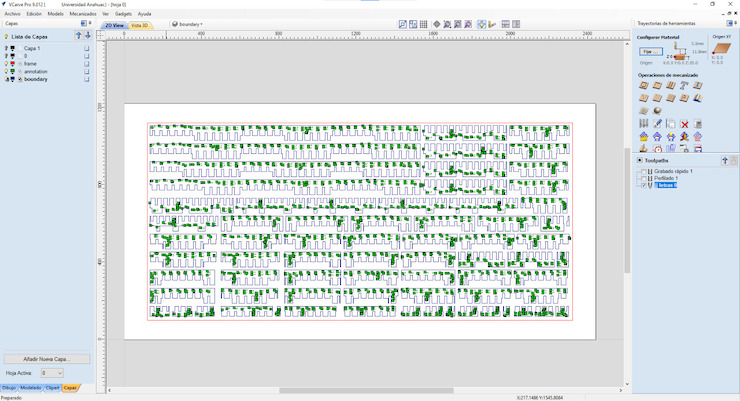
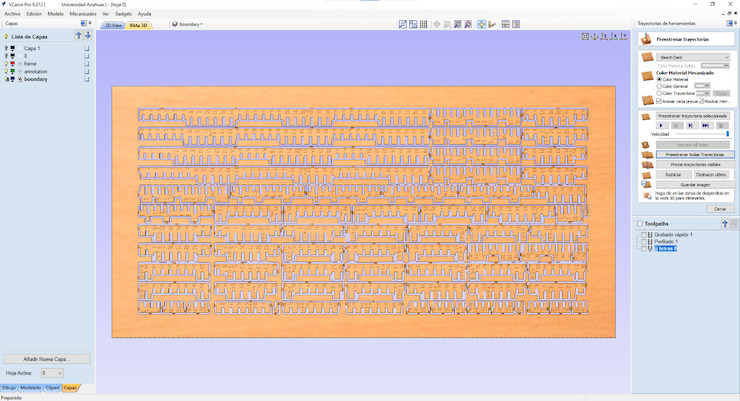
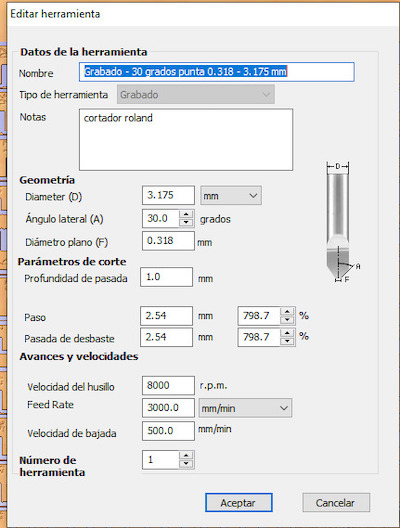
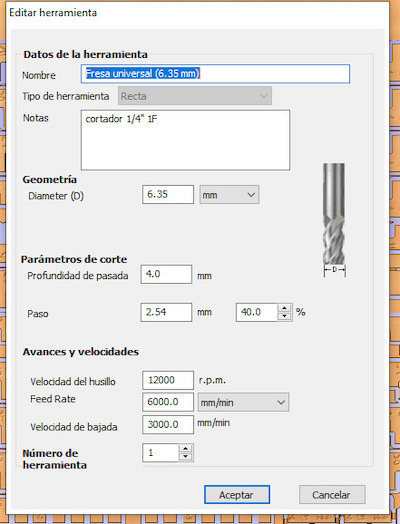
I used VCARVE for the gcode and sending to de axyz...
With 3/8” compresión 2 flute endmill, at a 8000 rpm and feed rate 3000 for engraving and 12000 rpm for drilling, and feed rate 6000.
It lasted (the whole process, two boards) almost 7 hours... and i have to do it twice.

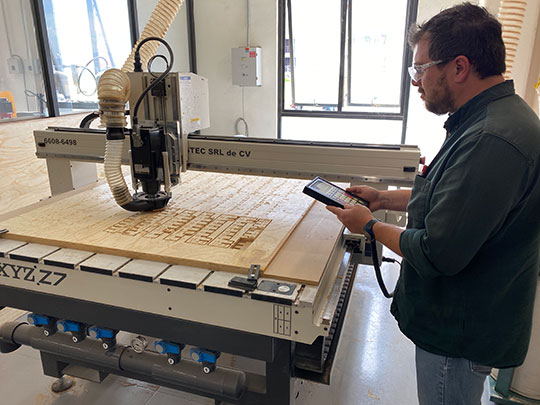
After sending the cad/dxf drawing to g code for .NC milling process, we used de AXYZ Z7 3axis table to drill de plywood.
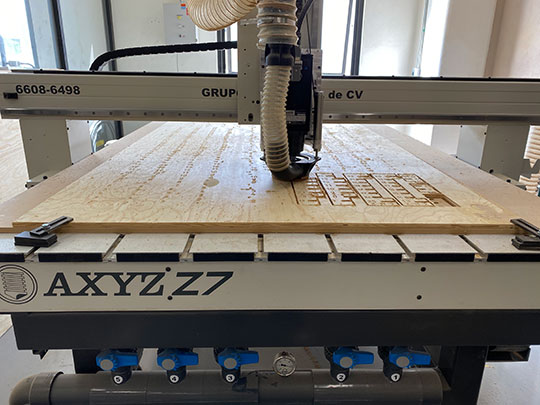
I am supervising the general drilling to overview the main board.
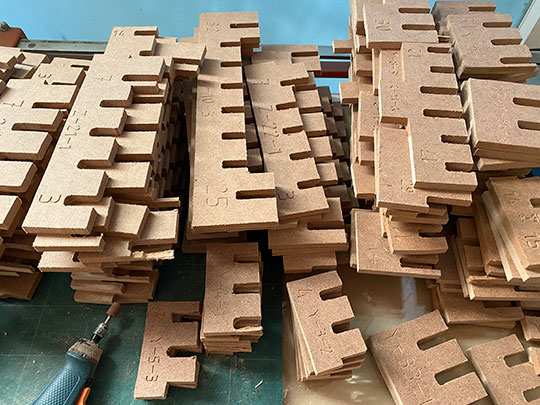
This are the first pieces already trimmed.
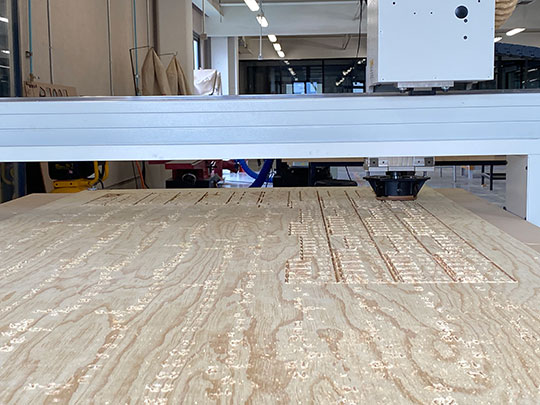
View from the other side of the table.
The remote controller with the basic information and the main process running.
Finally some time-lapse videos of the drilling.

After cutting, i decided to try with MDF, have an even texture, and easier assembly holes, nevertheless our CNC machine needs a little maintenance
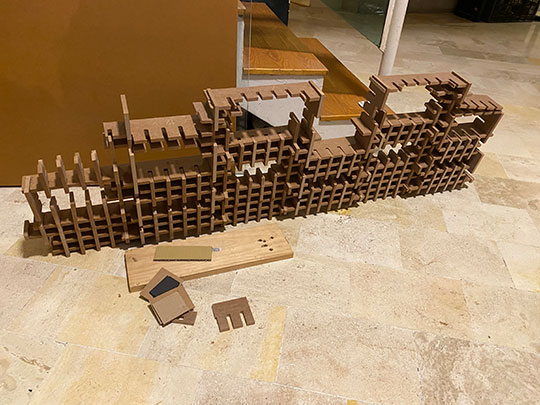
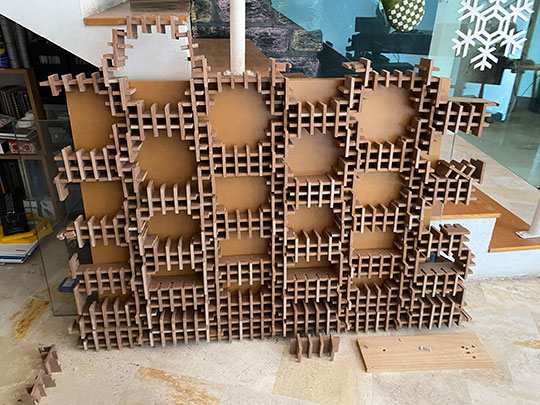
In the end, i started to look at the steps to start assembly the whole thing.

Little by little and piece by piece, hetting from "y's" to "z's" from 1 to 36
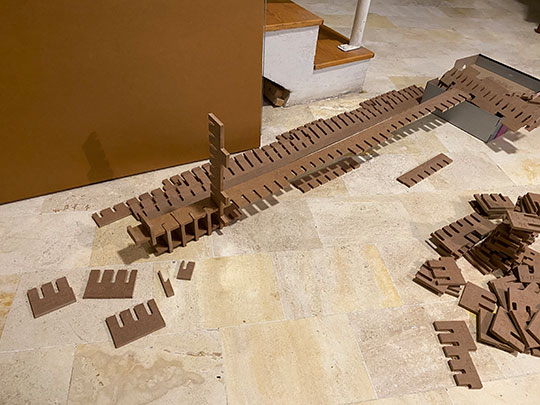
From bottom to top...
Having an interlocked structure is easier to match pieces.
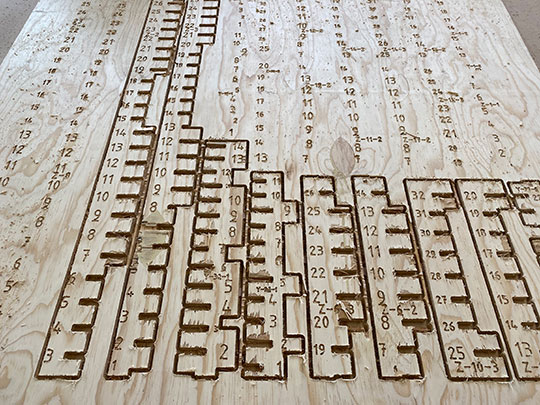
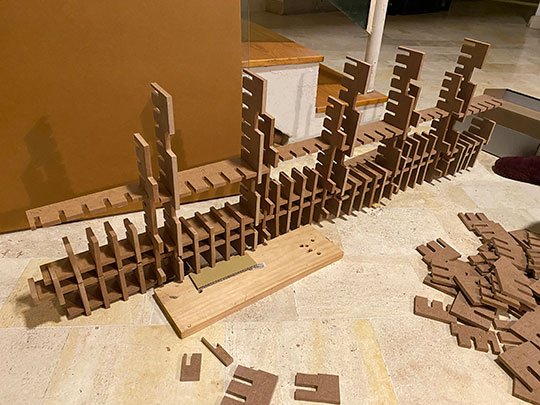
The guide is very useful, to avoid confusions and uneven number sequence.
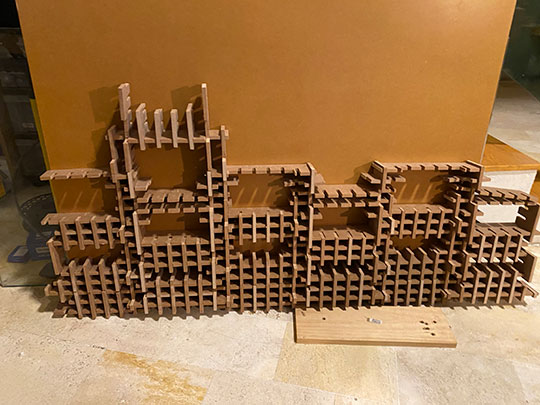
Step 135...
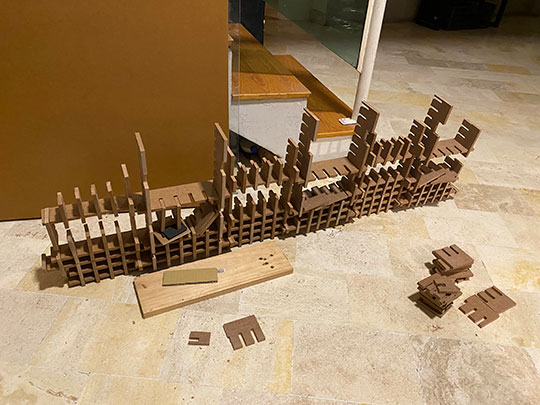
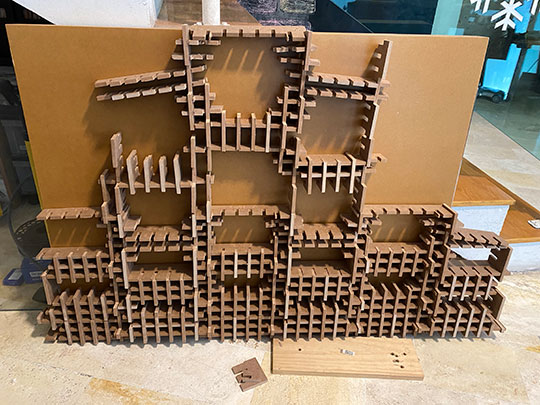
Step 210...
Step 273...
Etcetera...
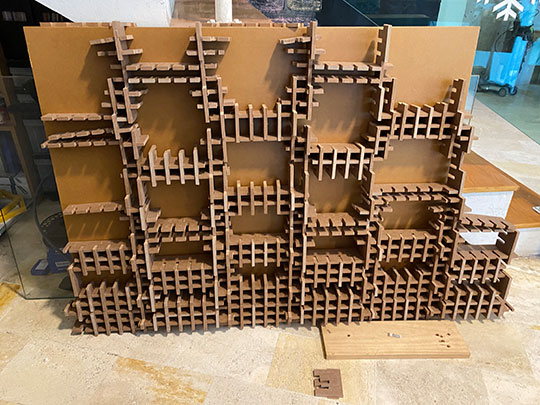
The final assembly guide
The final prodcut
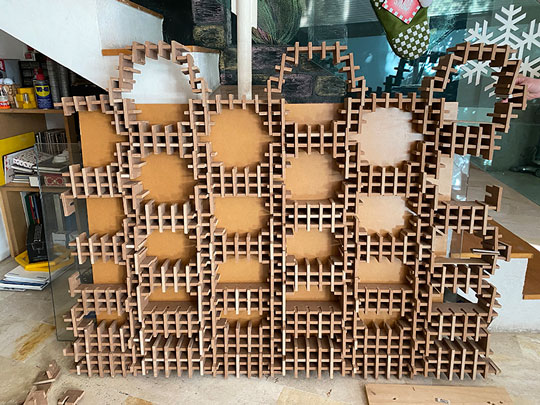
Just ready for the end of 2020!