
A4
Computer-Controlled Cutting
With new industry-standard processing in everyday line assembly, digital tools has evolved in different ways, getting cheaper and faster machines for everyday small production.
Laser cutters are a new standard for creating something out of planes, so it can be assembled, as well as vinyl cutters that rely on simple yet effective new communication skills for everyone.
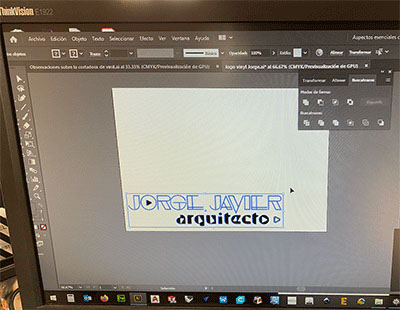
After the class, i started to create a simple logo for me, using Illustrator and creating vectors out of text lines, managing borders to create a section in itself.
Using orange vinyl as canvas, the piece was cut to set of curves and lines.
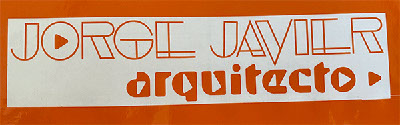
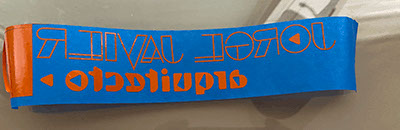
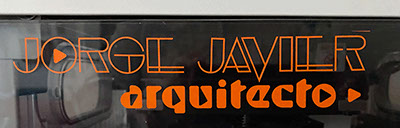
This logo of my own practice, using a blue masking tape for transfer, allowedm me "label" a plastic case that is at my office.
logo
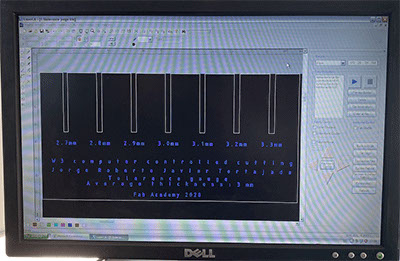
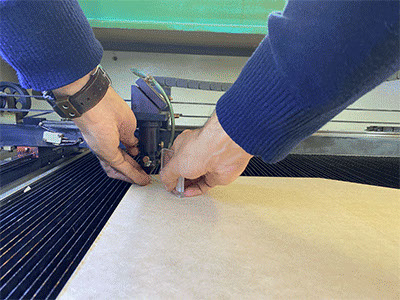
Then, i checked the tolerance gauge for my MDF material, 3mm thick, and a learning curve towards the kerf in-between the material.
This homework helped me undertsand the joint tolerance for my next assignment:
the construction kit.
tolerance 3mm

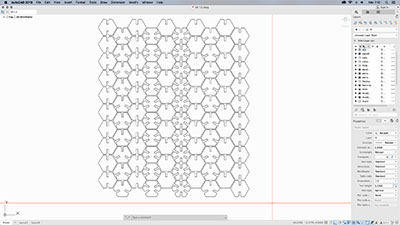
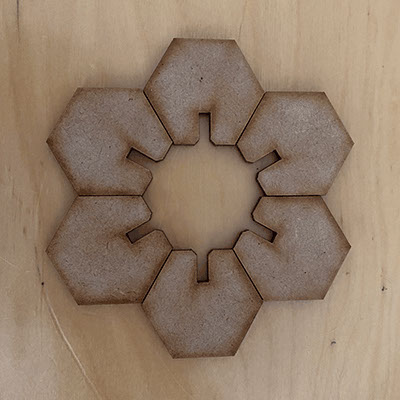
Finally, i created a construction Kit out of hexagons, dealing first with a very simple reticle to frame the pieces. later joining them to avoid wasting material.
All pieces are:
3cm (2 3/16") in diameter with a inner slot of 3mm (1/8") wide
The main idea is to create 100 pieces game to be used to create different forms and patterns.
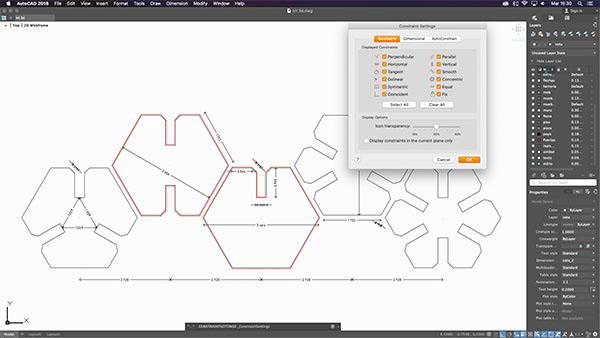
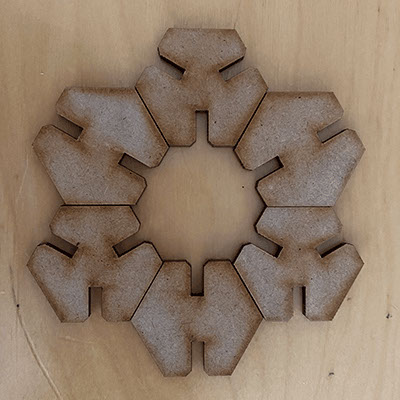
Every piece has a constrain system in each corner to avoid deformations.
In AutoCad, exporting as DXL files is easy to share vectors.
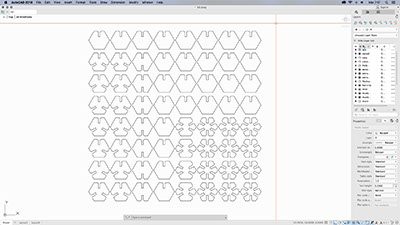
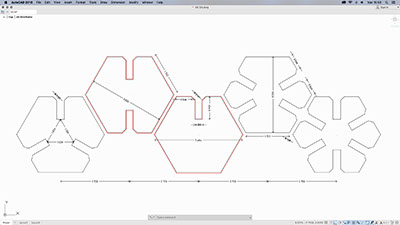
Each piece, follows the principles of constraints, following a predetermined dimension in each side, border and section, to preserve the original dimensions regardless the output source.
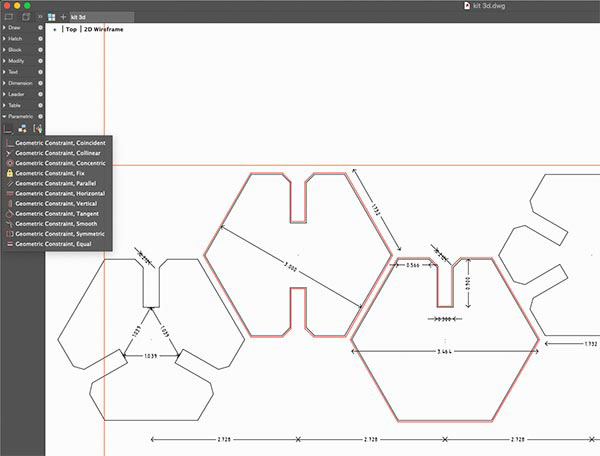
AutoCAD as a native action, has inside the "tools" assest, a parametric then constraints menu to set and edit such measures.
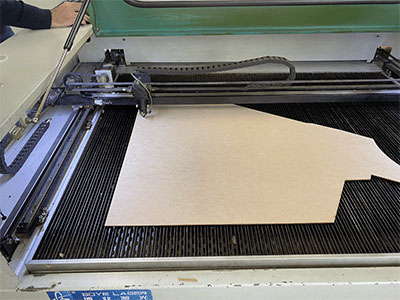
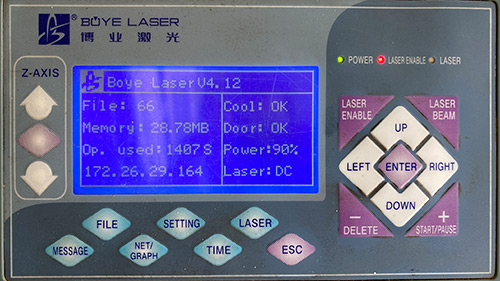
With the final design, i decided to play with different joints and angles, working with thin 3mm MDF board to have a stiff surface.
The technical specifications are these:
Speed: 1700-1600 mm/min
Pwr: 45%
Focus: 100%
Kerf: .05
Joint clearance: 3.1mm
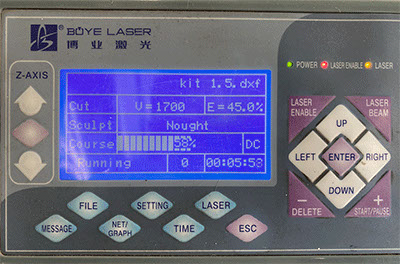
The whole process lasted 7 minutes overall
All the pieces are ready to be detached
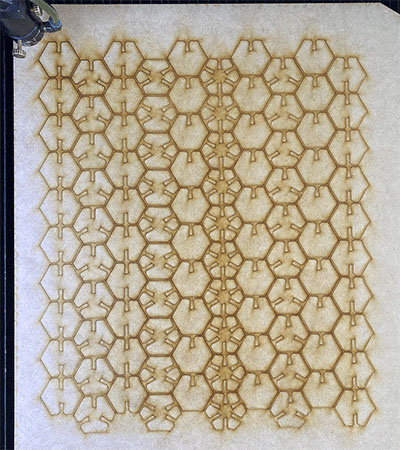
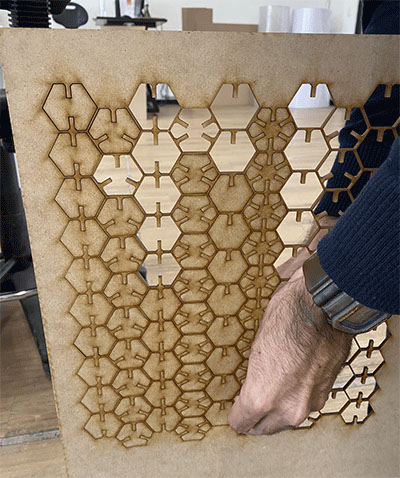
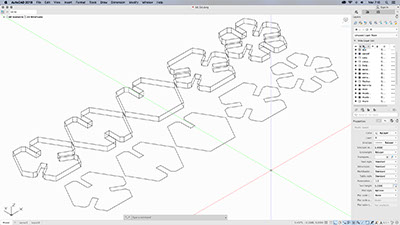
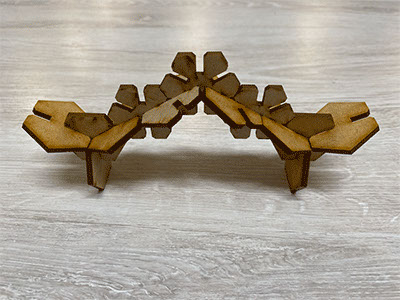
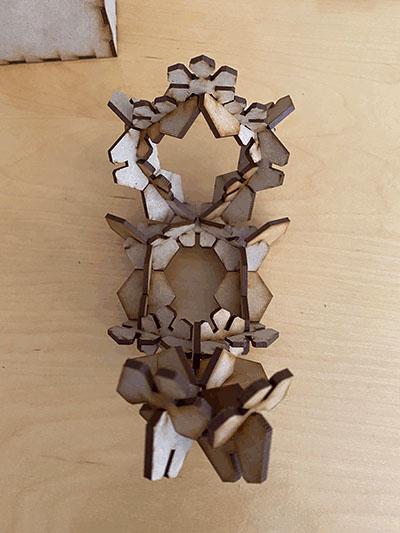
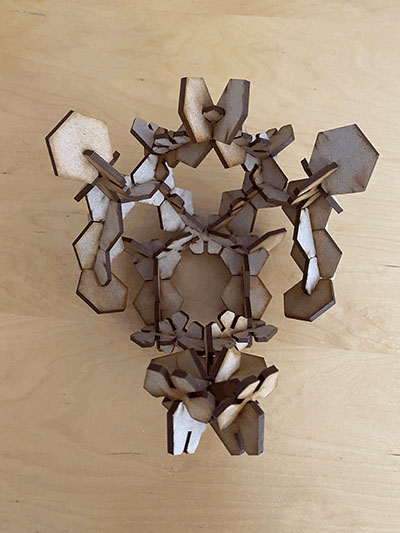
The unexpected result is a very elegant lattice that could be used as a fence or wall.

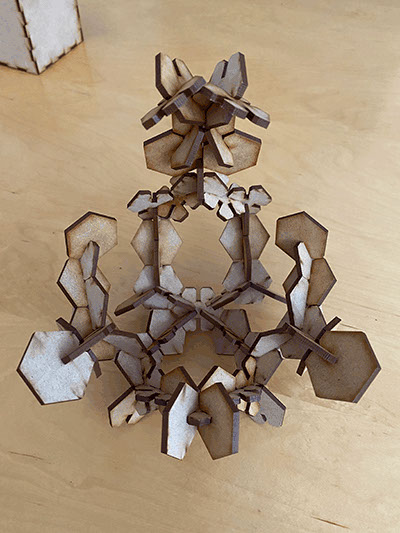
The final pieces joint all together
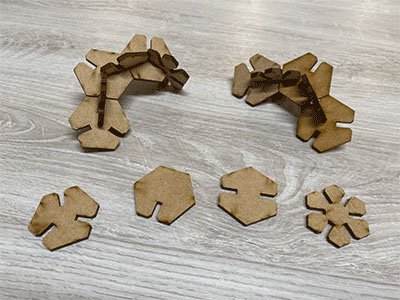
The simple but beautiful bridge, creating an interlocked chain.
The basic idea of the hexagon as an expanding form.
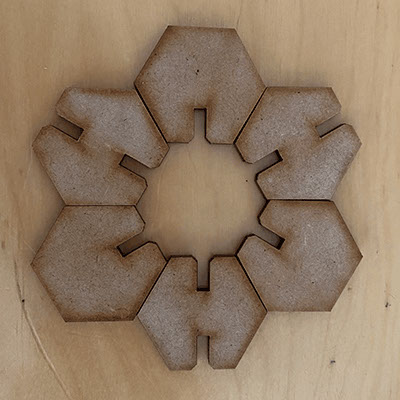
The process...
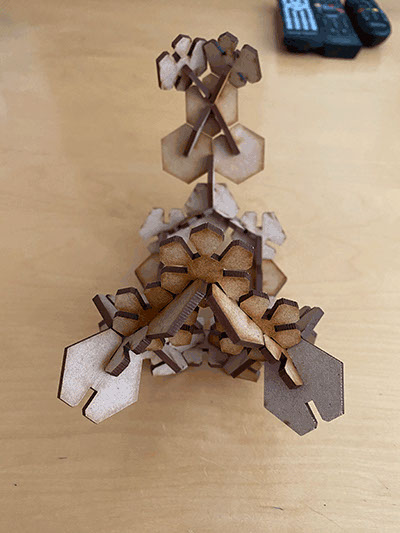
Then, creating a self-structured piece that reminds a chair...
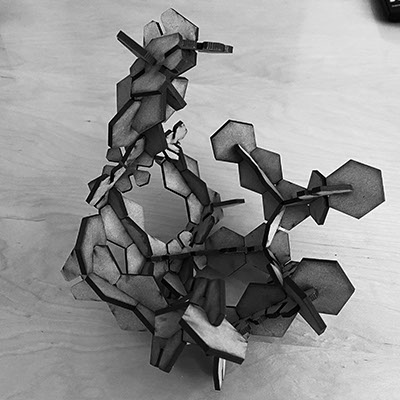
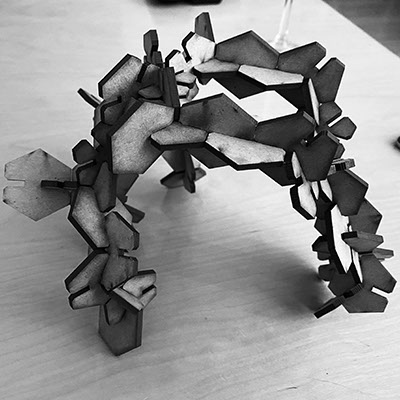
or as a very stylized arch, even the profile of a dinosaur.
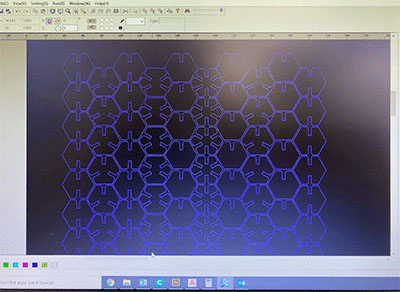
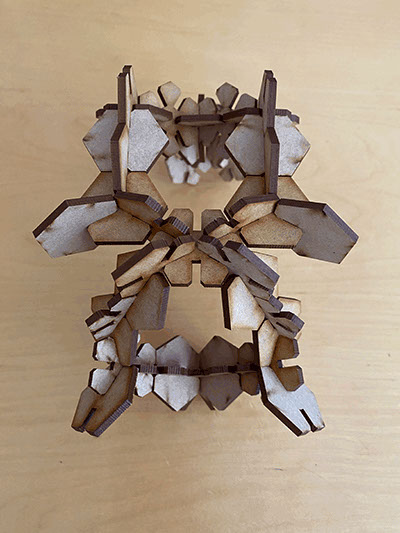
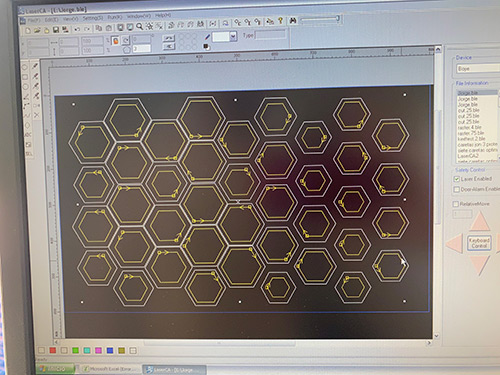
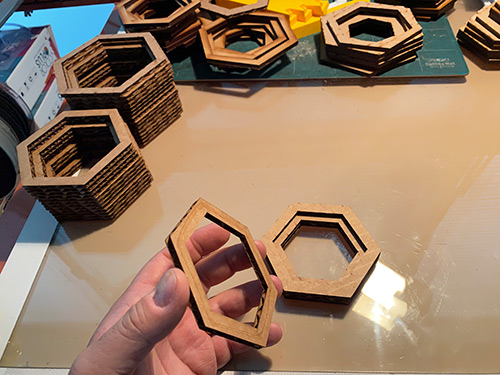
Then, by suggestion of my instructors, i created a series of hexagons realted to my final project in cardboard
The design is quite simple, following a series of parametric sizes.

In this image is the file to be sent to the laser machine.
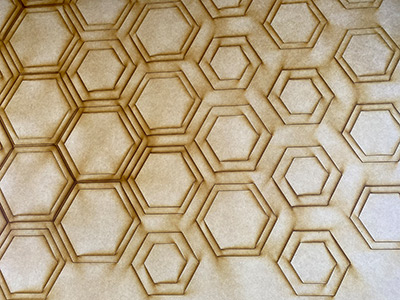
This is the final cut, and the last step to be organized.
structure vector
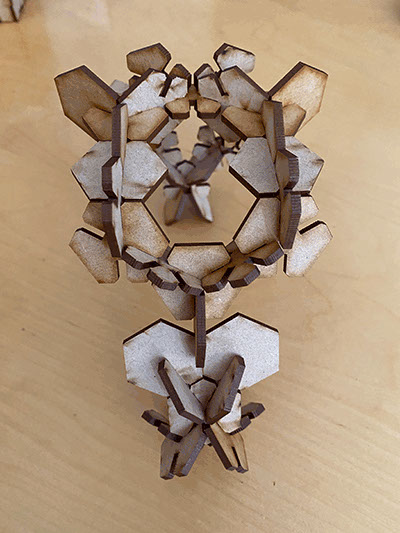
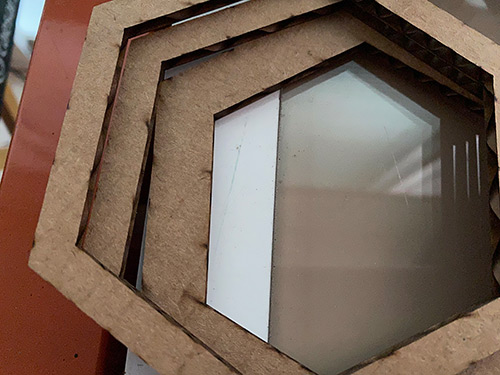
In here, i managed to stack them to create a series of little pieces of cocoons
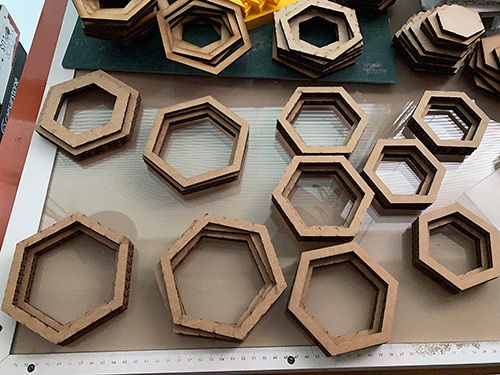
Here i am mounting them
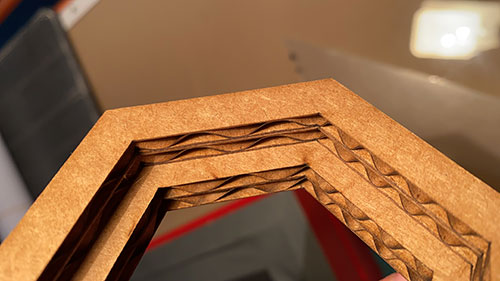
This is a detail of the cardboard.
In the end, this assingment is quite creative and let me do some research on different designs and be able to create something beyond flat and regular, to see how can i expand the boundaries of digital production.
