MOLDING AND CASTING
10.WEEK
Half way now and next assignemn ia molding and casting...that should be a lot of fun. This week I'll use to make one part for my final project and that is legs for housing. But more of informations will come in a short time.
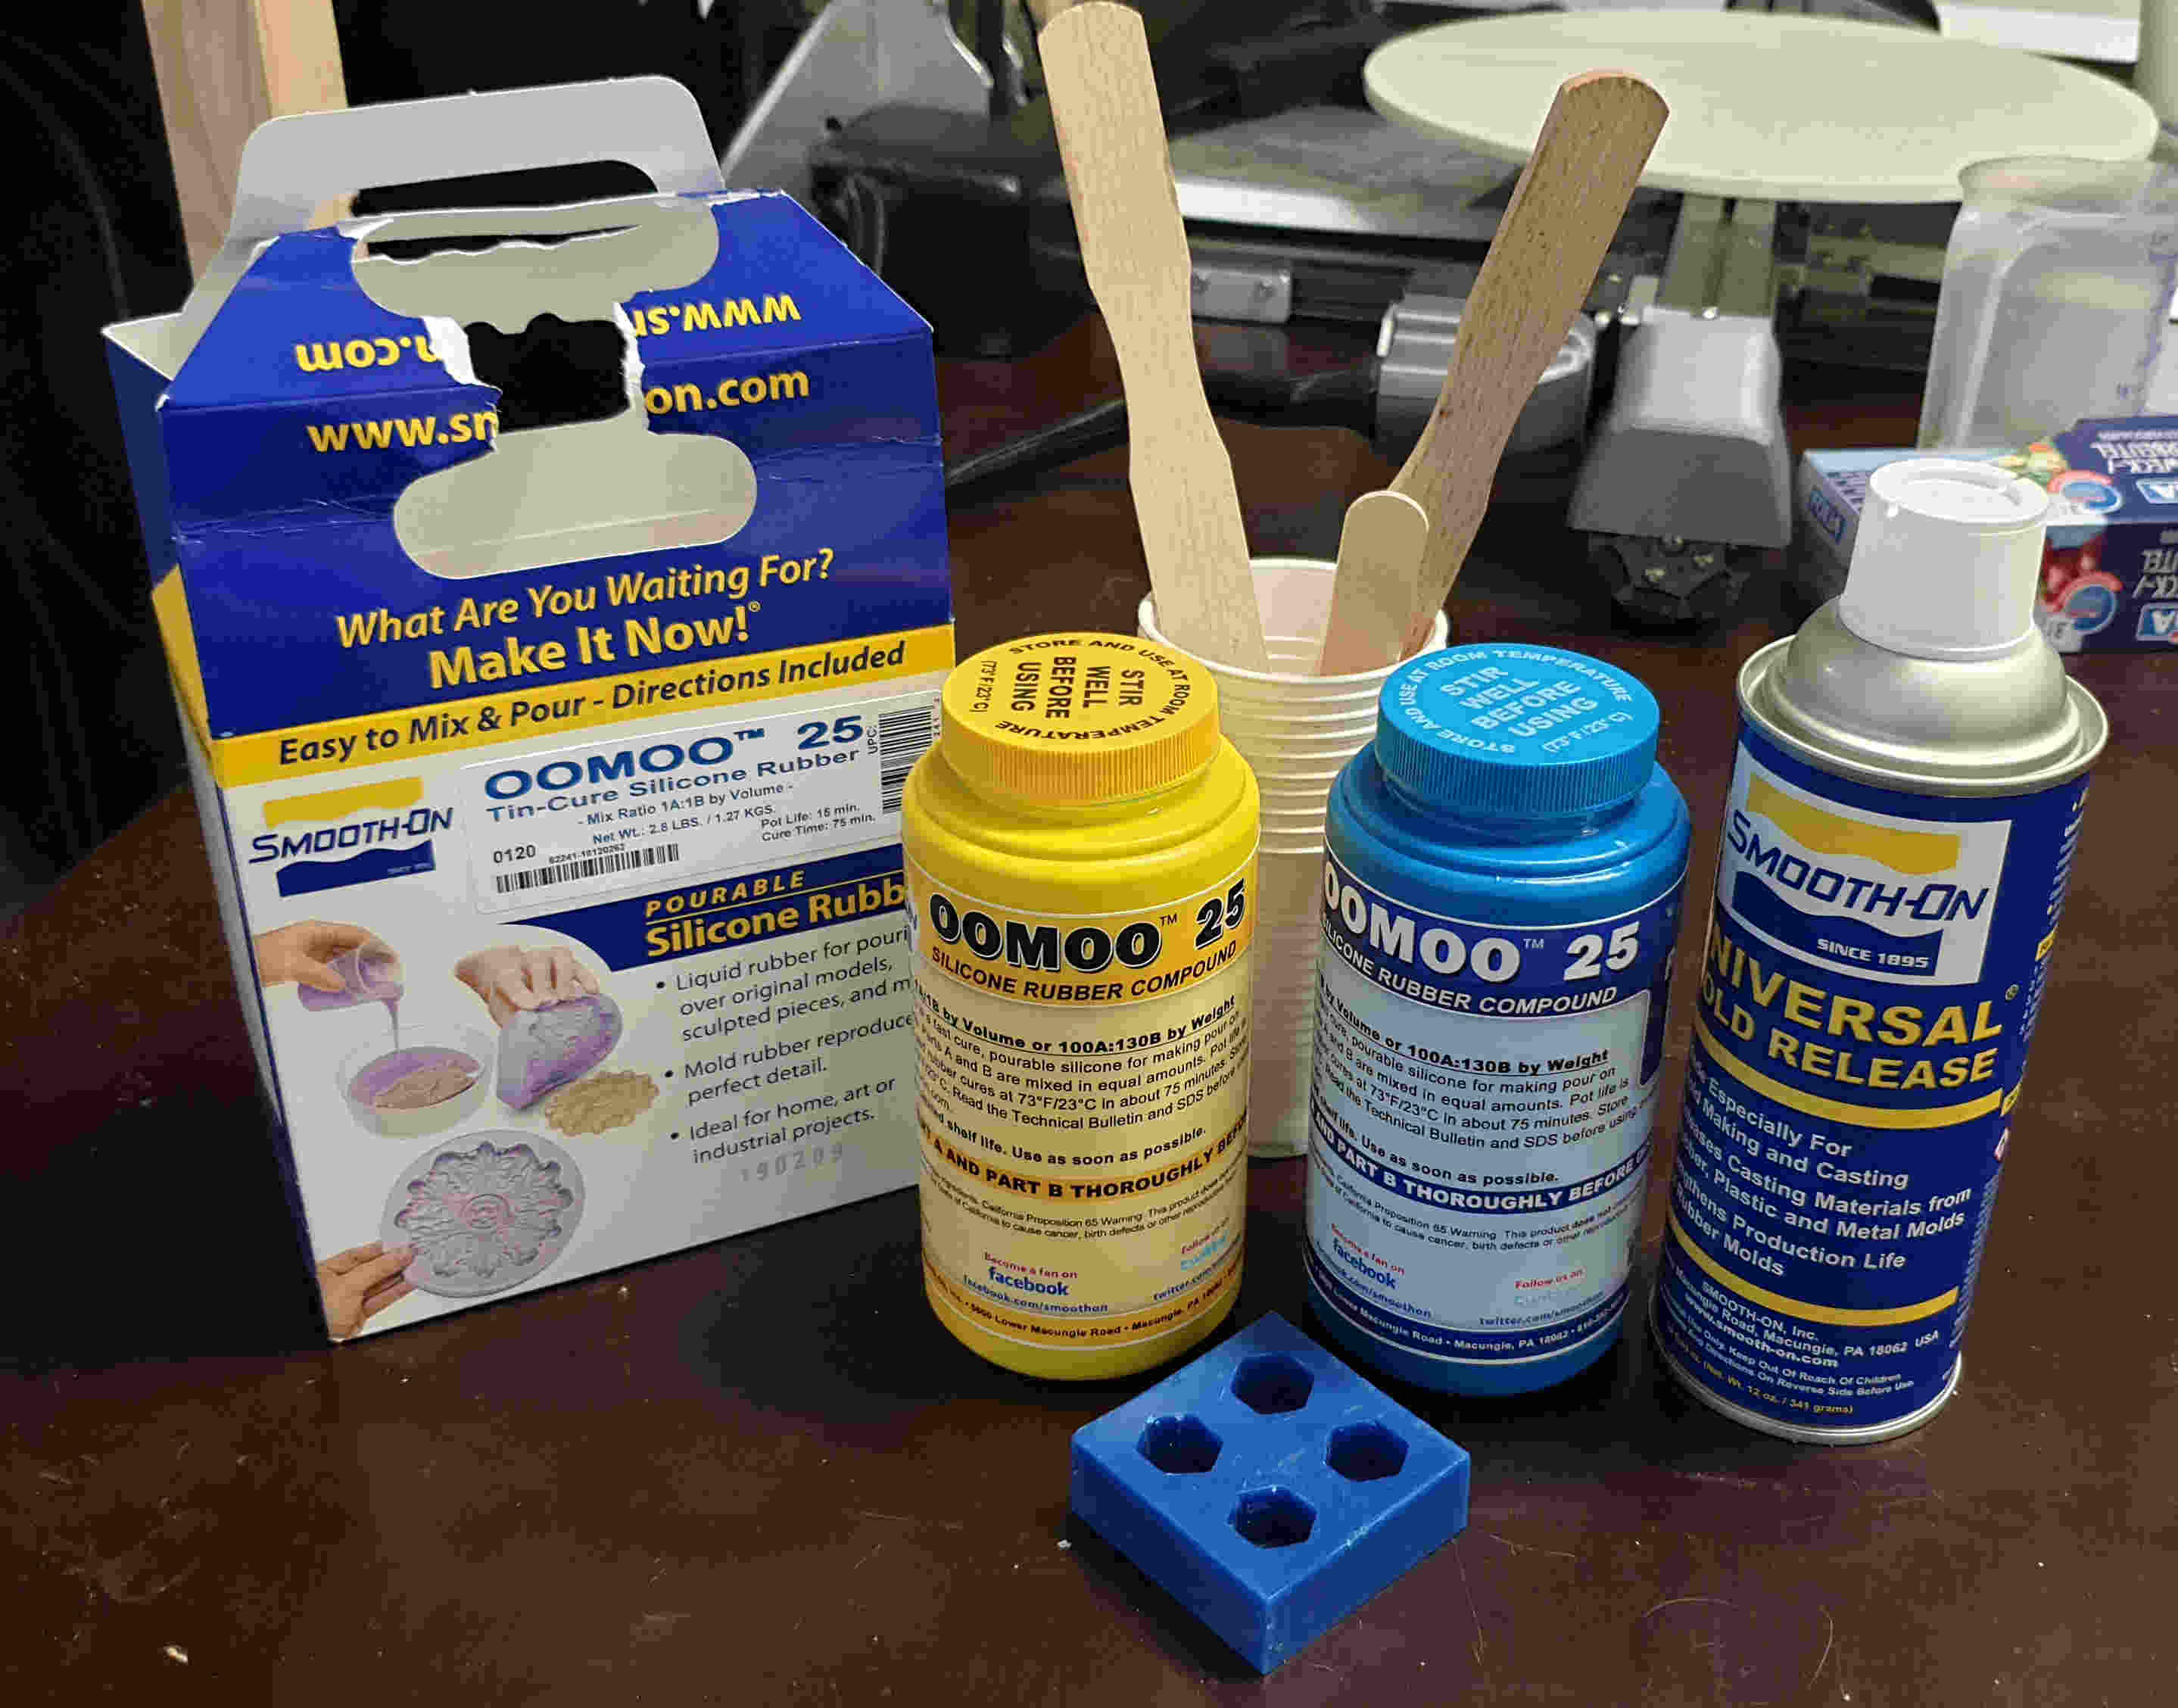
For this week I would like to thank my colleague Patrick for helping me with buying all needed products, it is hard for me to buy one because I'm not from Germany so don't know where to buy it. So we took OOMOO 25 silicone rubber, universal molde release and miling wax.
GROUP ASSIGNMENT
For group assignment we needed to review safety data sheet.
Description of first aid measures
Inhalation: Remove source(s) of contamination and move victim to fresh air. If breathing has stopped, give artificial respiration, then oxygen if needed. Contact physician immediately.
Eye Contact: Flush eyes with plenty of water. If irritation persists, seek medical attention.
Skin Contact: In case of skin contact, wash thoroughly with soap and water.
Ingestion: Do not induce vomiting unless instructed by a physician. Never give anything by mouth to an unconscious person.
Most important symptoms and effects, both acute and delayed None known.
After first aid, get appropriate in-plant, paramedic, or community medical support.
Personal precautions, protective equipment and emergency procedures: Only properly protected personnel should remain in the spill area; dike and contain spill. Stop or reduce discharge if it can be done safely.
Environmental precautions: No special environmental precautions required.
Methods and material for containment and cleaning up: absorb or scrape up excess into suitable container for disposal; wash area with dilute ammonia solution.
Conditions for safe storage, including any incompatibilities: Keep container(s) tightly closed and properly labeled. Store in cool, dry, well ventilated place away from heat, direct sunlight, strong oxidizers and any incompatibles. Store in approved containers and protect against physical damage. Keep containers securely sealed when not in use. Indoor storage should meet OSHA standards and appropriate fire codes. Containers that have been opened must be carefully resealed to prevent leakage. Empty containers retain residue and may be dangerous. Avoid water contamination.
Hand Protection: Wear any liquid-tight gloves such as butyl rubber, neoprene or PVC. Eye Protection: Safety glasses with side shields per OSHA eye- and face-protection regulations 29 CFR 1910.133 and European Standard EN166. Contact lenses are not eye protective devices. Appropriate eye protection must be worn instead of, or in conjunction with contact lenses.
Other Protective Clothing/Equipment: Additional protective clothing or equipment is not normally required. Provide eye bath and safety shower.
Comments: Never eat, drink, or smoke in work areas. Practice good personal hygiene after using this material, especially before eating, drinking, smoking, using the toilet, or applying cosmetics. Wash thoroughly after handling.
Those were some of the safety mesures on how to handling and use this product. After reading this safety data sheet, I can continue with my assignment, but be very careful with handling OOMOO 25.
INDIVIDUAL ASSIGNMENT
MOLDING
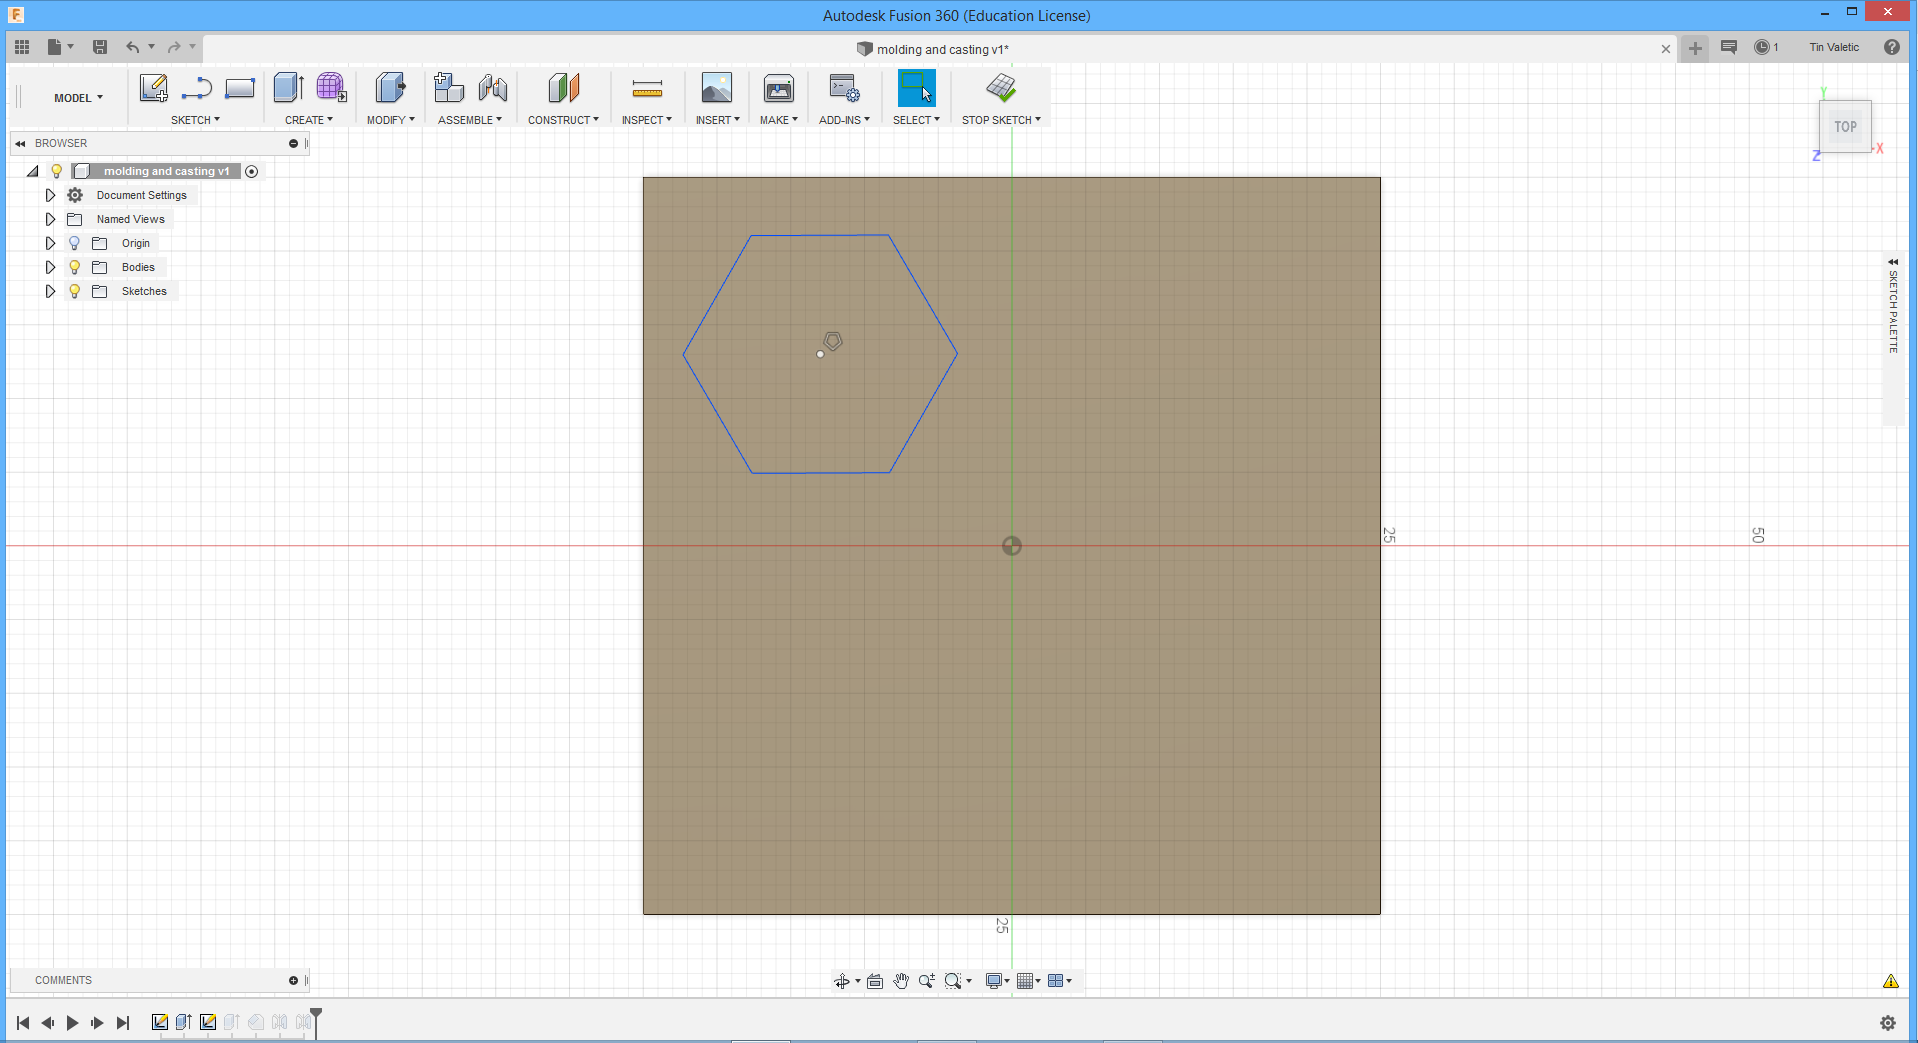
First step to do is opening one of your favourite CAD programs, for me i's Fusion 360 and to design your idea.
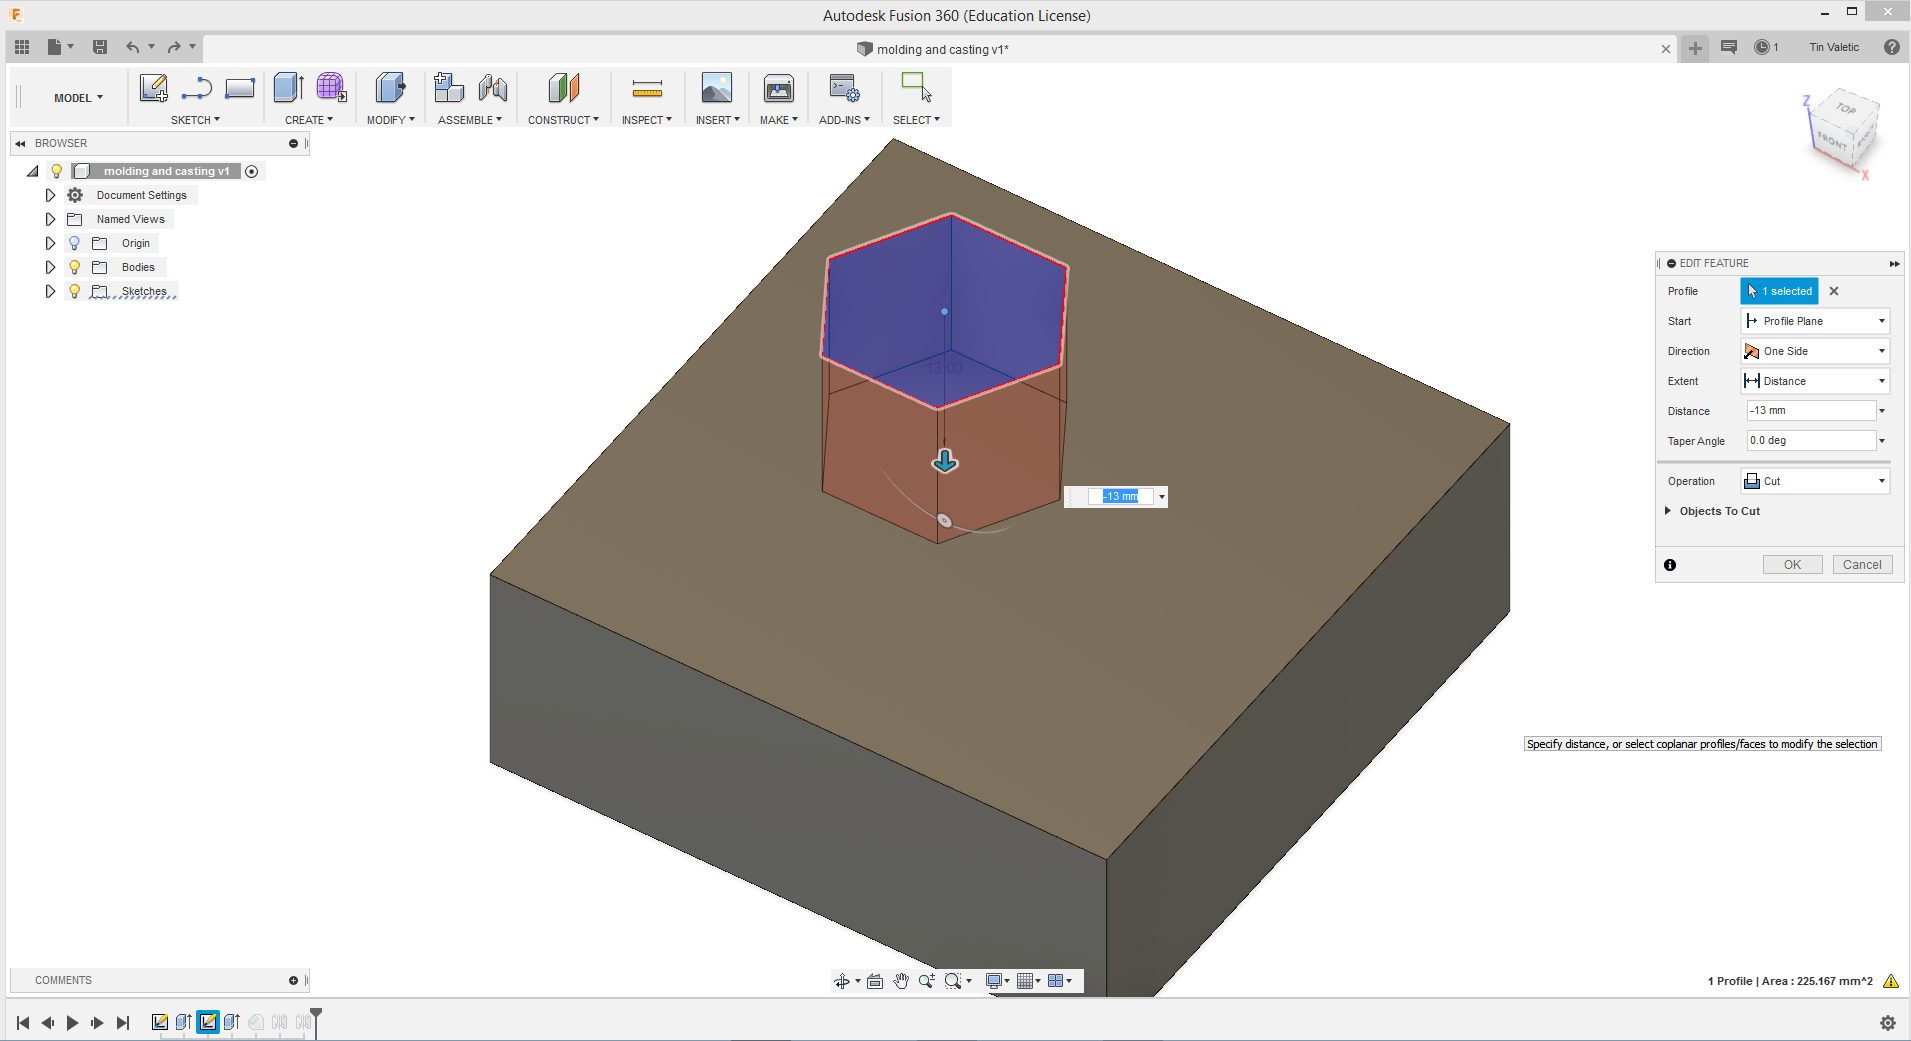
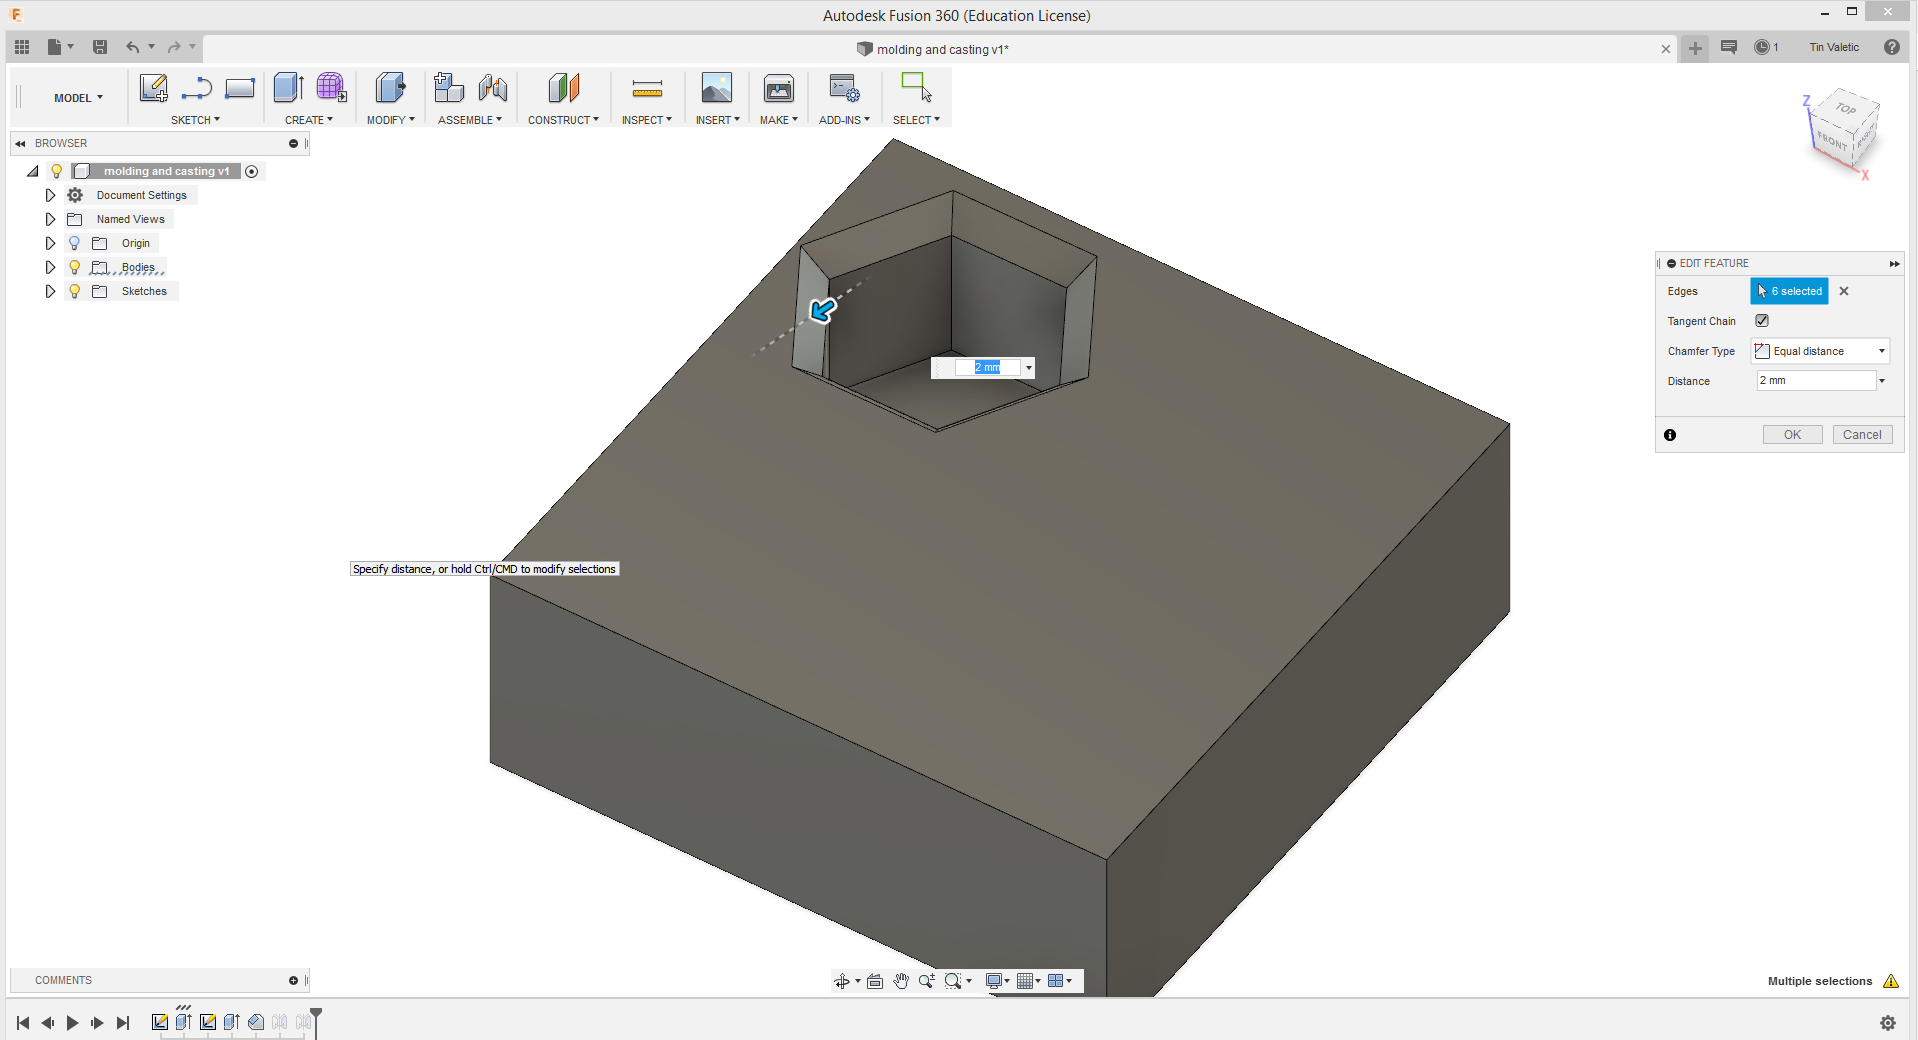
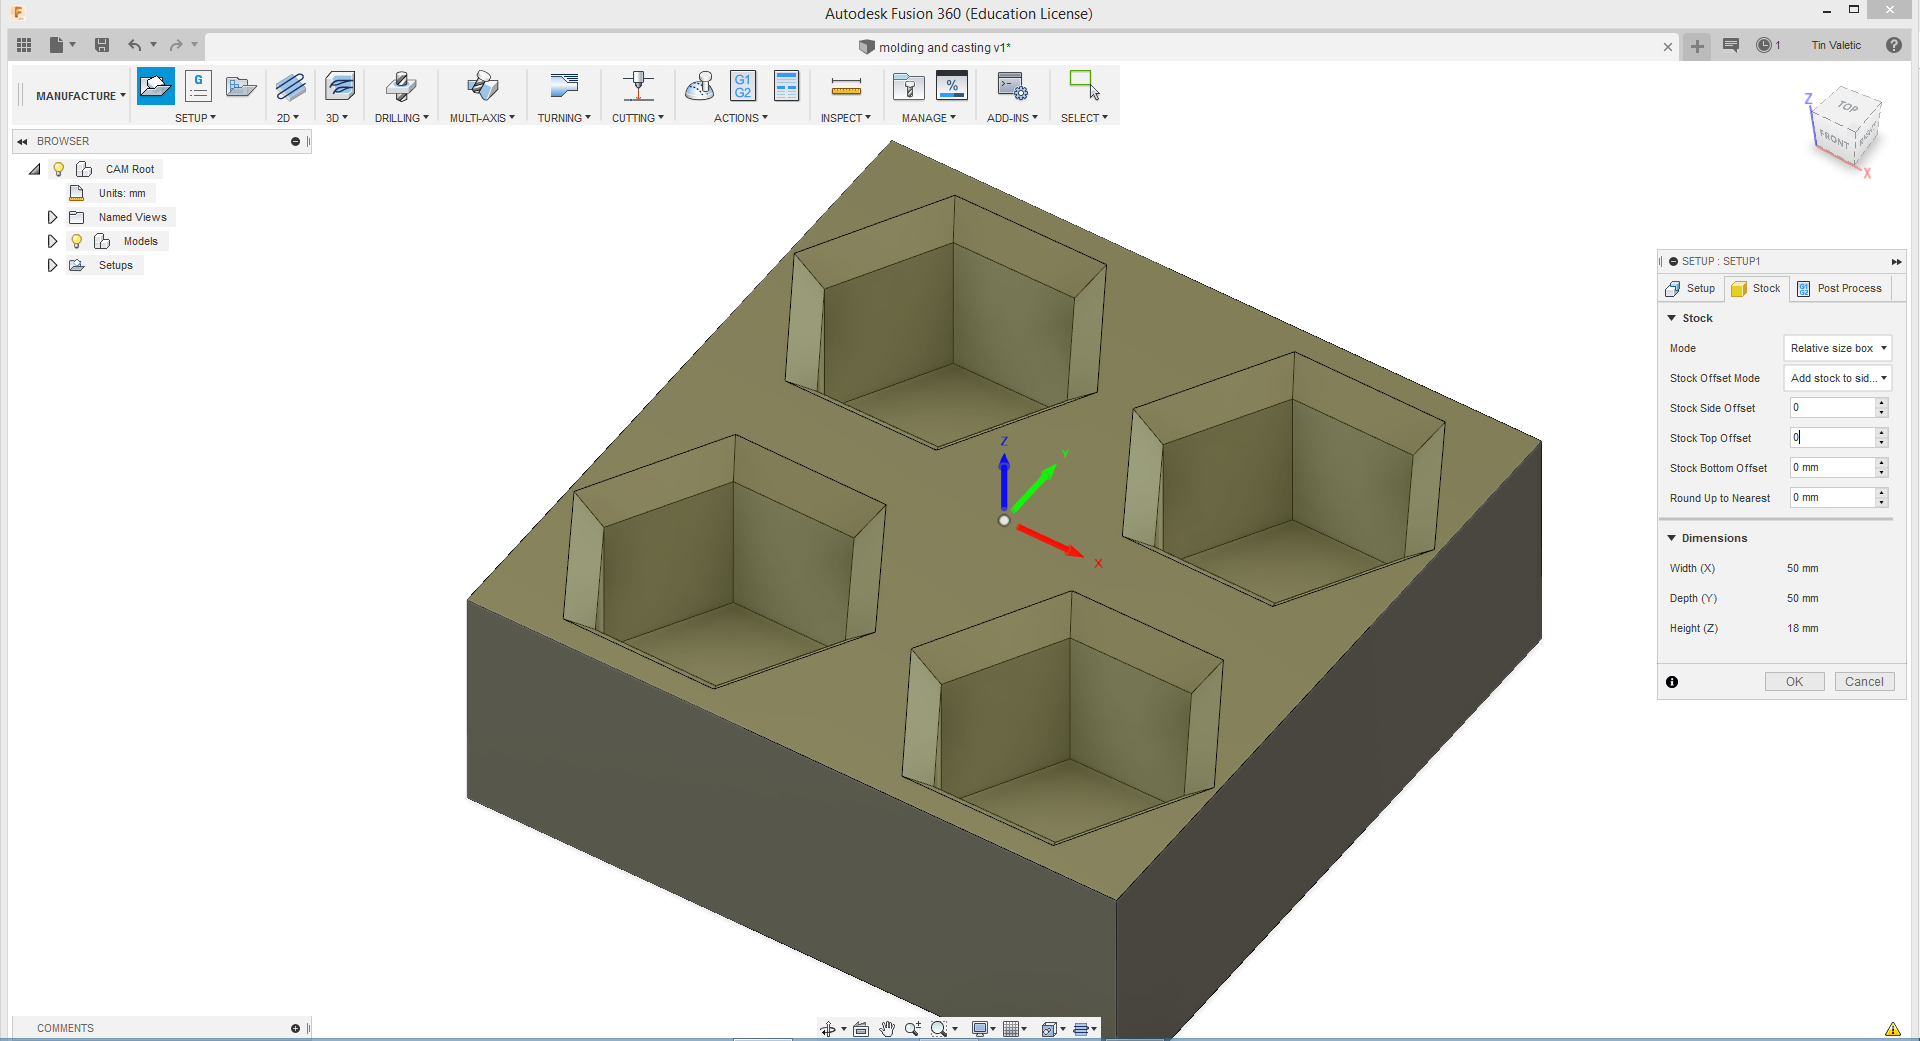
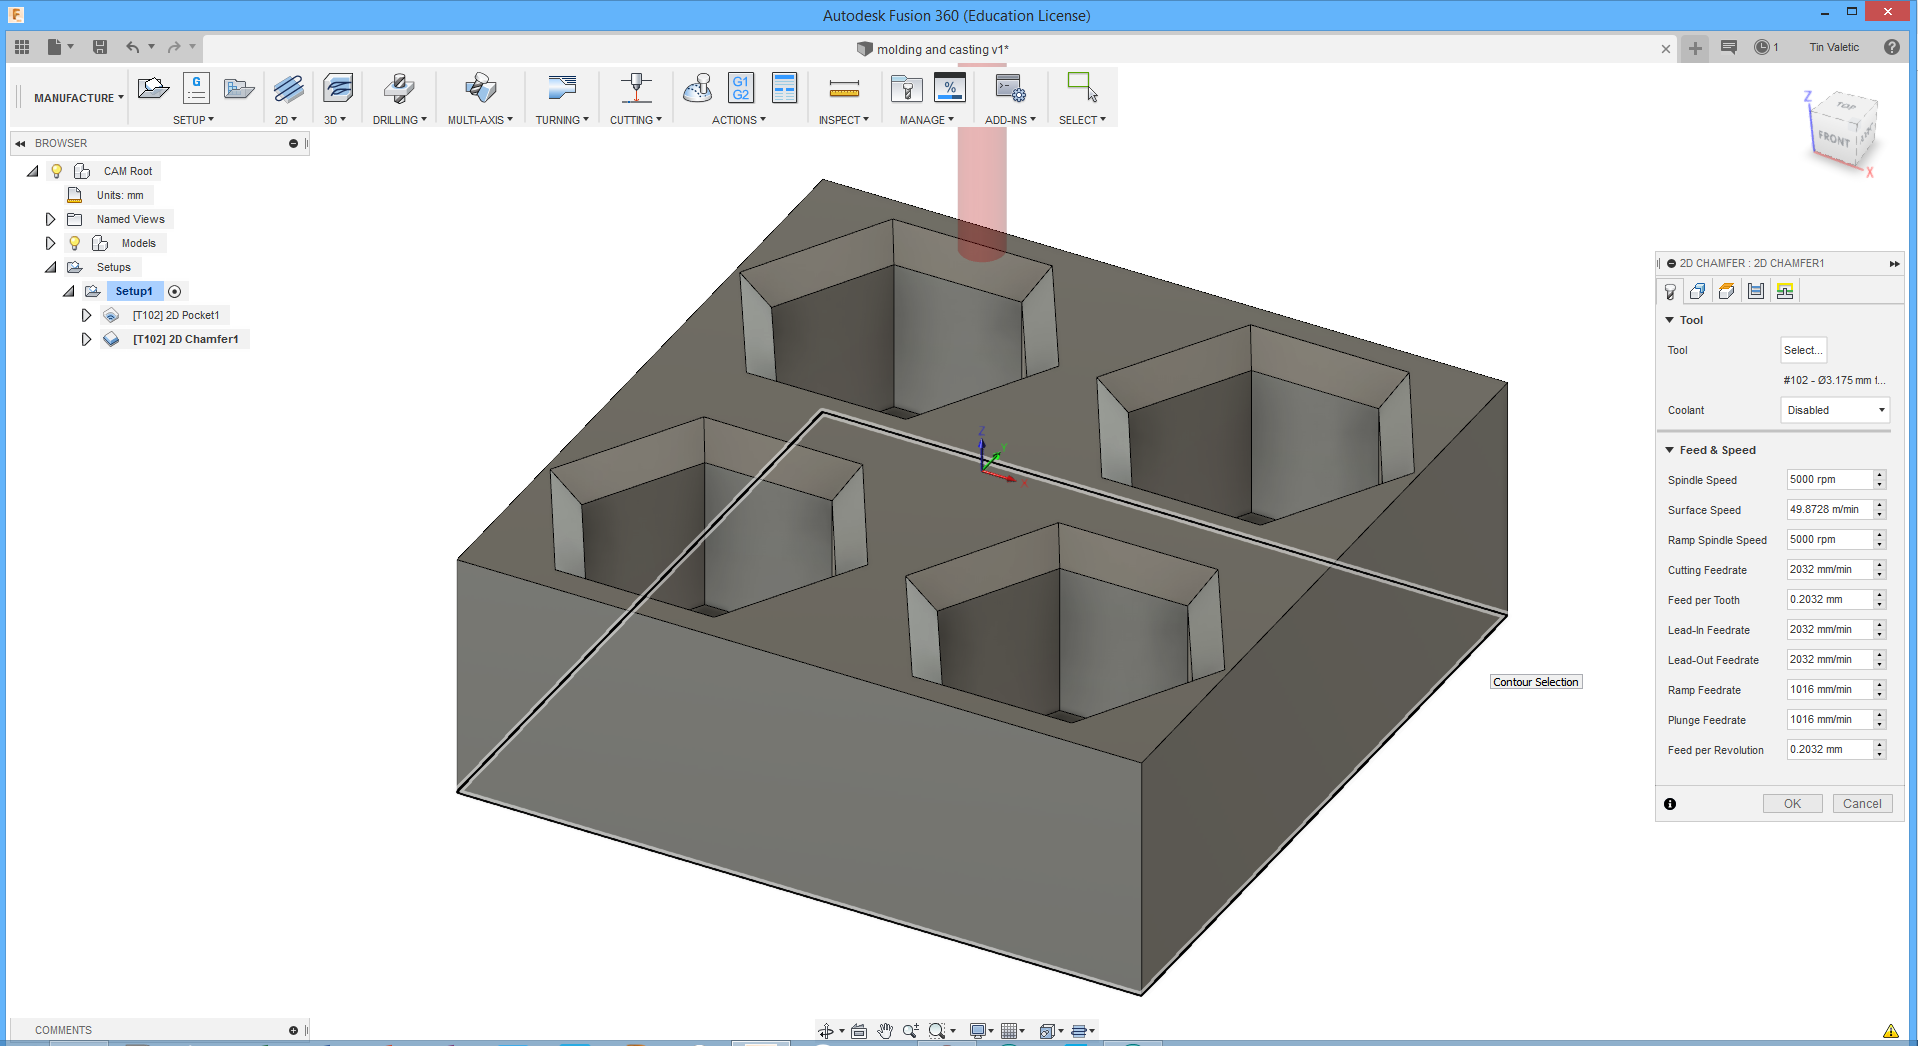
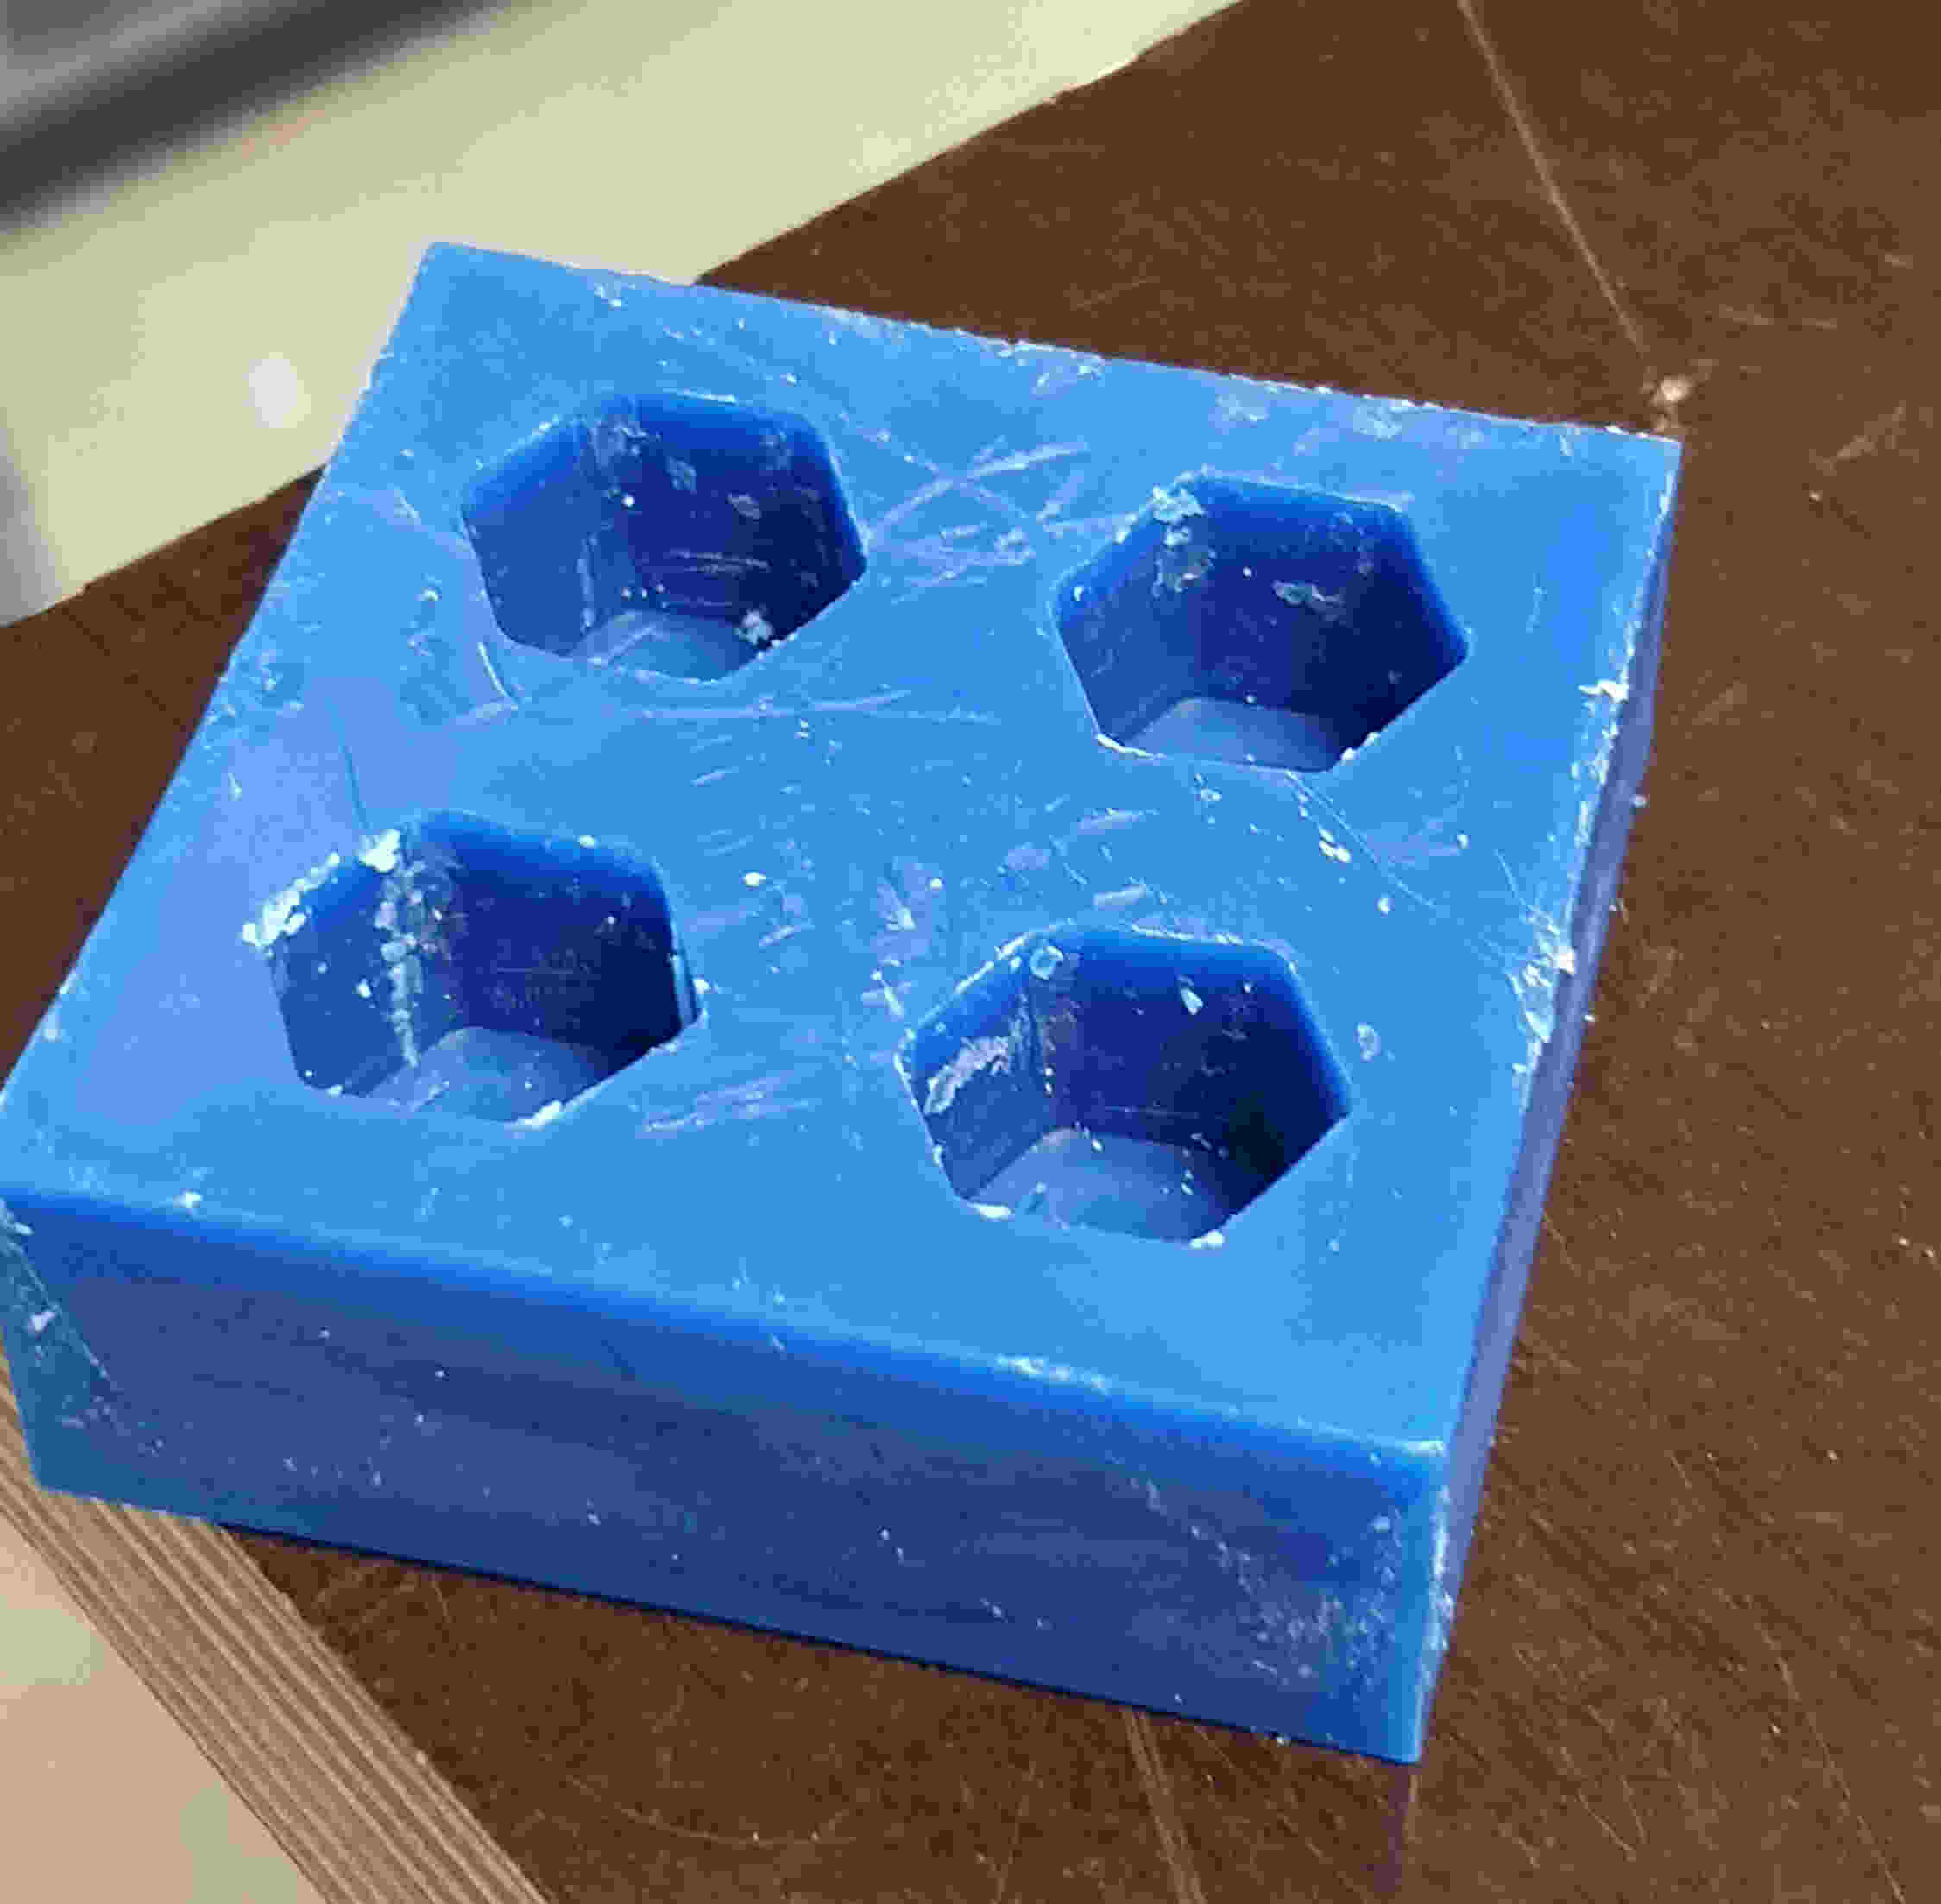
As I mentioned earlier I'll make legs for my final project. So first is to open the prgram, in sketch design draw block and on that draw one hexagon that latter is going to be mirrored to have foure of them.Progress can be seen on pictures below.
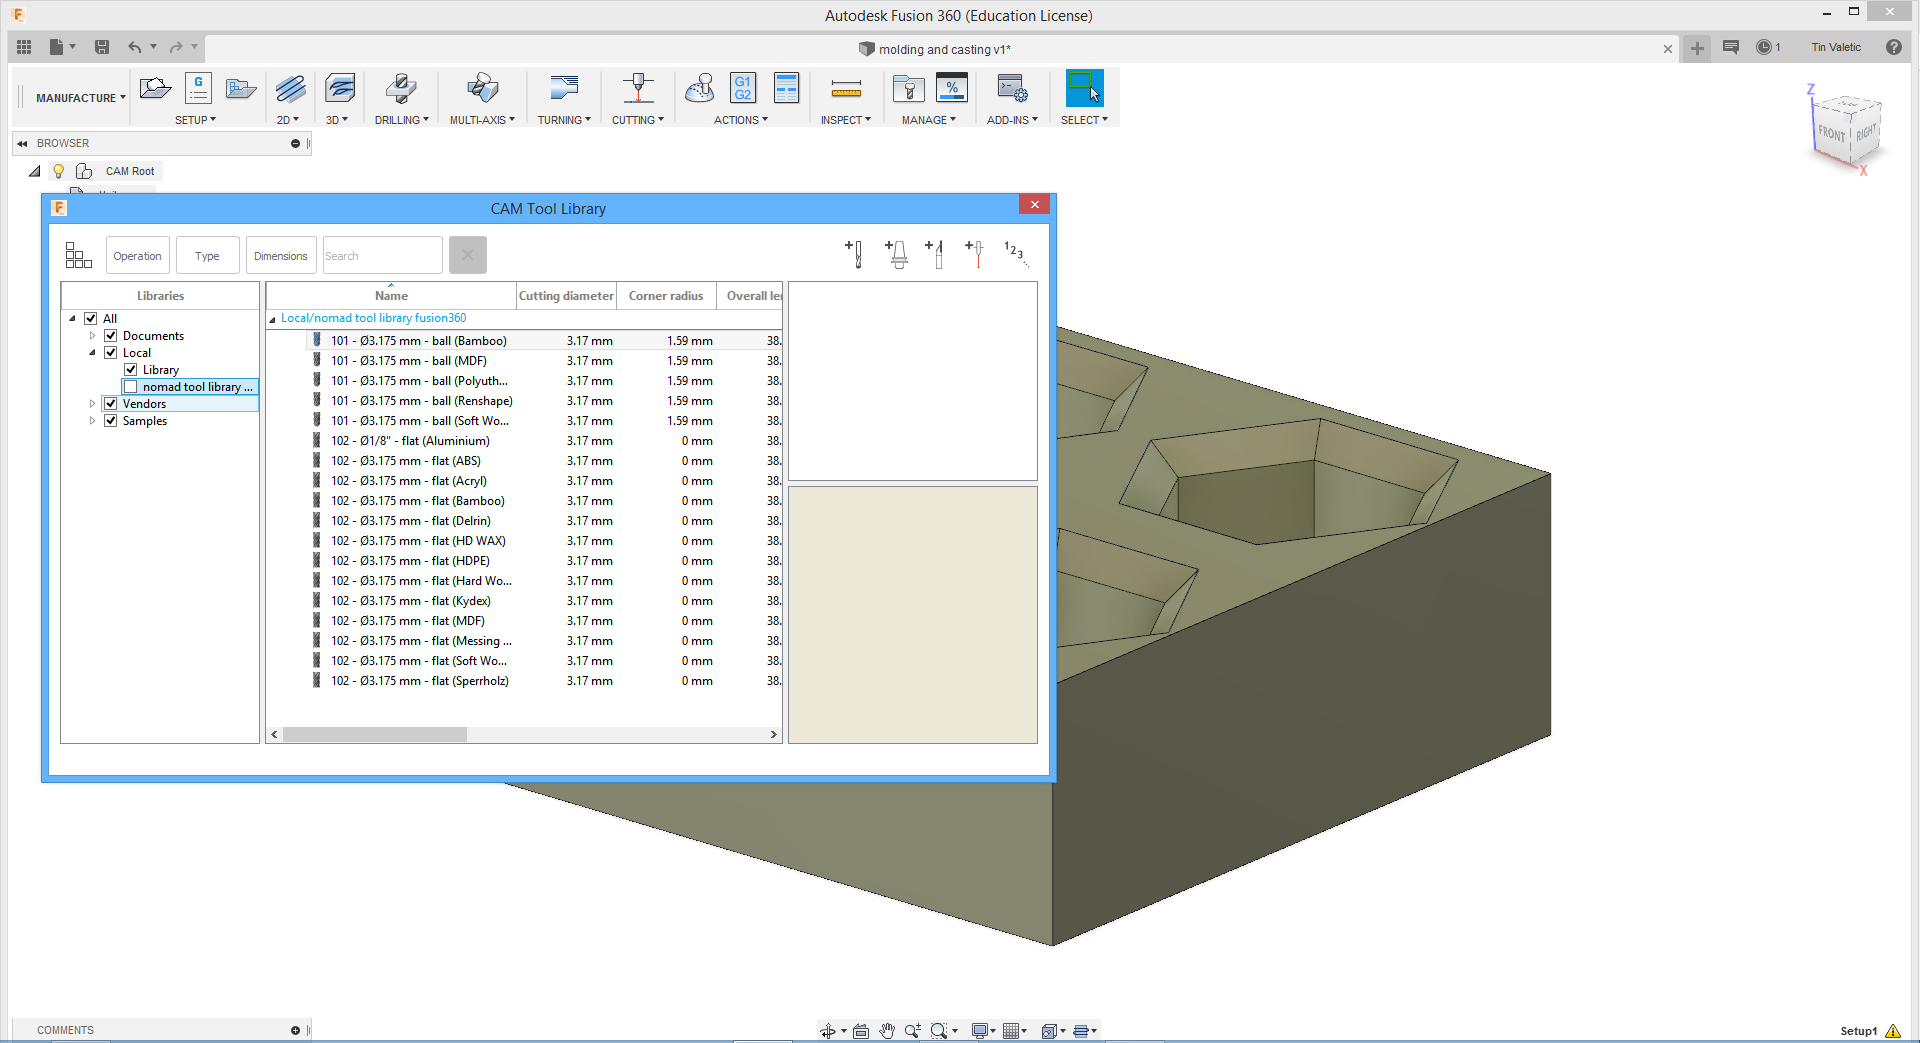
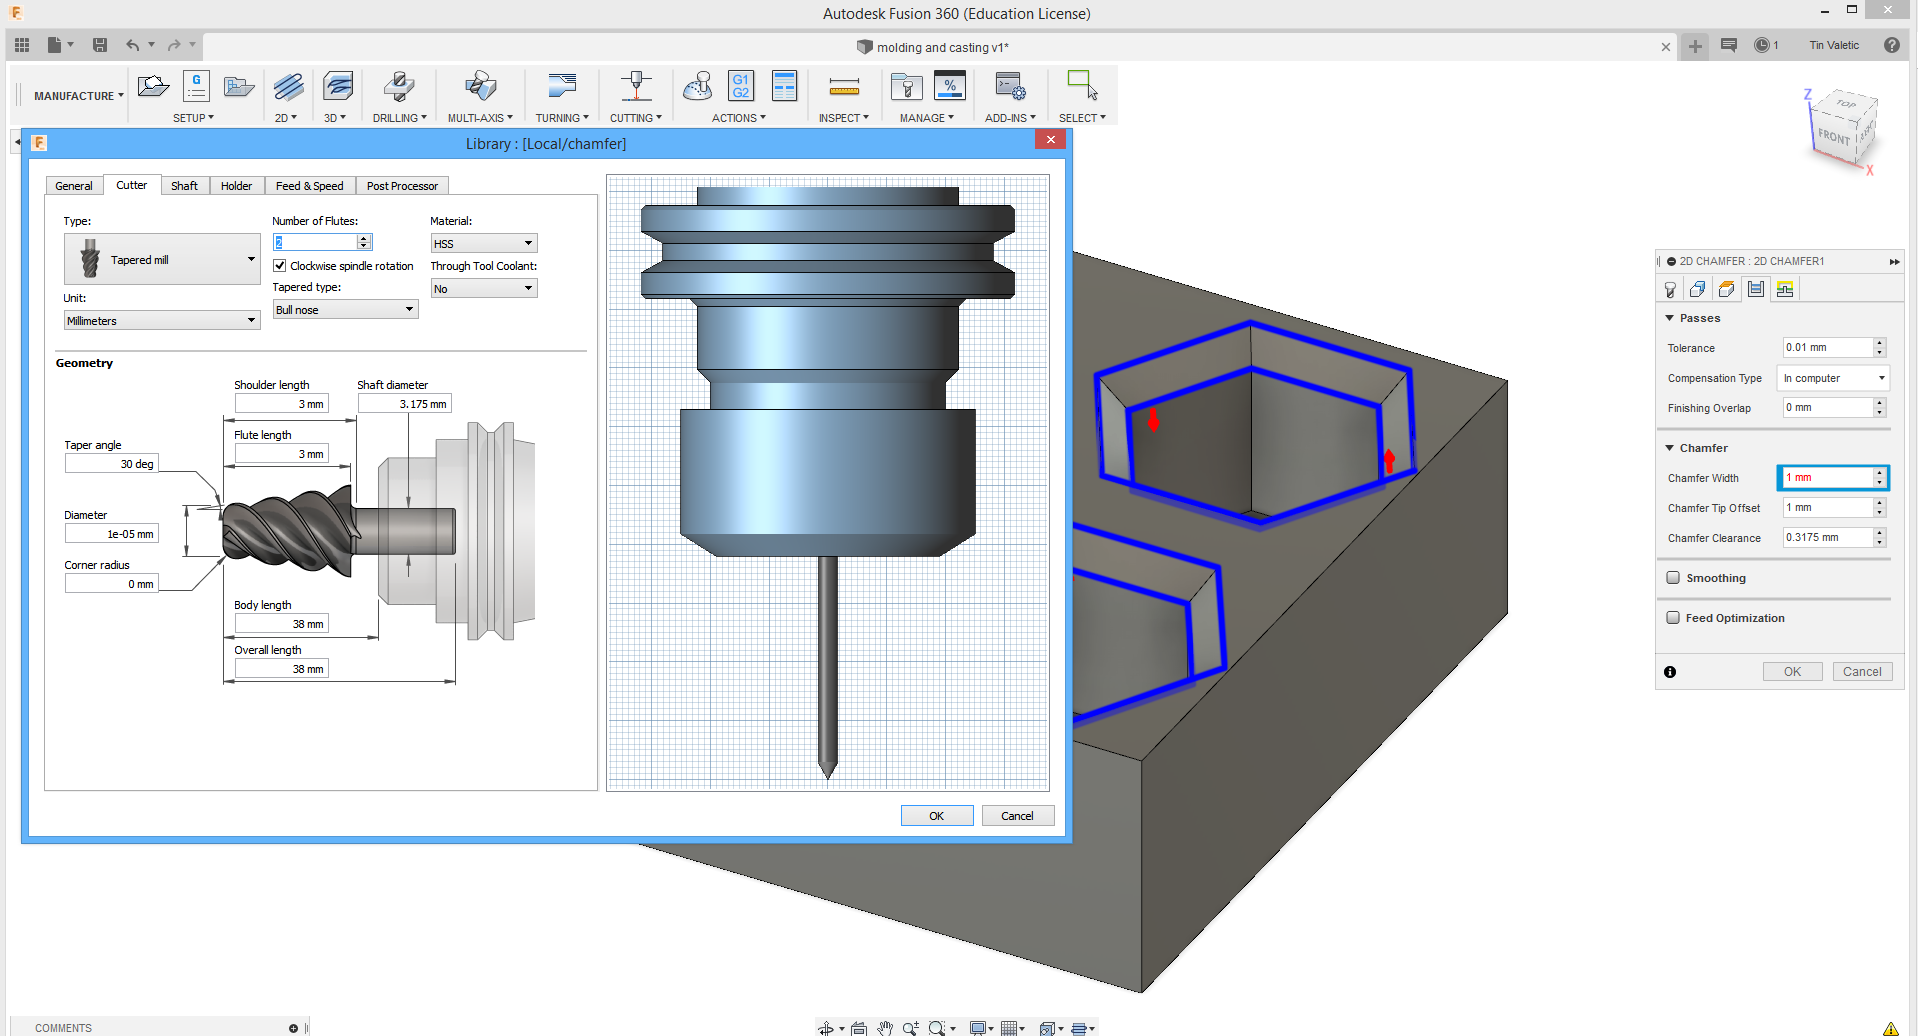
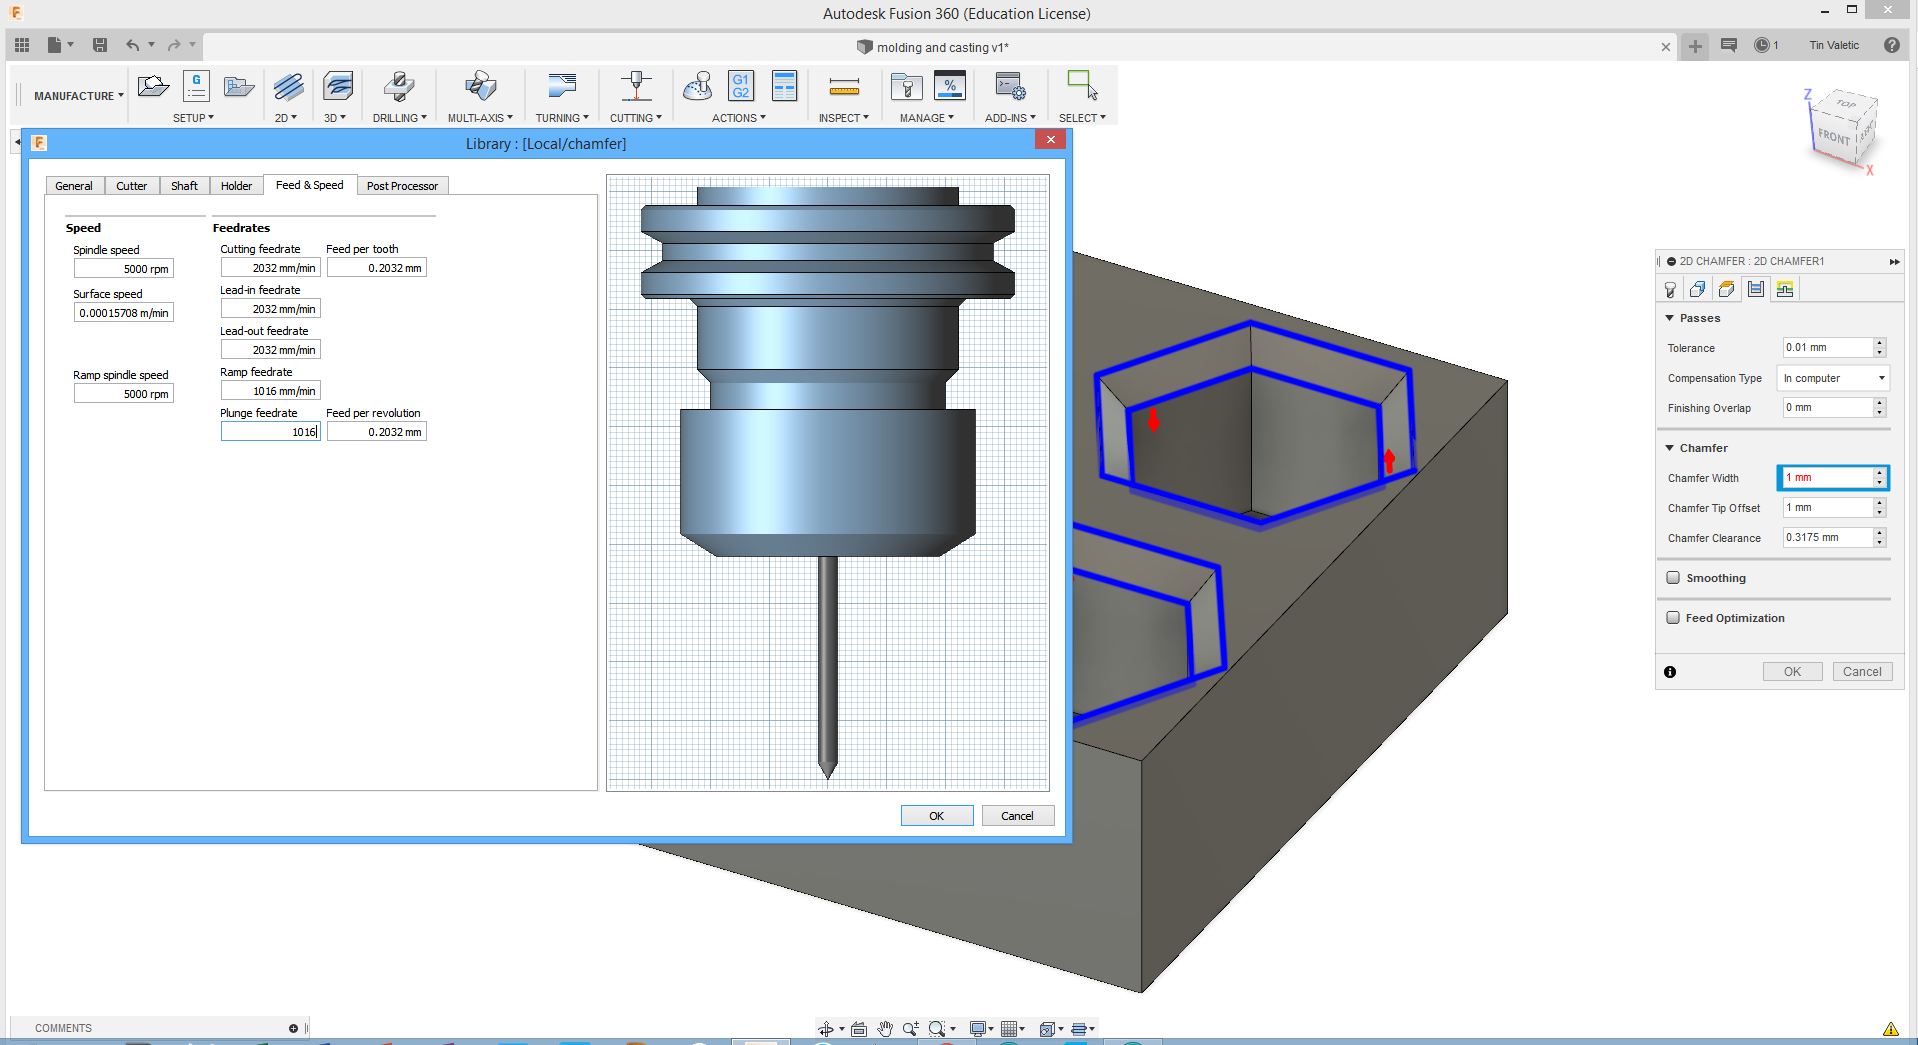
After finishing the model I need to choose what tool is going to be used. In left corner press on "MODEL>MANUFACTURE" then "MANAGE>TOOL" and choose tool you want to use, for me it was (HD WAX). Than select surface that you want to mil with that tool. If you have two or more types of surface than you just add new tool and select surfaces.
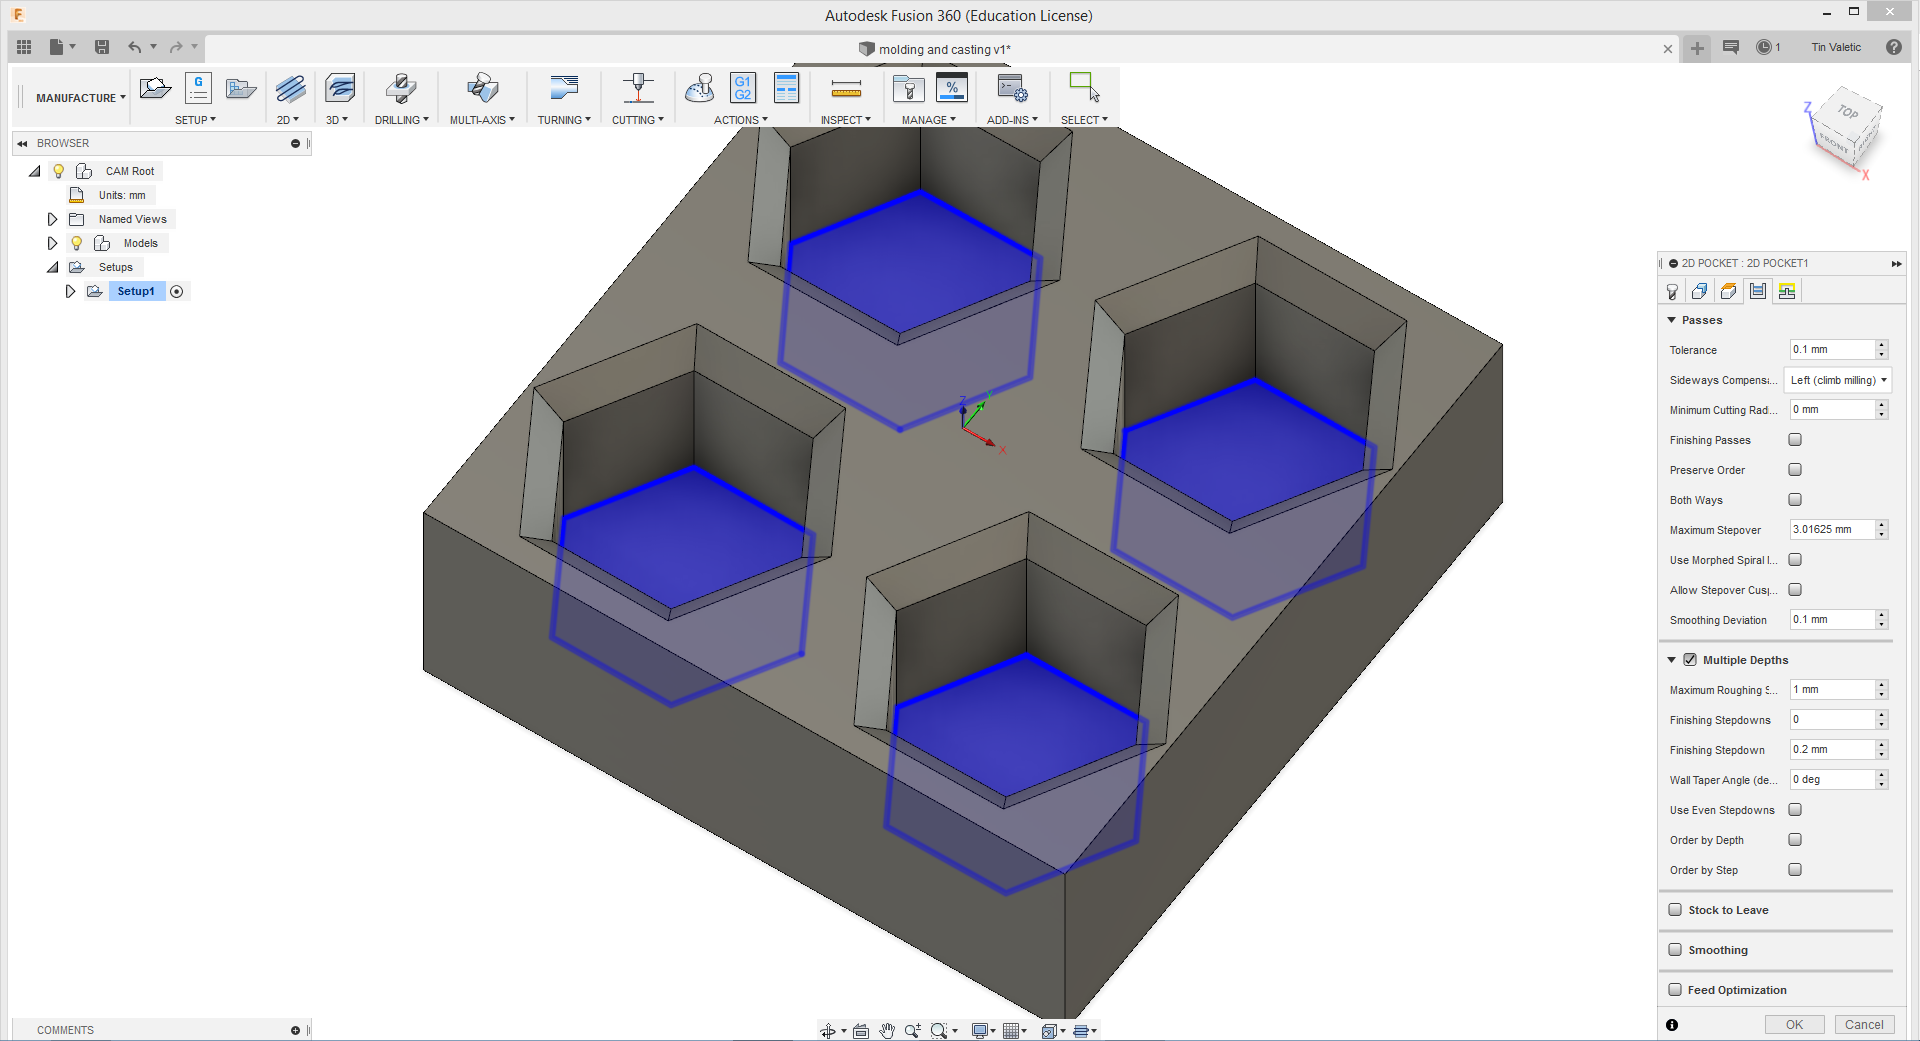
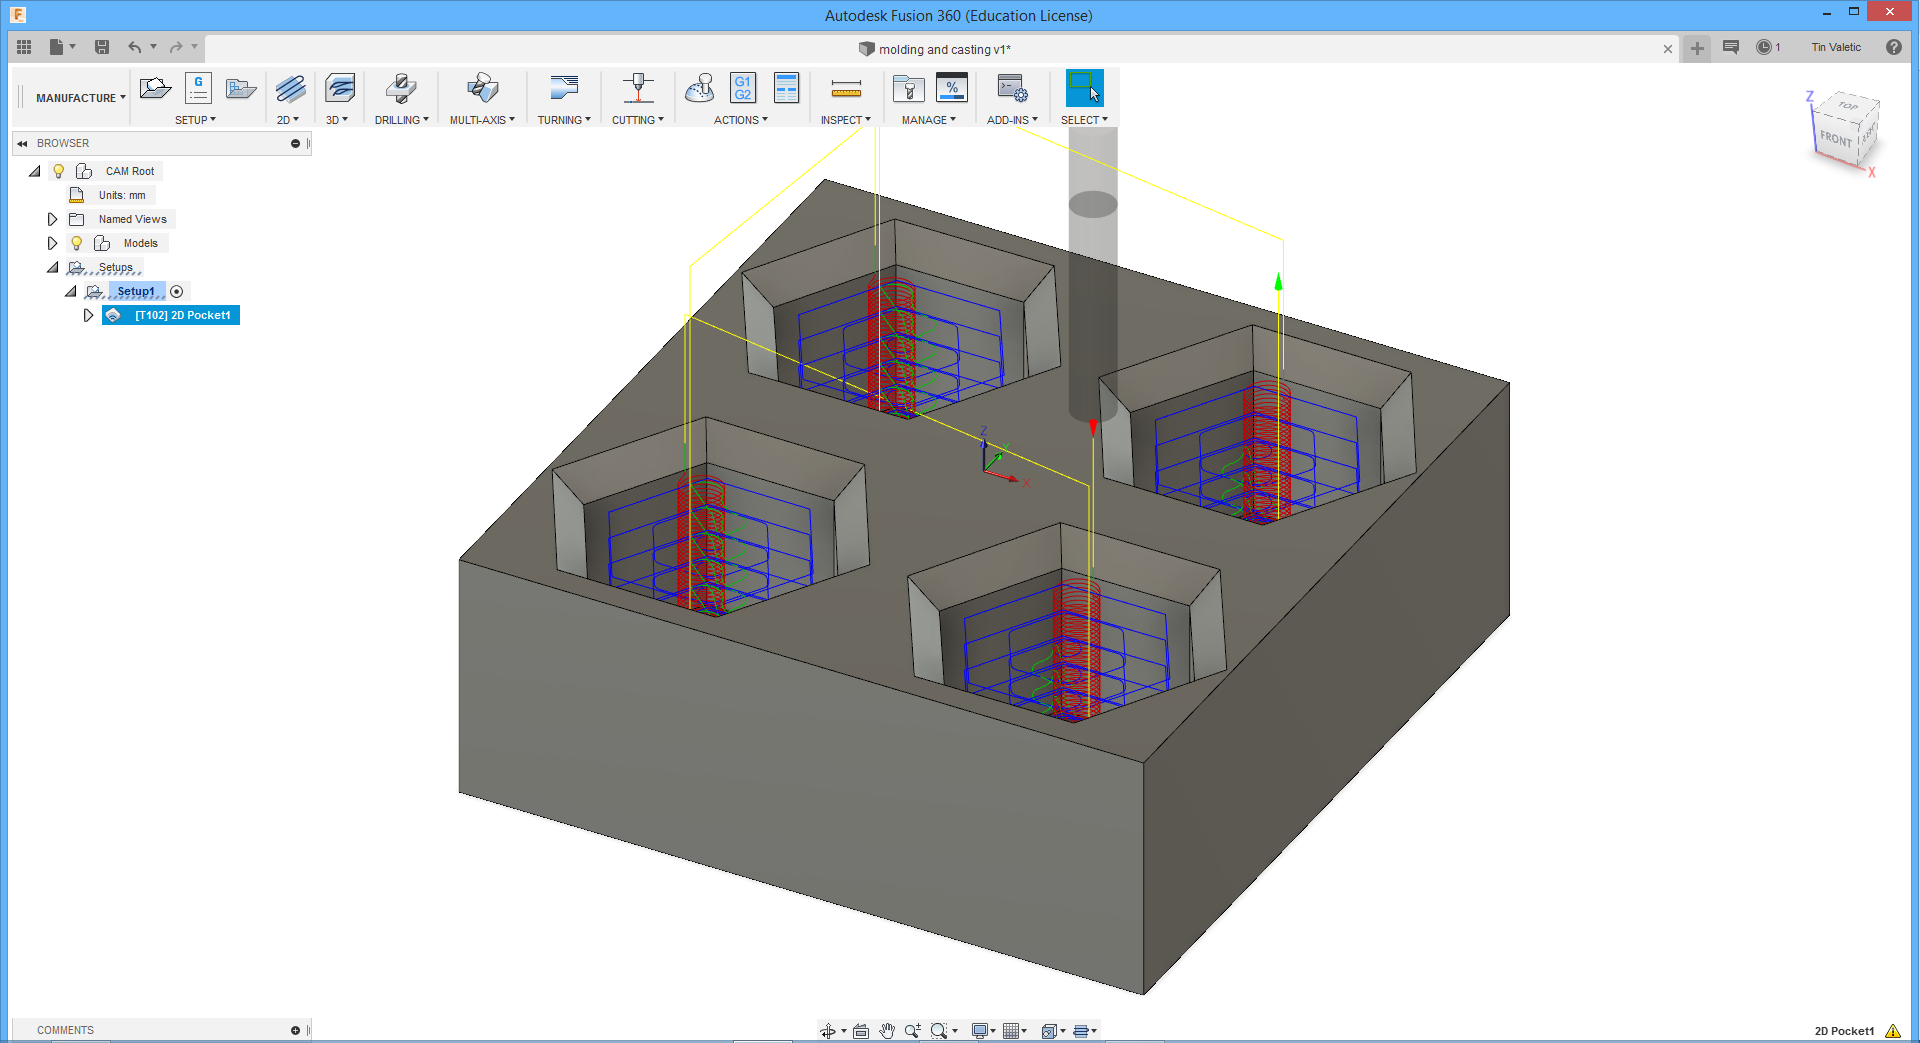
To see if all is good, is the tool good for that job. Go to "2D>POCKET" where you can see tool path and also can set up tool specifications.

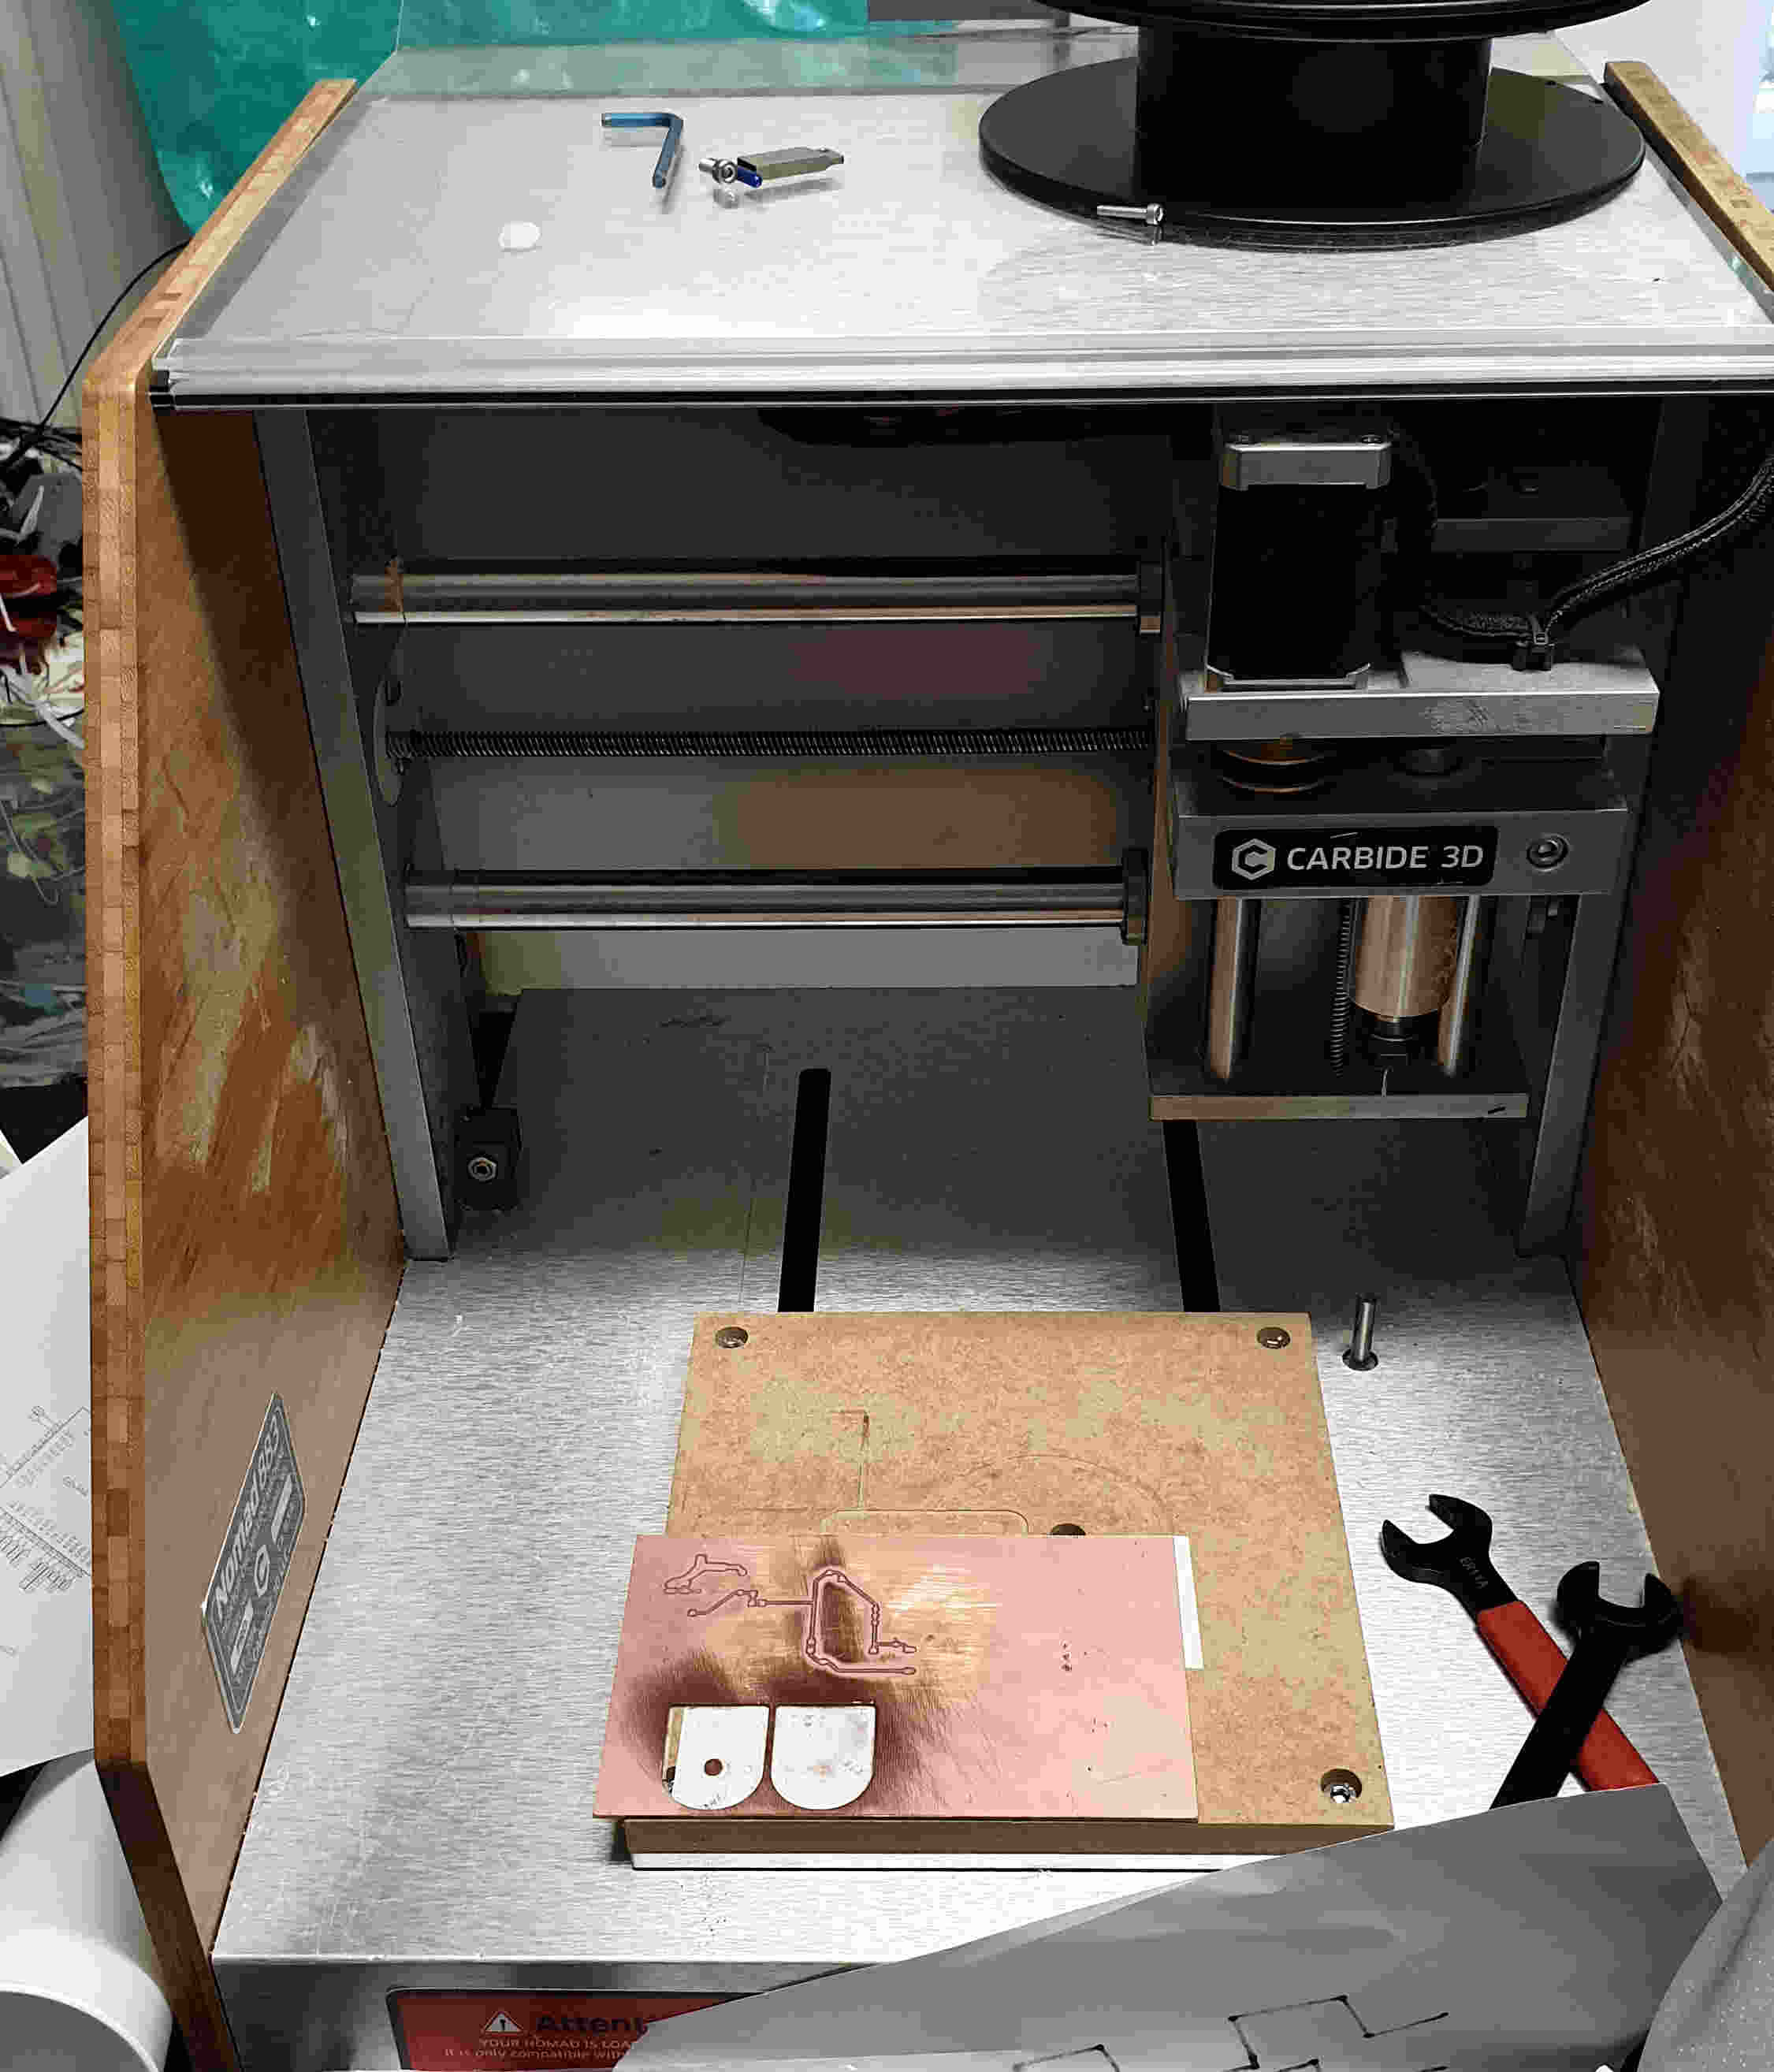
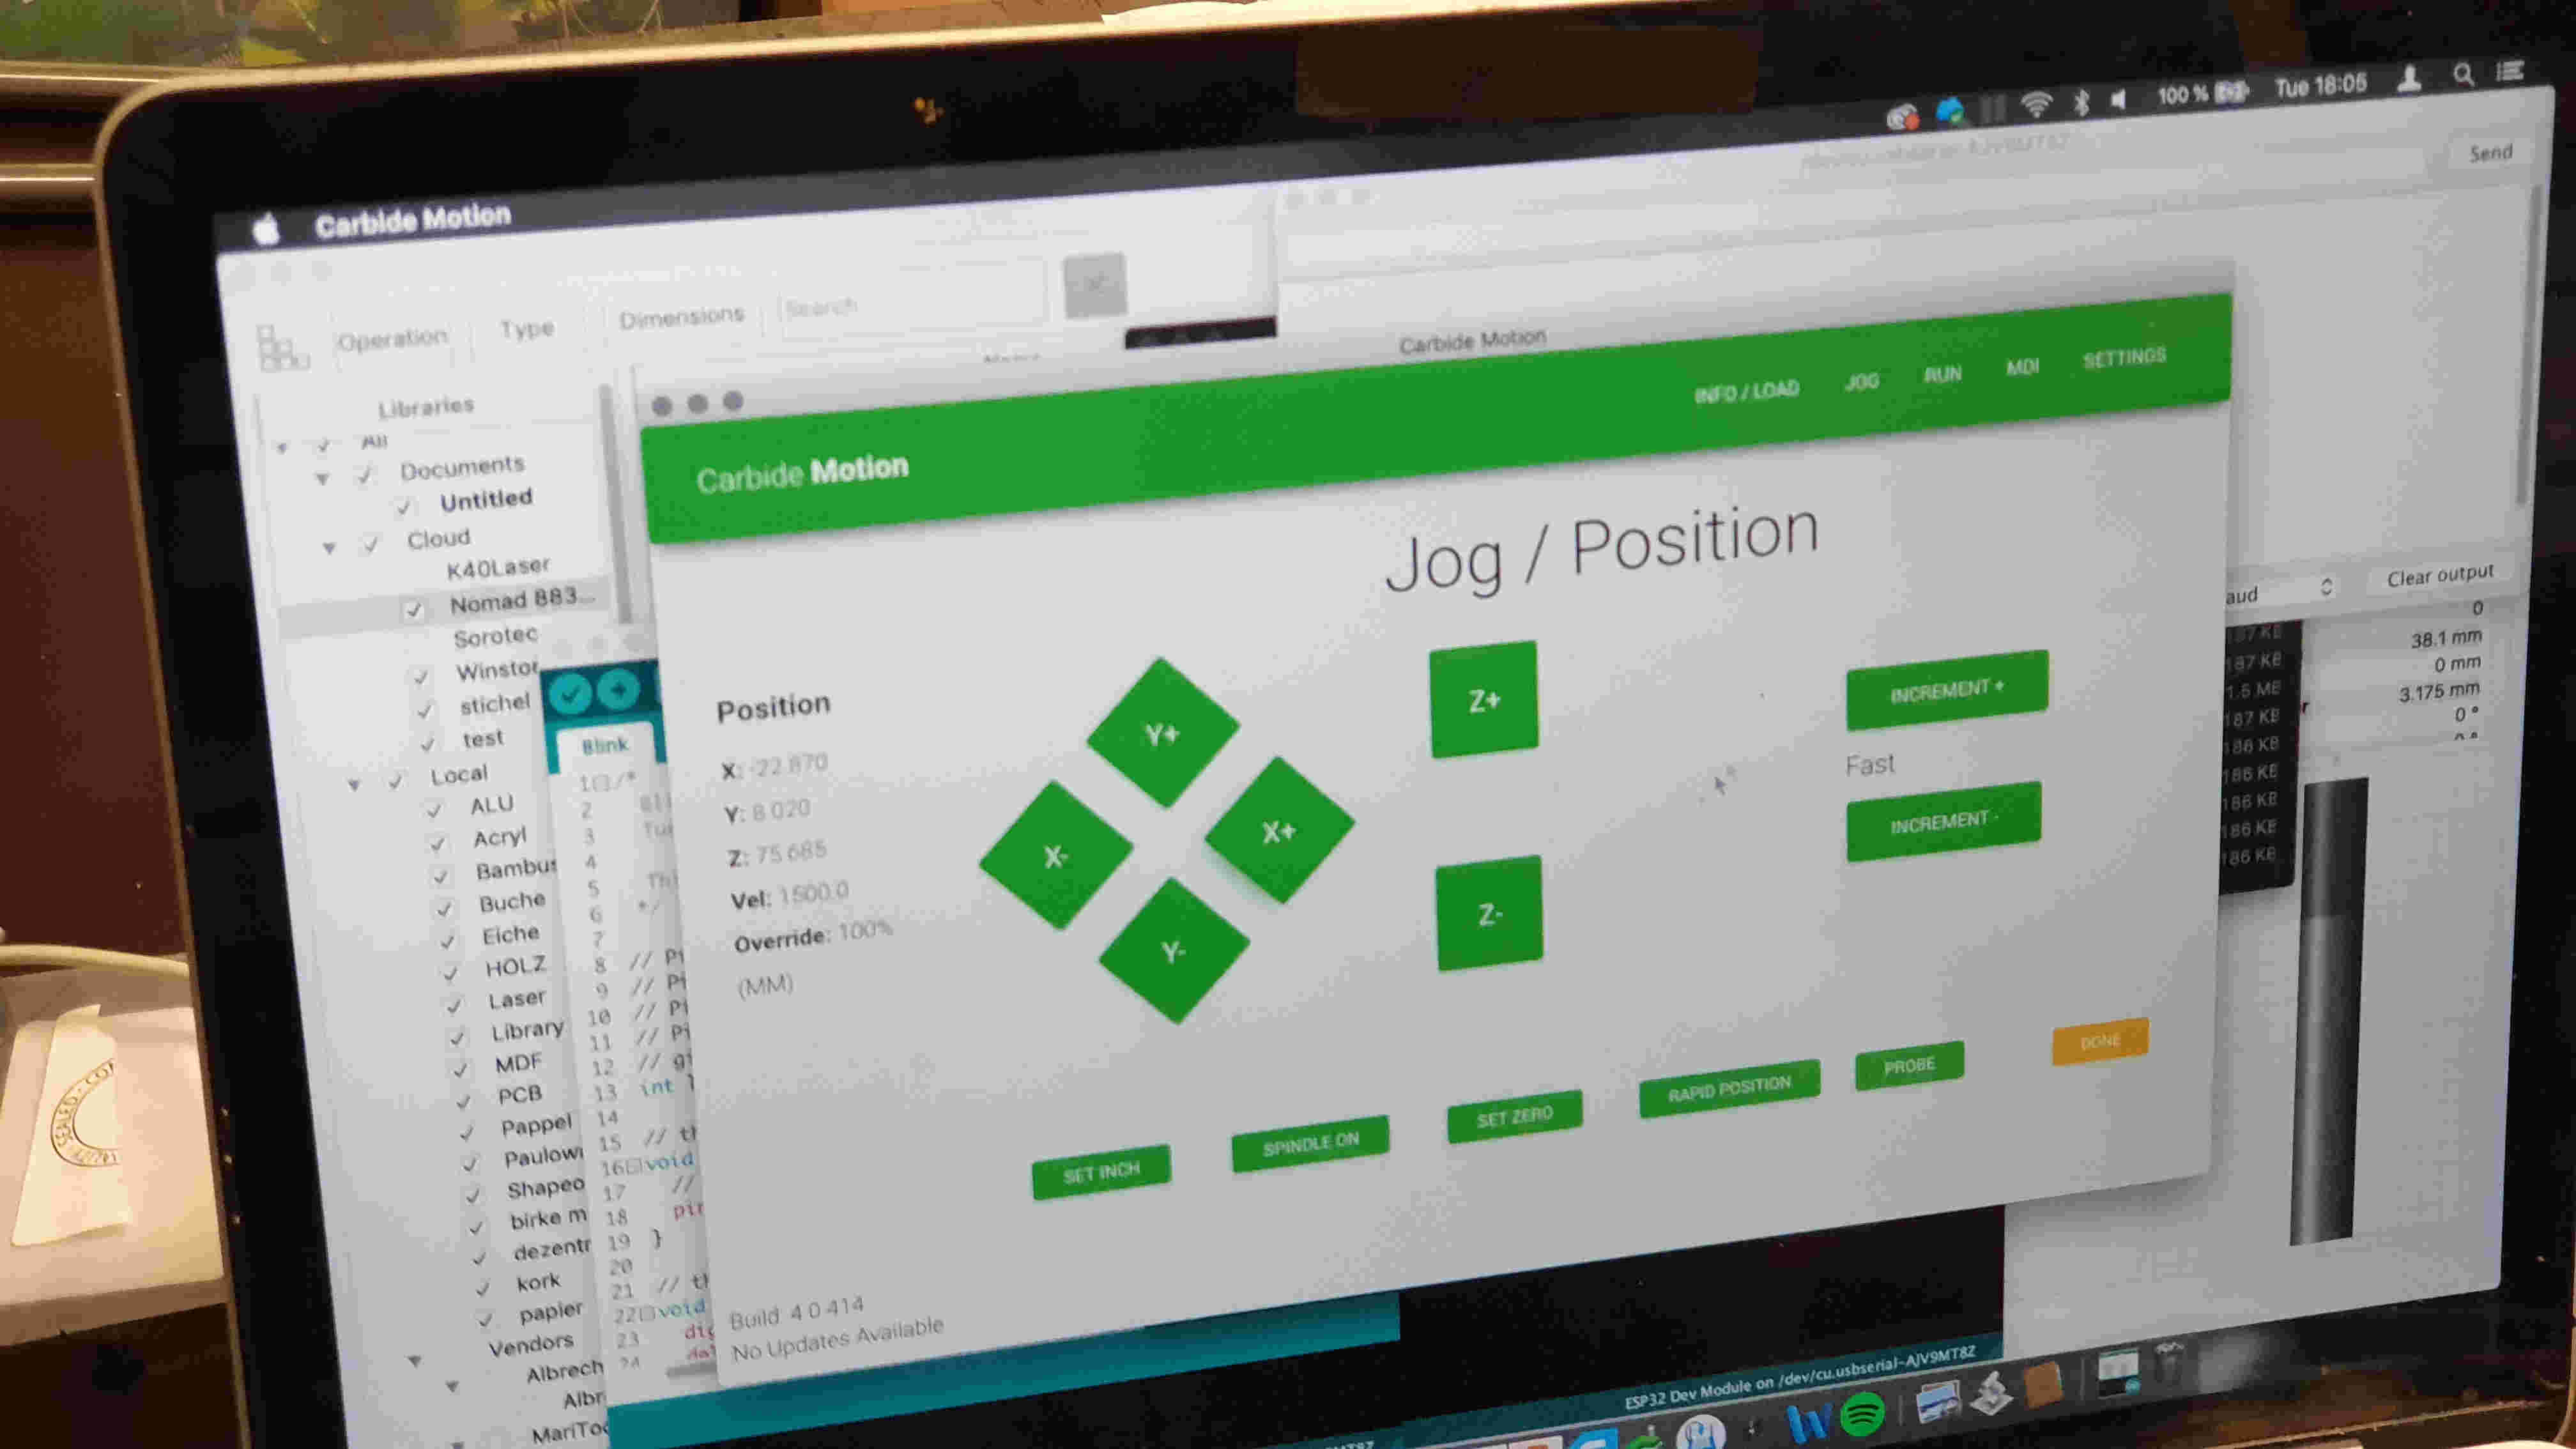
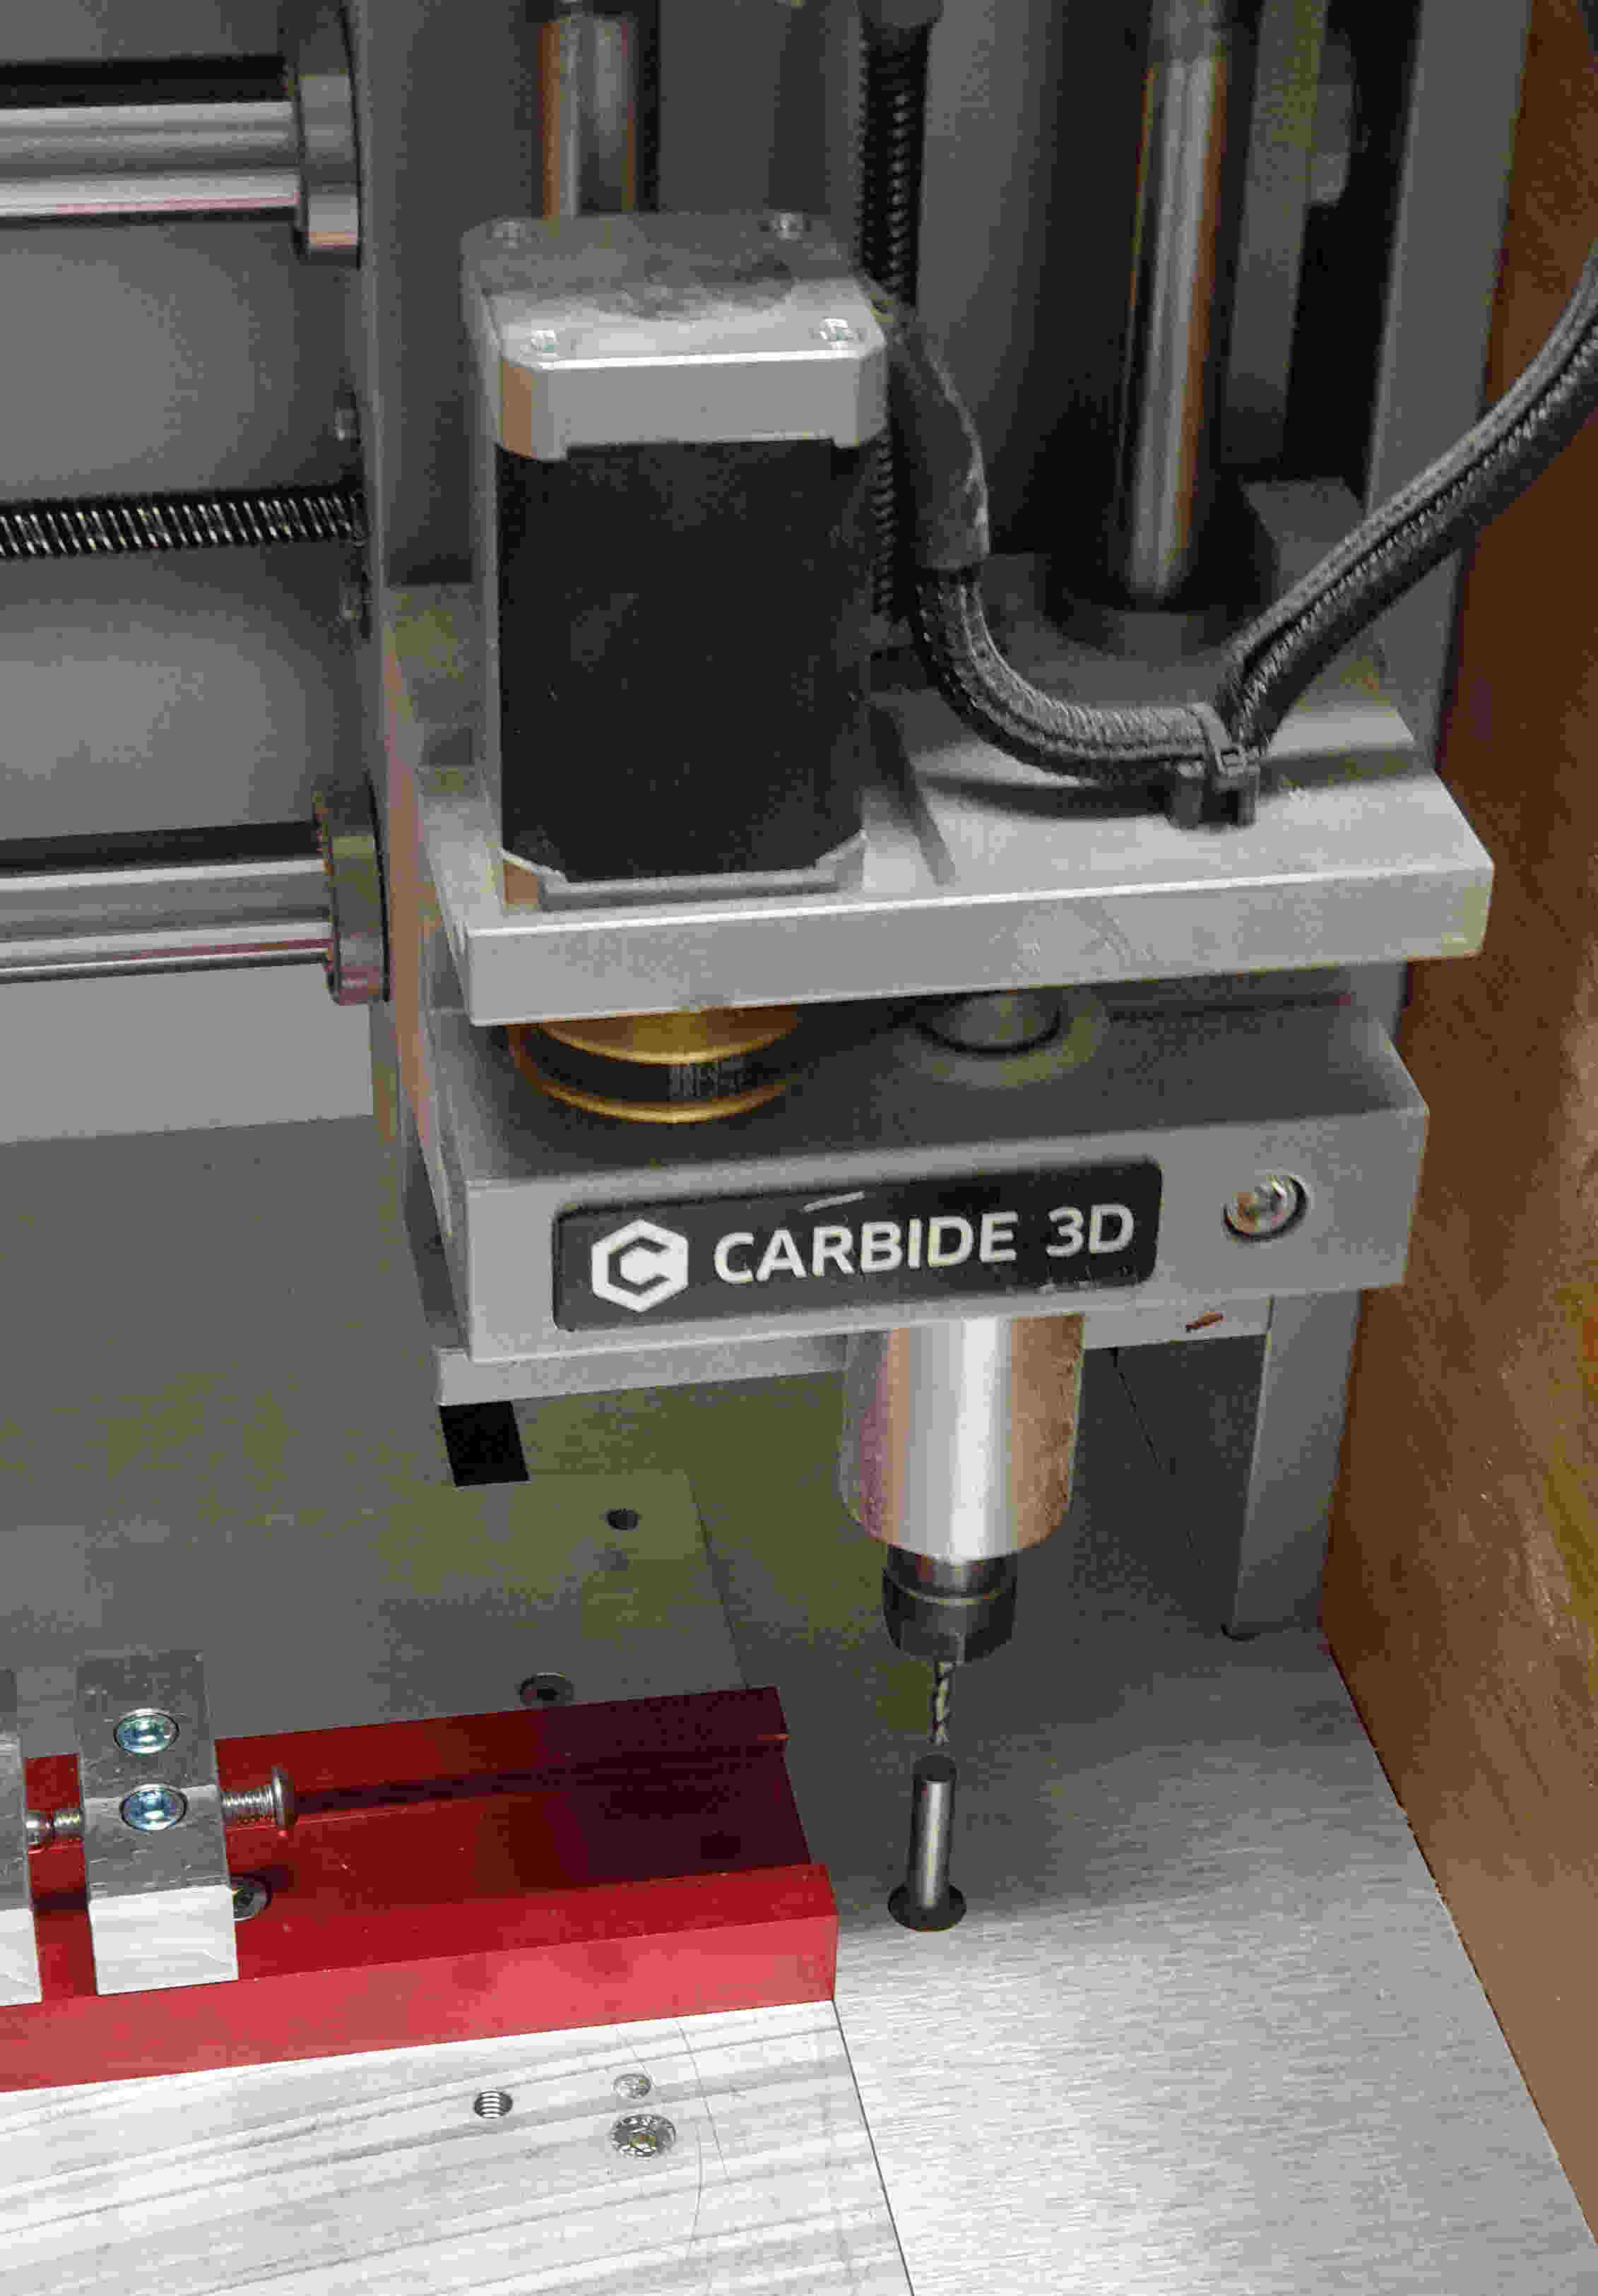
When model is done, time is to mill it. Milling machine that I'll use is called Carbide 3D and it's easy to use. Software that is using is called Carbide motion and it is free to use. When the instalation of software is done I need to plug in milling machine to computer and first put the wax lock and secure it. Than set top of the wax, taht machine remember it as zero model point(top of model). When that is done I can press START. First machine is going to right corner to calibrat it's zero milling point(bottom of milling machine), when that's done machine starts to mill.
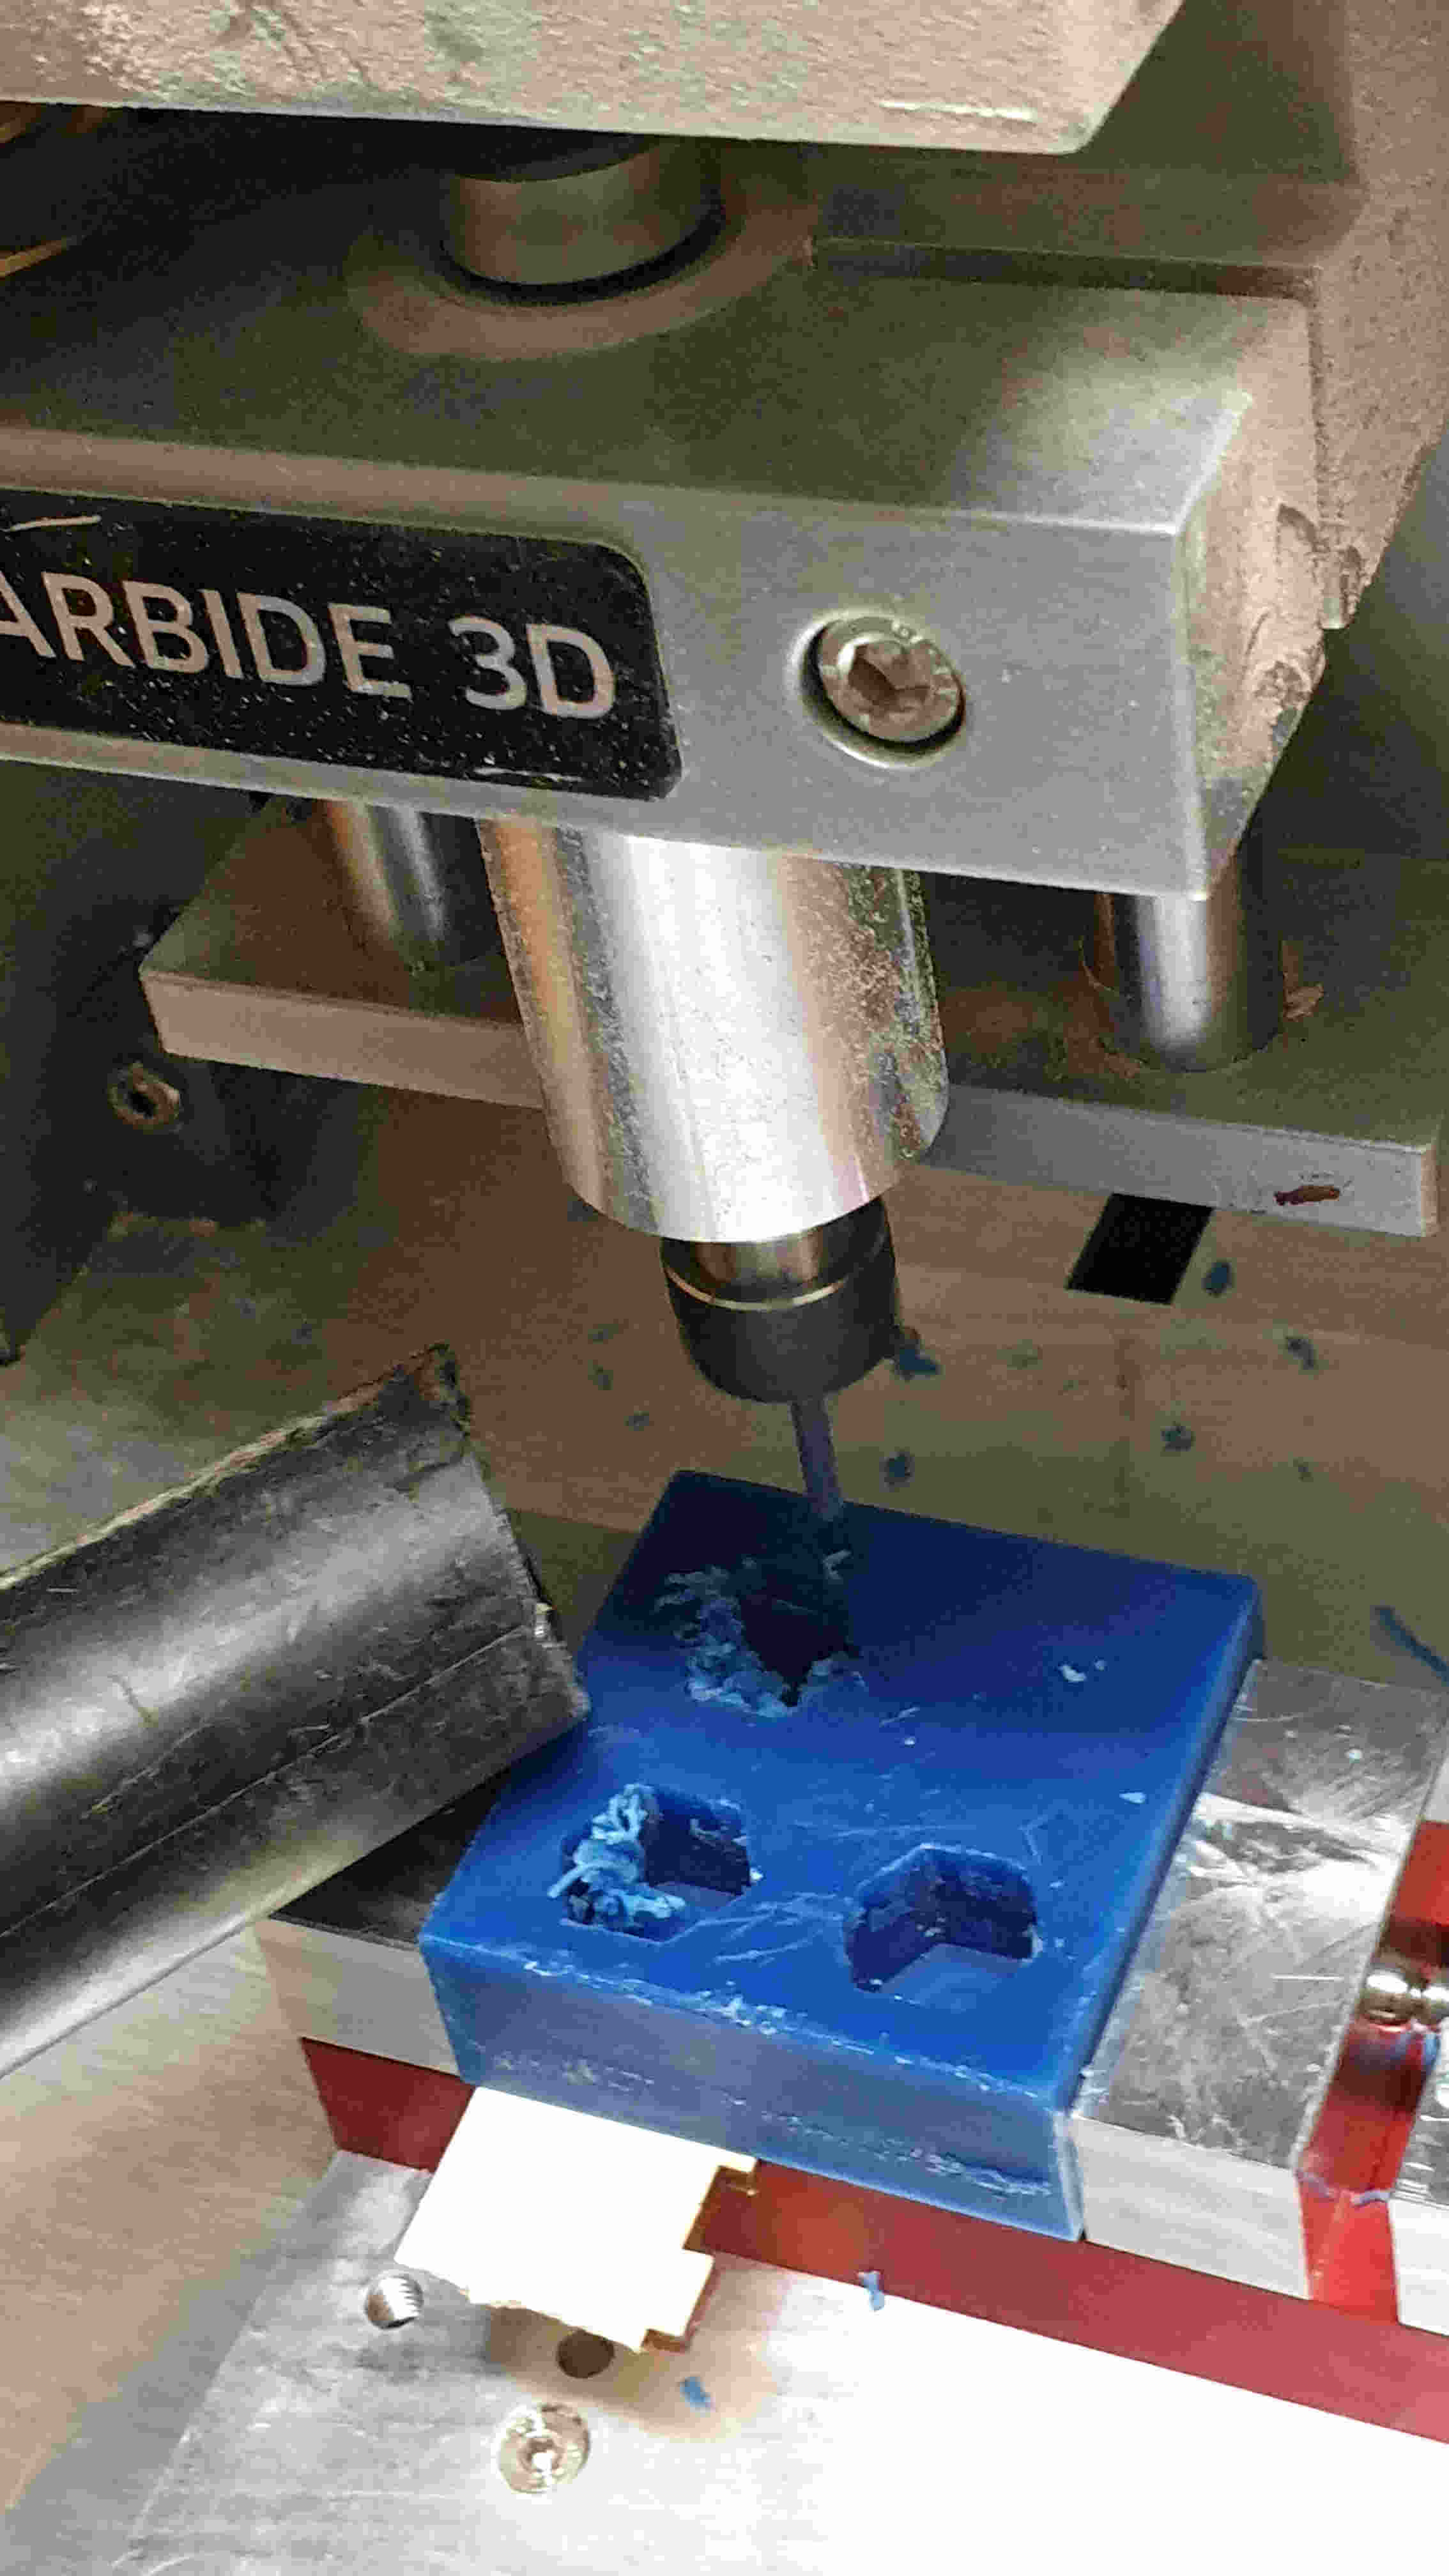
Like every machine this one also needs attention, because any time can be some error so we need to be quick on respond. And I'm using also wax so need to hold vacuume cleaner so the milling chips dont melt.

CASTING
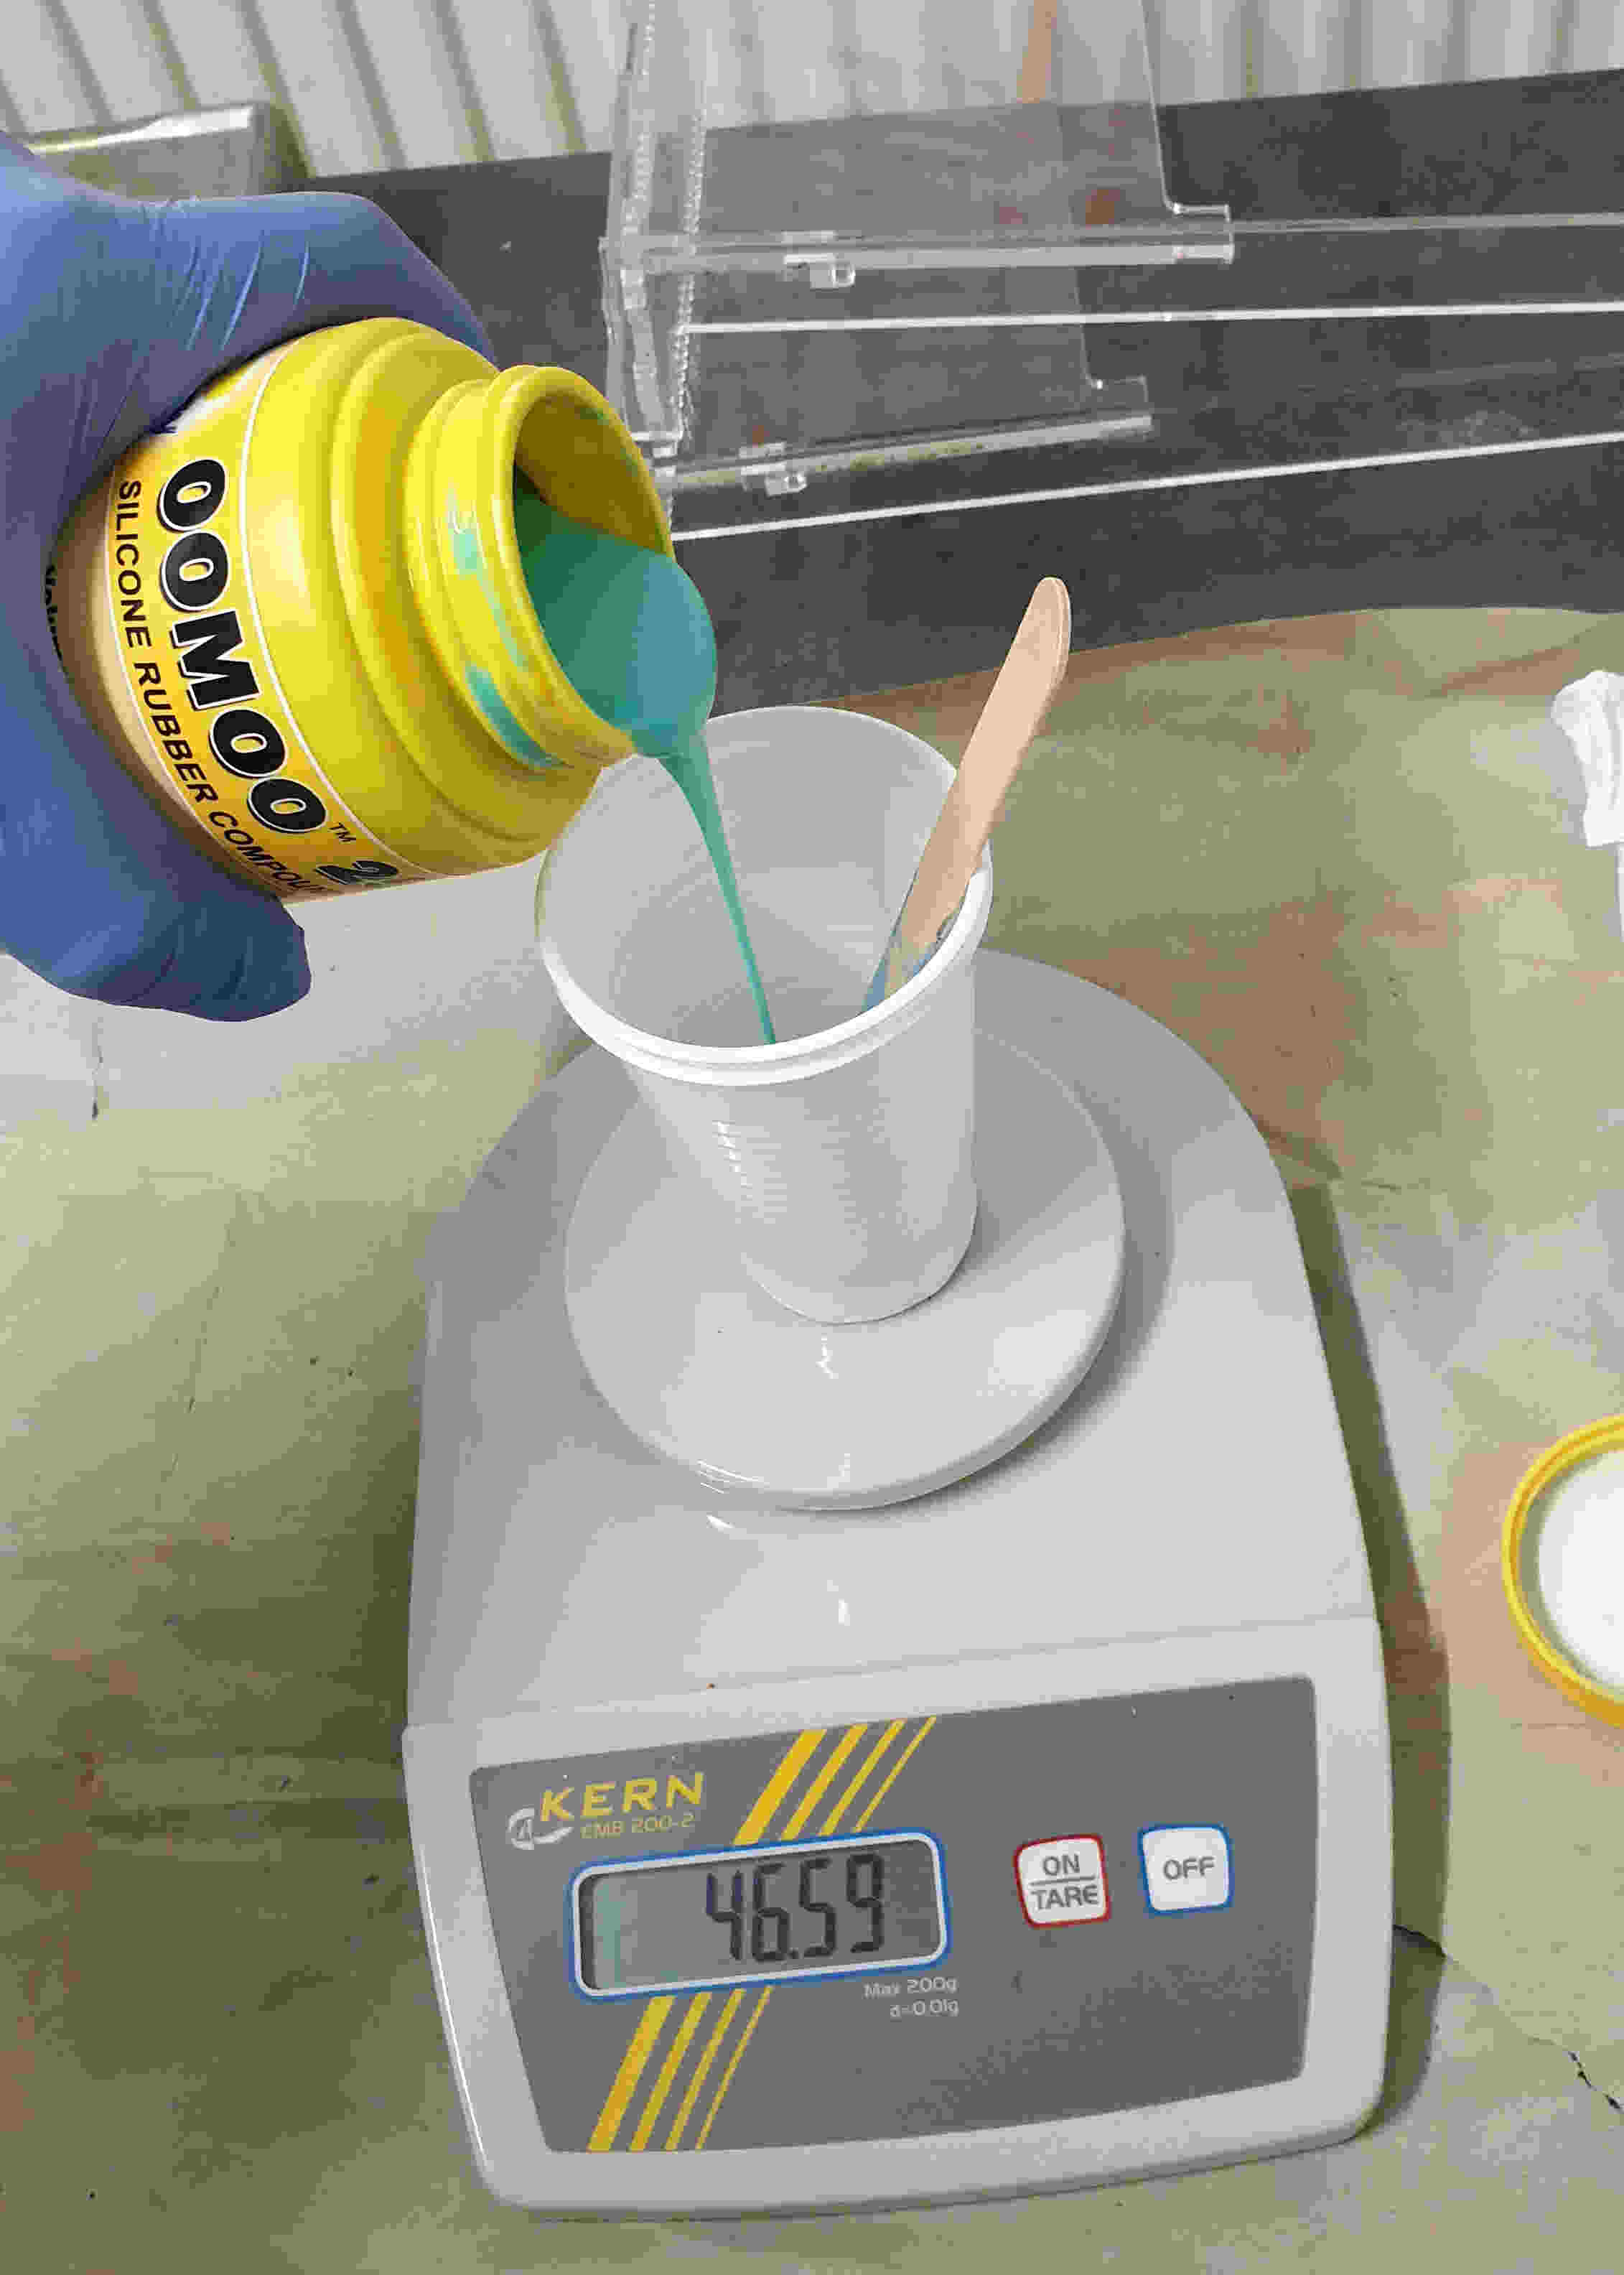
OOMOO 25 is an easy to use tin cure silicone rubber compound that features a convenient one-to-one by volume mix ratio (no scale necessary). It has a low viscosity for easy mixing and pouring...vacuum degassing is not necessary. This product cures at room temperature with negligible shrinkage. OOMOO 25 has a 15-minute pot life and 75-minute cure time.
Some of the informations that is good to know beforre using OOMOO 25:
Pouring – For best results, pour your mixture in a single spot at the lowest point of the containment field. Let the rubber seek its level up and over the model. A uniform flow will help minimize entrapped air. The liquid rubber should level off at least 1/2” (1.3 cm) over the highest point of the model surface.
Curing – Allow to cure for 75 minutes at room temperature (73°F/23°C) before demolding. Post curing the mold an additional 4 hours at 150°F (65°C) will eliminate any residual moisture and alcohol which is a by product of the condensation process and may inhibit some resins. Allow mold to cool to room temperature before using. Do not cure rubber where temperature is less than 65°F/18°C.
Using The Mold – No release agent is necessary when casting wax or gypsum. Applying a release agent (Ease Release™ 200) prior to casting polyurethane, polyester and epoxy resins is recommended to prevent sticking and mold degradation.
Mold Performance and Storage – The physical life of the mold depends on how you use it (materials cast, frequency, etc.). Casting abrasive materials such as concrete will quickly erode mold detail, while casting non-abrasive materials (wax) will not affect mold detail. Before storing, the mold should be cleaned with a soap solution and wiped fully dry. Two part (or more) molds should be assembled. Molds should be stored on a level surface in a cool, dry environment.
After informating myself about the product, I'm ready to use it.
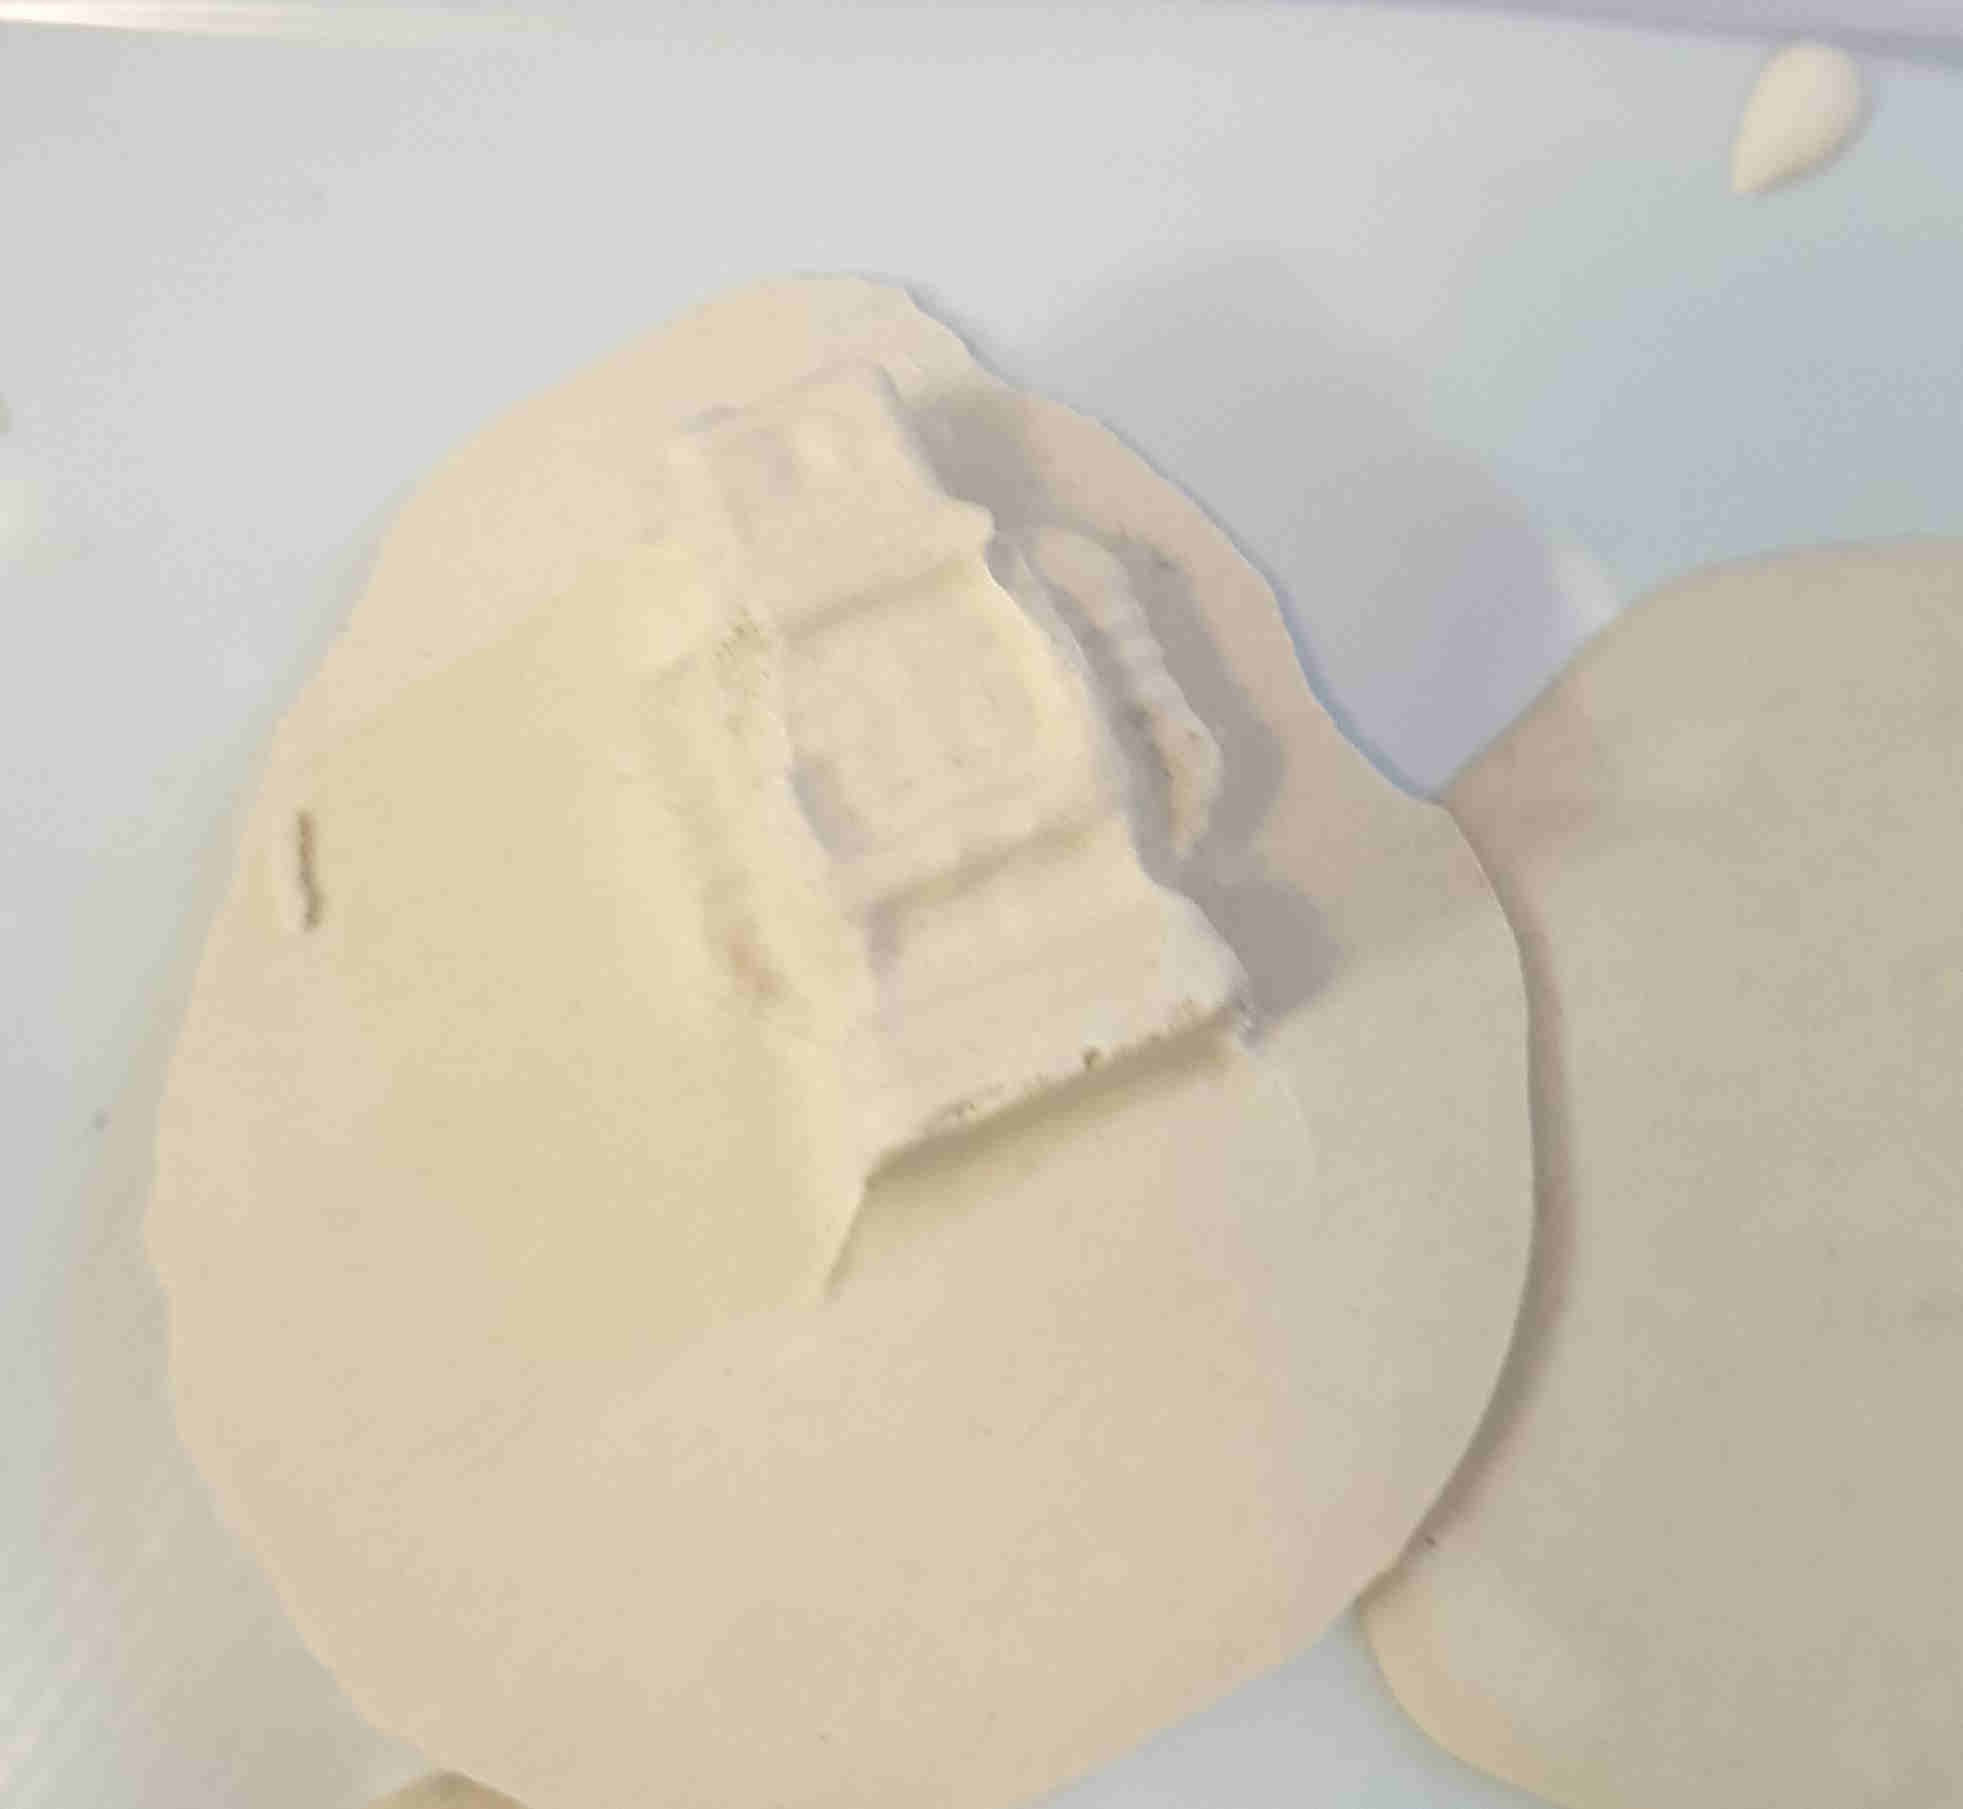
1. MOLD RELEASE
First is to apply mold release spray on previously milled wax model, so the silicon don't stick to it. Apply it with 30cm distance and wait for about 20minutes.

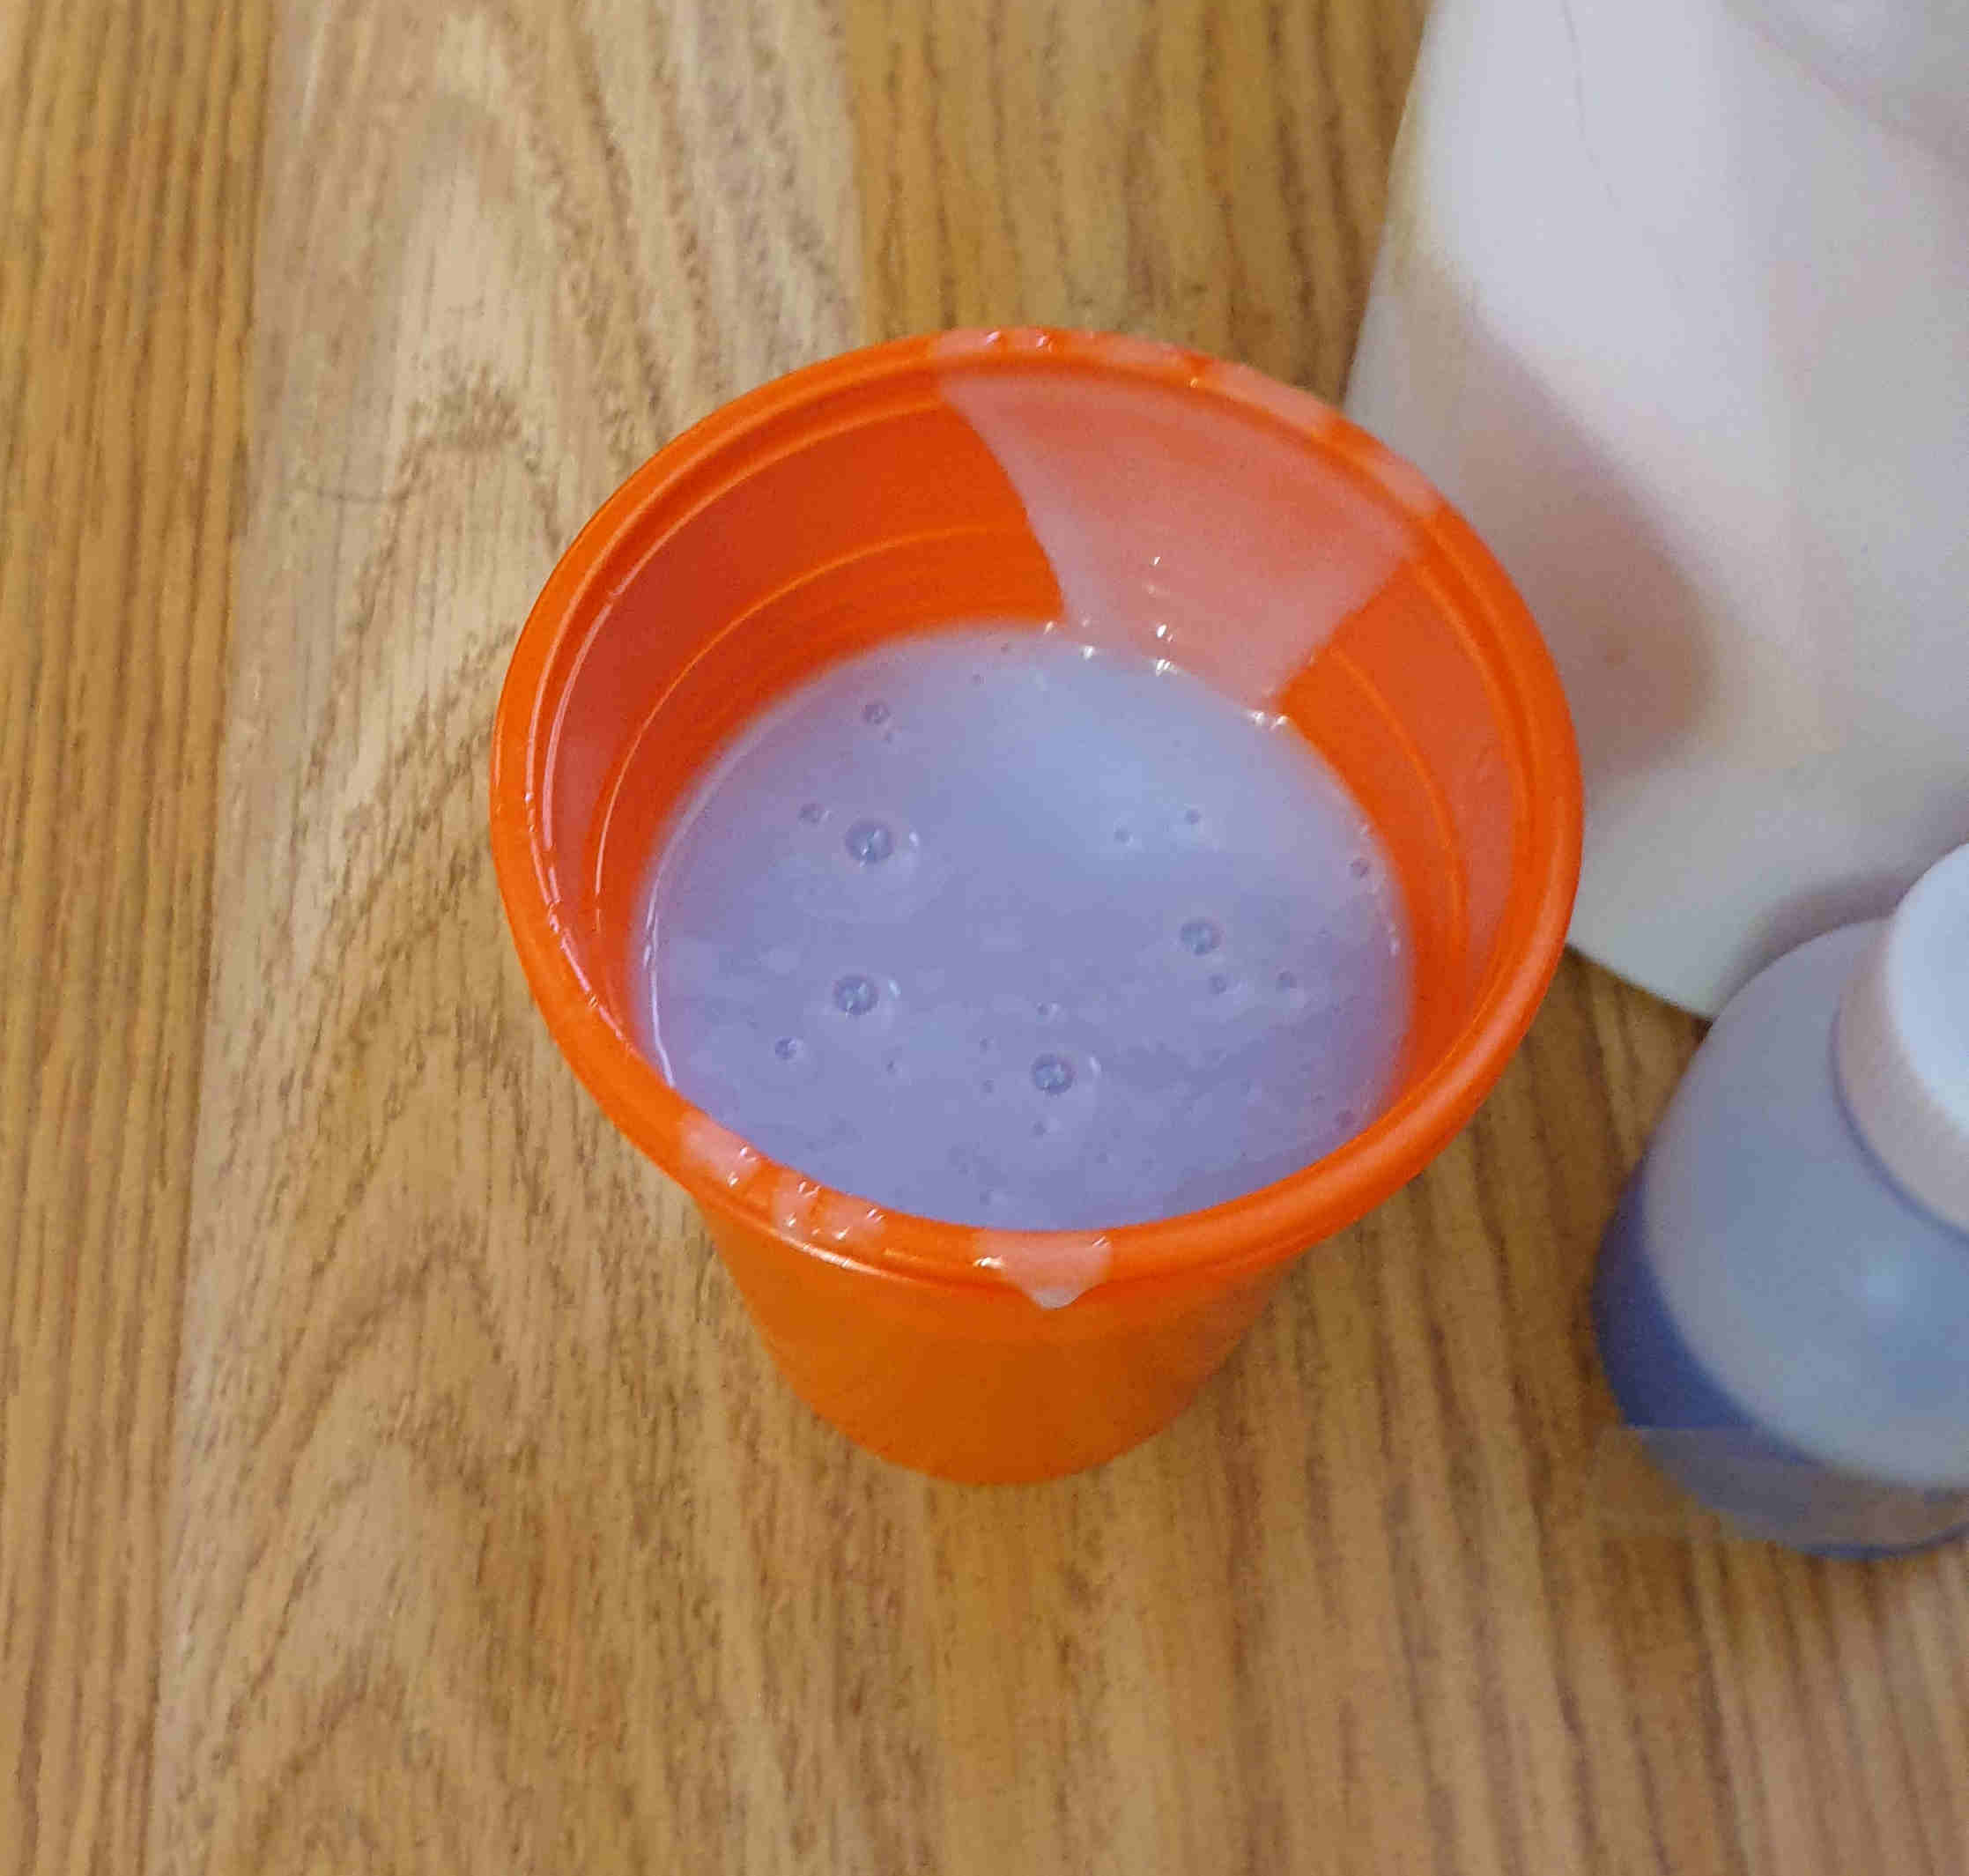
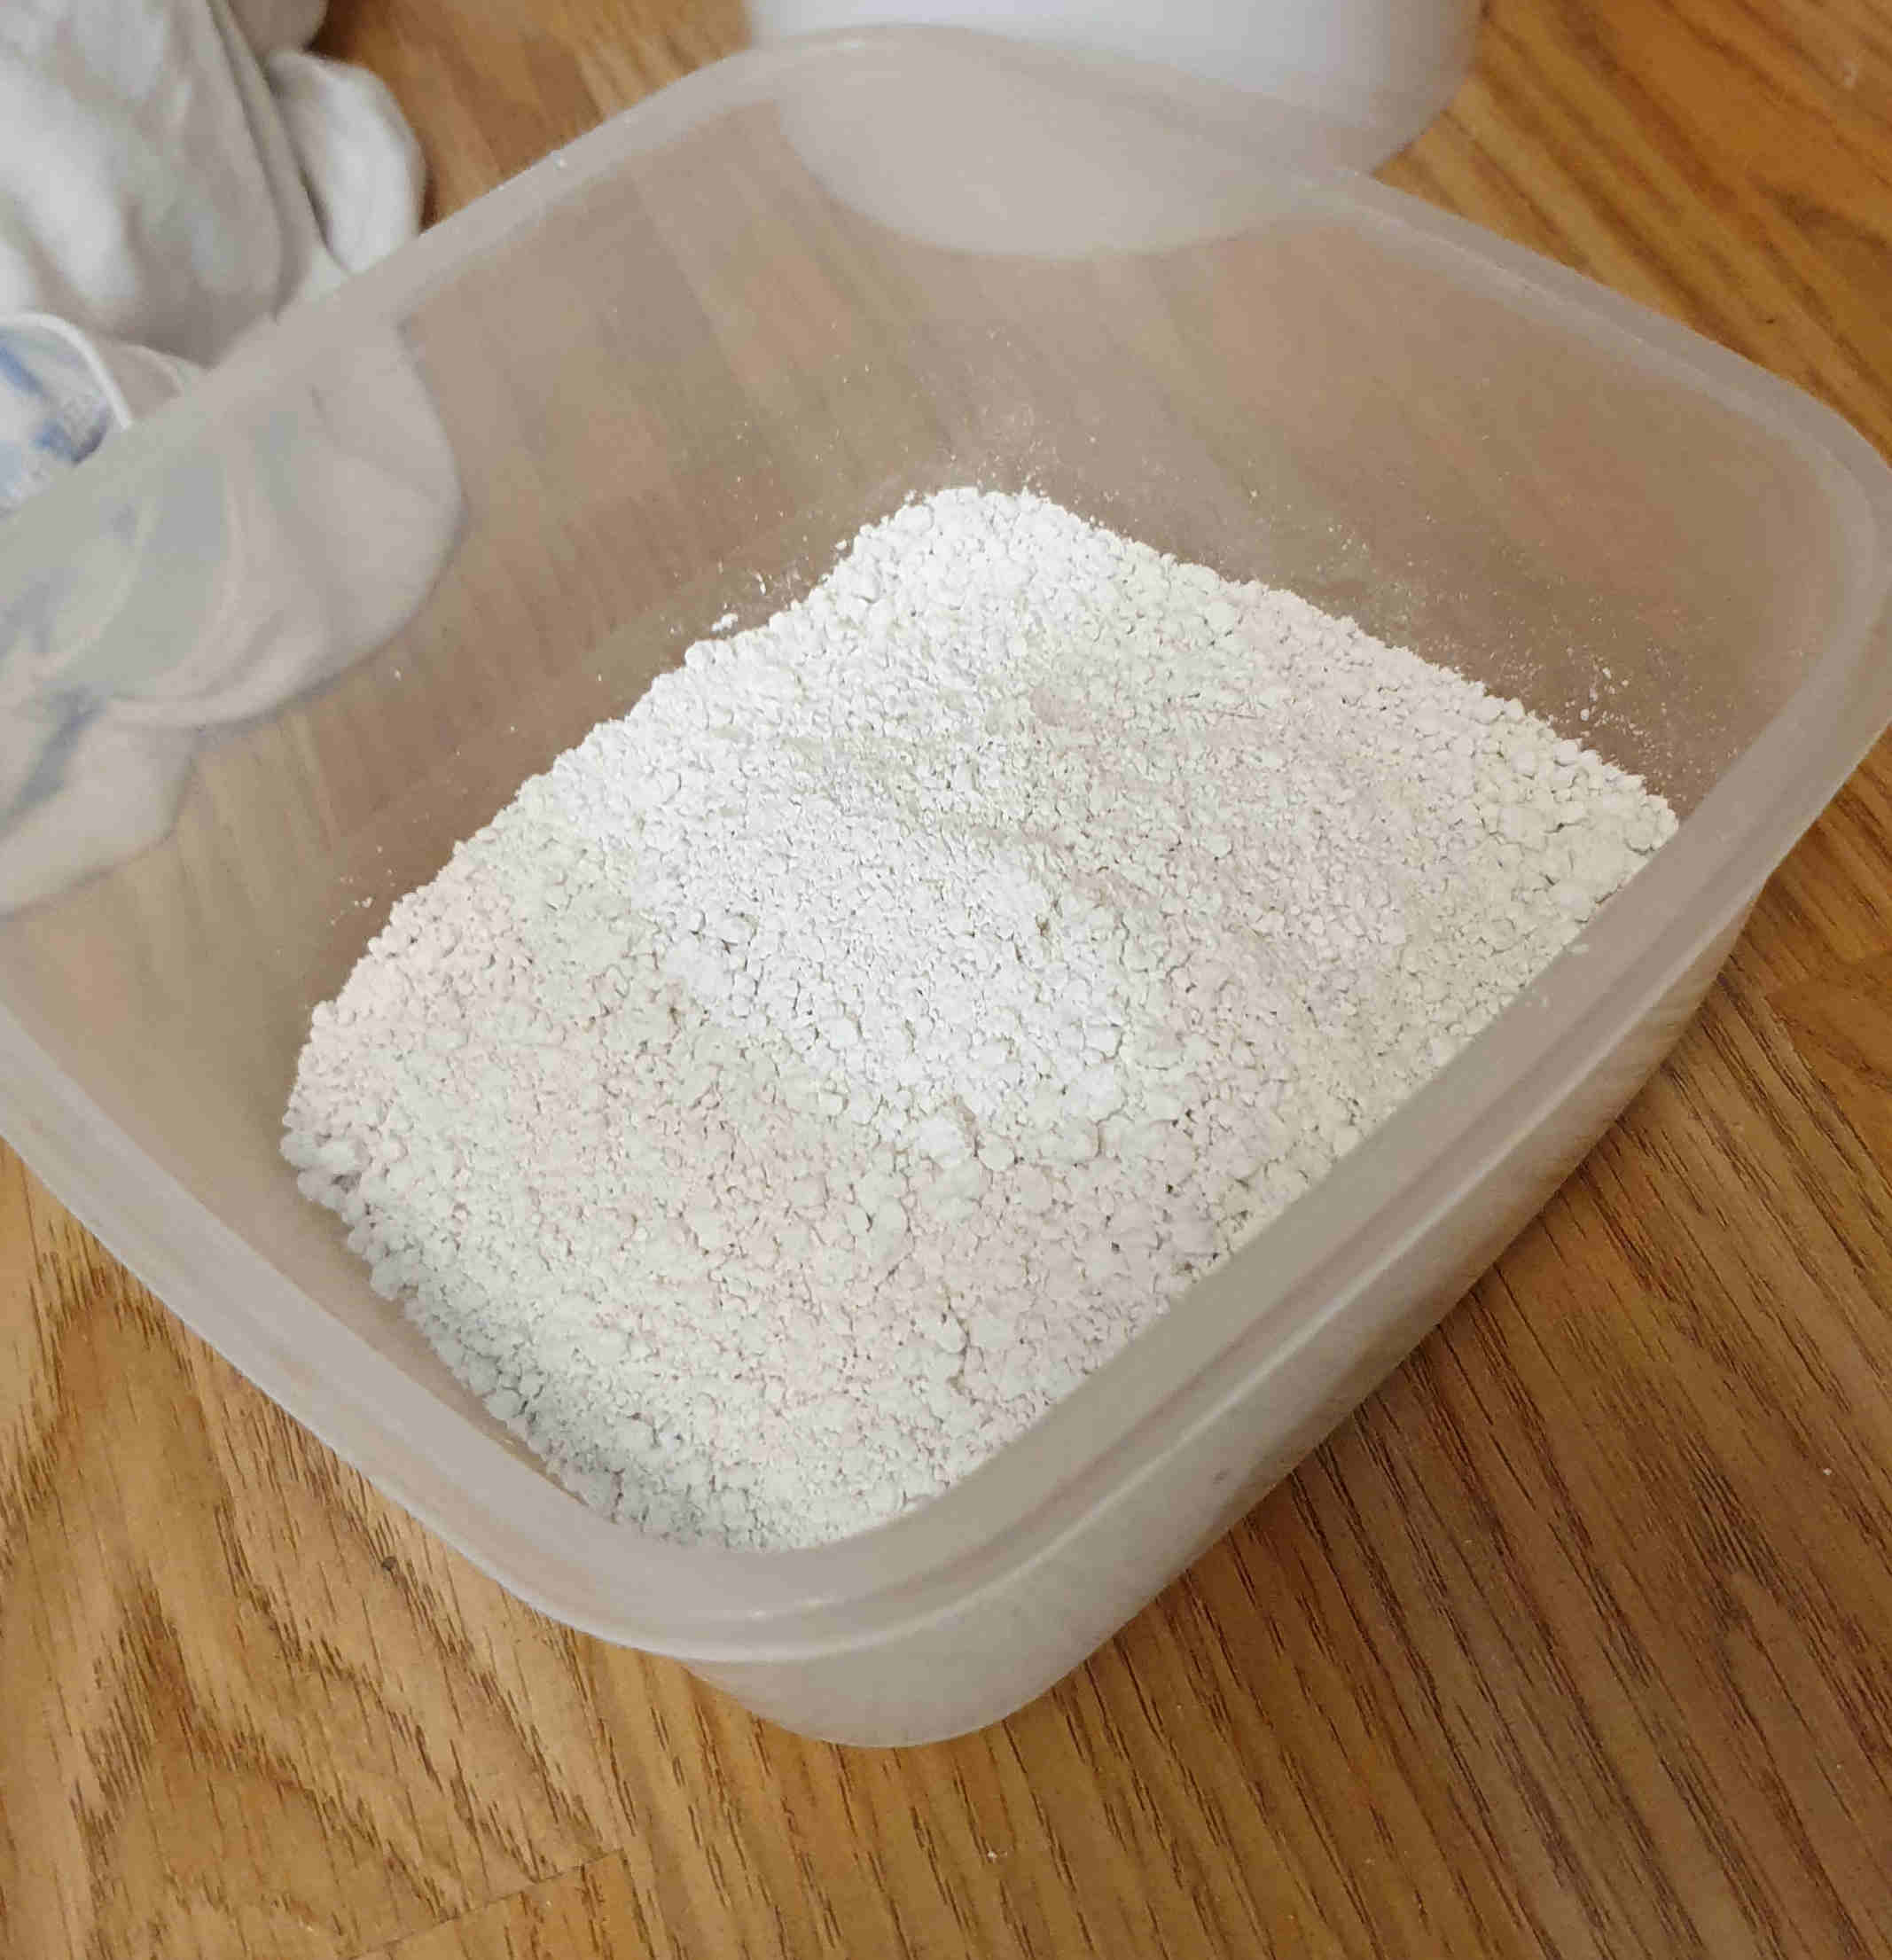
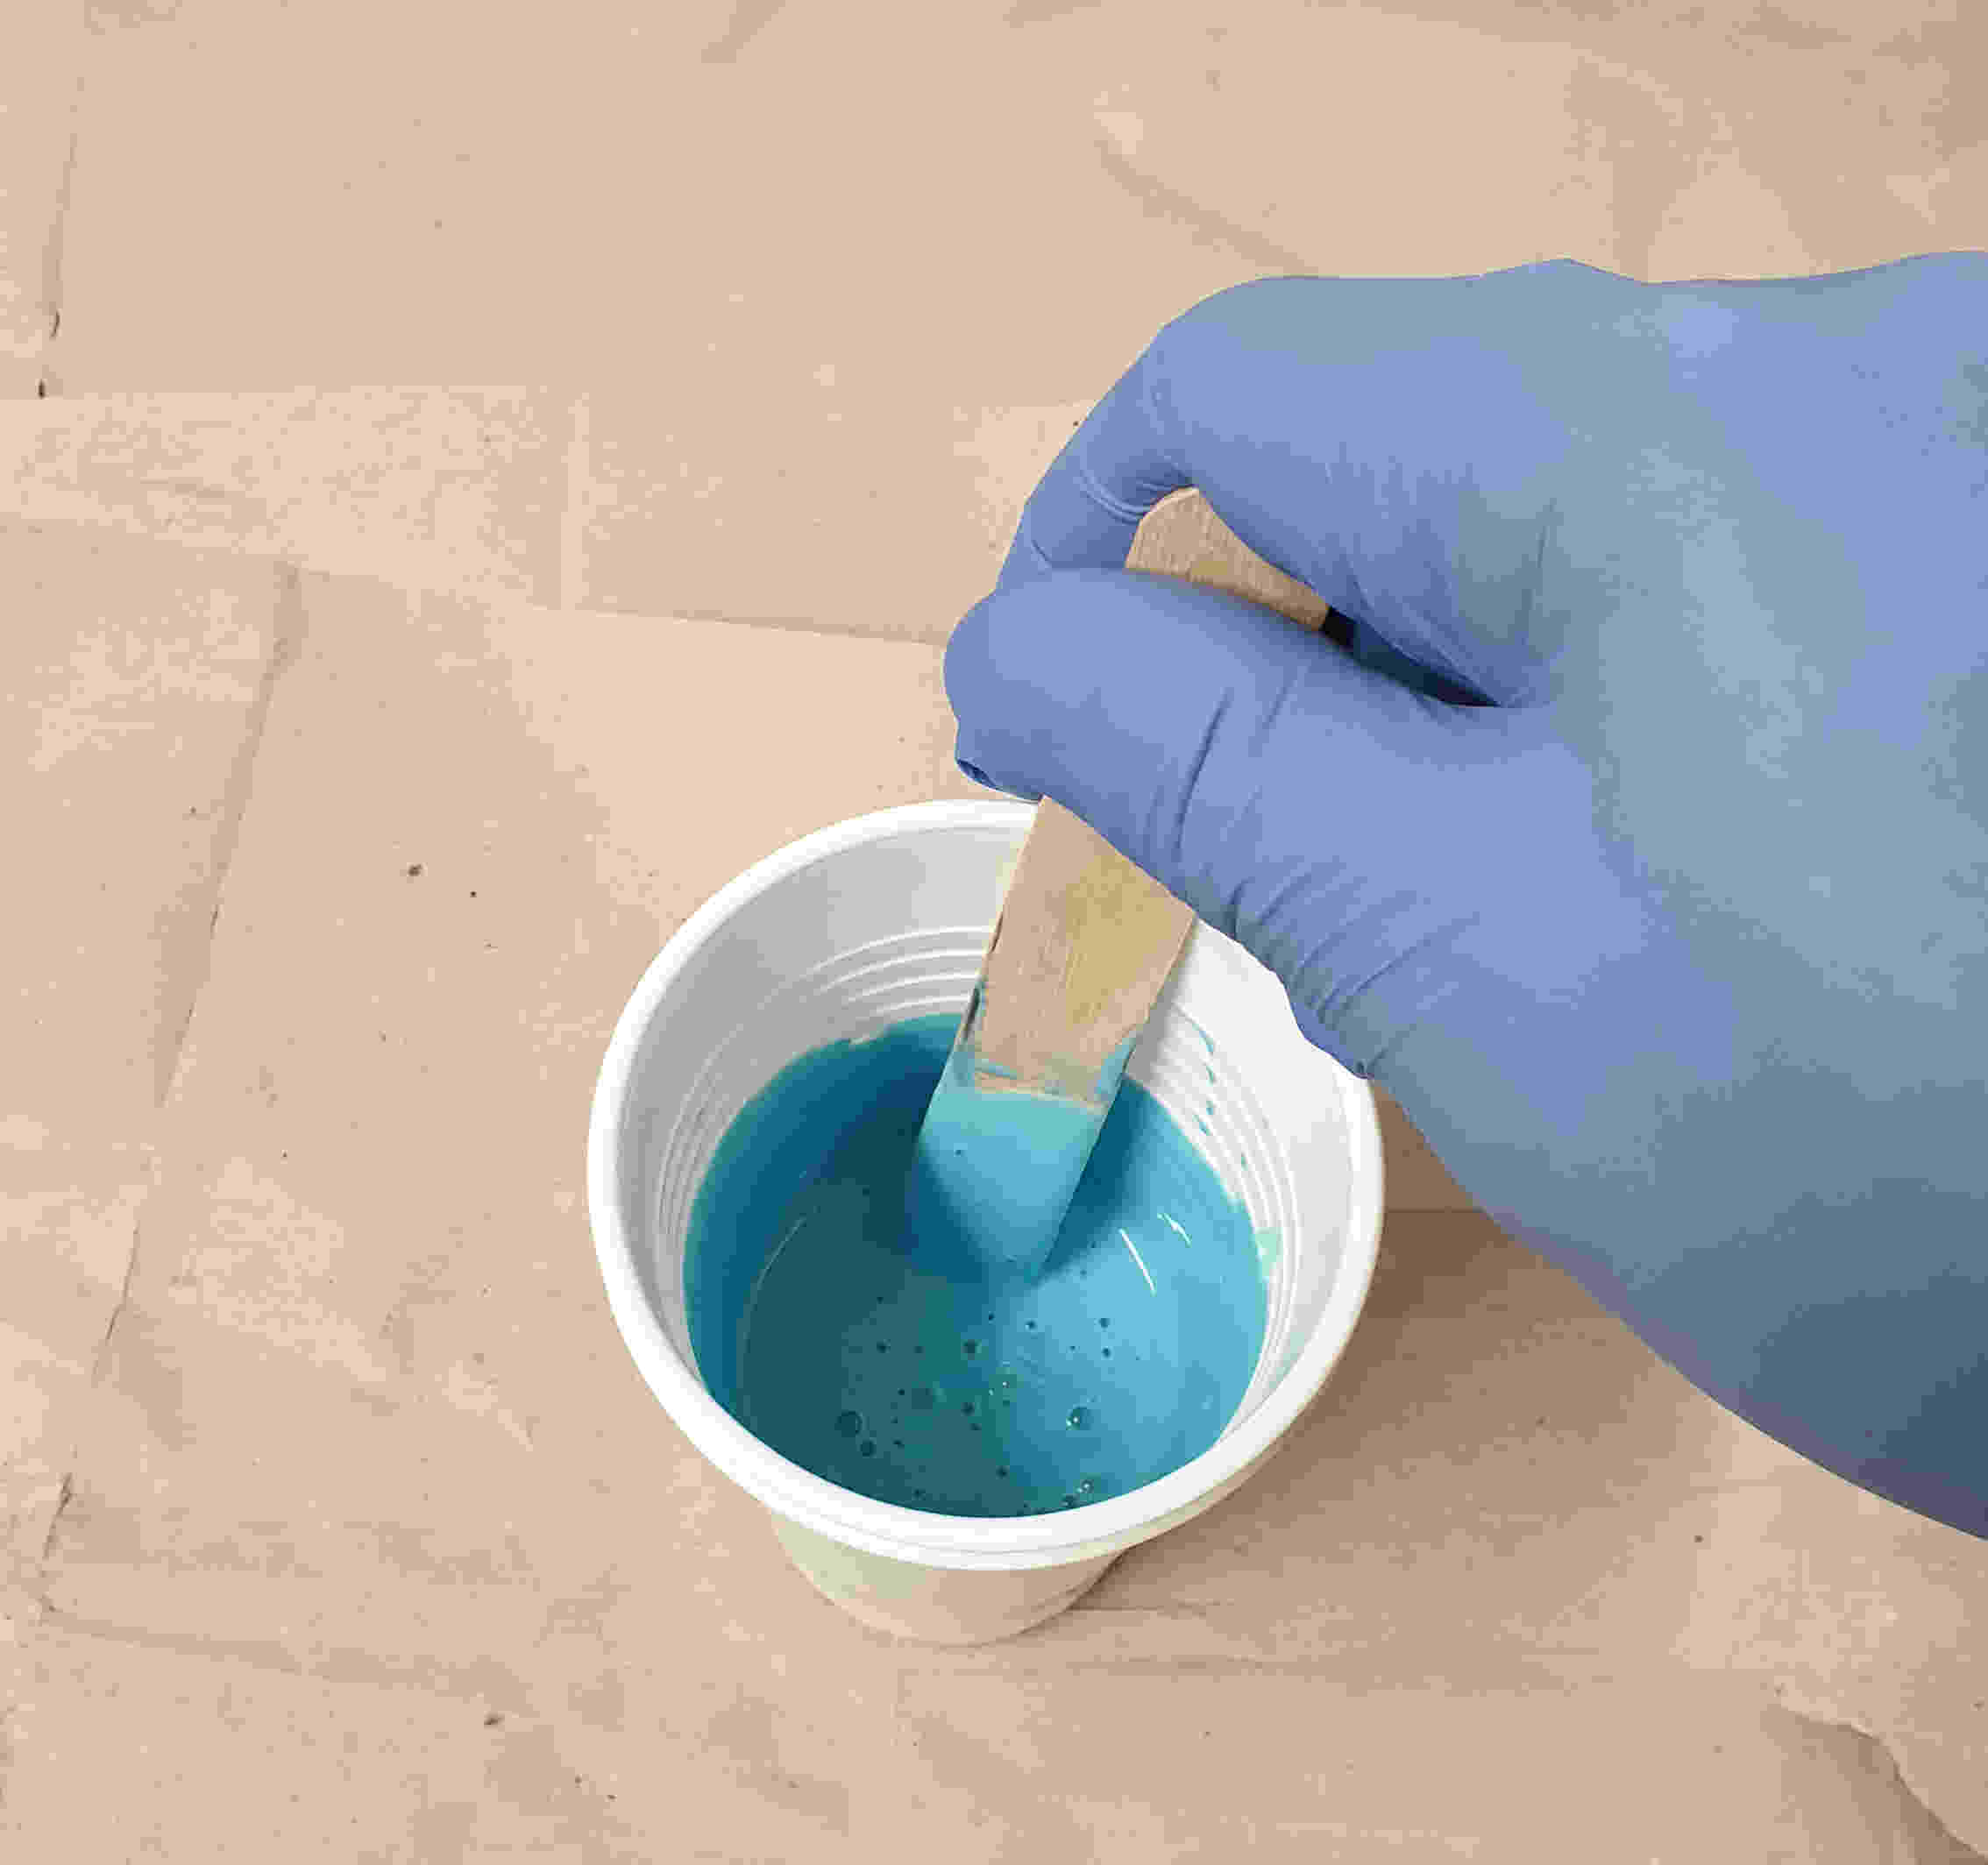
2. MIXING COMPONENTS
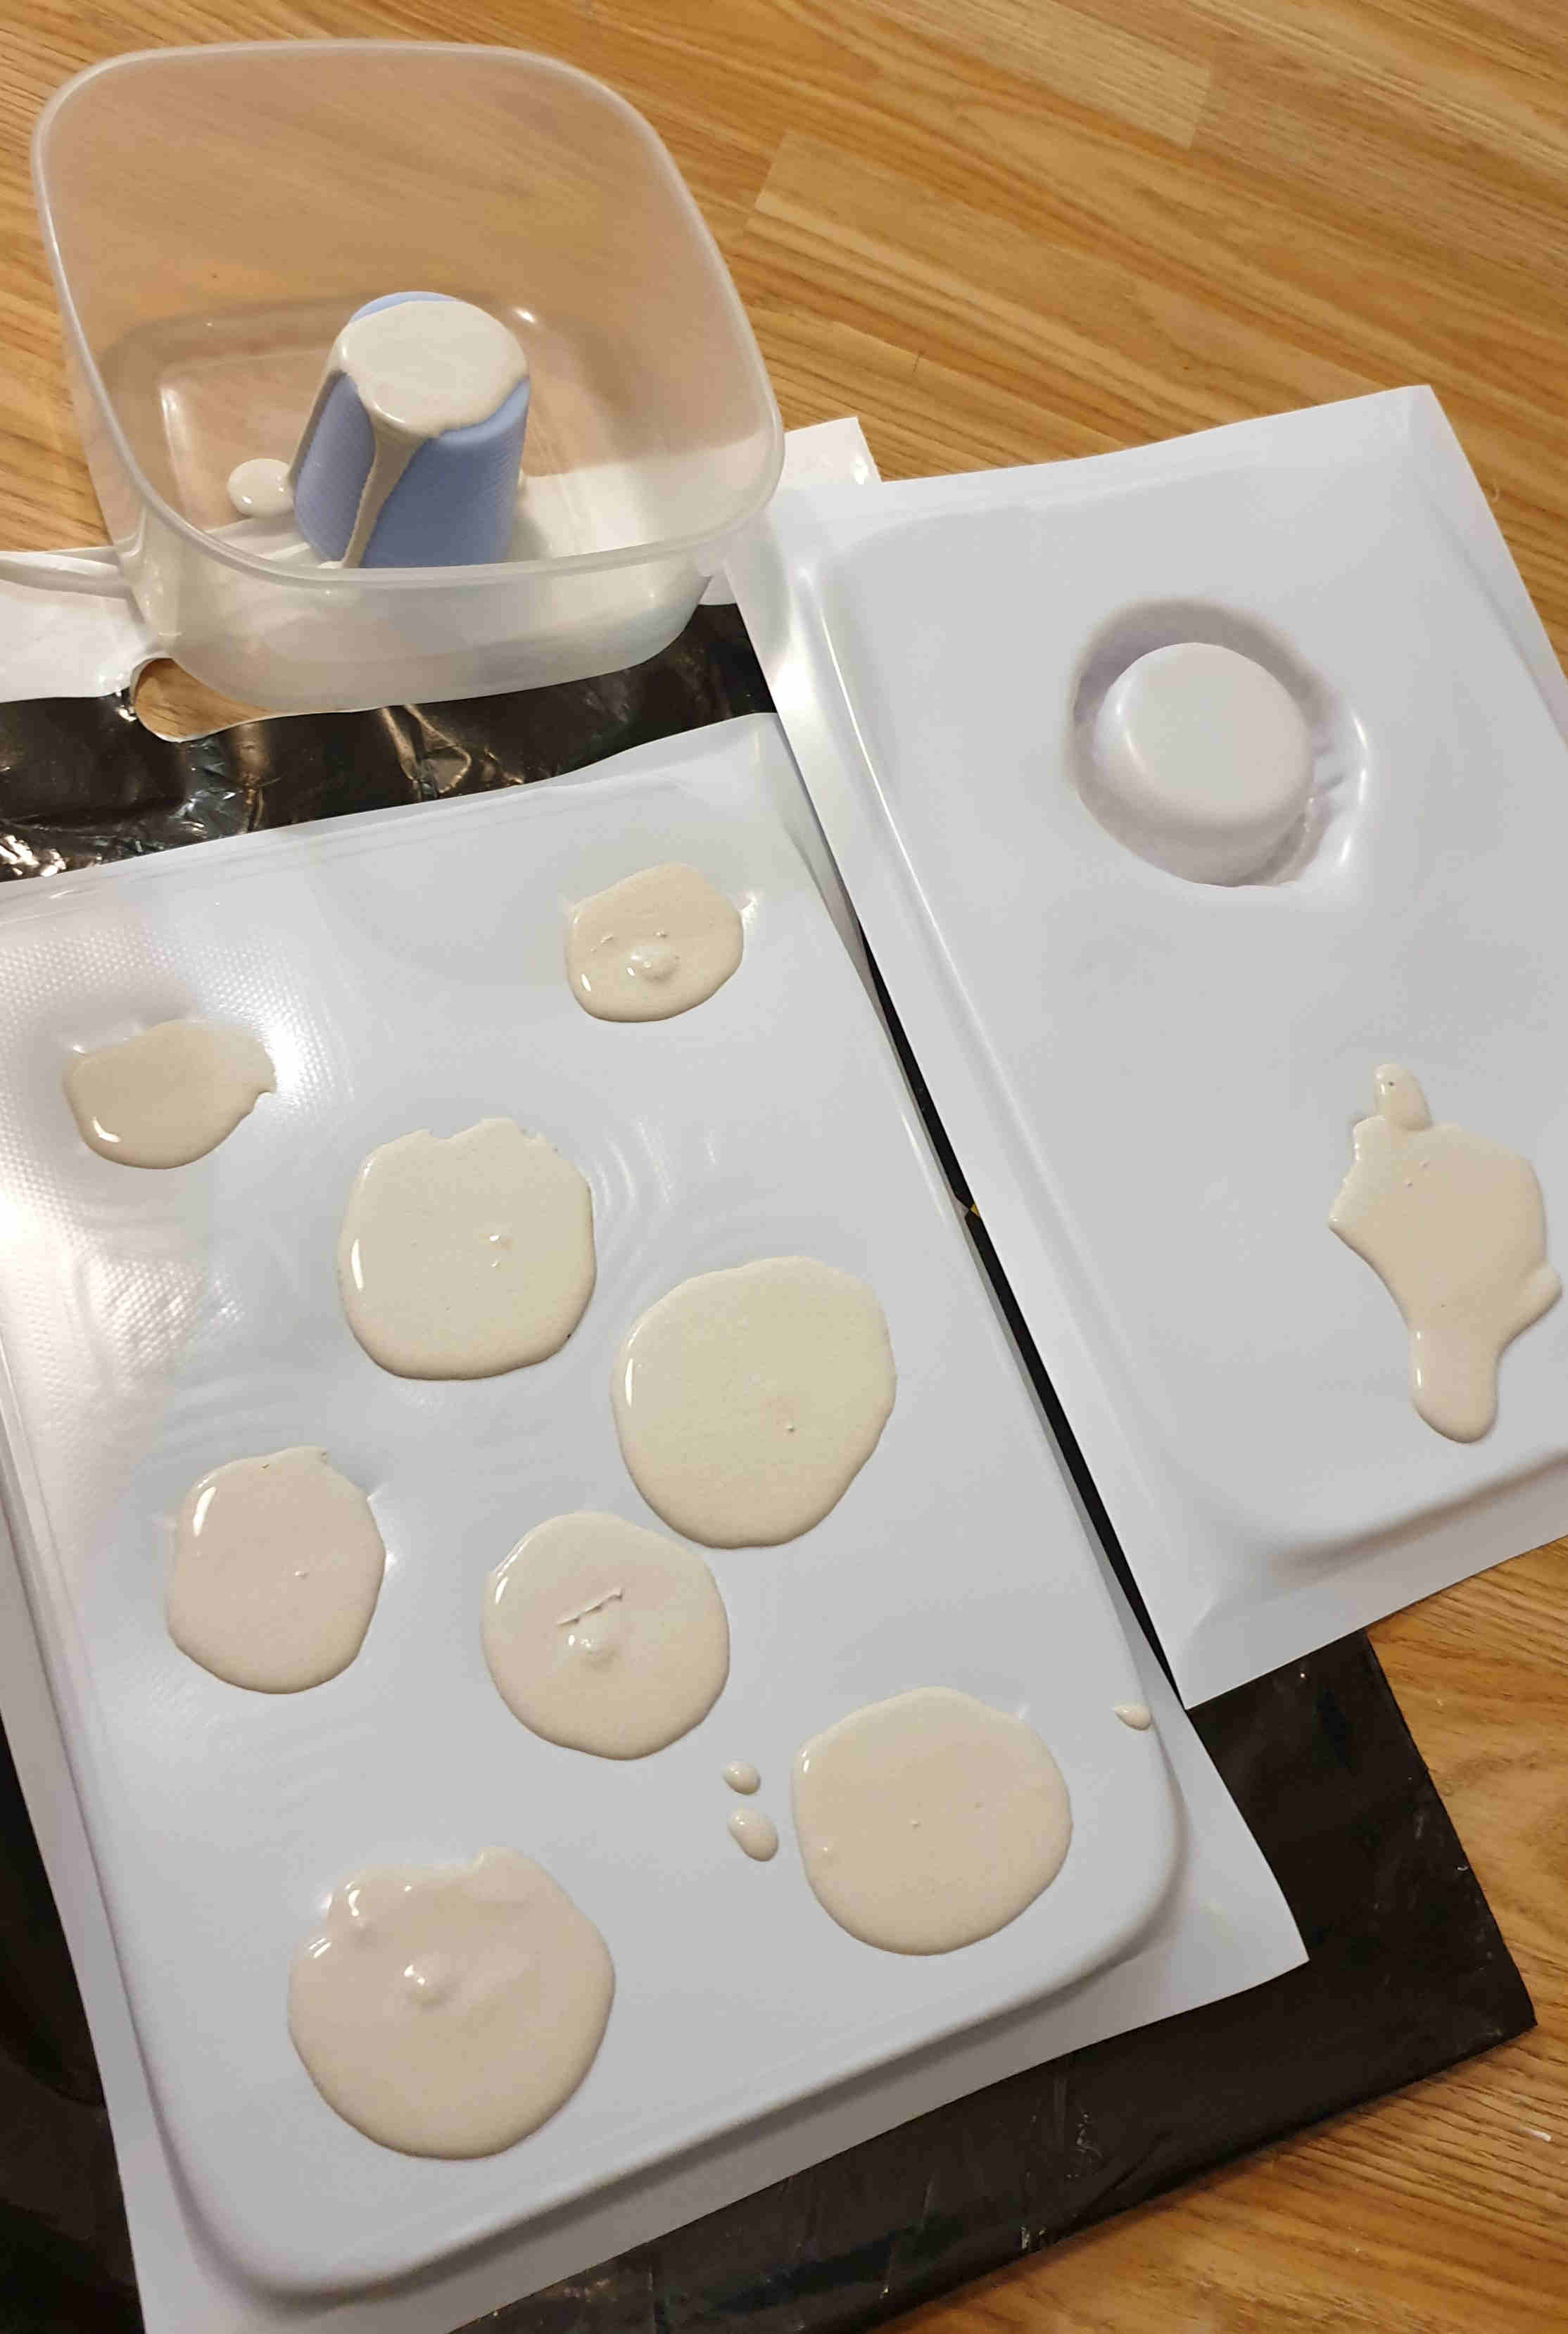
While I'm waiting for mold release to dry up, I can mix components A and B. it's easy to do it because the ratio of A and B has to be 1:1. It's important to mix them together really good and not to wait long before pouring it to mold.
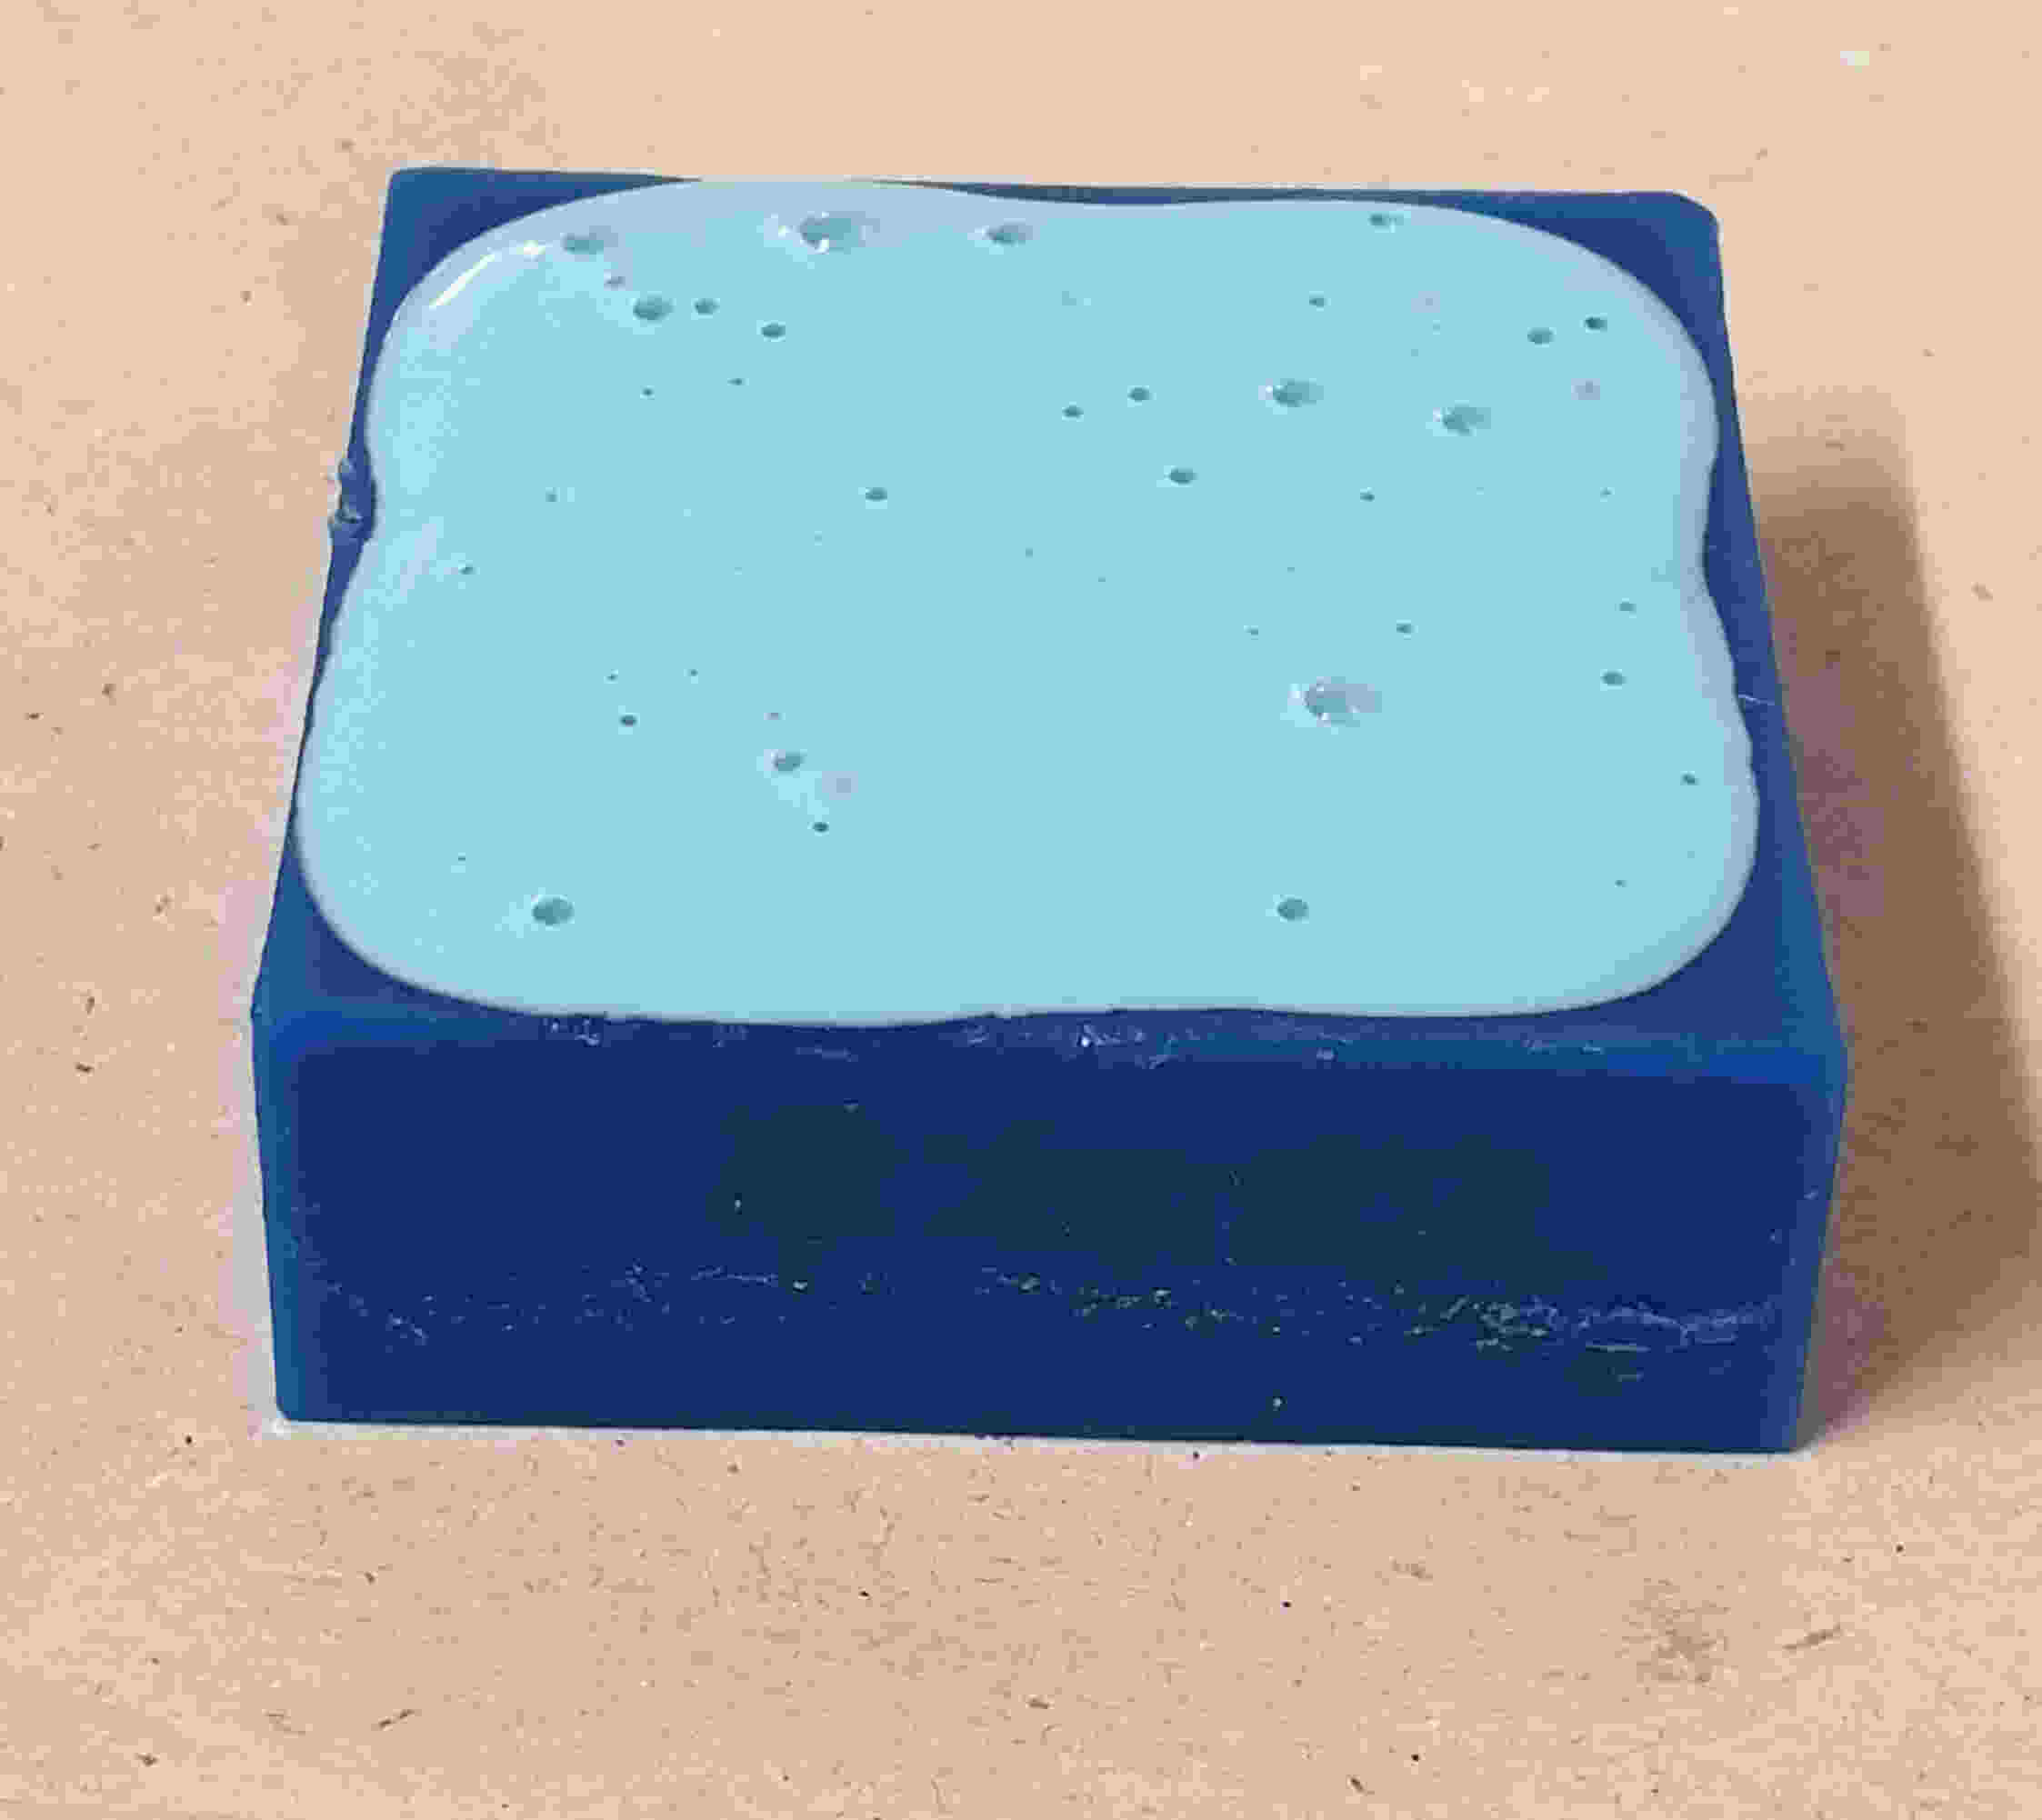
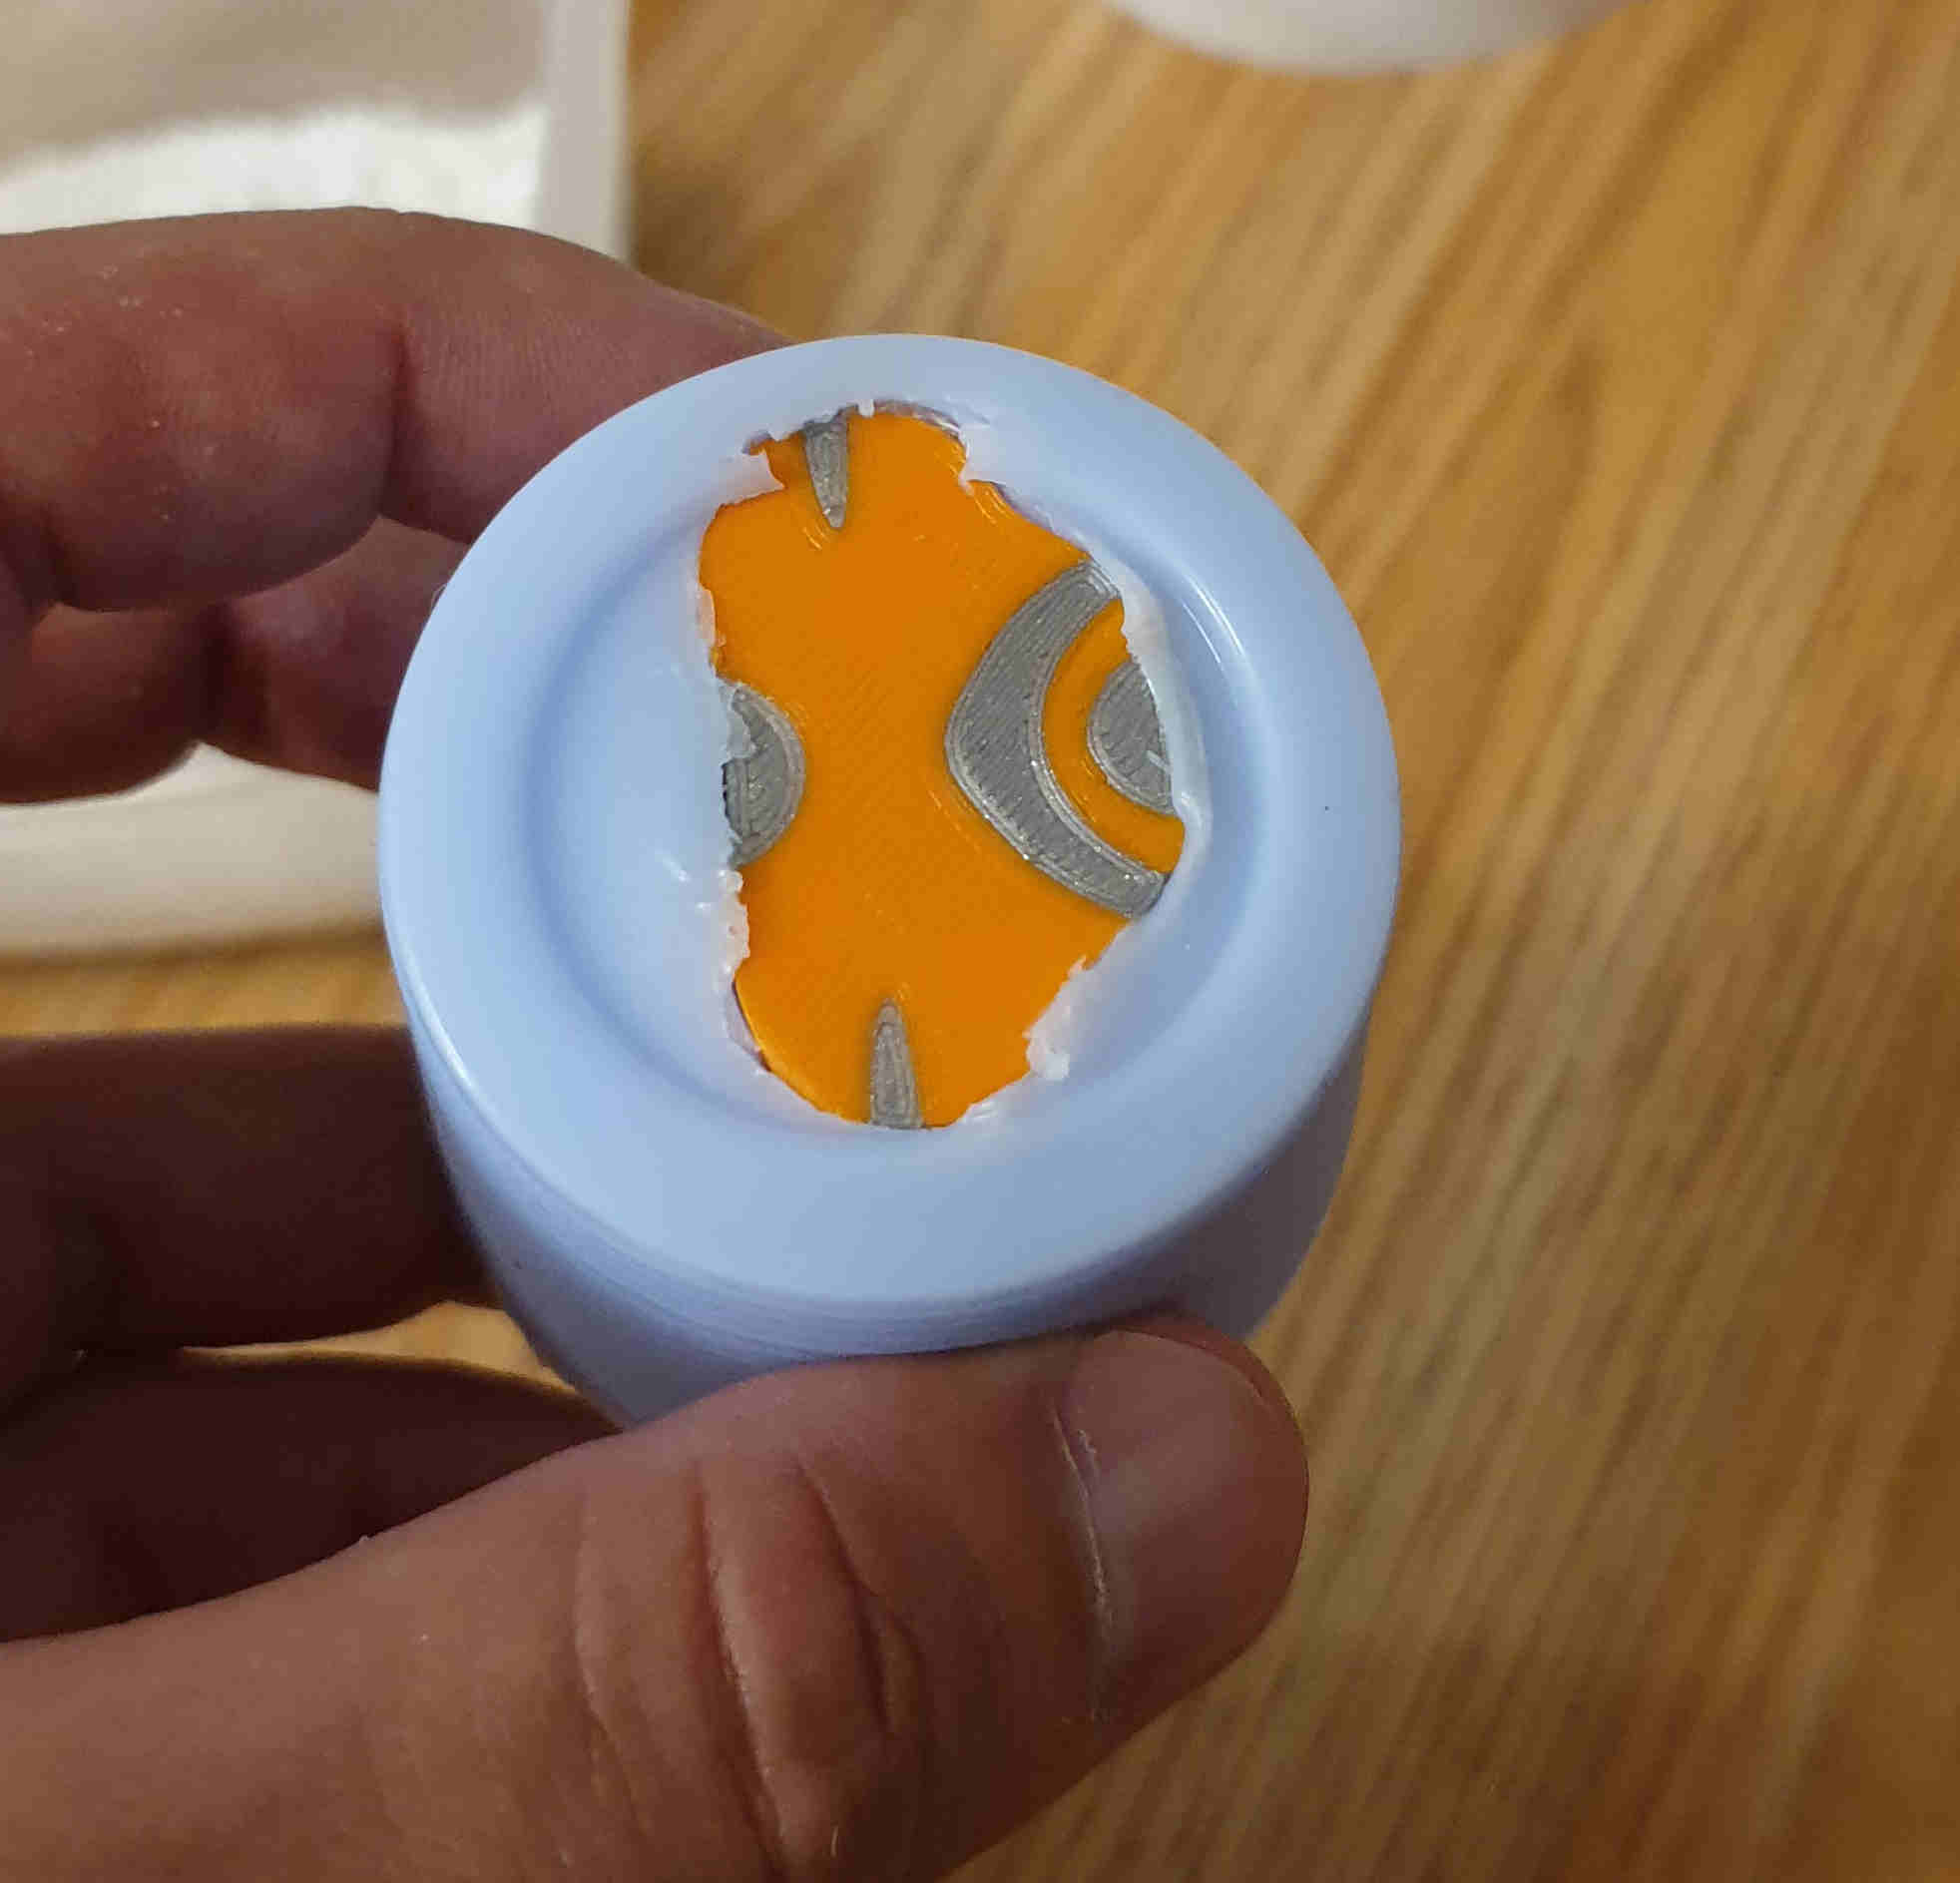
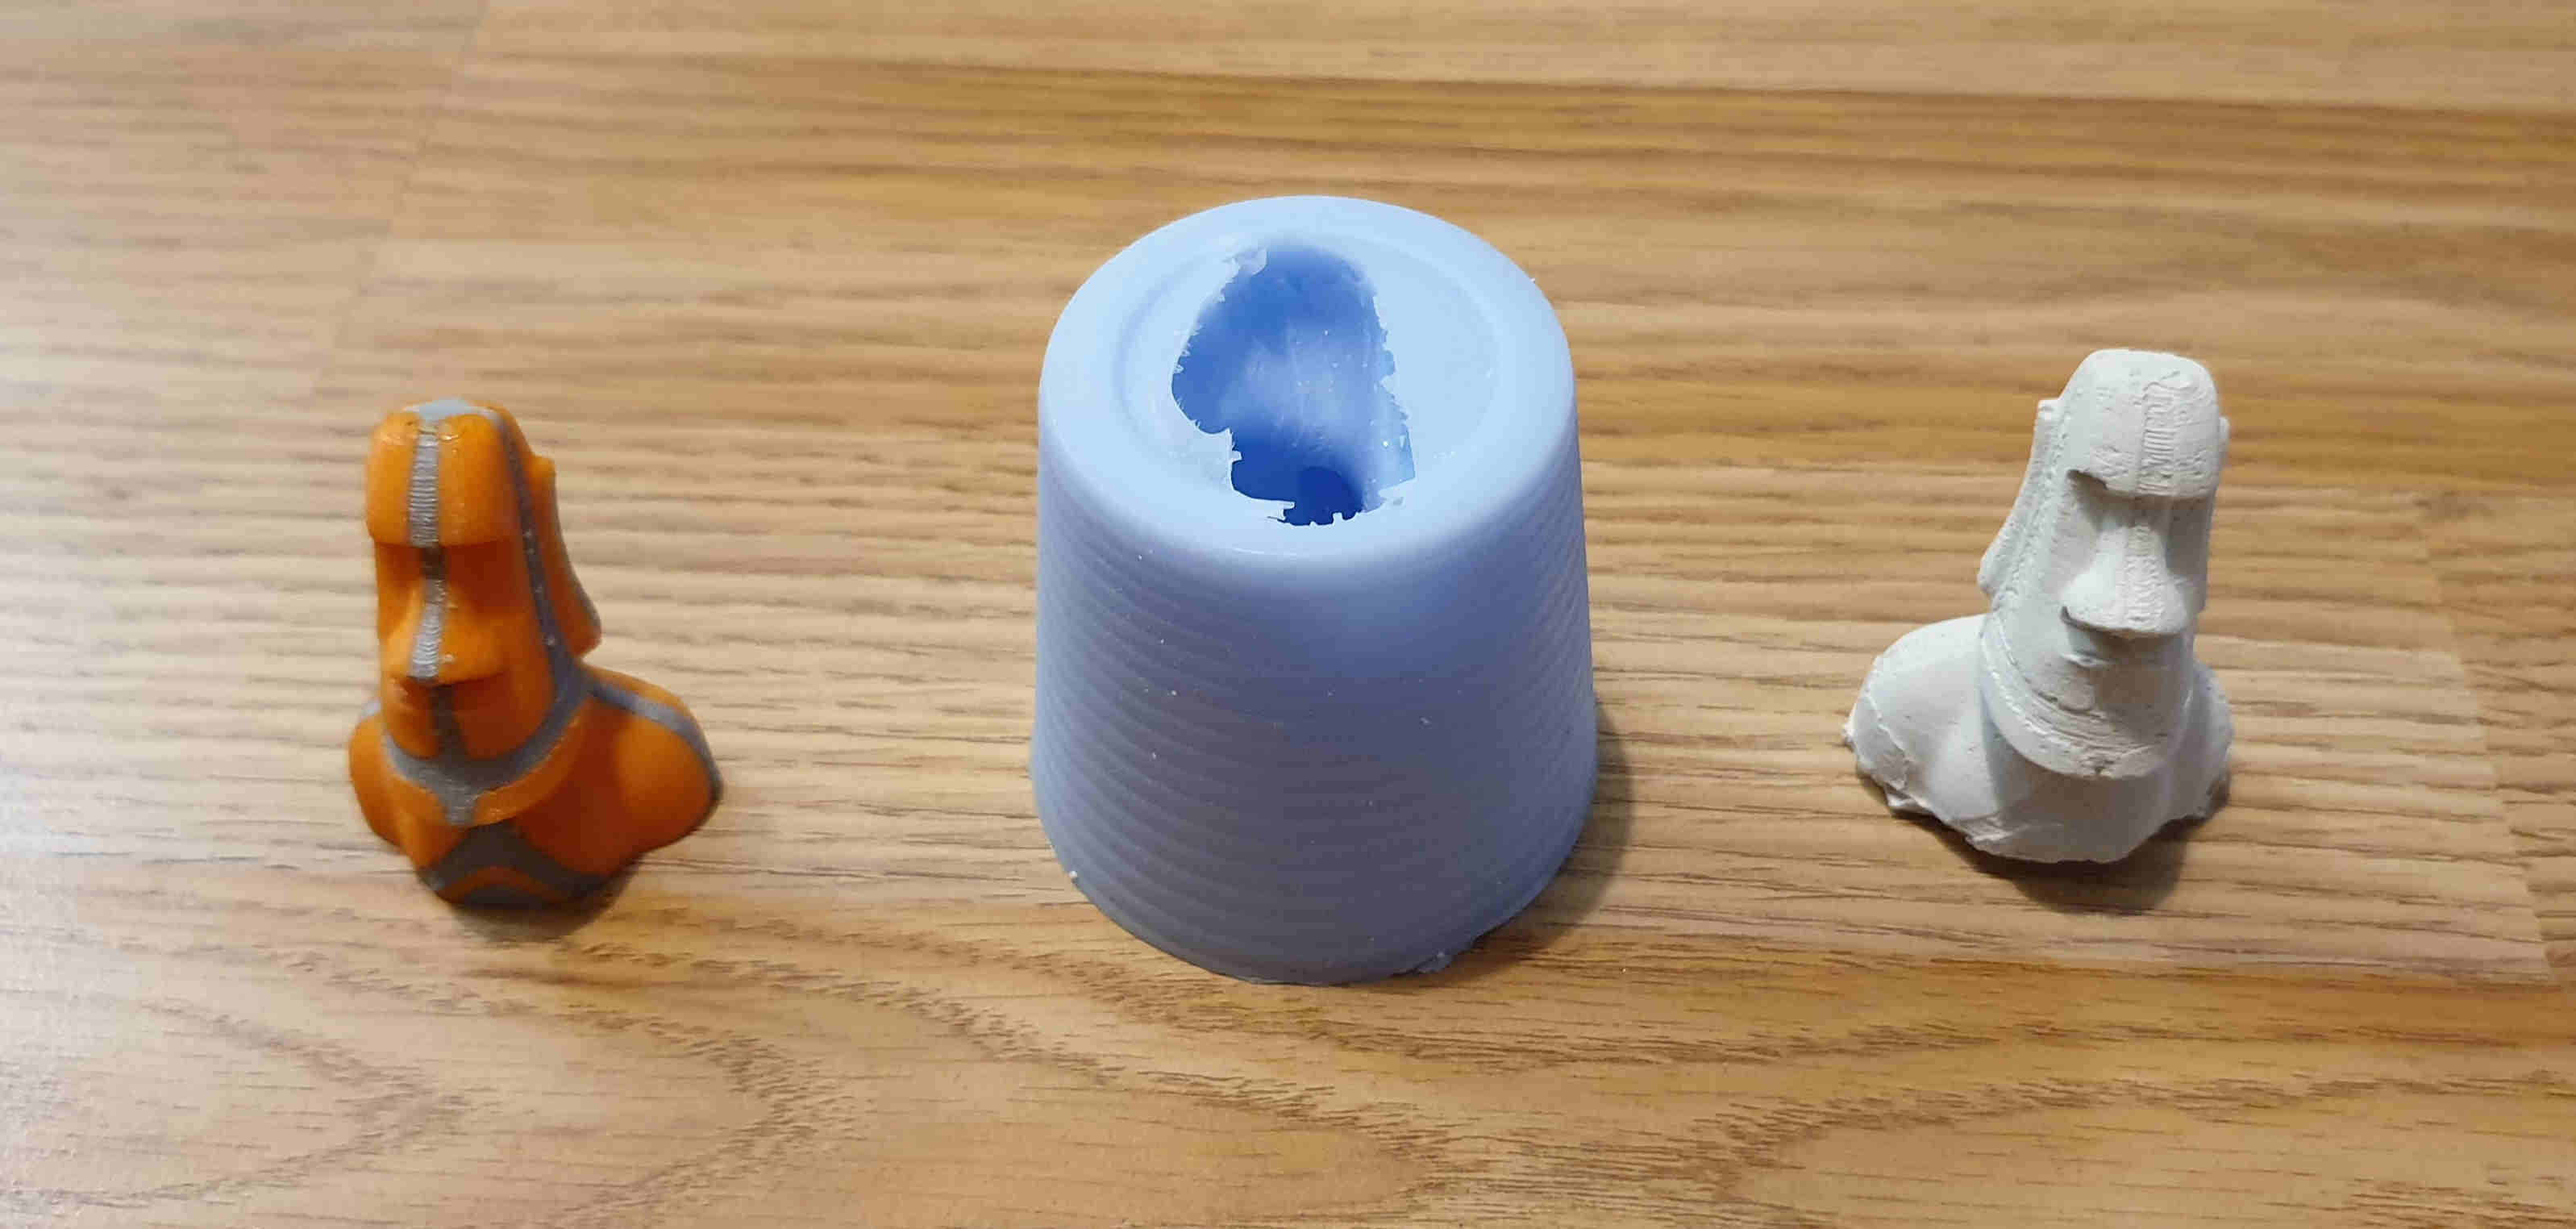
3. POURING AND FINISH
Now when I mixed components and release spray has dried, I can pour my mix into the mold. After hour and a half it is done. One problem that I had was on this stage, I was afraid that my silicon might brake so I drilled holes to let the air inside. And the result is ammazing. I'll definately try this more times.