Workfolw of assignment
2D Design:
What is 2D design...?
2D CAD is the pioneer of CAD software, and was developed in the early 70s. A 2d design professional draws 2-dimensional, or flat, images used in mechanical drawings, electrical engineering projects, video games, animation, clothing construction and architecture.
2D CAD relies on basic geometric shapes like lines, rectangles, circles, etc. to produce flat drawings. Blueprints are typically two-dimensional designs that give indications of height and length for construction purposes.
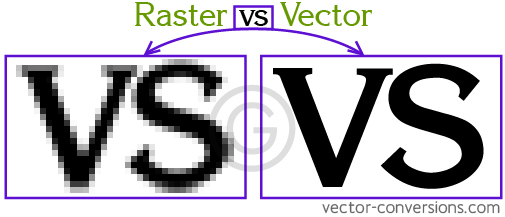
What is Raster and Vector...?
Raster and Vector graphics is that raster graphics are composed of pixels, while vector graphics are composed of paths. A raster graphic, such as a gif or jpeg, is an array of pixels of various colors, which together form an image.
A vector graphic, such as an .eps file or Adobe Illustrator? file, is composed of paths, or lines, that are either straight or curved. The data file for a vector image contains the points where the paths start and end, how much the paths curve, and the colors that either border or fill the paths. Because vector graphics are not made of pixels, the images can be scaled to be very large without losing quality. Raster graphics, on the other hand, become "blocky," since each pixel increases in size as the image is made larger. This is why logos and other designs are typically created in vector format.
In 2D design assignment I Used 2 software for understang concept of 2D and learn about softwares. They are listed below:
Inkscape
Inkscape is a free and open-source vector graphics editor. This software can be used to create or edit vector graphics such as illustrations, diagrams, line arts, charts, logos and complex paintings. Inkscape's primary vector graphics format is Scalable Vector Graphics (SVG); however, many other formats can be imported and exported.
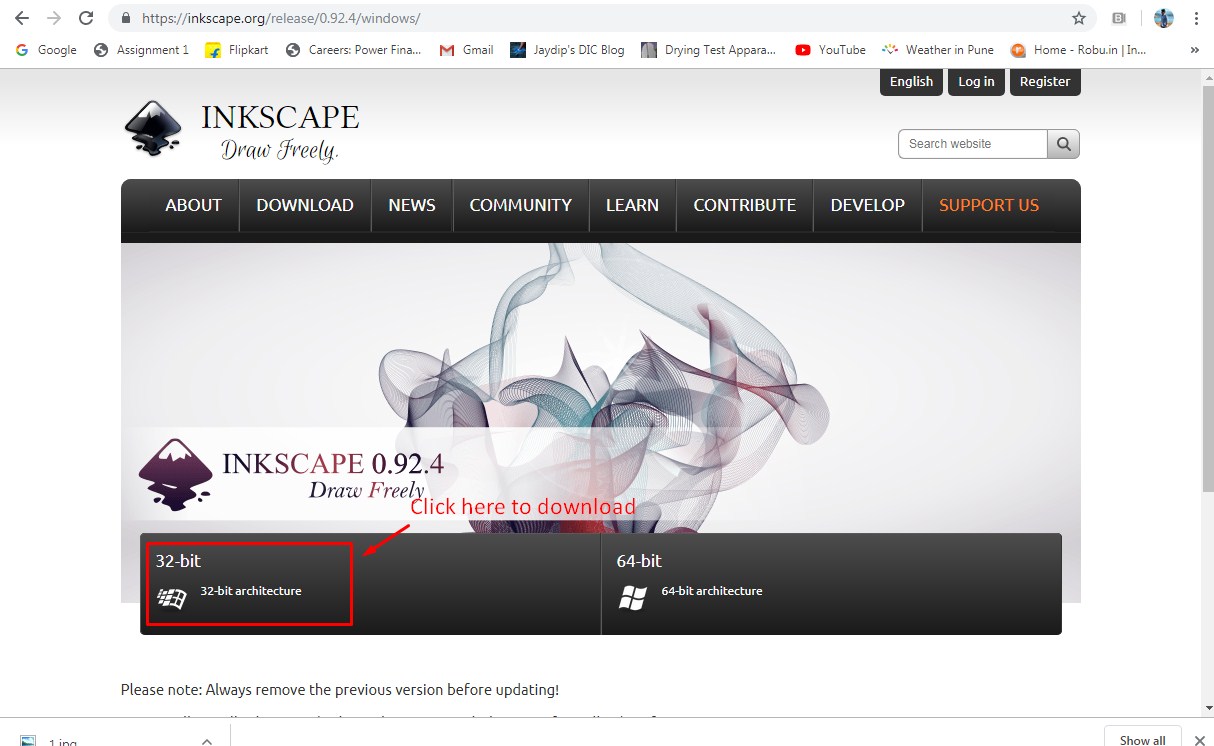
Now I need to install 'inkscpe' in my computer, So I went on inkscape.org to download setup. My system's processor is 32-bit, I choose 32-bit setup.
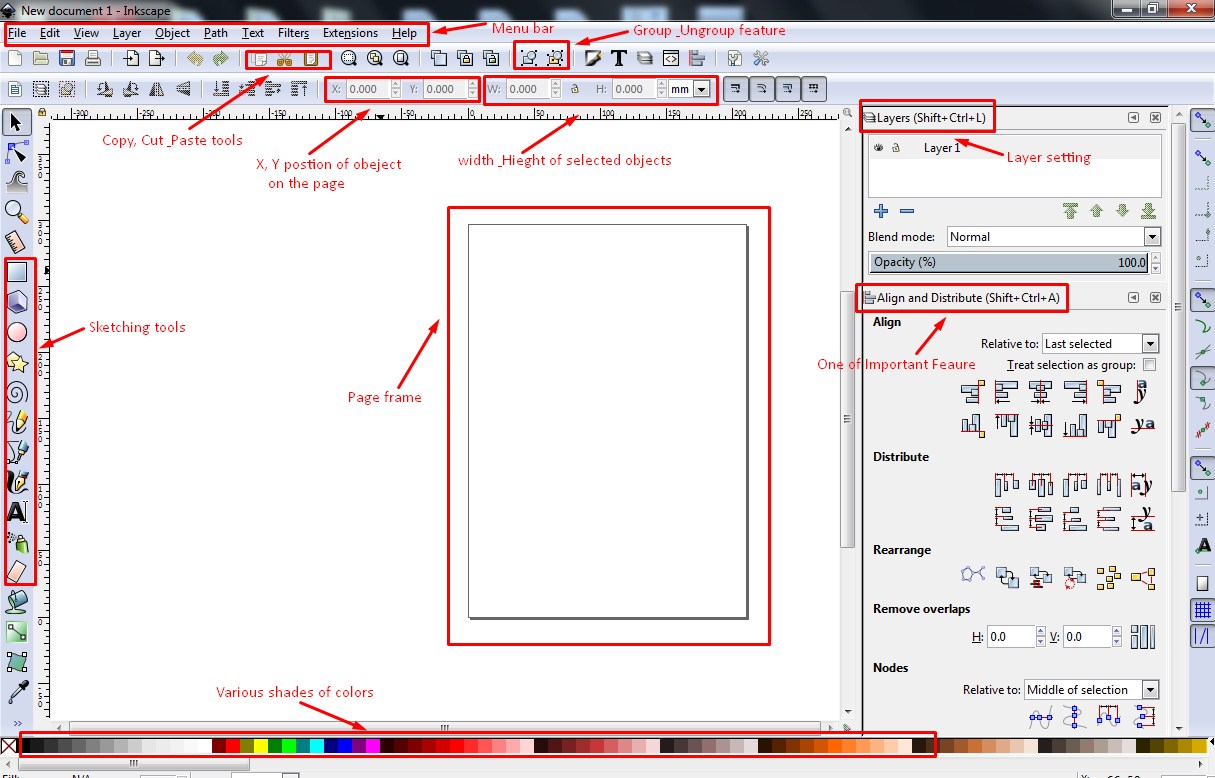
About Inkscape
Inkscape can render primitive vector shapes (e.g. rectangles, ellipses, polygons, arcs, spirals, stars and 3D boxes) and text. These objects may be filled with solid colors, patterns, radial or linear color gradients and their borders may be stroked, both with adjustable transparency. Embedding and optional tracing of raster graphics is also supported, enabling the editor to create vector graphics from photos and other raster sources. Created shapes can be further manipulated with transformations, such as moving, rotating, scaling and skewing.
Design of Visiting Card
One of my friend is a 'Civil Engineer/Contractor'. He needs visiting, so I decided to make a visiting card for him in inkscape.
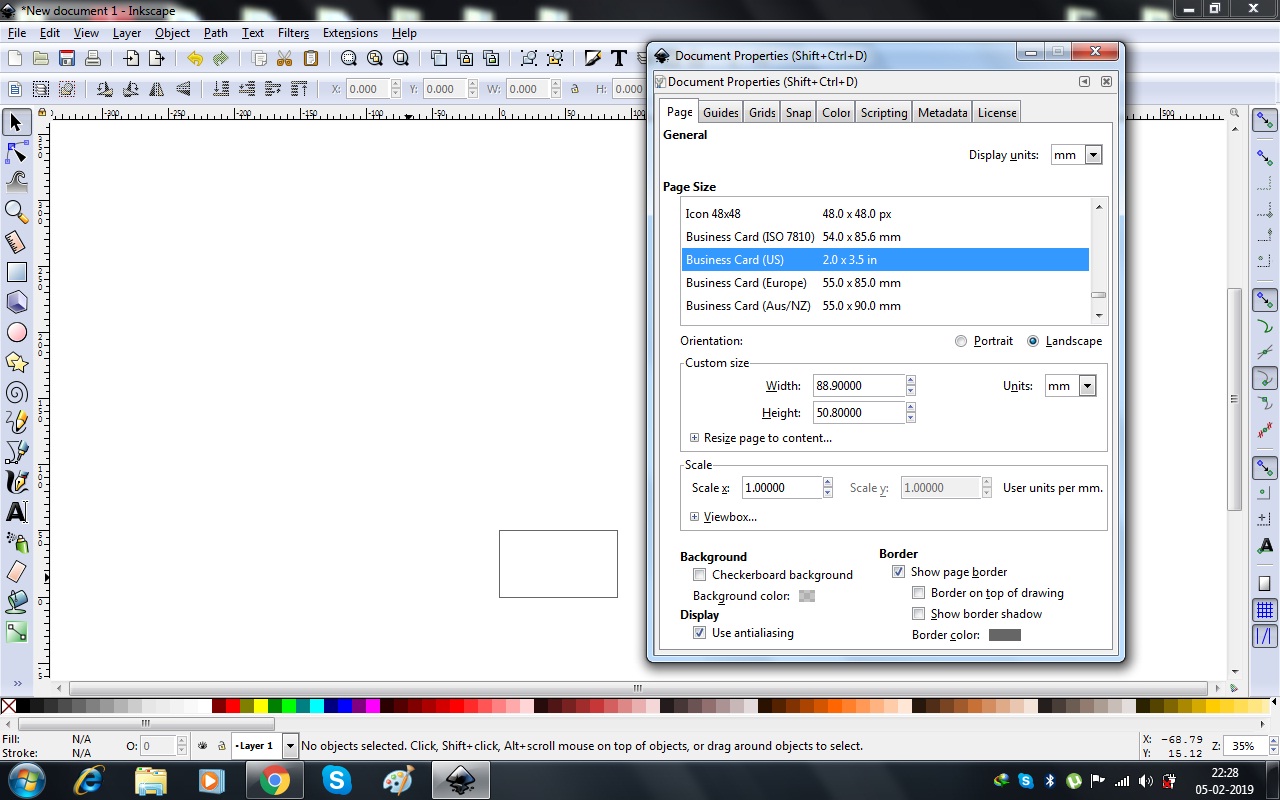
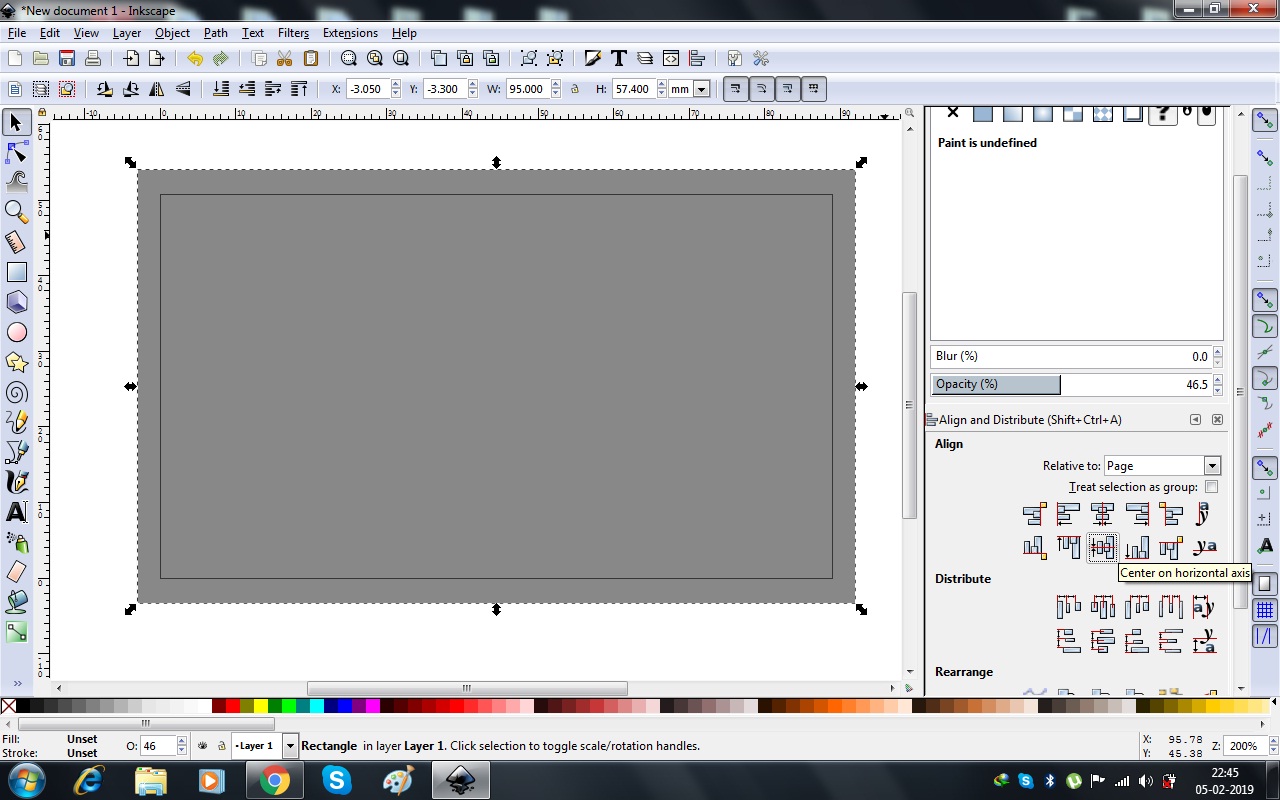
First I set standard business card(US) size in 'Document Properties' option.
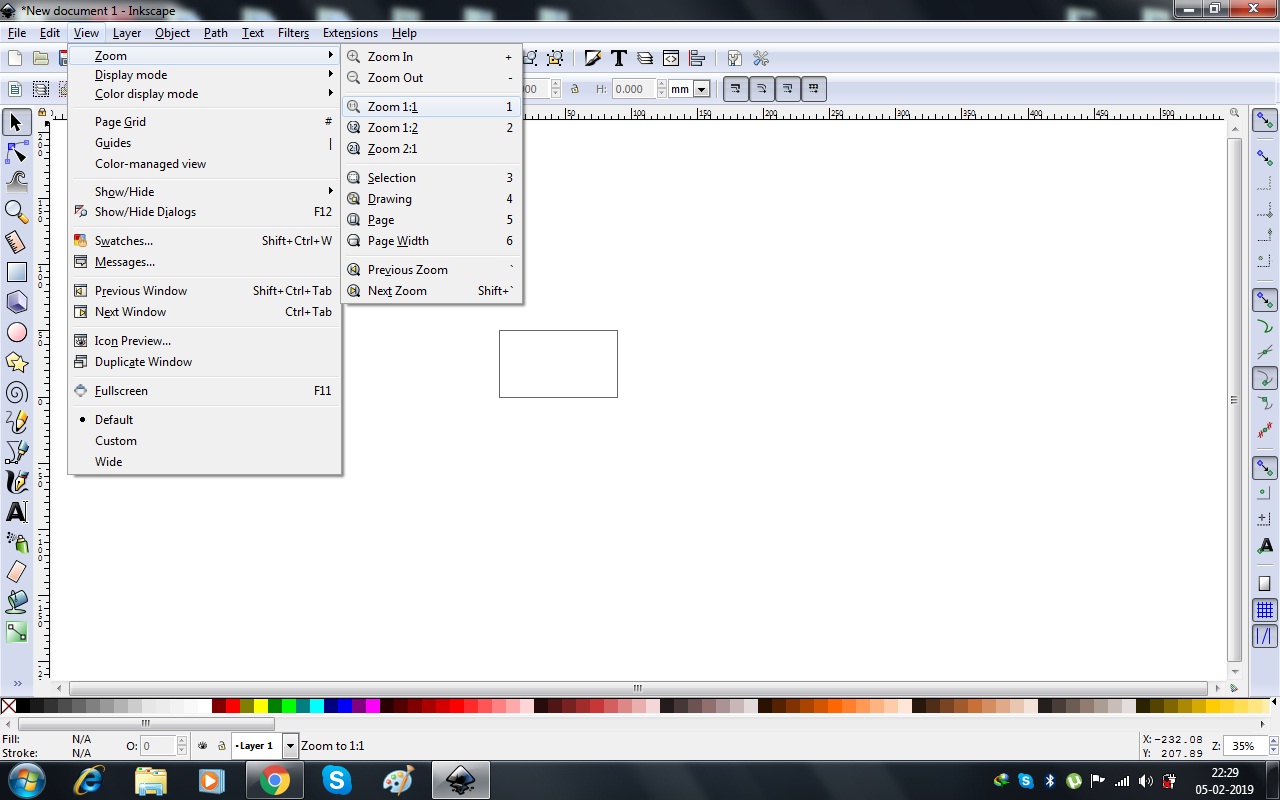
Then to make screen zoom in I choose "Zomm 1:1" option from View > Zoom > Zoom 1:1.
Draw a rectangle in Grey color shade in 'Layer 1'. rectangle is greater than card size.
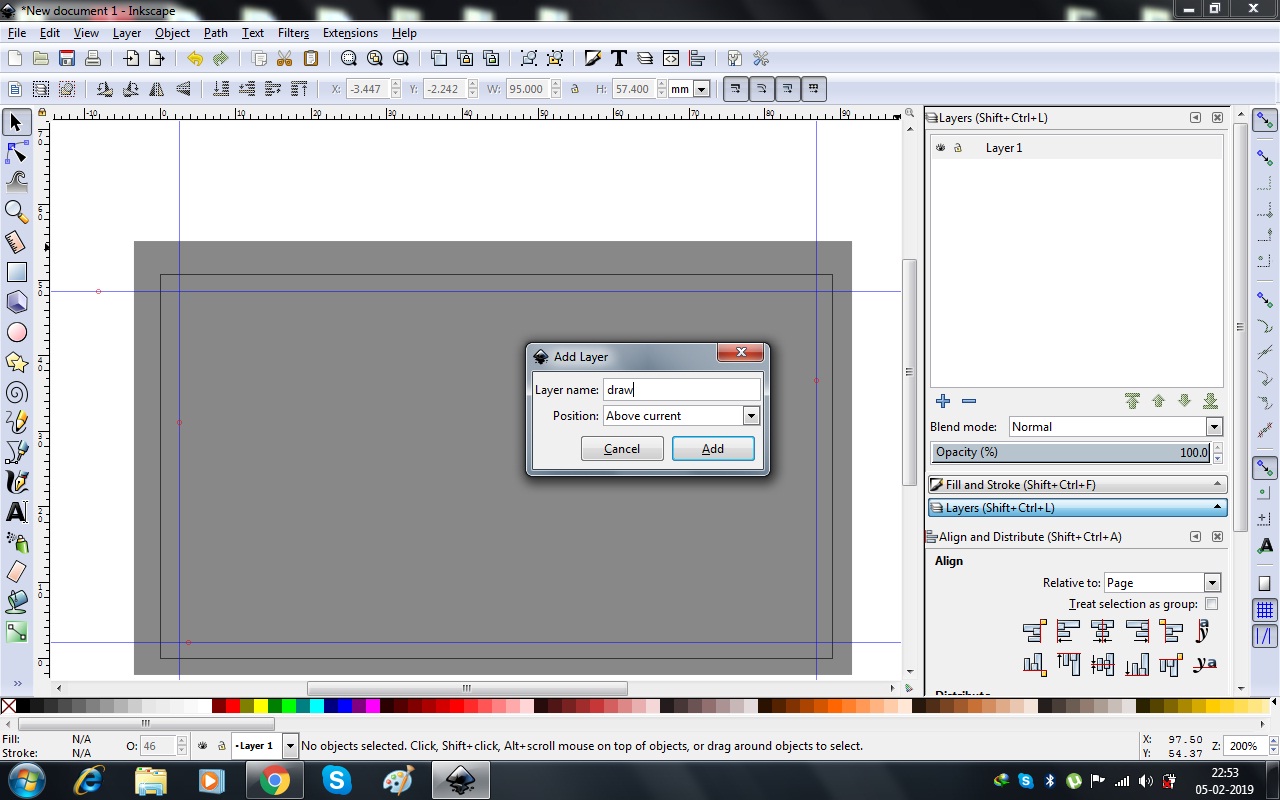
Then get a Guiding gird lines and make a new layer for draw.
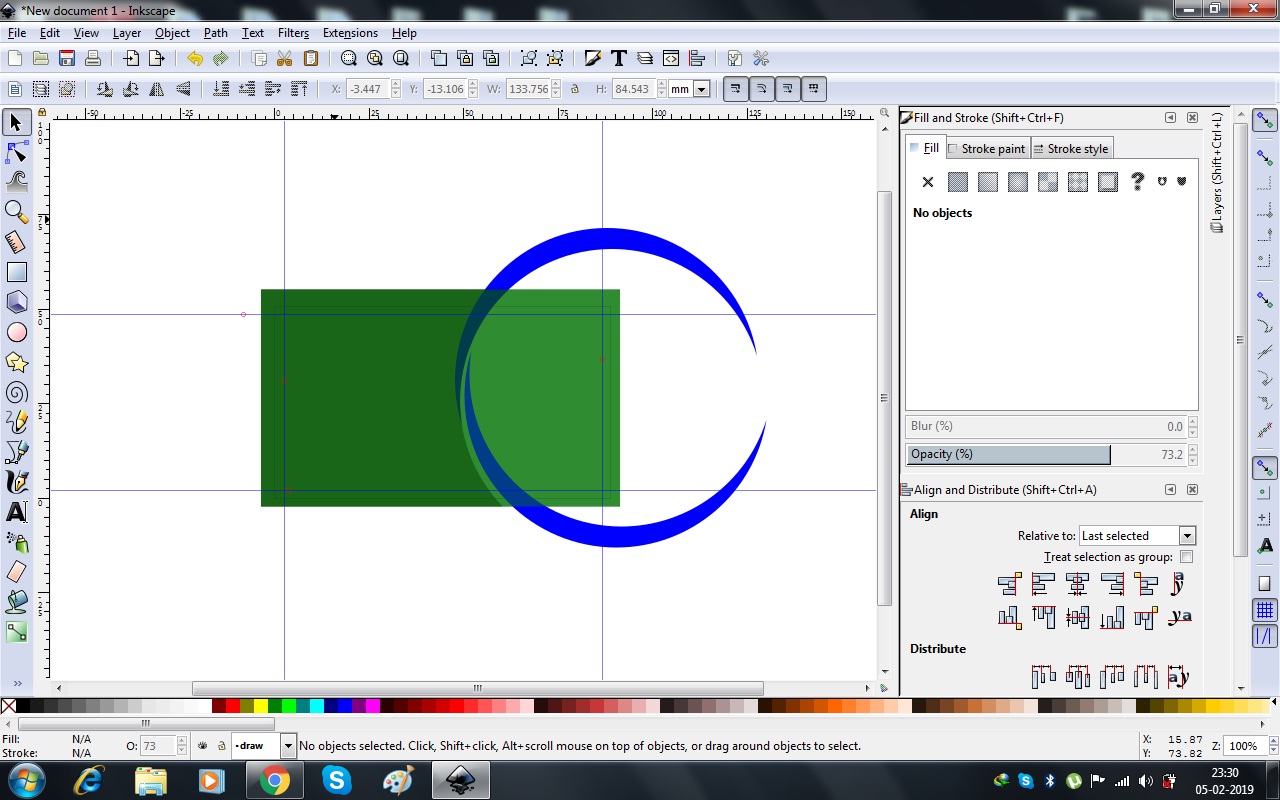
In new layer I draw two circles and make shape shown in below using 'Difference' and 'Intersection' tools from 'Path' option.
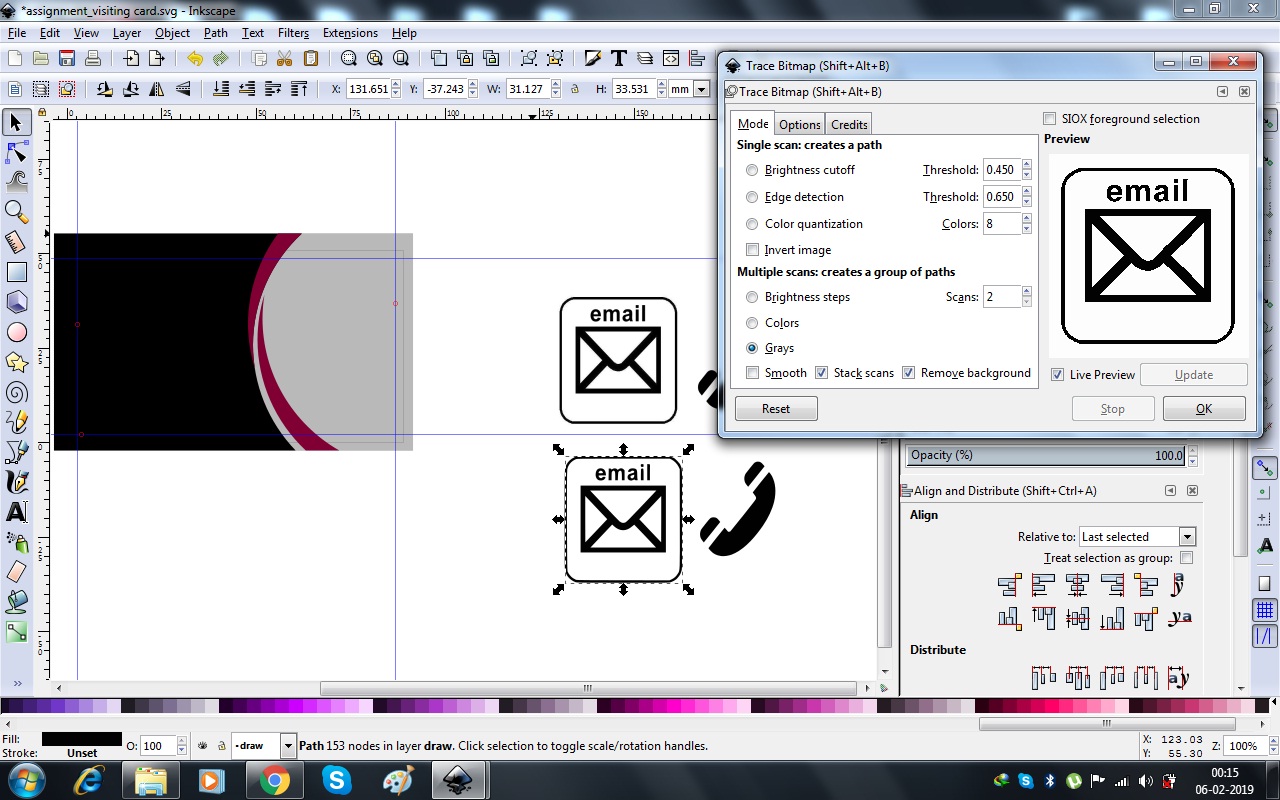
Then I downlod two 'black and white' icons for email and phone. Imported in inkscape.
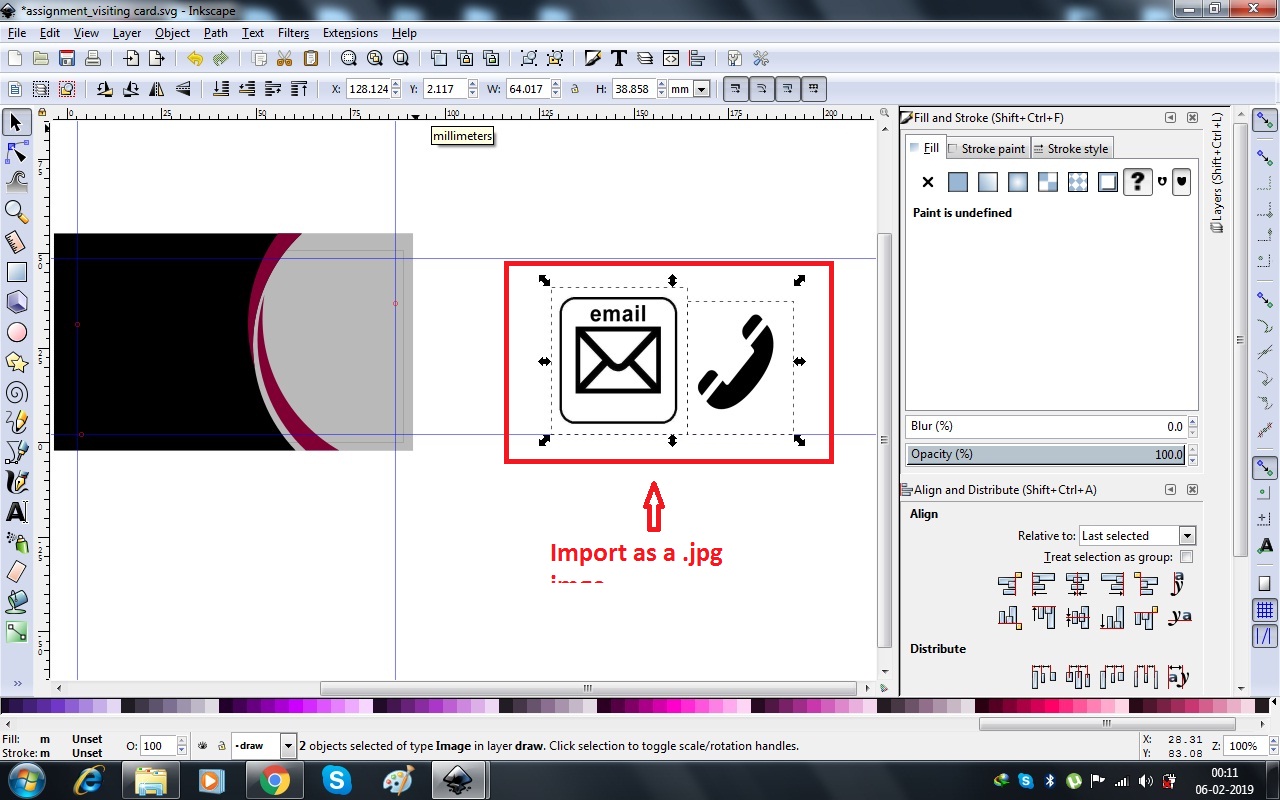
Imprted images are in 'raster' form, so converted them into 'vector' form using "Trace Bitmap" tools form 'Path' menu.
Import one more his logo and placed on right side of card. Then add name and some text on left side of cardusing 'text' tool. Then saved the file '.SVG' extension and also export the file in '.PNG' format.
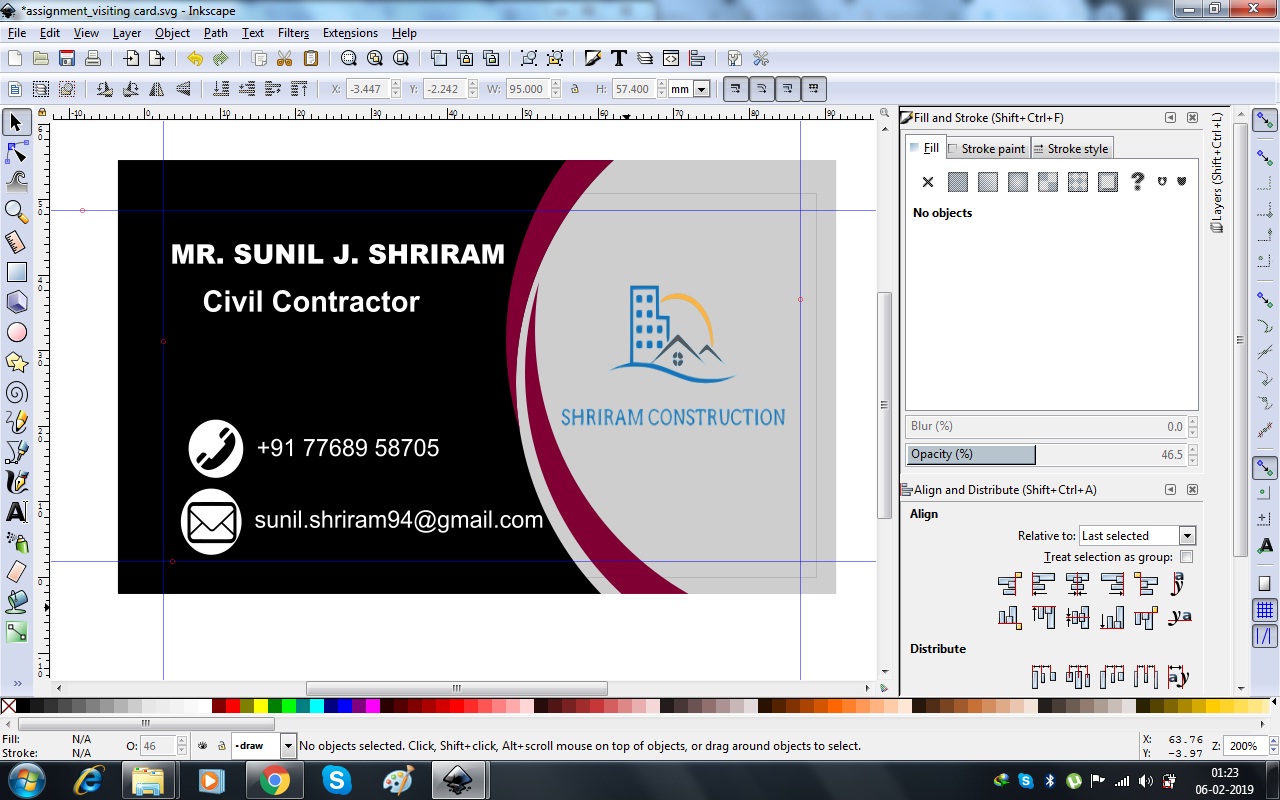
Exported '.PNG' format file converted into '.JPG' format. Now my friend Civil Enginner/Contractor Sunil's Visiting Card is shown as below:

GIMP
GIMP is an acronym for GNU Image Manipulation Program. It is a freely distributed program for such tasks as photo retouching, image composition and image authoring. GIMP is written and developed under X11 on UNIX platforms. But basically the same code also runs on MS Windows and Mac OS X.
Now I need to install 'GIMP' in my computer, So I went on gimp.org to download setup.
About GIMP
It has many capabilities. It can be used as a simple paint program, an expert quality photo retouching program, an online batch processing system, a mass production image renderer, an image format converter, etc.
GIMP is expandable and extensible. It is designed to be augmented with plug-ins and extensions to do just about anything. The advanced scripting interface allows everything from the simplest task to the most complex image manipulation procedures to be easily scripted.
Theme setting to system which made the background White
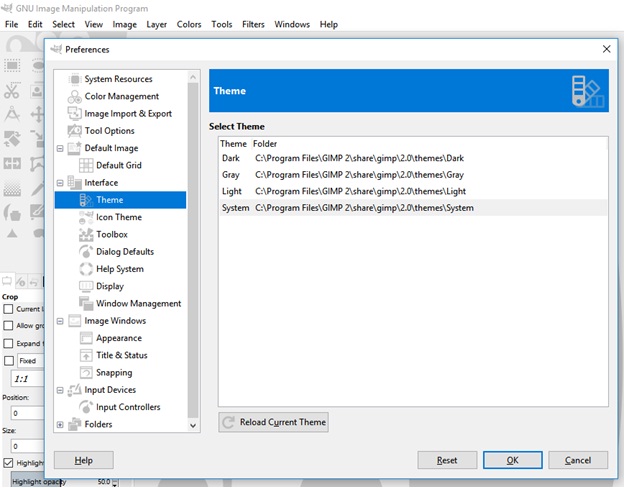
Setting system resources: to allow the internal memory usage by the software.
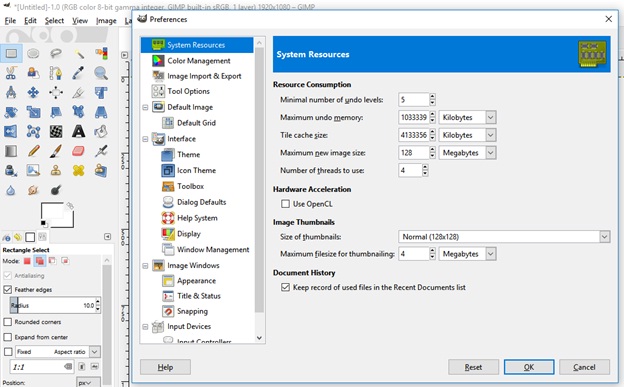
Window Type to single: Setting up window type to Single window. In single Window mode everything is put on 1 window. Makes easier to work on GIMP. Main areas are:

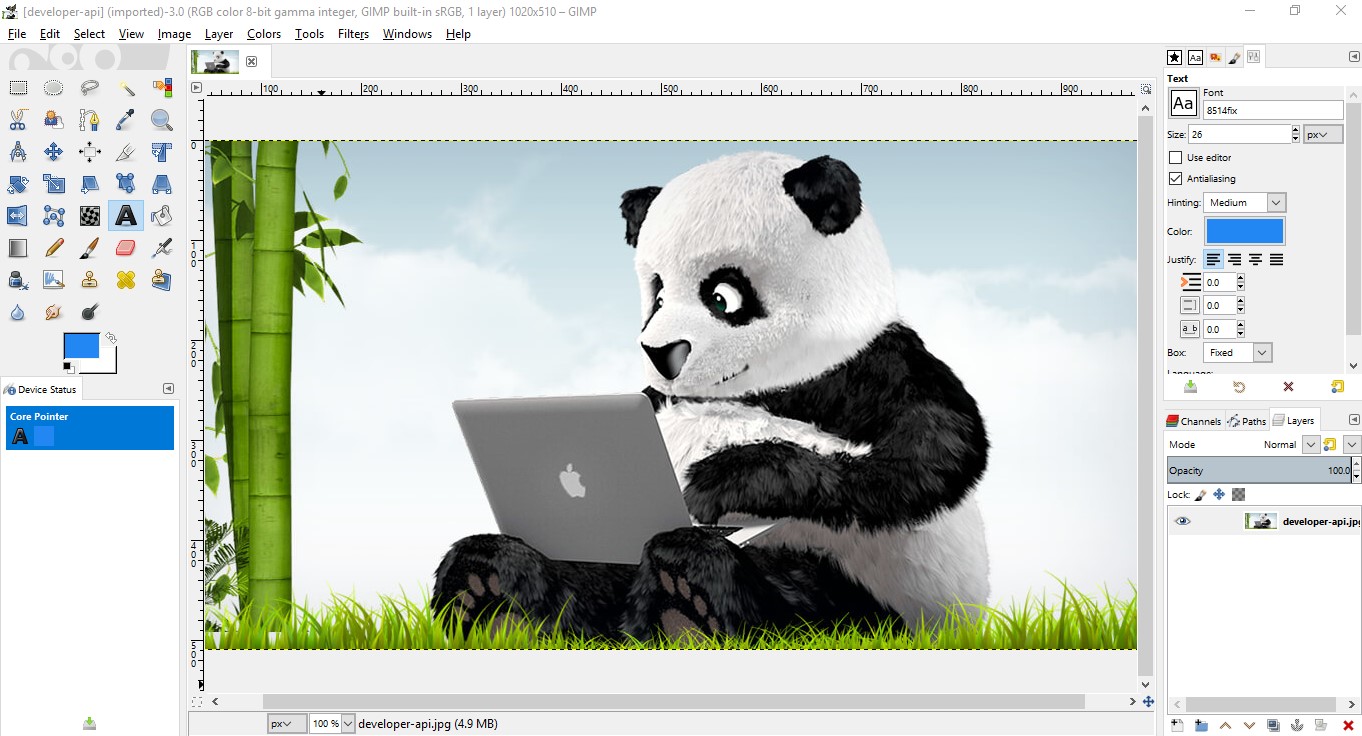
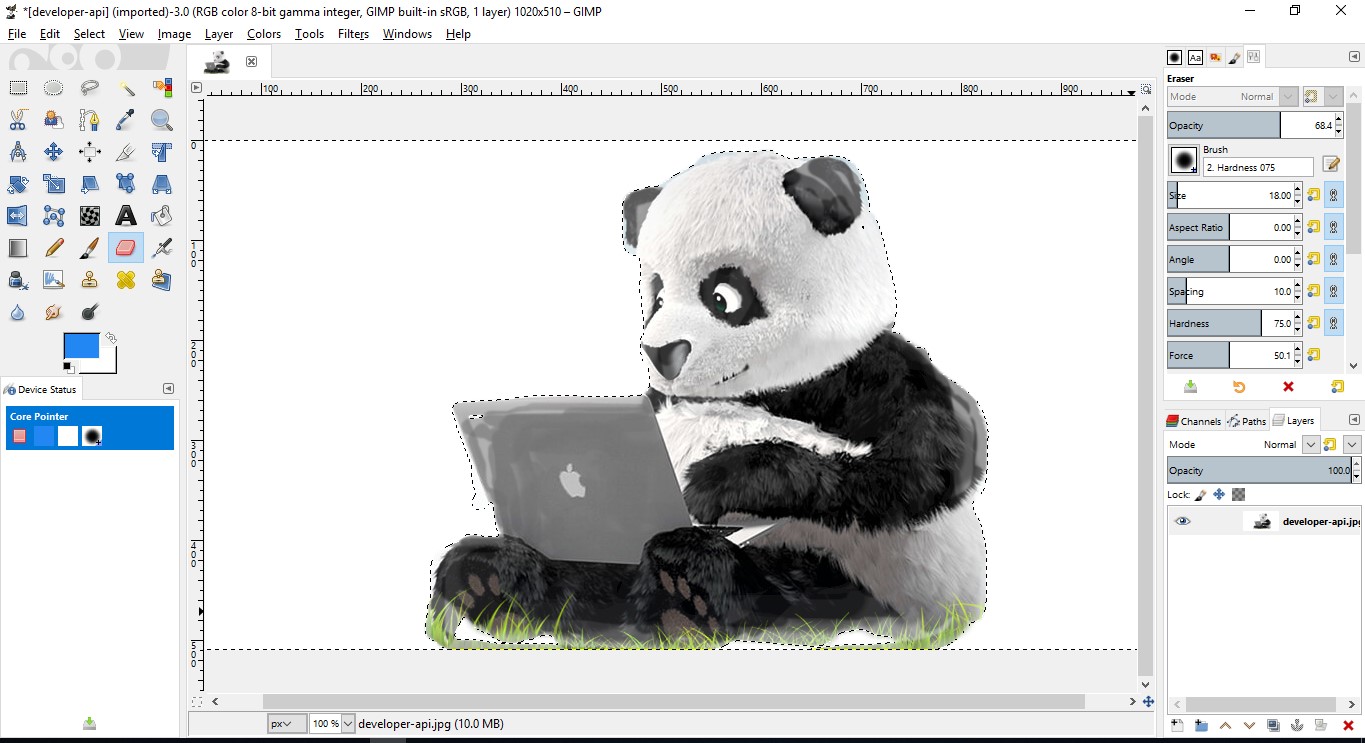
In GIMP, I tried my hand at various tools: Removing Background: I downloaded an image and opened it in GIMP to remove it’s background.
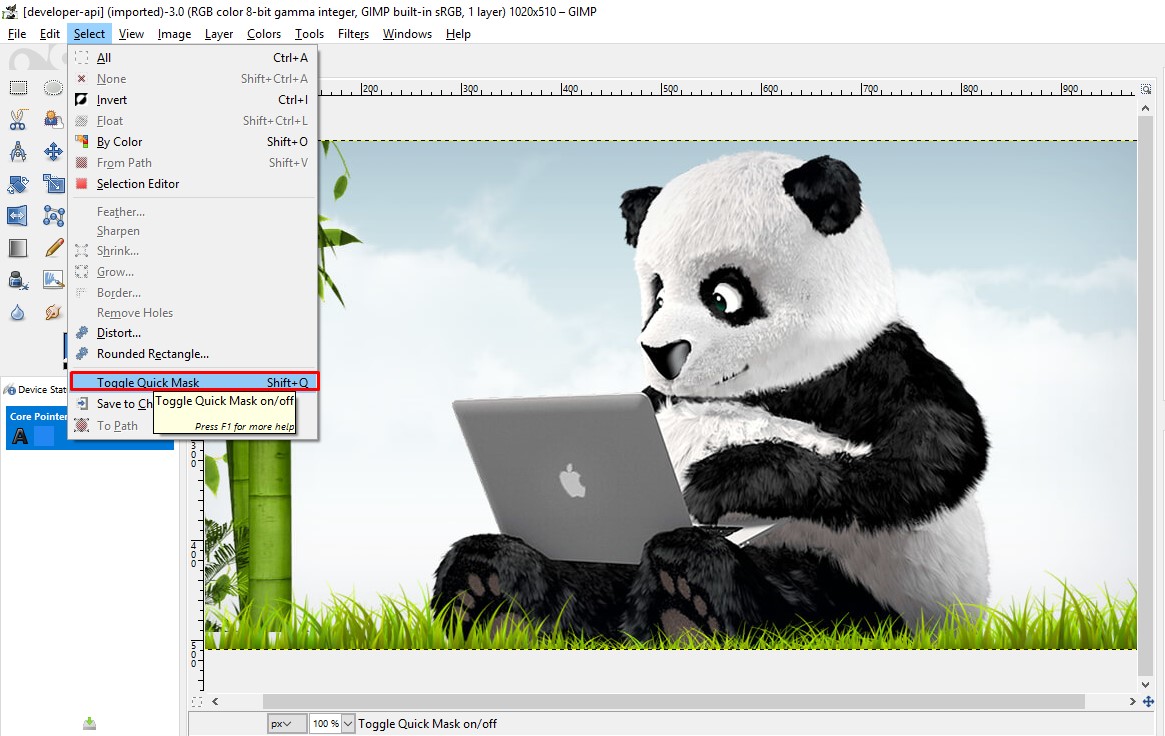
Quick Mask Tool: Select>Toogle Quick Mask which turned the entire picture to Red colour.
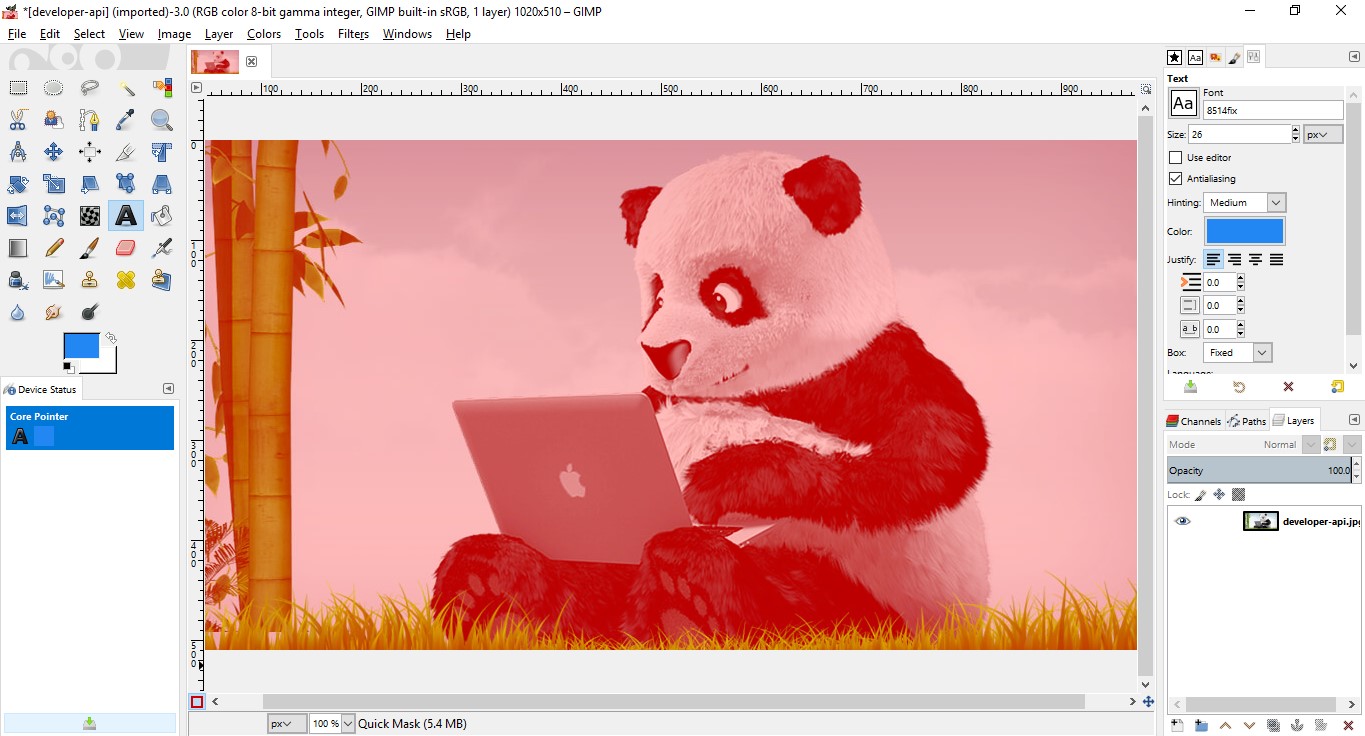
Deleting Background: Turned off the toggle mask view(SHIFT+Q), inverted the view(Ctrl+I) and deleted the background:
Adding Background: Merged a picture in the background.

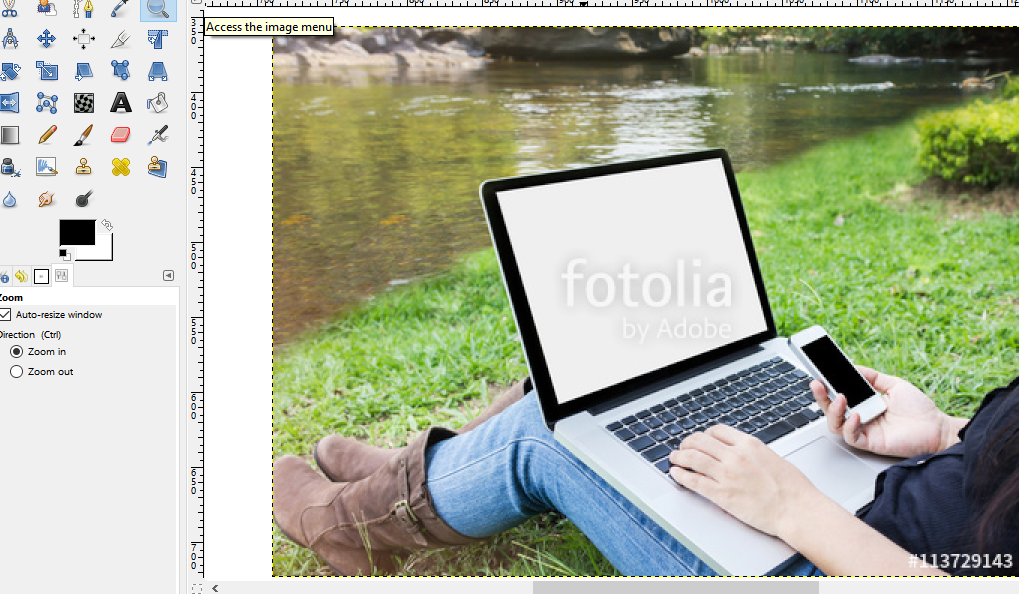
Perspective Tool: Using this tool we can fix an image into another image exactly from edge to edge.

3D Design:
What is 3D design...?
3D design is the process of using software to create a mathematical representation of a 3-dimensional object or shape. The created object is called a 3D model and these 3-dimensional models are used for computer-generated (CG) design. 3D design is used in a variety of industries to help artists shape, communicate, document, analyze, and share their ideas.
In 3D design assignment I Used 2 software for understang concept of 3D and learn about softwares. They are listed below:
Solid works
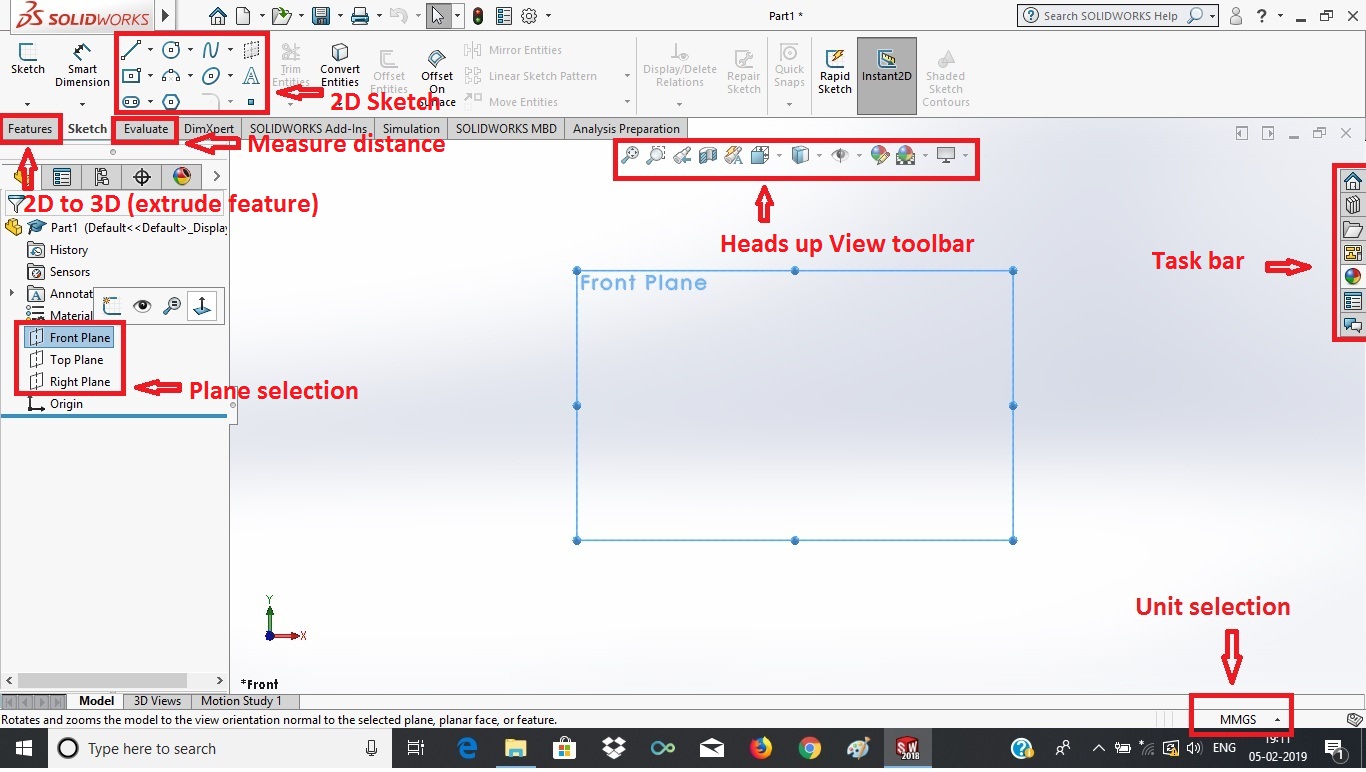
SolidWorks is a solid modeling computer-aided design (CAD) and computer-aided engineering (CAE) computer program that runs on Microsoft Windows. SolidWorks is published by Dassault Systemes.
Now this time I don't need to download or install, It is already available in my computer. But read some information about Software from solidworks.com.
About Solid Works
Parameters refer to constraints whose values determine the shape or geometry of the model or assembly. Parameters can be either numeric parameters, such as line lengths or circle diameters, or geometric parameters, such as tangent, parallel, concentric, horizontal or vertical, etc. Numeric parameters can be associated with each other through the use of relations, which allows them to capture design intent.
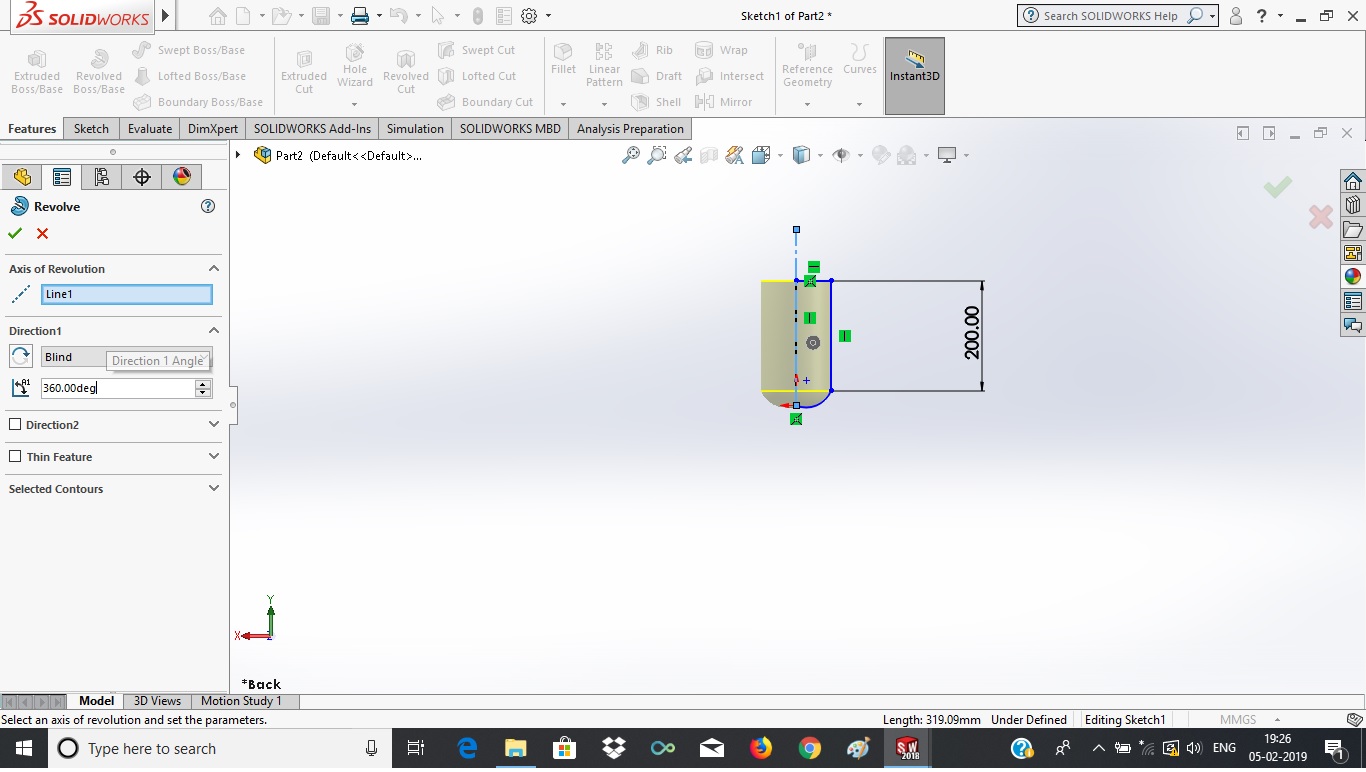
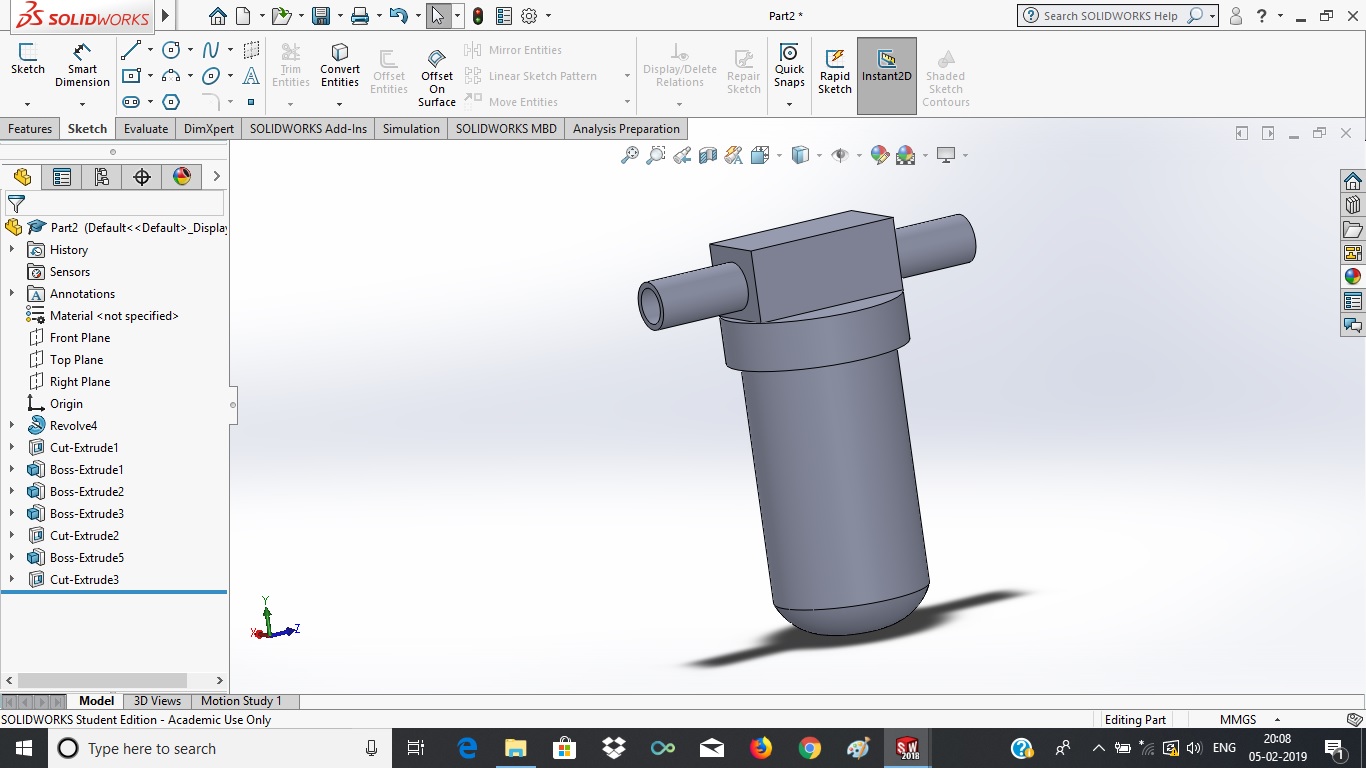
First I took a 'centre line', then sketch one line with bottom curve aside of centre line. Then using "Revolve" tool select the Centre line as a 'Axis of revolution'. Also entered the direction angle 360 degree.
After that, select the top plane and draw another circle (lower diameter) on top of cylinder and extruded cut the the smaller circle.
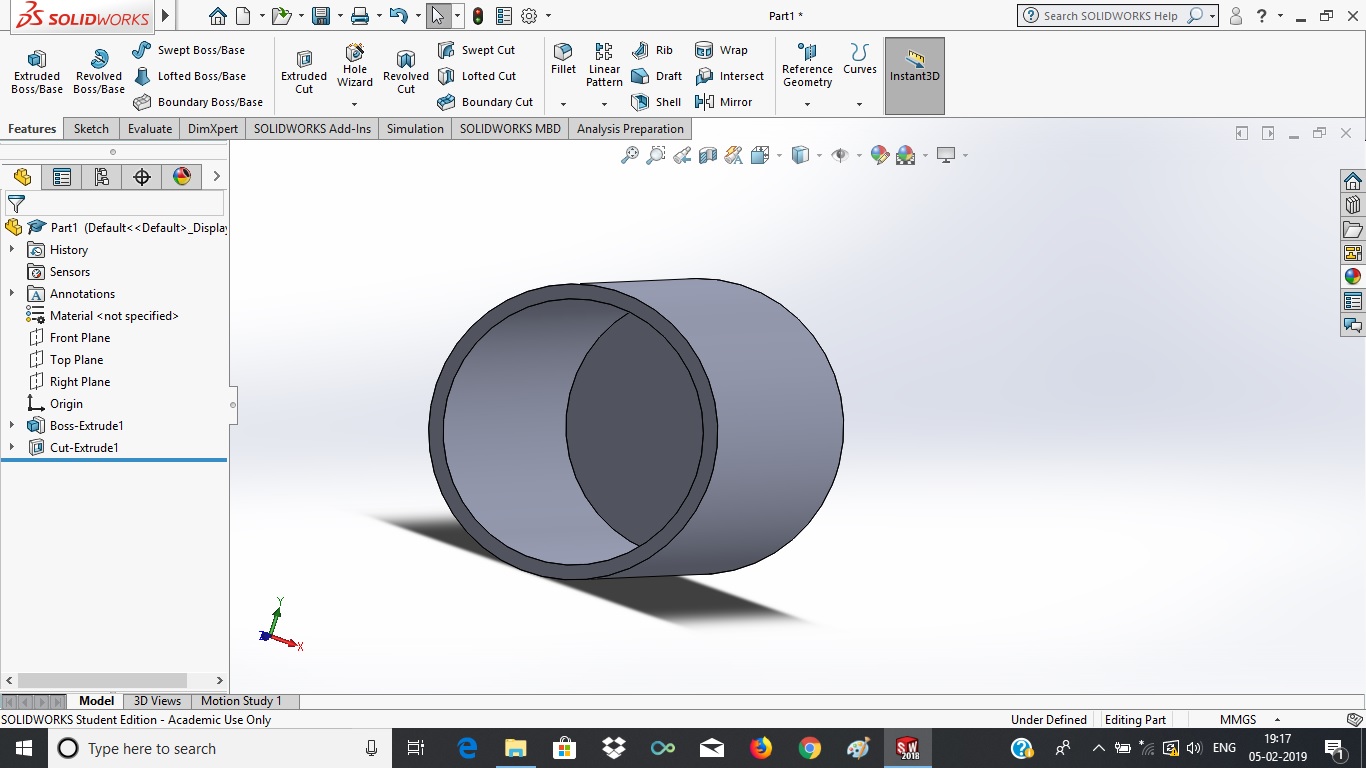
Again select the top plane and draw another circle (bigger diameter than tube' diameter) on top of cylinder and extruded the the bigger circle.
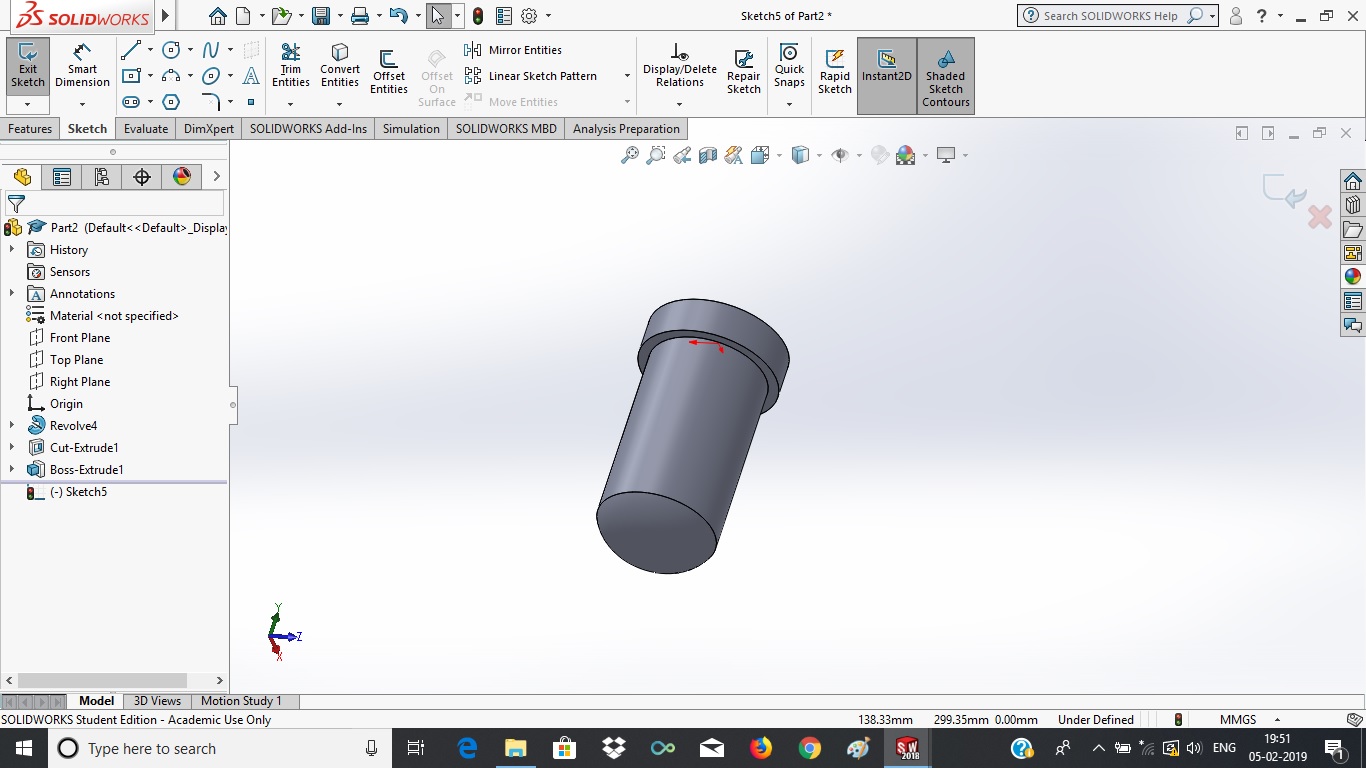
Then I select 'Top Plane' and took rectanle on circle. Then extruded the rectangle and took two circles on both side of retangle. And then again extruded same. finally, I select surface of last extruded circle and sketch a small circle on that. Then that small circle made extruded cut towards inside.
Fusion 360
Fusion 360 for hobbyists and makers. Fusion 360 is the first 3D CAD, CAM, and CAE tool of its kind that connects your entire product development process in a single cloud-based platform that works on PC, Mac, and mobile devices.
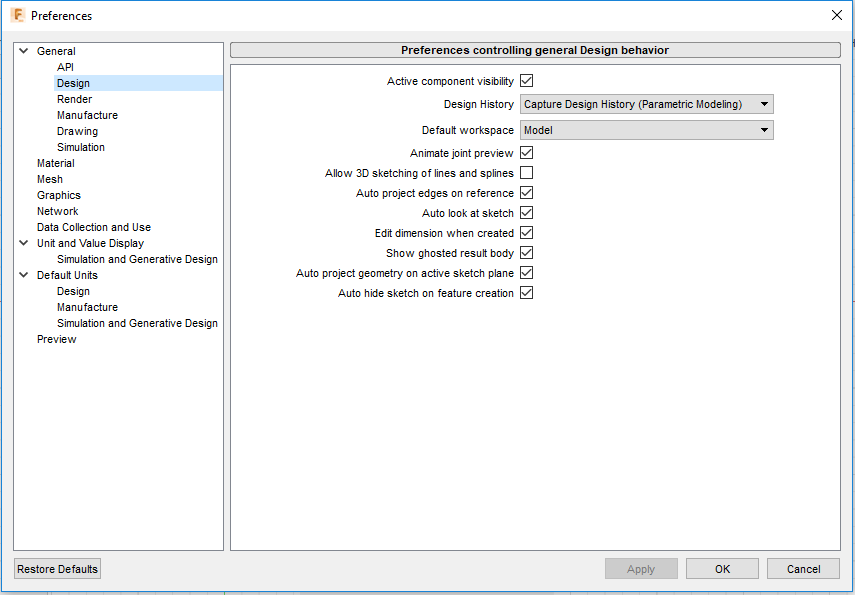
Setting Preferences: The first step is to look at the preferences and set it to our convenience.

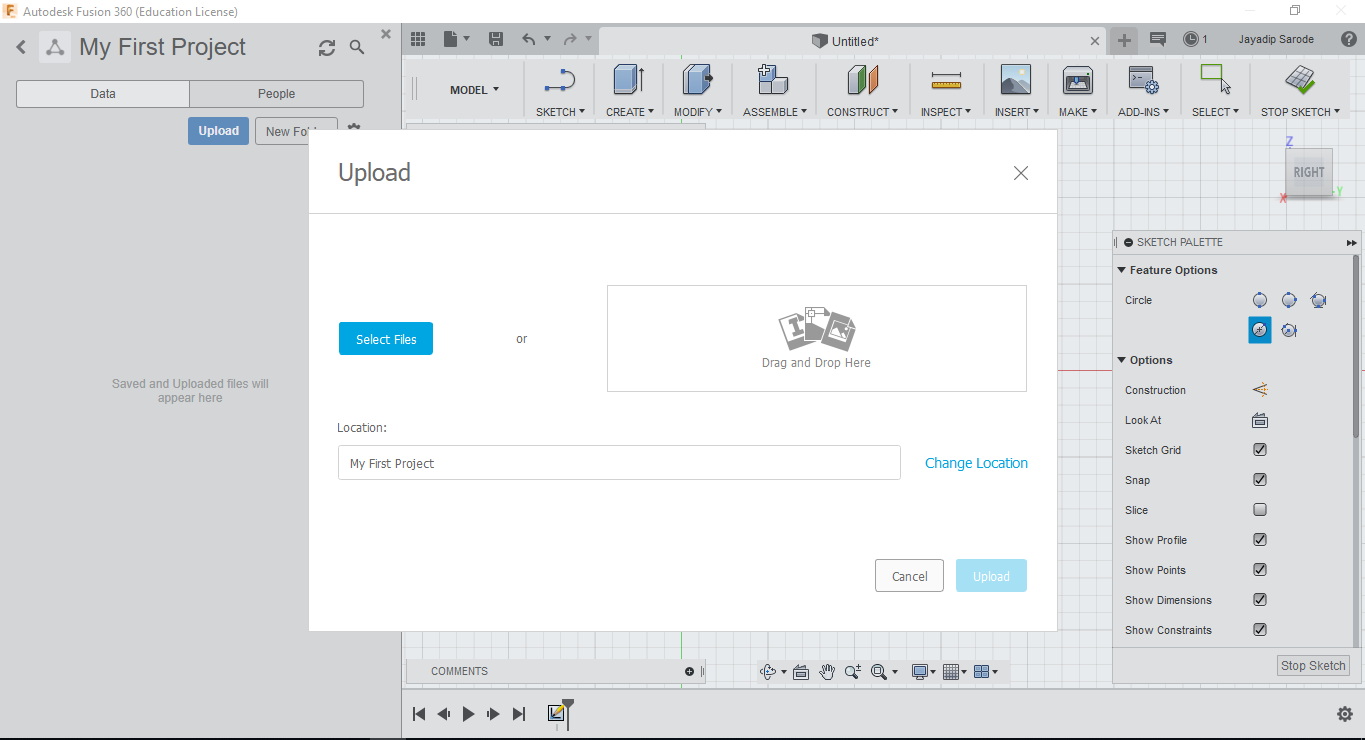
Data panel and Creating new project: The left most side of the screen has Data Panel. Here we can create a new project and inside it creates folders and uploads files from our local system.
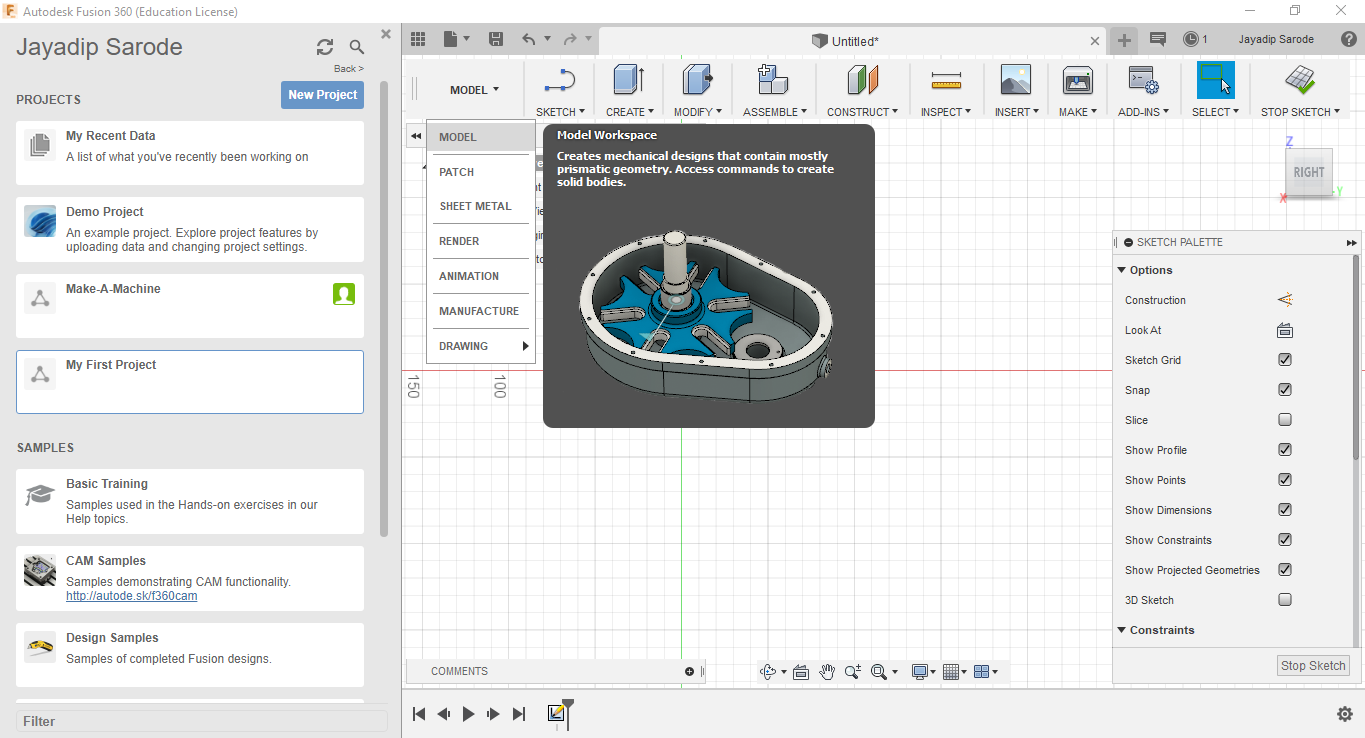
Selecting Workspace: Fusion 360 has options of various workspaces like Model, Animation, Drawing, Patch etc. The tools change slightly with changing workspace.
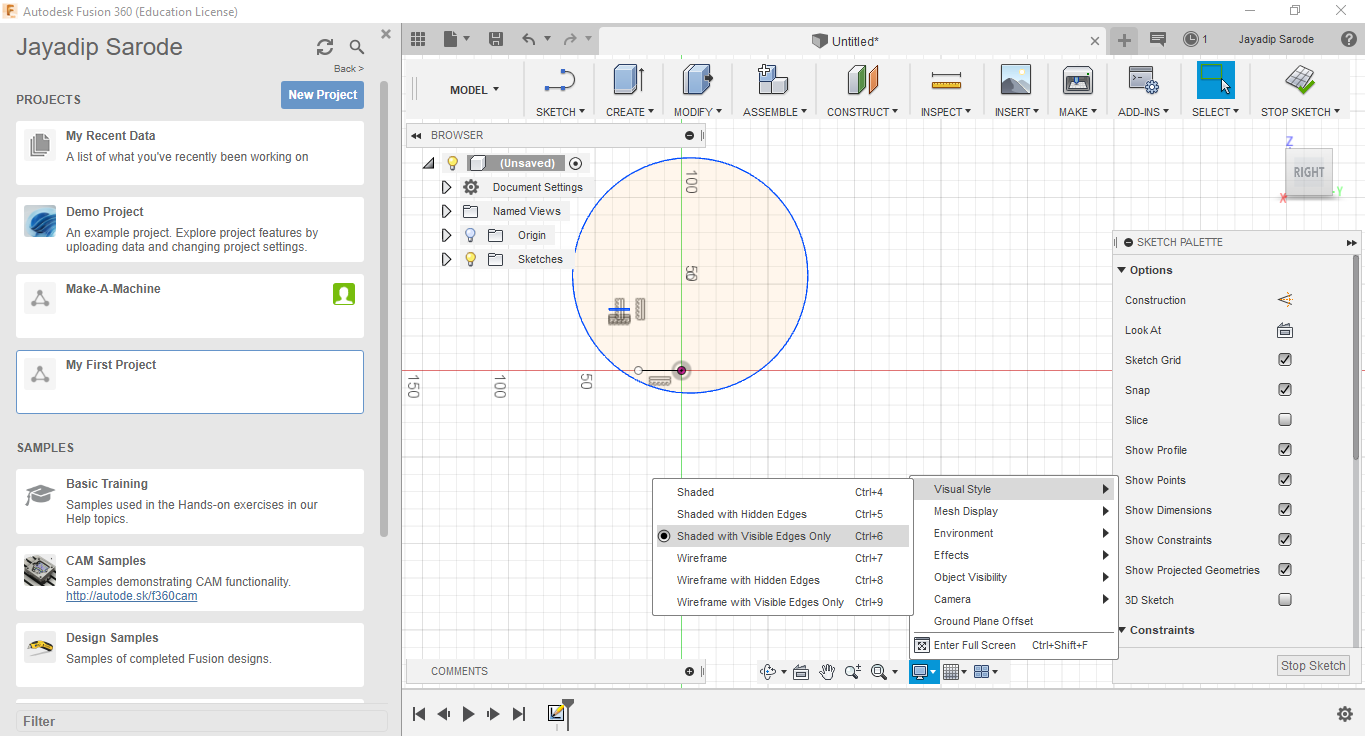
Display settings: At the bottom we have the icon to change the display and the background changes with the settings.
Viewports: Gives the option to have a single view or multiple views. The command key is in the bottom.
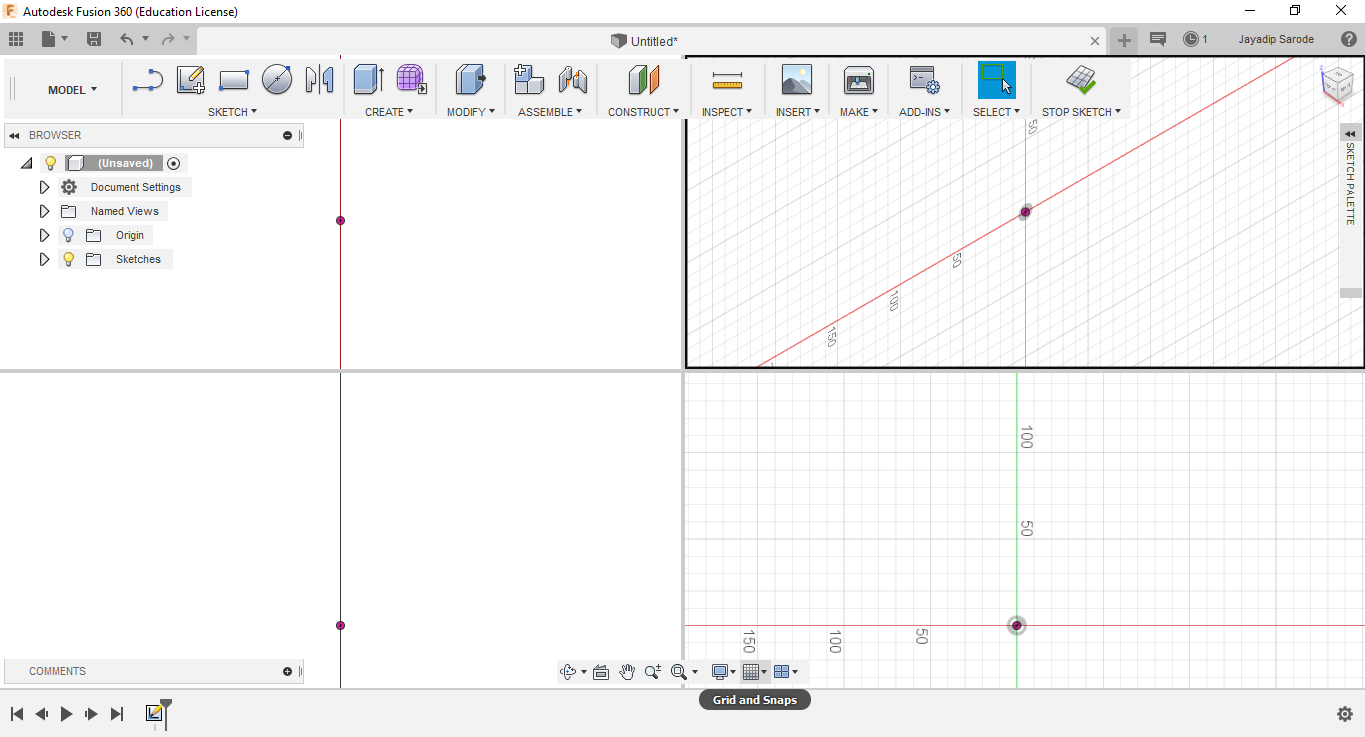
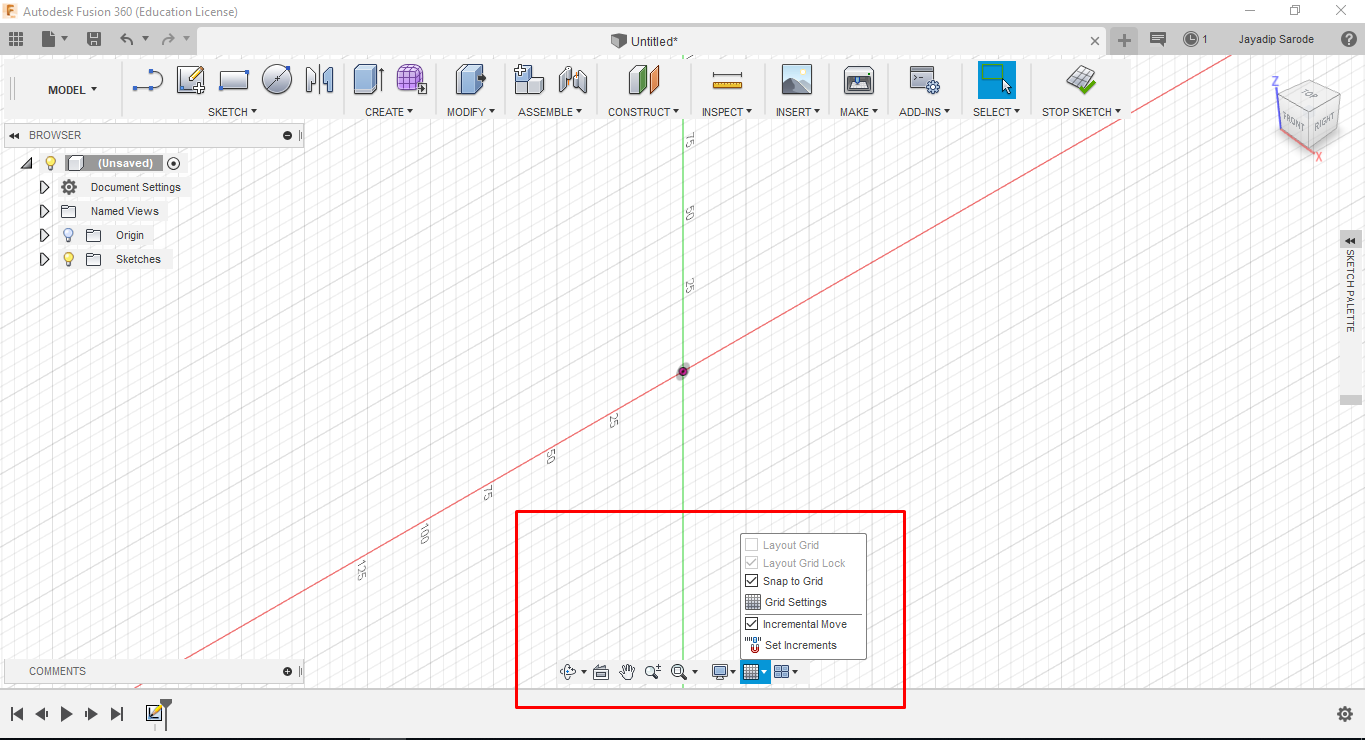
Grid & Snaps: Users according to their preference may wish to have or not have grids in the background of their design. The command key is in the bottom.
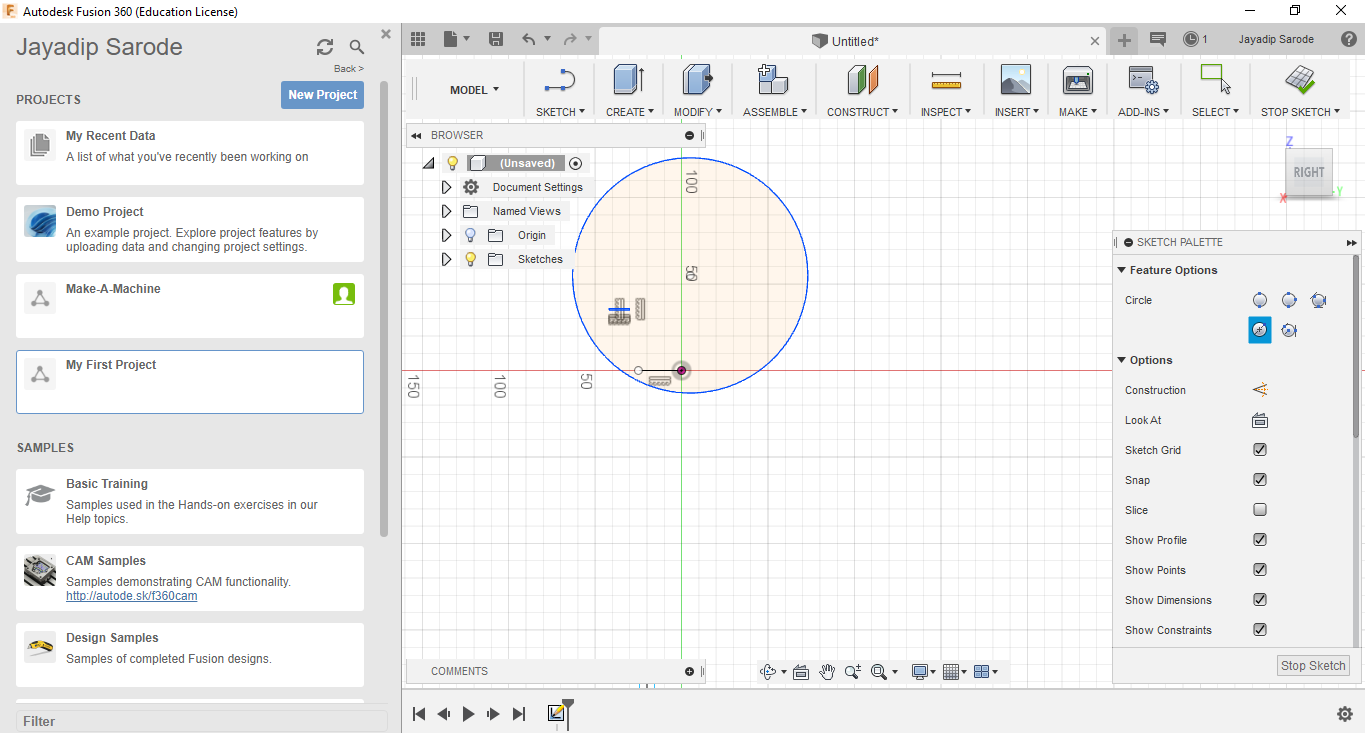
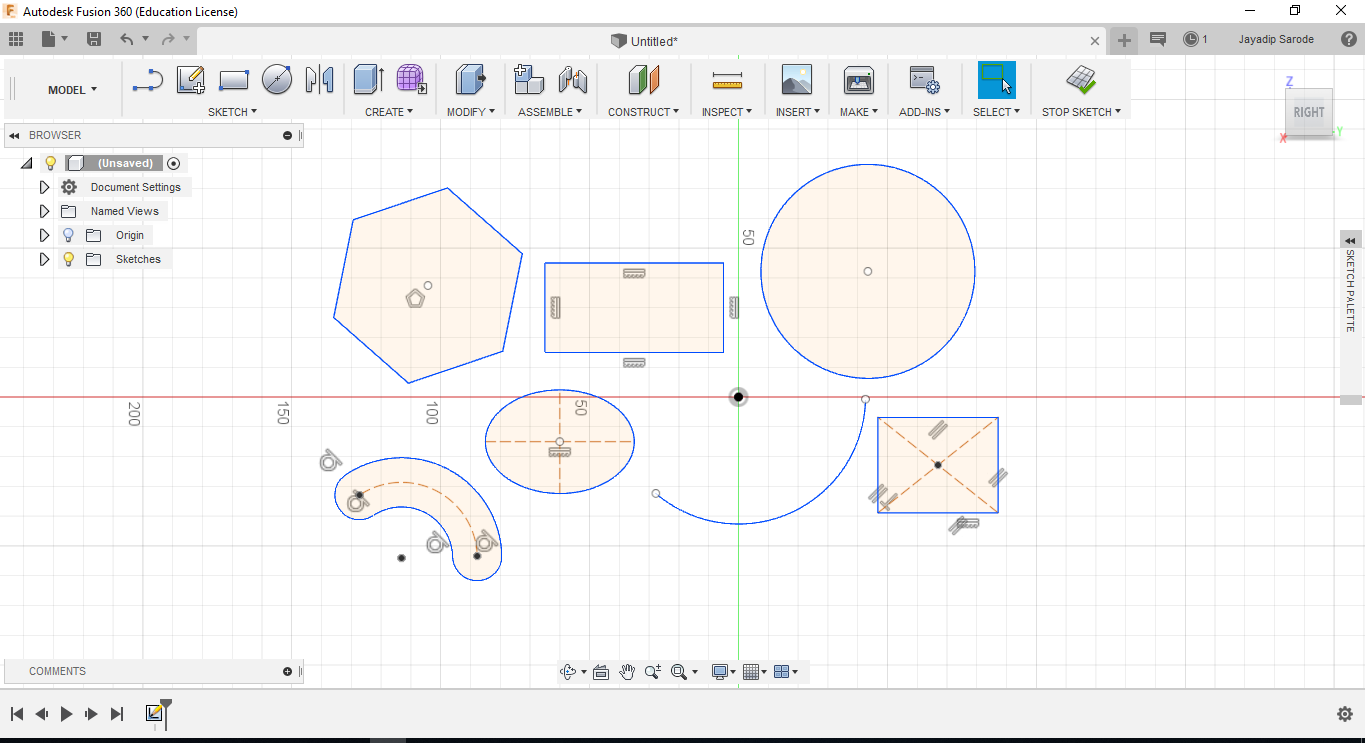
Sketch: This important tool gives us the options to make 2D shapes like line, rectangle, circle, eclipse, arc, polygon, slot etc.
Create: We can make 3D shapes like box, cylinder, sphere, torus, pipe, coil etc.

Versions: With every change in the design there is asterisk (*) mark on the folder name which signifies some changes have been made.
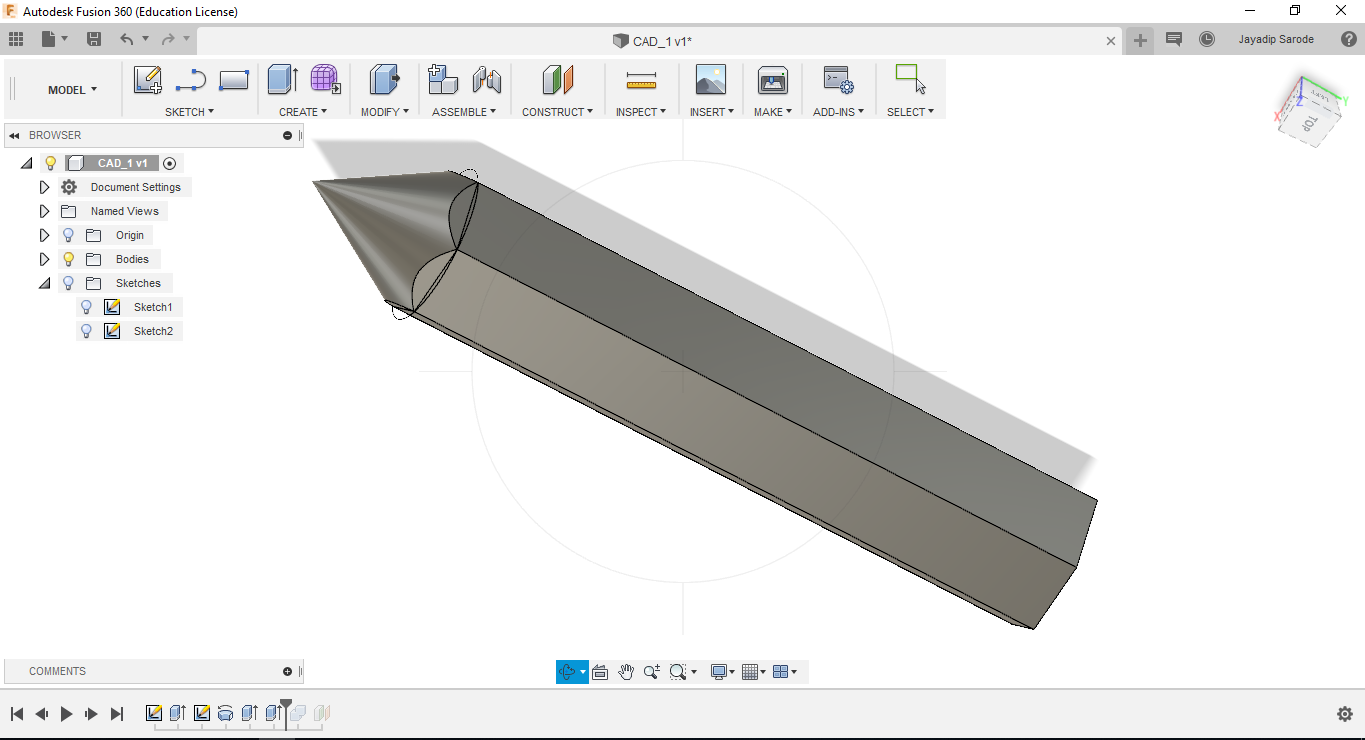
I made a pencil in Fusion 360:
Inscribed Polygon:
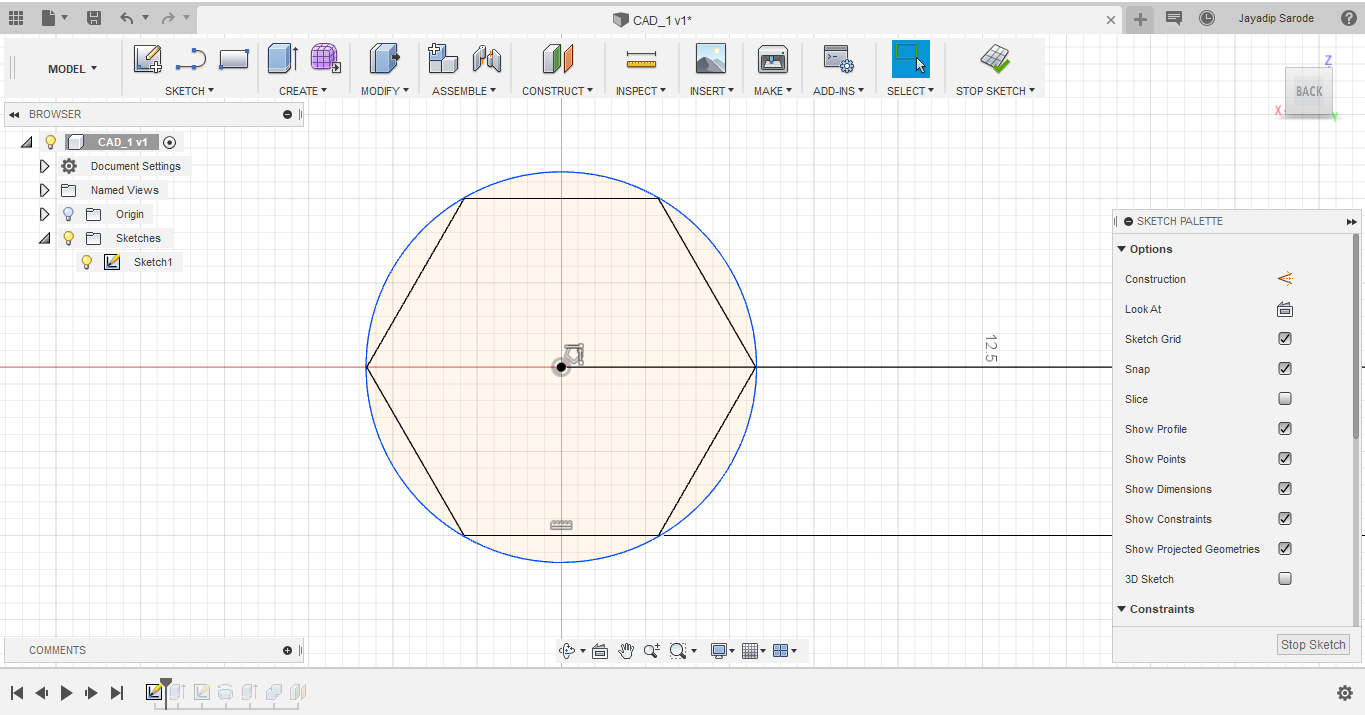
Sketch>Polygon>Inscribed Polygon. Sketched a polygon of size 5 mm circle diameter.
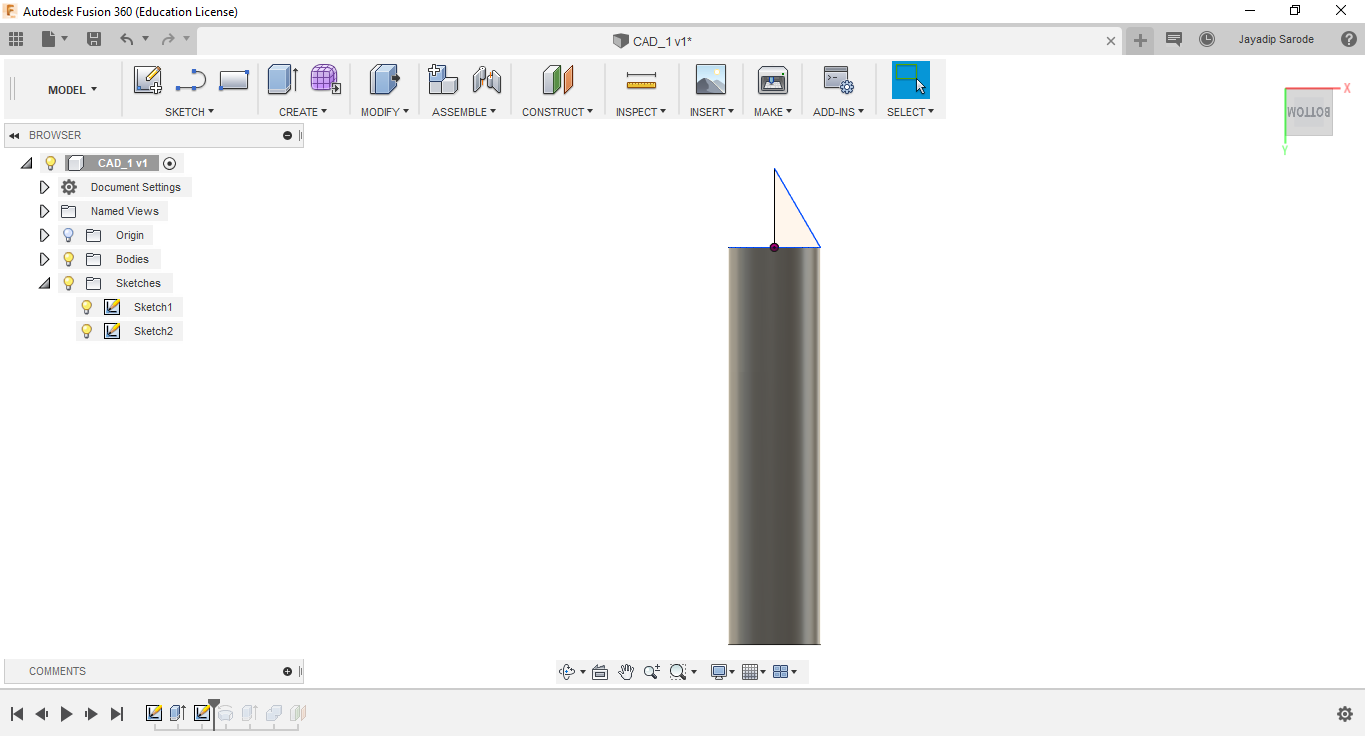
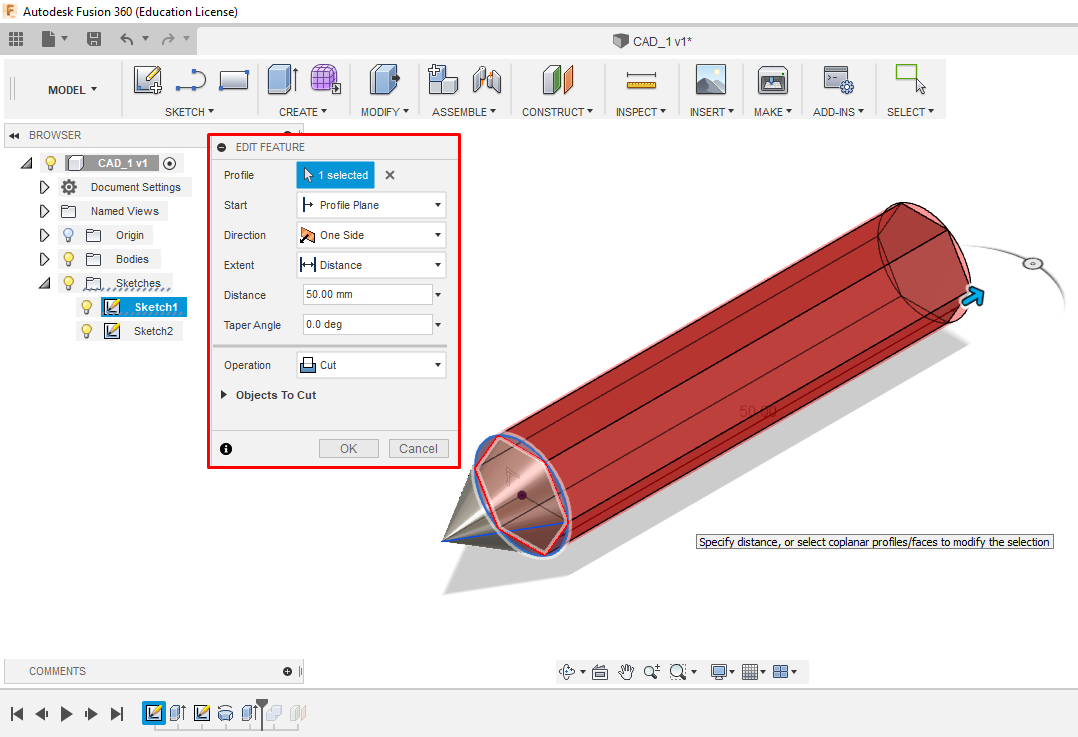
Extrude: Create>Extrude. Selected 2 profiles and extruded the 2D shape to 3D shape of length 50 mm.

Line: Sketch>Line. Made a triangle on the circular base which will be the tip of the pencil.
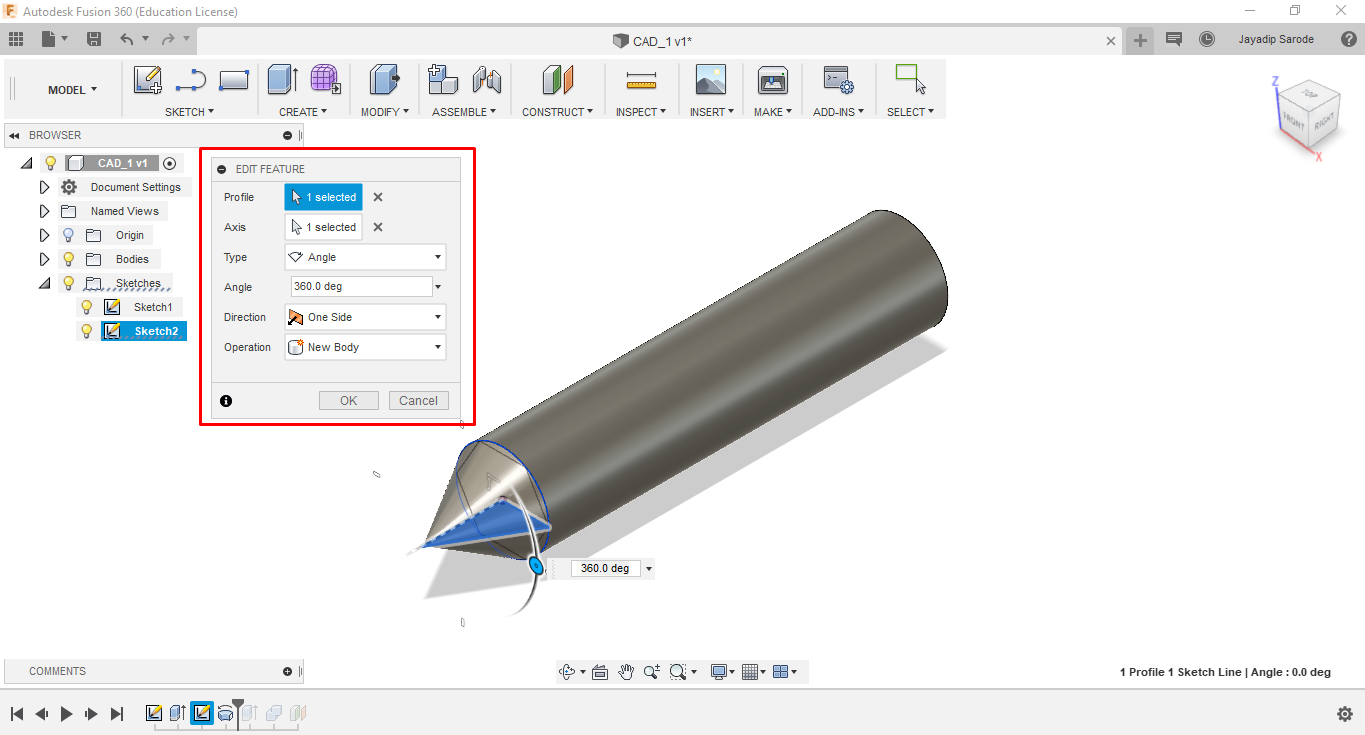
Revolve: Create>Revolve.Selected the profile of triangle and the vertical line as the axis and revolved it in 360 degree to get a cone.
Extrude: Create>Extrude. This time the outer circle cut the polygon sides to give it the proper shape of pencil.
Combine: Modify>Combine. Selected the body and cone on the pencil top to join them and the final pencil was ready.
Learning Outcomes:
1. Inkscape: This is good for vector 2D designng and tracing bitmap for images.
2. GIMP: This is suitable for image editing, but I had good experience with Inkscape.
3. Solid Works: Great interface and very good software for 2d and 3D design. But this not open source.
4. Fusion 360: This is good open source 2D, 3D desin software.