To connect myself to the Gitlab repository, I decided to use GitHub desktop which is a very user-friendly GUI to make commits and push the data to a git repository. Once I did that, I opened Pycharm which is my preferred IDE for projects and started to make changes to my WebPage. Once I did that, Pycharm as by magic, detect that it is in a repository and gives me the opportunity to make commits inside the app, so basically, it became very easy to make changes to the webpage.

As you can see here in blue, I press the commit button after having entry my commit Message. Pycharm also shows you at the bottom all the changes that you do to the selected document at the top. This is interesting when you think that you didn't change a document but in reality you have save a changed document, with that you can know what changed.

Once we did our commit in Pycharm, we can directly make a push from GitHub desktop or in case we didn't make our commit yet, we can make a commit in the bottom left corner with our commit message and finally make the push. Once we did that, if our yml file has been updated to HTML as in my case, our push will generate a new pipeline and tells us if our webpage has been successfully hosted (this info can be checked in the your gitlab repository in the CI/CD Section as Pipelines ).

Once you have commit, you are able to make the push to your repo pressing the Push Origin Button. However you have to know that the FabAcademy, doesn't allow simples push via https. You have to use SSH, which is a method of public and private key, that you have to implement with the help of this tutorial.

As most of you probably know, I have been in the top two of the heviest repository, because I was using it a cloud and I didn't always compress the image. It is for this reason, that I searched for a tool that could told me the size of my Repo. After some investigation, I found an interesting tool that gives you the size but also many other metrics, its name is git-sizer.
Link to all important commands description
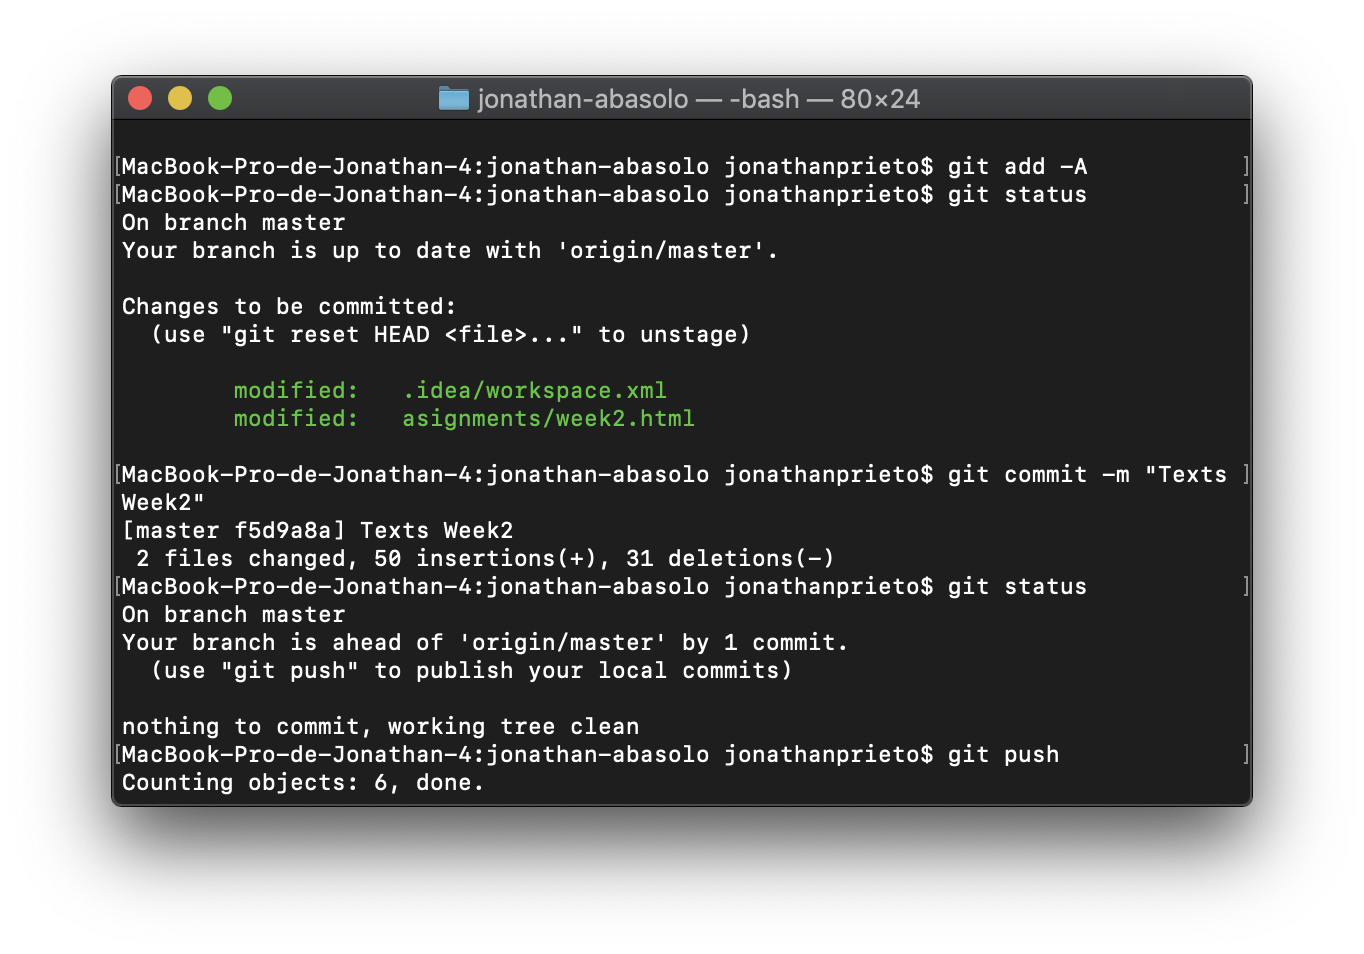
In case you made some changes in your repo, the first step is to update it, to later be able to make a commit. With the git add command, you can add all your changes or the changes made to a particular file for example. Imagine you file is called test.txt, you can write "git add test.txt" or in case you made changes to many files and you want to update all the changes, you can write "git add -A" as showed in the pictures upstairs.
Now that you added your changes, you probably want to know if your repo is up to date in comparision with the one on the cloud. This command is very useful in case you are many working on the same repository. But you can also need this command if you want to see all the changes added. "git status" will basically give you the status of the repo.
The commit, is the step previous to the push. The commit will gives you the opportunity to add a comment to the changes that you just added, and that you are going to push. The commit is still on the local machine until you push it. The command is basically "git commit -m "test message"".
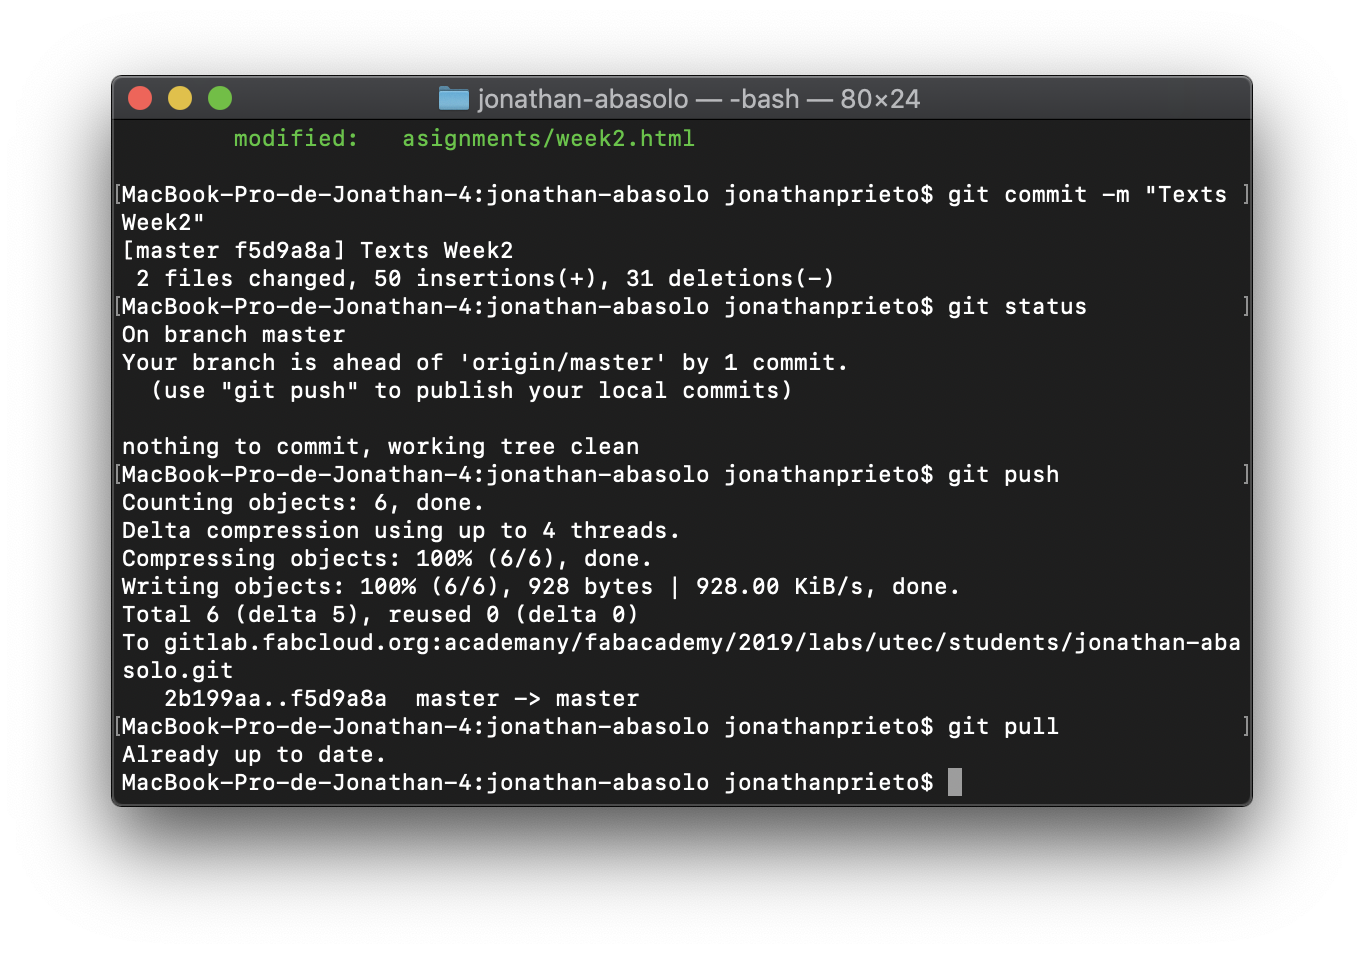
The push command will basically put all your commits in the server. A push is always on the cloud. The command "git push" will push the data to the last recorded branch (most the time master branch), but you can also precise if you want to publish it in a branch called test for example. The command would be in this case:"git commit origin test". Once you push, it is like posting a backup, because you will be able to go back to previous push.
In case you need to update your local repo because you made a git status command and saw that you are not up to date, you can use the command "git pull". This command will make a copy of the repo present in the cloud into your local repository. This command is only useful when you are more than one working on a same repository. As with the push command, you can pull a specific branch, and in this case it is with this command: "git pull origin testbranch".
GitHub, is basically a kind of historical of you files, it keeps you all the changes that you make in a .git file. The process until that can happens is the follow. You first have to pull your repo if it already exists online, or you have to create a git repo in one file. To pull a file to github desktop, you can use two methods (protocols in reality), HTTPS and SSH. The more secure one but much more complicated one to configure is SSH. For the FabAcademy, you can use HTTPS only one time, and the next time you have to use SSH. The first thing to do is to create an SSH key on your computer and connect it to your account, thank to that, it will only accepts requests from you computer. Once you have your SSH key configure, you can make the pull clicking on clone repository, URL and copying the URL of your repo there. After that the process has been explain before, you have to make a commit, which is first kept locally, and it is the name of your version, to finally make the push, where you are publishing all your commits to the repo and thanks to the Pipelines made by the FabAcademy, your changes are automatically showed on your web-page. You can check those Pipeline in gitlab - Ci/Cd - Pipelines.
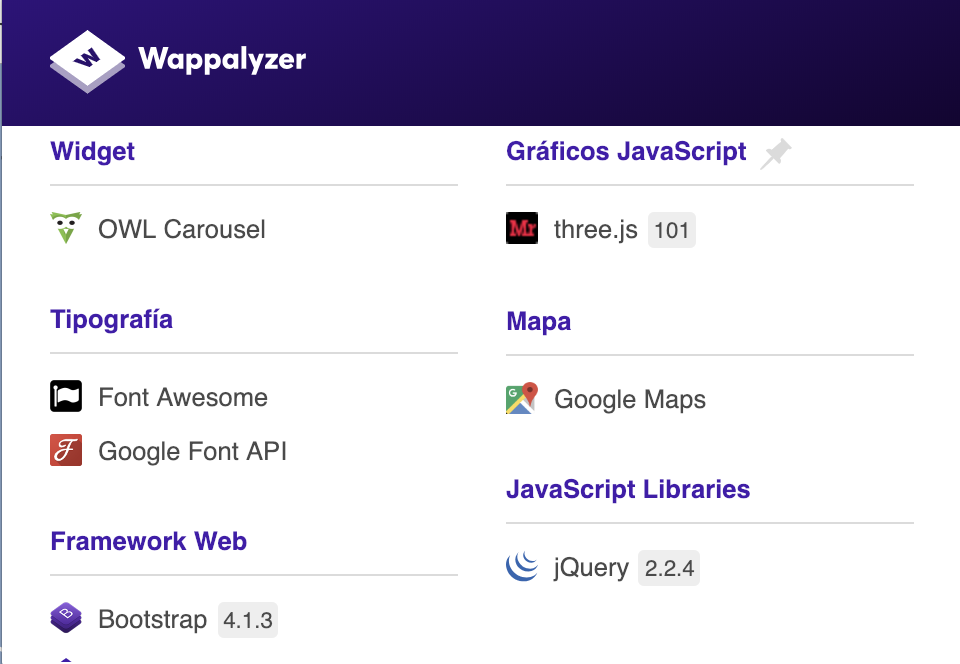
To build my webpage, I first tried to use Django which is a Python Framework for Web Development but after giving a try, I understood that it was impossible to make Post and Updates in the GitLab Server so my web app would never work as I wanted. After that I tried to look for an HTML template with modern colors and a minimalistic design which could fit me the best. After some time, I found a template for Colorlib. After that, everything went very fast, I started to personalize the webpage, I added three.js which is a javascript library to be able to visualize STL file in the webpage. At the beginning I wanted to be able to move the object with the mouse in the webpage but because of that, the library made a POST to the server and I was not able to see the STL file; the reason why I had to make the object move by itself with three.js version 101.
Some other interesting technologies that I used is Fontawesome that gives me the opportunity to have very nice logos o symbols on my webpage. But even more important, is Bootstrap which gives me the opportunity to have nice CSS styles without having to program them, which is very useful when you are not very artistic as me. In general, most of the Front End that I use in the webpage has been made with the help of those two tools and in some cases to give some movement to the webpage, I use Jquery.
Please Contact Me For Any Collaborative Project