
Week 12: Output Devices
Assignment
☑ Measure the power consumption of an output device
☑ Add an output to a microcontroller board you've designed, and program it to do something.
BRAINSTORMING
I had an output that I was going to use. NEOPIXELS!!! They are really cool.
How NEOPIXELS work
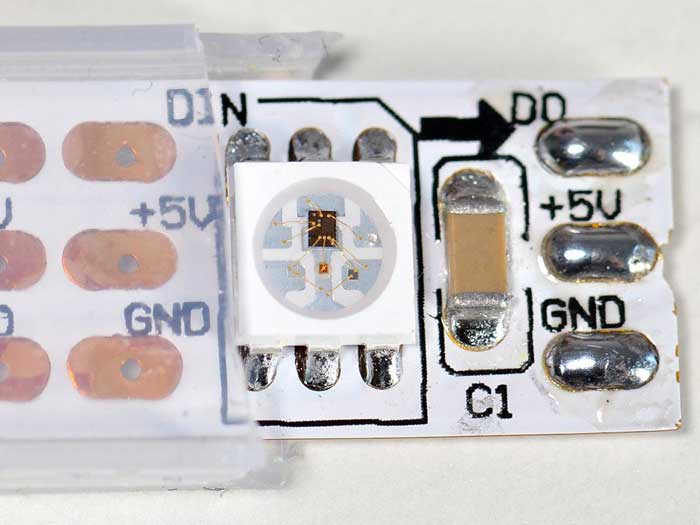 Neopixels are individually addressable LEDs all housed on a string.
Compared to the normal RGB LED which needs 3 pins to control the Red Green and Blue value and all LEDs have to remain on or off, Neopixles can be controlled from a single pin on a microcontroller. This means one pin can control all of the LEDs colors and which LEDs are on or off at any given time.
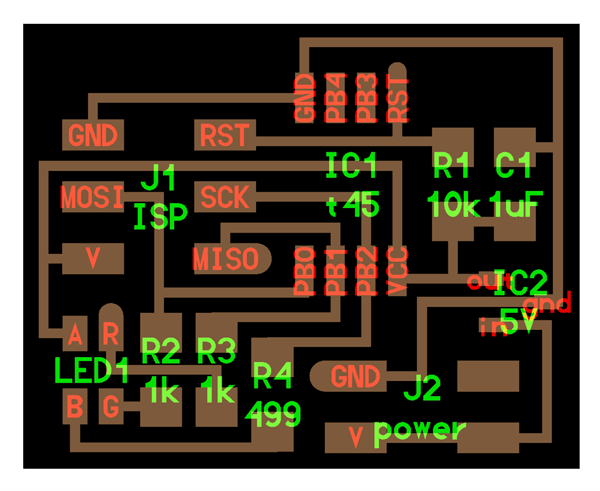 Normal RGB LEDs use different pins for RED, GREEN, and BLUE and correct resist for each color.
Red and Green uses around 1K Ohm Resistor, and Blue a little less with 499 Ohm.
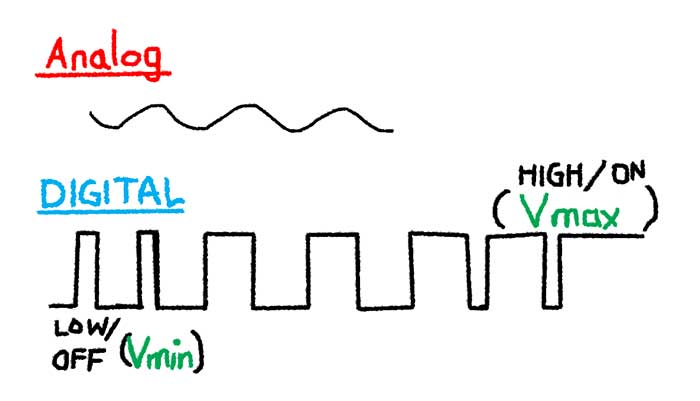
What is PWM
by effectively chopping it up into discrete parts going back and forth between minimum voltage, and maximum voltage.
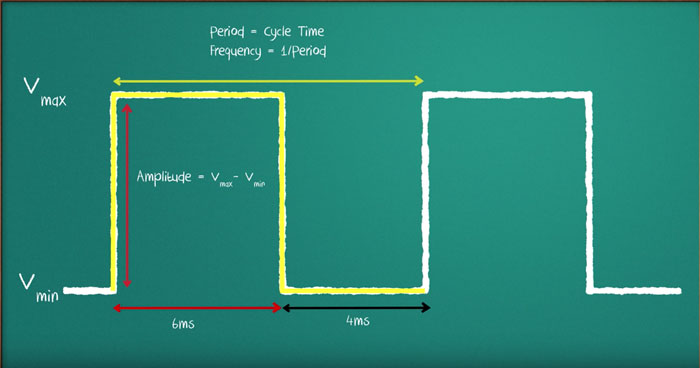 You can control this easily you only need to use one pin(Digital) to turn it on and off instead of varying Analog pins.
The benefit is that it consumes less power. [HARDWARE]
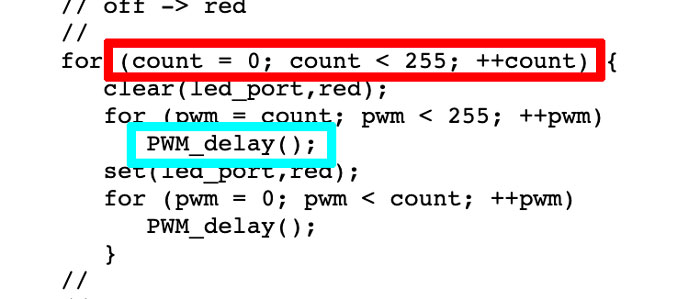
You can use the Attiny Datasheet section 11 [8-bit Timer/Counter0 with PWM] subsection 7,
Attiny has special mode for PWM. Using the Counter, you set a number in the register,
and when the counter goes above and below the number, it goes on and off.
the pin flips on and off automatically [SOFTWARE]
Using code, you set the delay, but the change is so quick that it looks like there is OFF.
Niel's example of using pwm with RGB
 Example from the youtube video (in the links) about PWM
 [please click the link to check out the video of Code at work!]
Measure the power consumption of an Output Device
Because I didn't have a working output device yet, we used my instructor's old project to learn how to measure the power consumption.
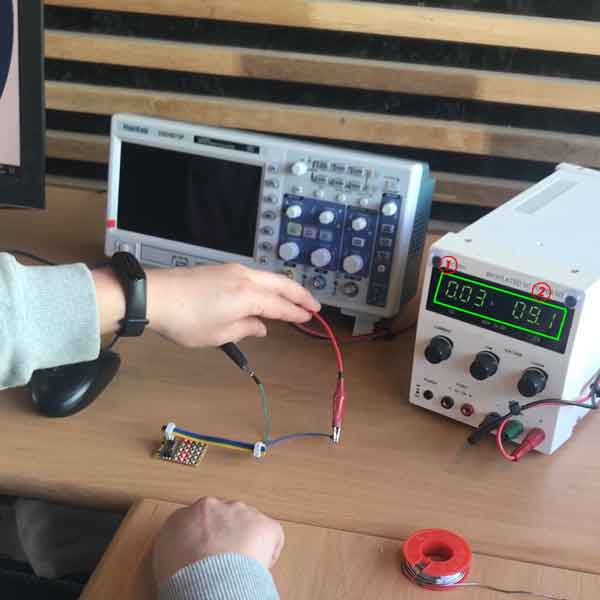
- Before you connect anything to your board, first turn it on and check that there is no current flowing when your turn it on (Set it to the right voltage you need.)
- Turn it back off.
- Connect the Ground First.
- Turn it on.
- Touch the red alligator clip to your power
- turn it back off (all of this is to make sure you don't short or fry your board/project.)
- Connect the power
- turn it back on.
- you will be able to see the amperes (in this case, 30 milliamps ) So this board consumes 30miliamps at 9v
Add an output to a microcontroller board you've designed, and program it to do something.
I have finally been able to figure out what was wrong with my fabkit!!!
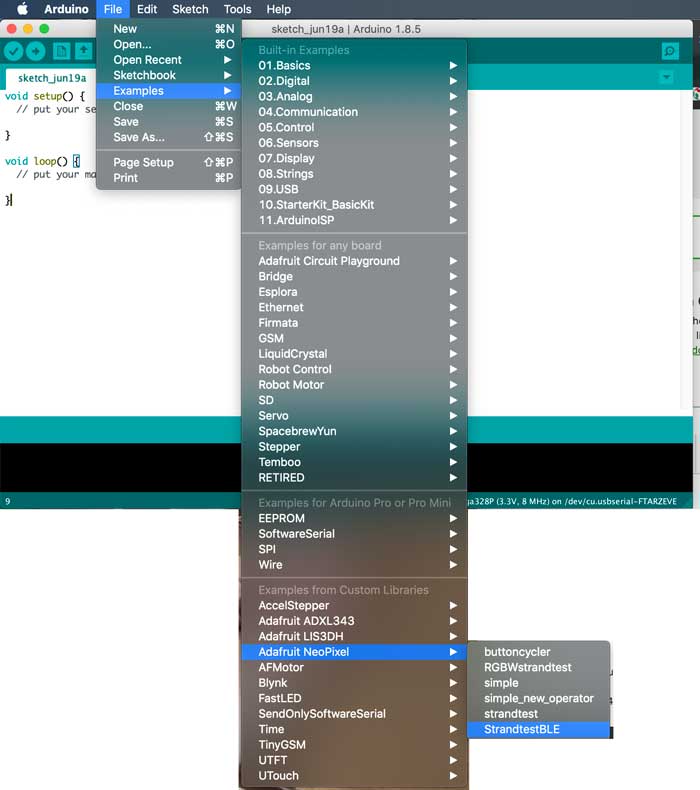
I was given a strip of neopixels to connect it to my fabkit to try programming. It is important to ALWAYS read through the datasheet and research on examples that were done.Adafruit has libraries and code examples that you can use
Connect Neopixels
If you look into the Adafurit Neopixel uberguide, you will be given basic connection guide.
Neopixel that I will use have 3 pins. VCC, Ground, and DI (Data Input) You can connect this to any Digital Pin with PWM, but let's use 6 because the example codes are all set to 6 anyway.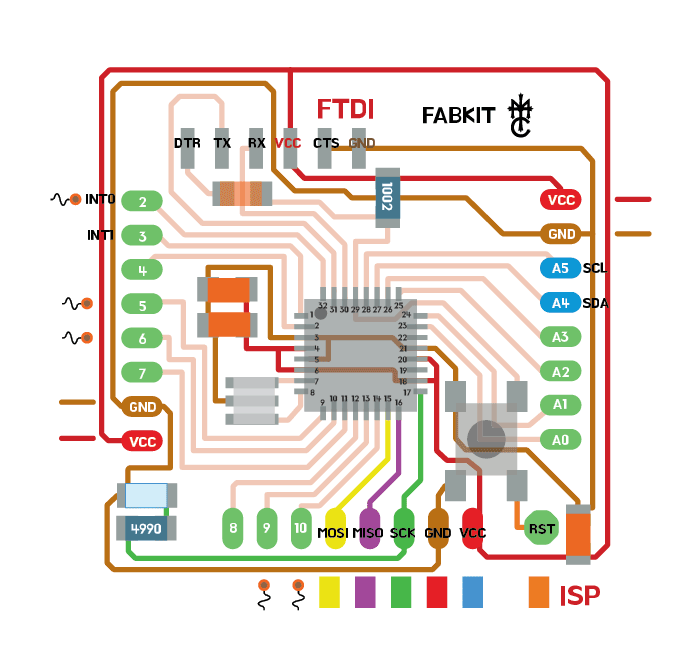
Program for Neopixels
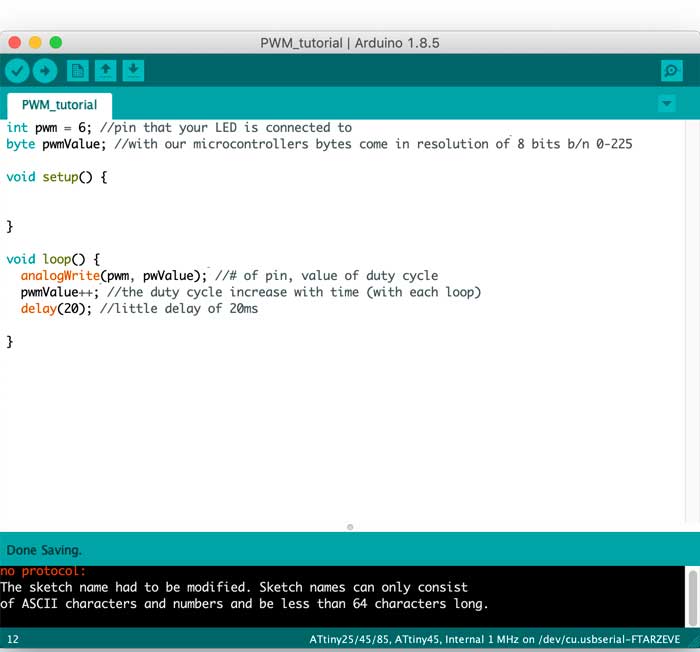
 I used the Arduino example code provided by the Adafruit library.
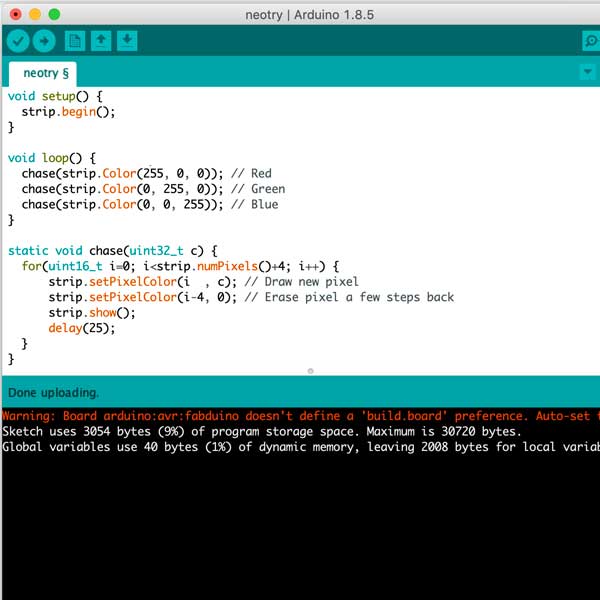 This code is made so that the neopixel will light up one at a time to chase each other down the strip and change color.
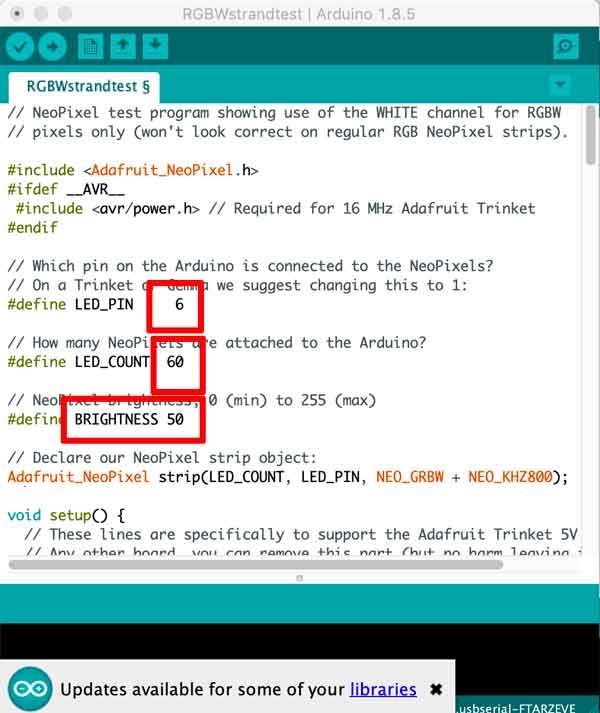 The RGBtest sketch shows you how to use the [#define] with Neopixels.
Define the pin to 6 (already set),
How many neopixels there are (I had only 9, but you can go up to 60!)
Brightness (you want to keep this to a minimum at first just in case.)
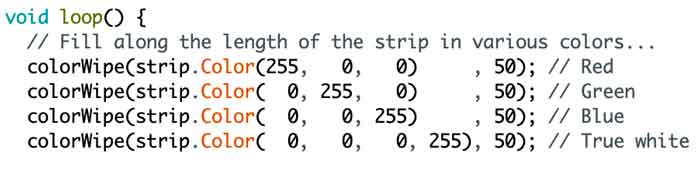 Neopixel is RGB light, which means, it uses red, green and blue to make color.
you can change these numbers (0-255) to make your own color combo.
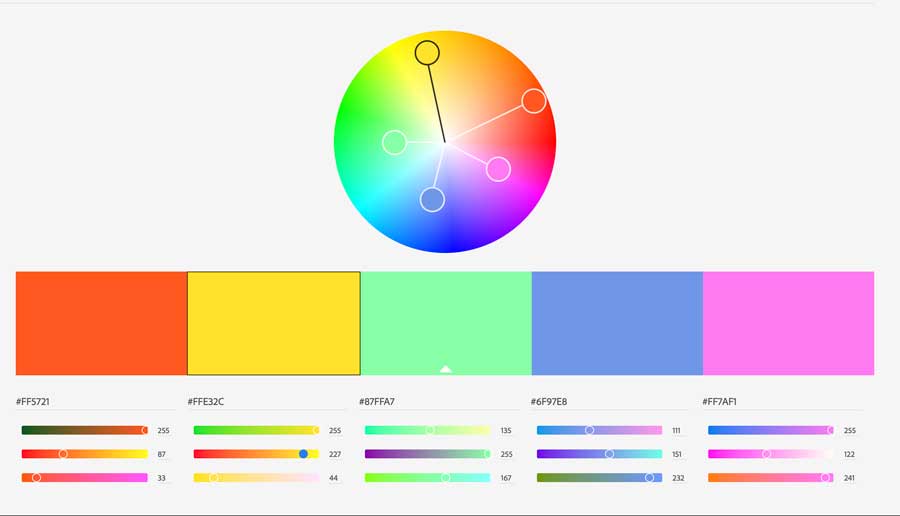 you can use different online color wheel to help you get the color you want.
(you can find the one for Adobe color wheel on my links)