Designing
Summary
- Design mold using Tinkercad
- Design my mold using Fusion360
- Fusion 360 Pocked Params
- Modify → Scale by 0.1 because fusion was adding 10% overall to my design dimensions.
- Manufacture → Setup → New Setup and put my coordinate system at my desired 0 position.
- 3D → Pocket Cleaning and added my parameters (Tools/ Passes/ )
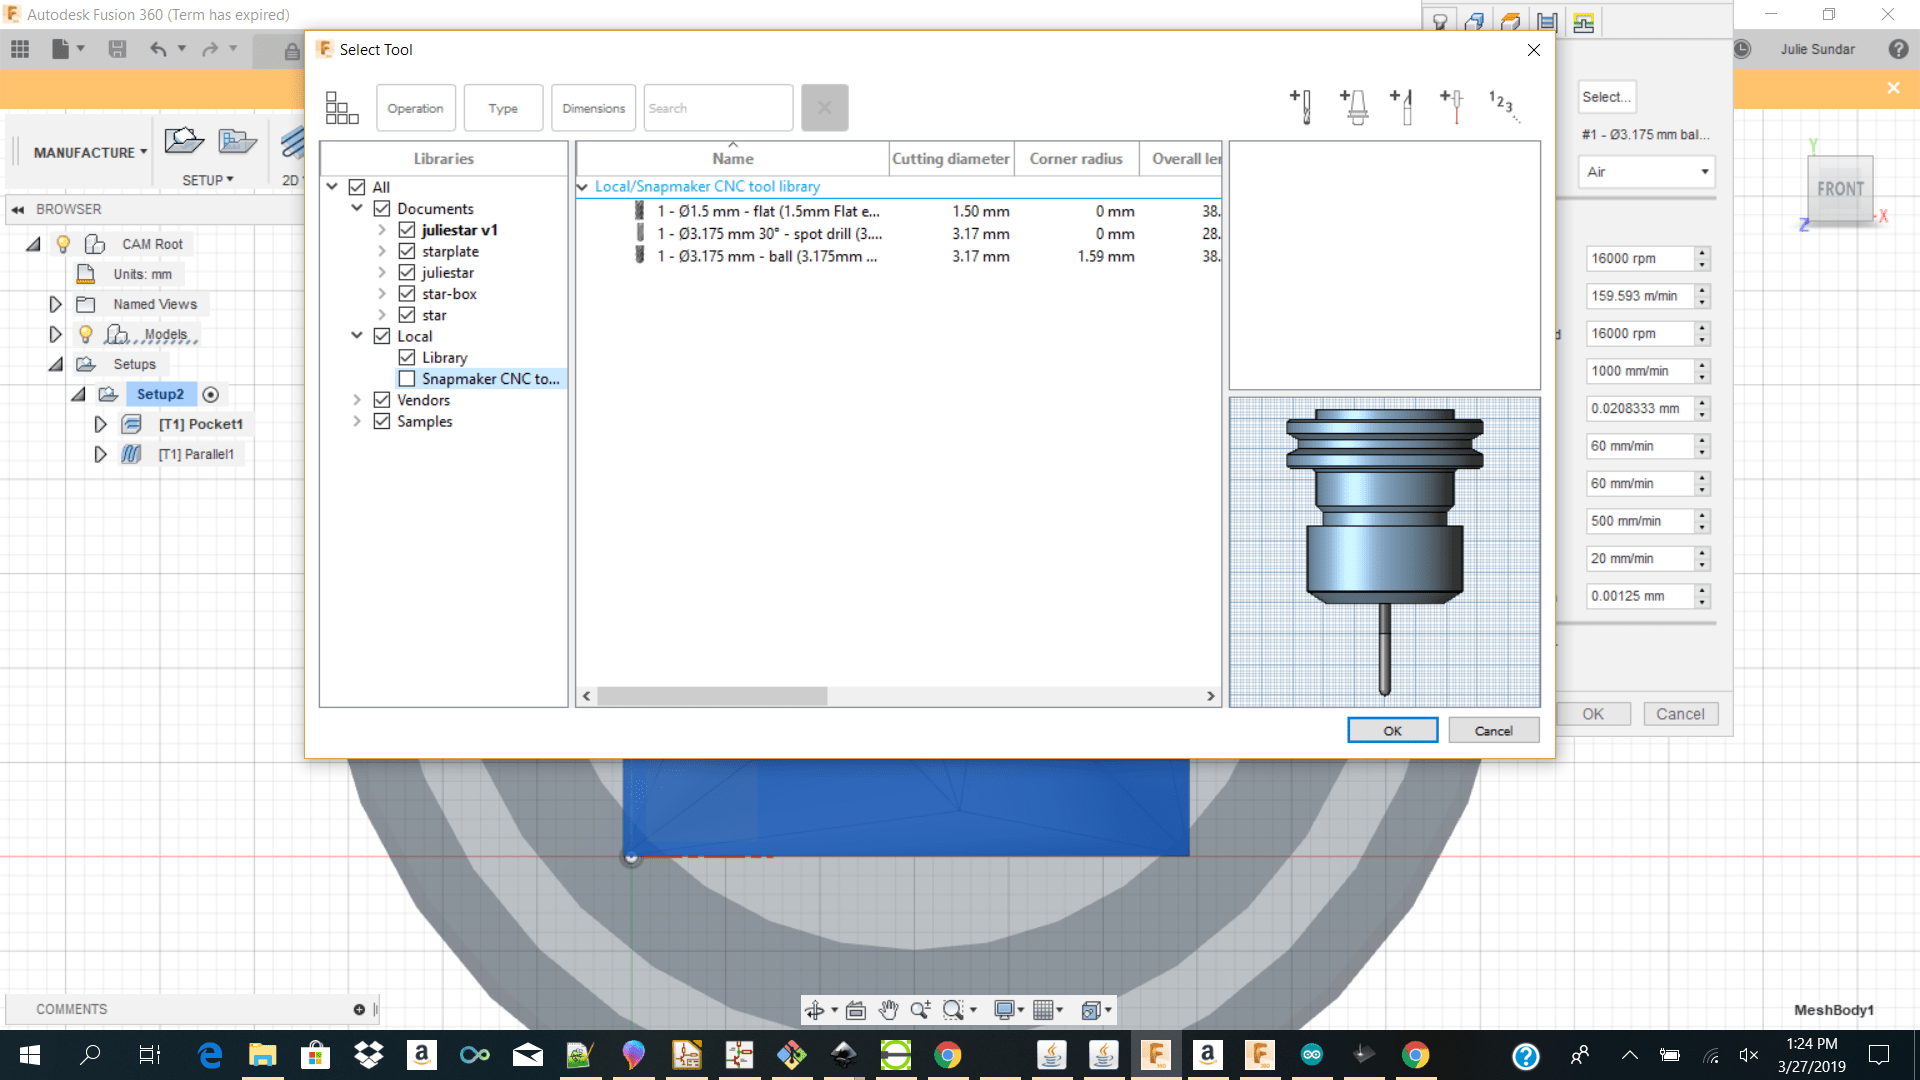
- Tool 3.175mm ball end mill for pocket clearing
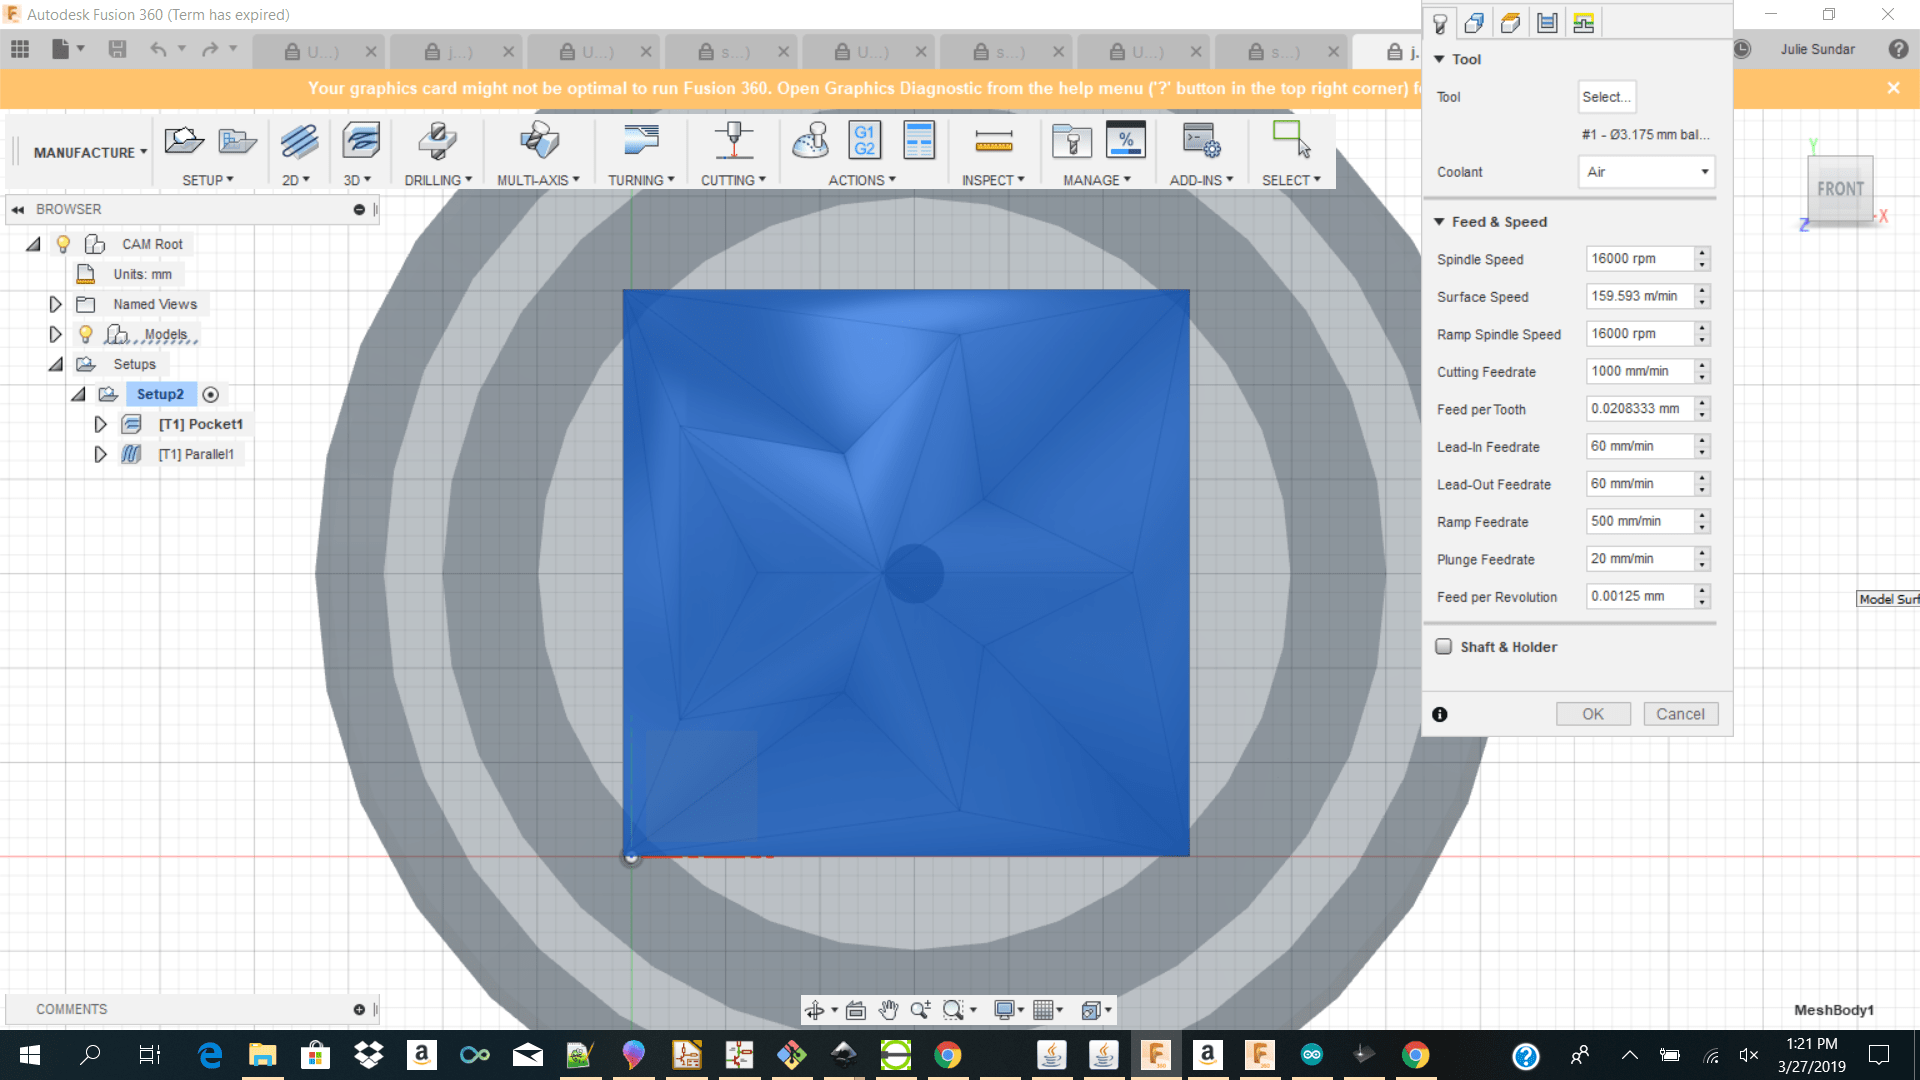
- Cutting feed rate 1000
- Geometry and Clearance we kept the same
- Passes
- Manual Stepover Checked
- Maximum Stepover 3.175 (bit dia)
- Minimum Stepover 3.175 (bit dia)
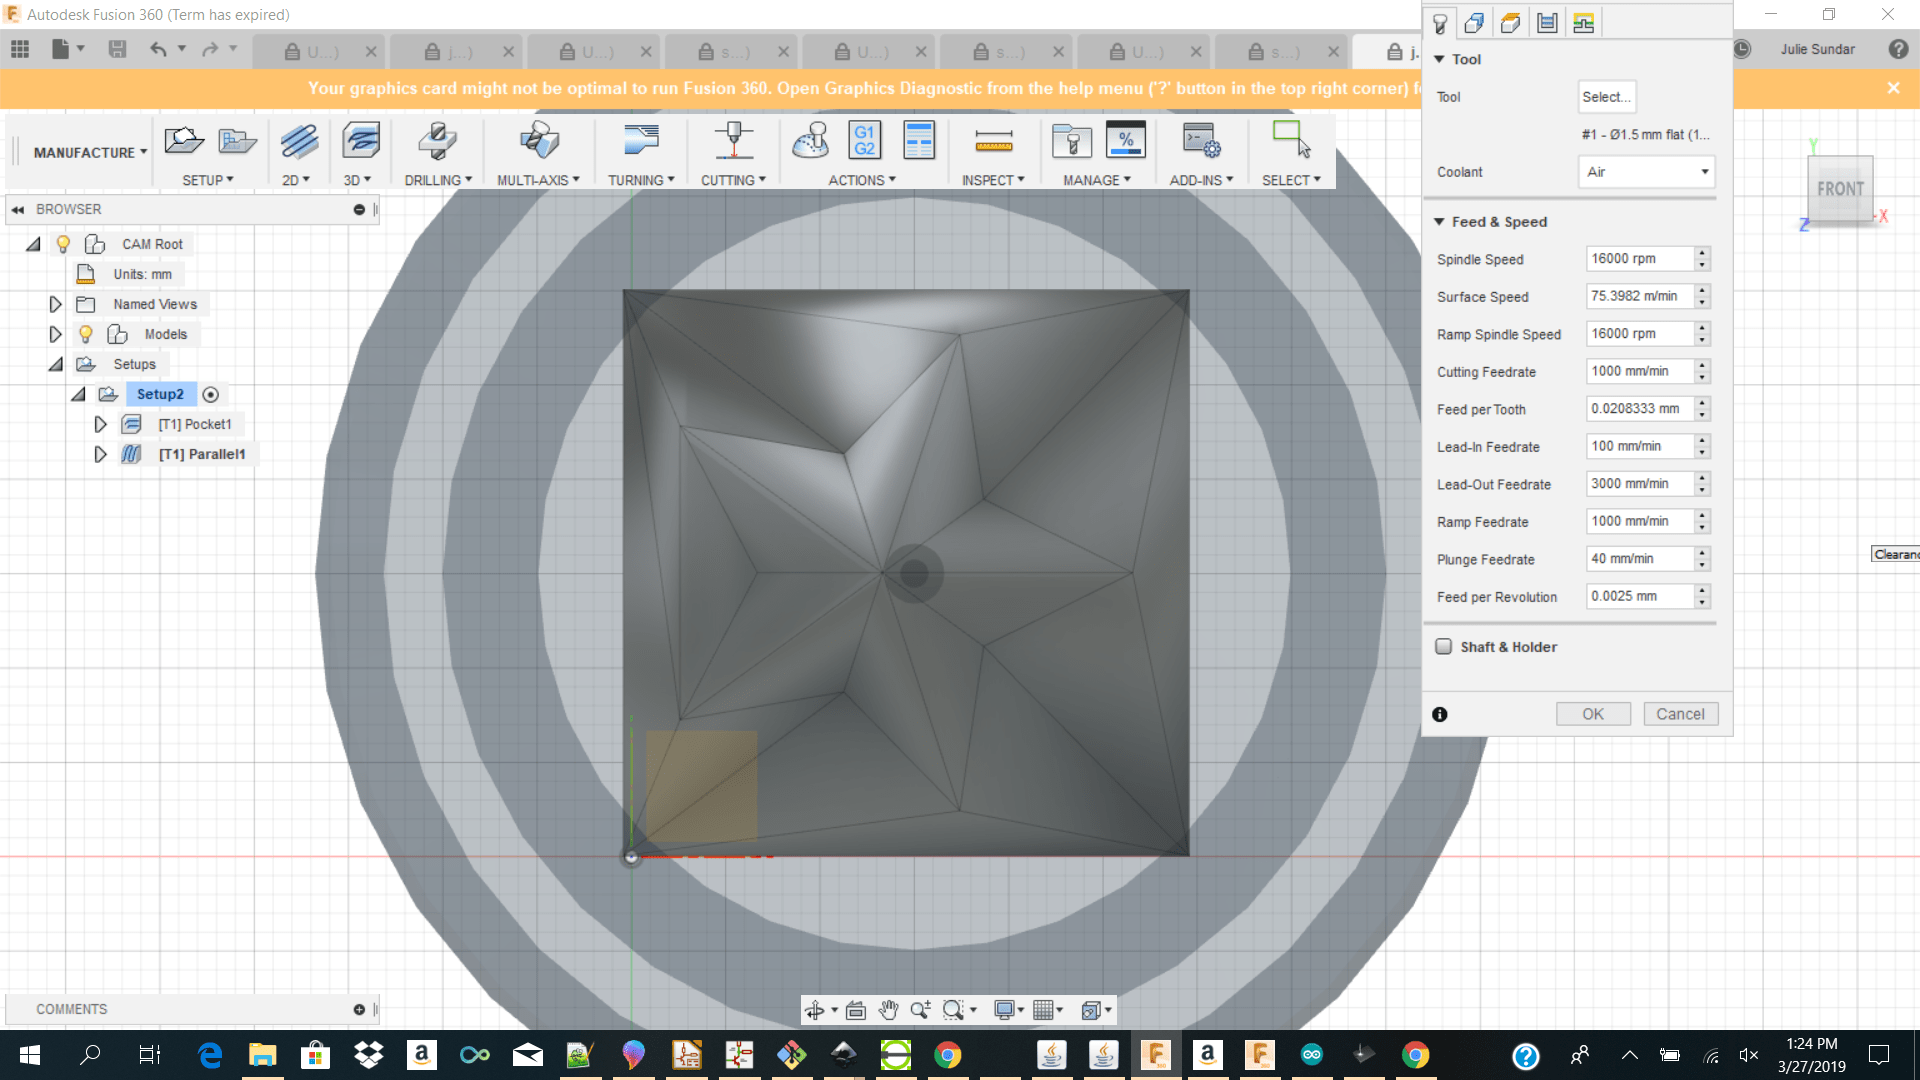
- 3D → Parallel added my parameters to (Tools/ Passes/Linking )
- Tool 1.5mm flat end mill finishing cut.
- Cutting feed rate 1000
- Geometry and Clearance we kept the same
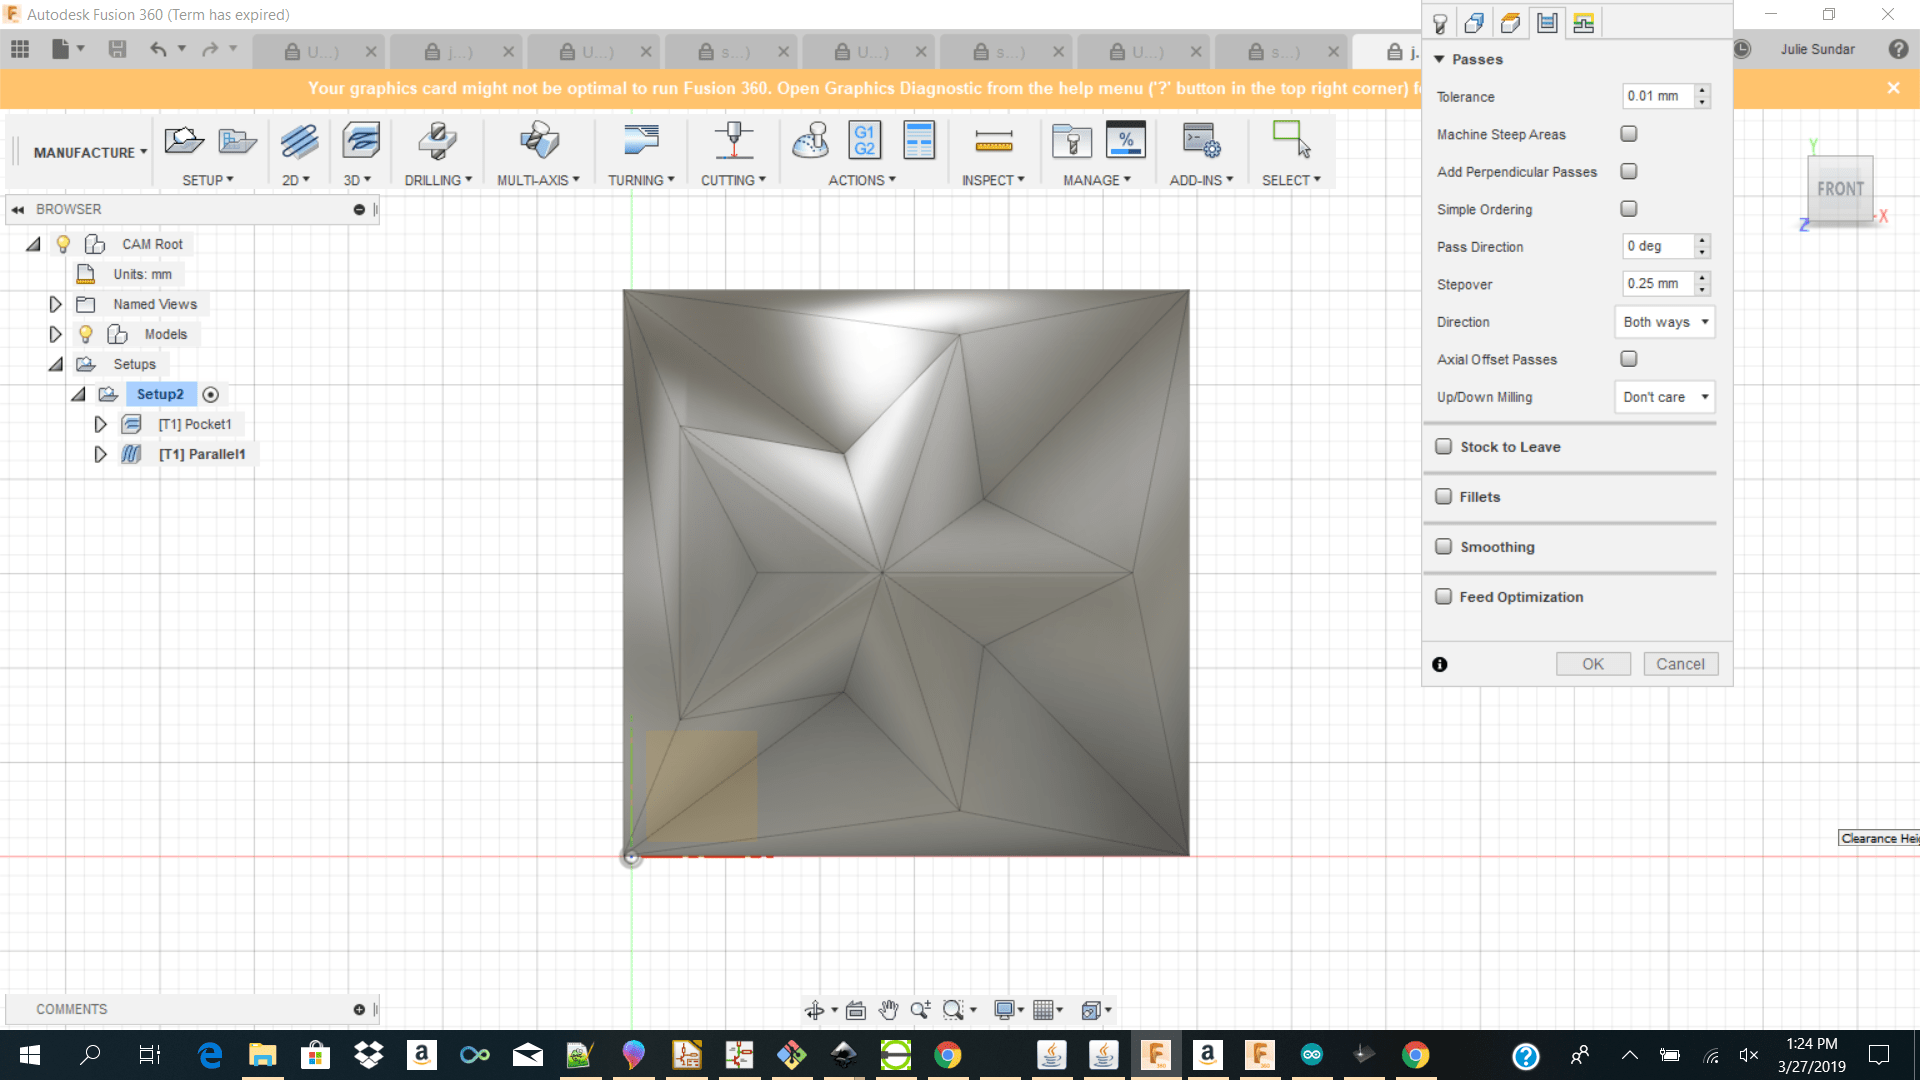
- Passes
- Manual Stepover Checked
- Maximum Stepover 1.5mm (bit dia)
- Minimum Stepover 1.5mm (bit dia)
- Machining Snapcraft
- Negative Molding using OOMOO Rubber Silicone
- Casting using OOMOO Liquid Liquid Plastic
Designing
For this week Molding and Casting we had to design a 3D mold using Cad software. The mold which I design was a star. I initially tried using baby groot, because I always wanted to have a baby groot plant holder, but when I tried making the box to put the groot inside and group the front and back side of the groot on it in tinkercad it was not detecting all the printer features.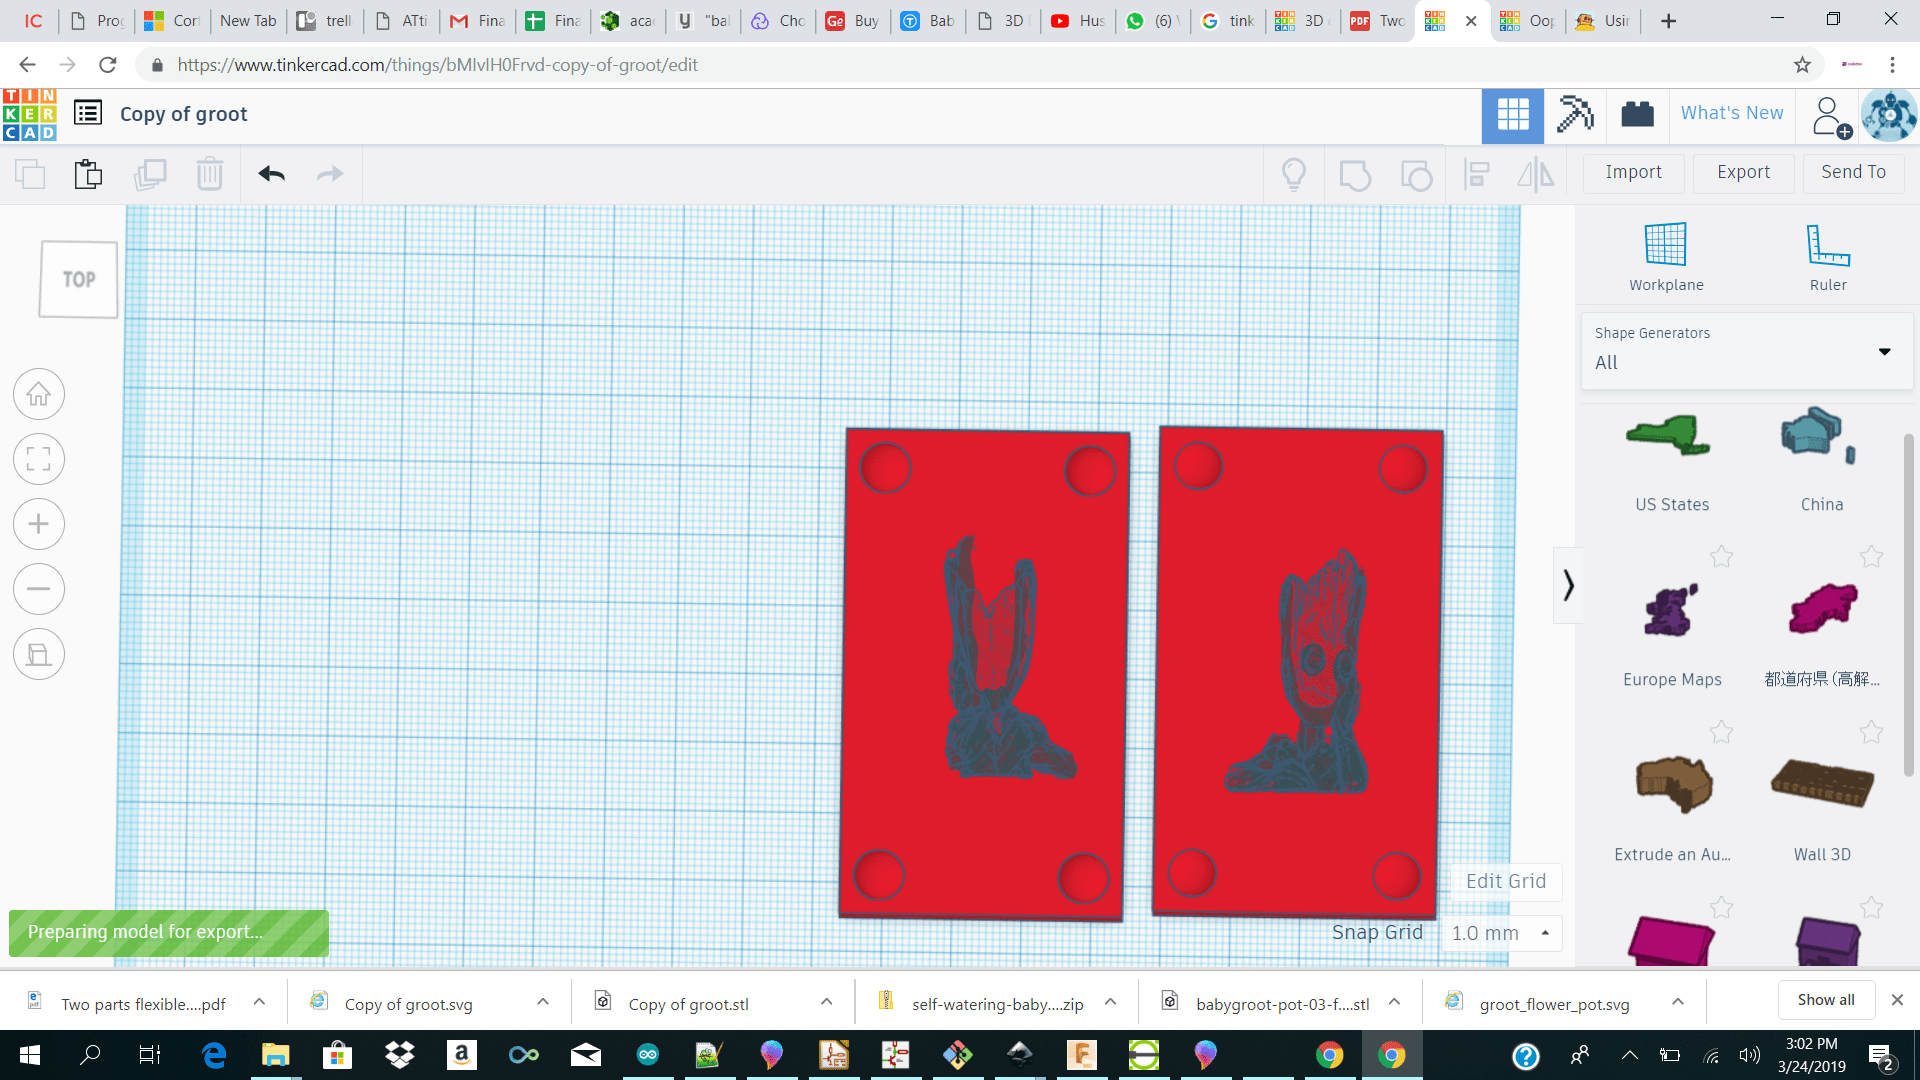 I also tried doing the same with the horse but when I rotated the horse 180 degrees made it a hole and align and group the horse onto my rectangle I either got the feet and not the body and face or just the body and face and not the feet because the horse was not straight horizontally.
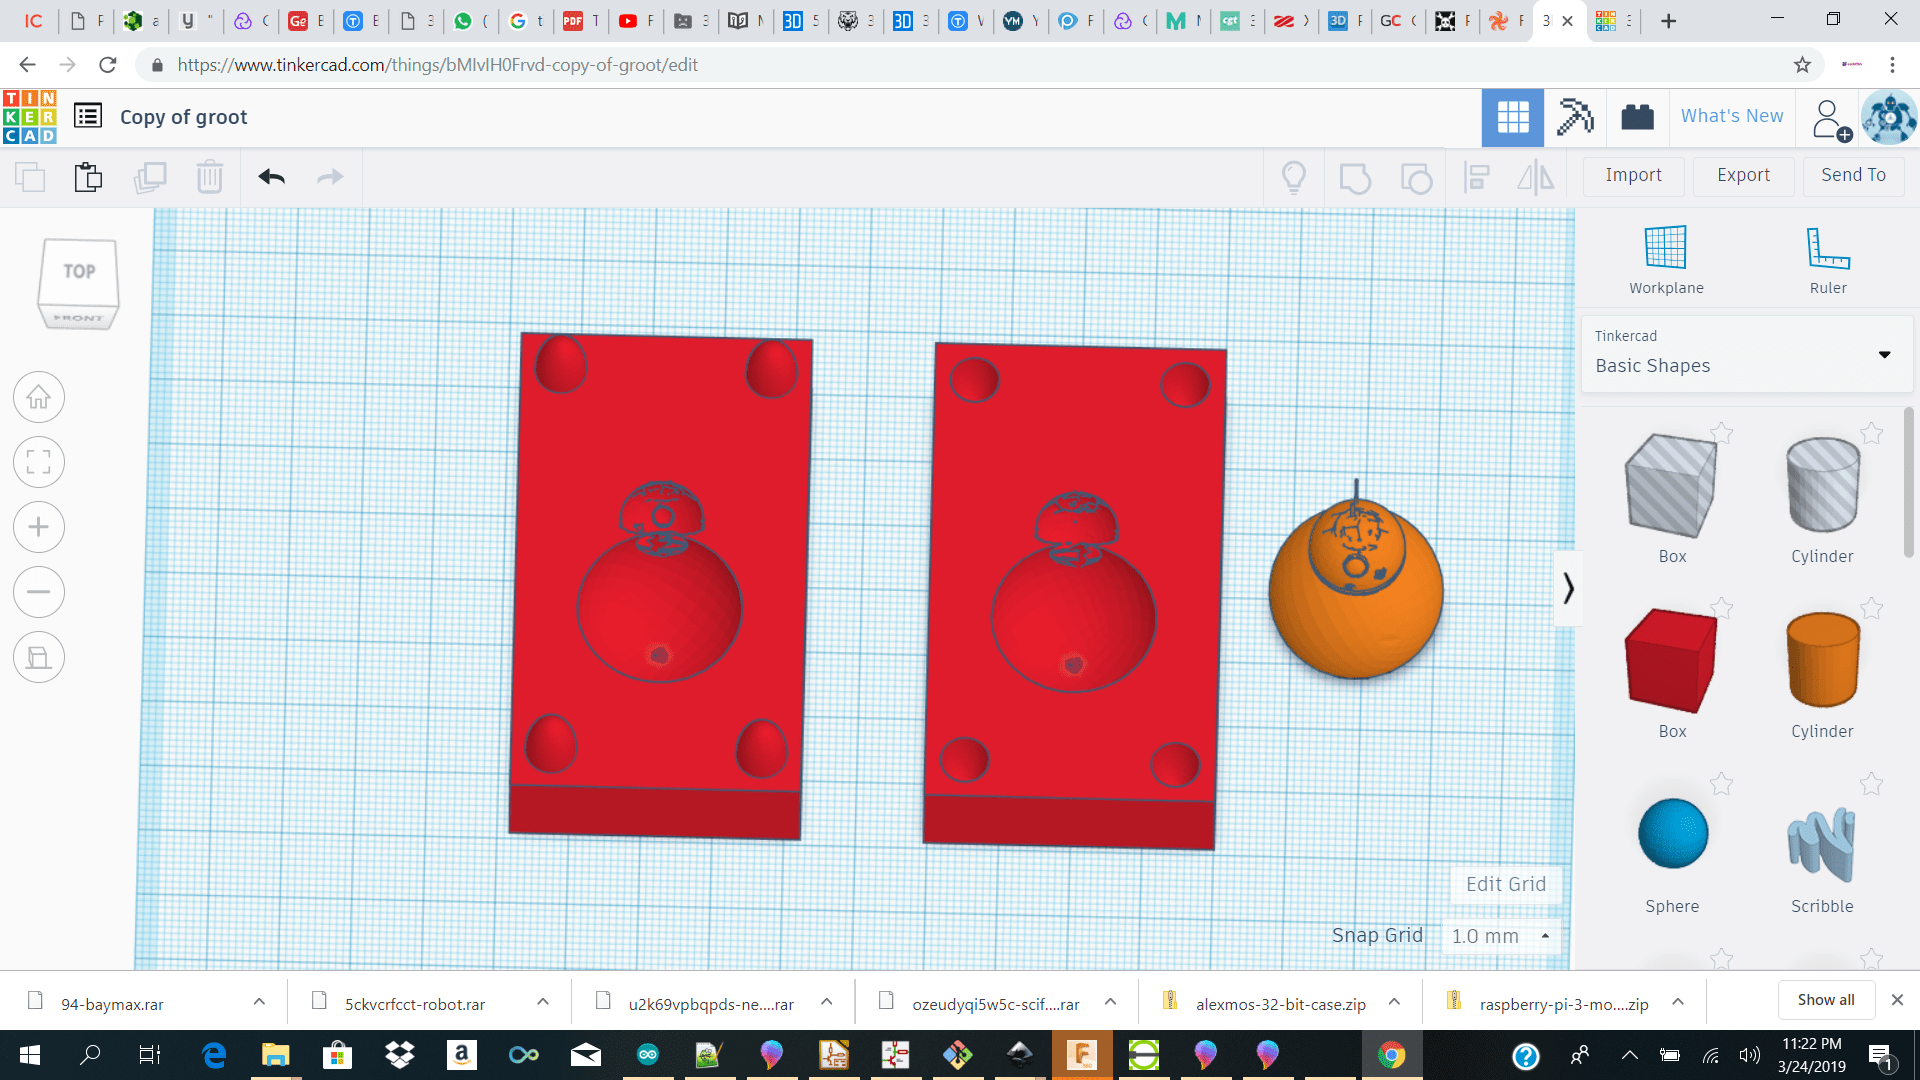
I also tried using the bb8 which came out reasonable in my design but I did not click with it.
I also tried doing the same with the horse but when I rotated the horse 180 degrees made it a hole and align and group the horse onto my rectangle I either got the feet and not the body and face or just the body and face and not the feet because the horse was not straight horizontally.
I also tried using the bb8 which came out reasonable in my design but I did not click with it.
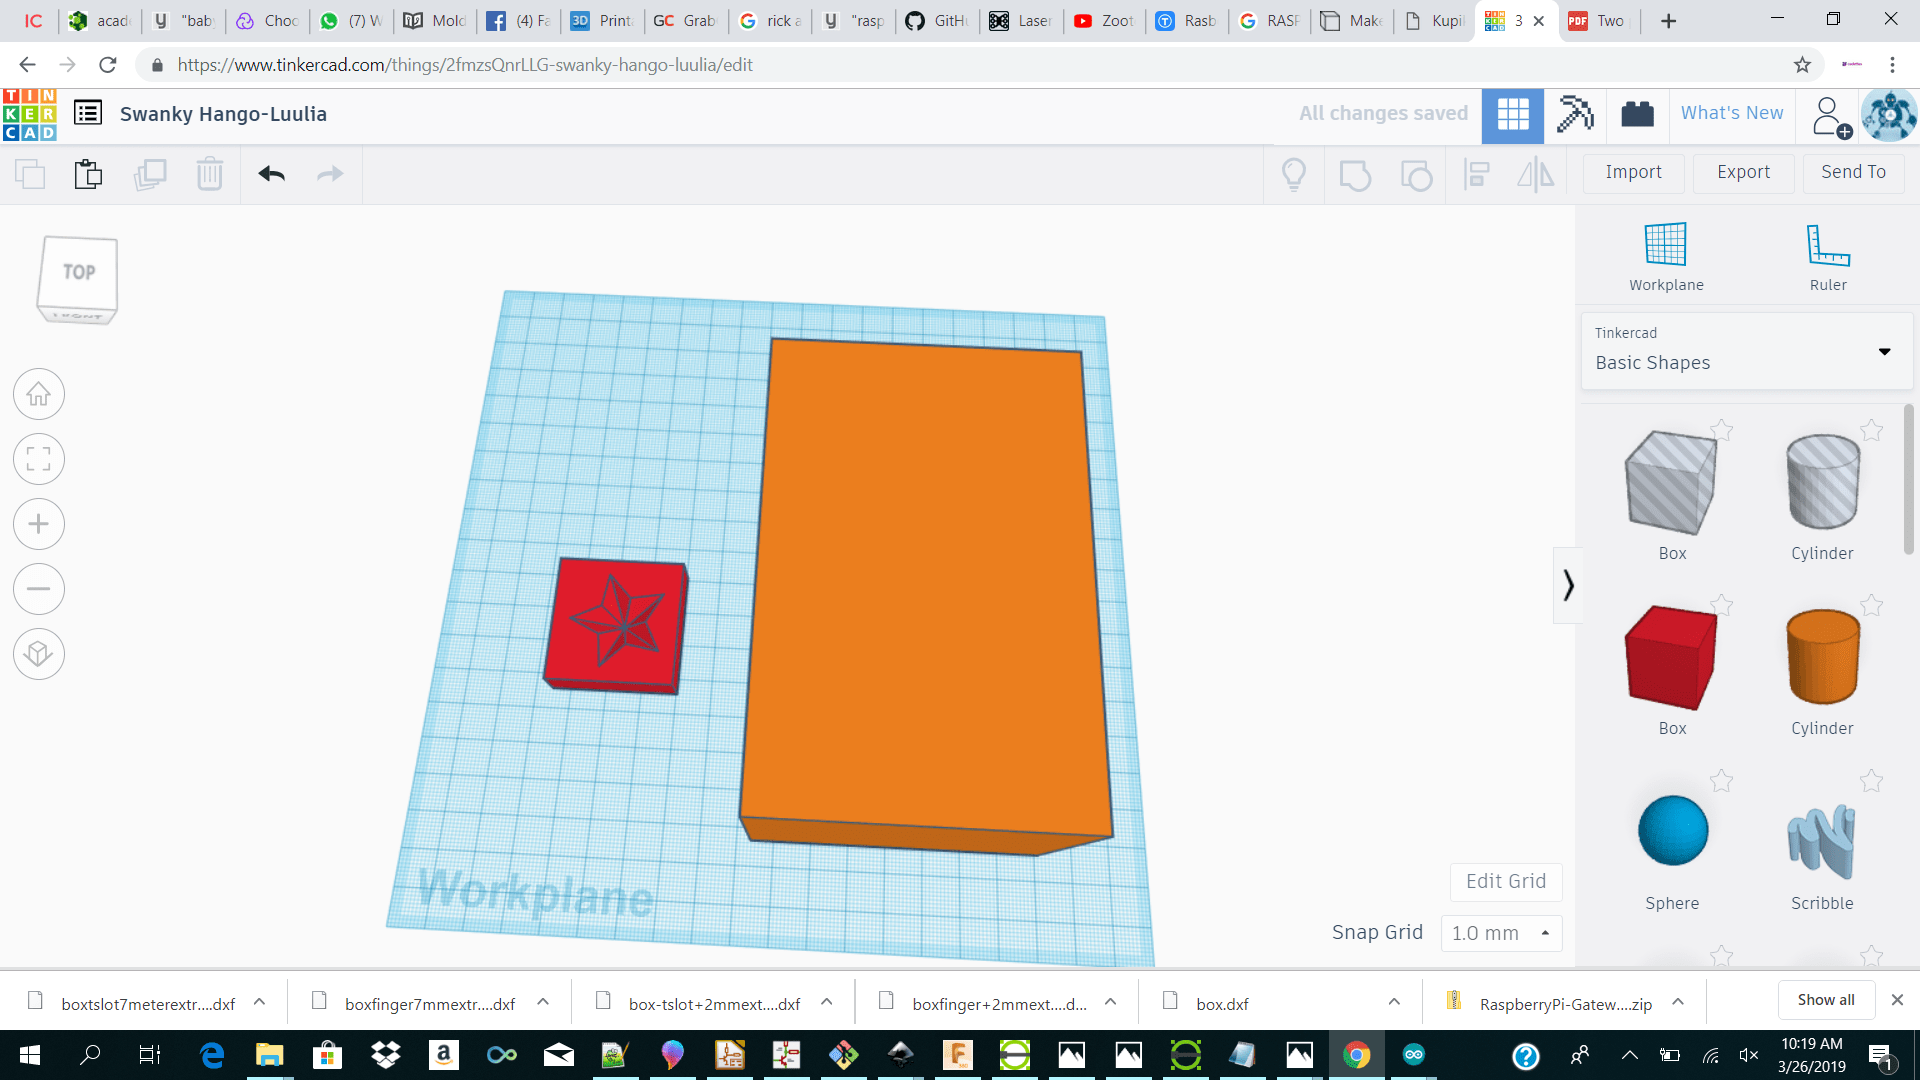
 Due to the fact that we were running out of time and we had to go to french guyana to do our milling I decided to do a simple one side star.
I initially made a star of dimensions 28x26.5 and height 7.5 and the square onto which I was going to group dimensions were 60 x 53 x dept 10.5 the formula which our instructor gave us from the group assignment was to make the square or rectangle to which you will group your mold onto to be roughly 2x the x and y of your mold design and depth should be ½ the size of the dept of your mold plus 3mm.
After making my star I made it a hole and align and group it on my square.
I then flipped my design and align and grouped it another rectangle which is the size of my actual soap which I used to mill my design out of . The dimensions of the soap was 7.7mm x 11.7mm x 6mm dept.
Due to the fact that we were running out of time and we had to go to french guyana to do our milling I decided to do a simple one side star.
I initially made a star of dimensions 28x26.5 and height 7.5 and the square onto which I was going to group dimensions were 60 x 53 x dept 10.5 the formula which our instructor gave us from the group assignment was to make the square or rectangle to which you will group your mold onto to be roughly 2x the x and y of your mold design and depth should be ½ the size of the dept of your mold plus 3mm.
After making my star I made it a hole and align and group it on my square.
I then flipped my design and align and grouped it another rectangle which is the size of my actual soap which I used to mill my design out of . The dimensions of the soap was 7.7mm x 11.7mm x 6mm dept.
 I then exported my design as stl and imported it into fusion 360 to add my parameters.
I am not an expert using fusion so I got help to by my classmate tibo and my instructor on how to go about using fusion.
After adding my parameter for my first test I realize that when generating the toolpath for my parallel cut fusion was literally going over the entire soap instead of just the star in my pocket. We tried to just remove the walls of the pocket but fusion was not detecting the edge of the star.
I then exported my design as stl and imported it into fusion 360 to add my parameters.
I am not an expert using fusion so I got help to by my classmate tibo and my instructor on how to go about using fusion.
After adding my parameter for my first test I realize that when generating the toolpath for my parallel cut fusion was literally going over the entire soap instead of just the star in my pocket. We tried to just remove the walls of the pocket but fusion was not detecting the edge of the star.
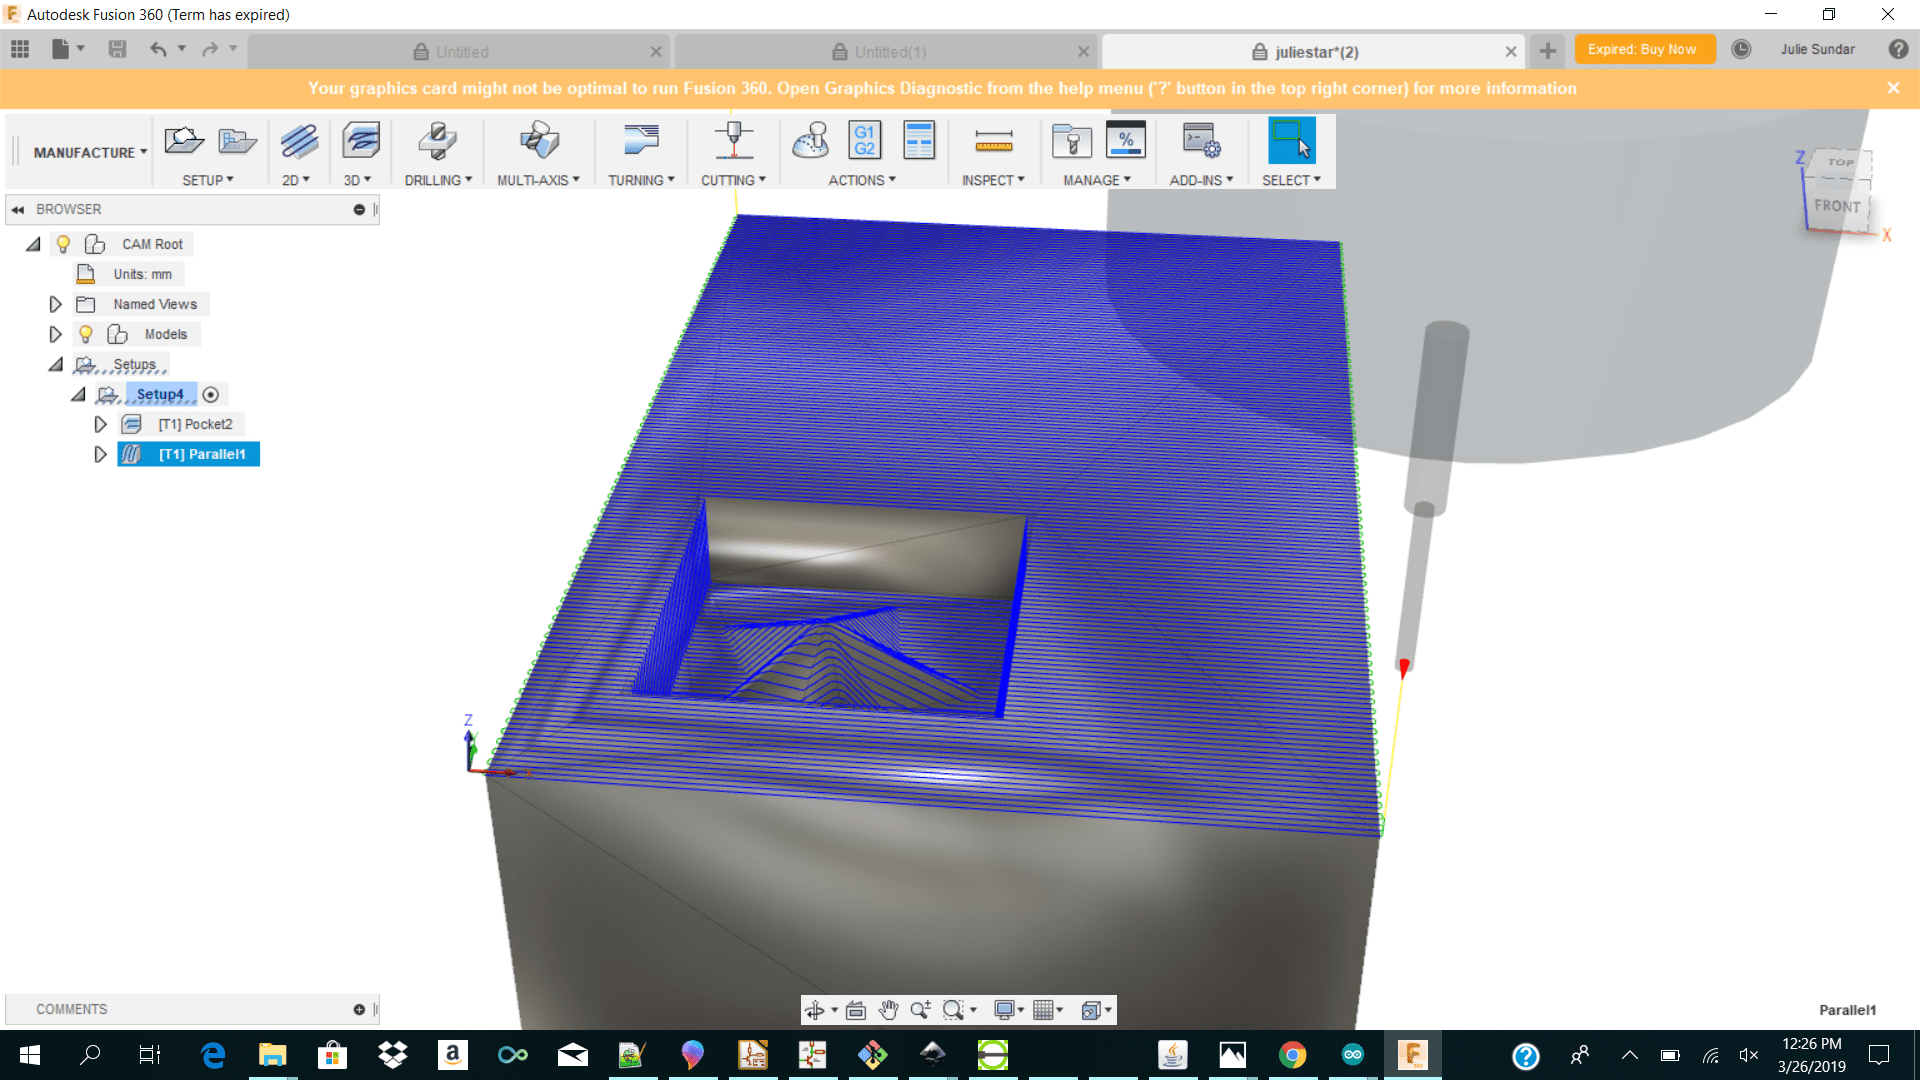 So we decided to make a pocket around our star to just fit the star instead and remove the soap rectangle. After changing the design I reimported the design into fusion and added my parameters.
 In fusion the steps which we had to follow was to
When importing my design I had to rescale my design
In fusion the steps which we had to follow was to
When importing my design I had to rescale my design
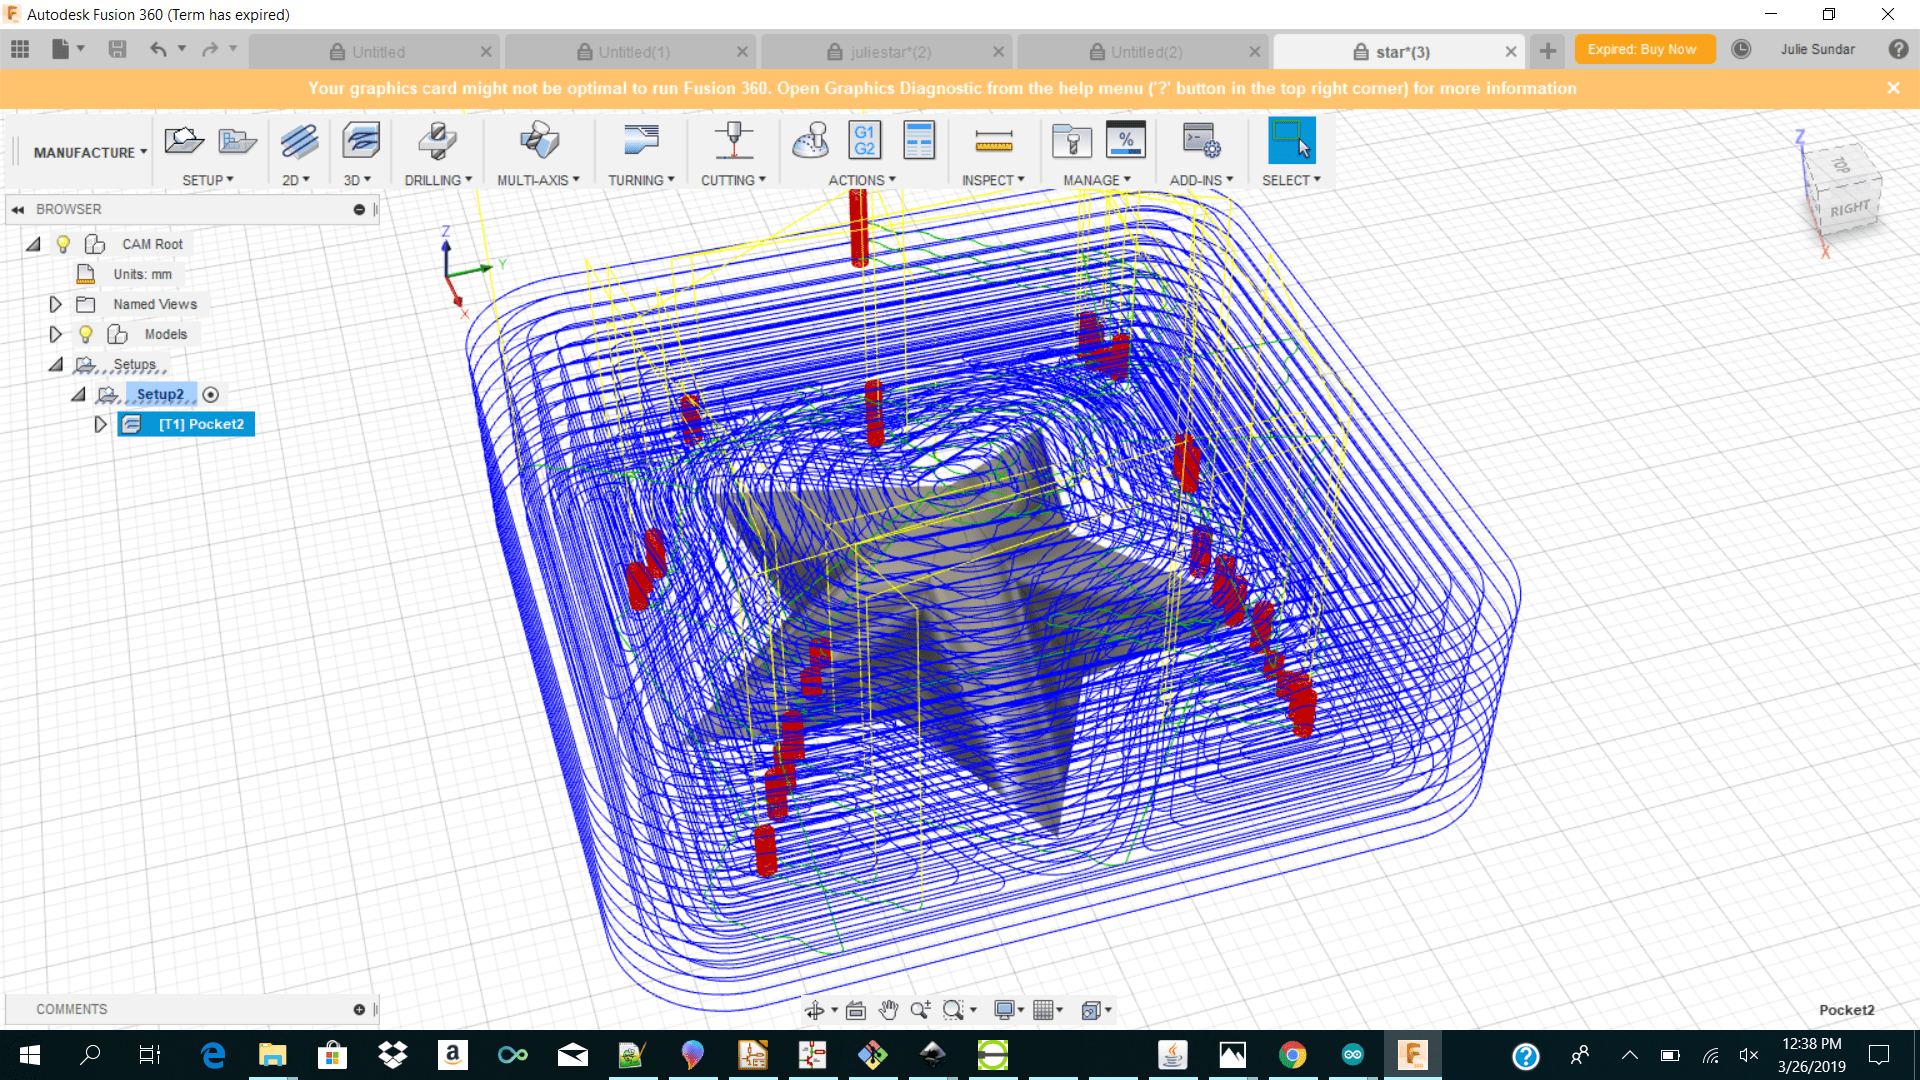
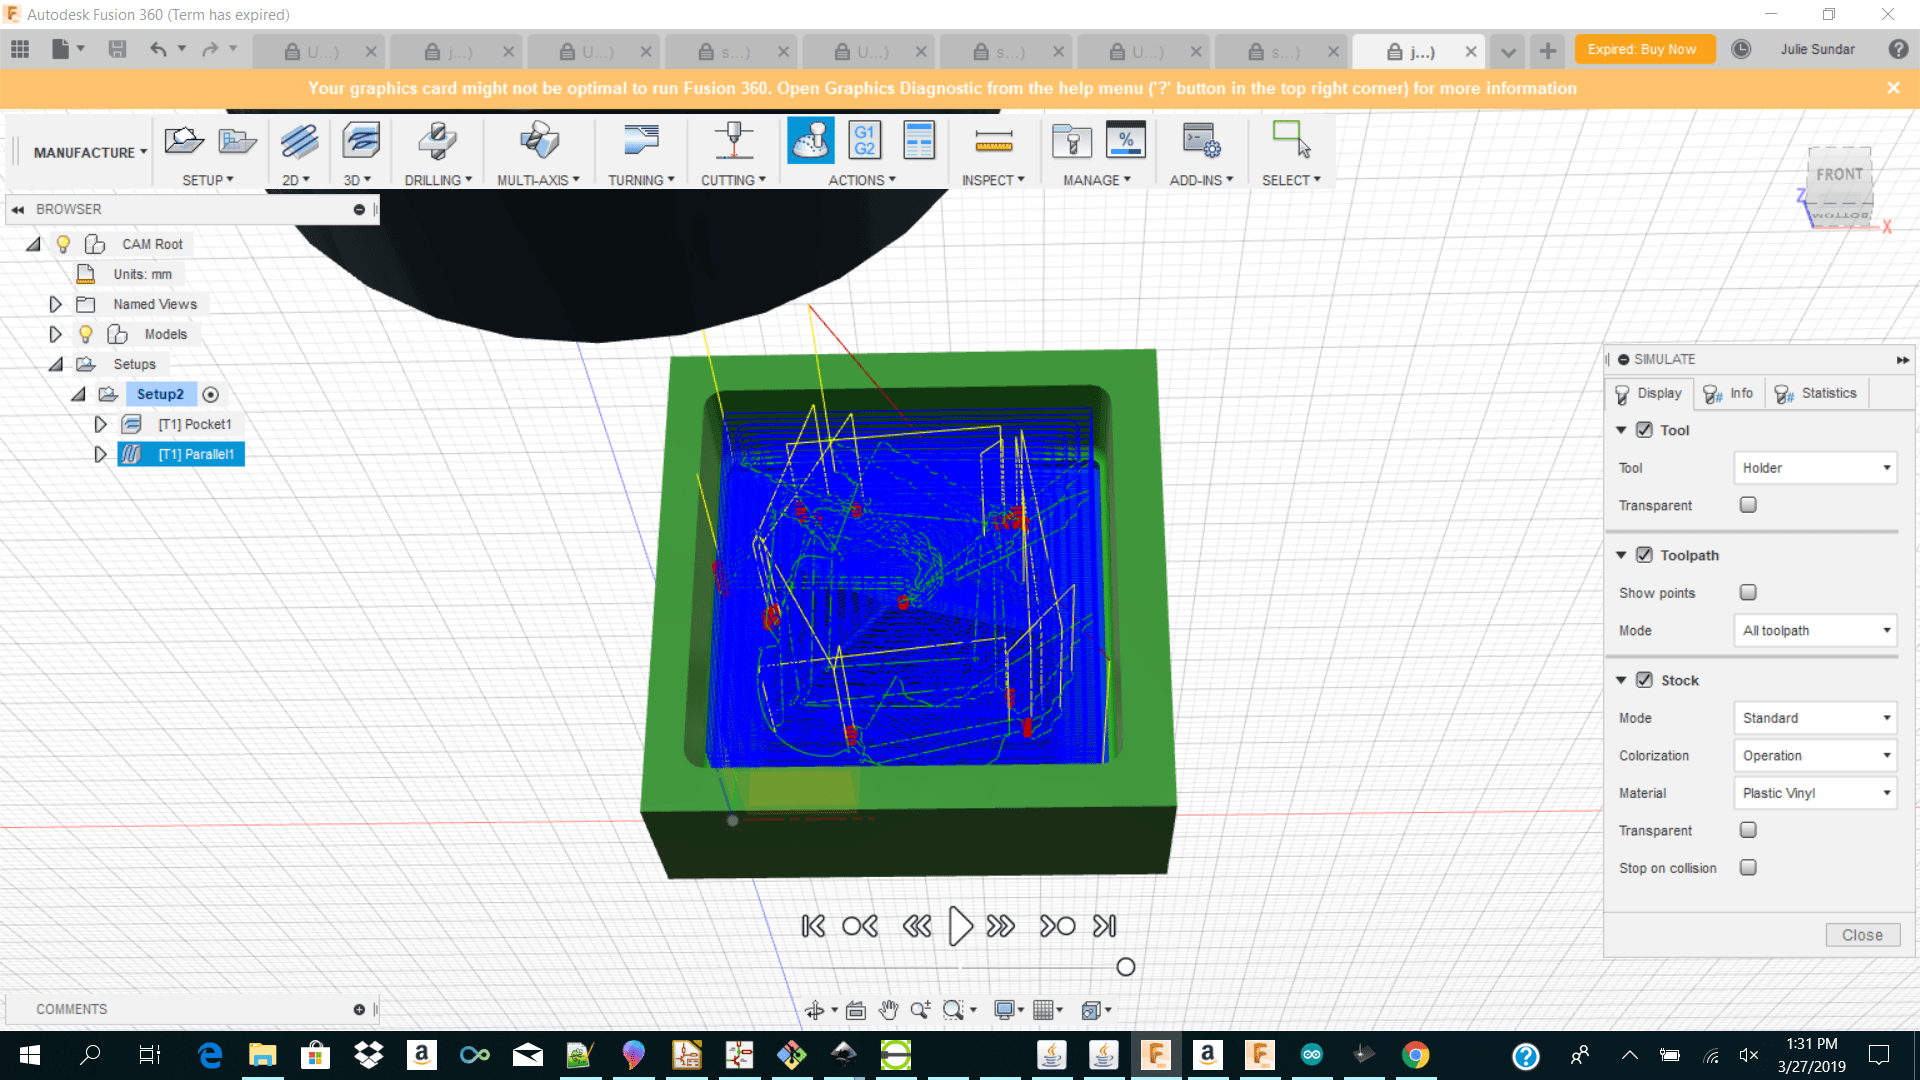
 I then right click on the pocket and clicked generate to see the toolpath which I generated. I also clicked on simulate to see the simulation which I will make.
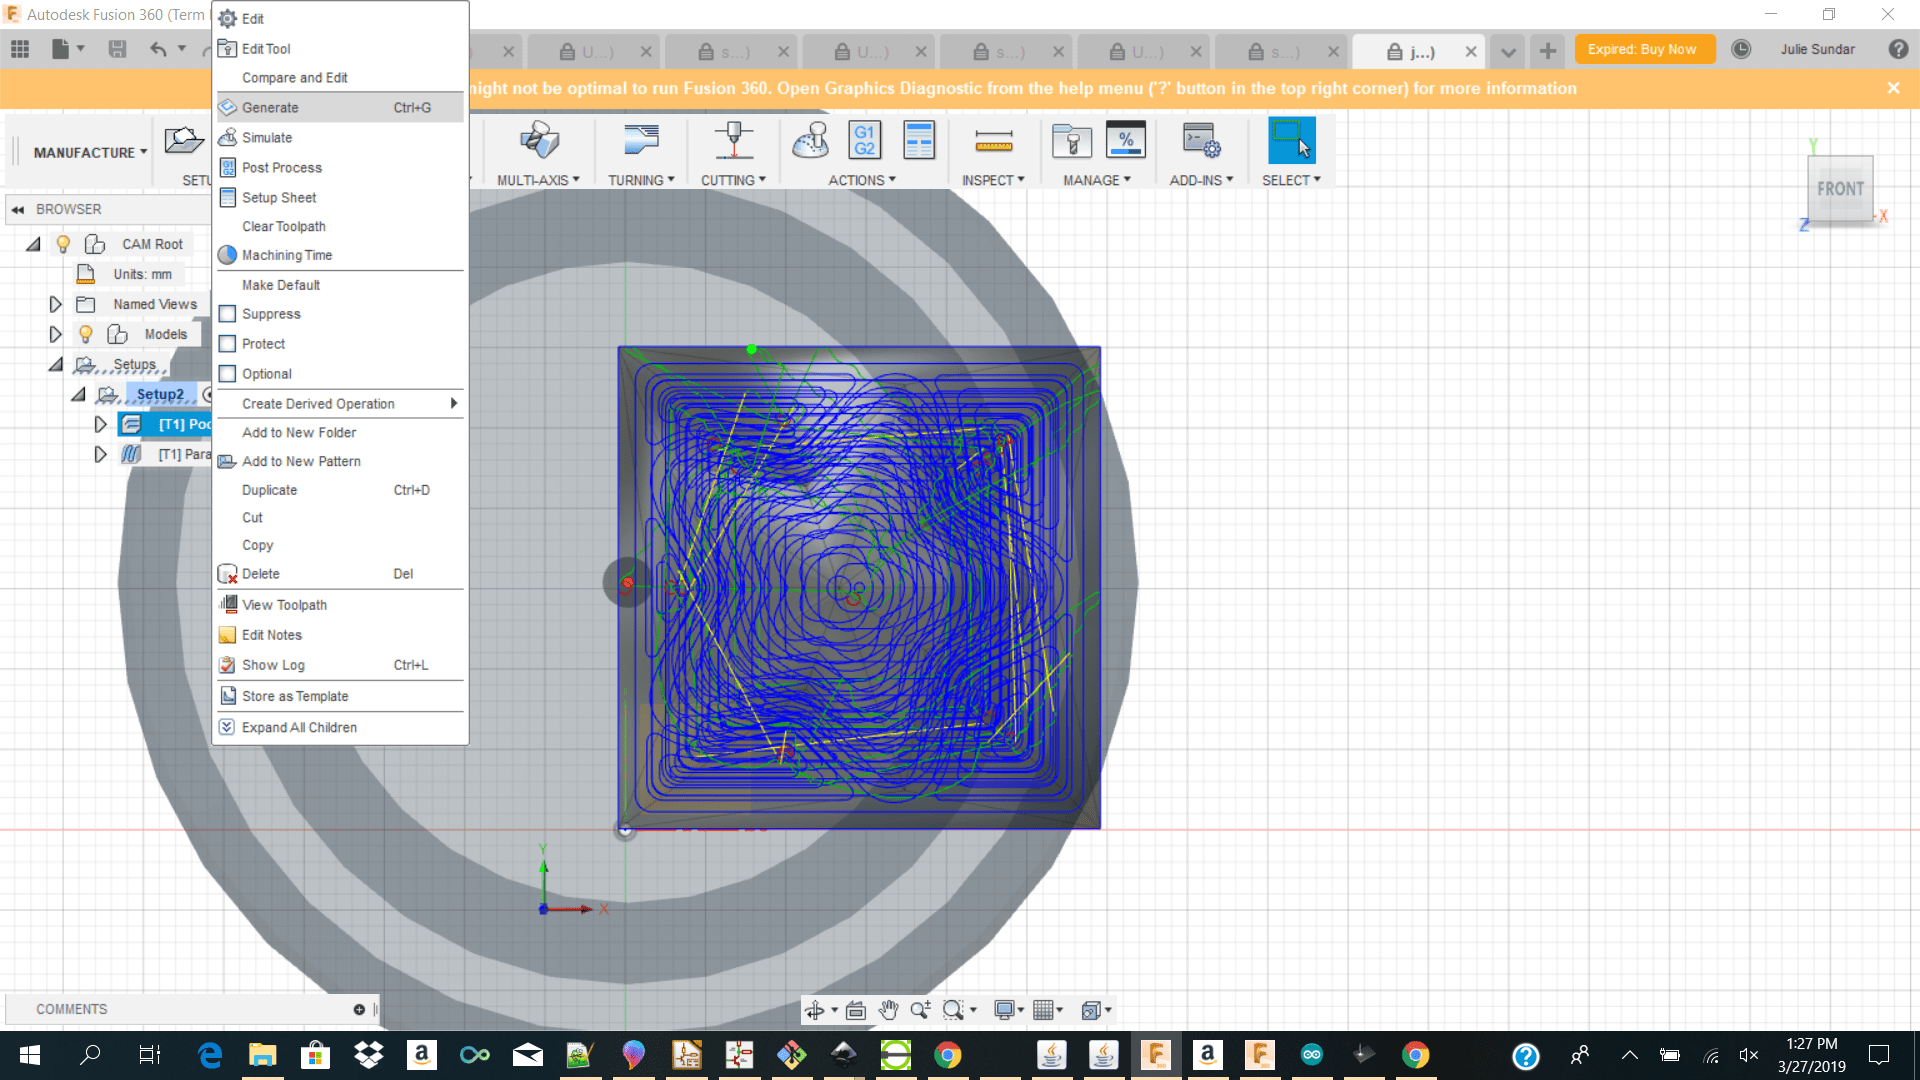
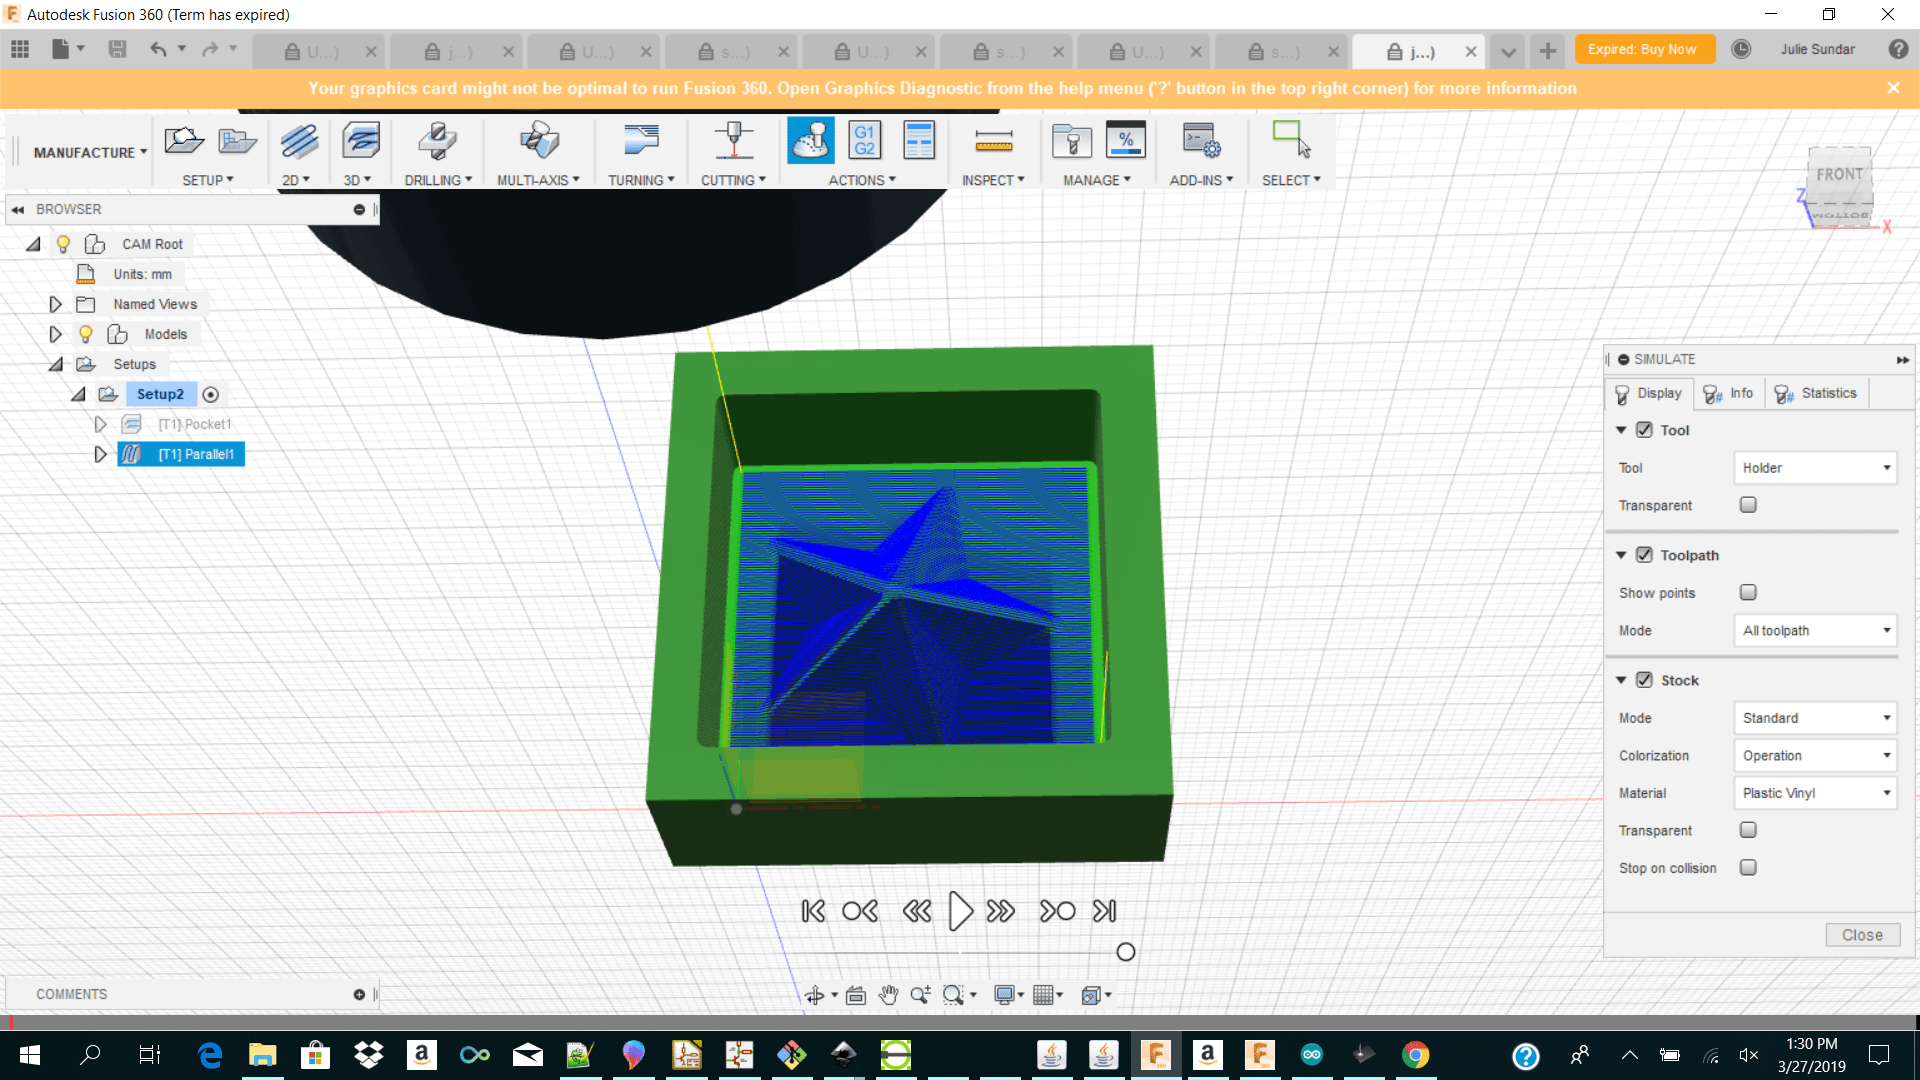
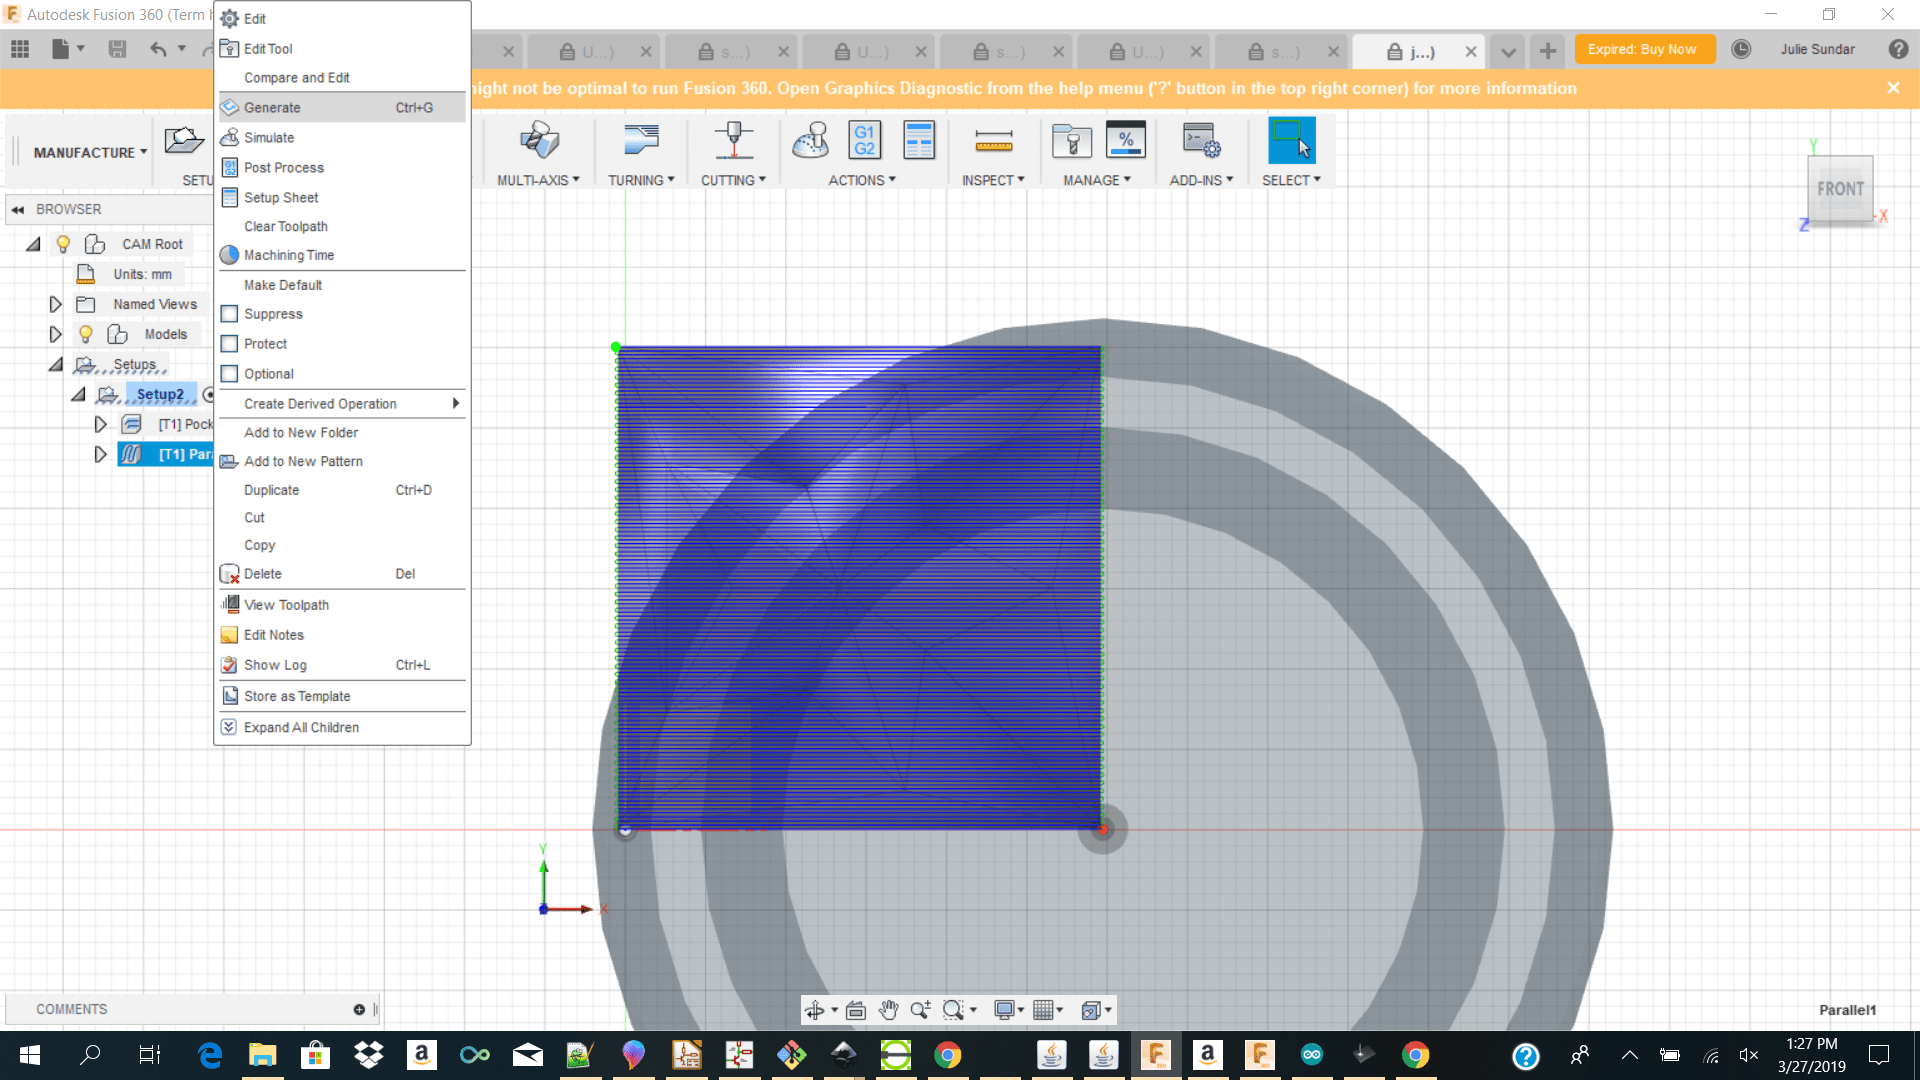
 I then right click on parallel and clicked generate to see the toolpath which I generated. I also clicked on simulate to see the simulation which I will make.
Machining
Machining
I then imported my file to snapmaker because we were using the snapmaker printer position my x y z zero and started milling my mold.
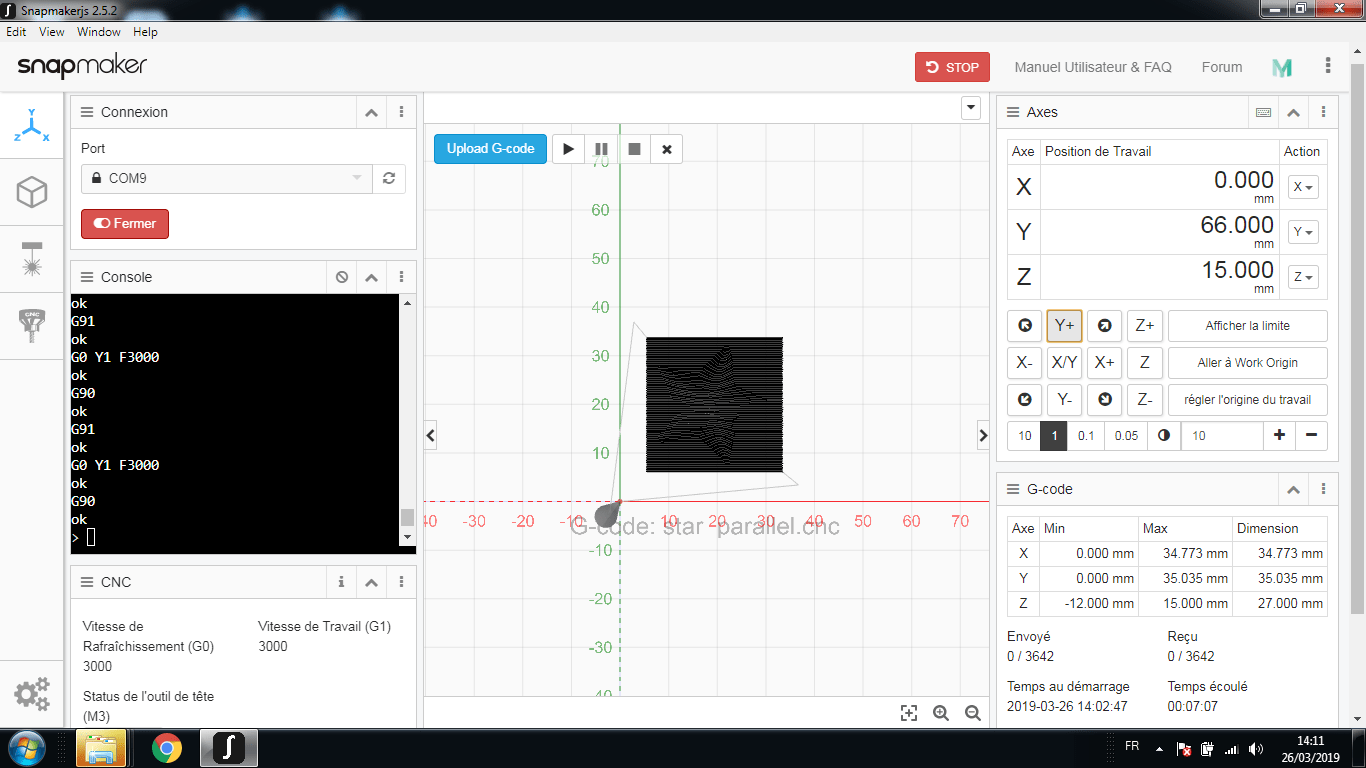 My rough cut too about 16 min to cut and the final cut too maybe 5 min.

Casting
Casting
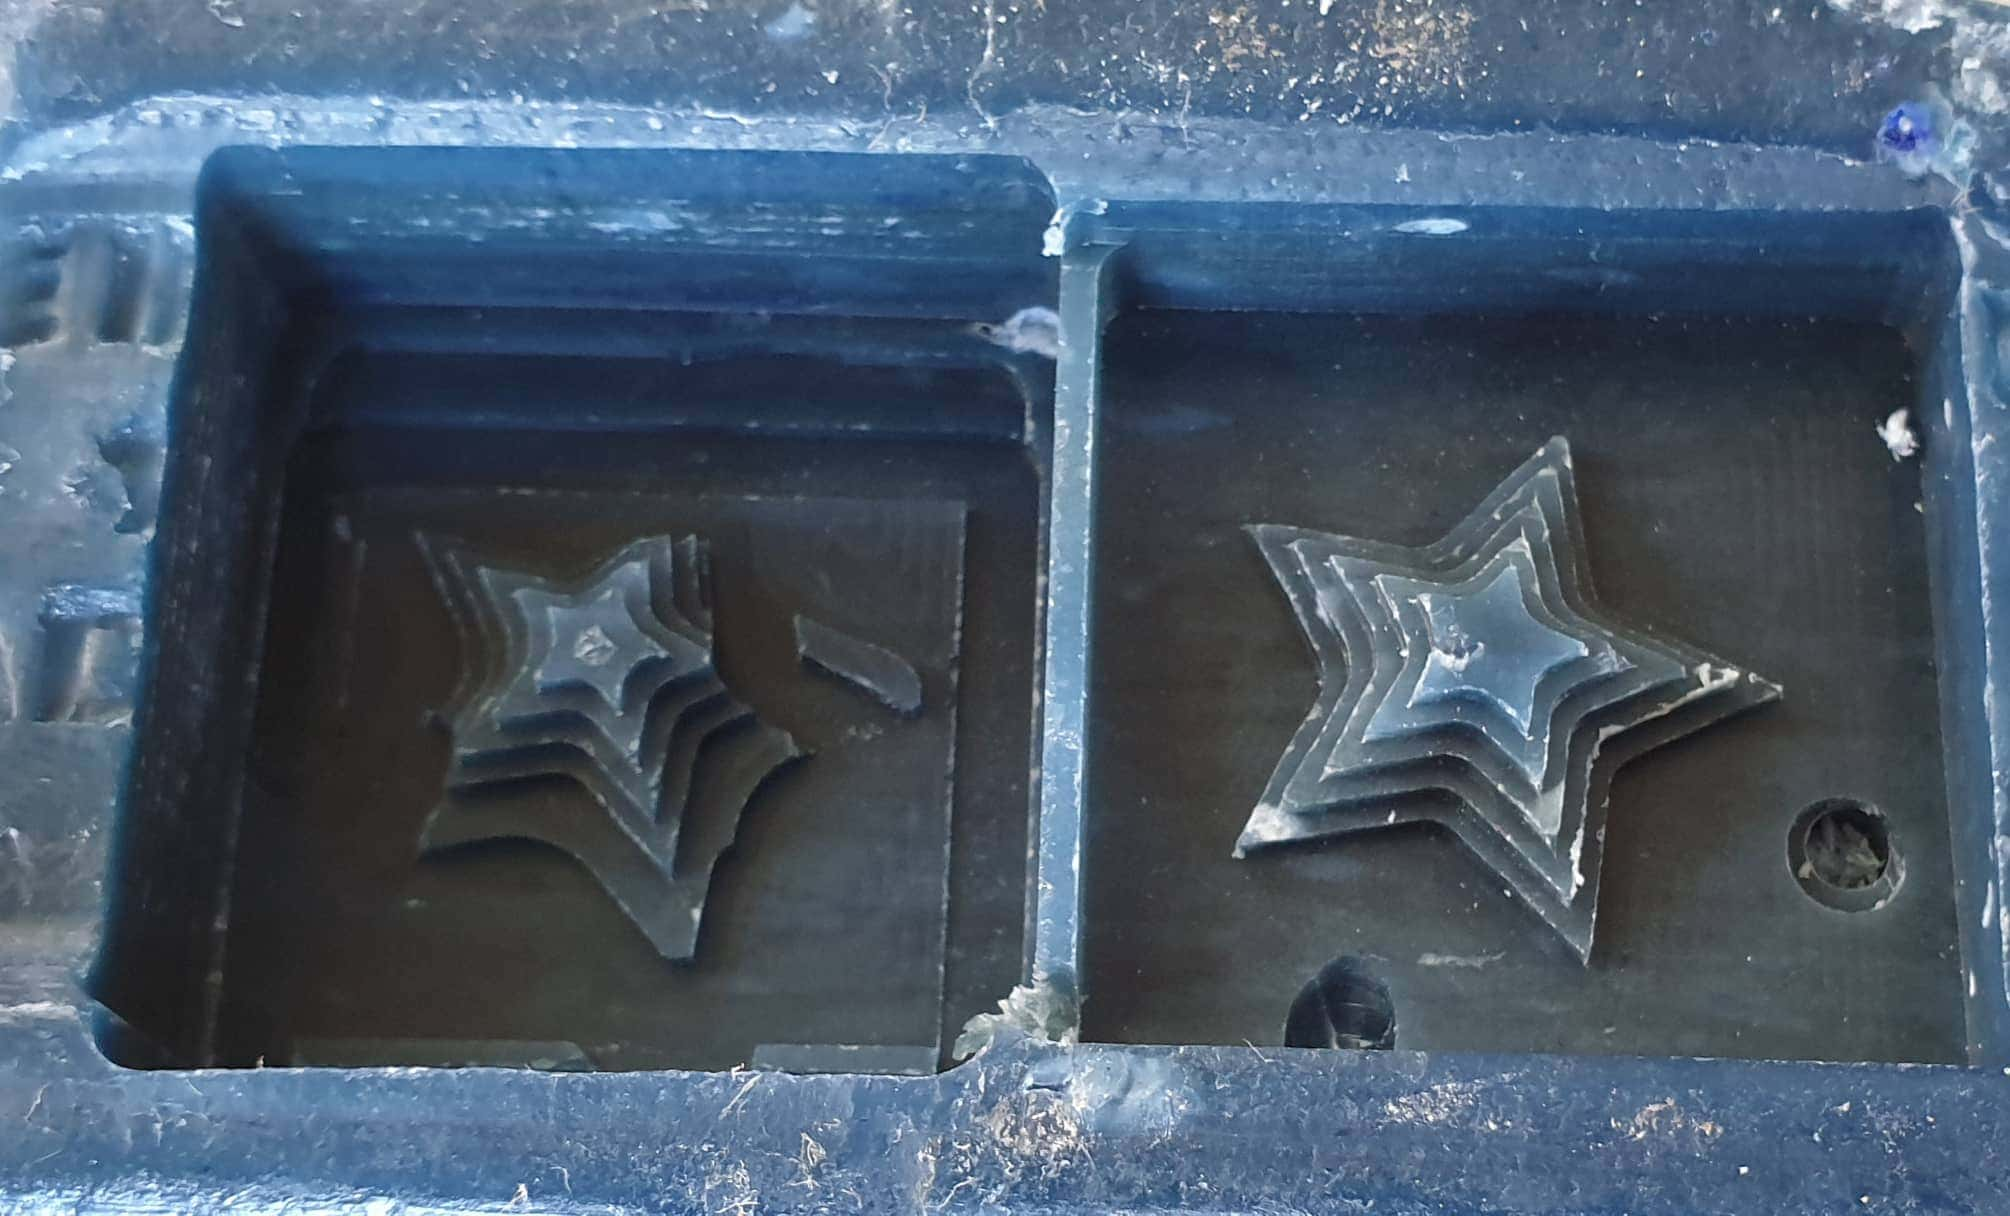
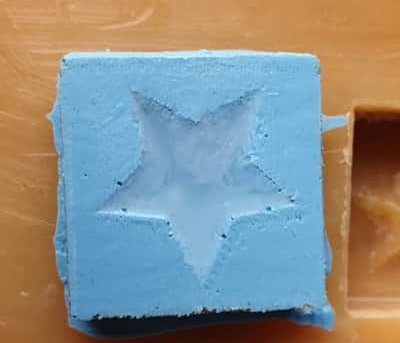
Our materials finally arrived! Our trainer had order the OOMOO 25 Silicone rubber and White liquid plastic so it was time to give it a try! The first thing which I did was to read the bottles to see how long I had to wait for each combination to dry or set. The OOMOO 25 Silicone rubber took about 75 min to cure and the plastic took 30 min to cure. The bottles mentioned to stir or shake well before use and use equal amount of part A mixed with part B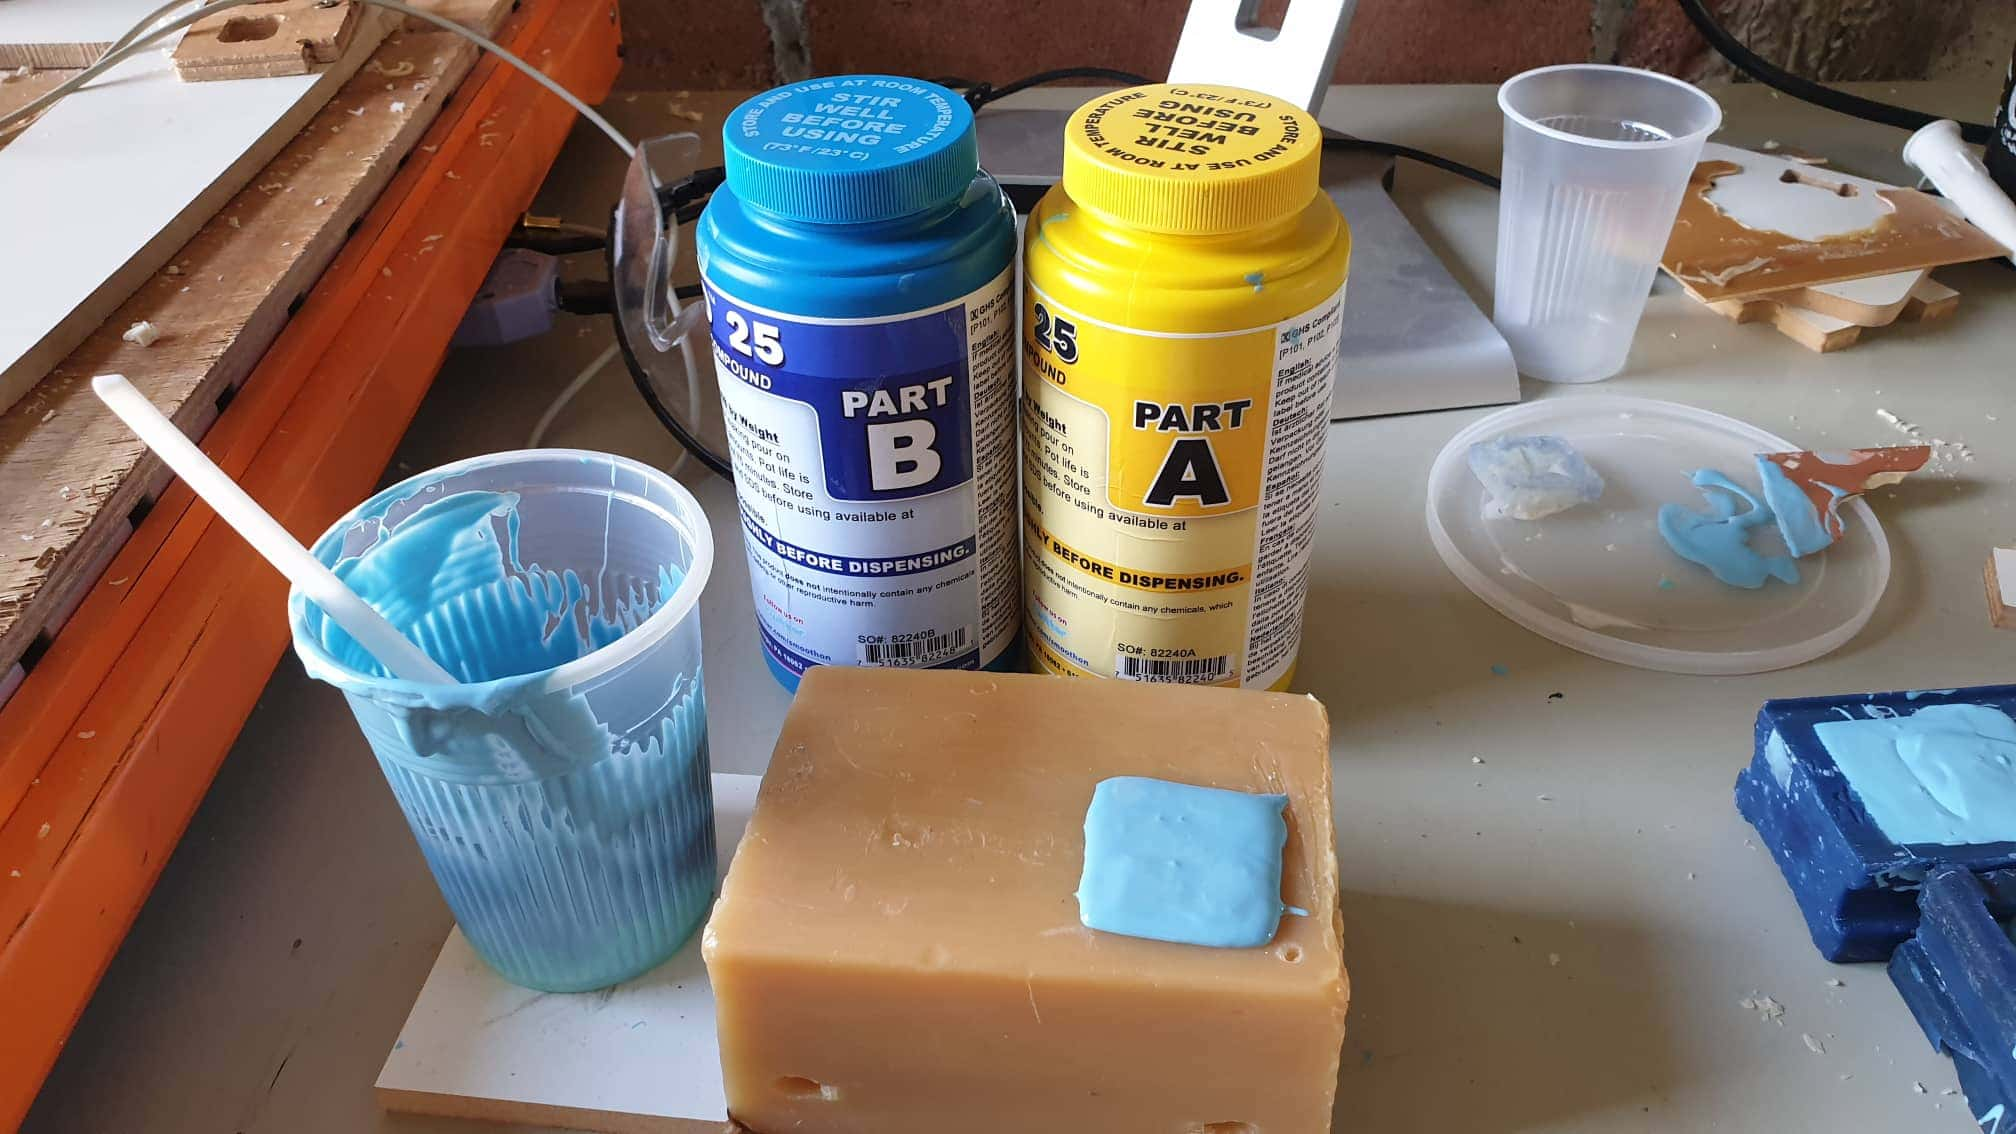 I then started of by shaking the silicone rubber and taking 4 table spoon of part A and mixing it with 4 table spoon of part B then pouring it into my mold. I left it overnight because I had to head home that night. The next day it came out pretty good.

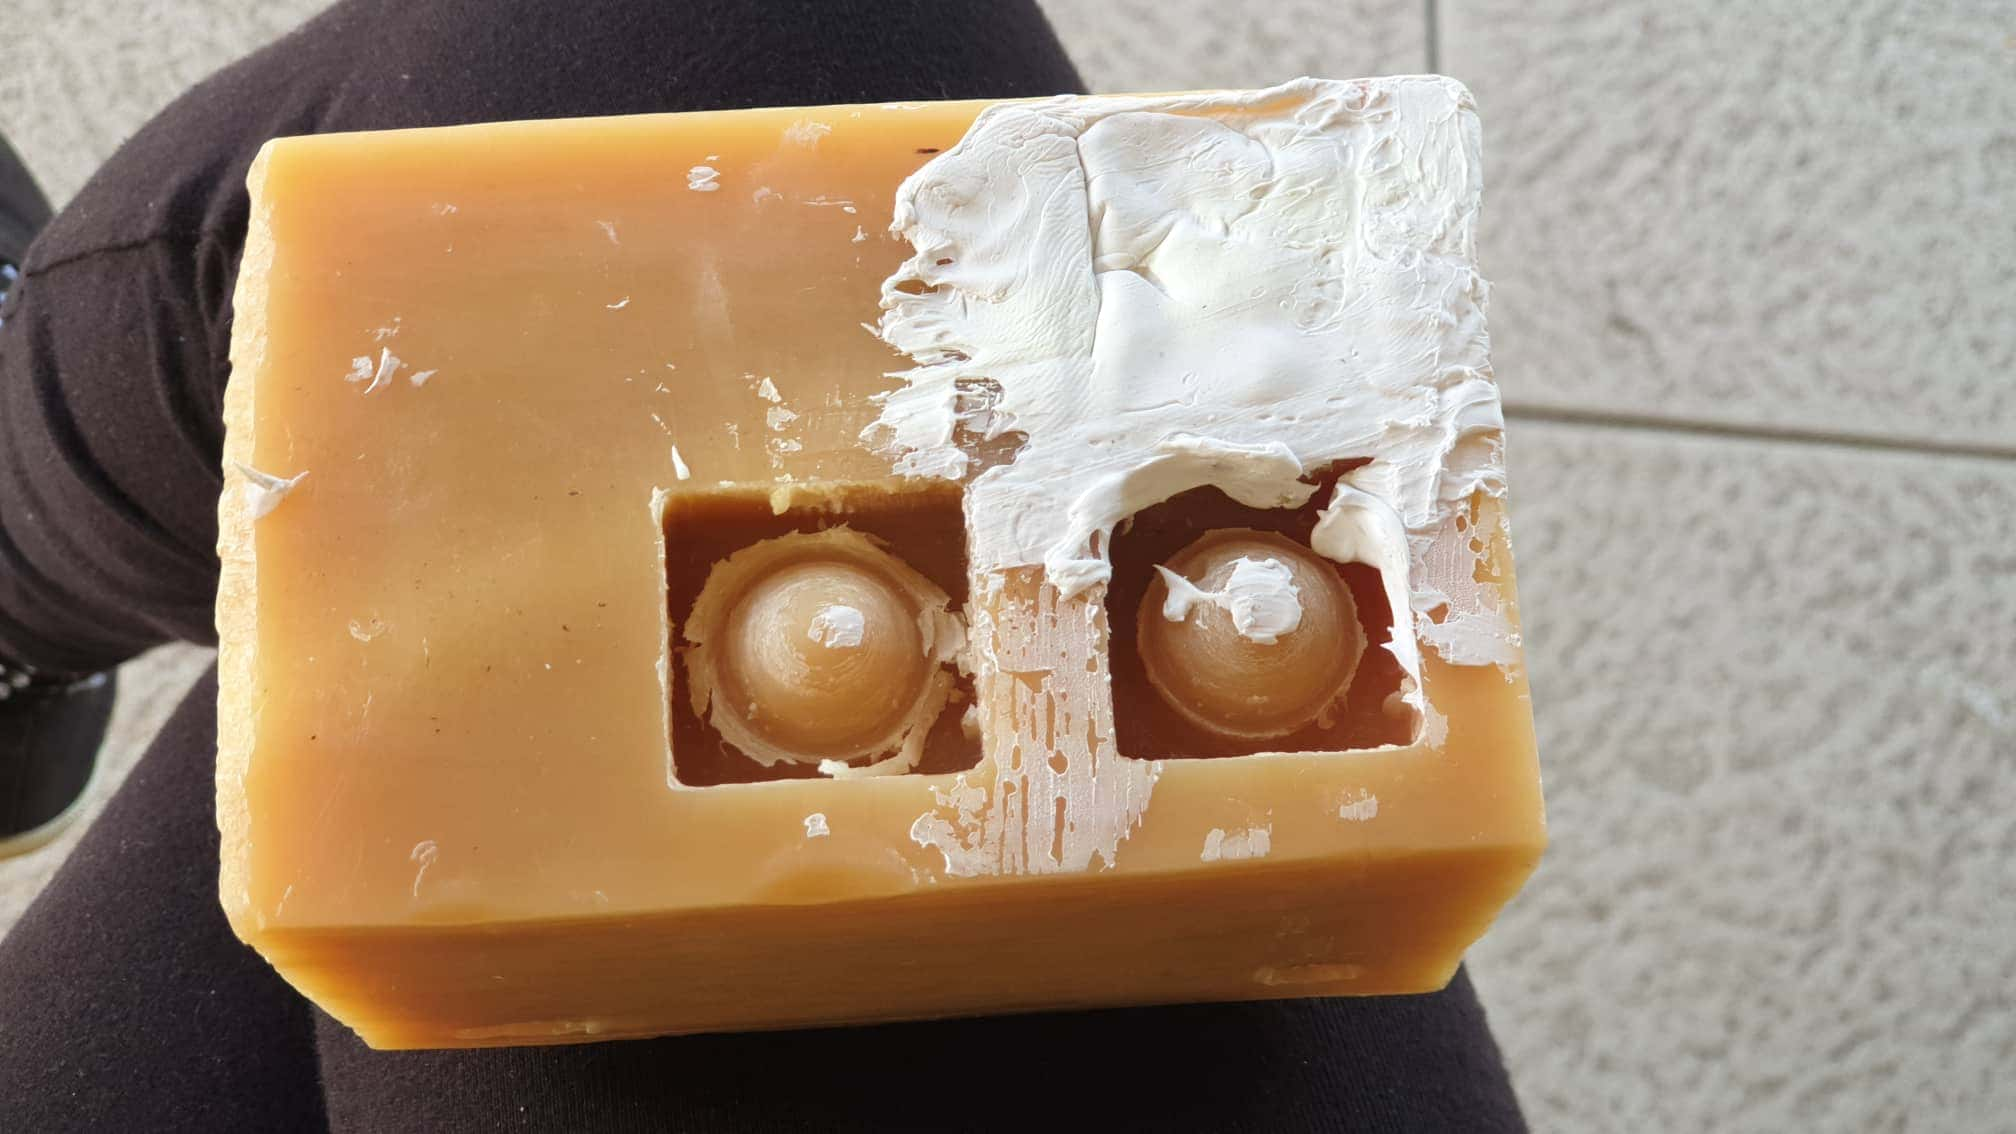
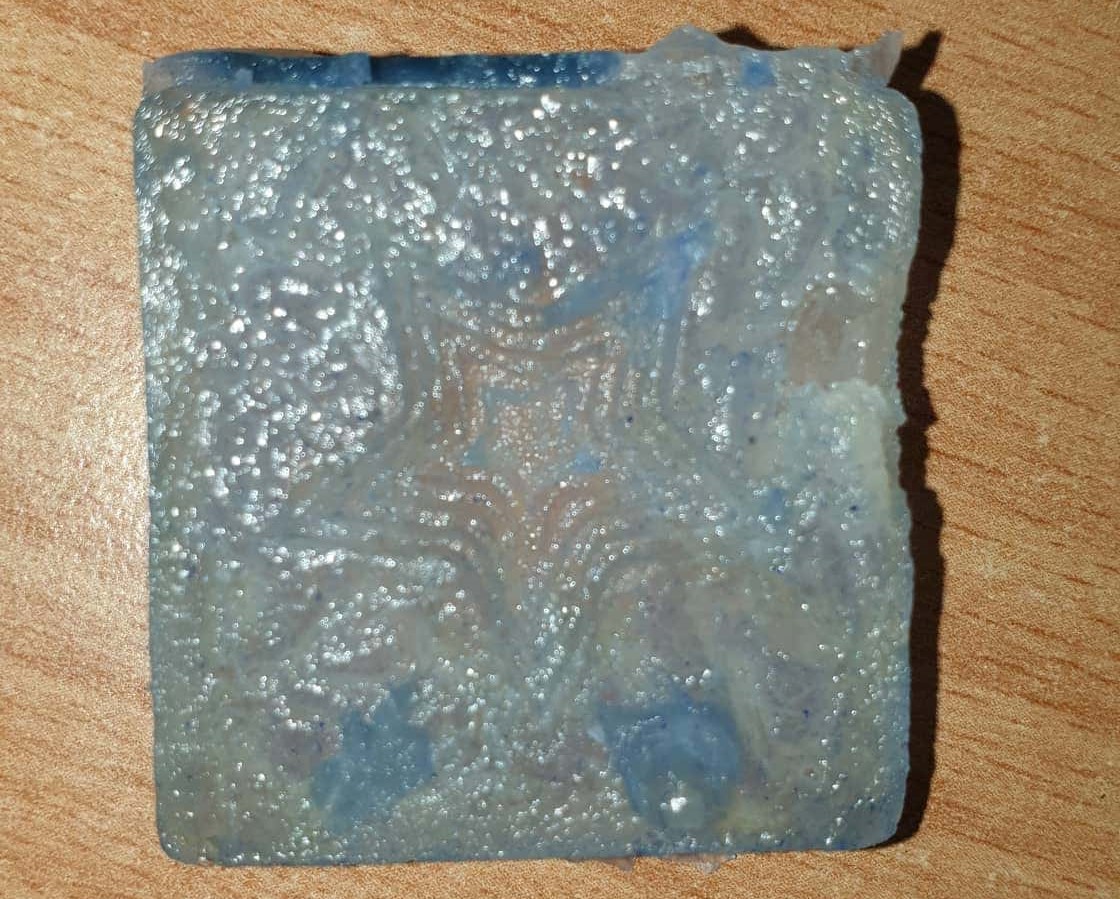
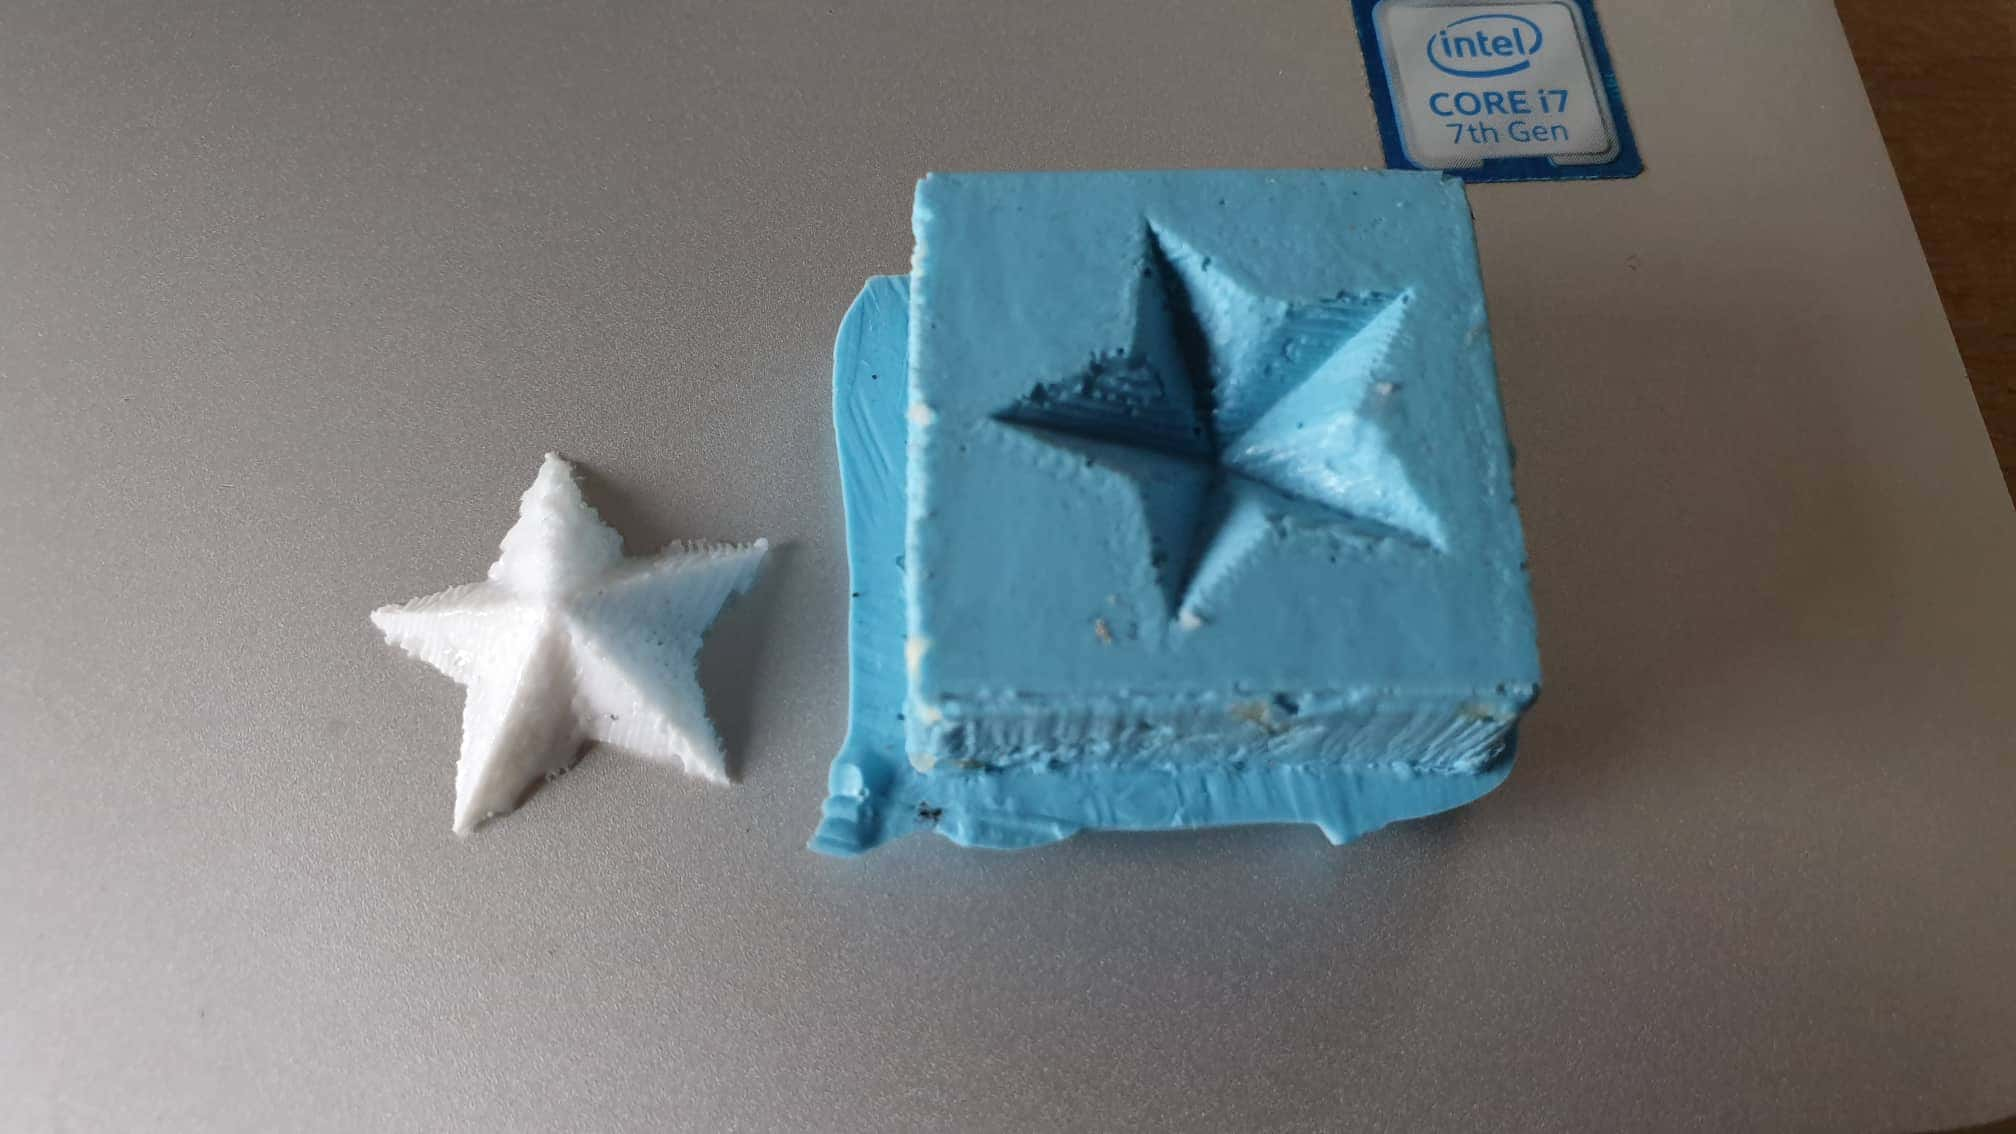
After making my negative print from the silicone rubber I then did the same process for the white liquid plastic. I mixed one table spoon of part A with on table spoon of part B and poured it into my negative mold which I made from the rubber. When I had tried the first star I had mixed the plastic liquid alot but it gave me alot of bubbles/air when it was setting so the second time I stir the mix less and I had less bubbles.
After leaving the white liquid plastic to rest for 30 min it came out well. My plastic had less bubbles so I was satisfied with my star.
Download Links Here
Stepcraft_uccnc.cps
Winpc-nc.cps
Star_parallel.cns
Star_pocket.cnc
Tinkercad Star.stl
Fusion 360 Star.f3d
Contact Us
Where To Find Us
Paramaribo Suriname
Ethnalaan
50..