"" -
Interface and Application Programming
This week I want to test different softwares with my potentiometer input board from Week 11. I connected the board to the computer through FTDI.
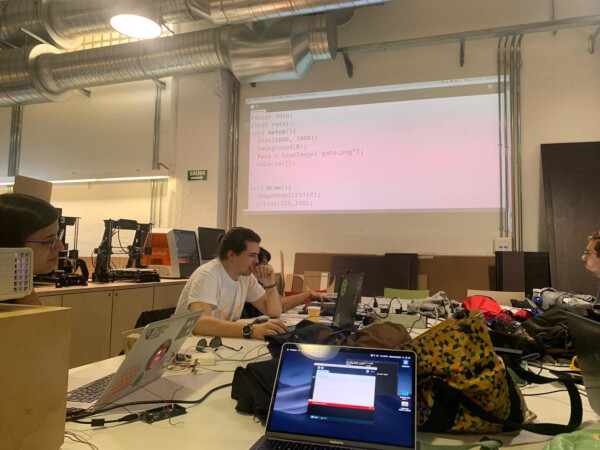
First we had a Processing introduction workshop by our instructor Marta Verde. She showed us some basic codes, techniques and general applications using Processing as a prototyping tool in the context of visual arts.
P5.JS
I first used this p5.js serialport github repo, and downloaded it. As the reference recommends, for Windows 10 users as me, to download Alpha 5 instead of Alpha 6. Specifically I downloaded:
- p5.serialcontrol-win32-x64.zip.
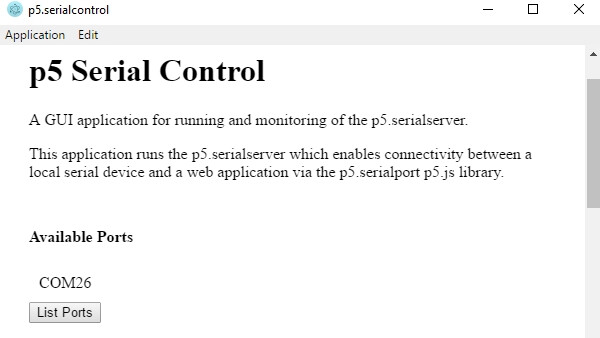

After I uncompressed the .zip folder, I double-clicked the p5.serial control application inside the folder. It seemed that it recognized the port where the board is connected, COM26, that is the same that it appears on my Arduino IDE.
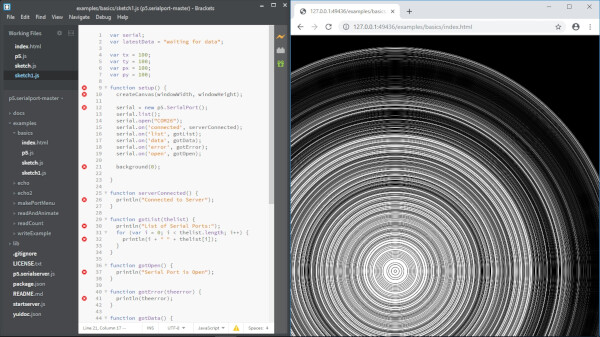
I then openned the folder in Brackets (it's very important to open the whole folder. At first I was openning just the examples files and it didn't worked). I selected the files on the examples > basics folder:
- index.html
- p5.js
- sketch.js
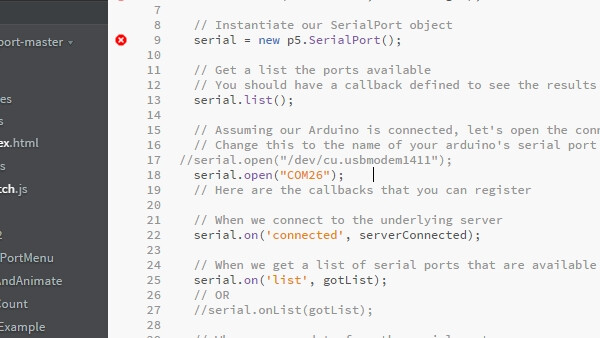
The only one I changed was the sketch.js. Instead of the line
- serial.open("/dev/cu.usbmodem1411");
which I commented using // at the beginning of the line, I used my serialport reference:
- serial.open("COM26");
I then clicked on the Live Preview button and it worked.
Processing
On Week 11 I did some visuals using a potentiometer and Processing. This was the result:
This time I want to use the webcam and use my output RGB board from Week 12.
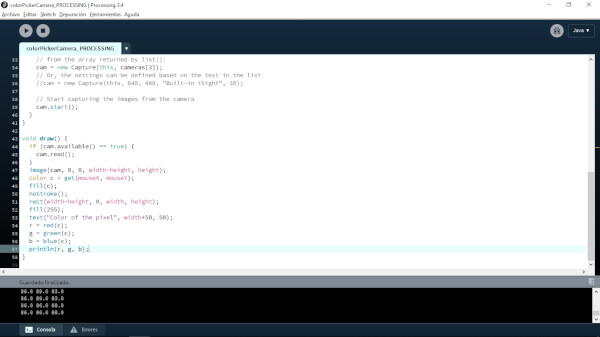
At the end I only had time to experiment with some software recognizing the pixels. This is a good base for making the rbg board controlled by webcam in a future.
Files
- Color Picker Camera Code .pde (Processing)
- P5.JS test .html (P5.JS)
- P5.JS test .js (P5.JS)
Group Assignment
To see this weeks group assignment click here.