“Molds can be made of rubber, steel, clay, brass, wood, plastic, lead, and even sand, and people use them to cast objects ranging from 40-foot bronze Buddhas to microscopic cell structures.” - Adam Savage
Molding and Casting
This week, after the lecture on Molding and Casting, we had a little hands-on tutorial at Fab Lab IED Madrid by Daniel García, who showed us the materials we had available at the lab for doing the assignment. He showed us some examples of different one-part and two-part molds and other final pieces.
To make the negative mold and the final product it is used silicone and a resin, respectively. We used this products:
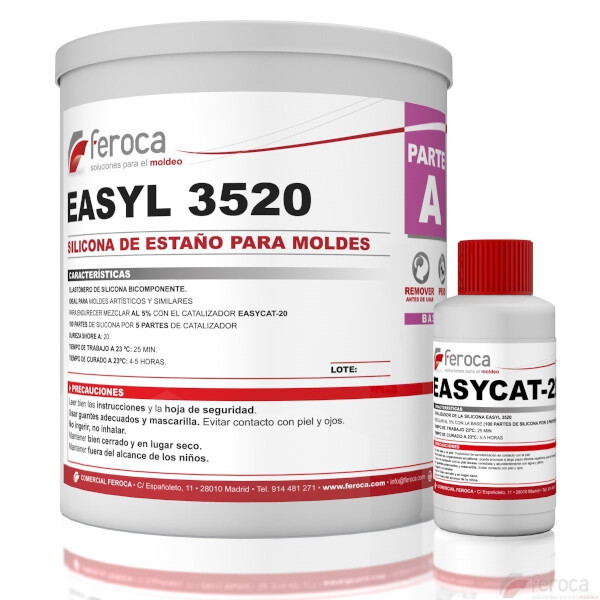
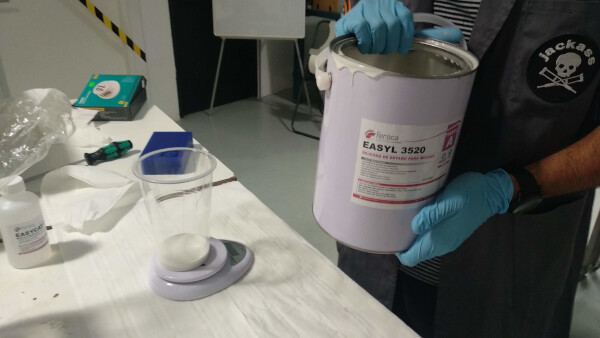
- Silicone: EASYL 3520 + EASYCAT 20 (Webpage, User Guide)
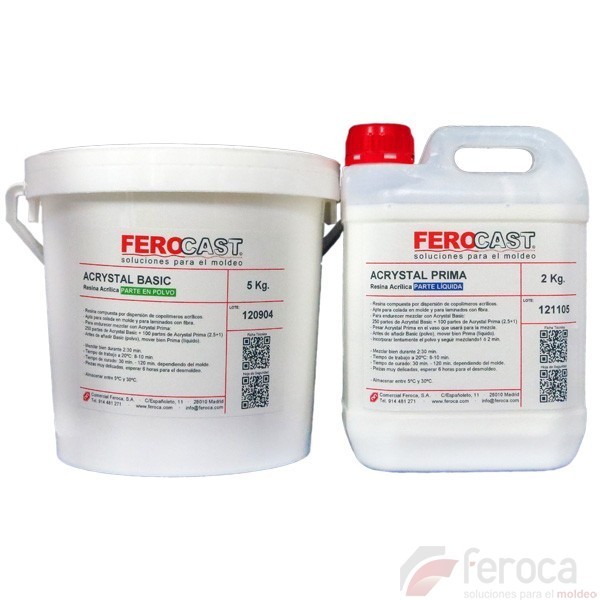
- Resin: ACRYSTAL BASIC + ACRYSTAL PRIMA (Webpage, User Guide)
Model Design
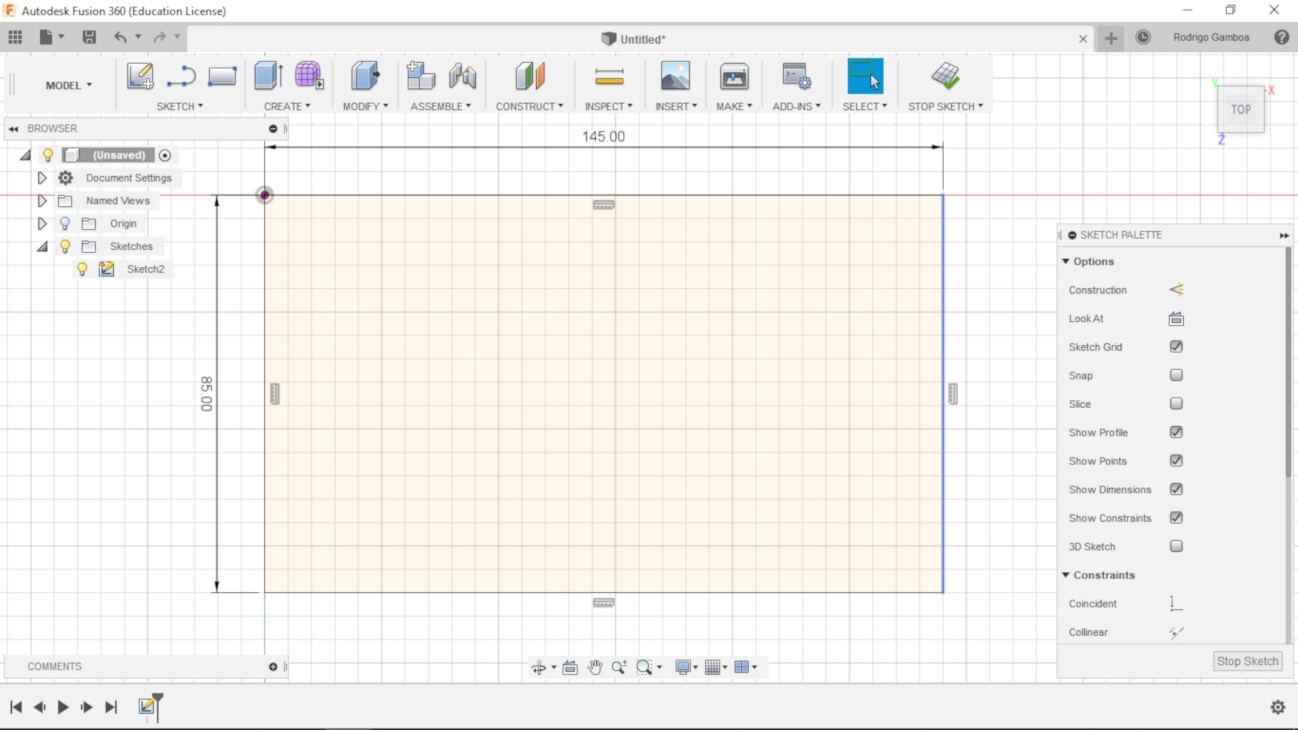
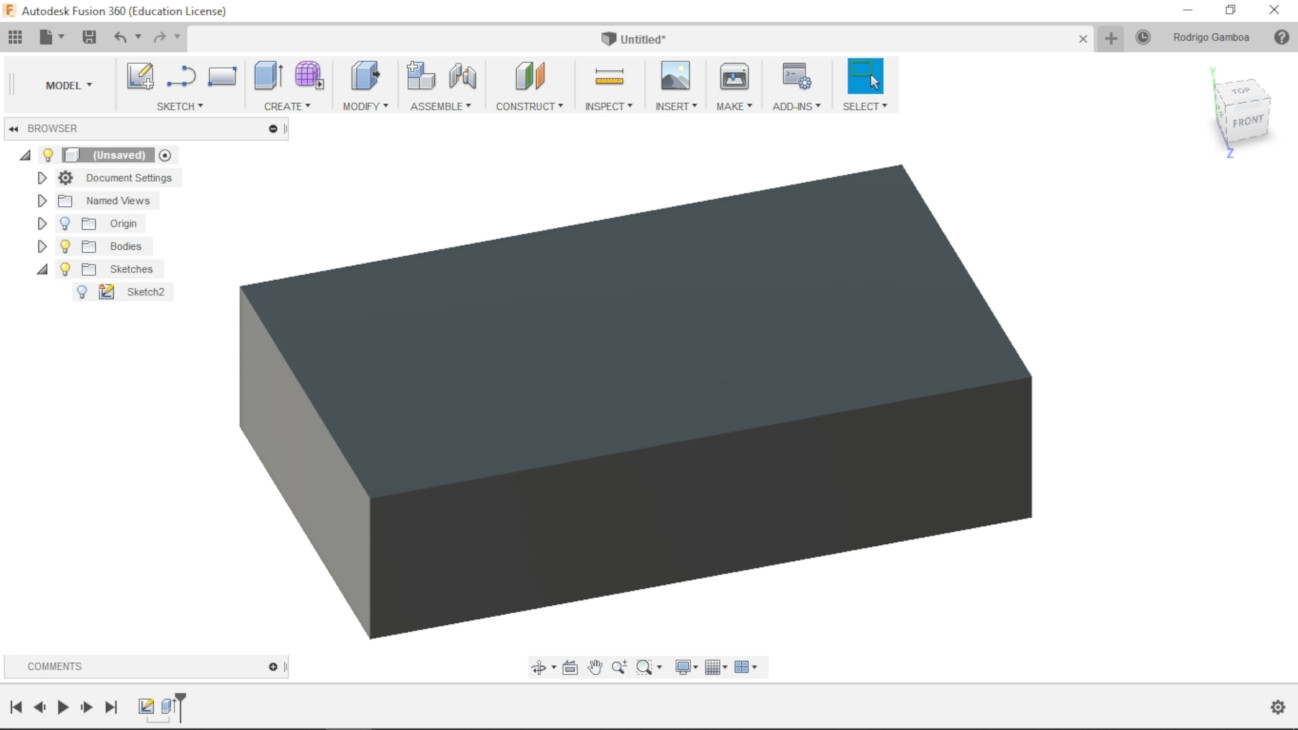
I used Fusion 360 to design the piece I want to make. First I used the measures of the wax block I wanted to mill.
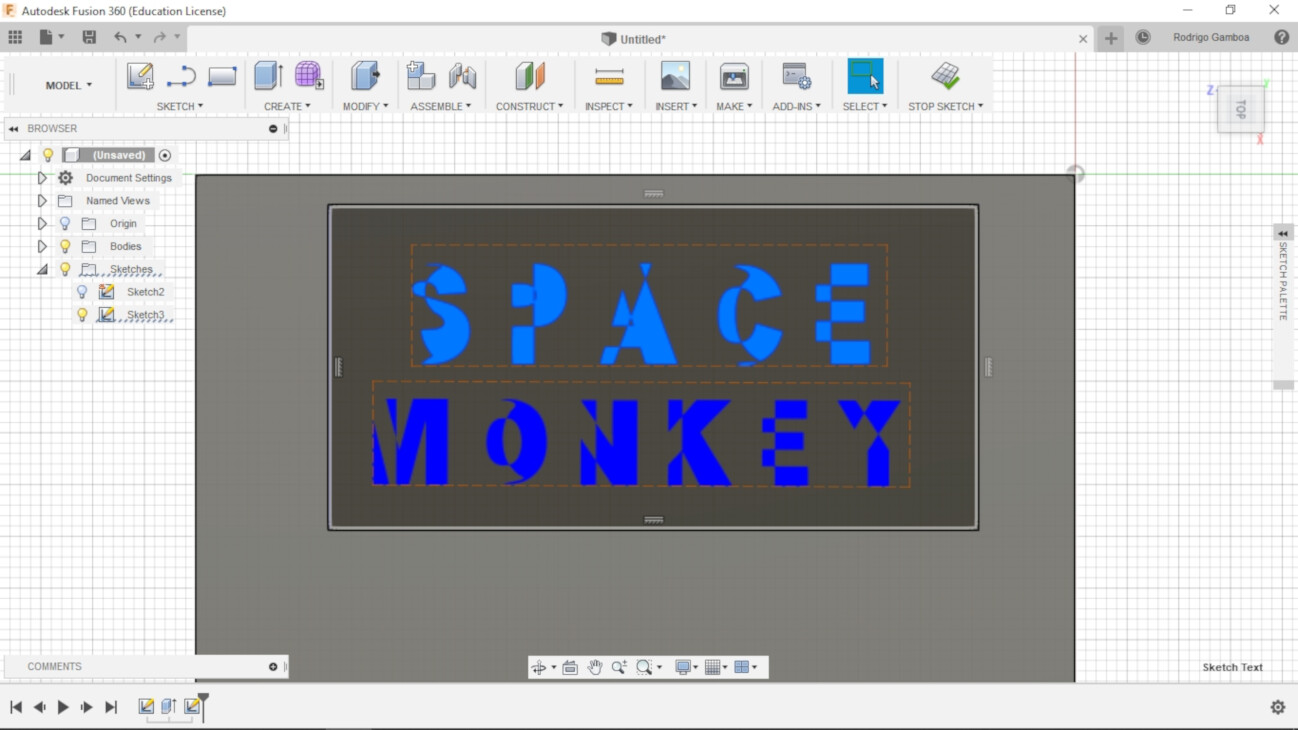
At first I wanted to make a logo, using a typography based in Kandinsky to make it a little bit complex, but soon I realized it was too complex.
So what I did was to use one of my sketches of my final project to make a piece for a key holder.
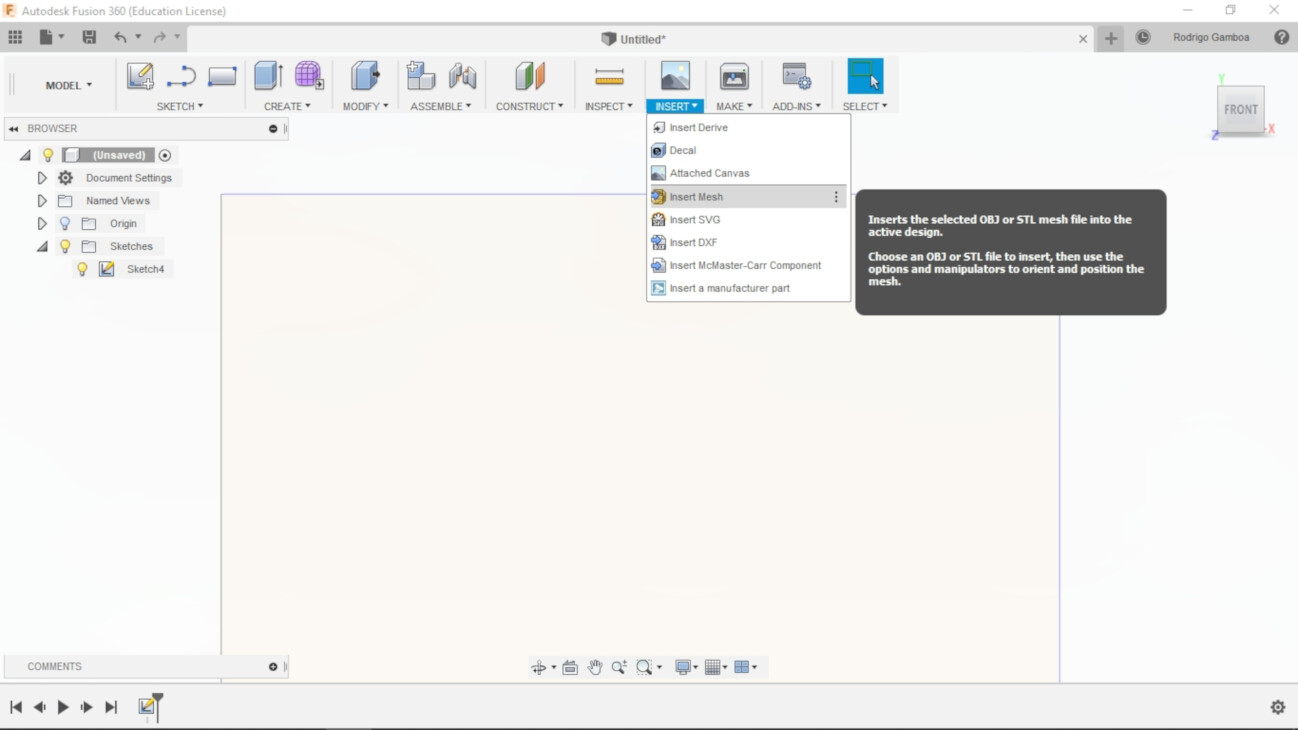
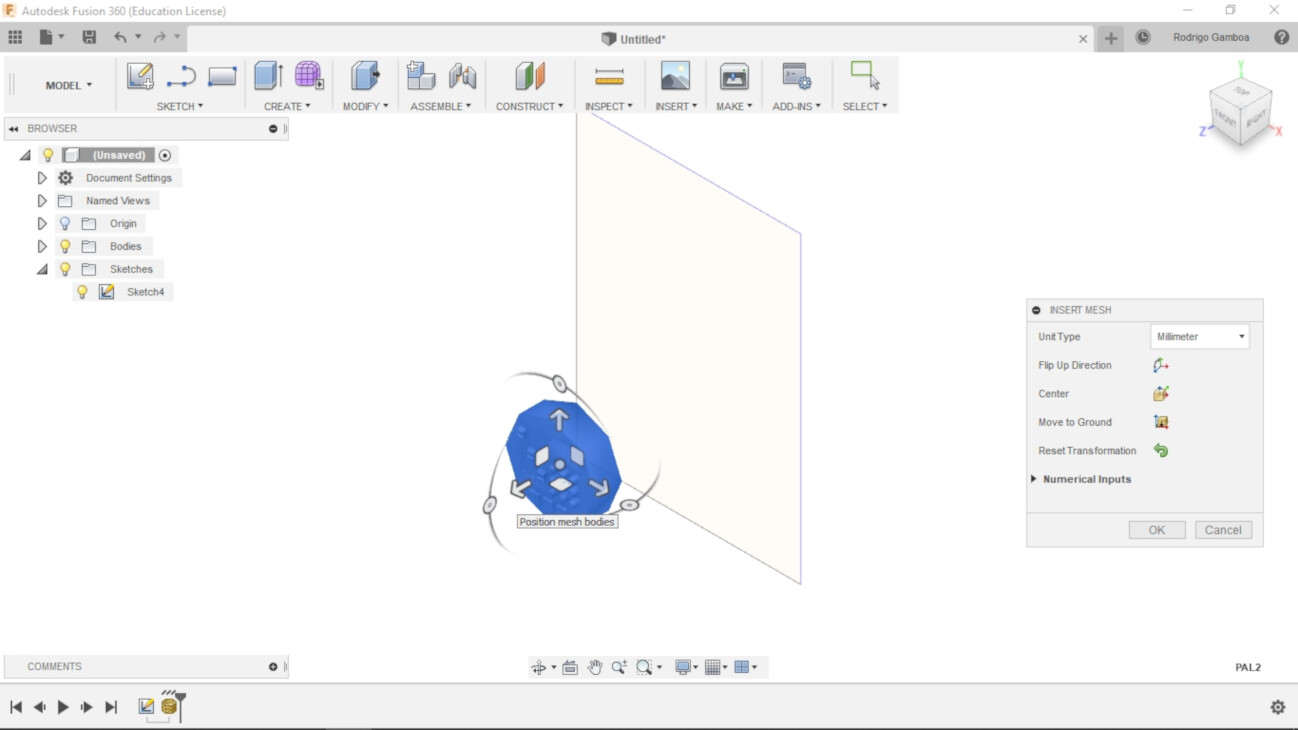
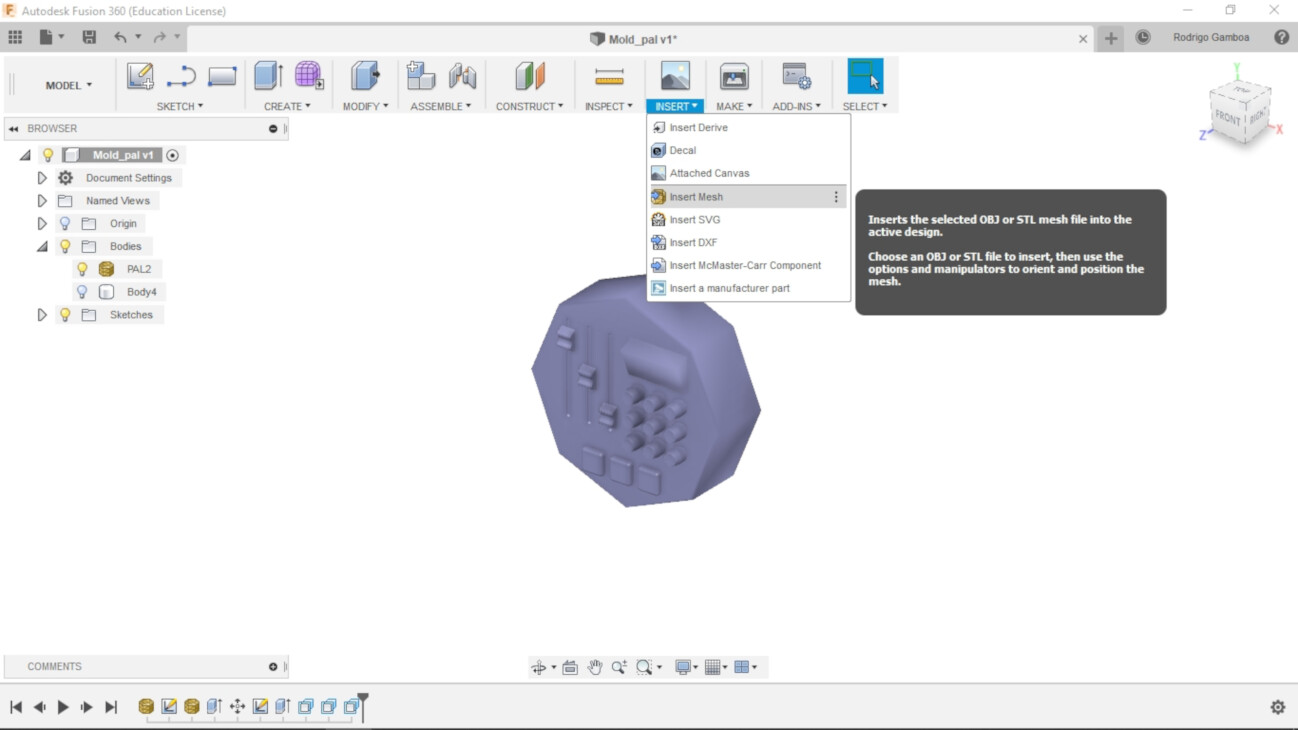
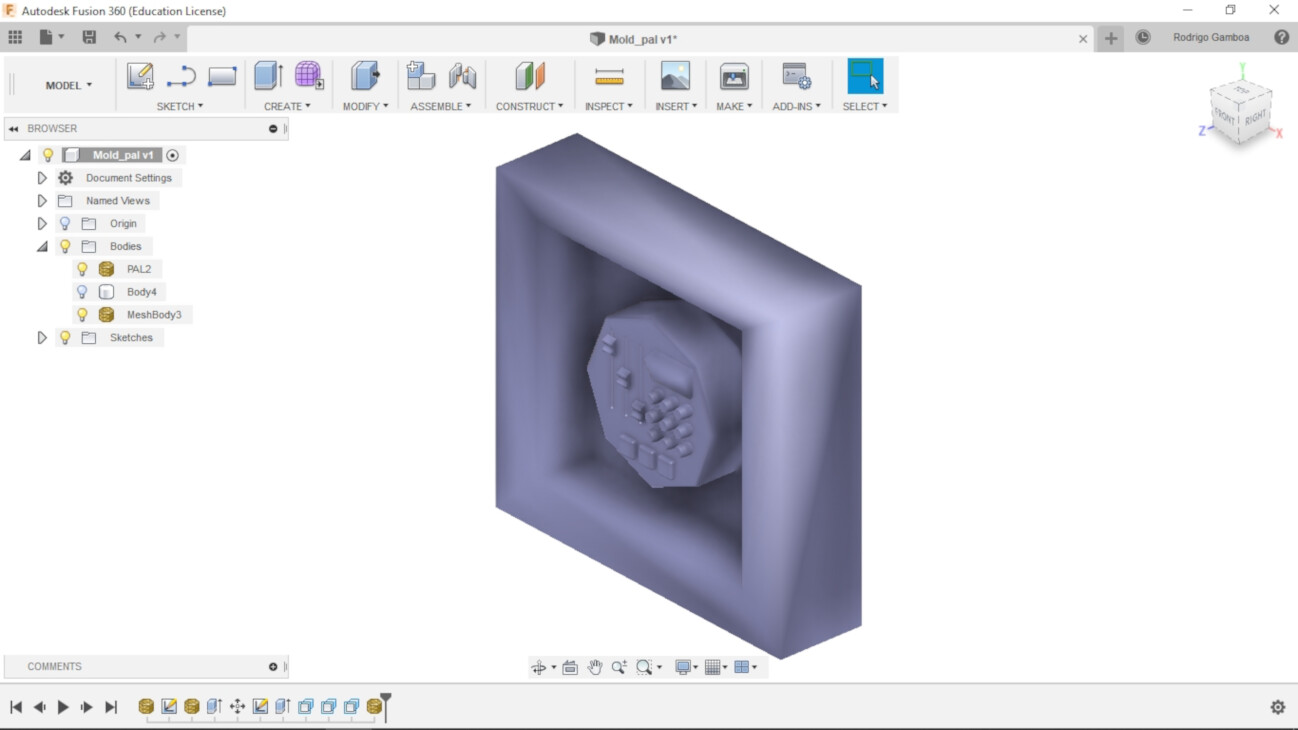
As the model is in STL format, it needs to be imported into Fusion360 as a Mesh.
- INSERT > Insert Mesh
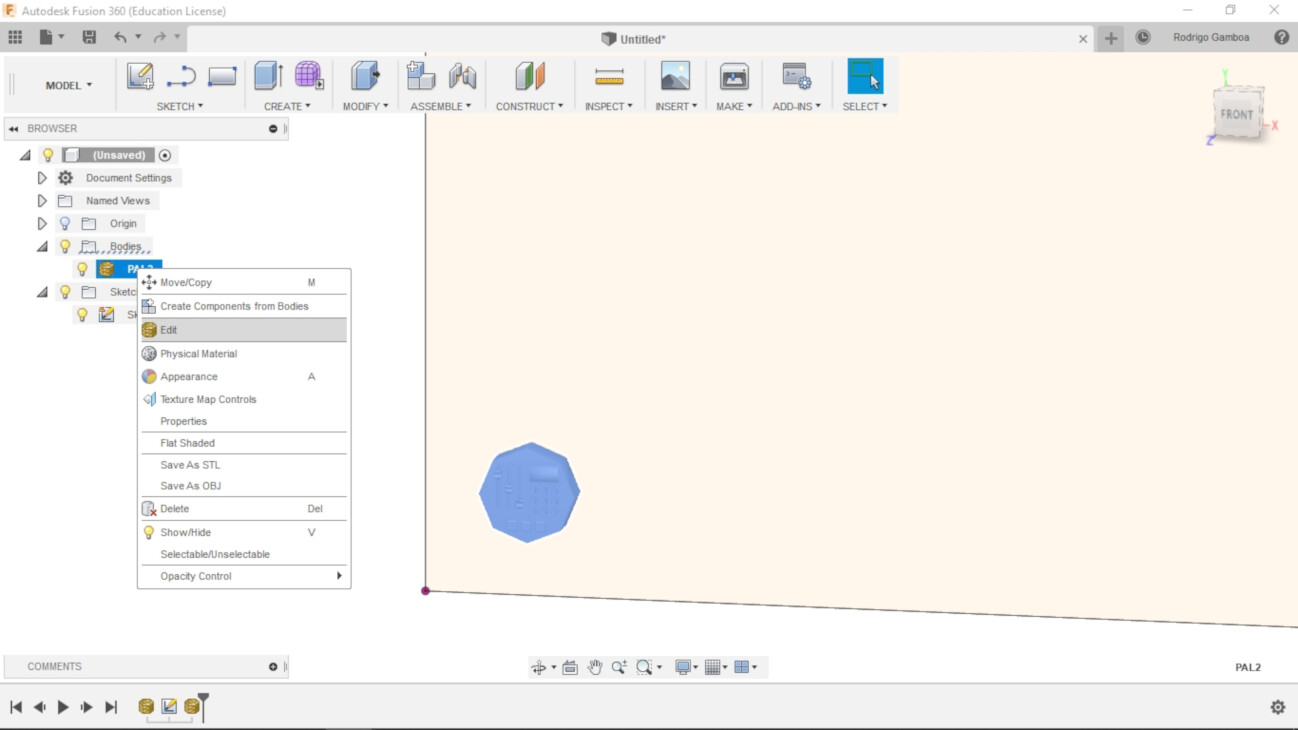
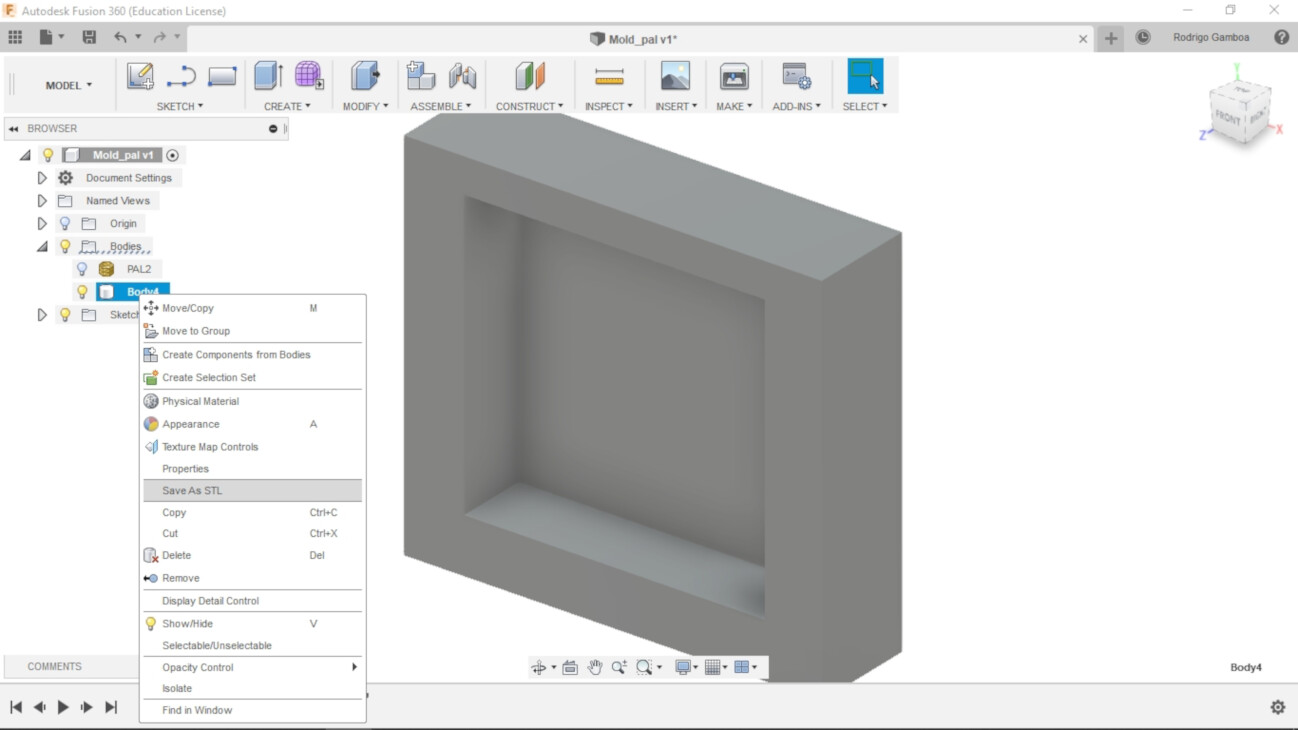
As I needed to design an extruded box around the object, I first converted the object into a mesh. To do this:
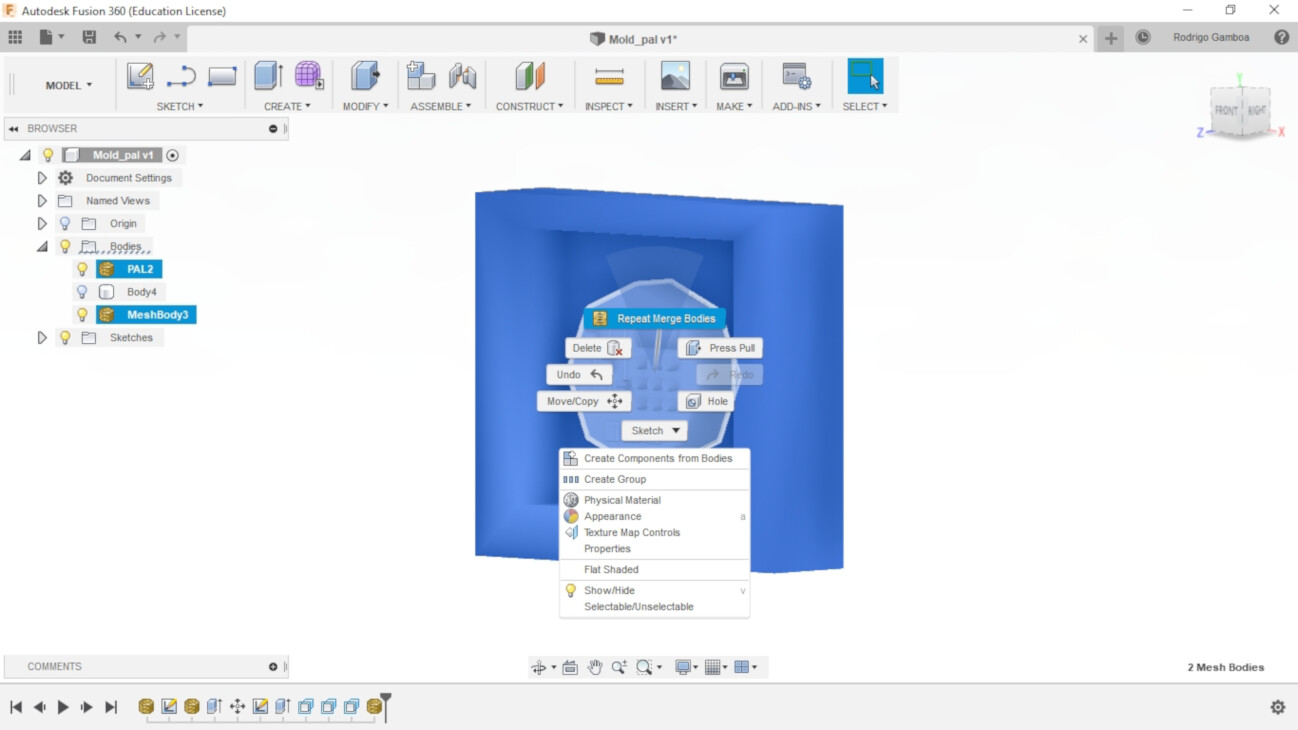
- Right click object in panel: Edit
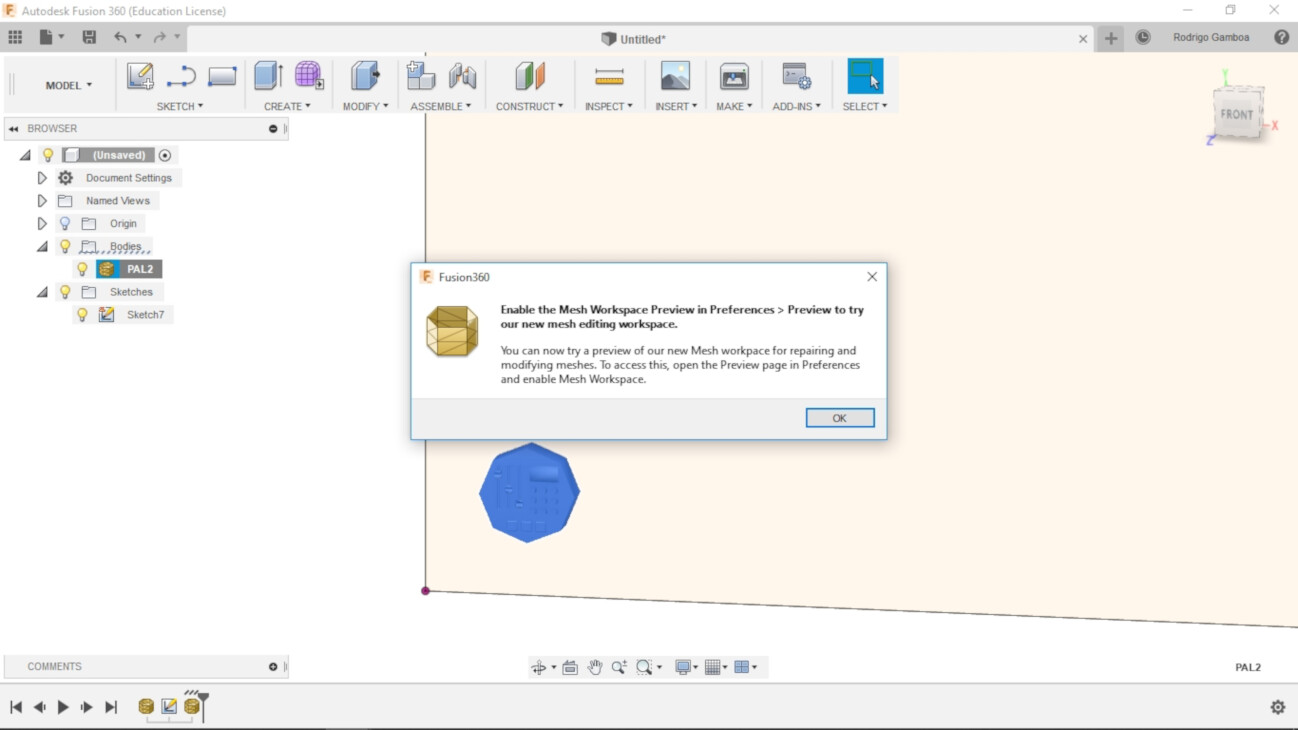
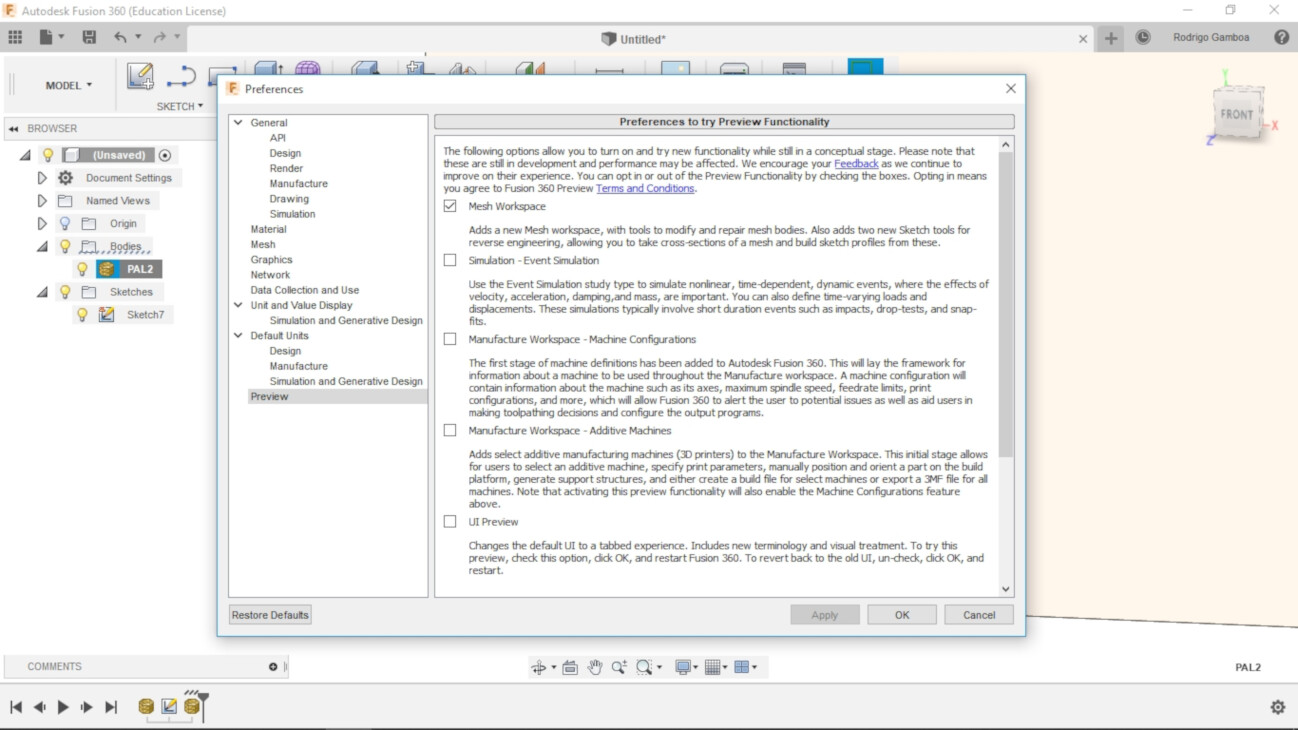
It appeared this message, saying that I need to change some options to enable the Mesh Workspace.
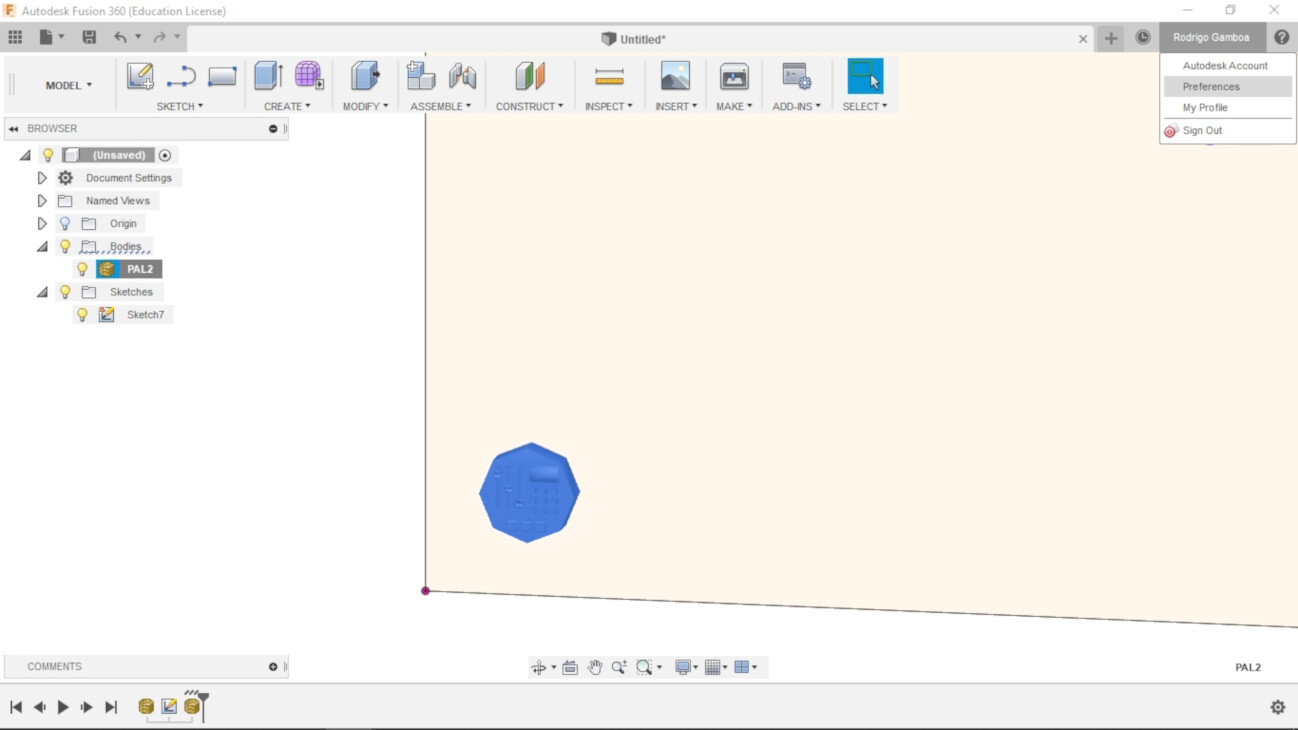
- Go to your username at the top right corner of the interface.
- Click Preferences.
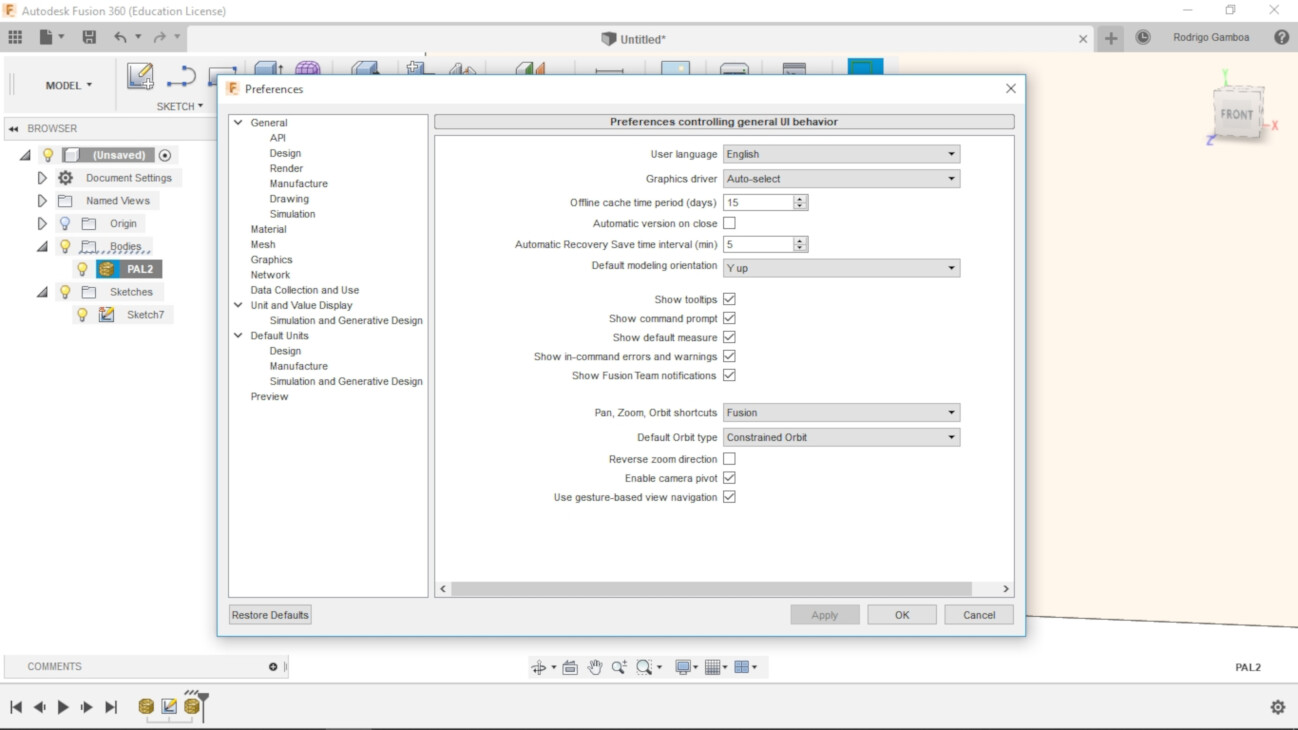
- Click Preview.
- Enable the Mesh Workspace option.
- Click on Apply and OK.
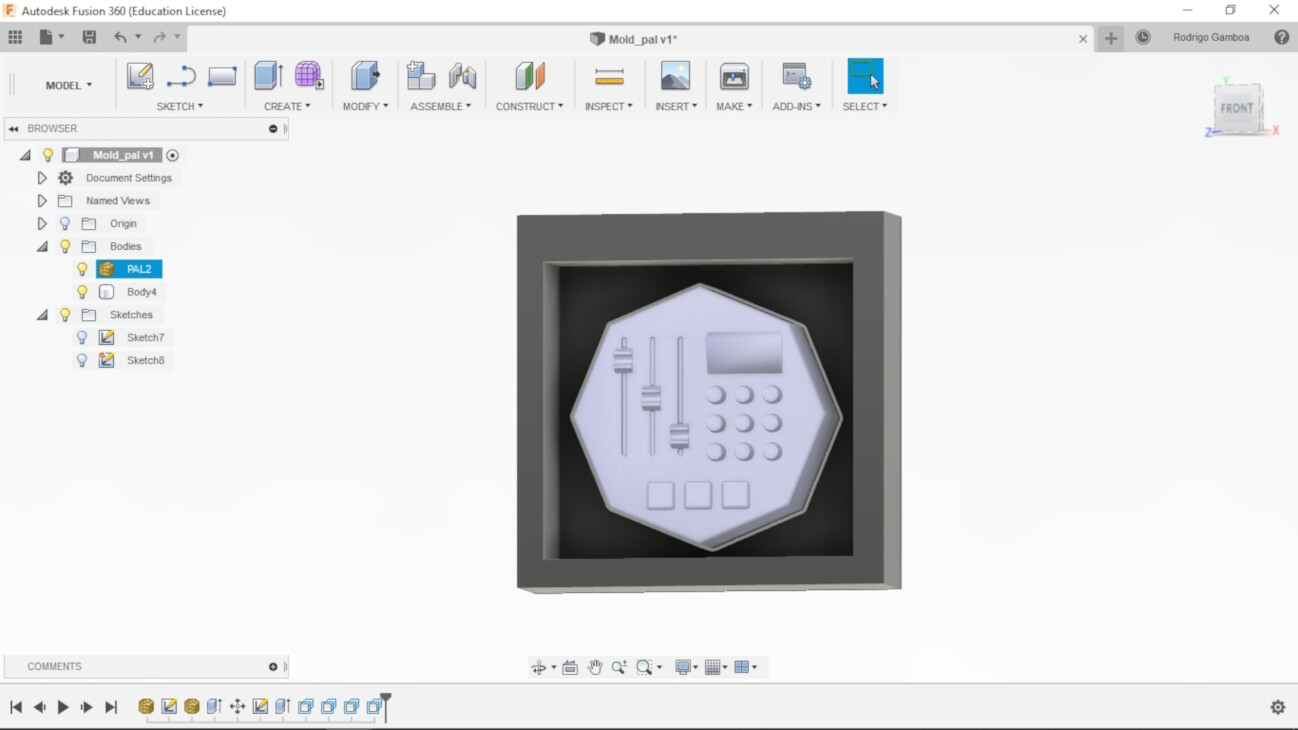
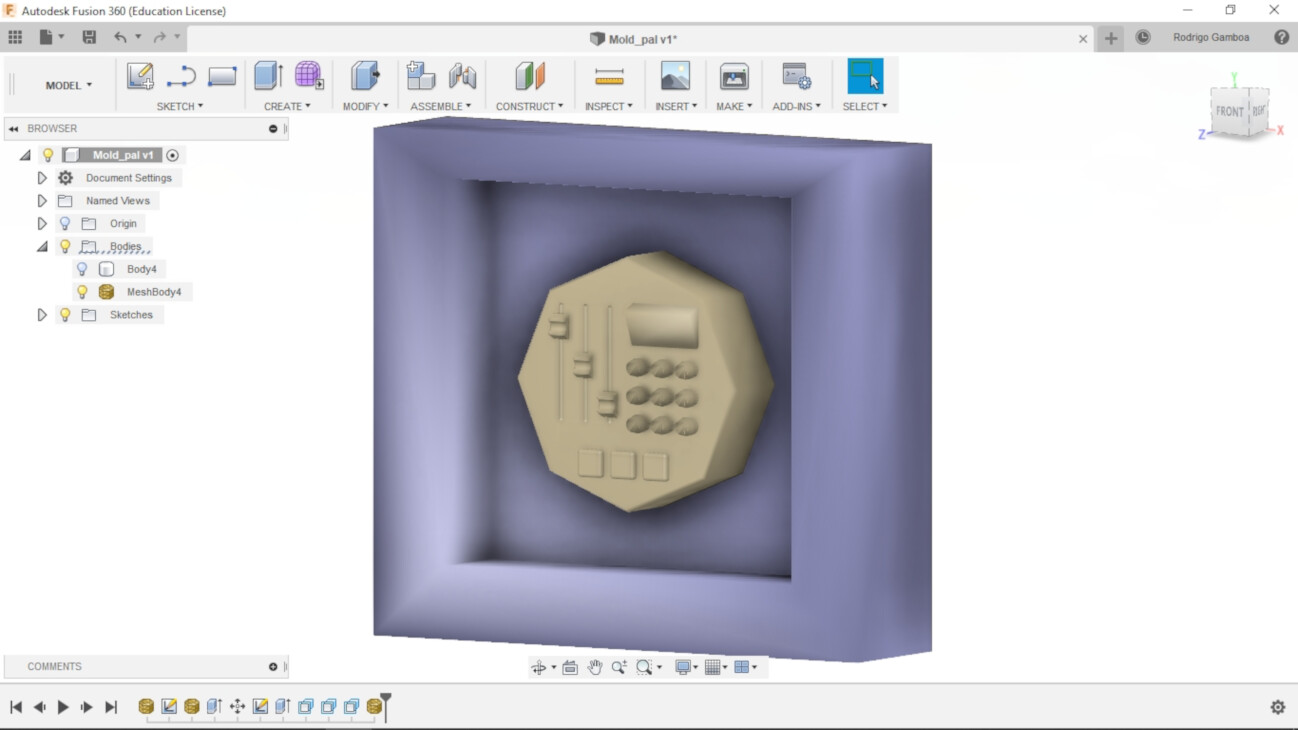
Then I designed the extruded box around the object.
To merge the object and the box, I needed to convert the box into a mesh. So I saved the box into an STL.
I then imported the STL box as I did before wit the object.
I then selected the option Merge Meshes while selecting the object and the box.
I saved the merged result into STL.
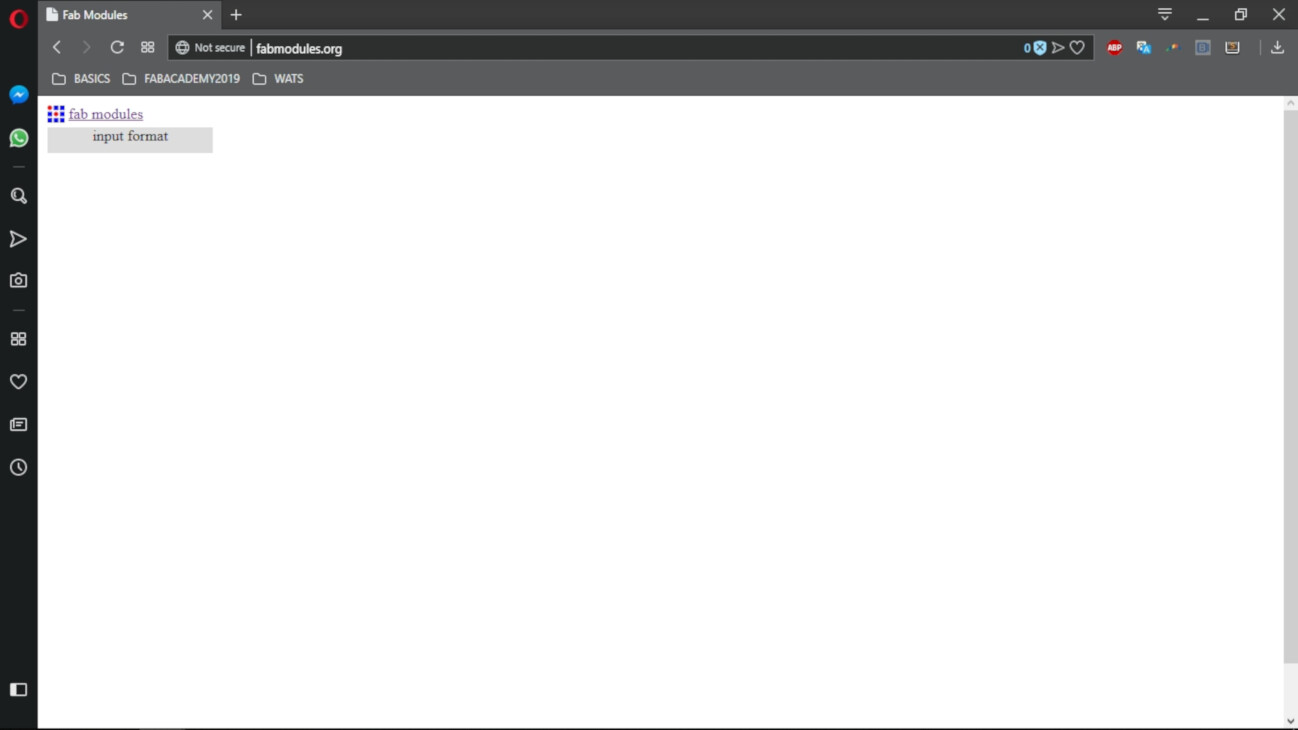
FabModules
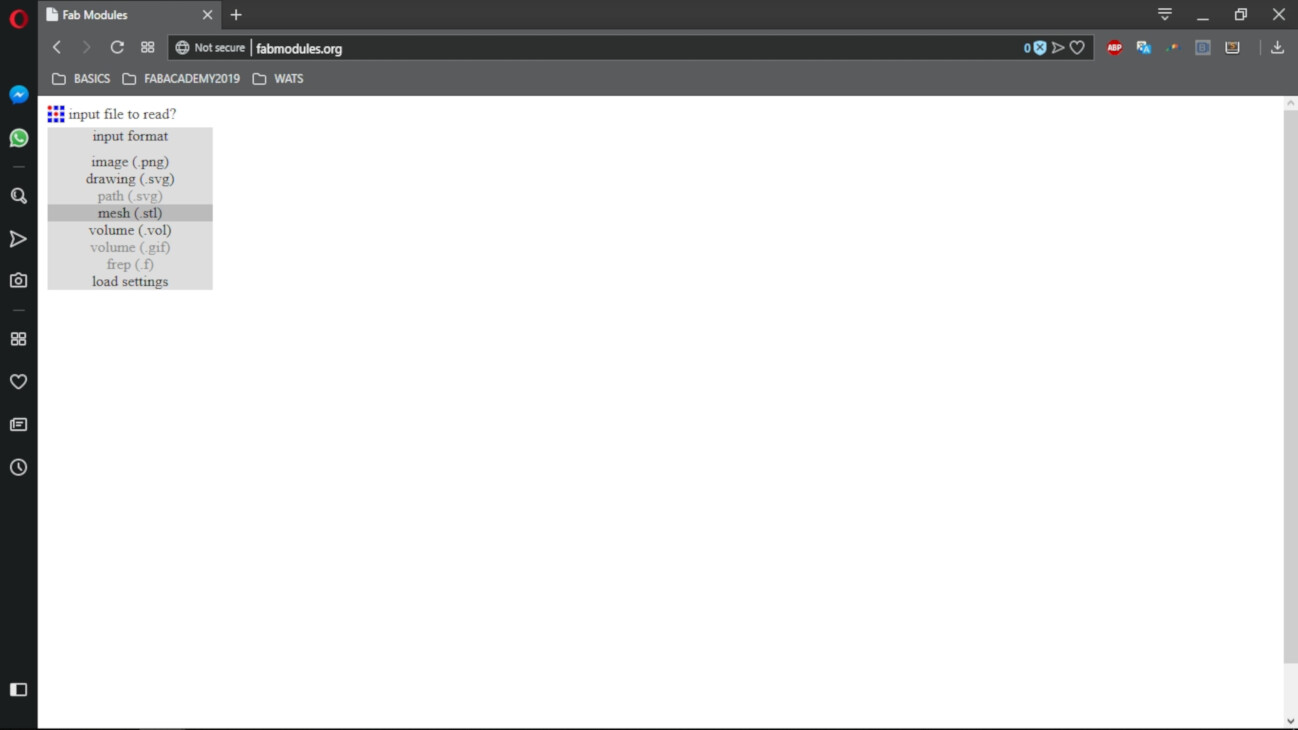
To generate the .rml file for the Roland SRM-20 to mill the mold, I used FabModules.
I imported the STL.
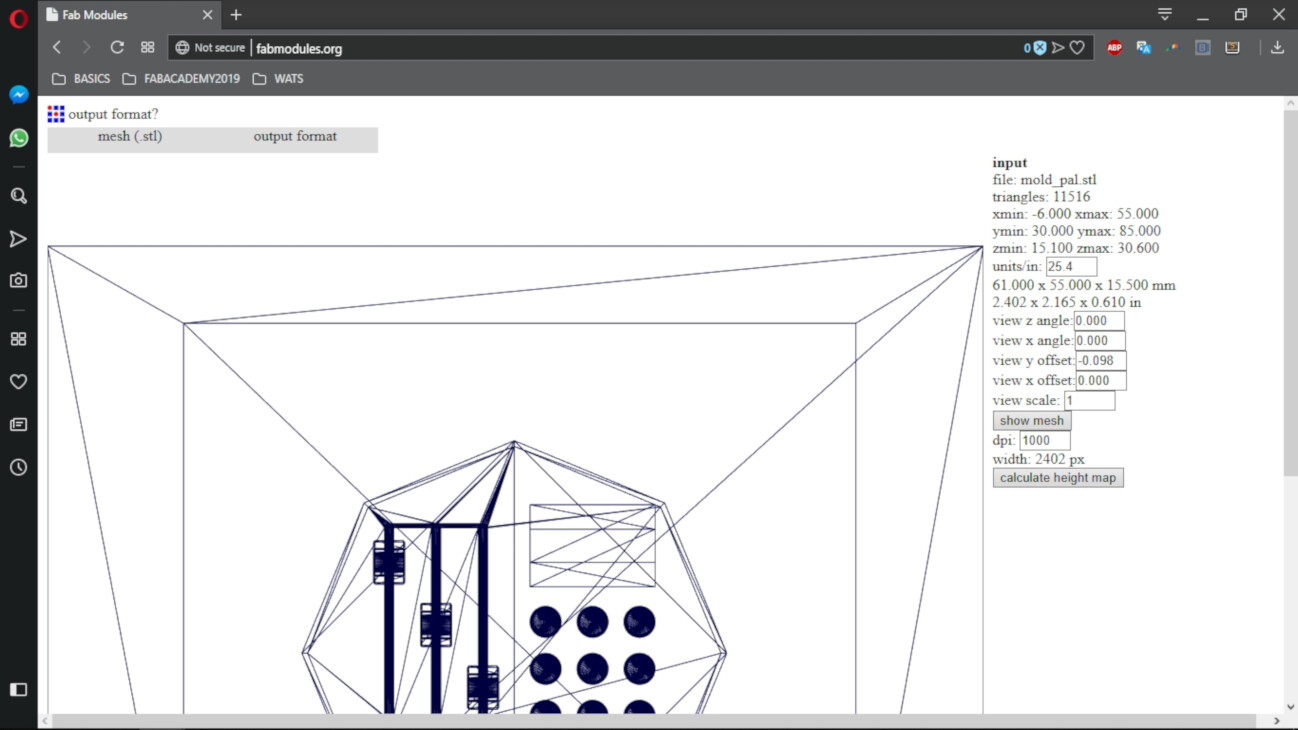
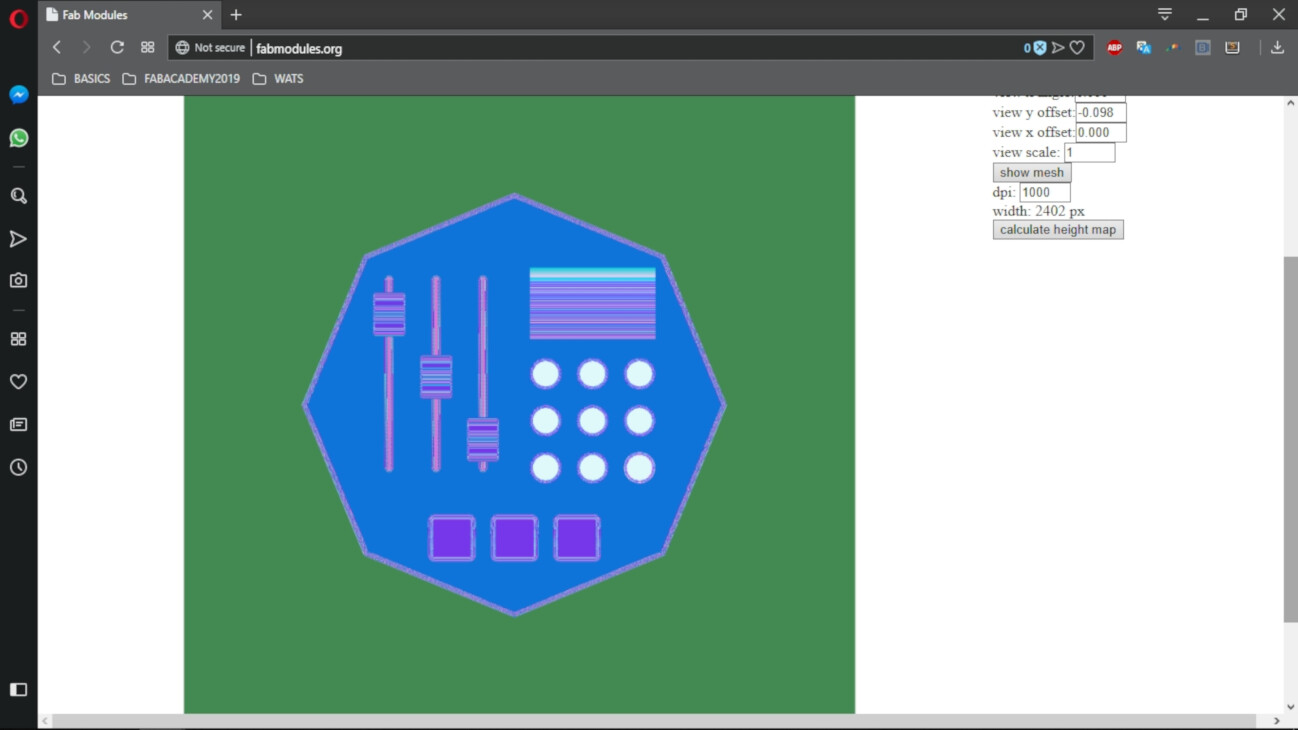
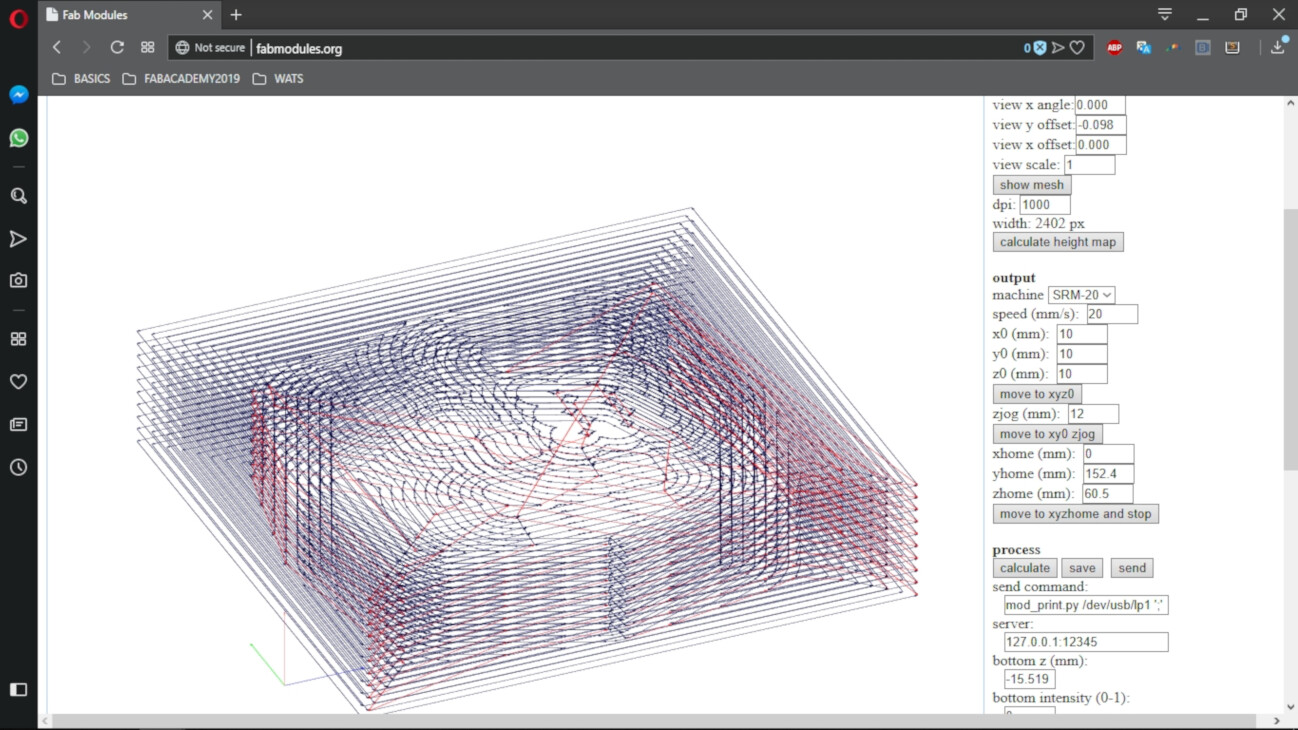
At first the measures showed in the top right corner of the FabModules interface where way beyond the original size. To fix this I had to write 25.4 into the units/in box. I then hit the "calculate height map" button. The colored version showing the different heights appeared on the screen.
I selected the Roland Mill (.rml) and the Wax Rough Cut (1/8) options at the top of the FabModules interface, and select the SRM-20 option on the right. I then clicked the Calculate button.
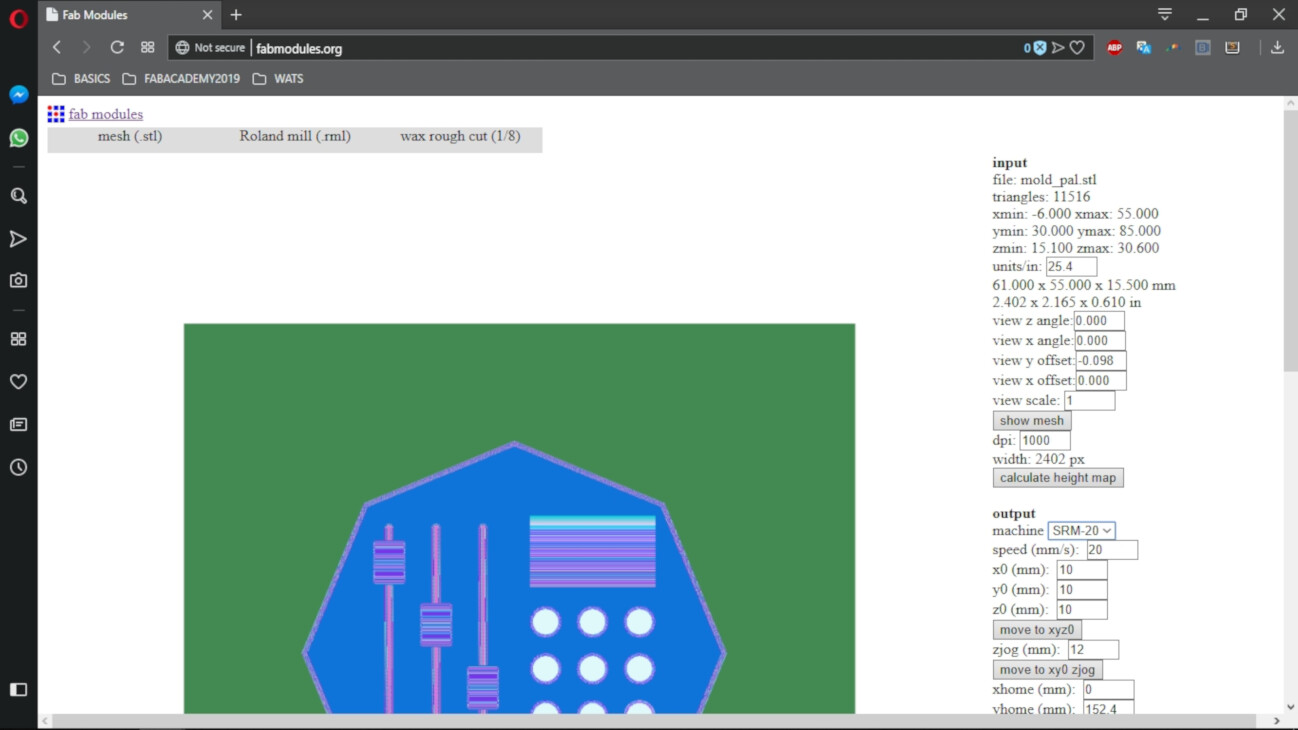
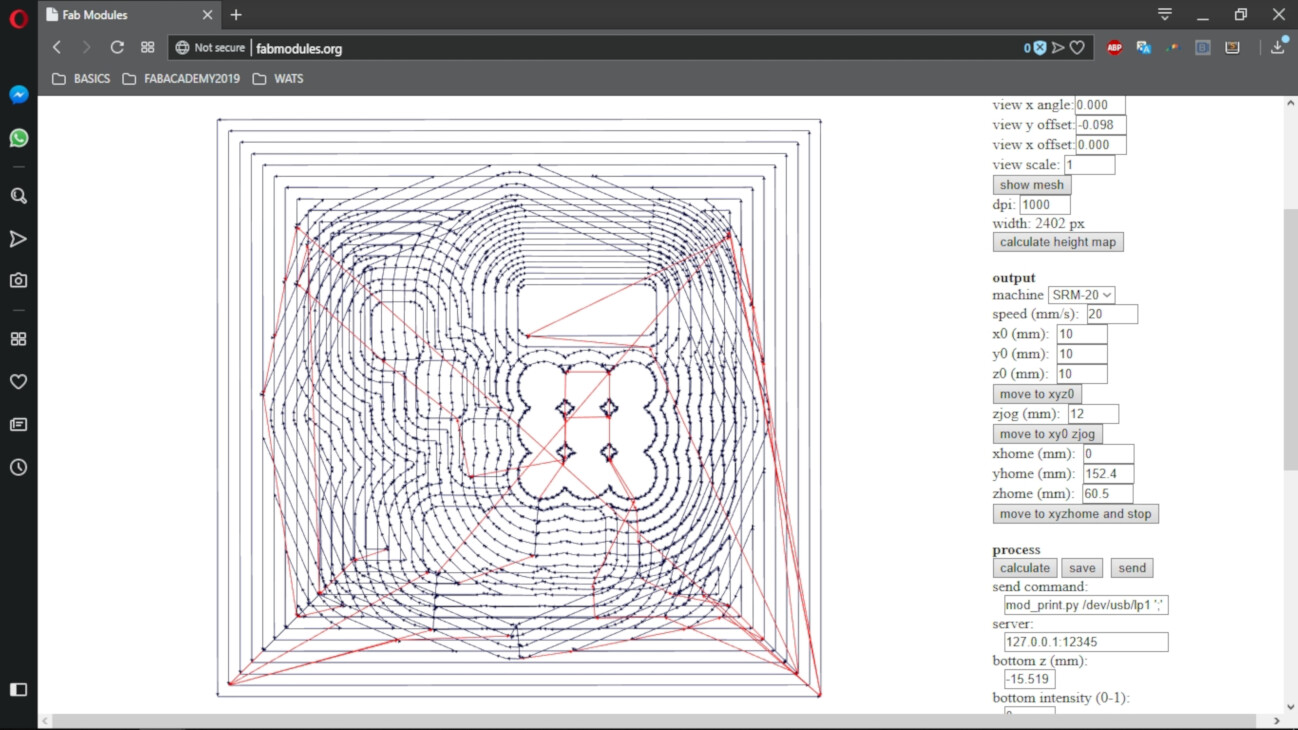
I saved the .rml.
Fabricating the (positive) mold: Styrofoam and Wax
Styrofoam
To test the file generated in FabModules, I first used a block of styrofoam. I removed the MDF bed it was on the Roland SRM-20 for cutting the PCBs (to elevate the boards), as the block don't need that height.
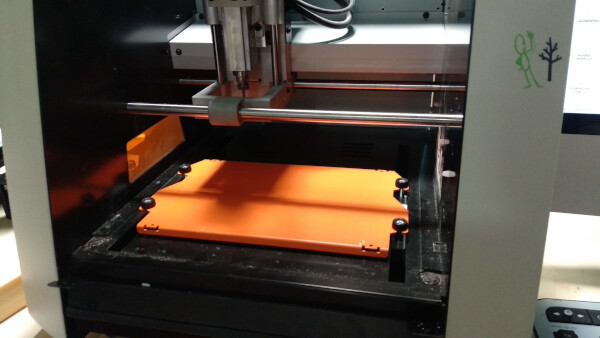
I put double-side tape on the bottom of the styrofoam block and put it on the metal bed.
I used a 1/8" bit (3.175 mm) as the rough cut, placed in the down-left corner of the block and I ran the job from VPanle. At first, the bit was cutting in the air, so I returned to my original design and noticed that I had my plane separated from the piece, so maybe that's why the cutting job was doing that offset. I placed the model on the plane and exported the STL again. After this I ran the cutting job again and begin milling the styrofoam block.
After the rough cut was finished, I changed the bit to a 1/16" (1.5875 mm) for a finish cut. I then ran the second cutting job.

Although the little knobs of the console were not completely separated from each other due to the size of the model and the diameter of the bit, I was pretty satisfied with the result. Removing the styrofoam block from the metal plate was a little hard and messy as there were some foam parts that got sticked everywhere, so for the next cutting I'm using a lasercutted MDF plate. Now it's time to mill the wax!
But first, clean completely the machine! As the wax can be heated and reused and you don't want pieces of styrofoam in there. Using a vaccum is the easiest and fastest way.
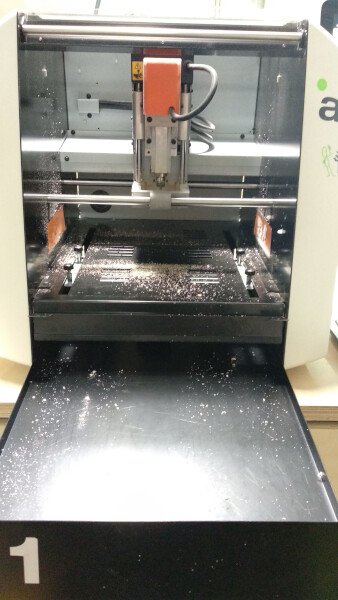
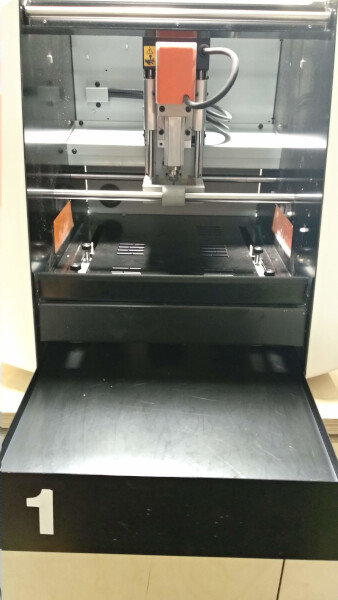
A clean machine is a happy machine!
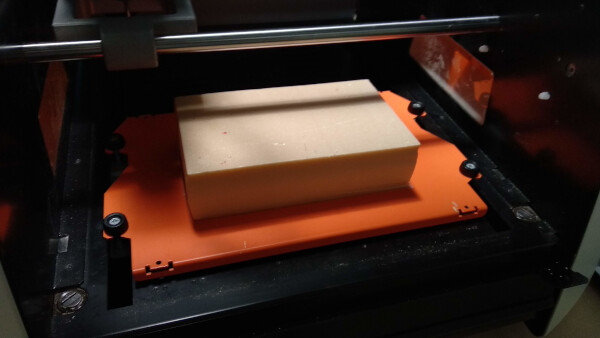
Machinable wax
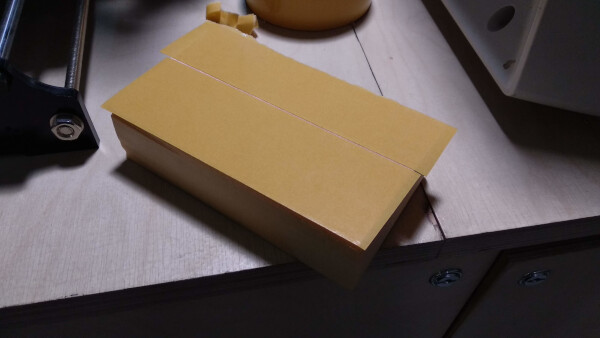
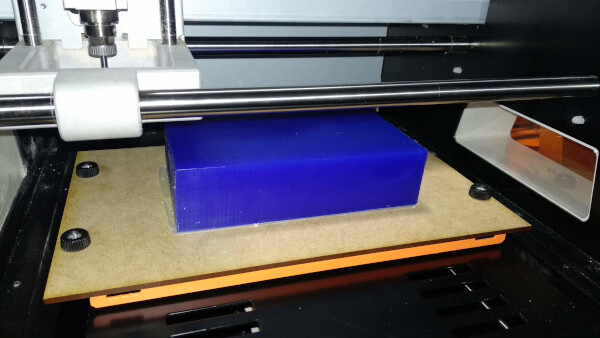
This is the wax block I'm milling.
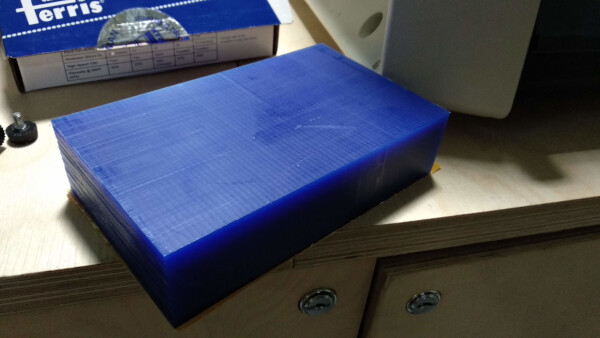
- Dimensions: 14.5 x 8.5 x 3.5 cm
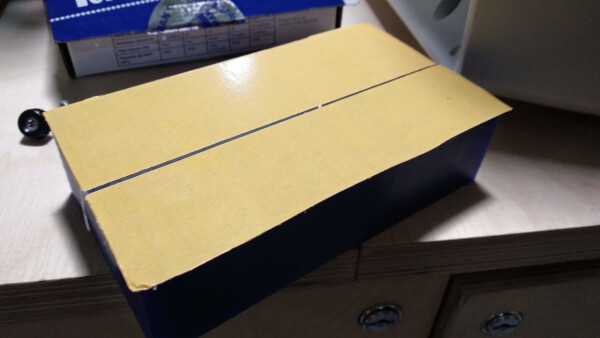
First I sticked some double-side tape on the wax block.
I fixed the lasercutted MDF plate on the metal bed.
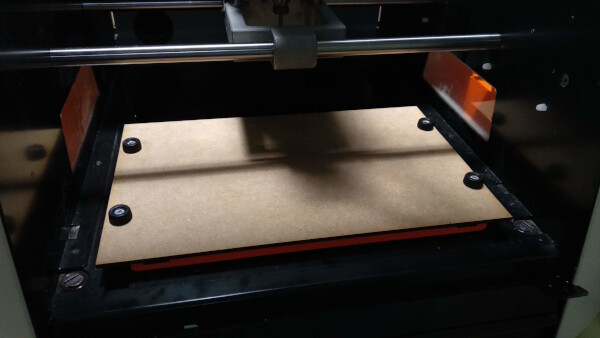
Sticked the wax block into the MDF.
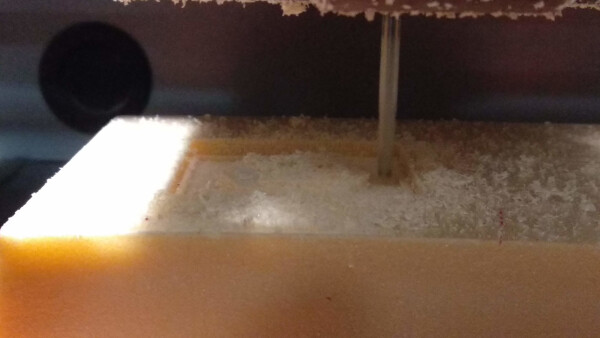
Placed the 1/8" bit into the collet chuck, and set the origin of the machine into the down-left corner of the block. Then I ran the rough cut job.
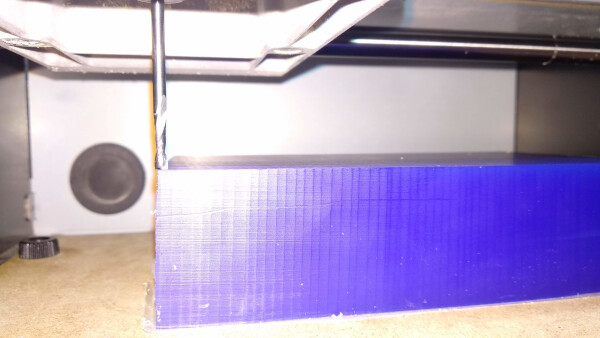
After a few seconds of cutting, the machine stopped and it showed a message on the VPanel software. The bit was completely moved out of place.
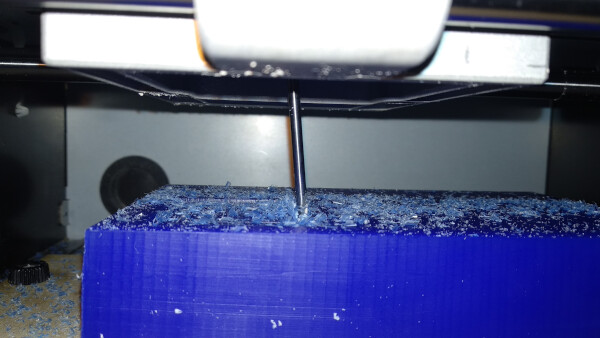
It seemed that I didn't tight enough the collet, and the bit was not deep enough into the collet. I fixed this problems and ran the job again. This time everything went fine and fortunely the model wasn't ruined by that mistake.
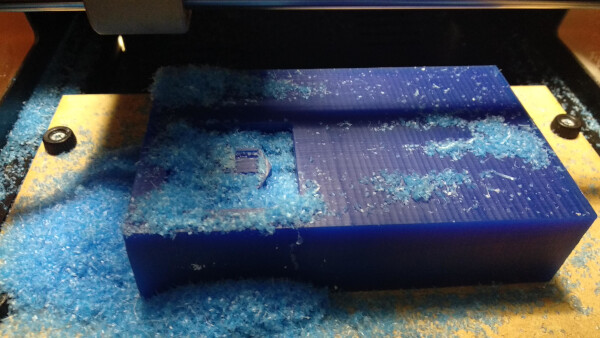
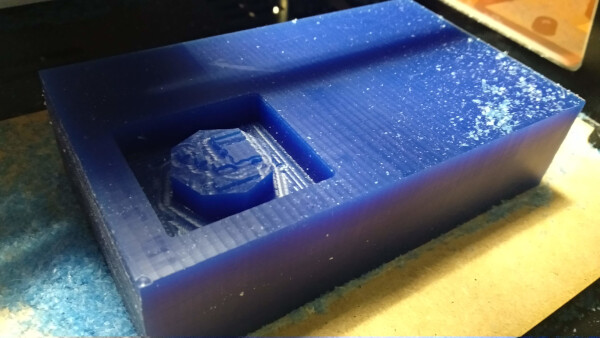
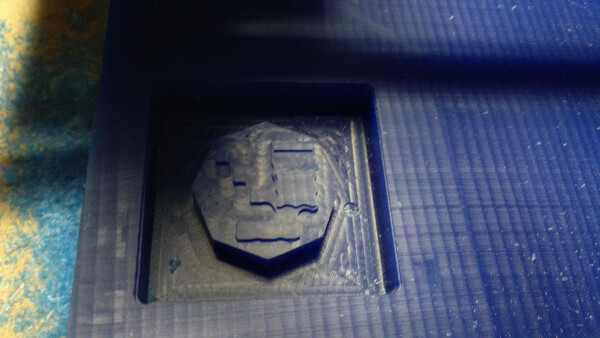
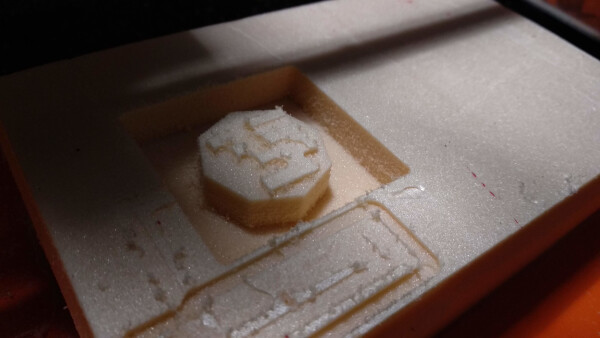
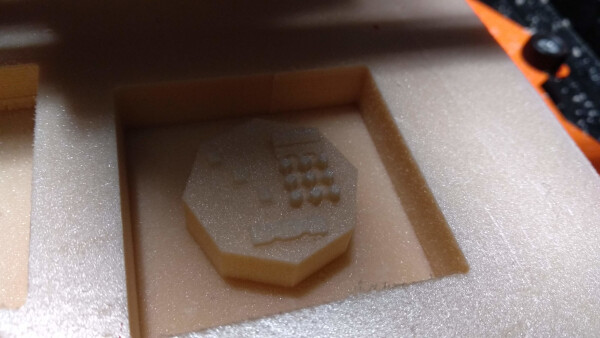
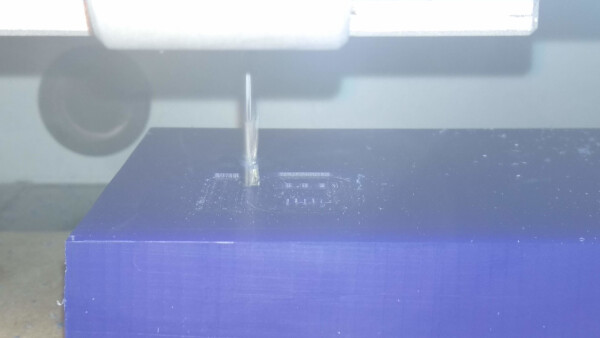
I changed the bit to a 1/16" and ran the finish job.
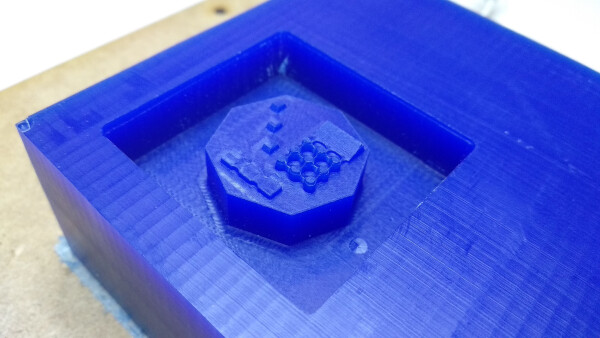
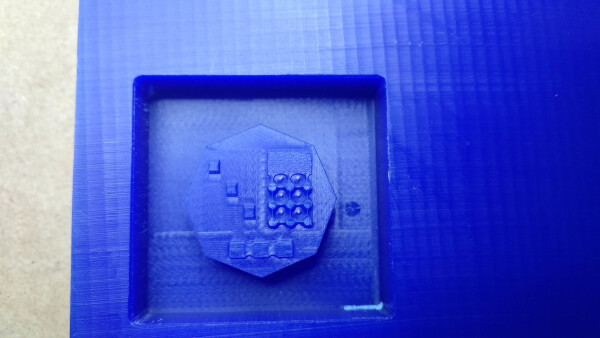
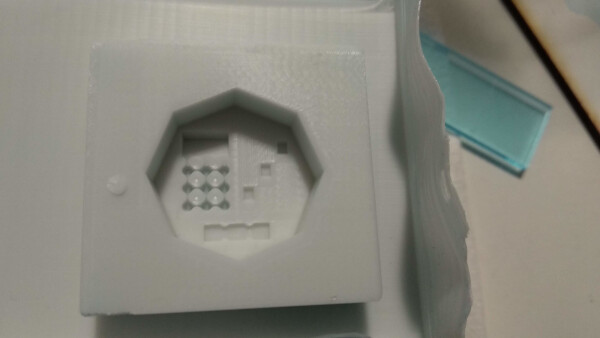
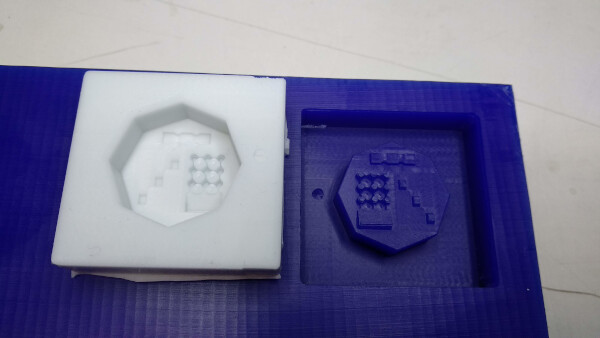
In the wax the no-separation of the little knobs is more visible, but again I was very pleased with the result, so I went to the next step, making a negative mold of silicone!
Security
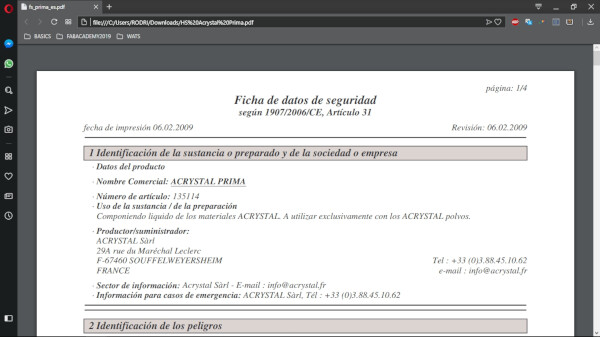
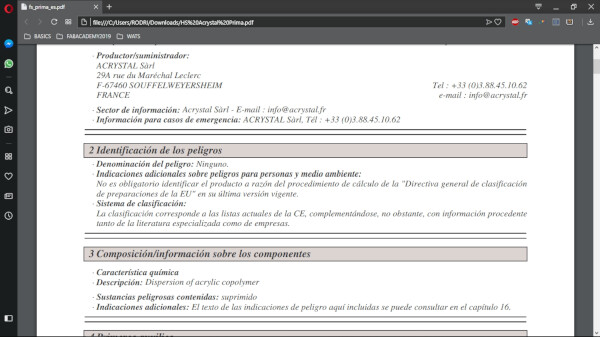
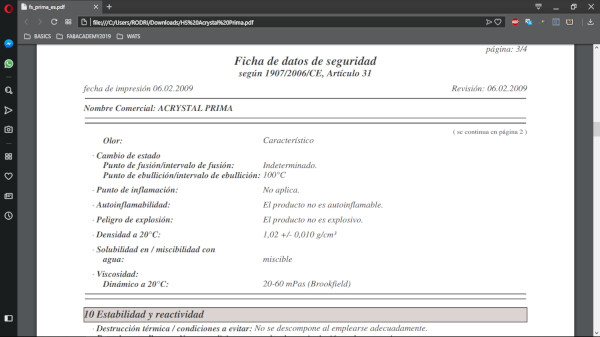
Before using this materials (silicone and resine, with their respective catalyzers) it's extremely important to read their security datasheets, also called MSDS (Material Security Data Sheet).
As the MSDS says both of this materials are safety to use, using protective clothing and wearing gloves. Usually the contact with skin is not harmful and should not irritate the skin. This kind of silicone is not specialized to generate consumable molds. For example, there are some silicones that are speciallized for making food, like chocolate final products. These are called food-grade silicone.
The mixture between these catalyzers and the silicone or resing components, doesn't generate toxic fumes, so these can be safely mixed in a closed, well-ventiled environment like the lab. Some of these silicones can get hot as they are mixed, so is best to not let it touch the skin.
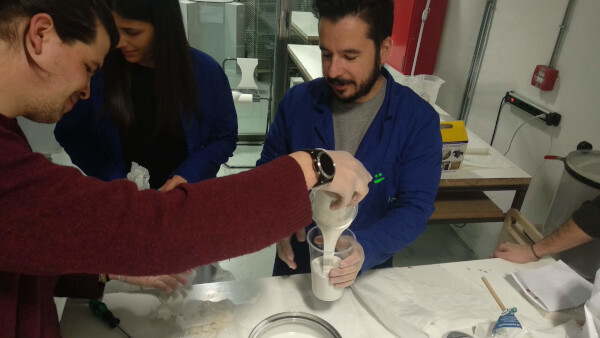
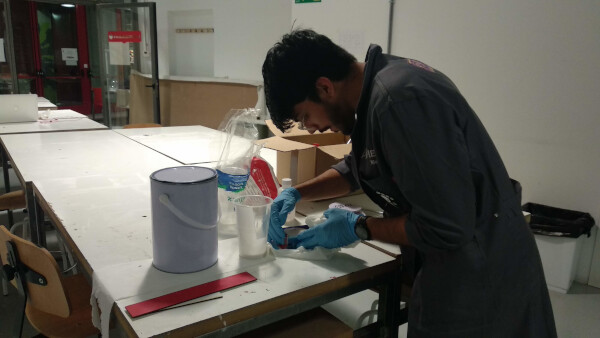
As you can see in a picture in the section when I was making the mixture, I used a lab coat and disposable latex gloves for skin protection.

Making the (negative) mold: Silicone
I this section I used the EASYL 3520 mixed with the catalyzer EASYCAT 20.
First things first, put on a lab coat and some lab gloves! Also something to protect your eyes.
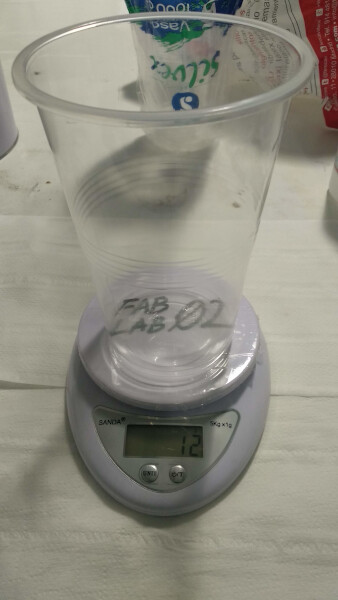
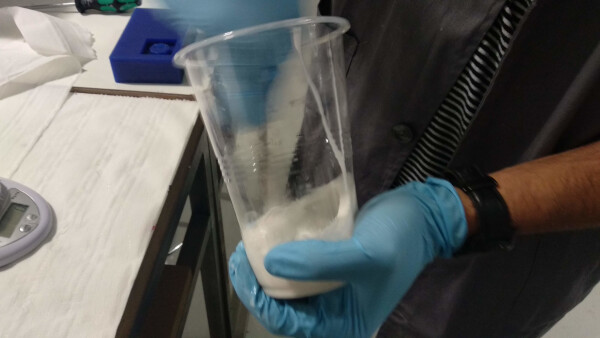
Using a digital scale I first weight the plastic glass and set the machine to 0.
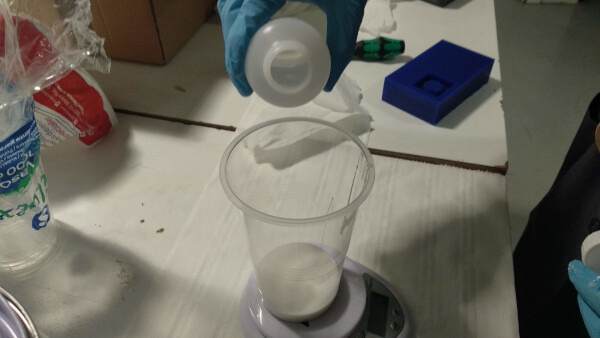
As I won't need much silicone for this, I poured 62 grams of EASYL3520 into the plastic glass.

As the mixture with the catalizer is in proportion 100:5 (5% of catalizer), I poured something like 3 grams of EASYCAT20
Then I stirred up the mix for a few minutes, until it felt kind of hardened and it didn't have clots.
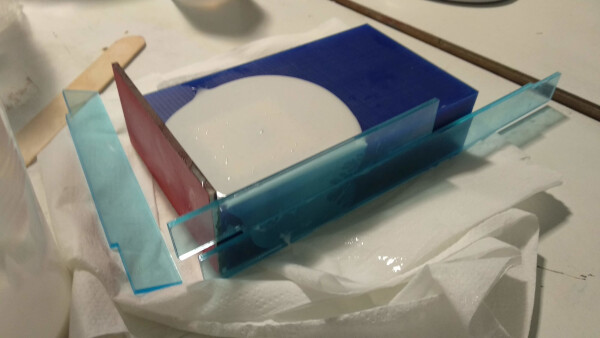
Then I poured the mix into the (positive) wax mold, making sure that the mixtured covered all. I shaked the mold a little bit to prevent bubbles.

As the mixture was pouring to the sides, I improvised a little case from acrylic pieces. It could have been more messy if I wouldn't have had those pieces.
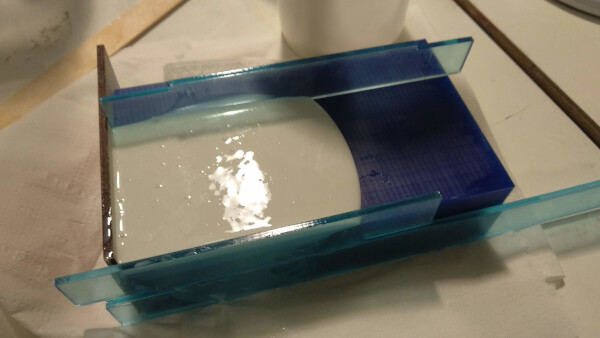
I did this process on friday night, and as the lab is closed until monday, I let the mold drying all weekend.
Making the final product: Resin
I this section I used the ACRYSTAL BASIC mixed with the catalyzer ACRYSTAL PRIMA.
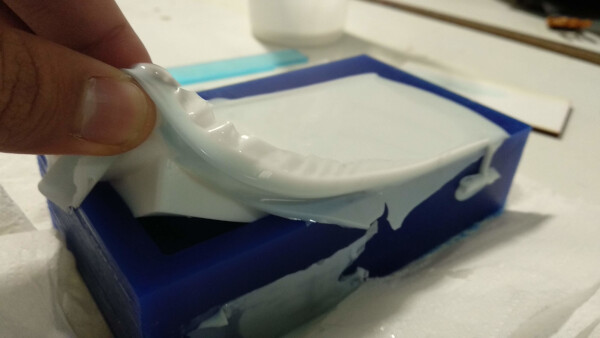
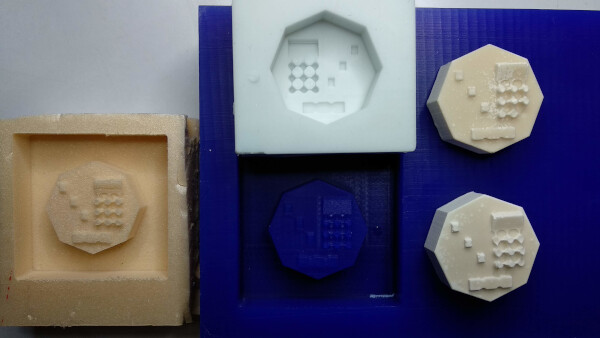
I first removed the dry silicone.
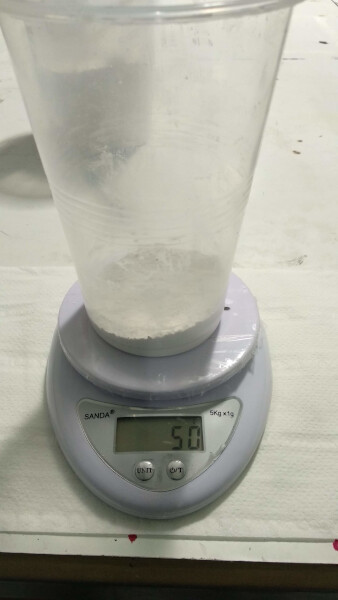
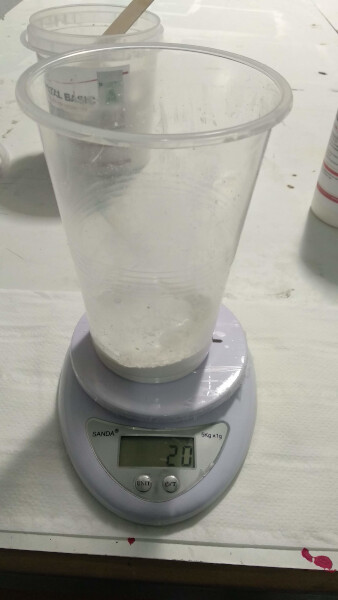
The proportion of the mix is 2.5:1. so I poured 50 grams of the ACRYSTAL BASIC and 20 grams of the ACRYSTAL PRIMA in the plastic glass.
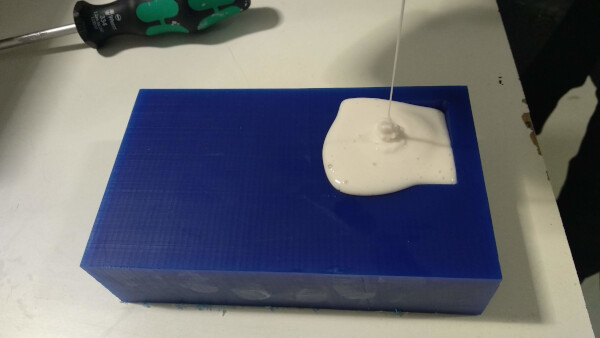
I stirred the mixtured and poured it in the silicone mold.
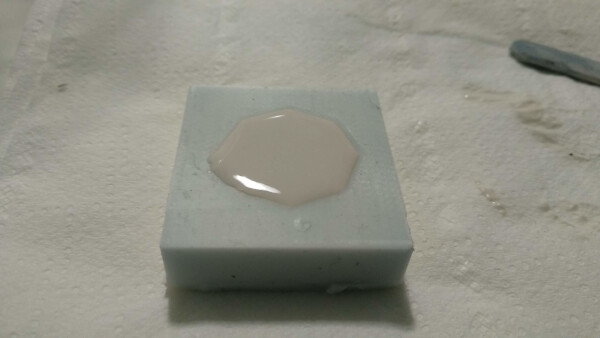
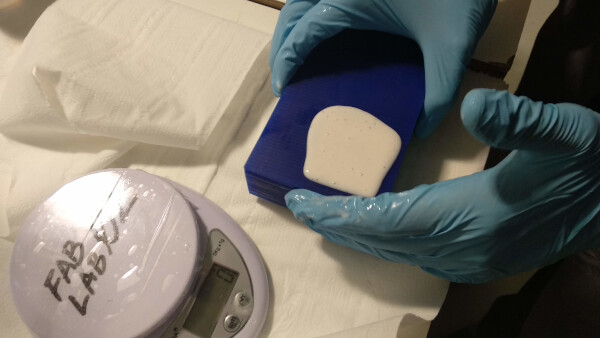
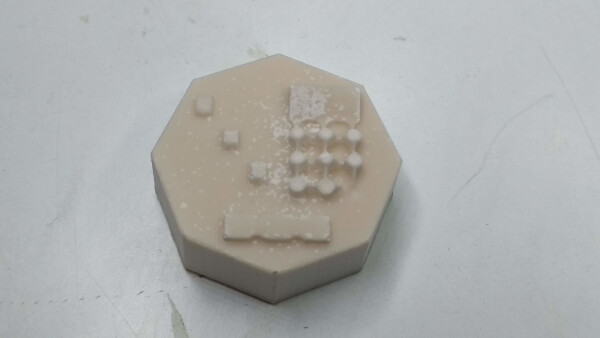
I left it to dry for a few hours, although the drying process is much faster. This is the final result:
Files
Group Assignment
To see this weeks group assignment click here.