Molding & Casting Week #10
Introduction
This week we have two main assignments:
- Individual Assignment: Design a mold around the stock and tooling that you'll be using, mill it (rough cut + (at least) three-axis finish cut), and use it to cast parts
- Group Assignment: Review the safety data sheets for each of your molding and casting materials, then make and compare test casts with each of them
1. Design a mold, mill it & cast parts (Individual Assignment)
1.1 Mold Design
- As the holy month of ramadan is approaching, I though of designing a miniture lantern to celebarate the month.
- I liked this design concept, and decided to make a miniture version of it.

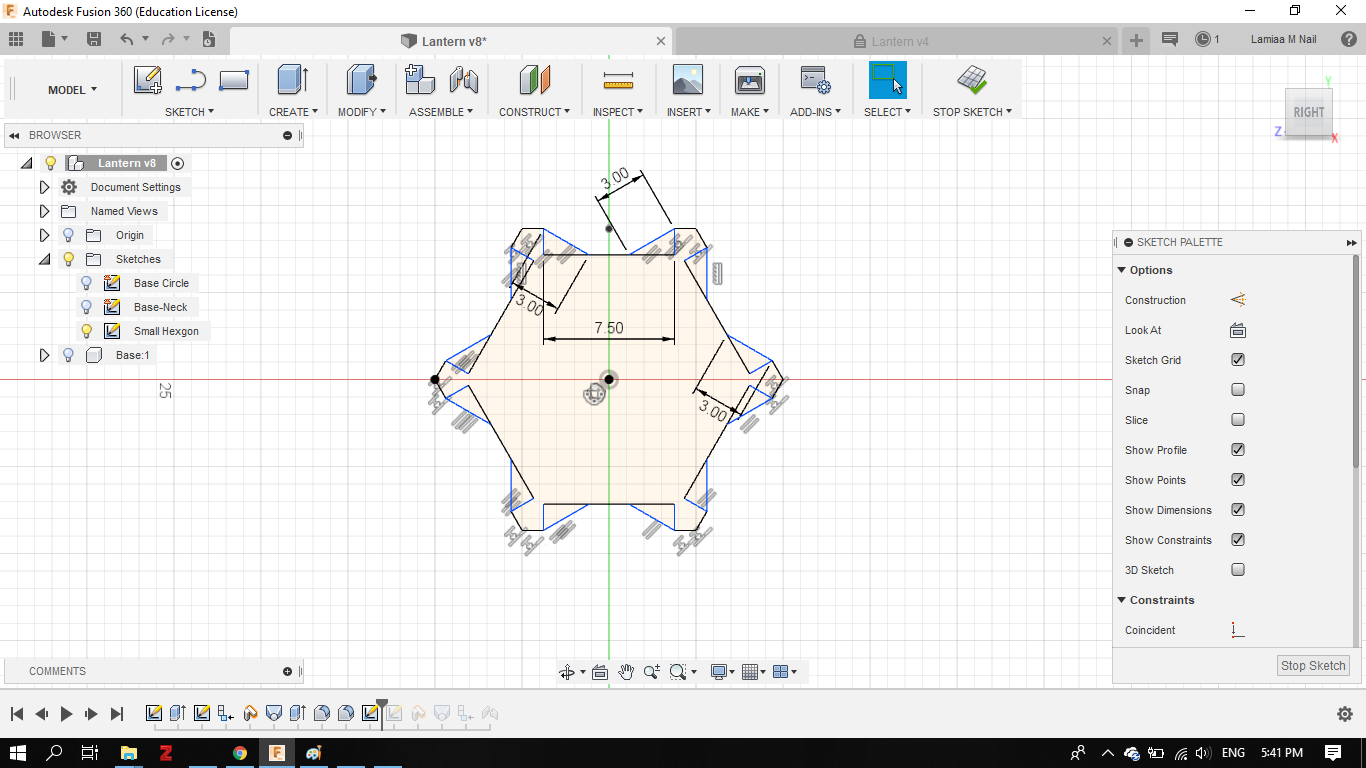
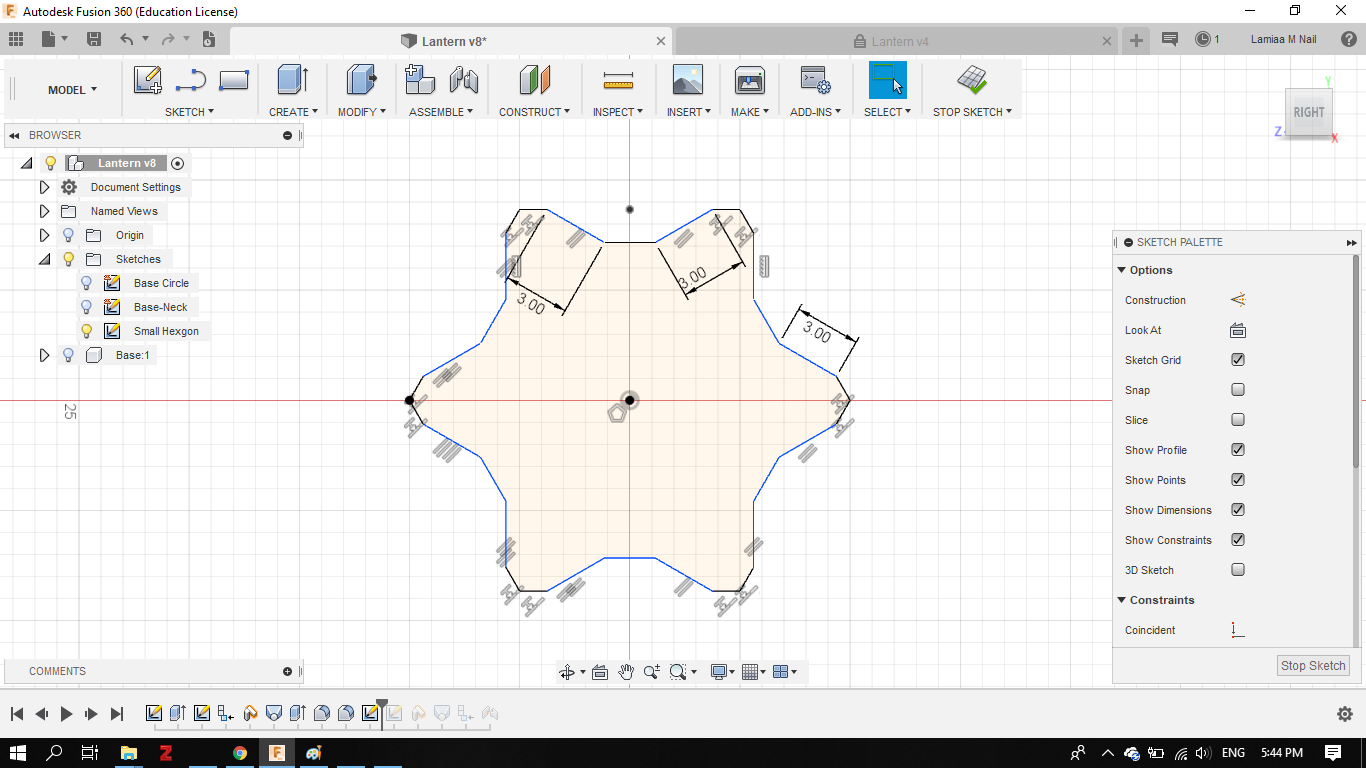
- I used Fusion 360 to design my mold. The drew the cross section of the lantern in a hexgonal shape with wide slots on each side.
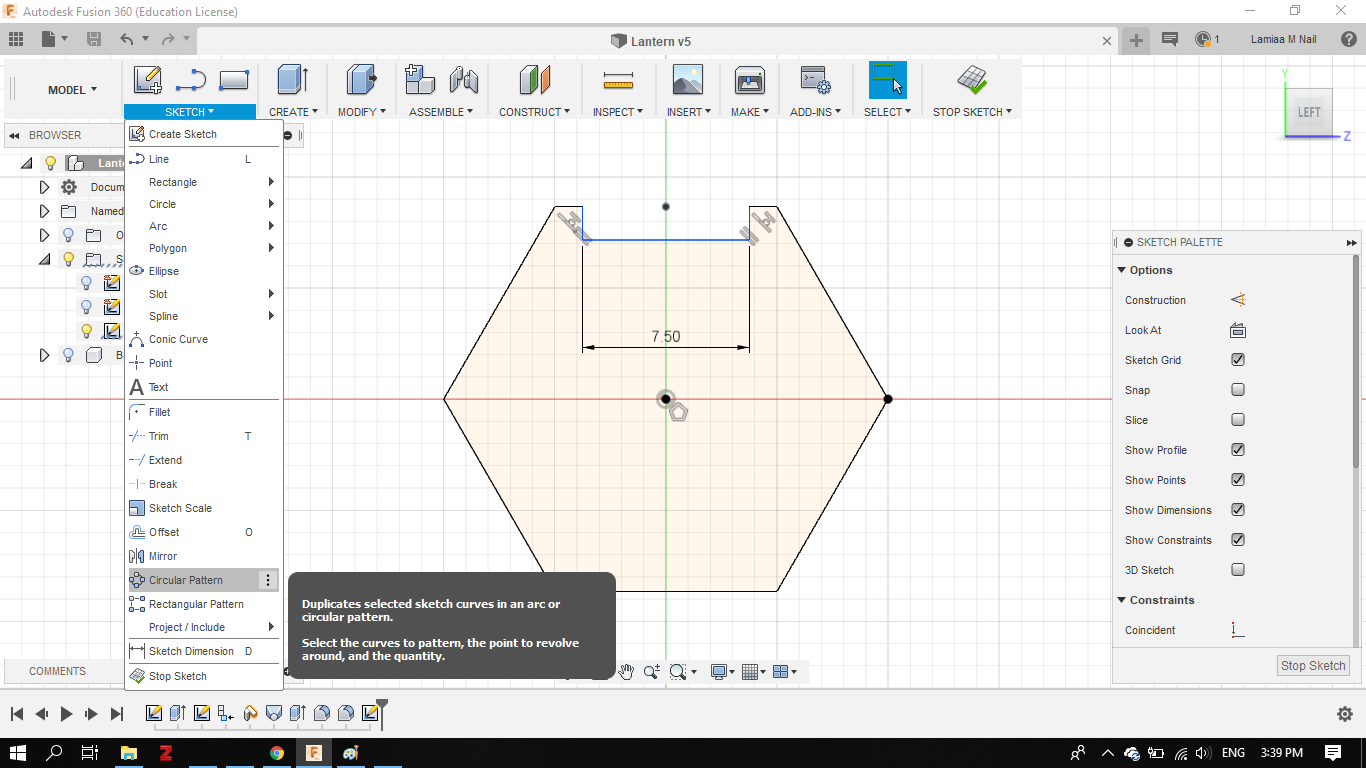
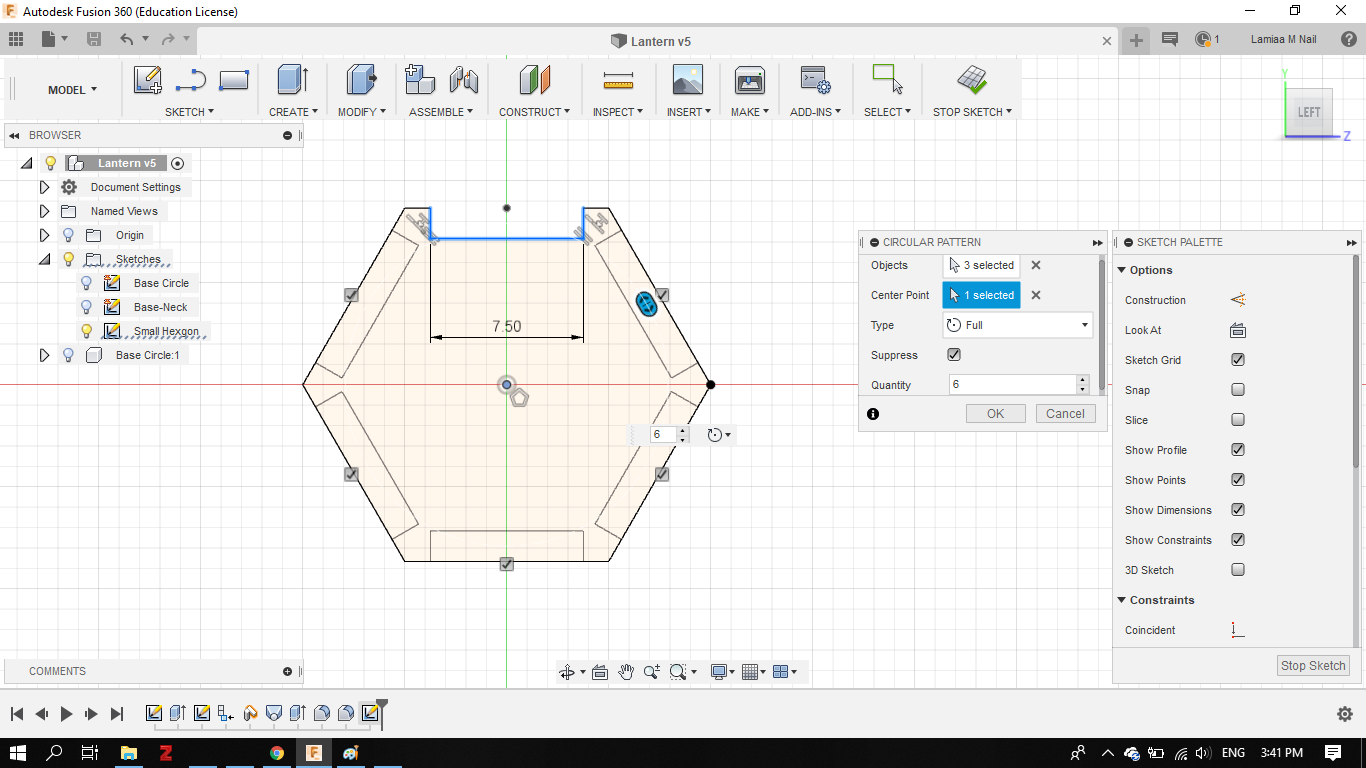
- I copied the hexagonal shape, scaled it and moved it vertically away from the original one.
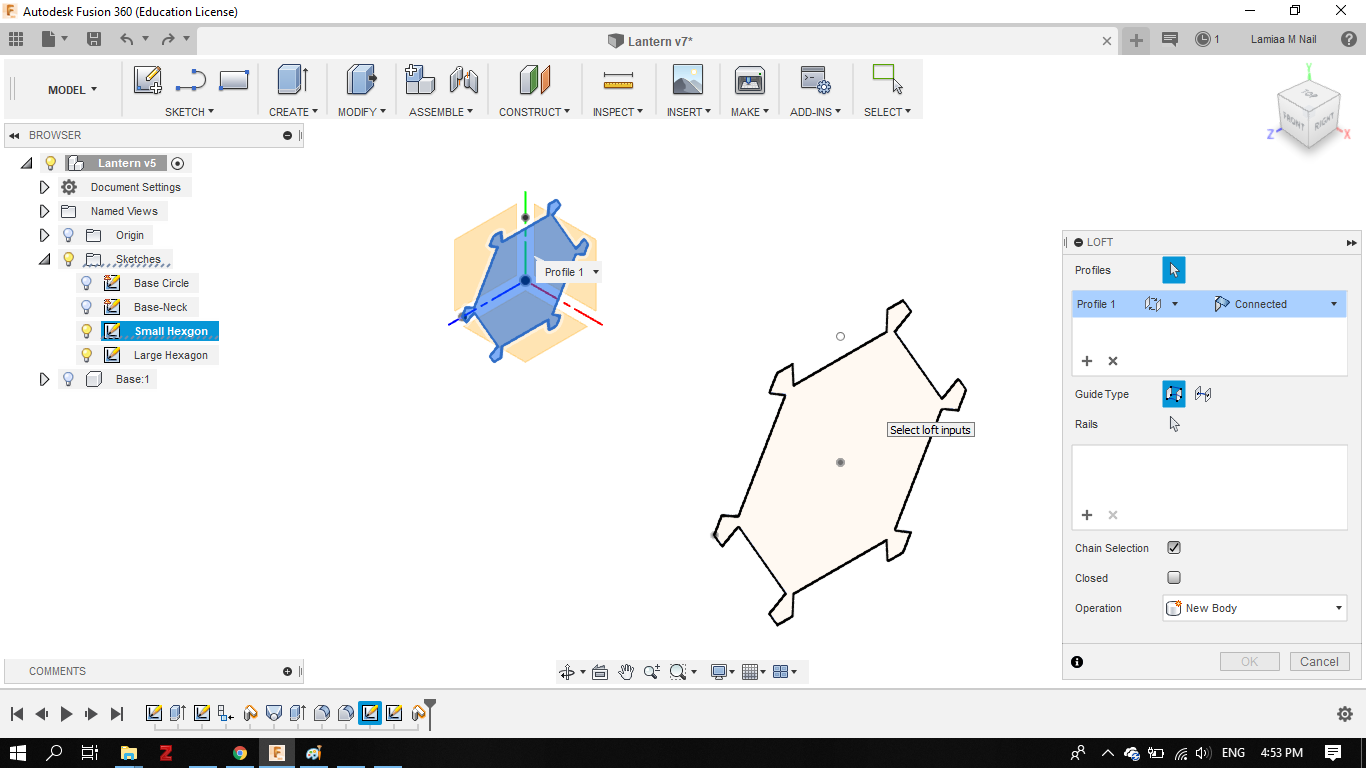
- Then, I created a loft between the two shapes
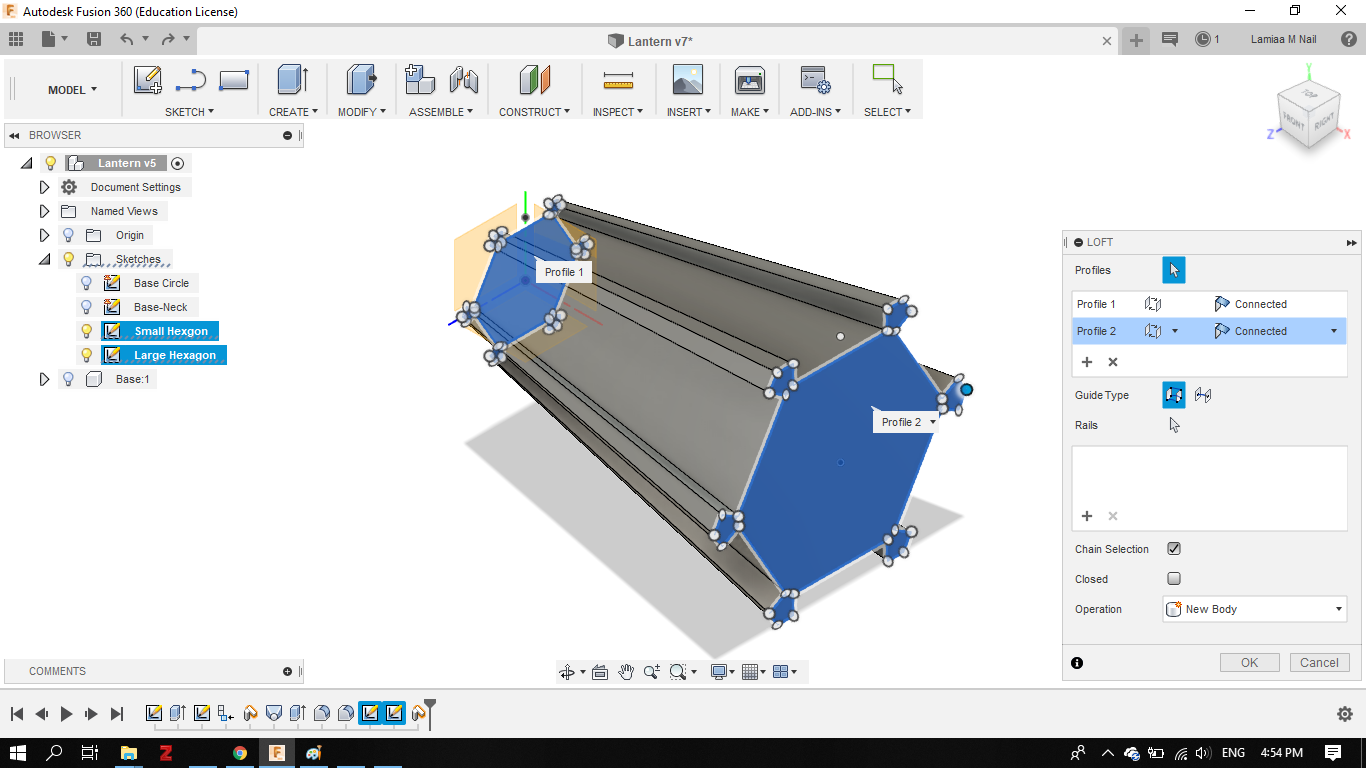
- Afterwards, I realized a huge mistake that I made. as I looked at the object's cross-section from above I realized that some of the edges will no be accessible to the milling tool, so I had to get back and the hexagon's design and I made these edges with angles that made it parallel to the tool.
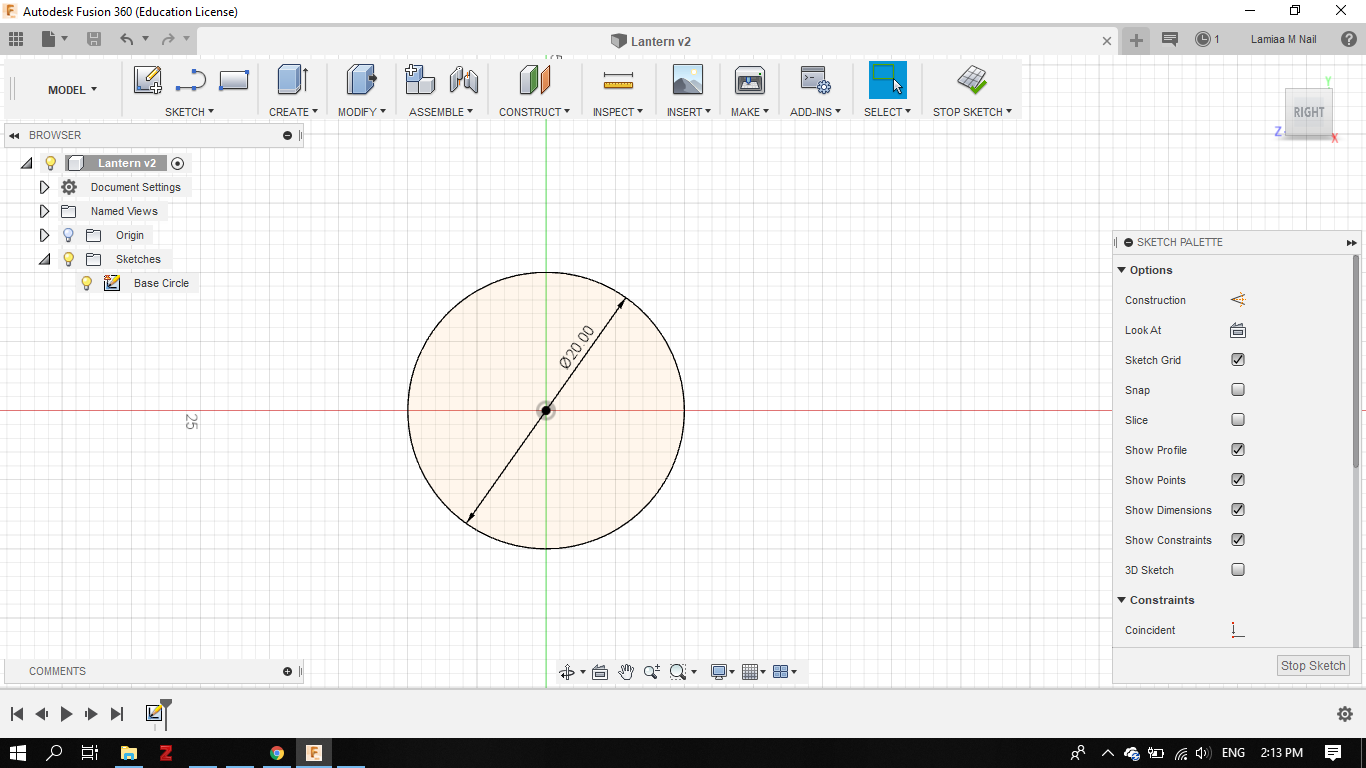
- I sketched a circle for the lantern base.
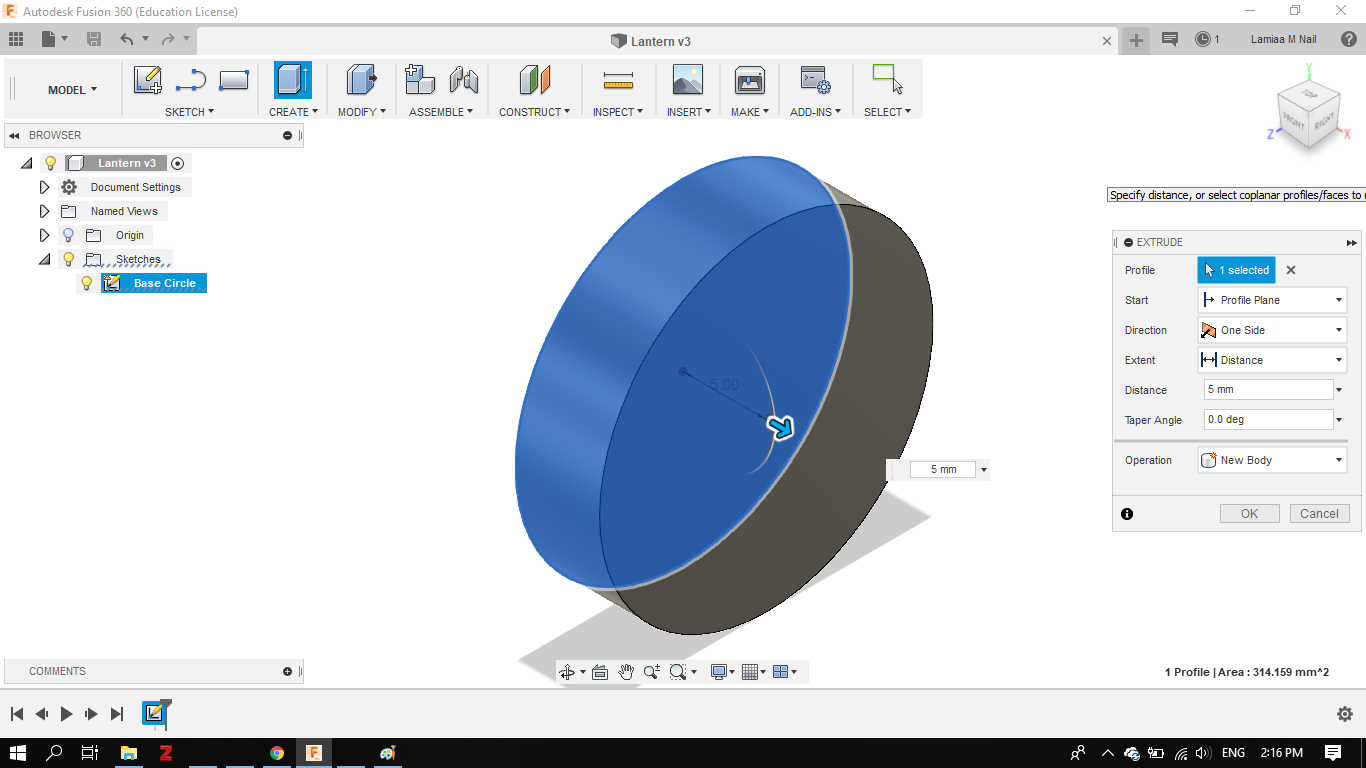
- Then, extruded the circle into a cylinder.
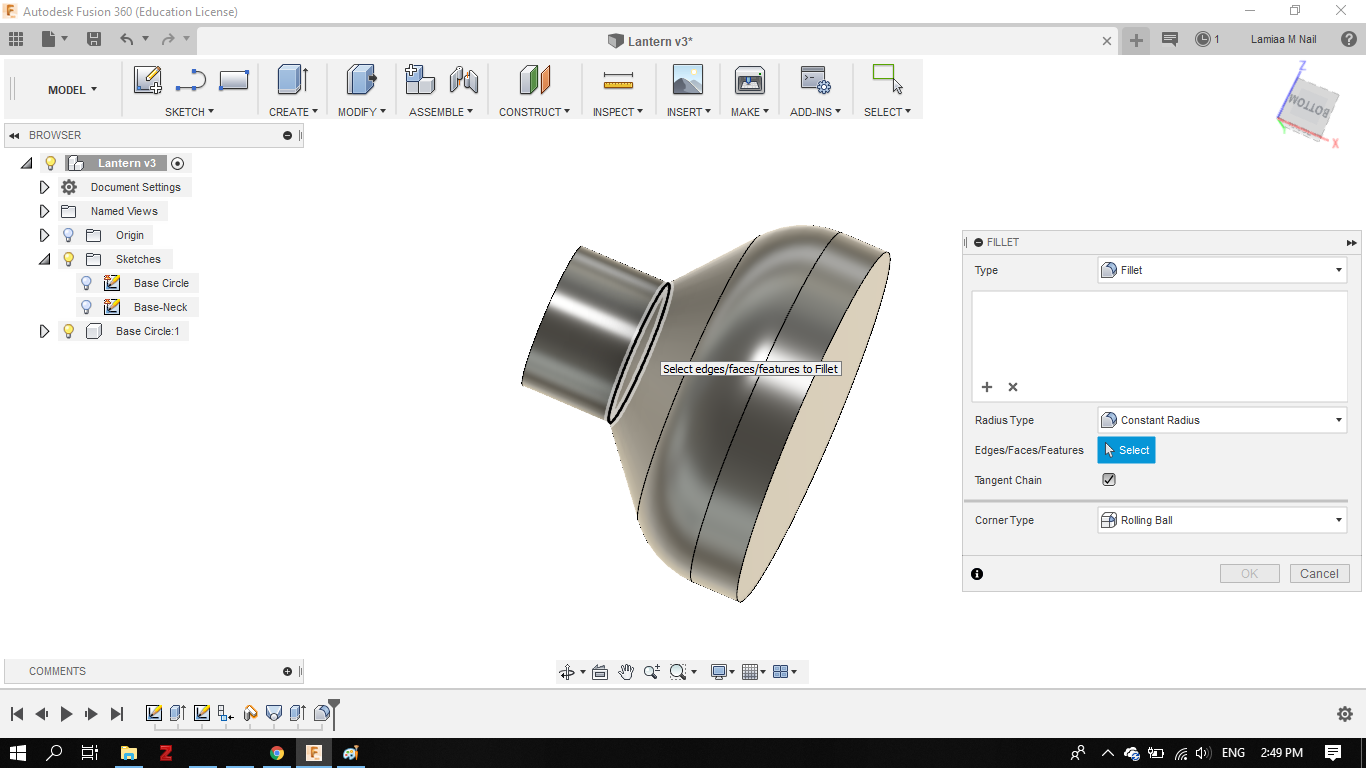
- Then, combined the base with the body
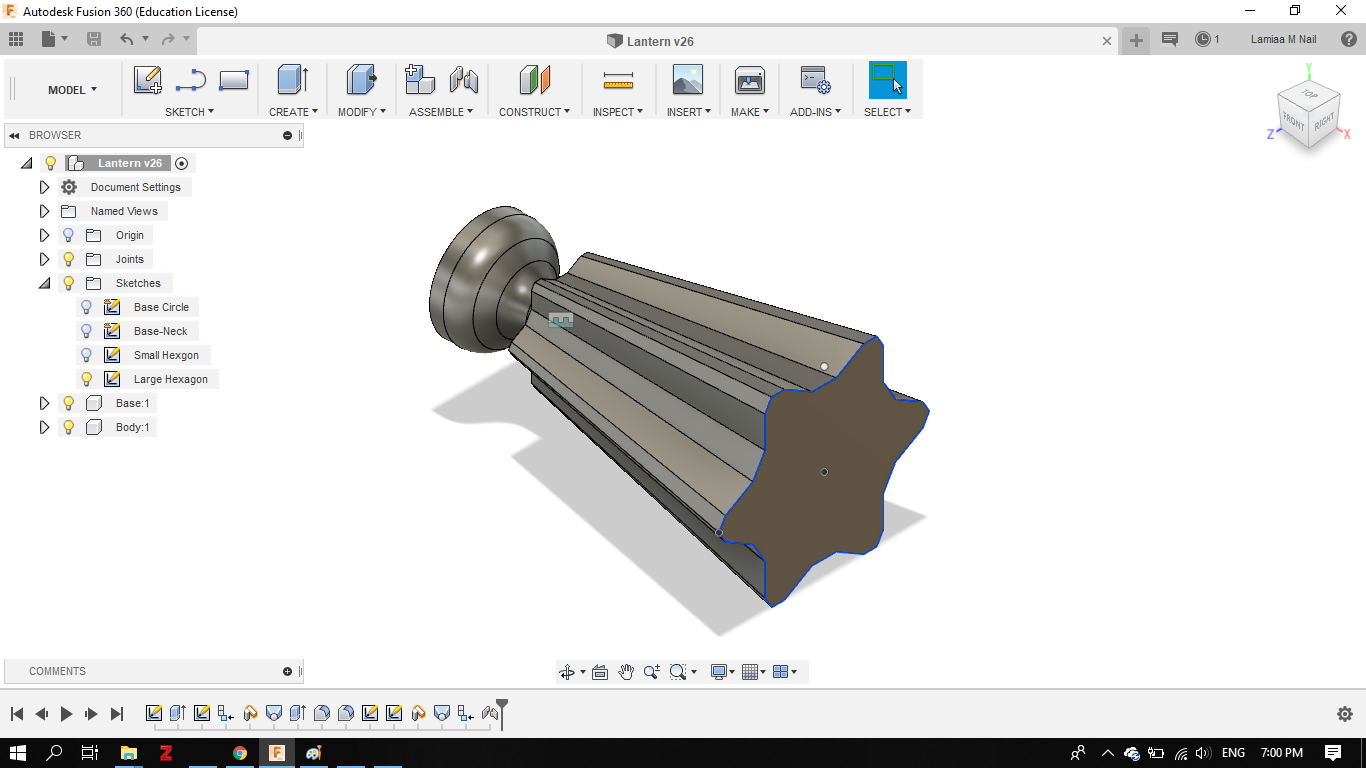
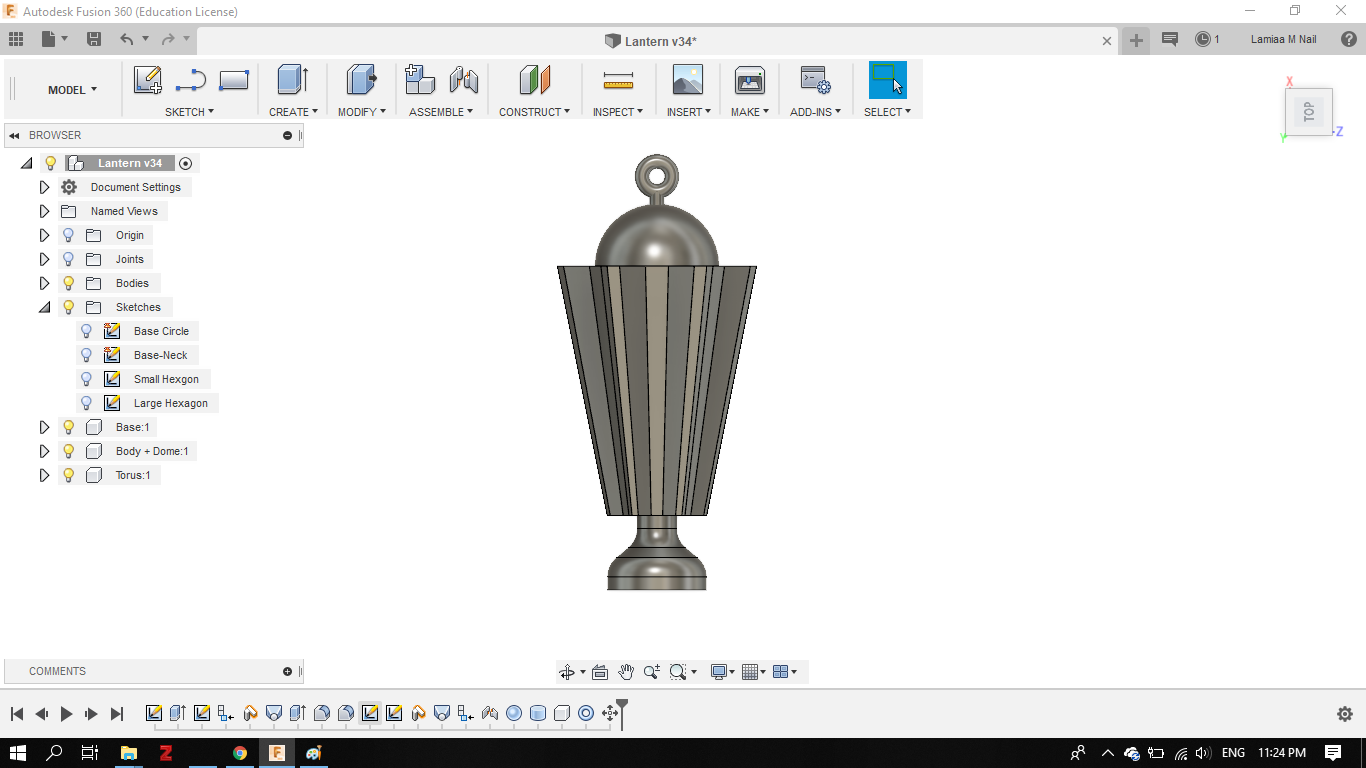
- The final latern design:
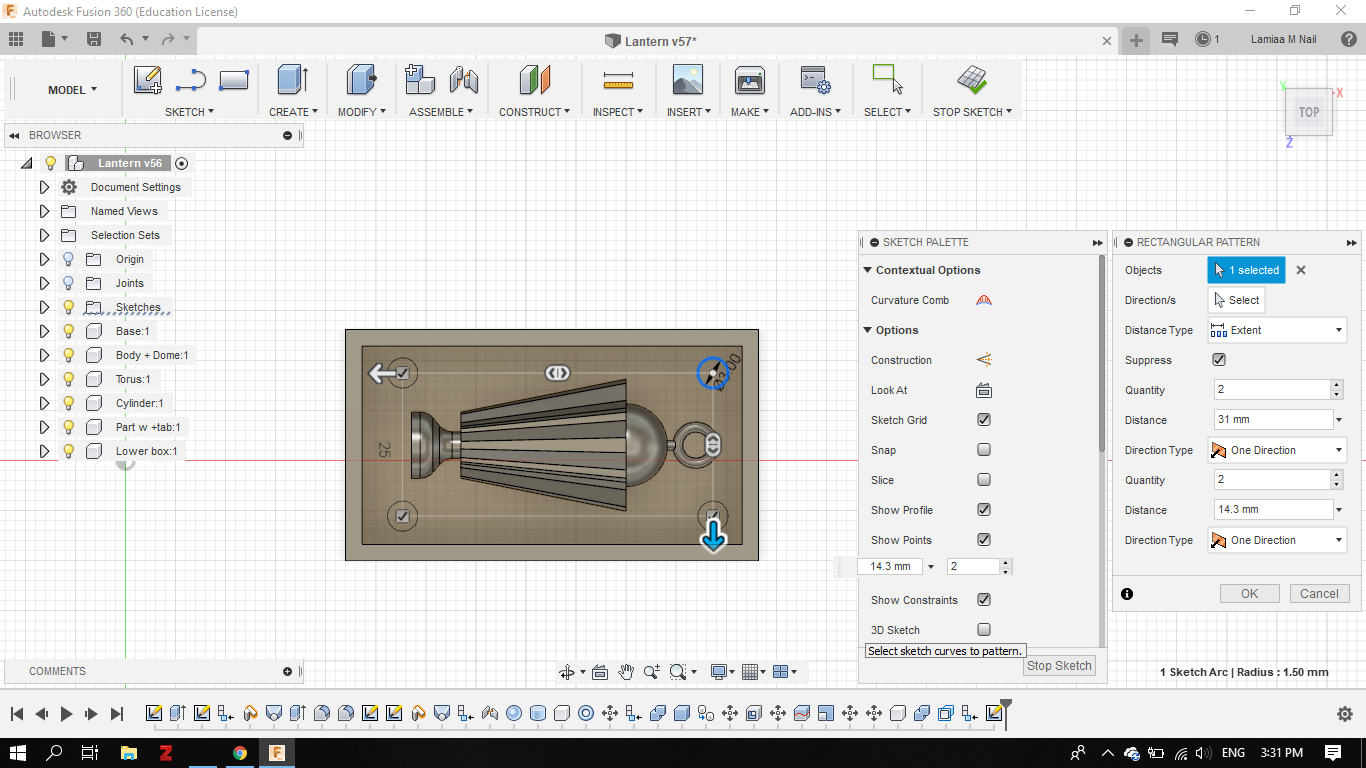
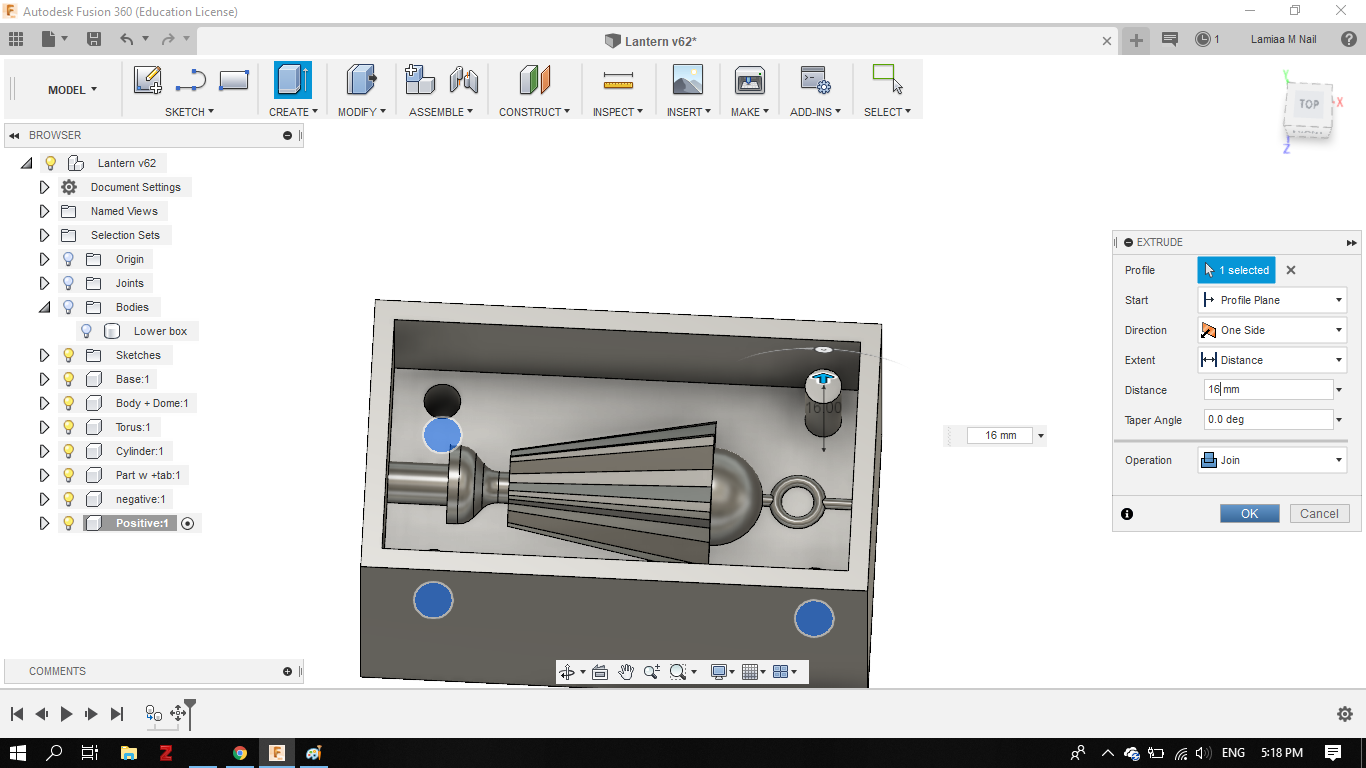
- For the purpose of molding, I needed to create a box that will contain the object. I cut the lantern in two halves and placed it inside a box shaped object, with enough space above it to accomodate for silicon pouring.
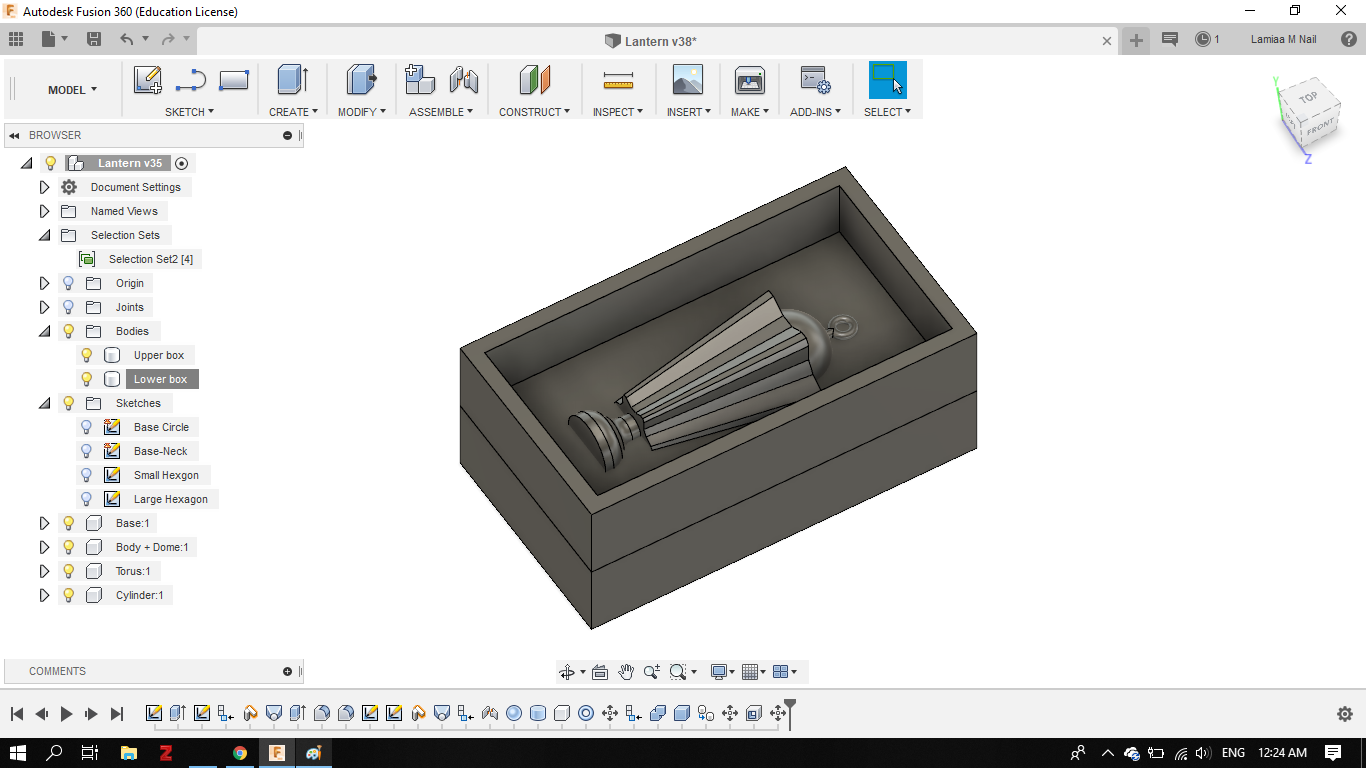
- I also intended to create a two part mold to cast the whole lantern, so I created a male part and a female part with positive and negative tabs.
1.2 Mold Milling
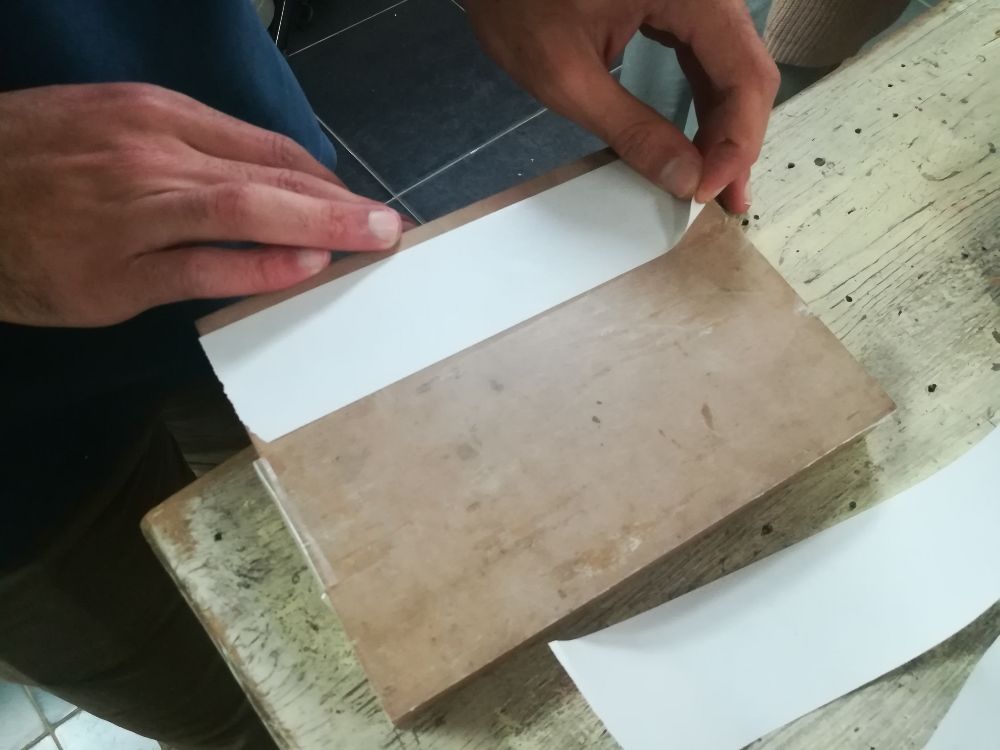
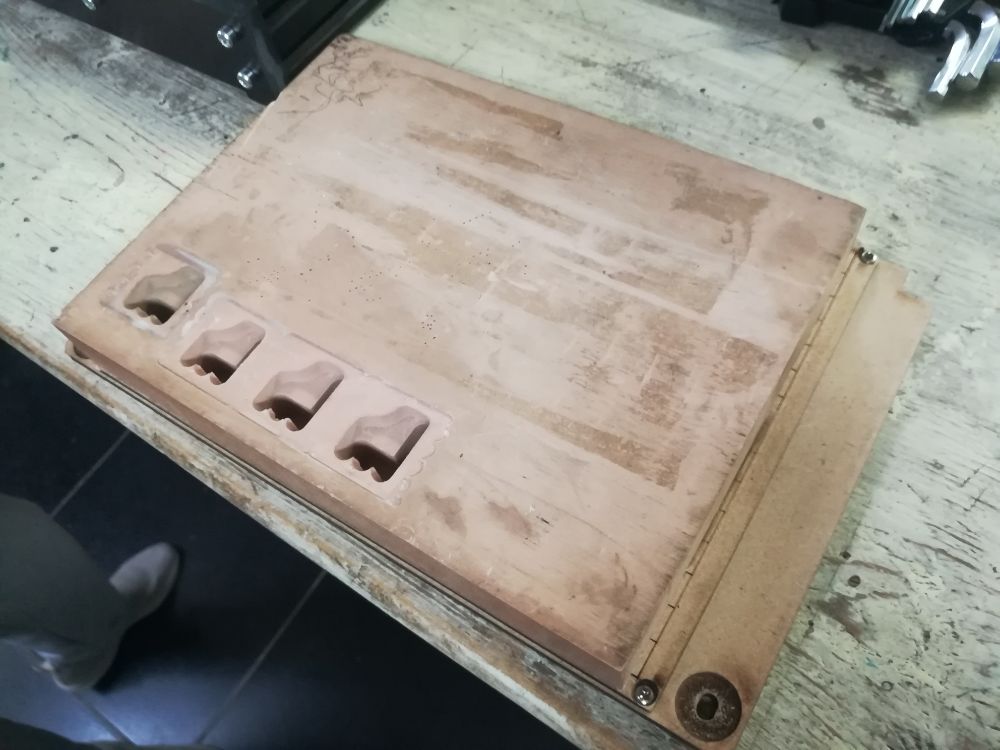
- Now, I needed to prepare for milling the parts. I used chemical wood to mill the mold, fixed the wood block in the Modela plate.
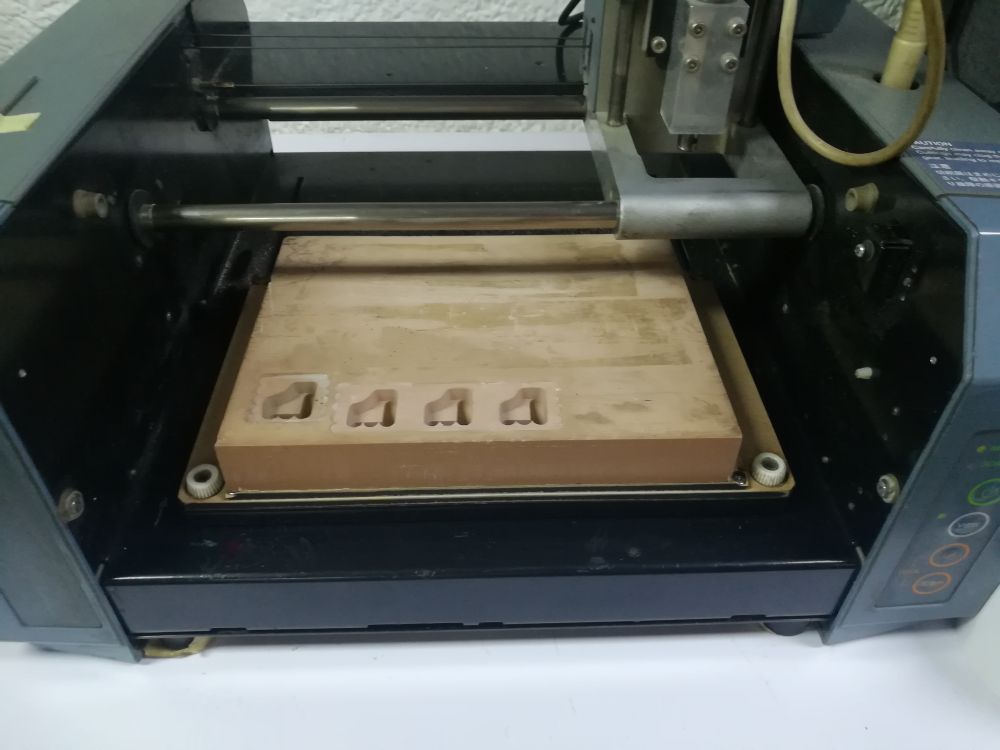
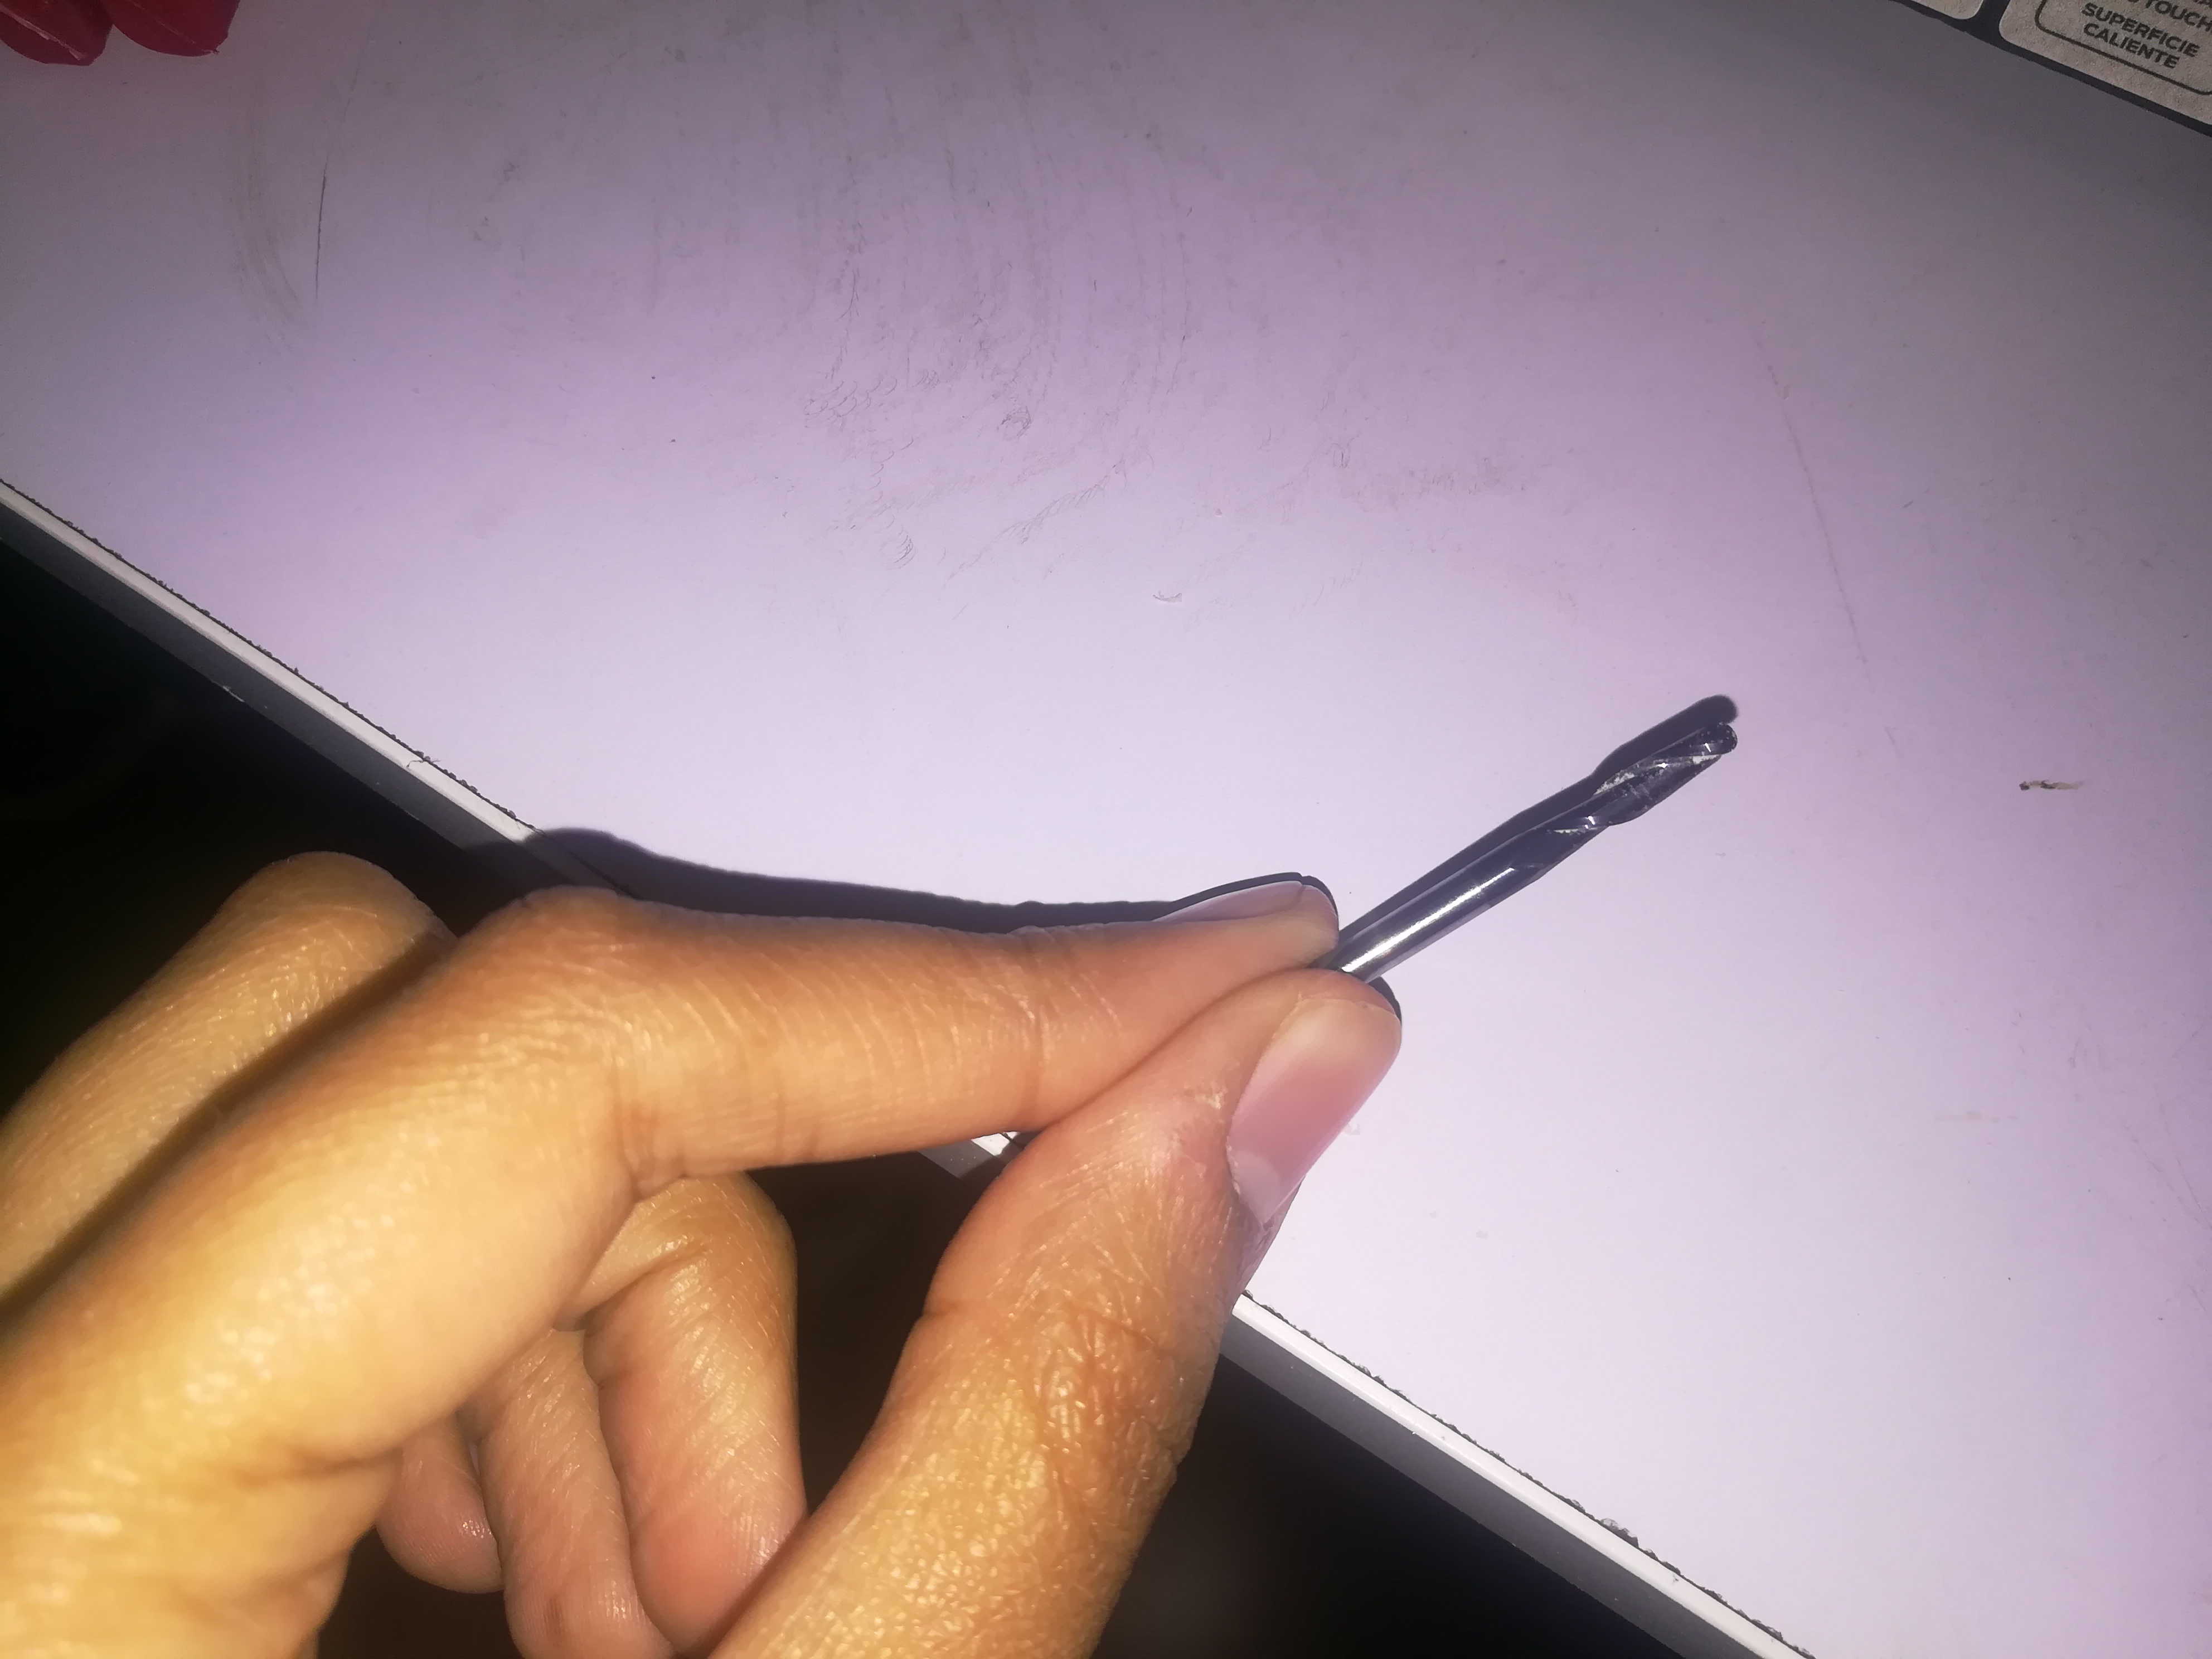
- For the surfacing and roughing processes, I used the ball nose milling bit.
- Now I needed to create the toolpath of the milling. I used Modela Player for this purpose, open the STL file of the design and started to create the toolpath.
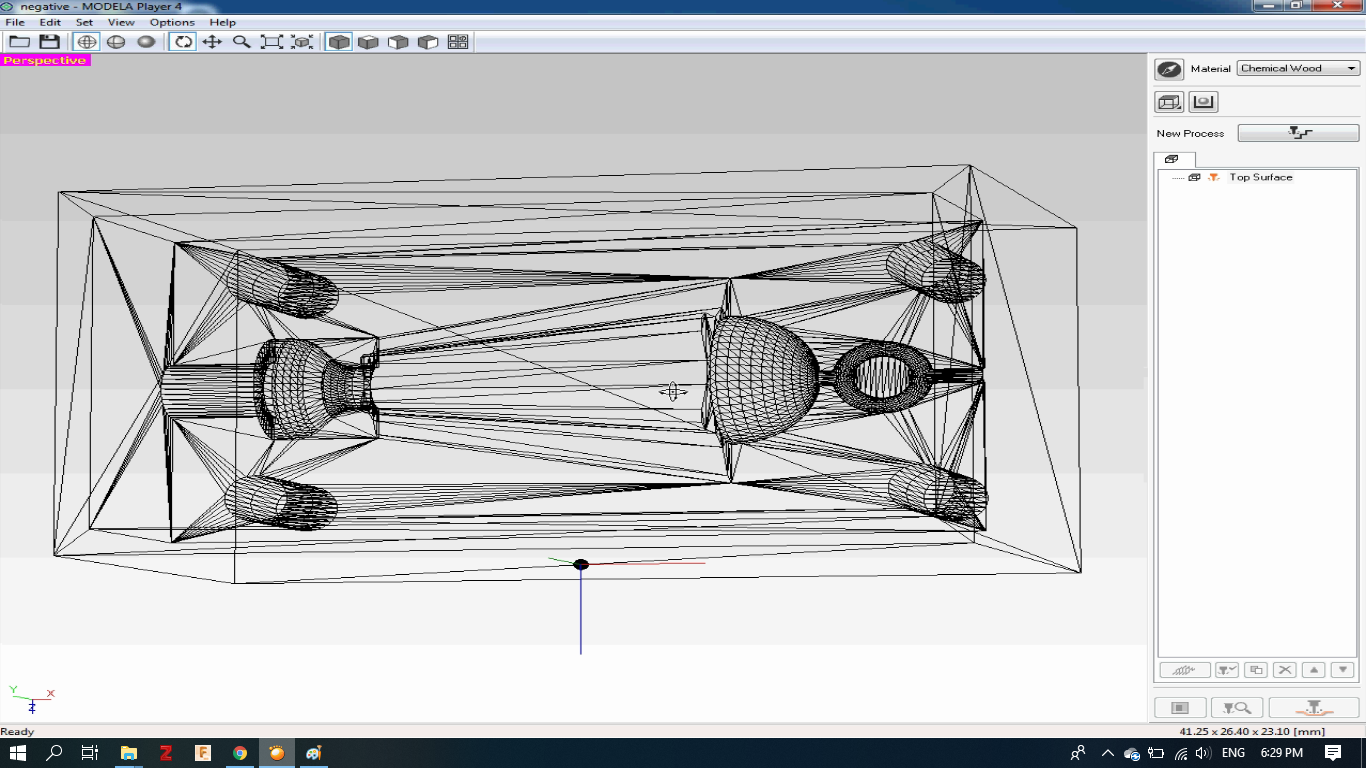
- I chose chemical wood as a material
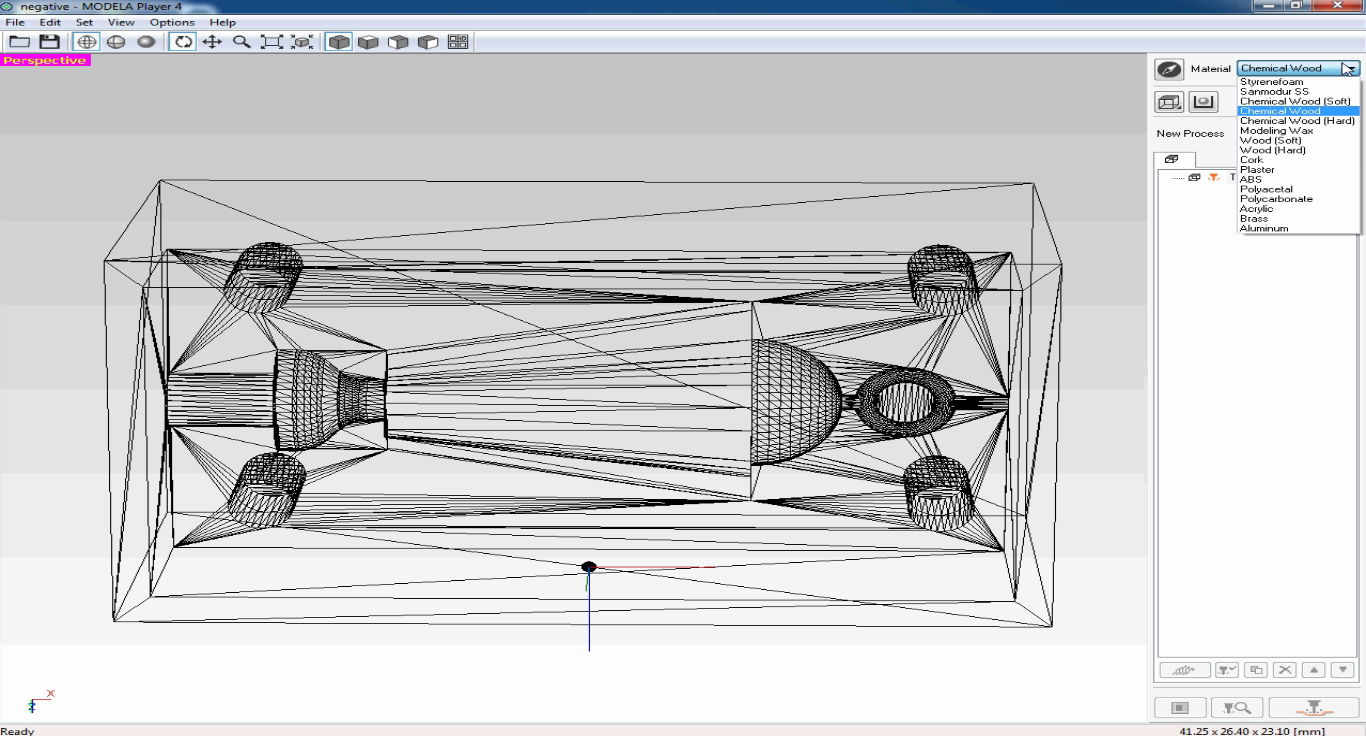
- Then I adjusted the tool depth to reach the lowest surface feature of the female part, which is a little below 21 mm
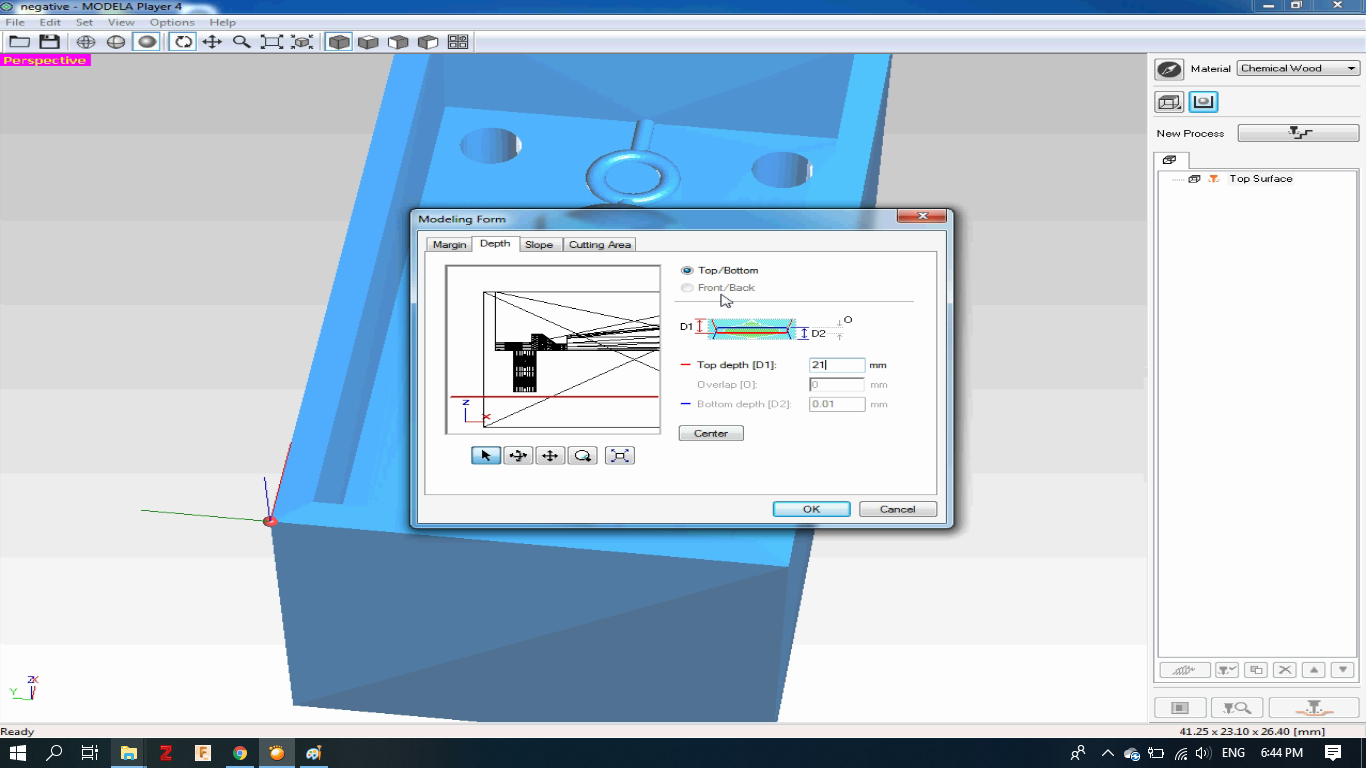
- I started setting the milling processes
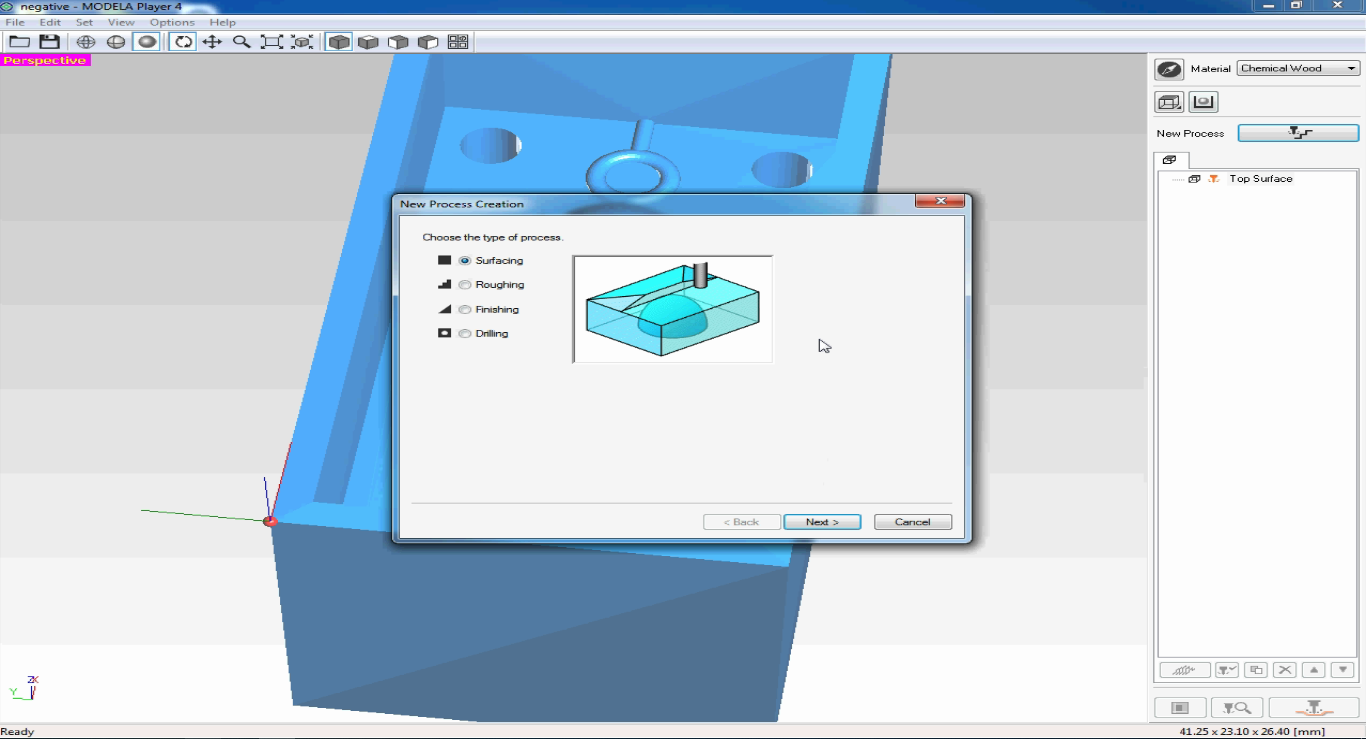
- Starting with the surfacing process, I chose the ball nose milling tool.
- Set the cutting depth at 0.2 mm
- Then, chose a linear toolpath
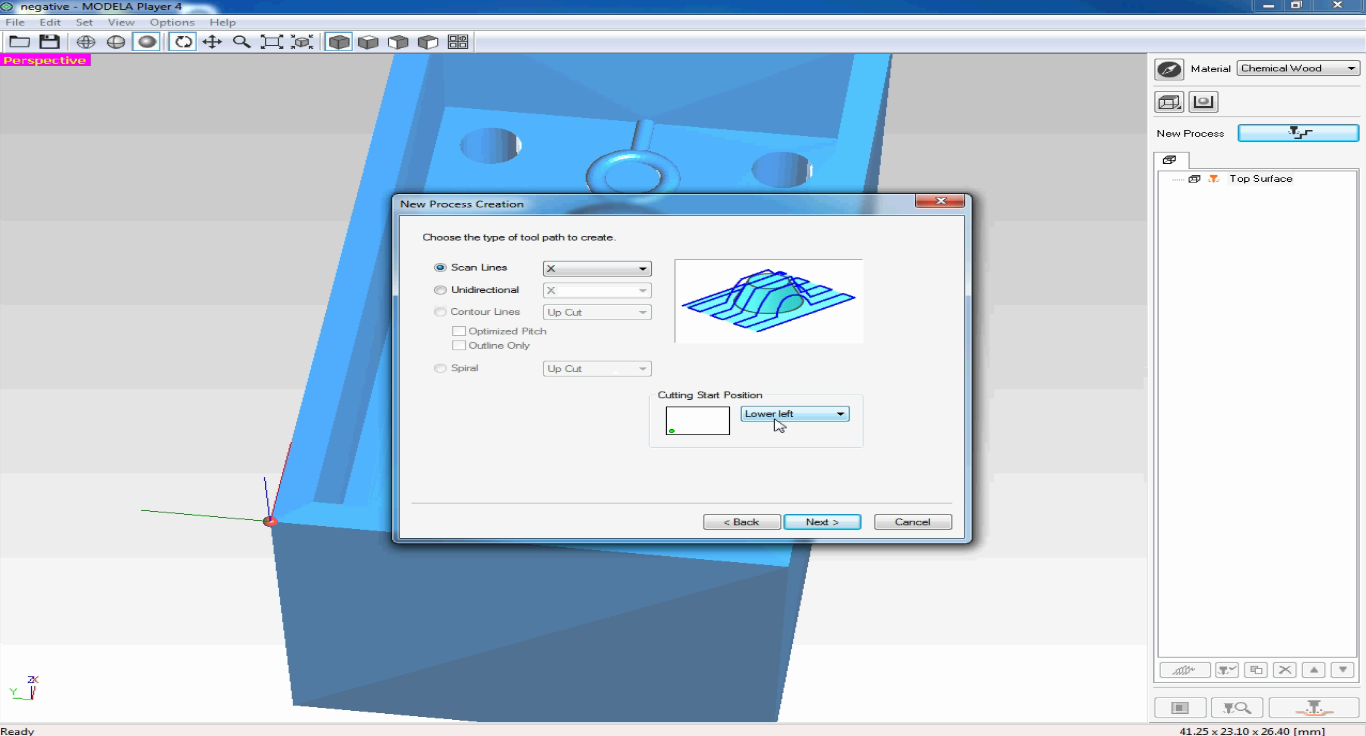
- Setting the second process, roughing.
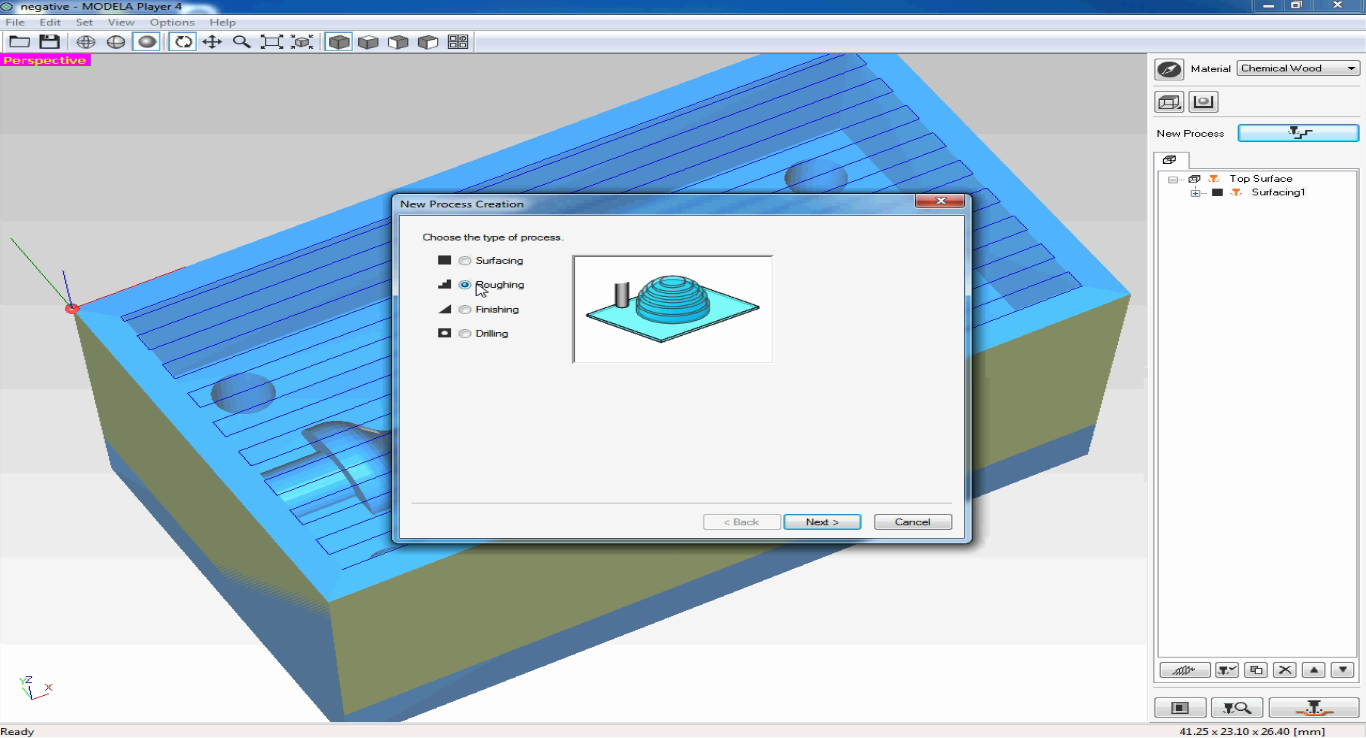
- Chose the same milling bit, the ball nose for the roughing process
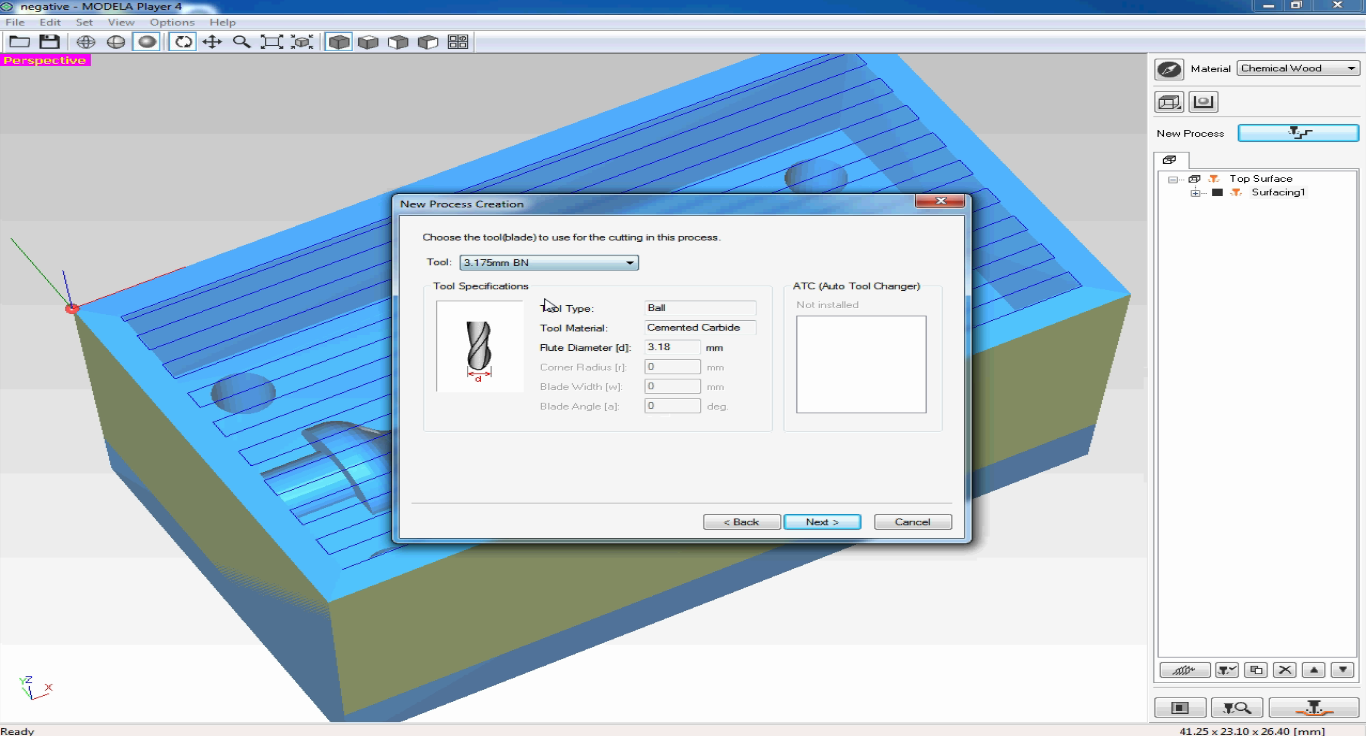
- Then, I set the cutting depth.
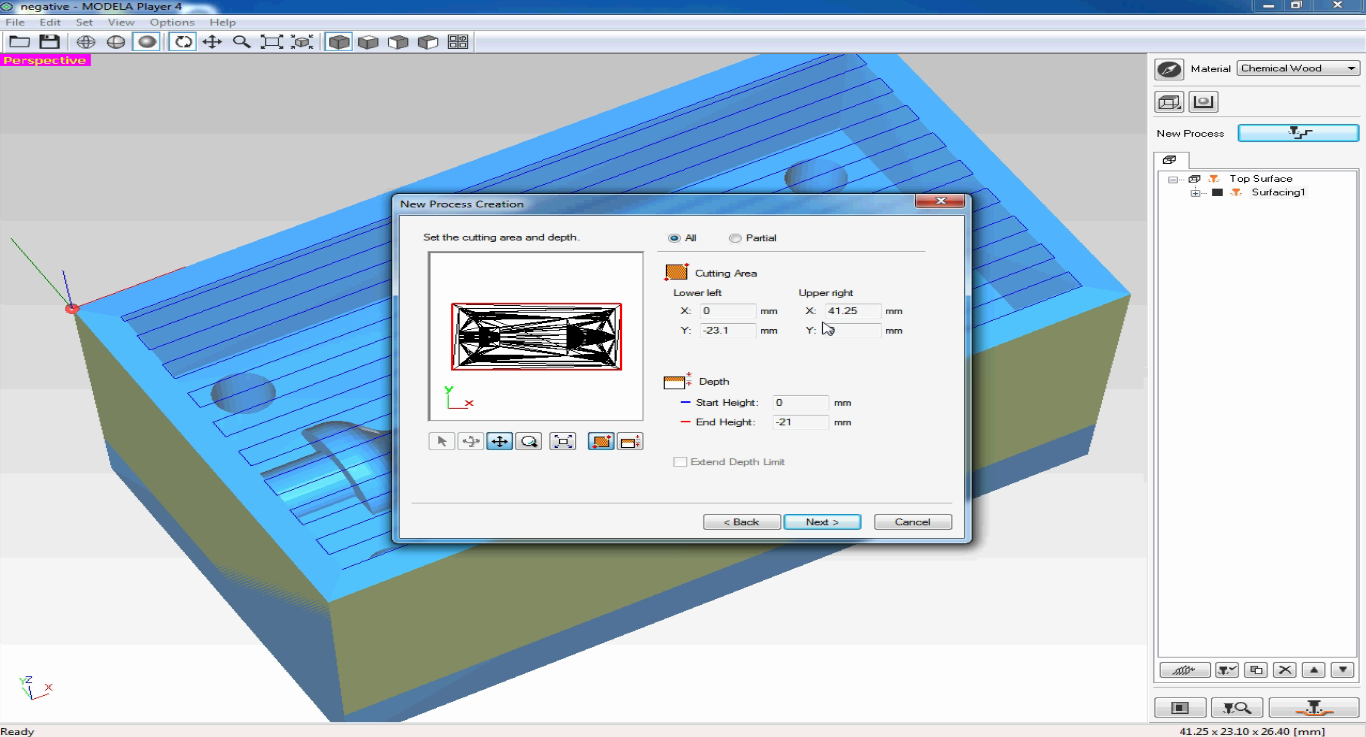
- finally, I set the tool path to contour lines
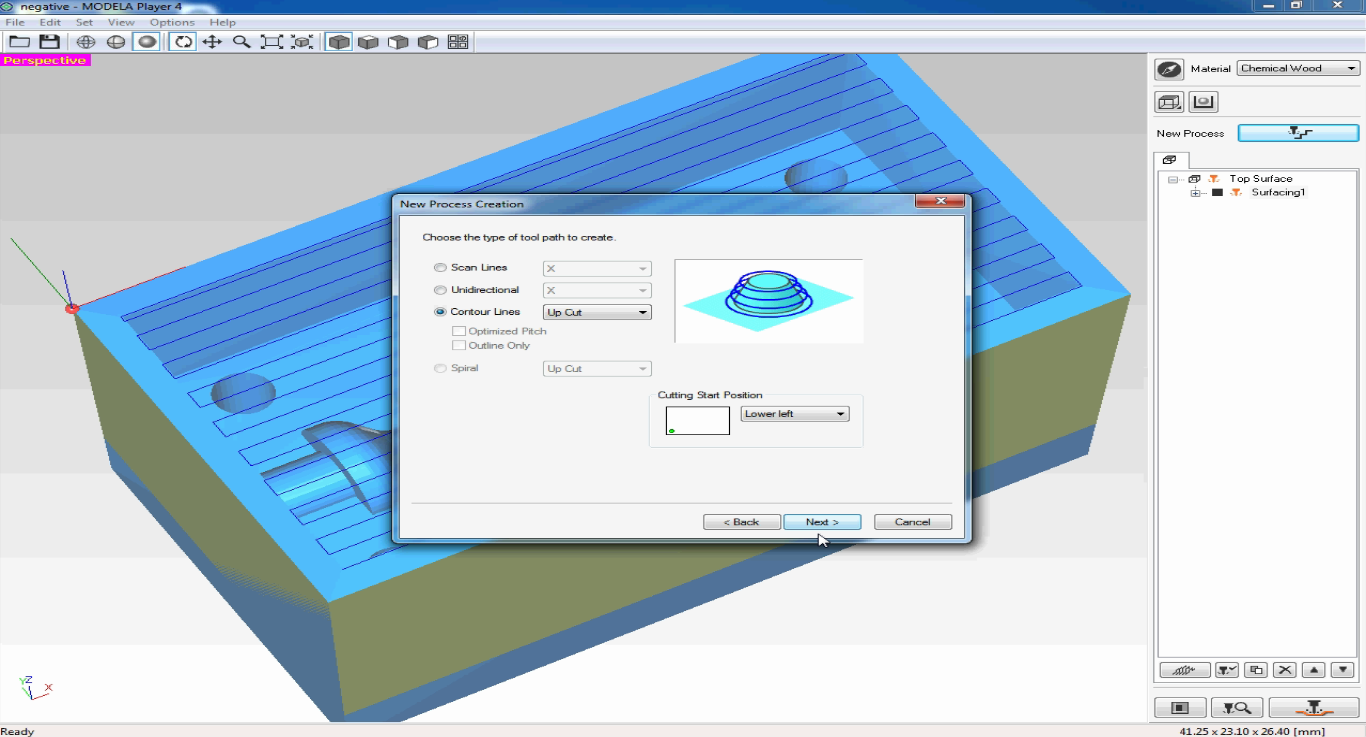
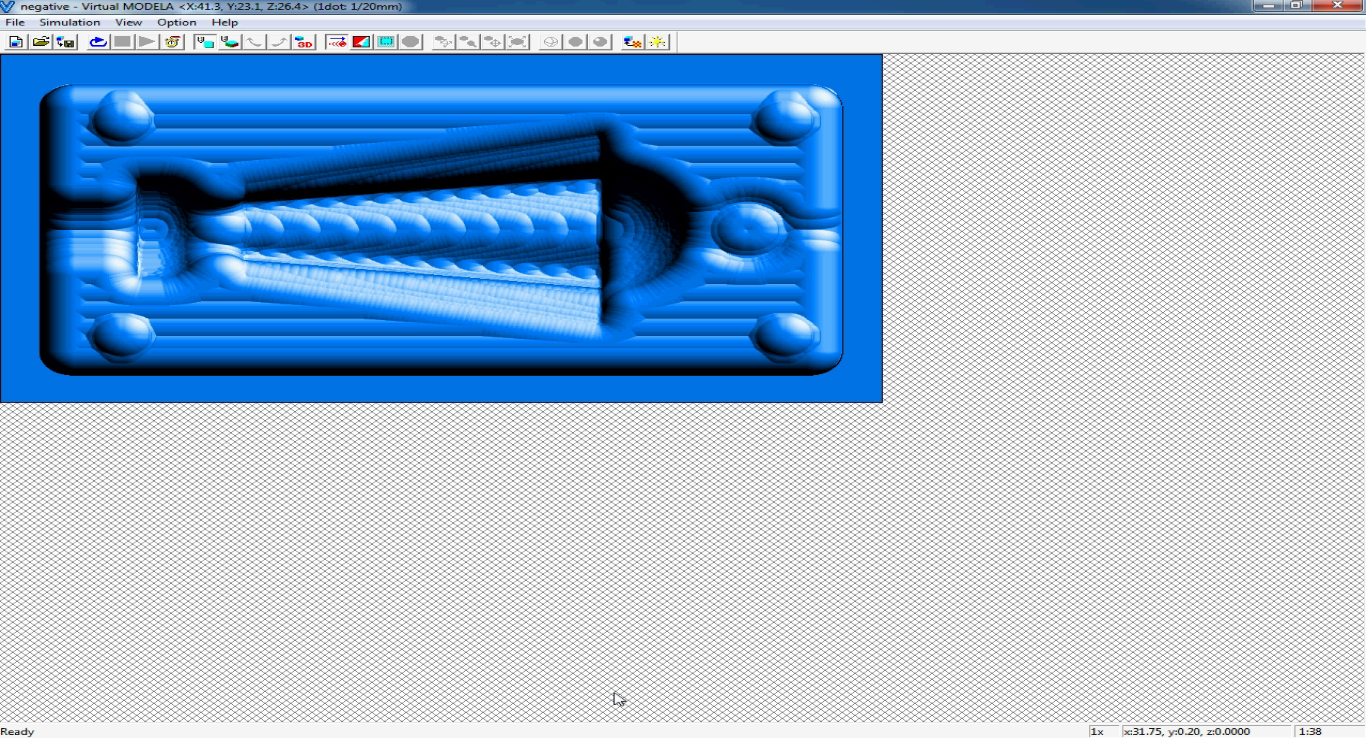
- I simulated the roughing process, to make sure that the toolpath is suitable.
- Setting the final process of milling, finishing.
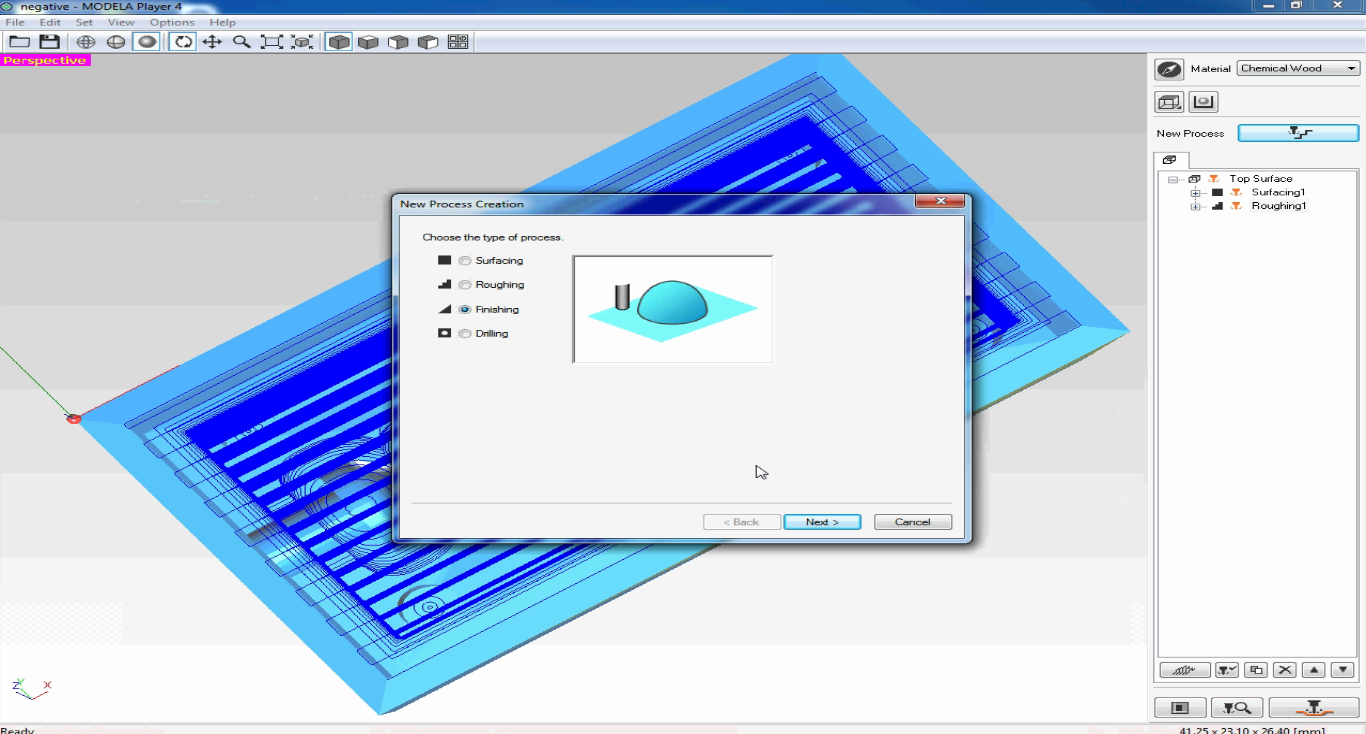
- For this process, I used a squared milling bit with a smaller diameter, to be able to mill the details of the object.
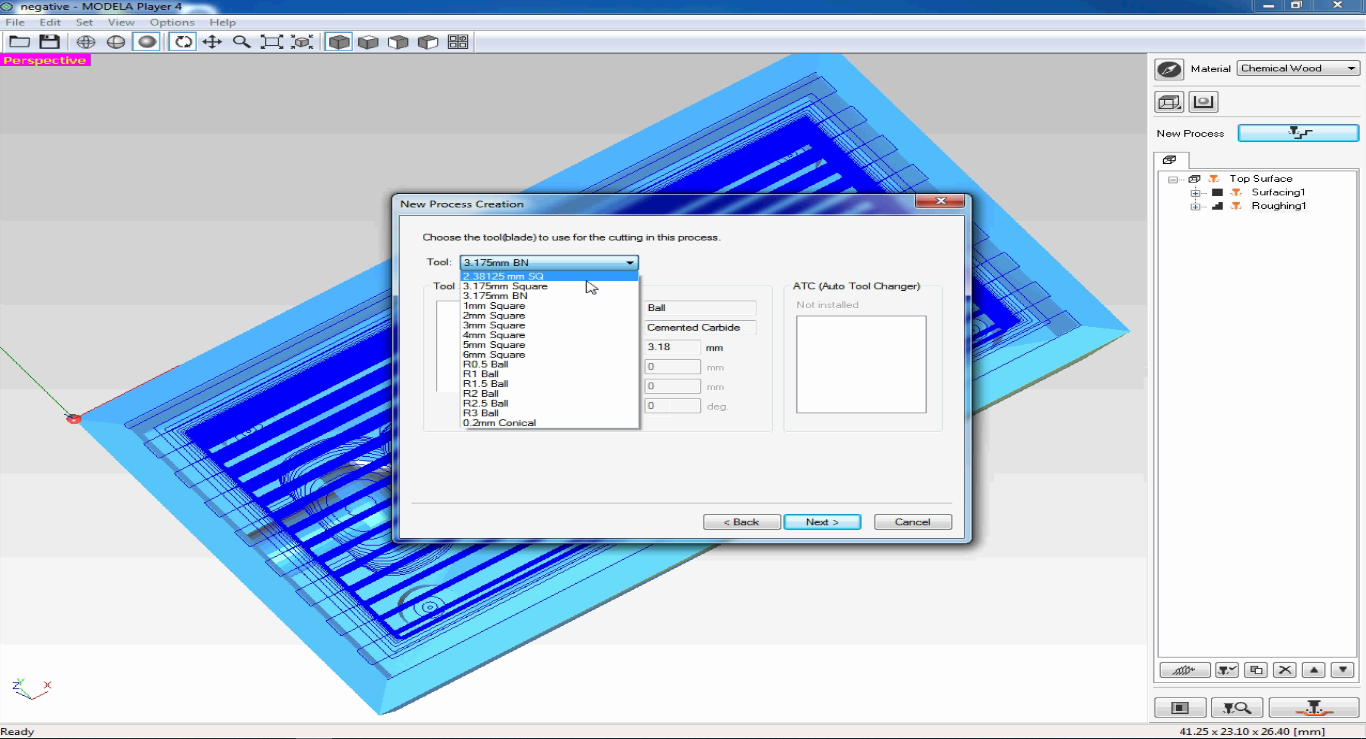
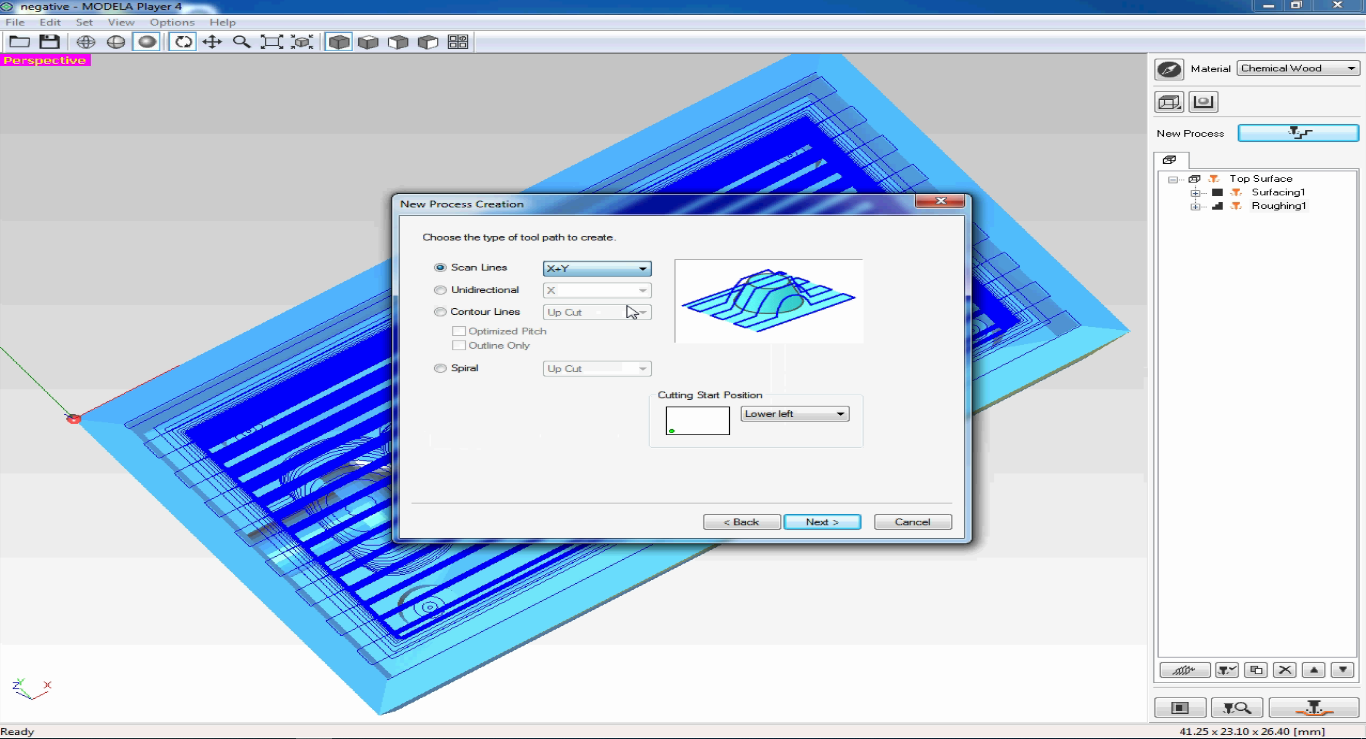
- I chose the toolpath, scan lines in X & Y axises, to make sure of milling all the details
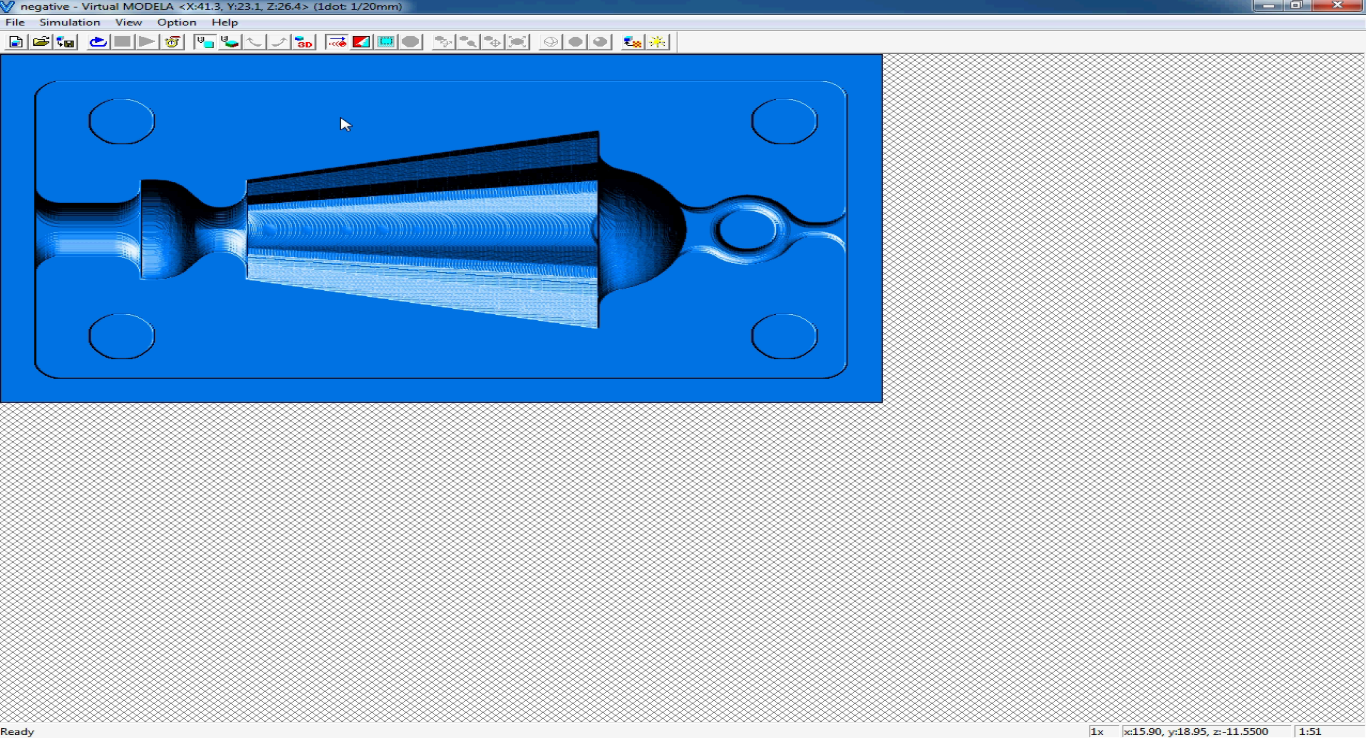
- Simulating the end result:
- Now I need to position milling bit where I need to mill the mold on the wood block
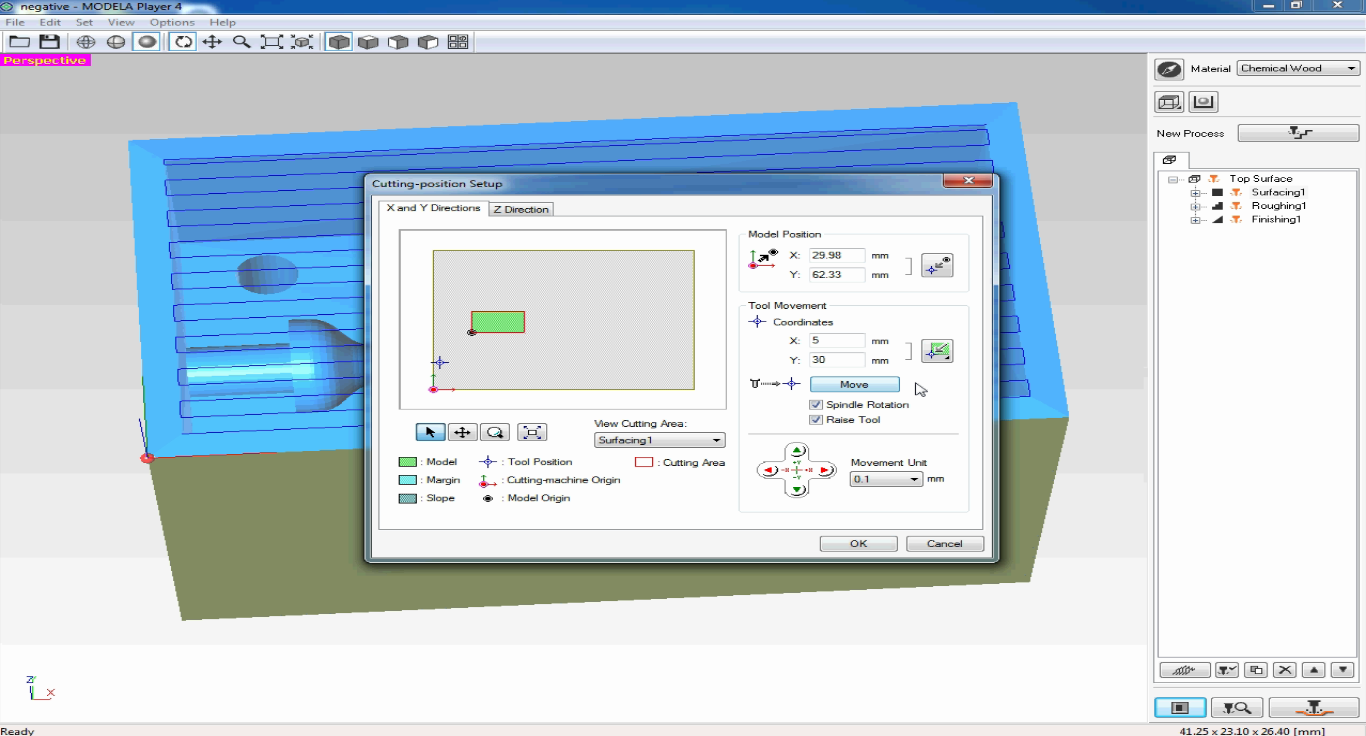
- Now, the mold is ready for cutting
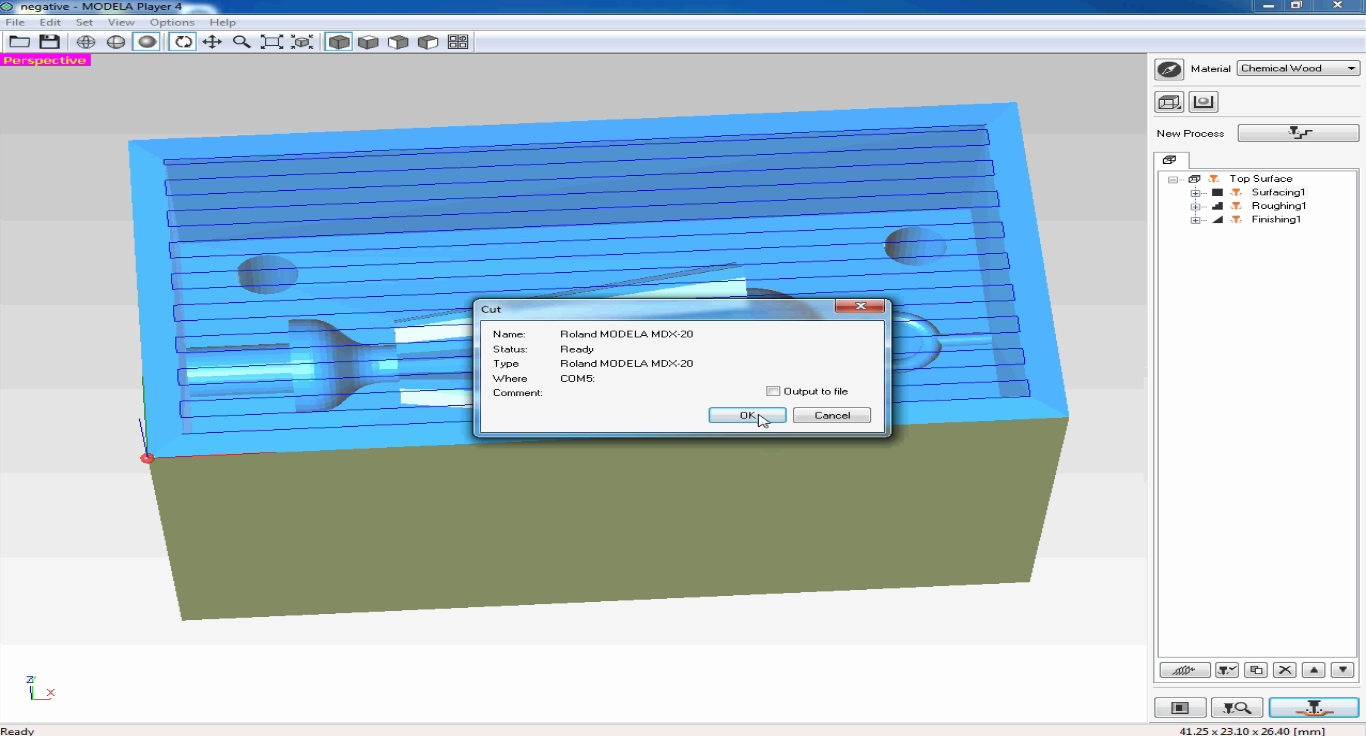
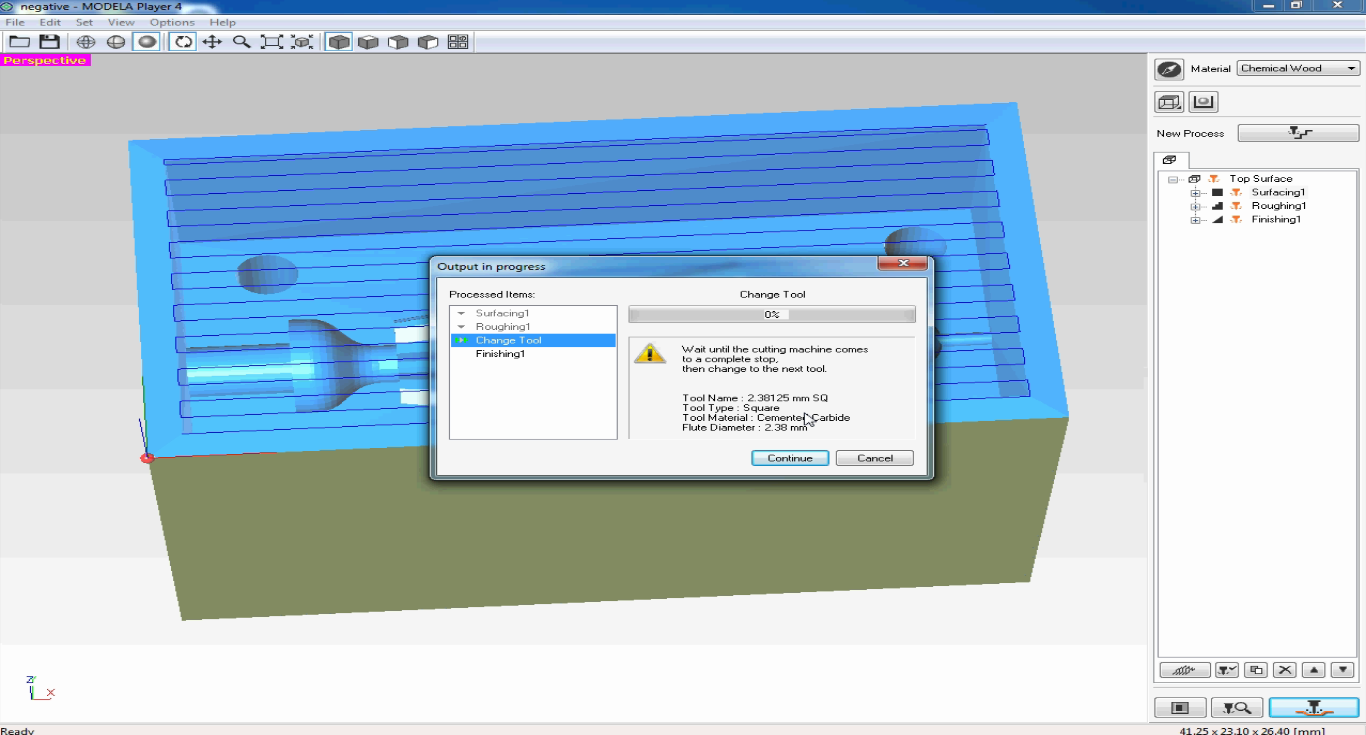
- After the surfacing and rouging processes, I Modela stopped, and a notification appeared on the screen to change the milling bit. The milling resumed afterwards.
- During the surfacing process:
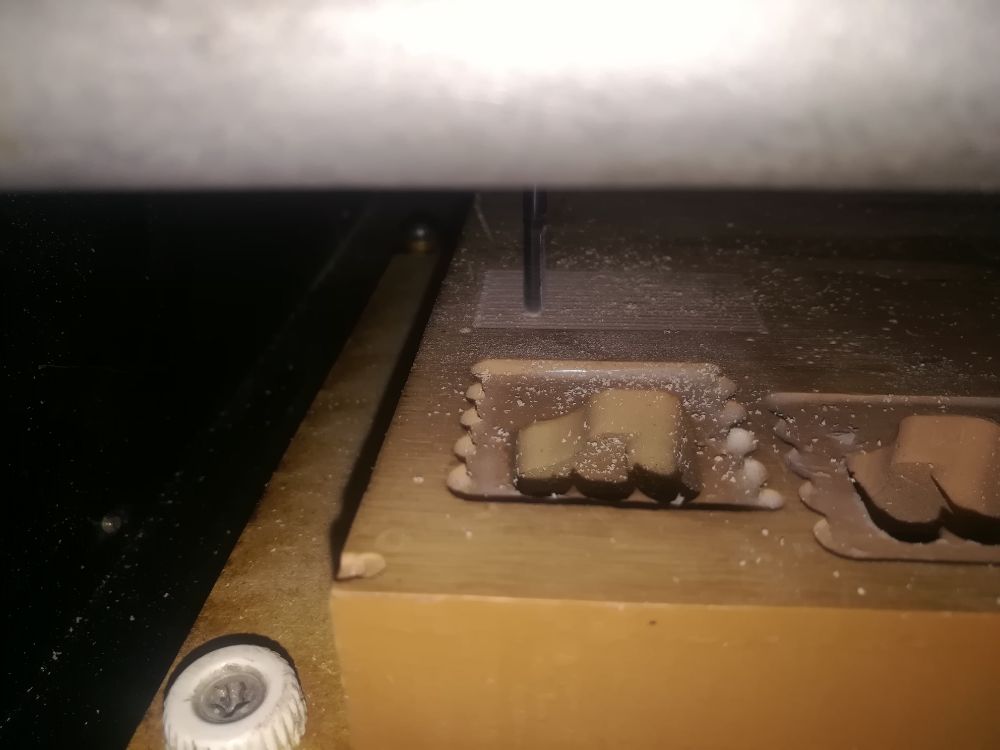
- After the roughing process:
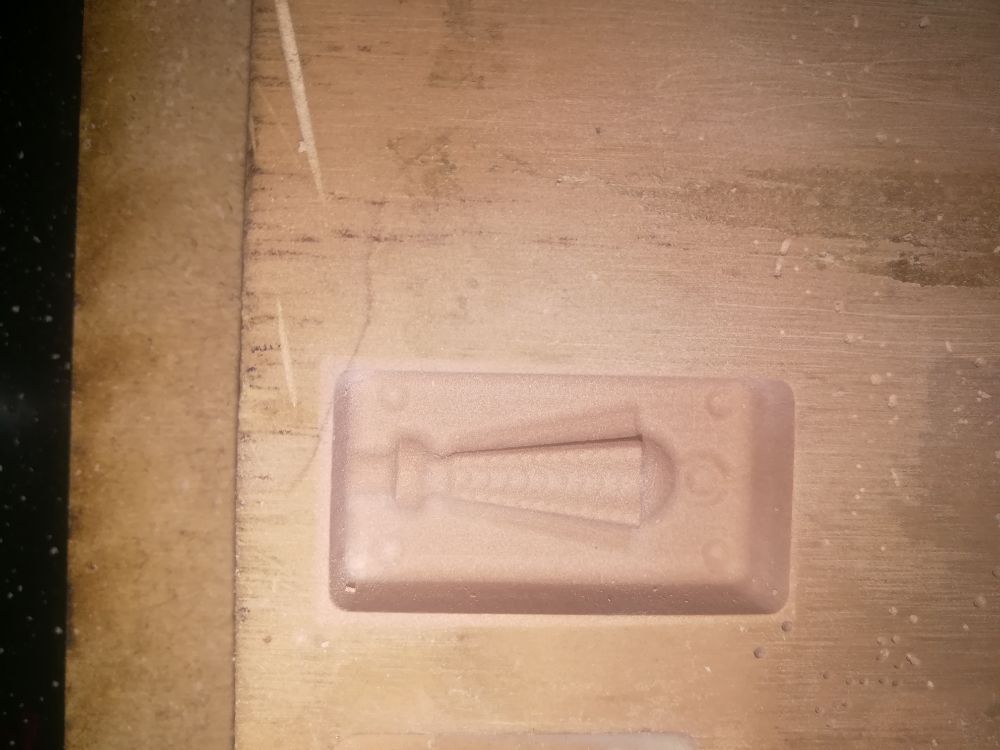
- After the finishing process:
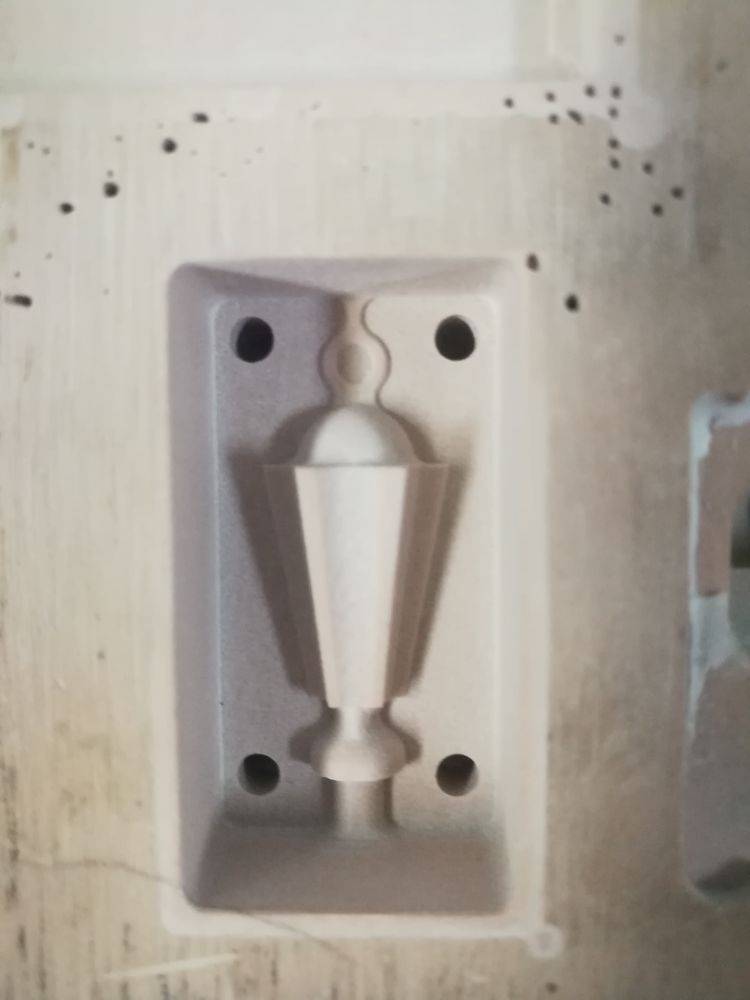
- The entire milling process took around 6 hours! I assume that the design of the object was full of details that is why it took so much time. I decided to go ahead and cast just this part rather than creating a two part mold as I planned in the beginning to save time.
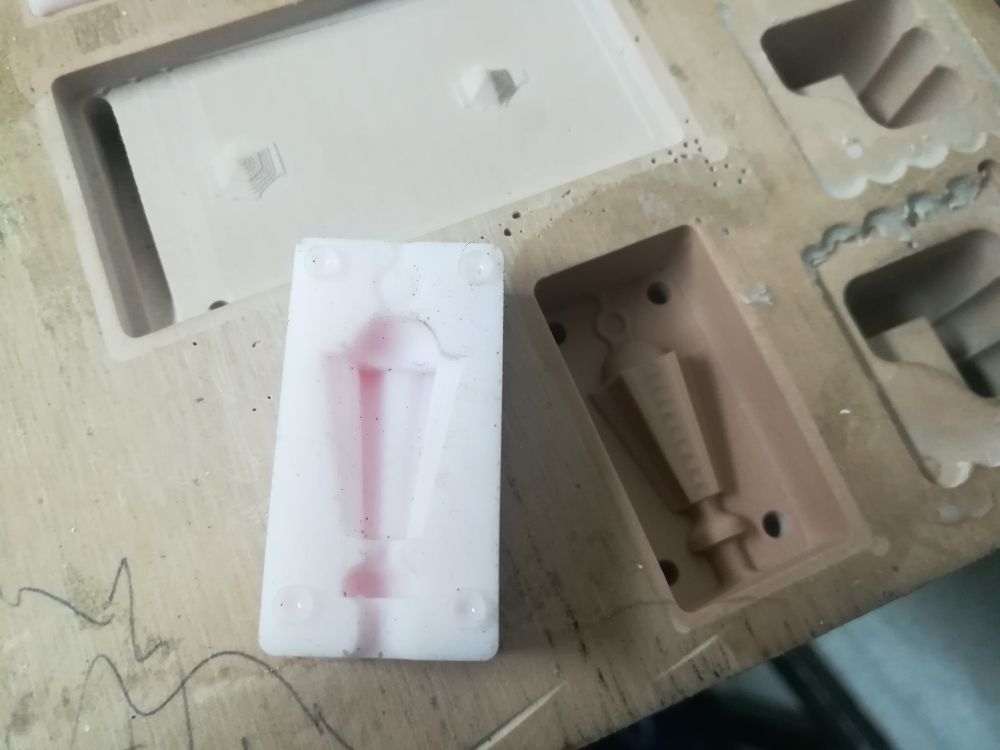
1.3 Casting: Silicon Rubber Mold
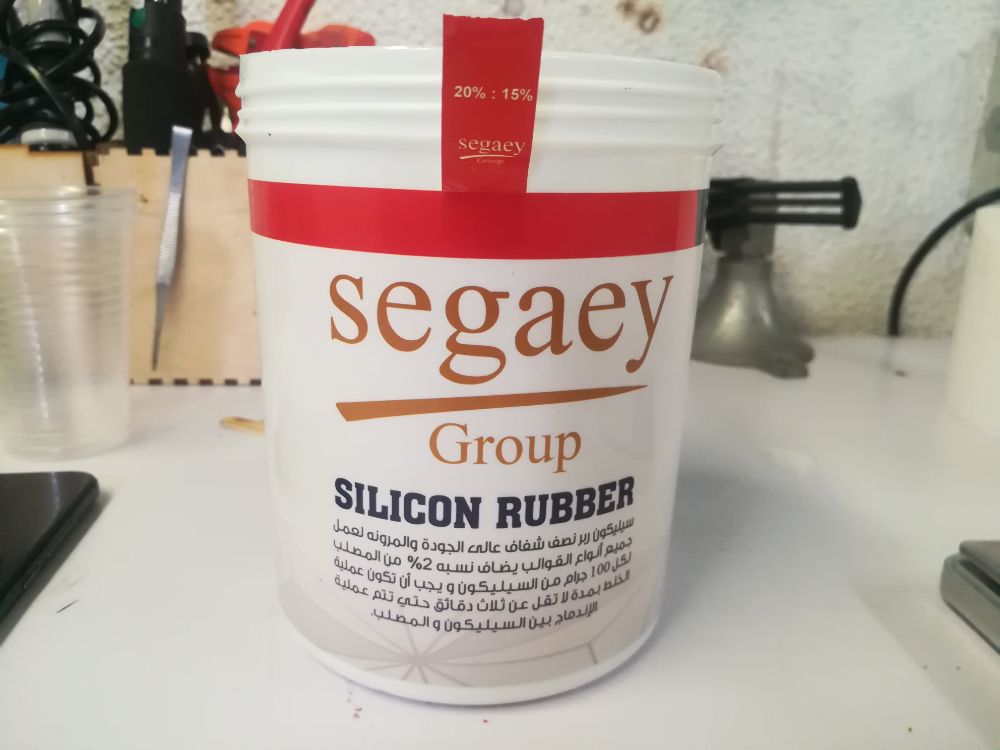
- For the casting, we used silicon rubber. As written on the package, for each 100 gm of silicon rubber we needed to add 2% of the hardener.
- We used a scale to weigh the rubber. And added the hardner per the required ratio.
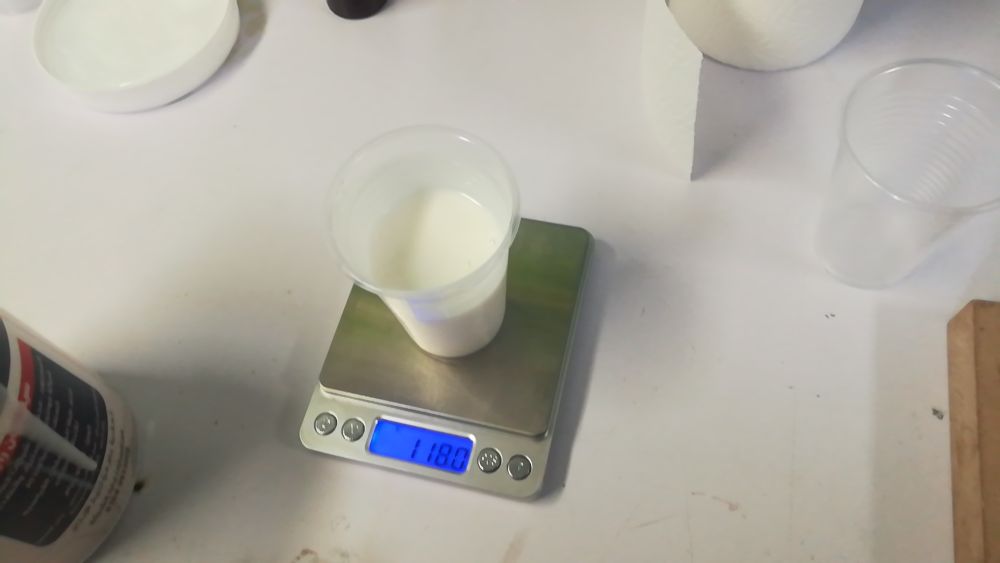
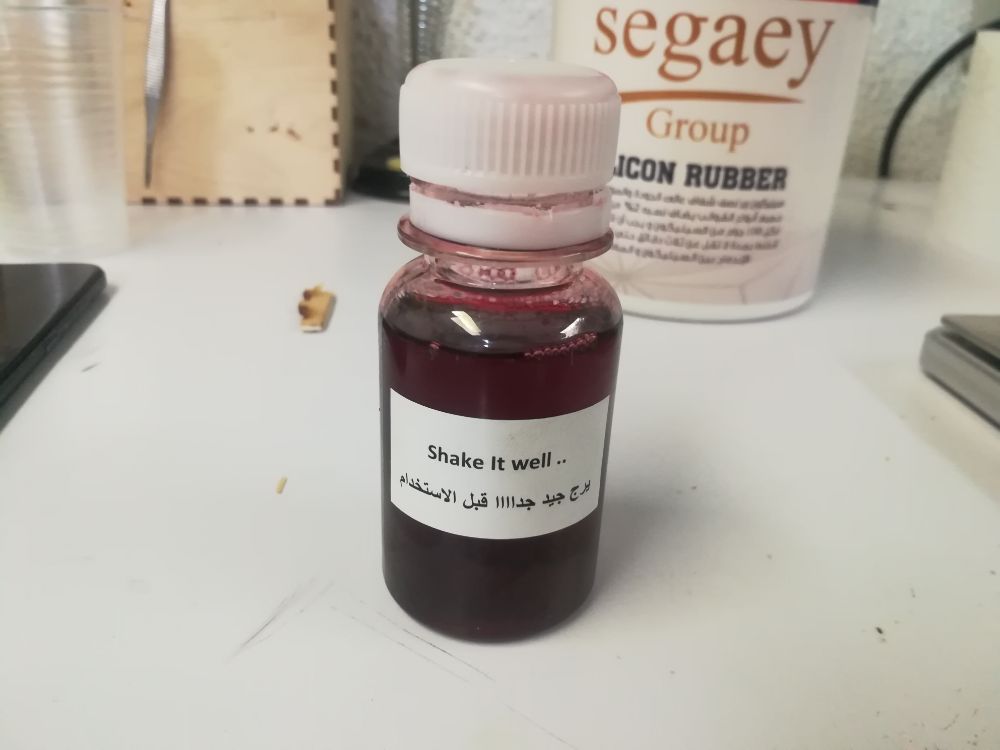
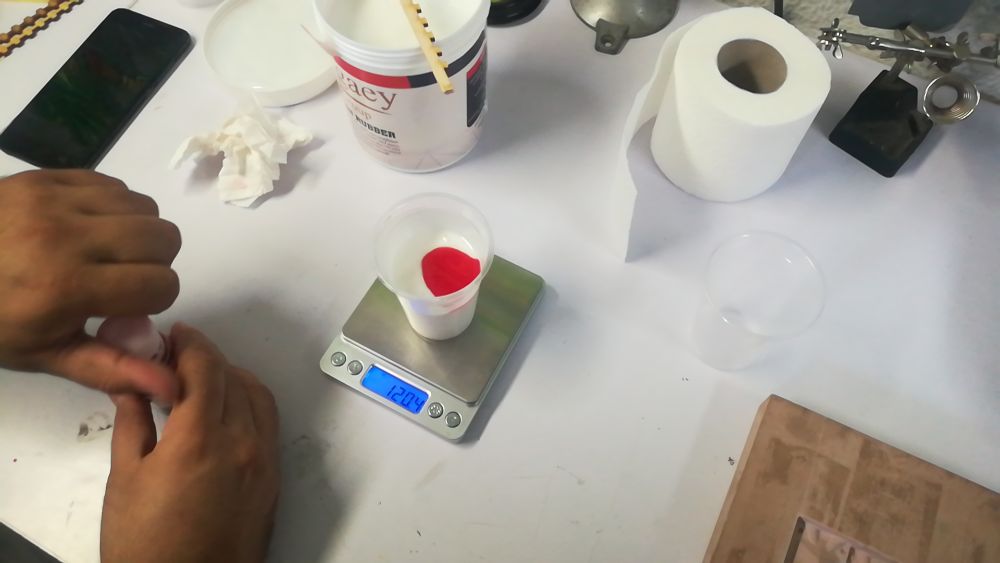
- After mixing the rubber with the hardner well, the mix has been poured into the mold.
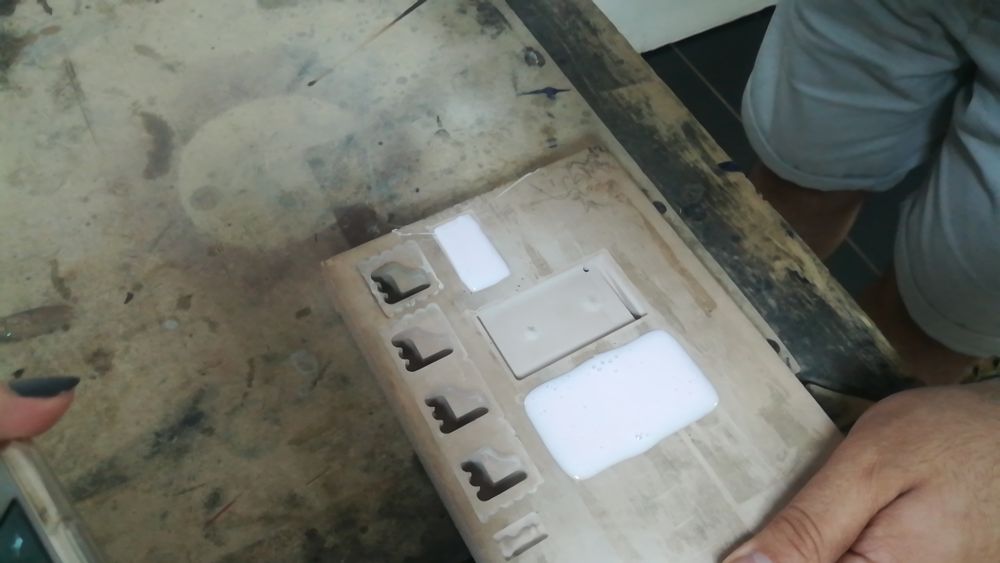
- To avoid the effect of trapped bubbles in the poured mold, we placed the electric sanding tool close to the mold, creating vibrations that pushed the bubbles to the surface of the mold and into the air.
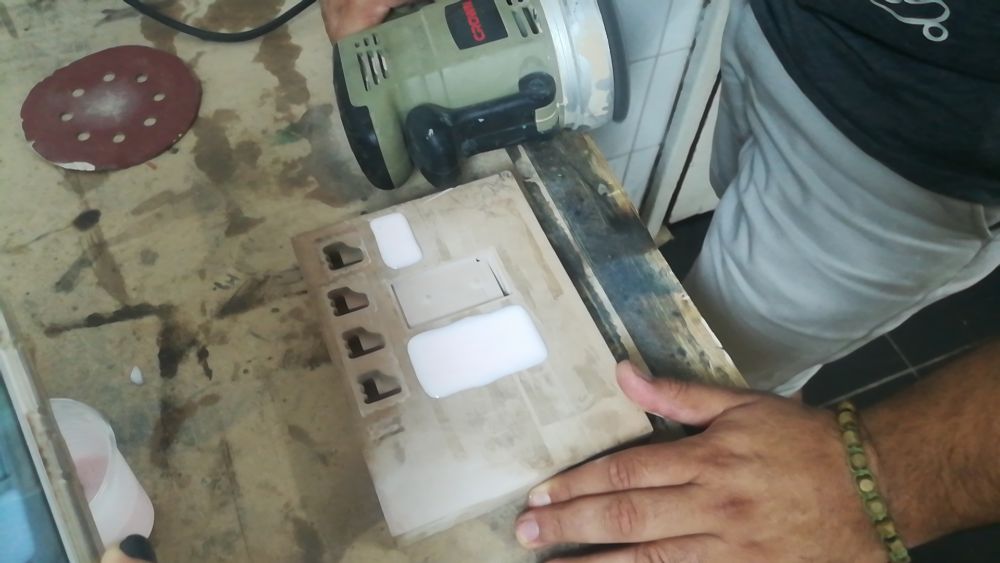
- The rubber mold took around 24 hrs to solidify. We had doubts that it will ever solidify considering that the instructions on the silicon rubber packages are not always reliable but it eventually solidified.
1.4 Casting: Epoxy Cast
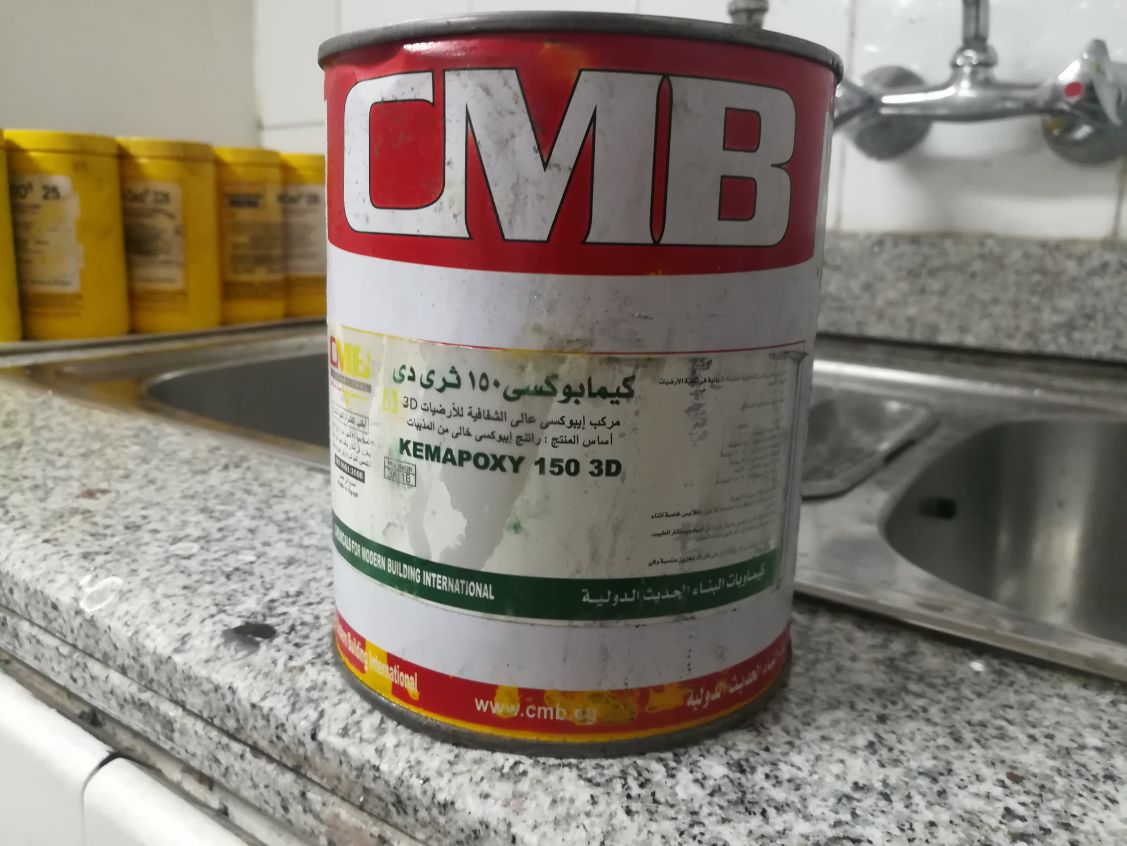
- Now, moving on to the last step of the process, casting the part. For this purpose, we used transparent Epoxy rasin (part A).
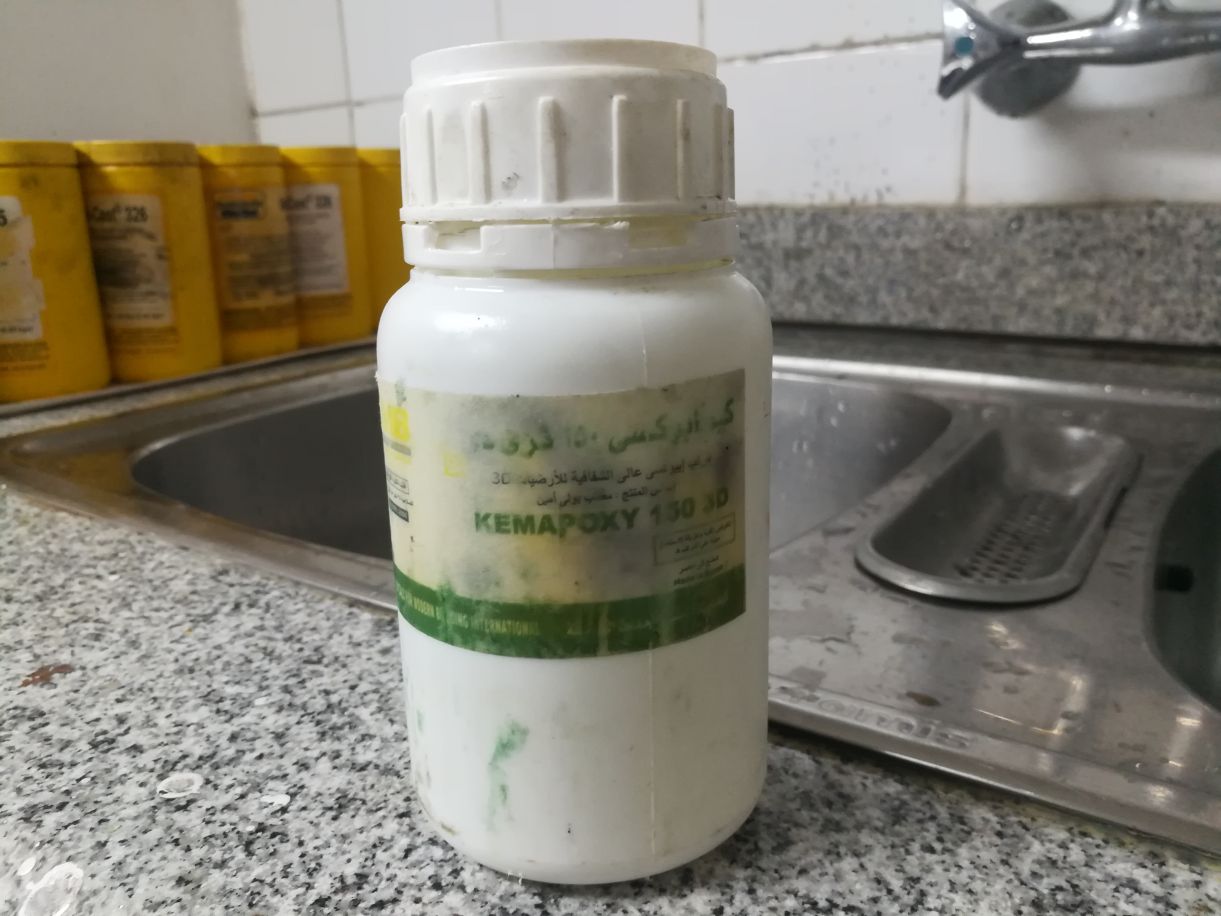
- We will also need the hardener (part B) to complete the process.
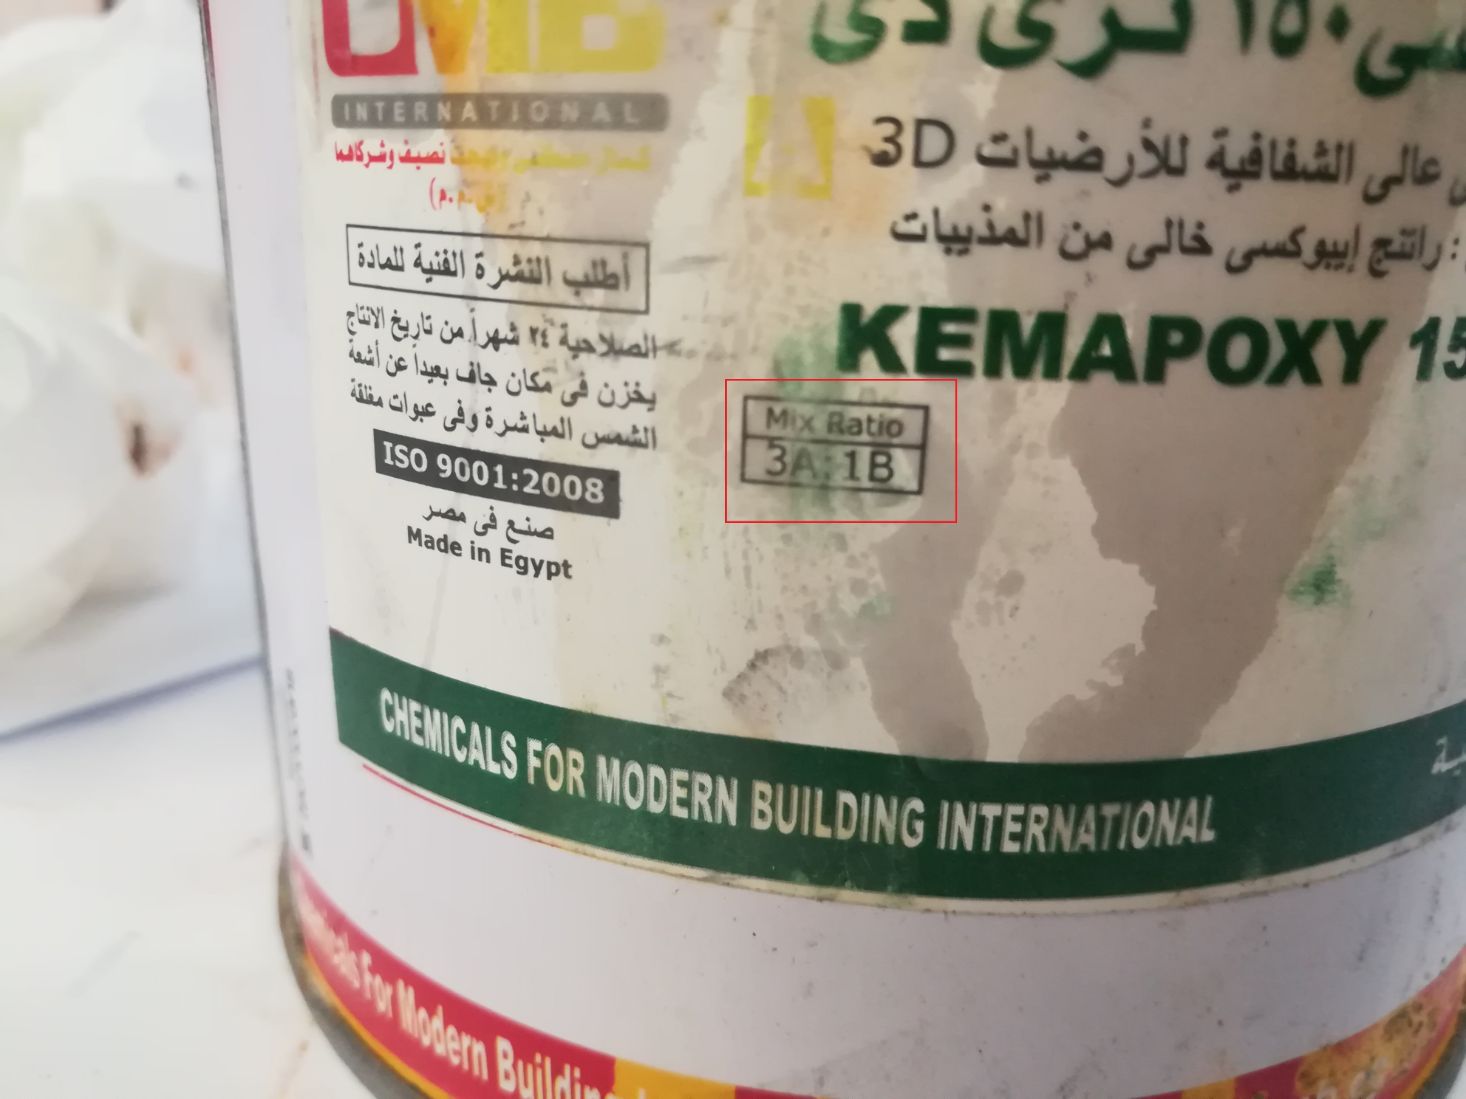
- As stated on the package, the mixing ratio of part A to B should be 3:1
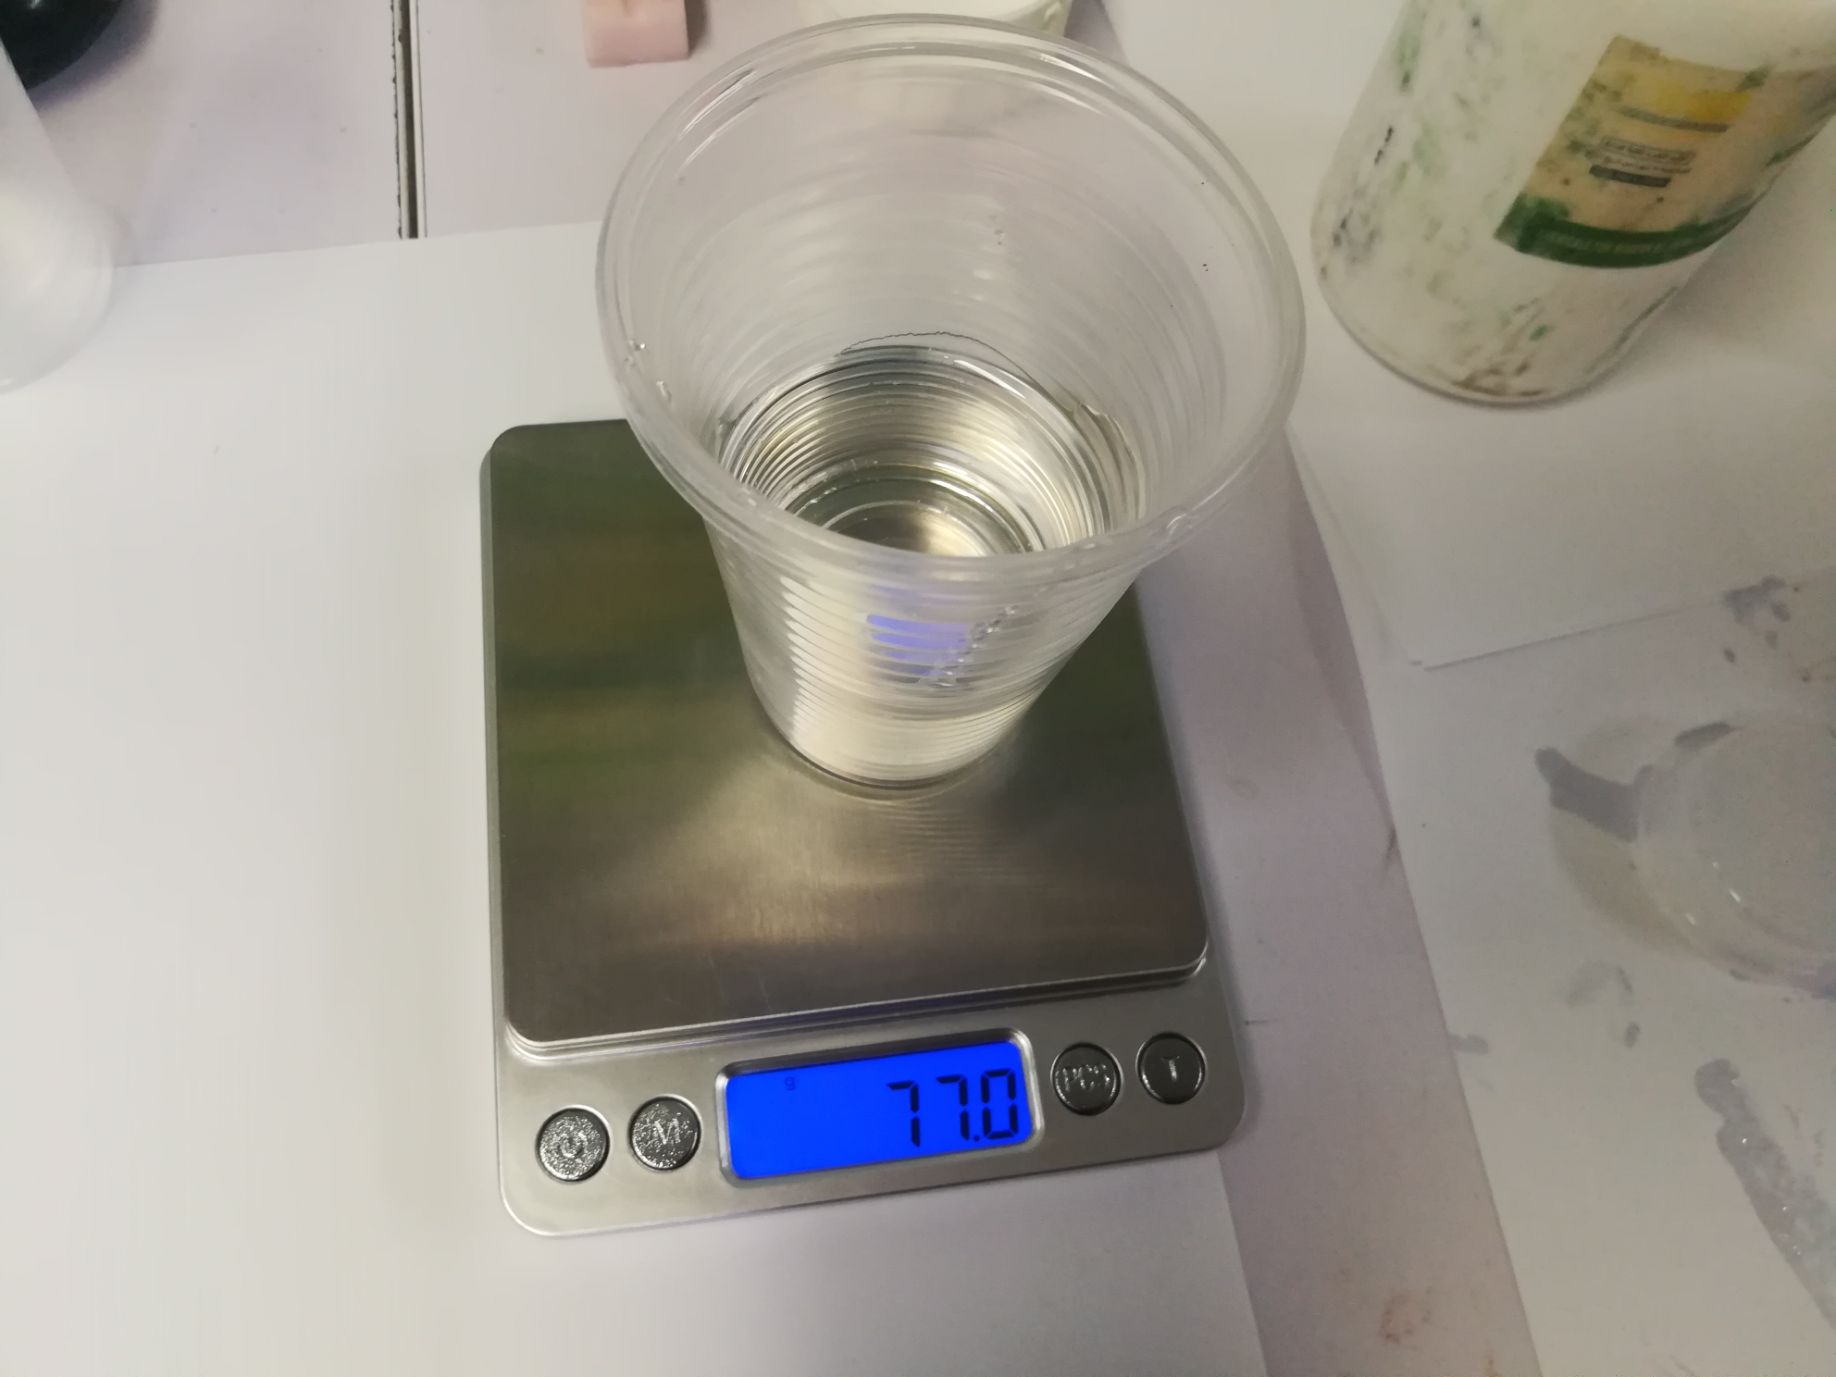
- Start by pouring the resin (part A) in a cup, we poured around 77 gm.
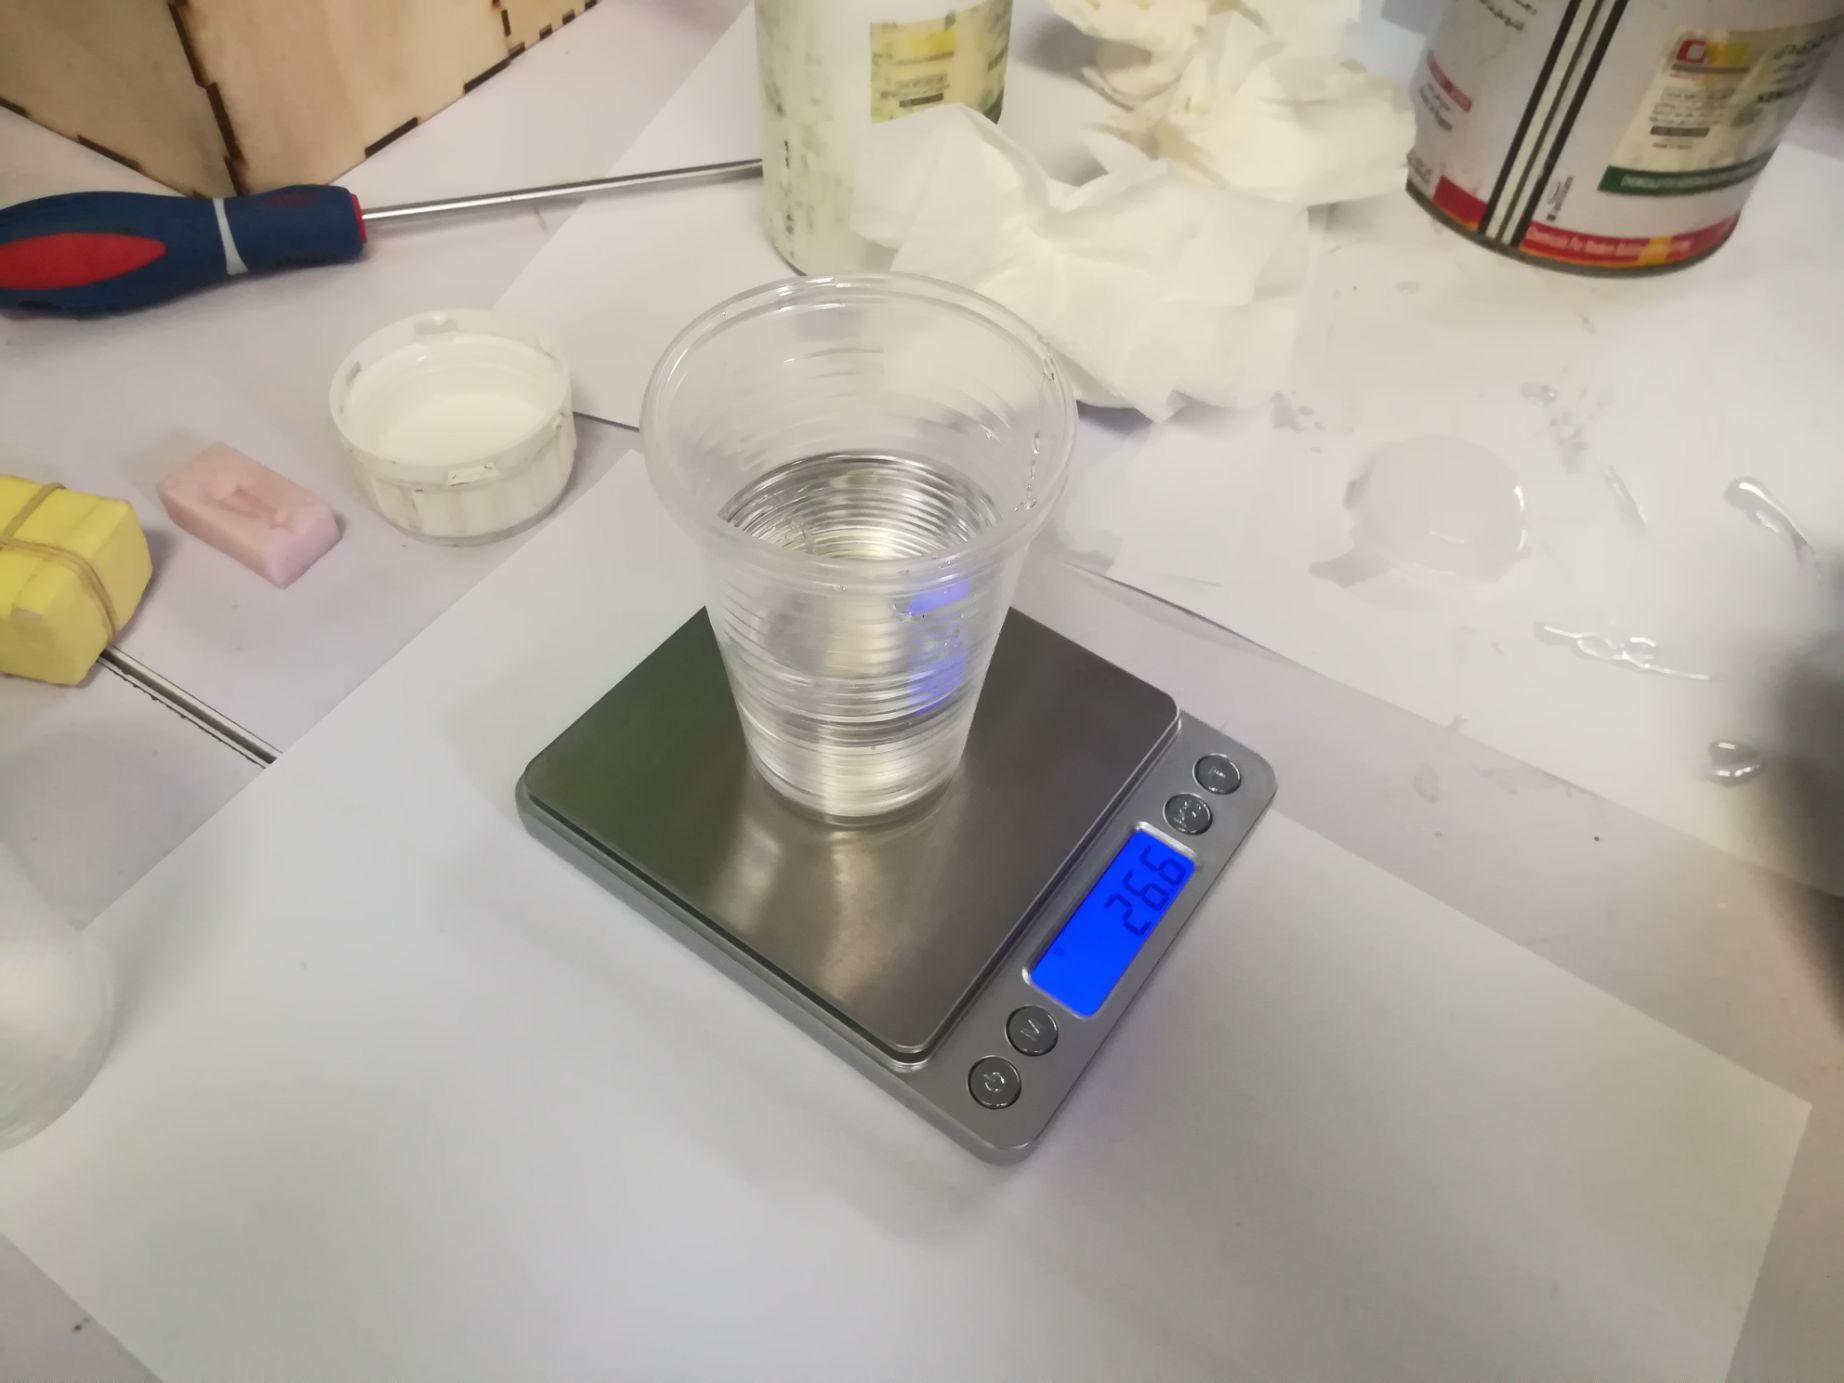
- Zero the scale and add the hardner (relative to part 1, part 2 should be around 26 gm)
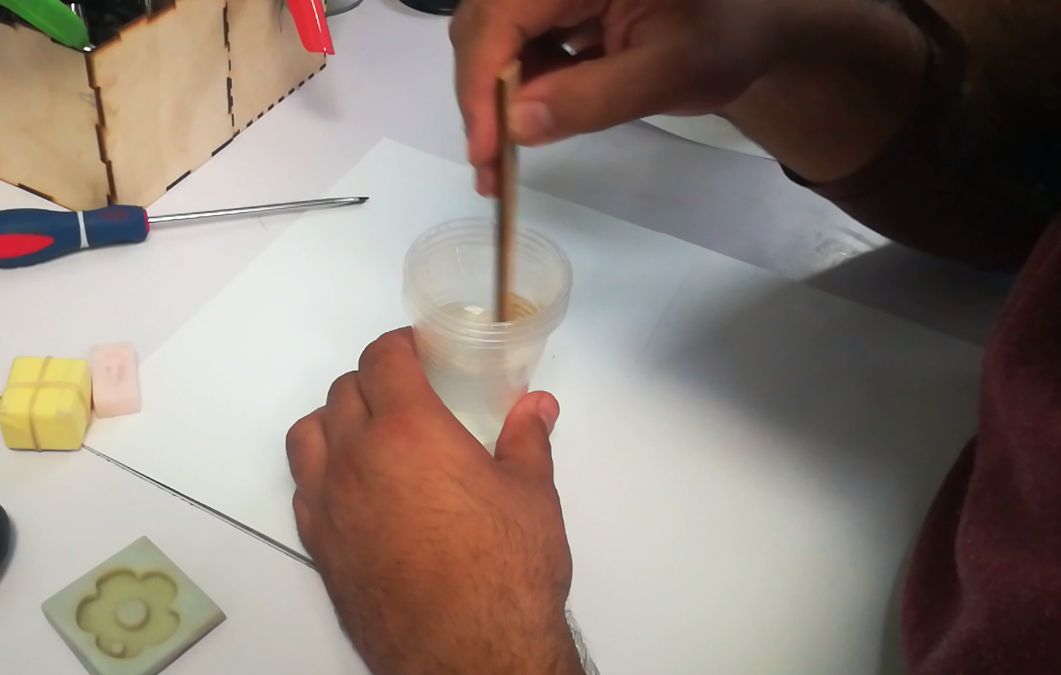
- stir the mix for few minutes until noticing that it is starting to harden.
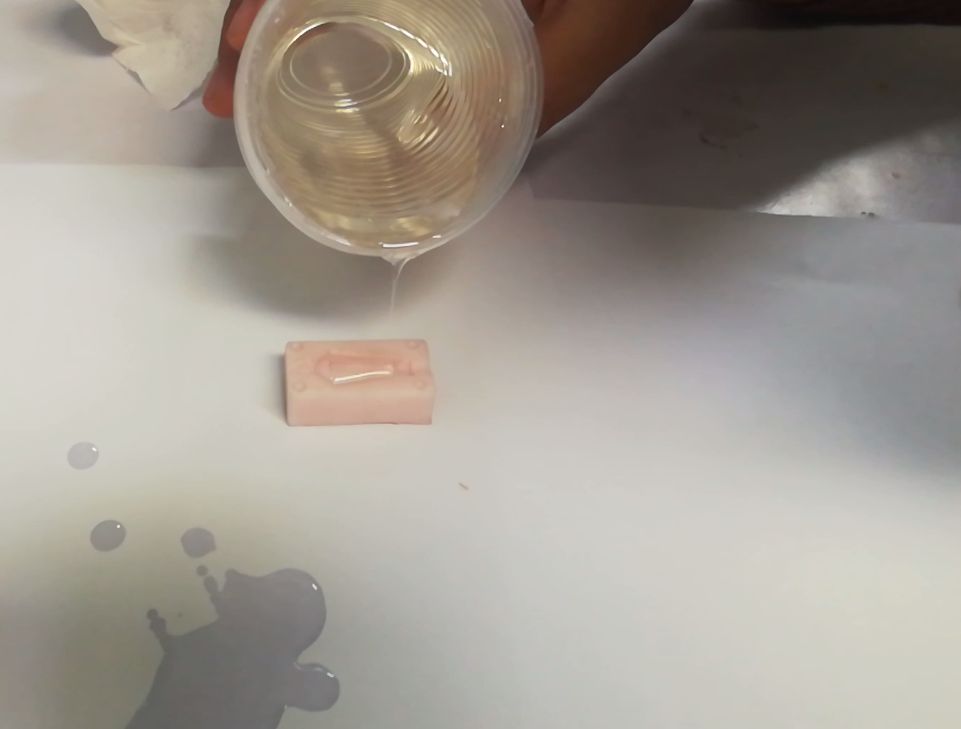
- Pour the mix carefully into the mold. Ensure that the cast is entirely full to the rim.
- Now we have to wait at least 10 to 12 hours, leaving the cast to dry.
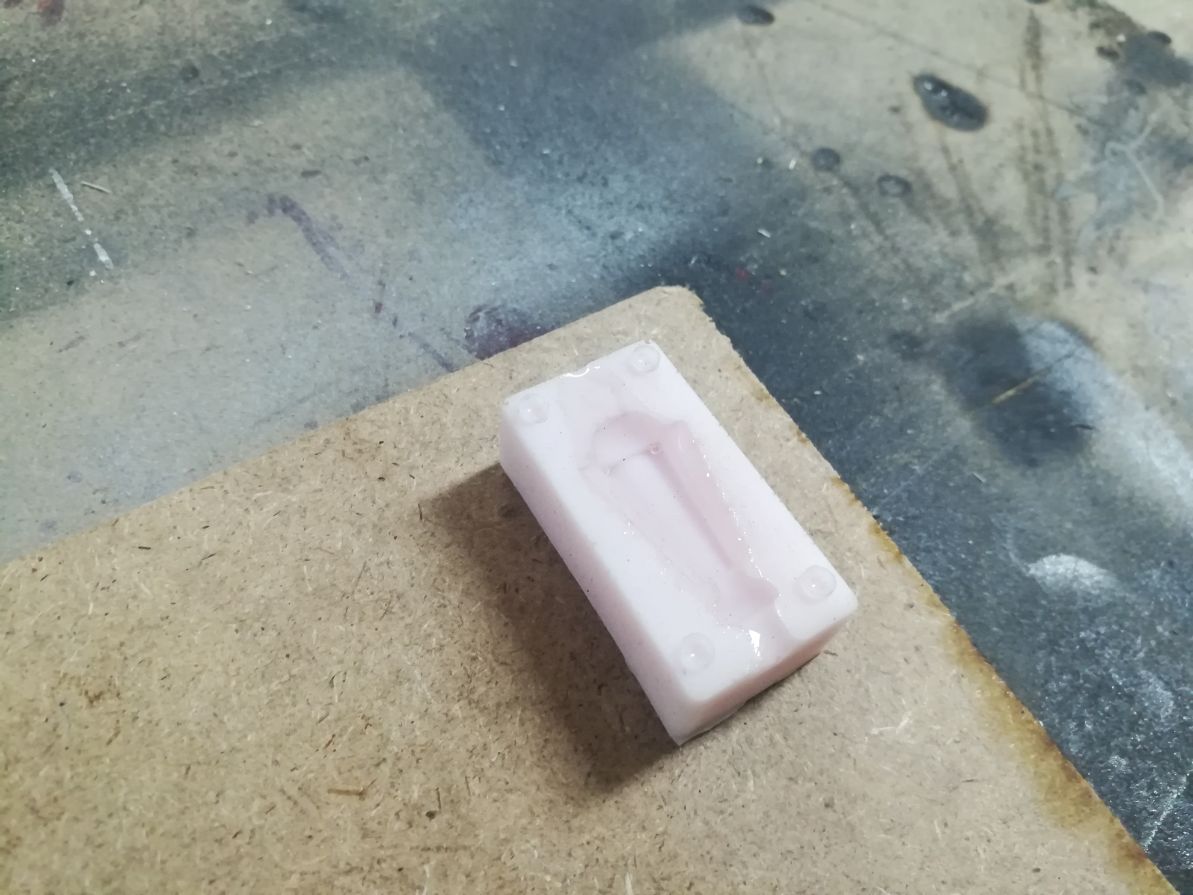
- Carefully, remove the cast from the silicon mold.
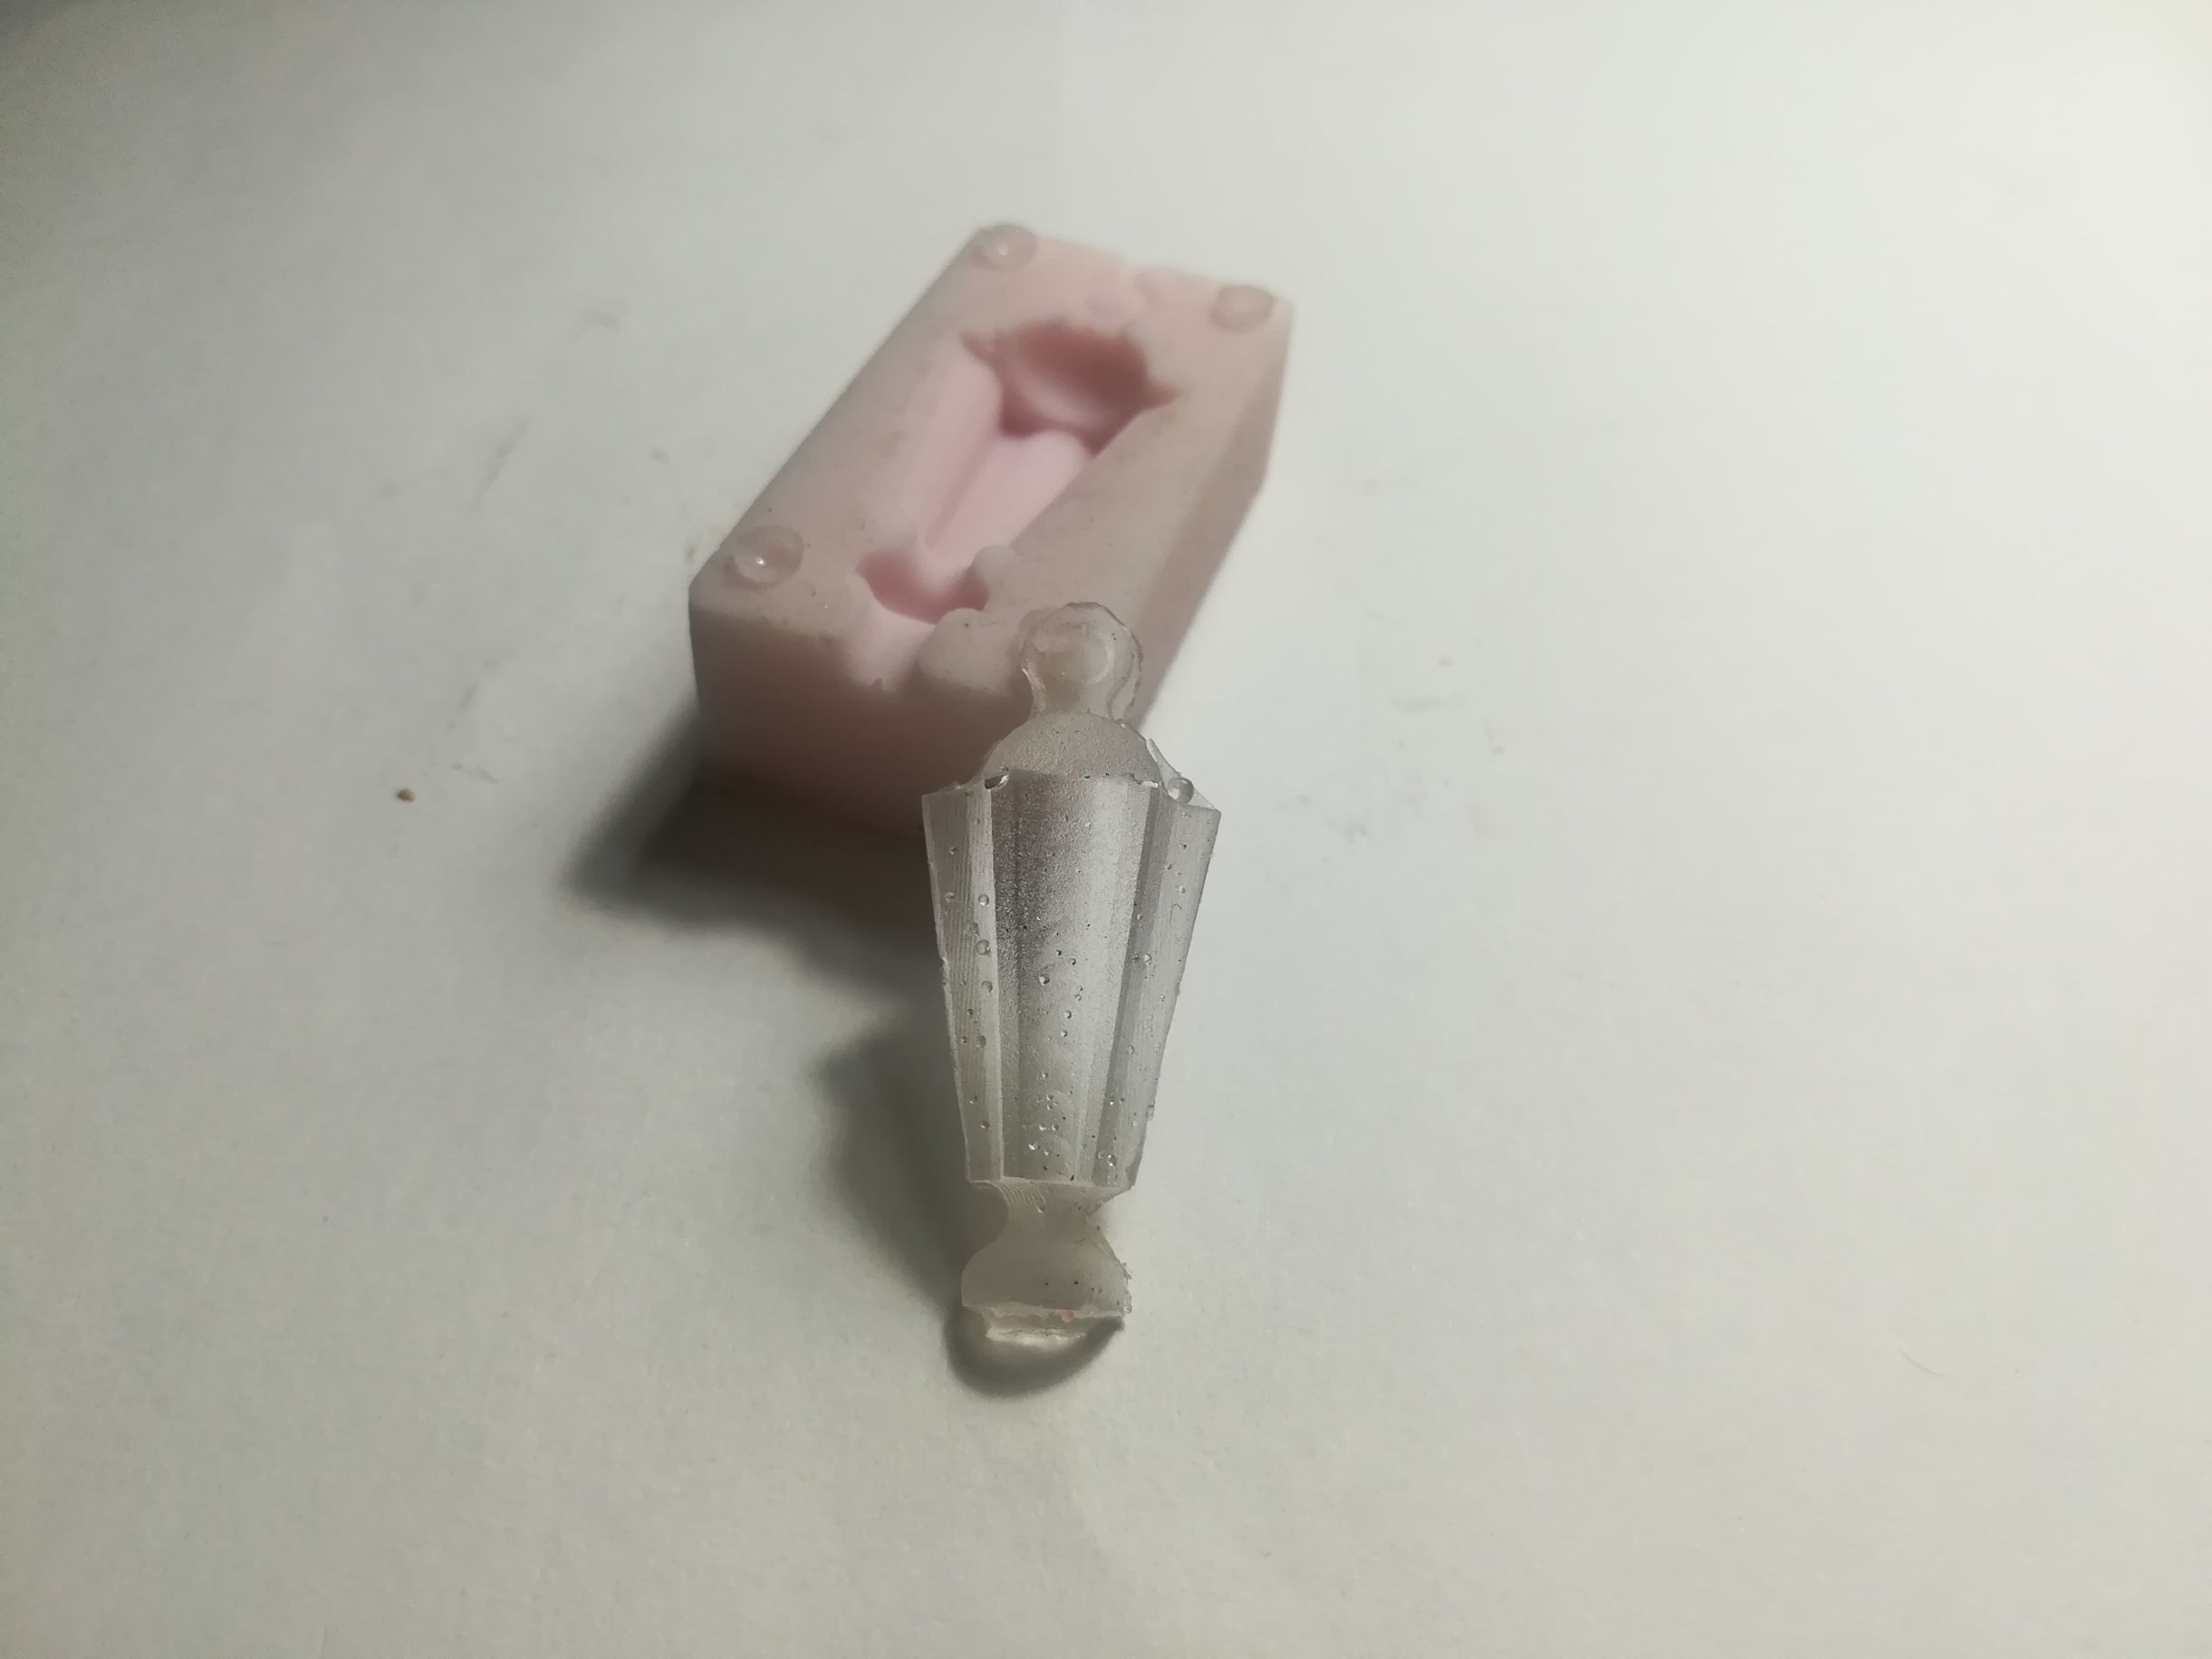
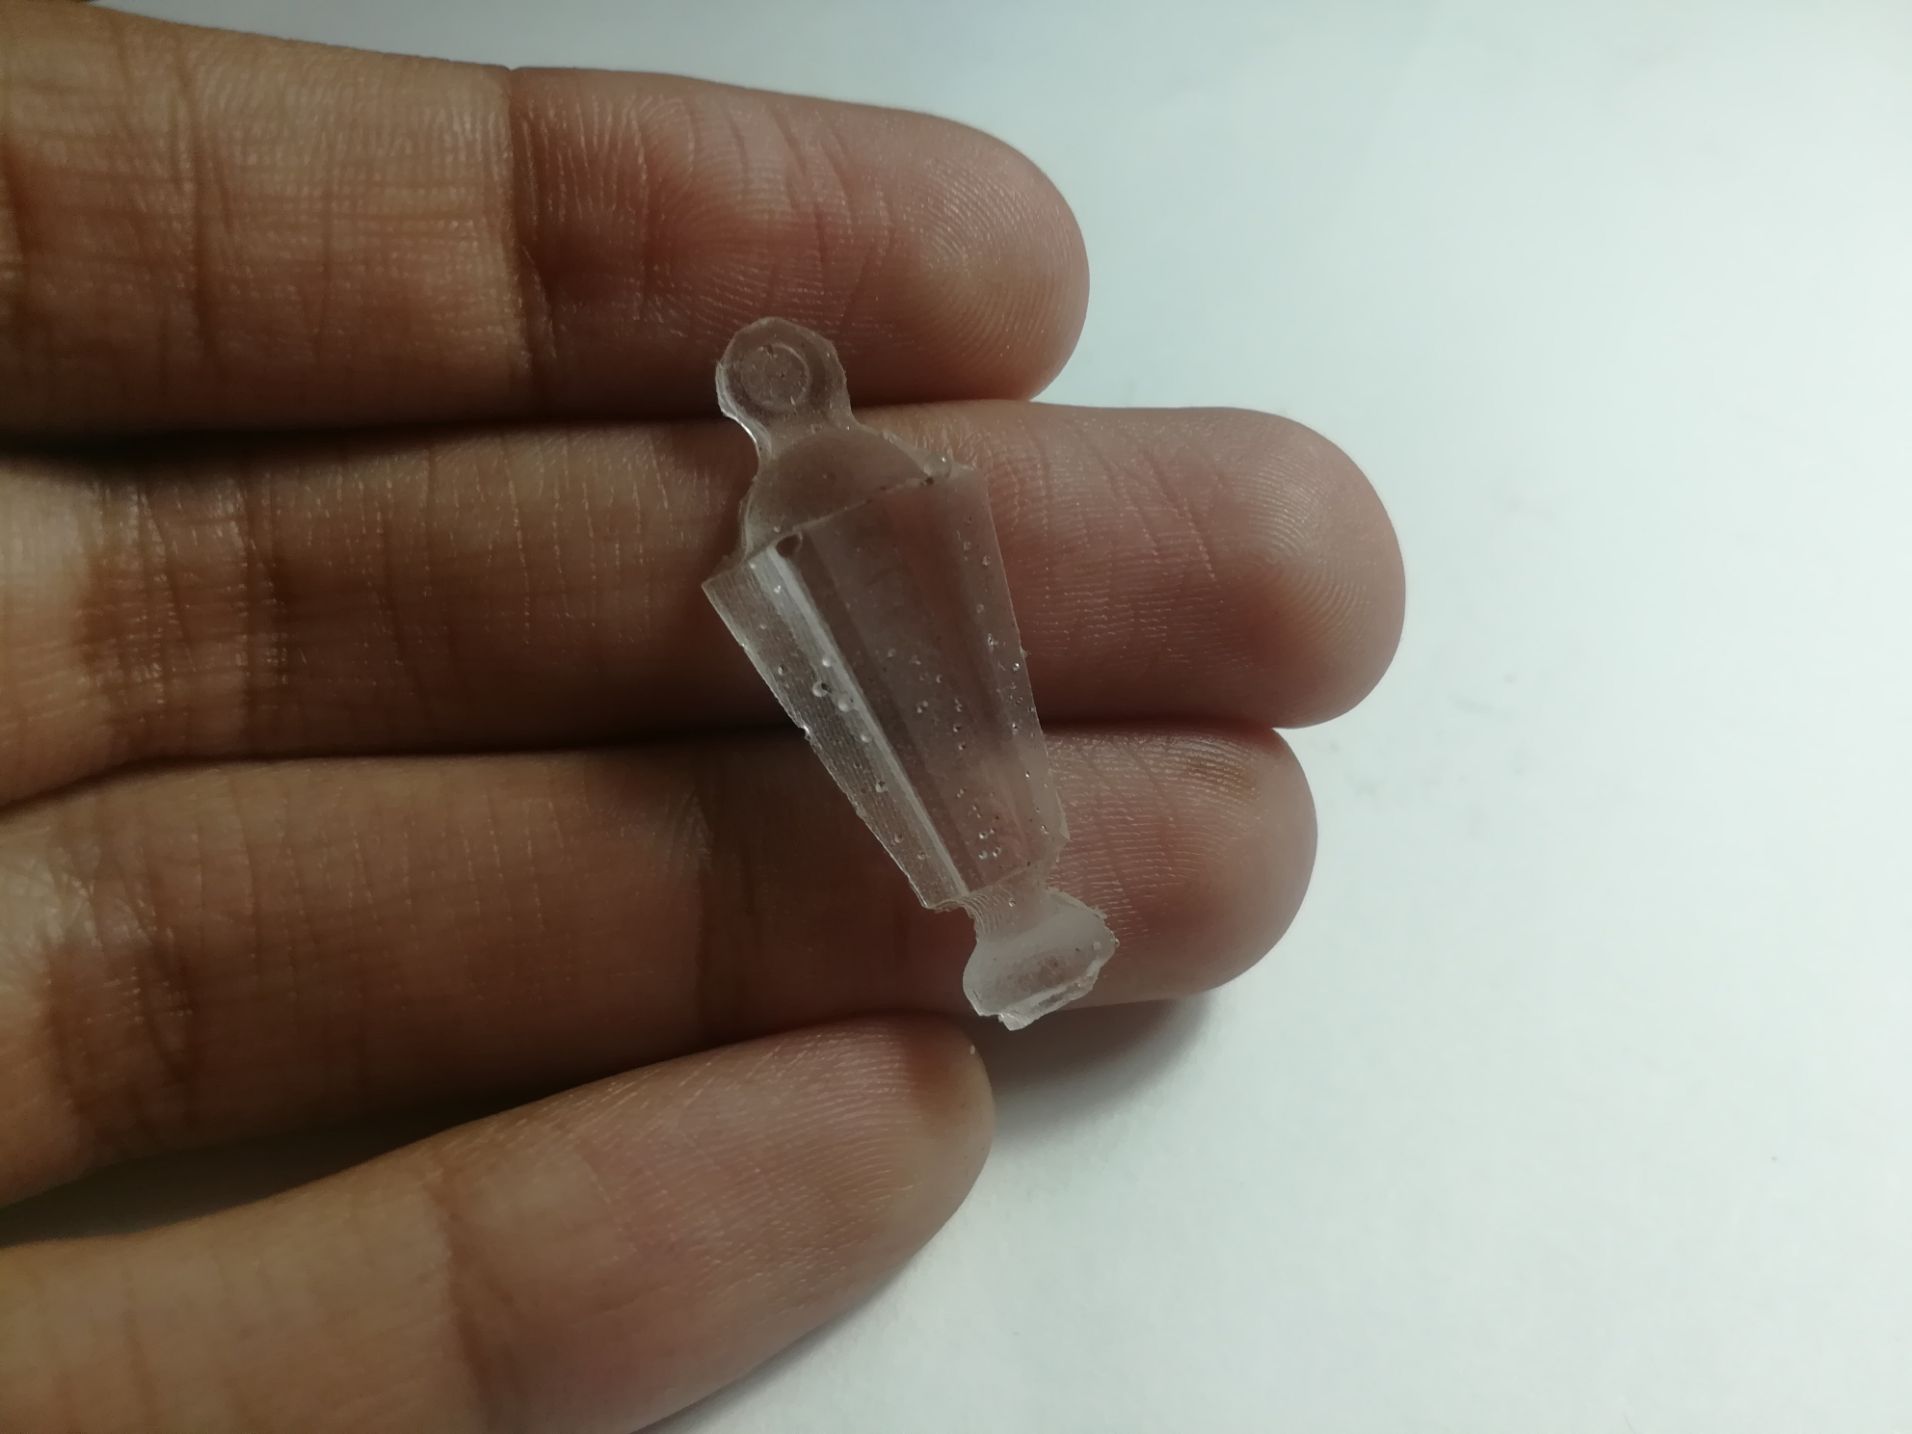
- And here is my transparent miniture Lantern!
Design Files
- Now, moving on to the last step of the process, casting the part. For this purpose, we used transparent Epoxy rasin (part A).