Electronics Production Week #5
Introduction
This week we have Two main assignments:
- Characterize the design rules for your PCB production process
- Make an in-circuit programmer by milling the PCB, program it, then optionally, trying other processes.
In-circuit Programmer
Preparation
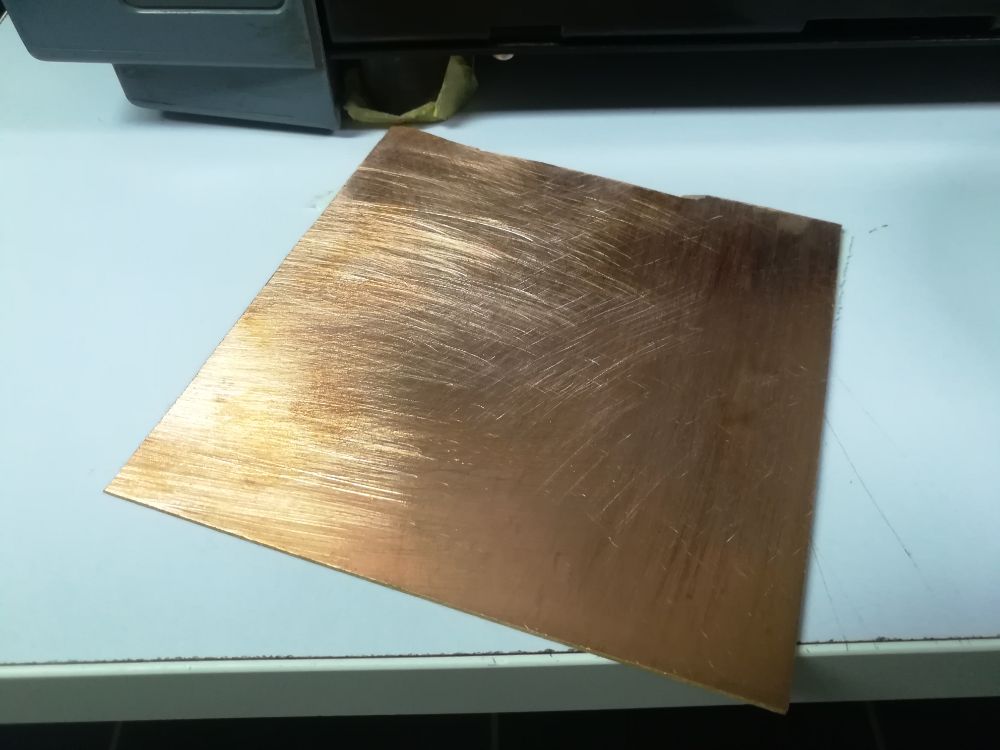
- First, we bring the PCB for milling. The PCB we used for this assignment is an FR1 PCB, which is the recommended type to use because it doesn't strain the end mills and doesn't shorten its life time like FR4 PCBs.
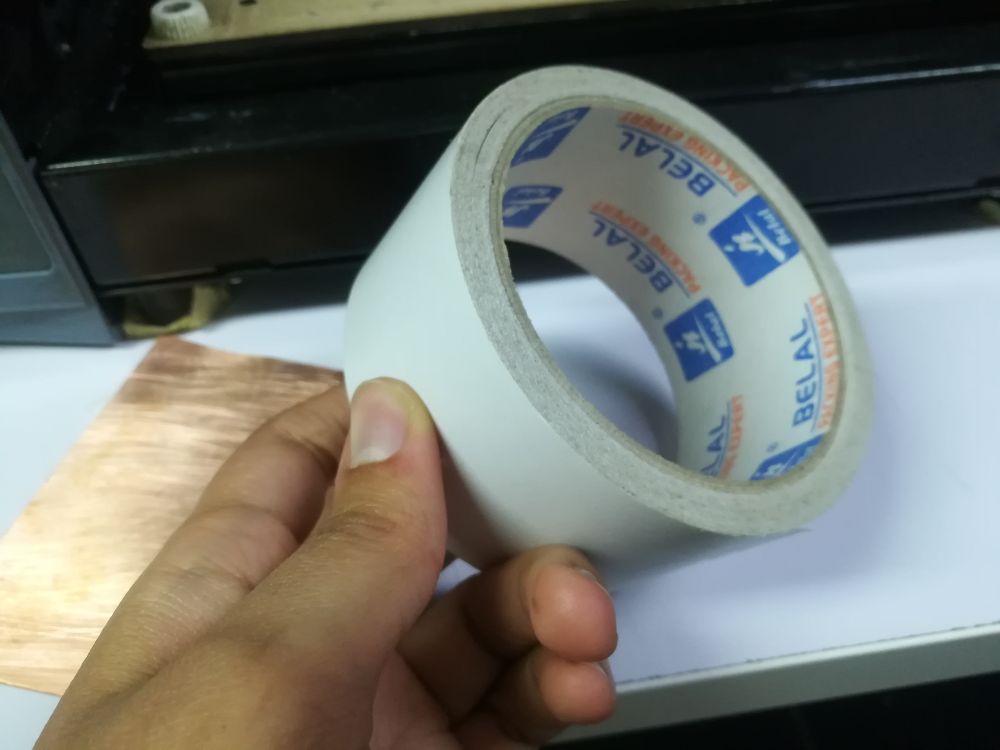
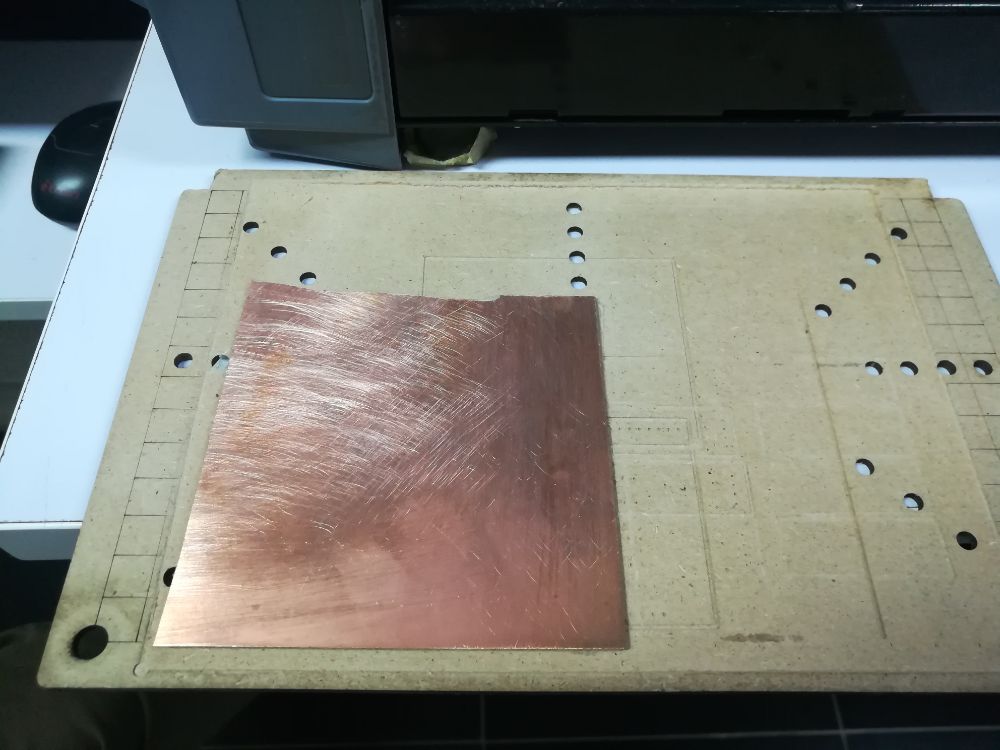
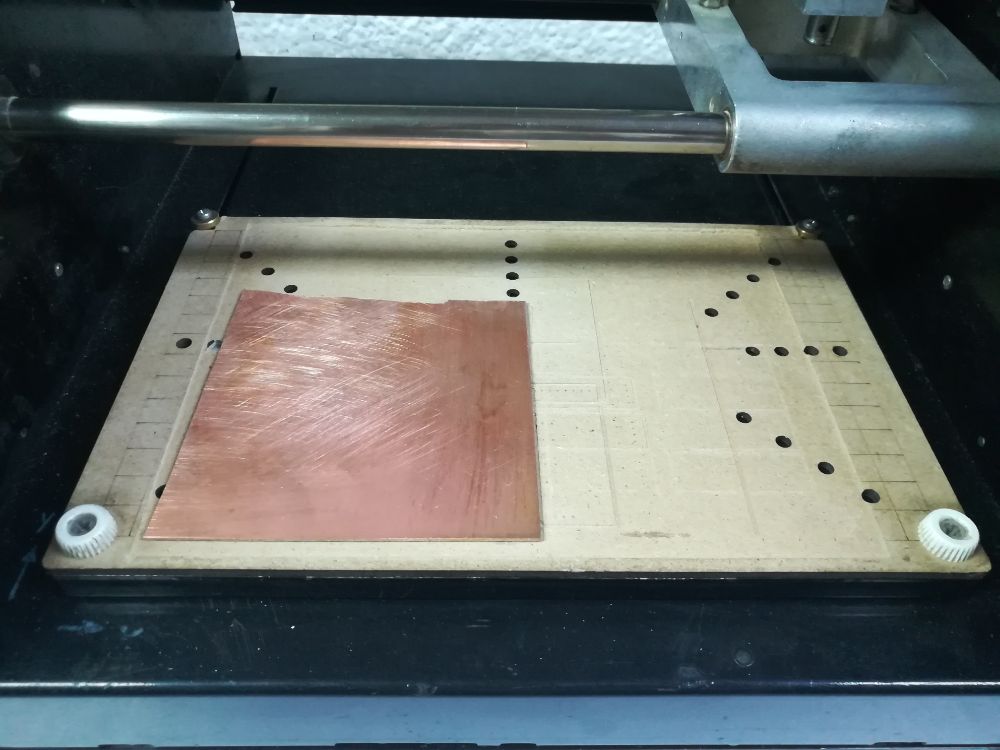
- Second, we fix the PCB to the milling machine plate use double sided tape. We need to make sure that the tape layer is smooth with no wrinkles so that the entire surface of the PCB have one fixed height relative to the end mill.
- Now, we need to prepare the endmills. We use two types of endmills. A 1/64 endmill to mill the traces and a 1/32 endmill to mill the outline of the board.
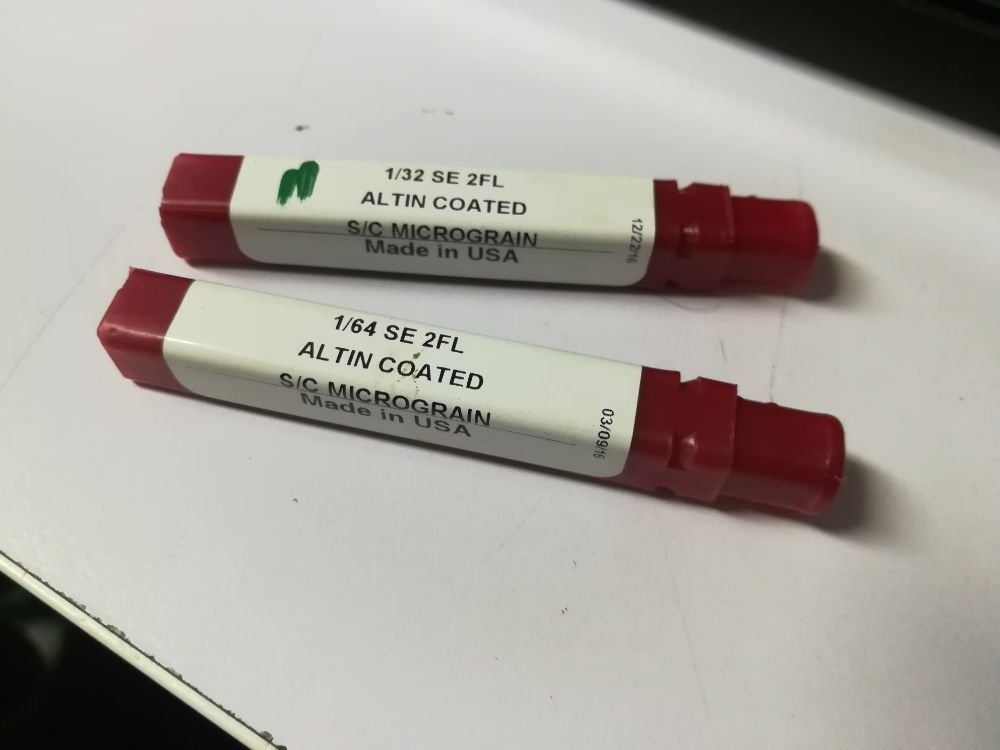
- First, we install the 1/64 endmill very carefully, this endmill is very senstive and may break if we didn't install and fix it well in the spindle.
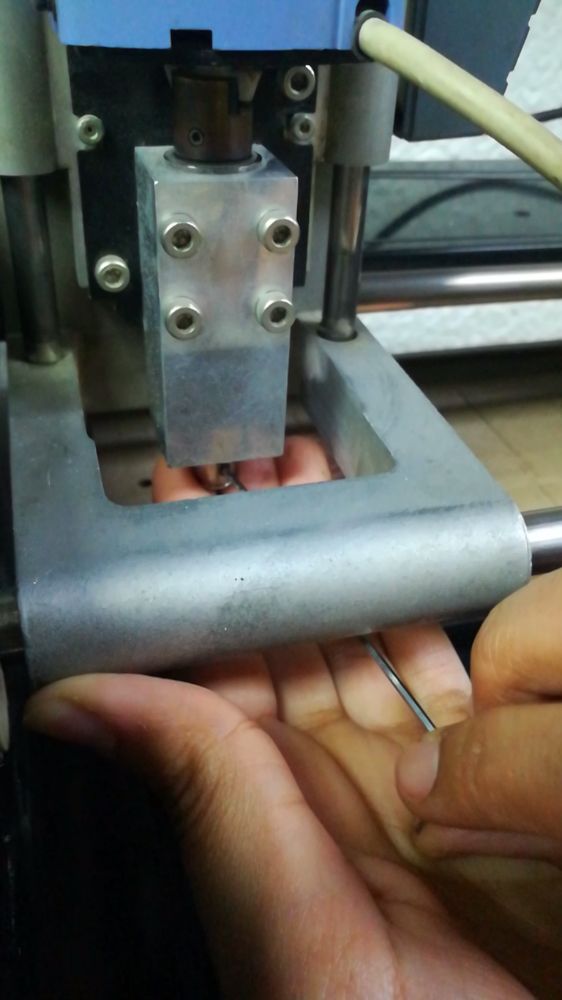
Fabrication & Soldering
- I decided to mill the hello ISB programmer board, with the Attiny 44 microcontroller chip.
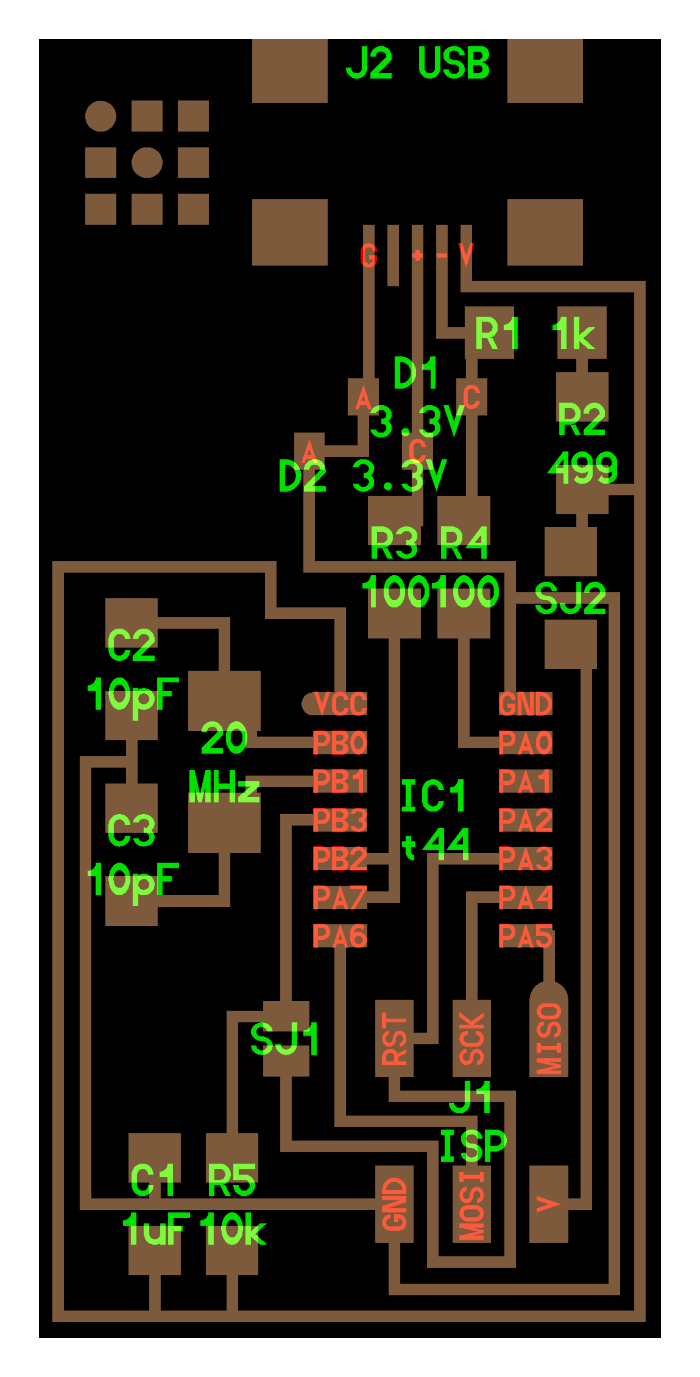
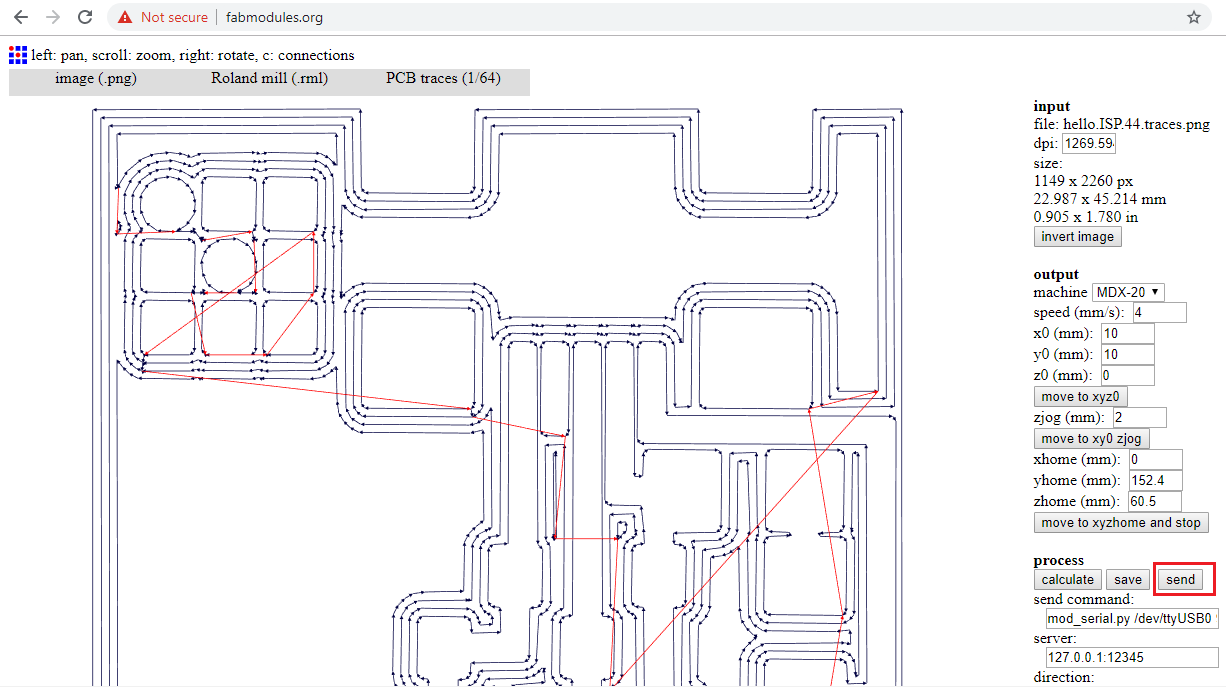
- To generate the toolpath for milling, I used Fab Modules. First, I imported the traces image, the image is in PNG format, with only black and white lines.
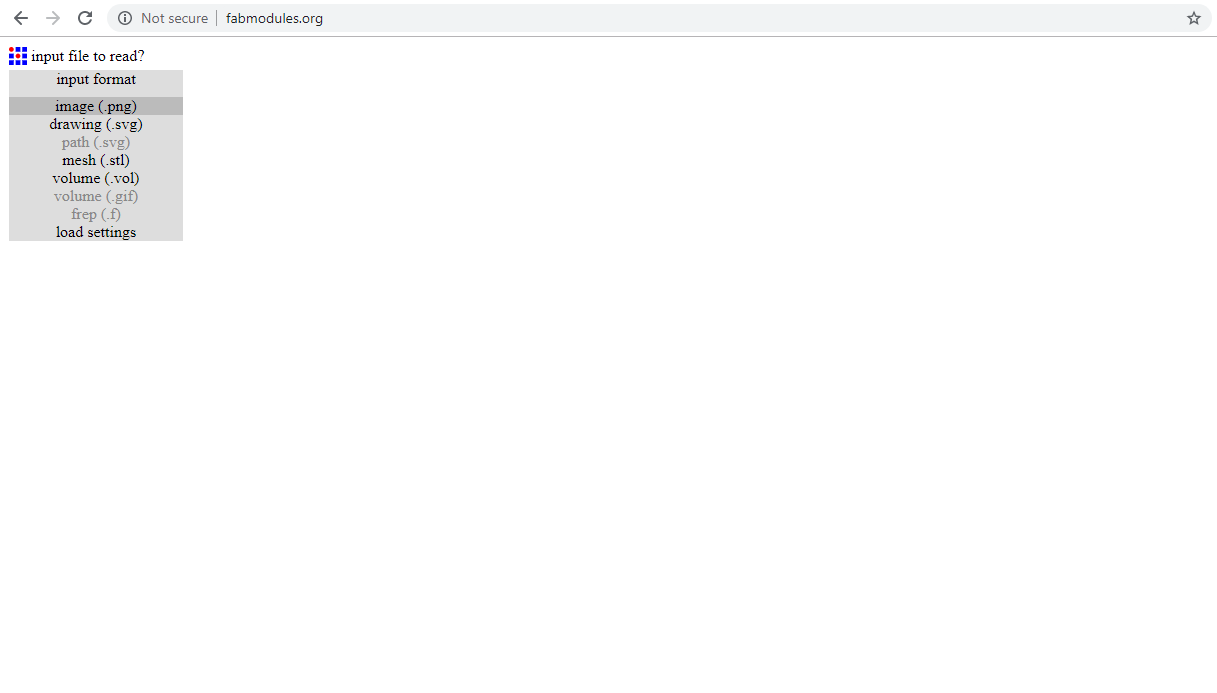
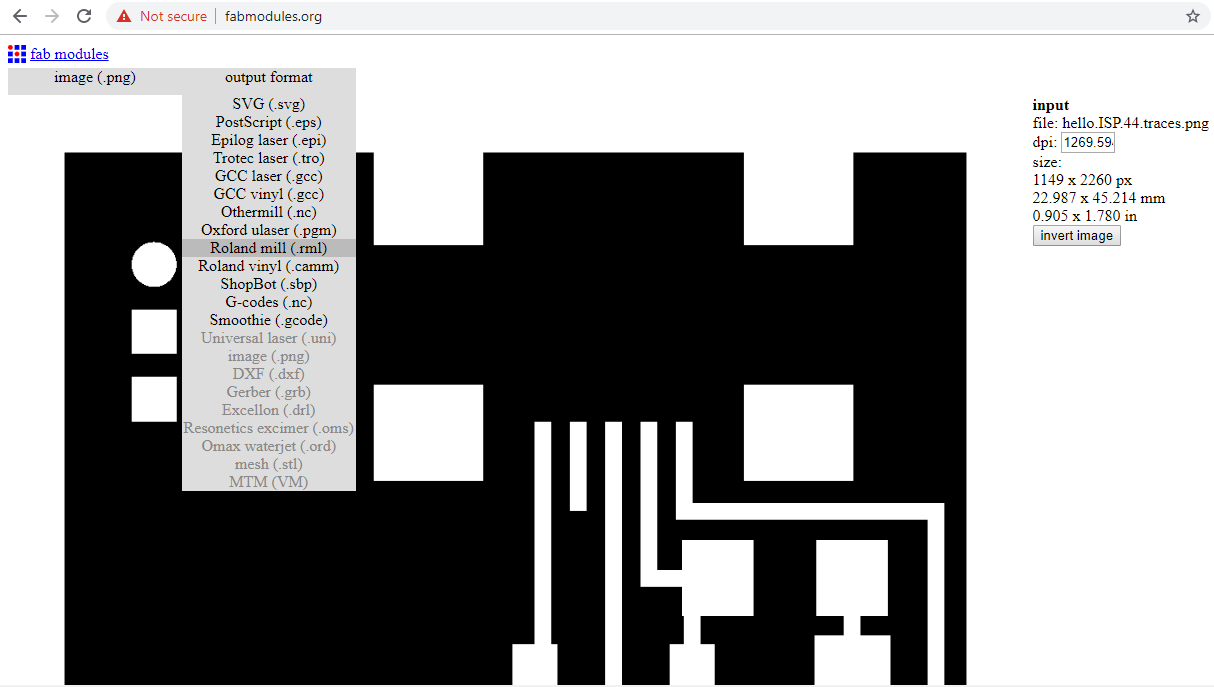
- Then, I choose the output format, as roland mill.
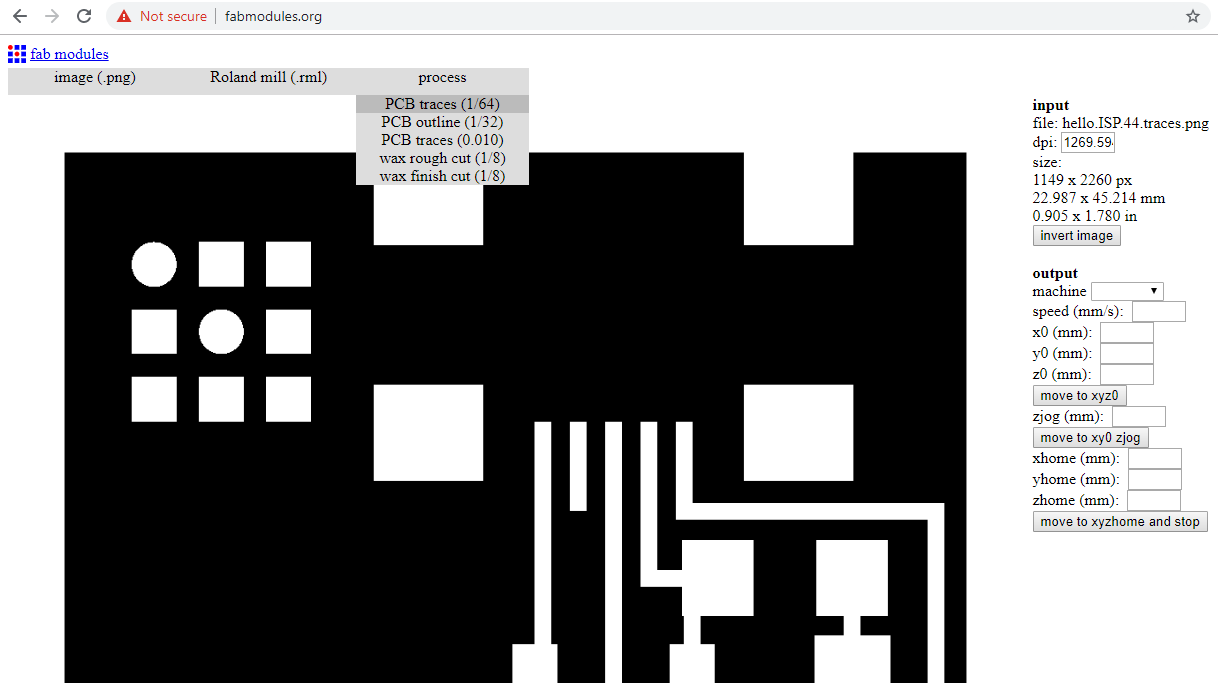
- Then, I choose the process, which is milling the traces.
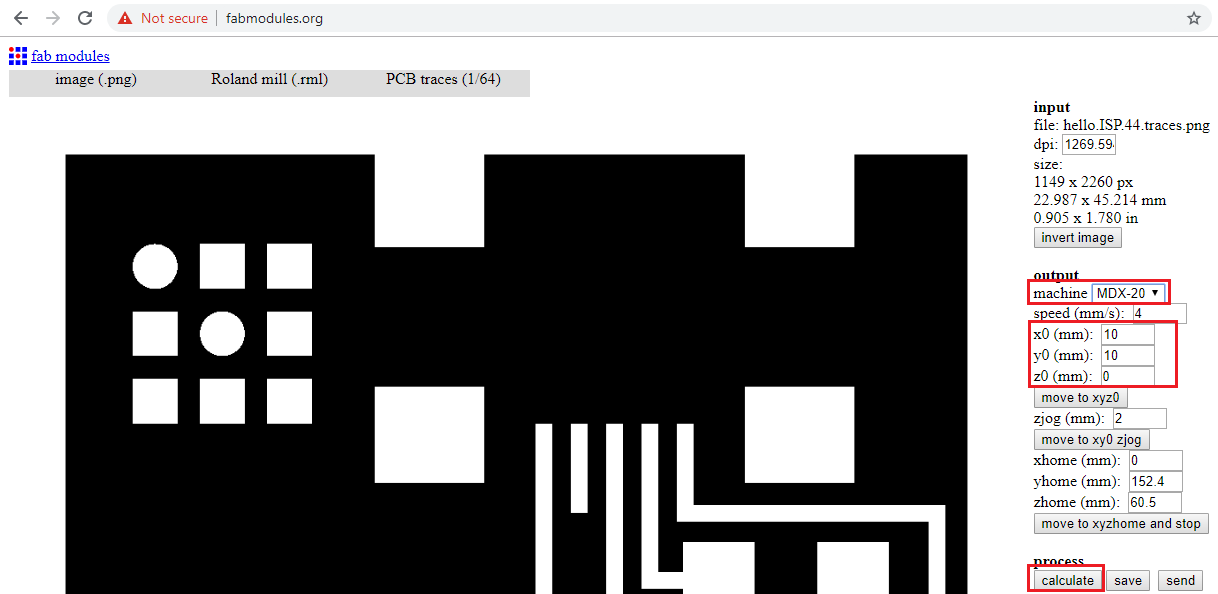
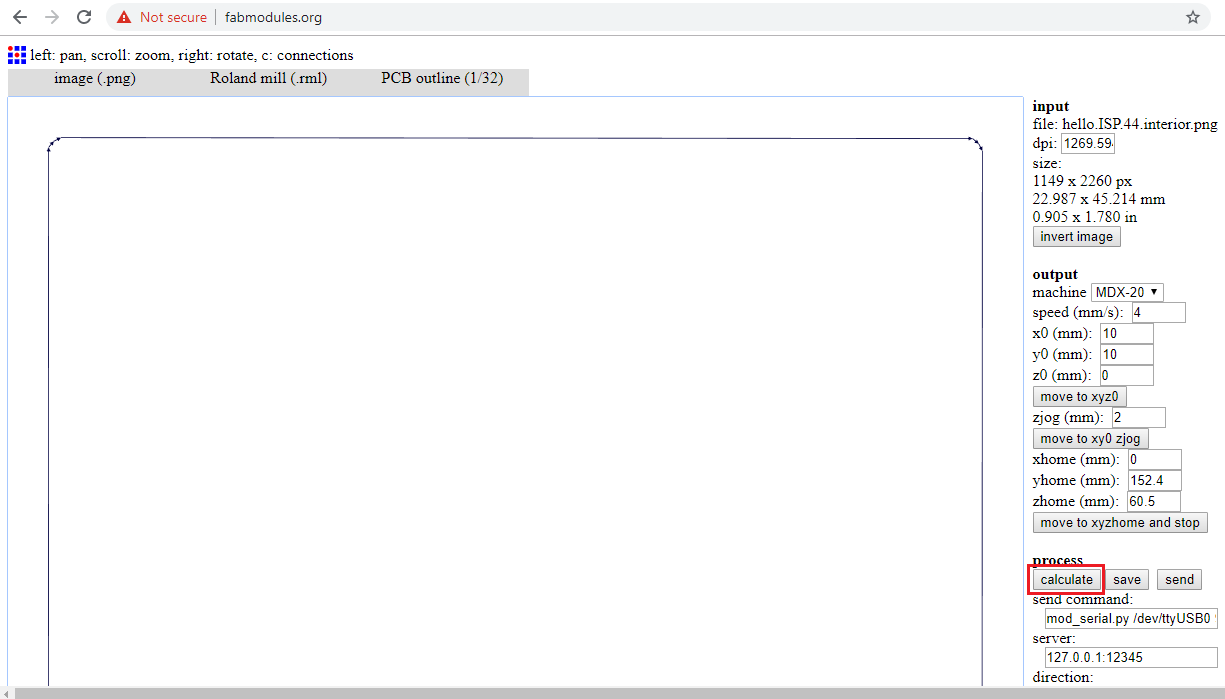
- Now, I need to choose the machine's model I'm using for milling, which is MDX-20. I also need to zero point of the endmill by adjusting the values of the X & Y, while observing the position of the endmill while it changes its position over the PBC surface until it reaches the desired position. I finally press calculate to generate the toolpath.
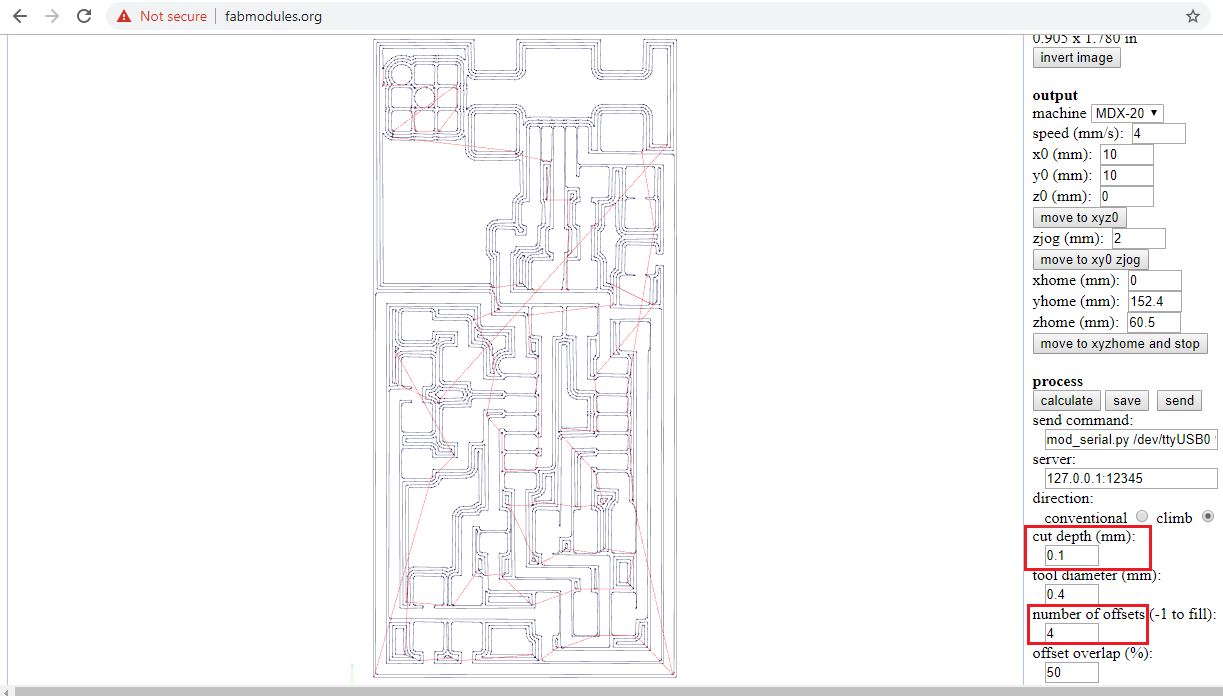
- The toolpath was generated for an offset of 4, which is the number of times the endmill will be milling the copper around the trace.
- I finally send the toolpath code to the milling machine.
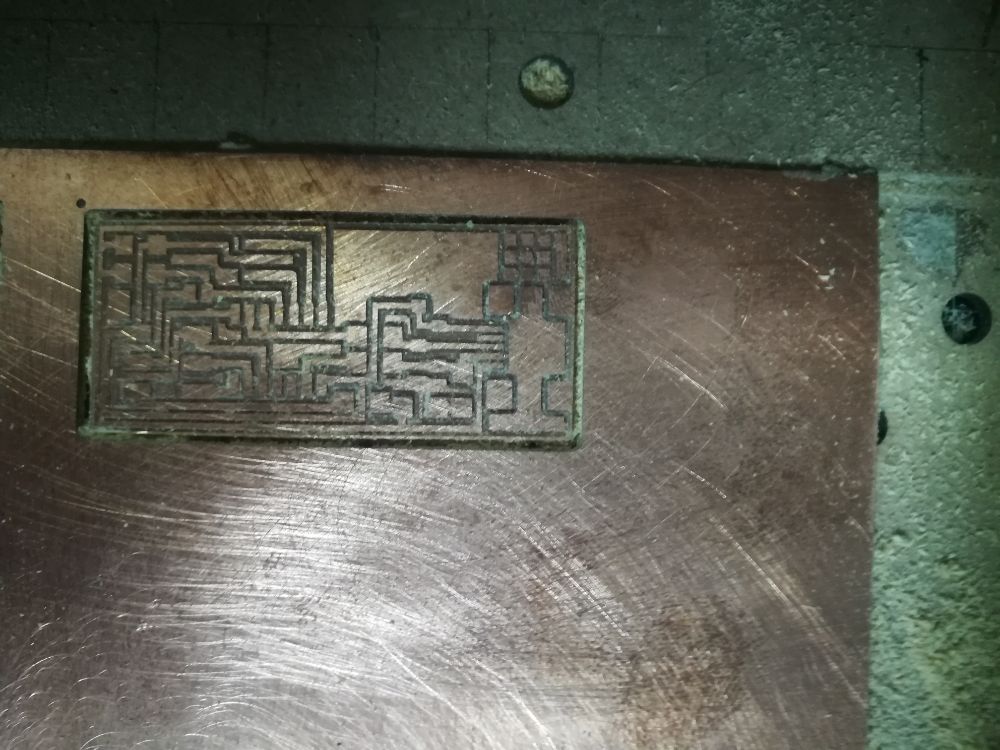
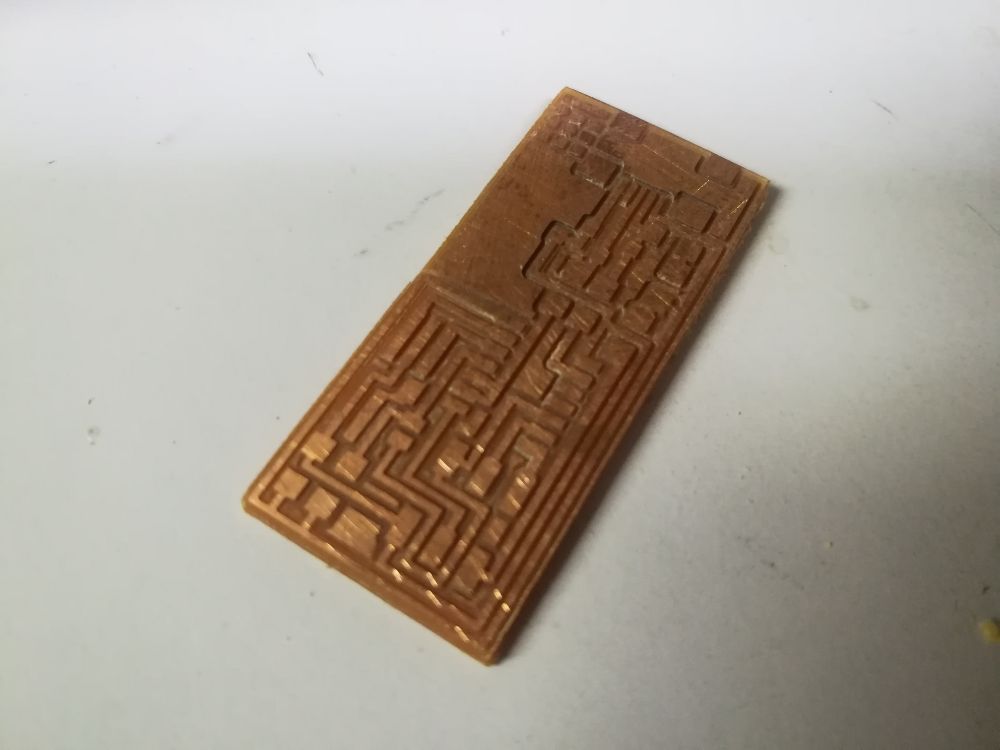
- The outcome of the milling process using the 1/64 endmill:
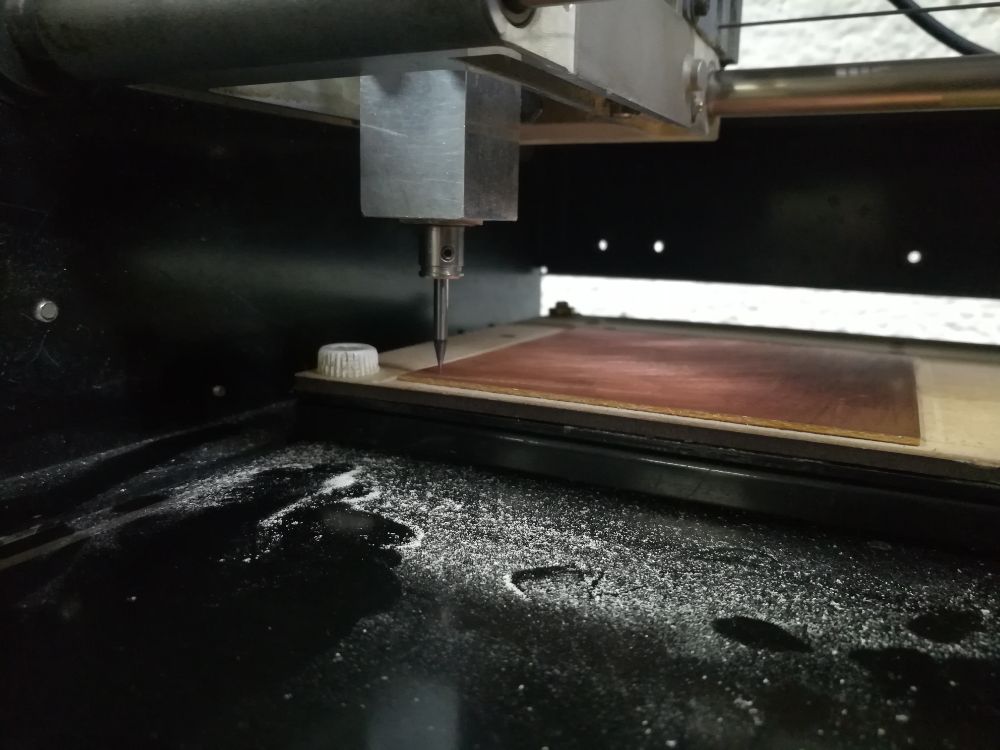
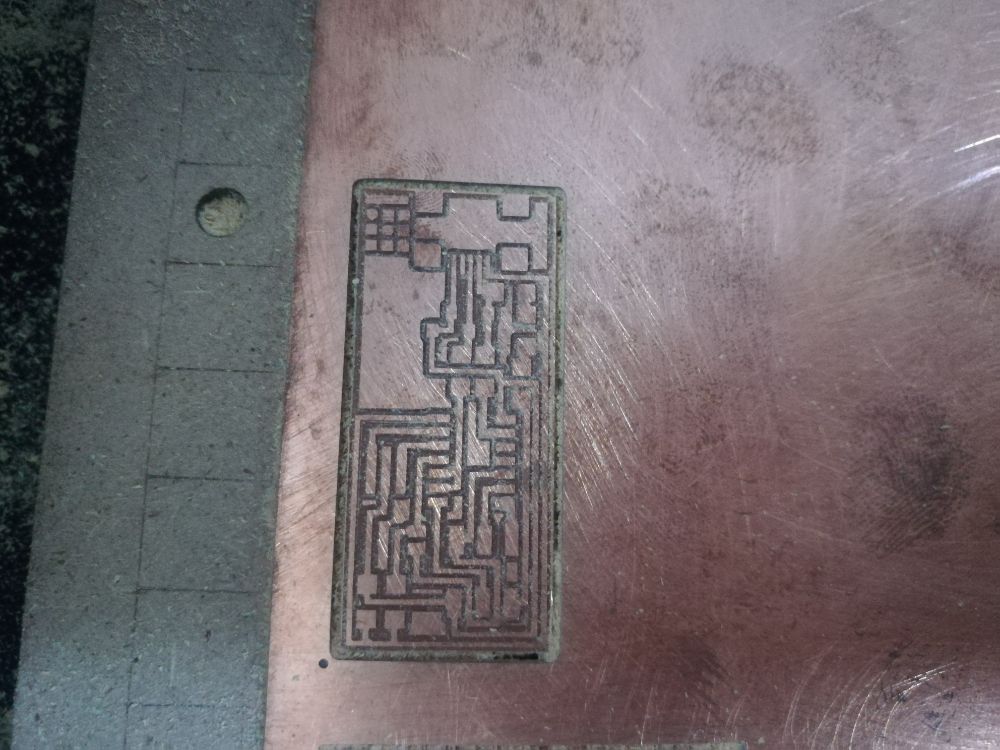
- Now, I change the endmill to 1/32 for cutting the outline. I import the outline image to Fab Modules, and I repeat the process as above but this time I choose the outline process instead of the traces process.
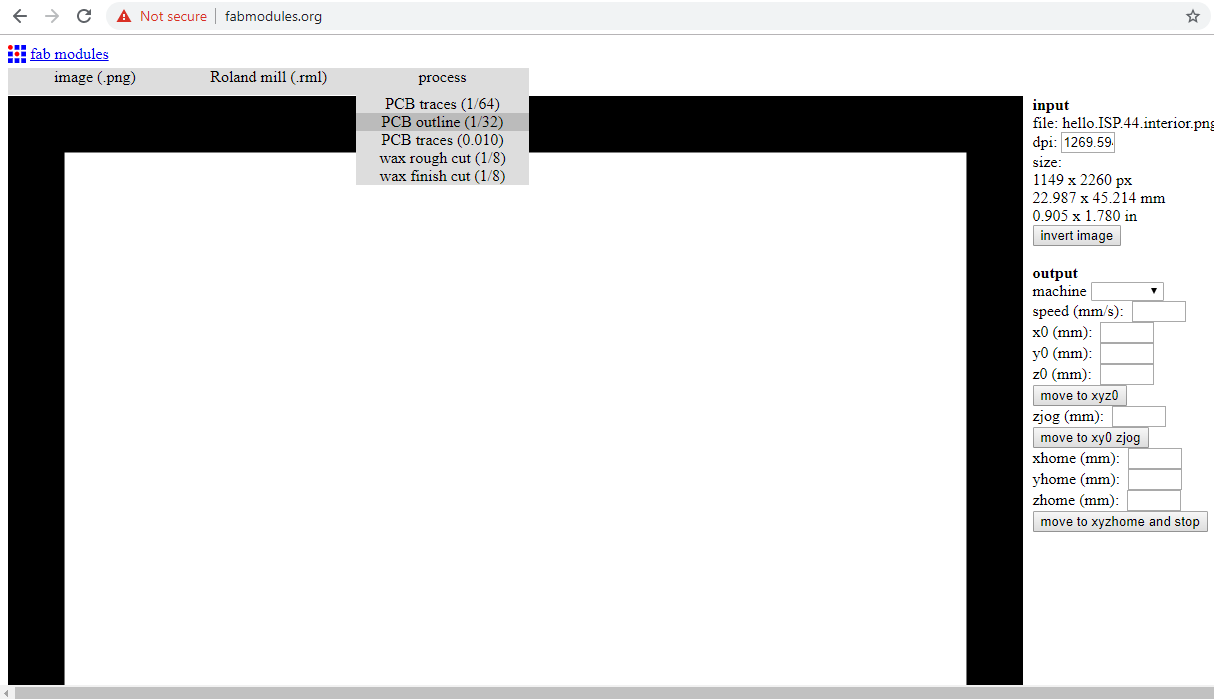
- Now, we may see the difference in the cut depth of the traces process versus the outline process. In the traces process, the cut depth starts at 0.1 mm which means that the endmill just scratches the surface to remove the copper. Wheras in the outline process, the endmill goes down 0.6 mm to cut the outline, then it repeats this process two more times to cut the entire stock thickness and seperate the board entirely from the PCB.
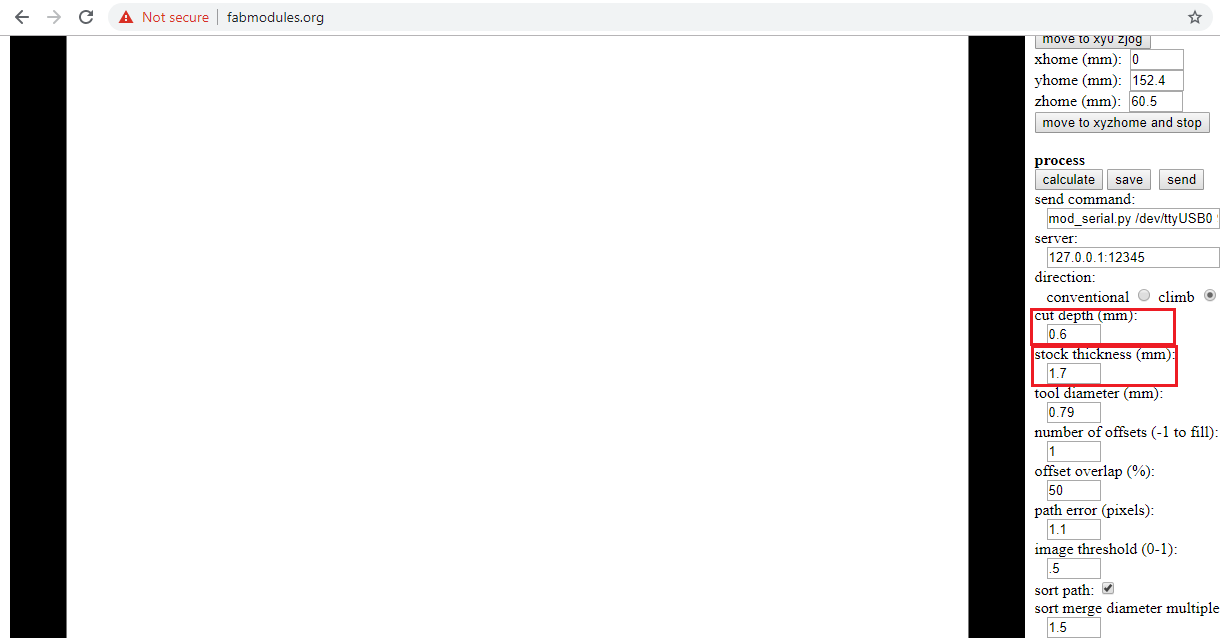
- Finally calculate the toolpath and send it to the machine
- Now, the board is seperated from the PCB.
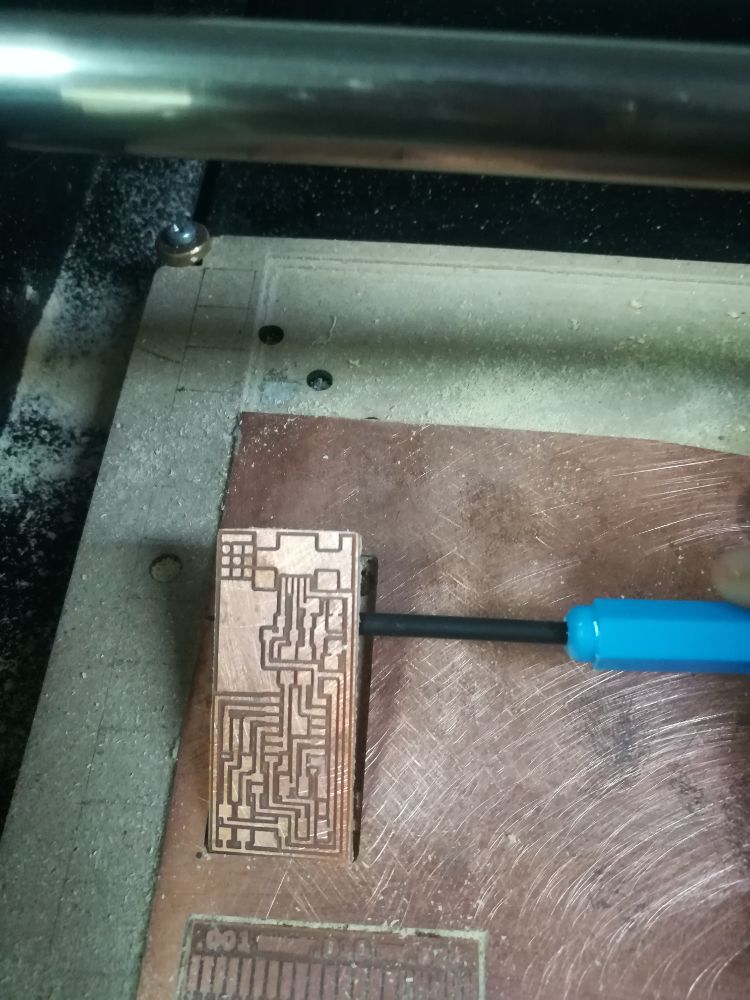
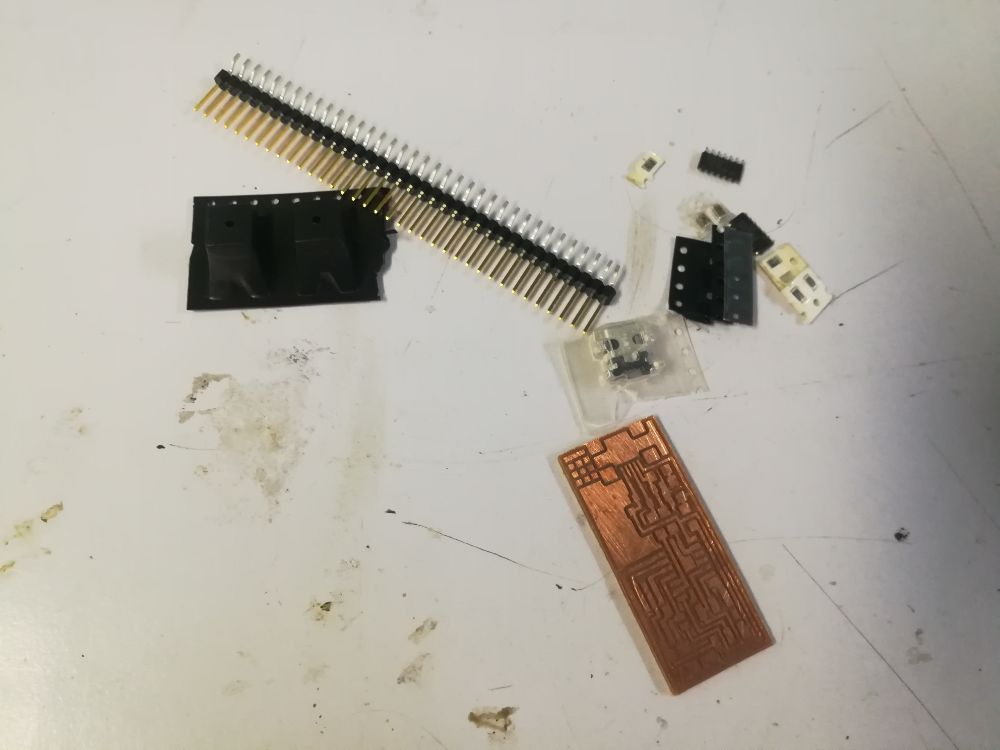
- Now, the board is ready for soldering. This was my first time soldering SMD components, and it was a fun challenge! I collected the components from our Fab Inventory. Reading the resistors values was challenging, but your eyes get used to it.
- Our instructor recomended that we start with soldering the components from starting from the middle of the board then we go to the next near to the board's exterior.
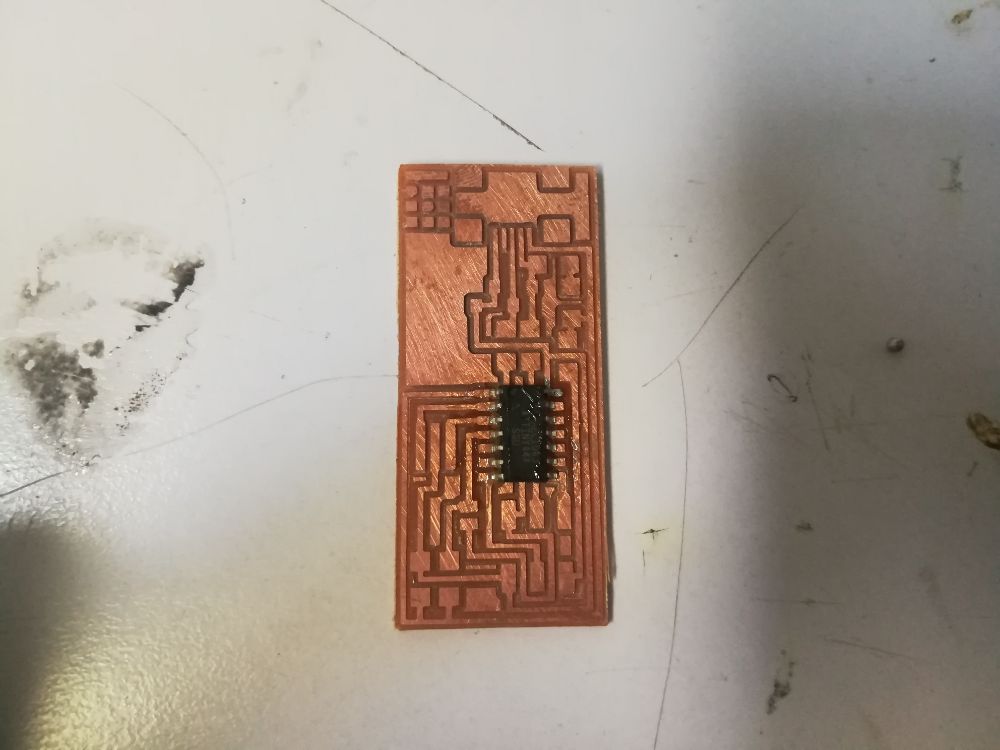
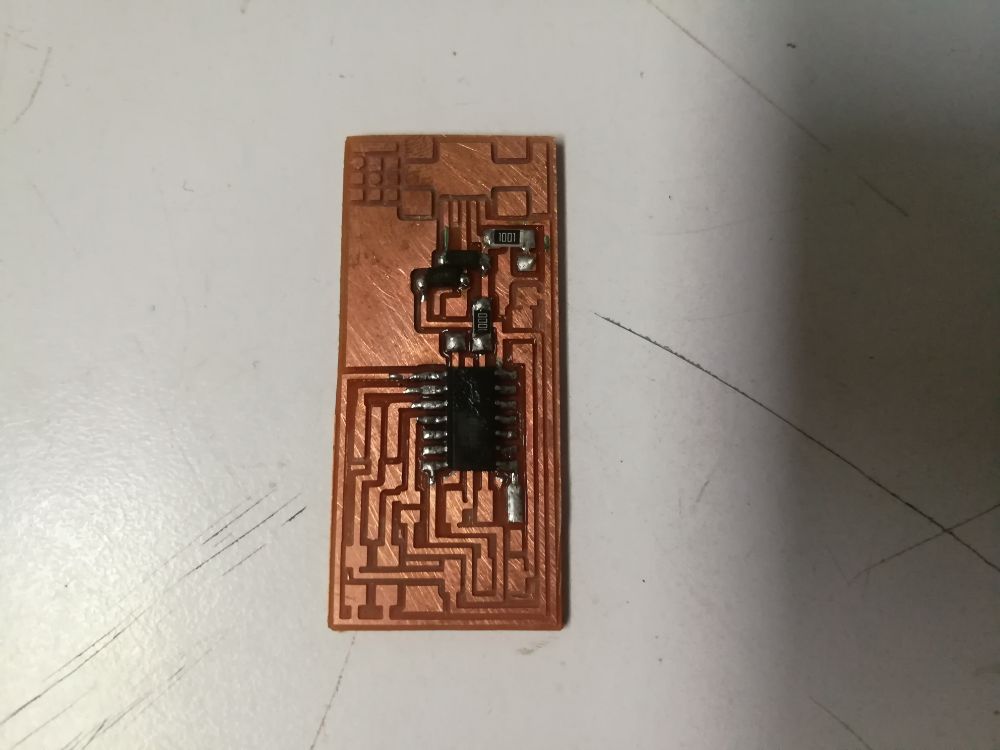
- Now, the board is ready for programming!
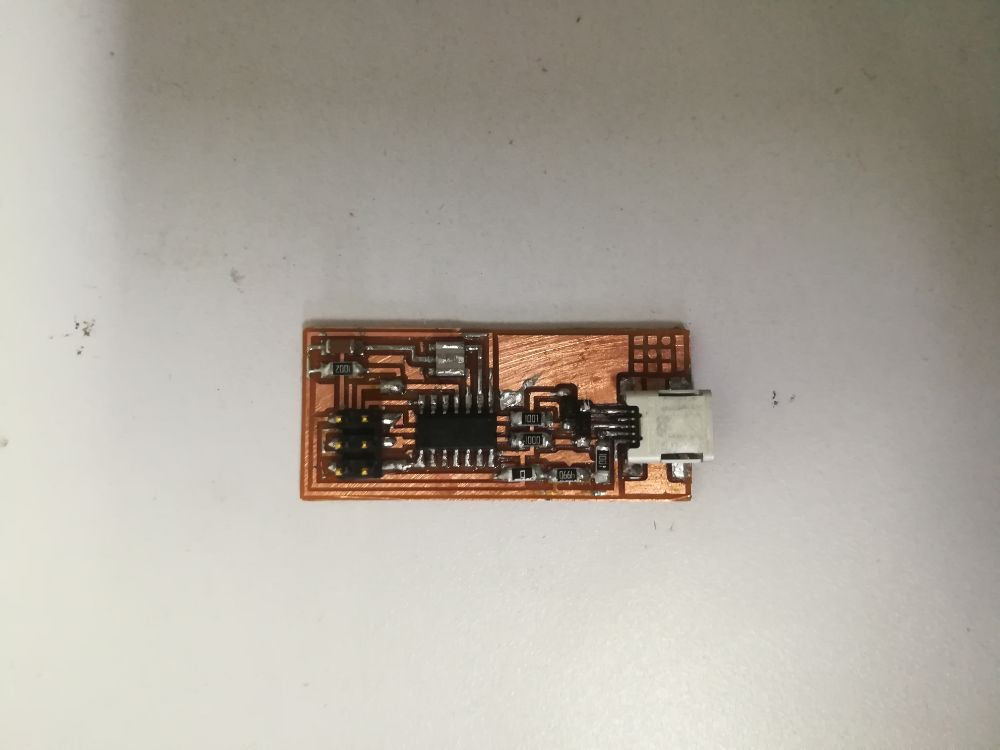
Programming
- To program the programmer, I used another FabISB.
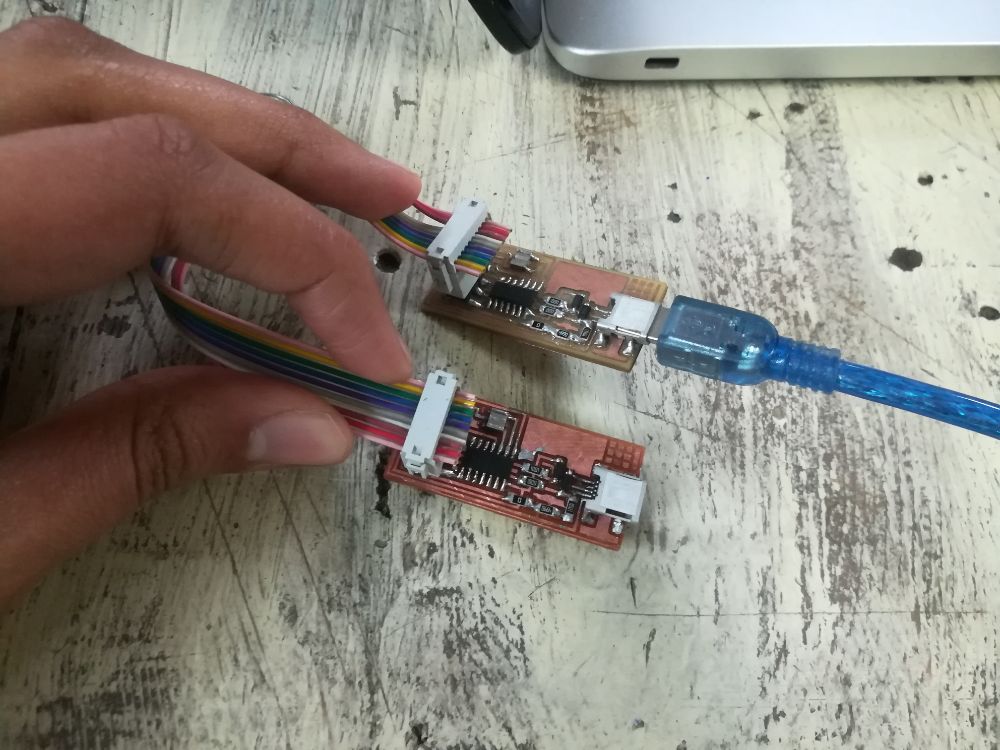
- I used a computer with an Ubuntu operating system for programming. AVRdude was already installed. I just downloaded the FabISB firmware, unzipped it and opened the terminal in the firmware directory where the C file, hex file and make file are located.
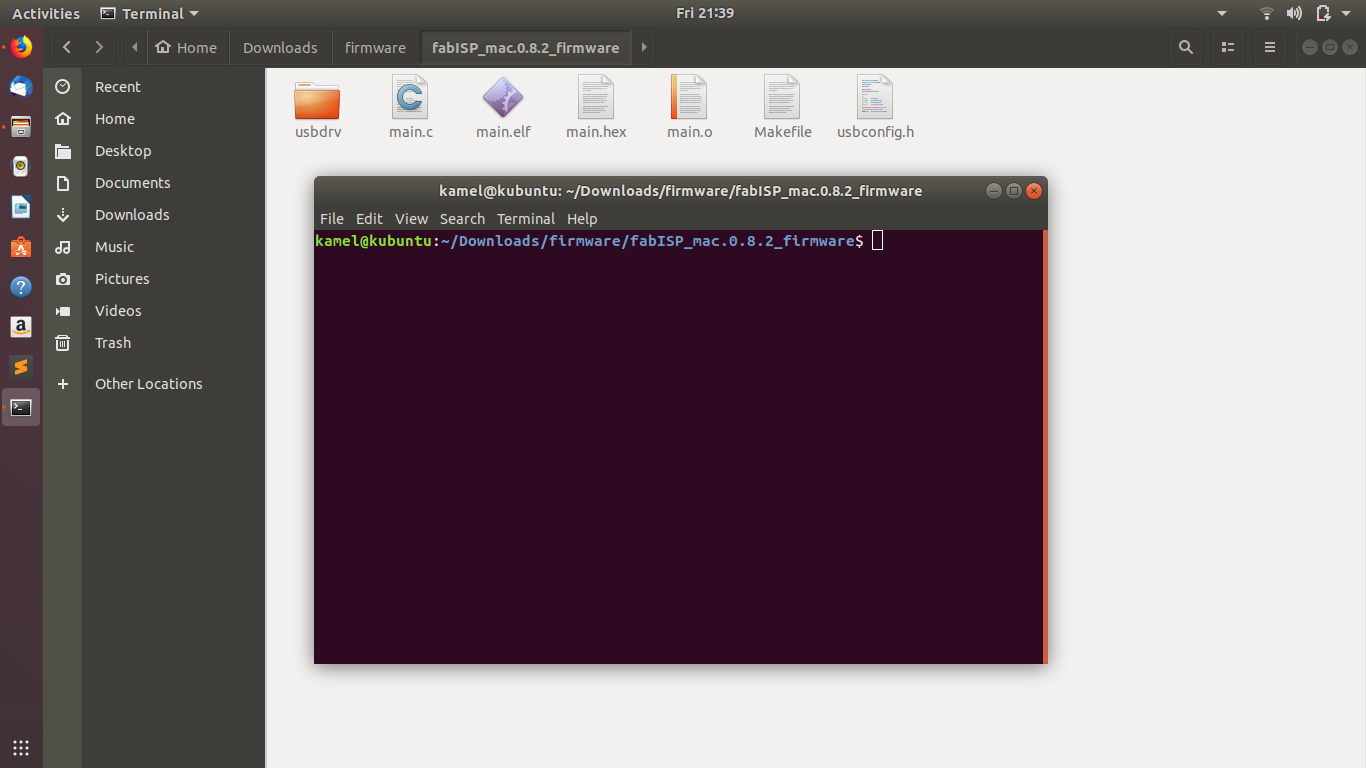
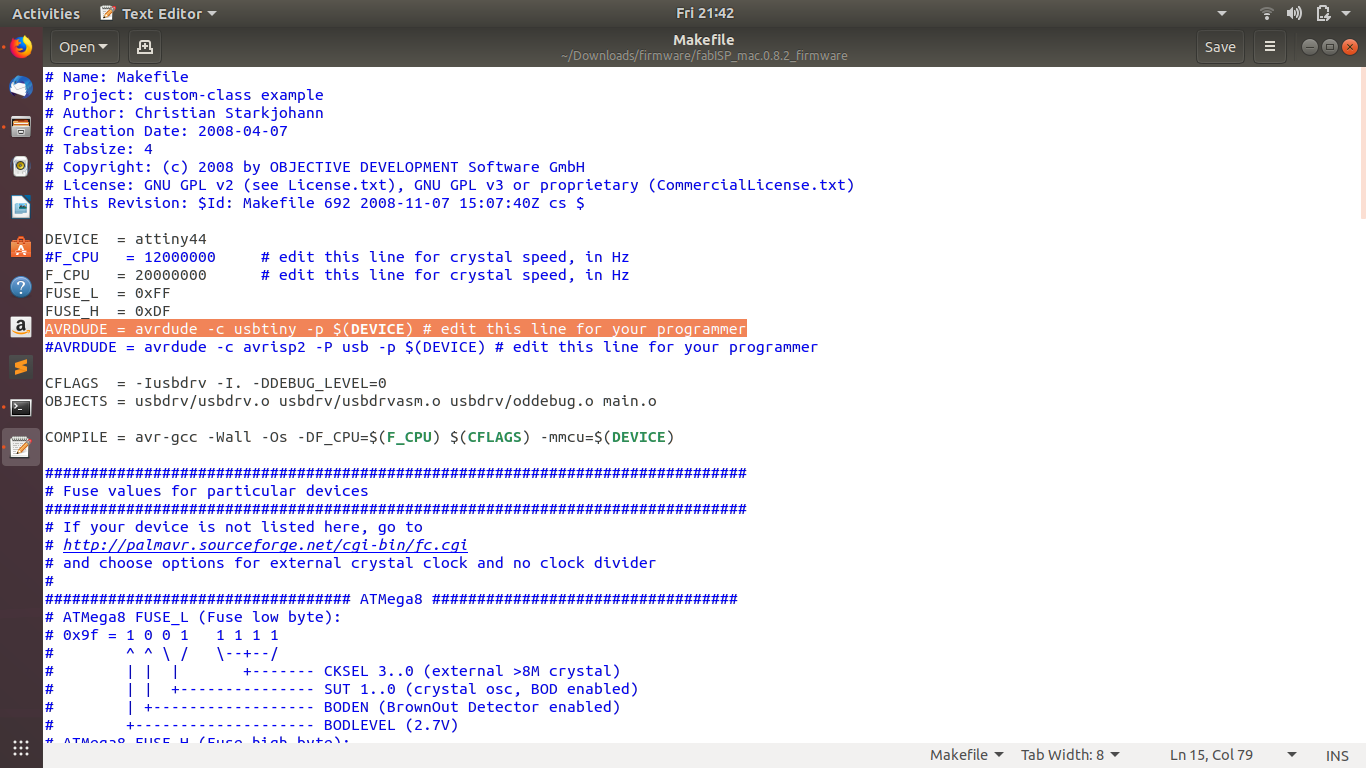
- But before programming the board, I opened the makefile, and removed the # before the line where usbtiny is the programmer, and added # before the next line where avrisp2 is the programmer.
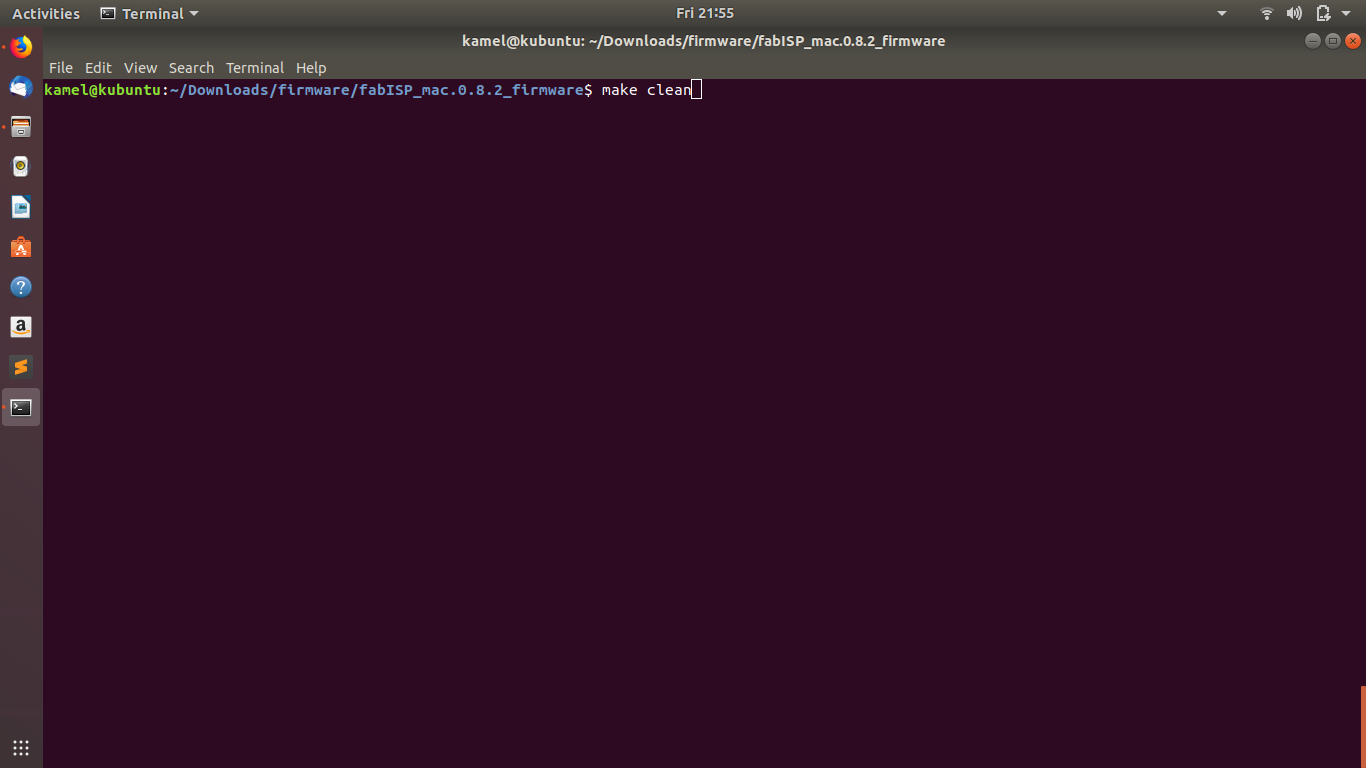
- Back to the terminal, I wrote the make clean command
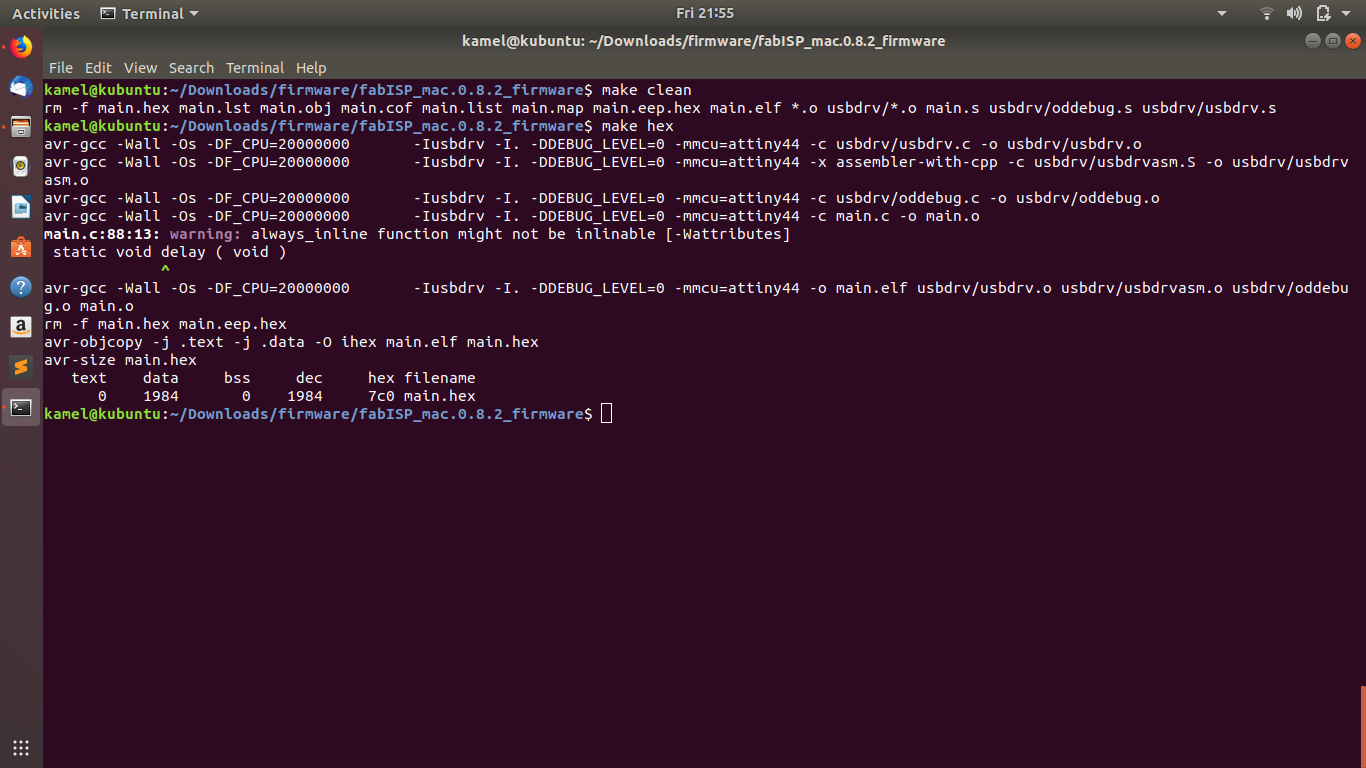
- Then, the make hex command
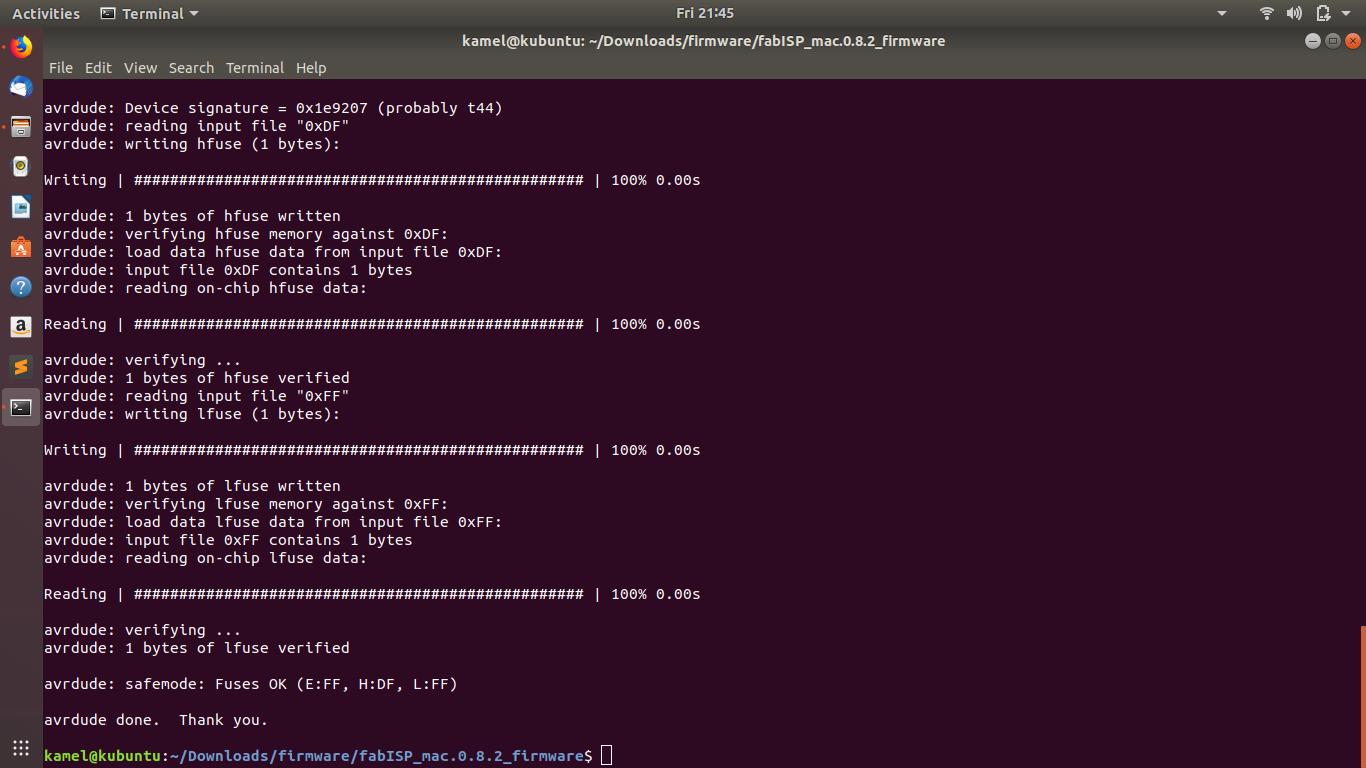
- Afterwards, the make fuse command, for the attiny 44 to use the external clock instead of the internal one.
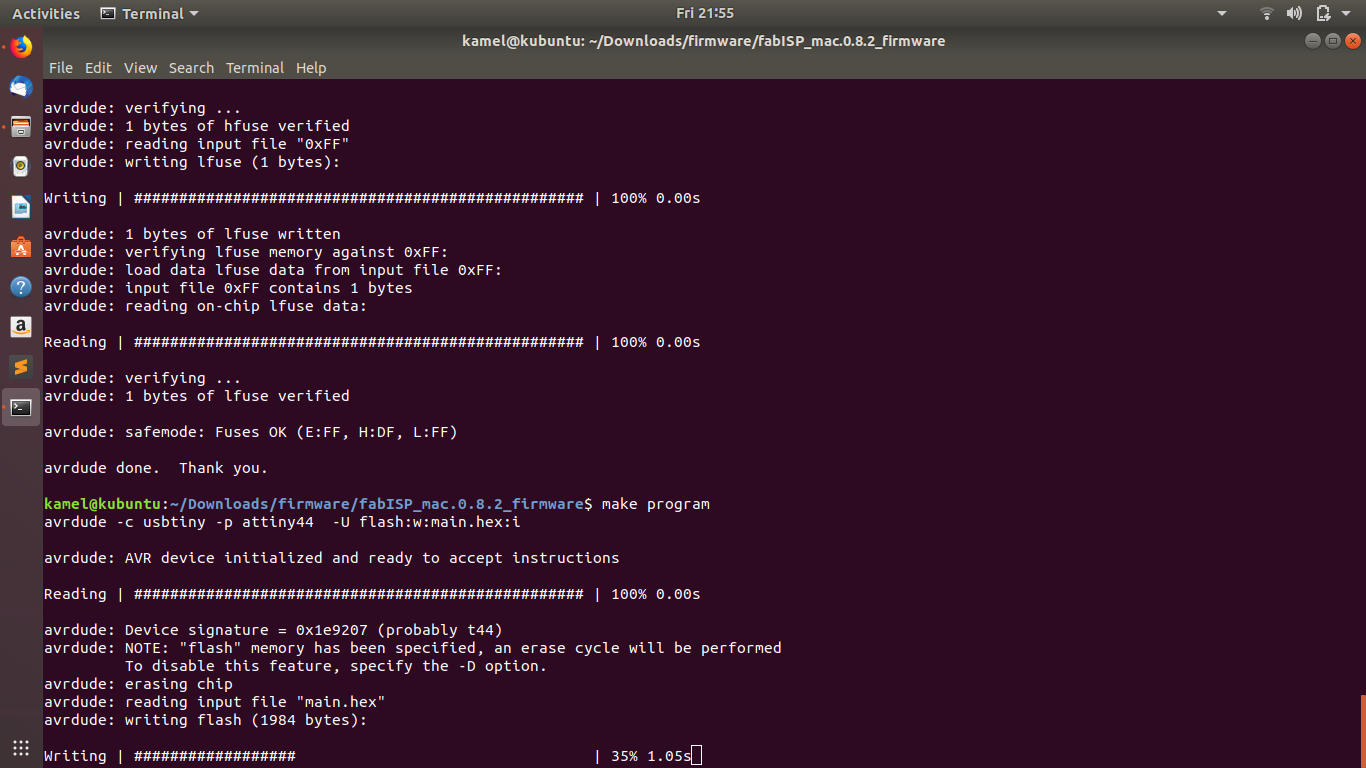
- And, finally I wrote the make program command to turn the board into a programmer.
- Now I can remove the jumper for the board to be ready to be used as a programmer.
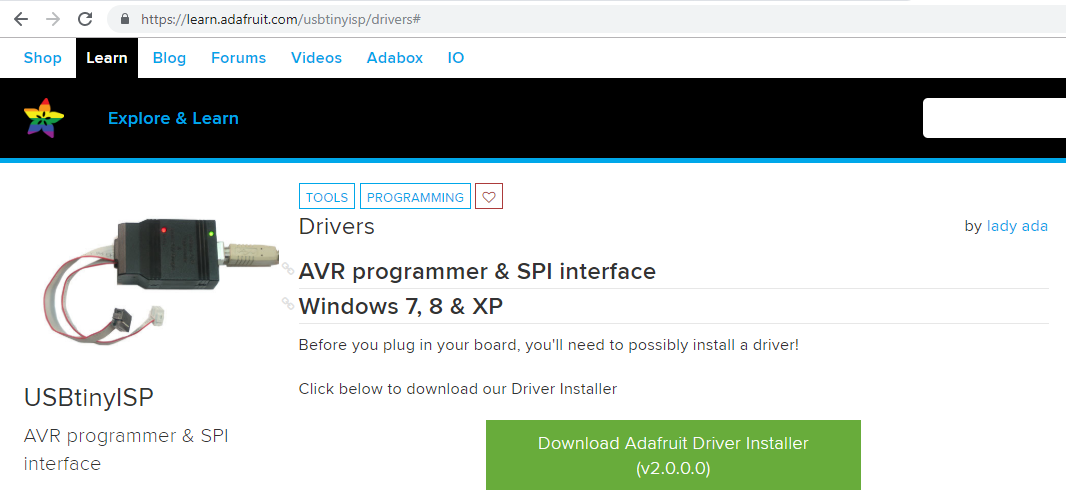
- To use this programmer with the Windows operating system on my laptop, I needed to download the required drivers.
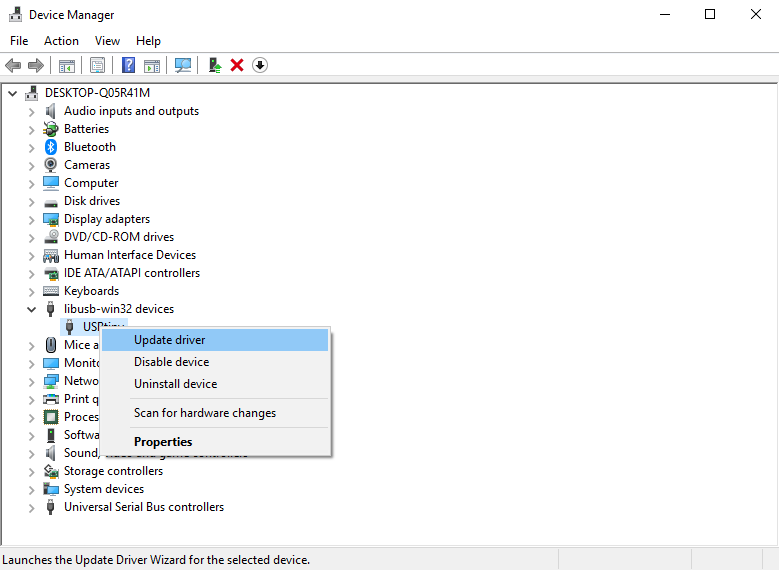
- When I open the devices manager, I can find the FabISB listed as "USBtiny".
- Now I left click on it using the mouse and choose update drivers.
- Now, the board is ready to be used as programmer.