
Moulding and Casting.
For the assignment of the 10th week: Moulding and Casting, it will be divided into 6 parts: 3D Design, 3D machining, Moulding, Casting, Group assignment and Download.
3D Desing
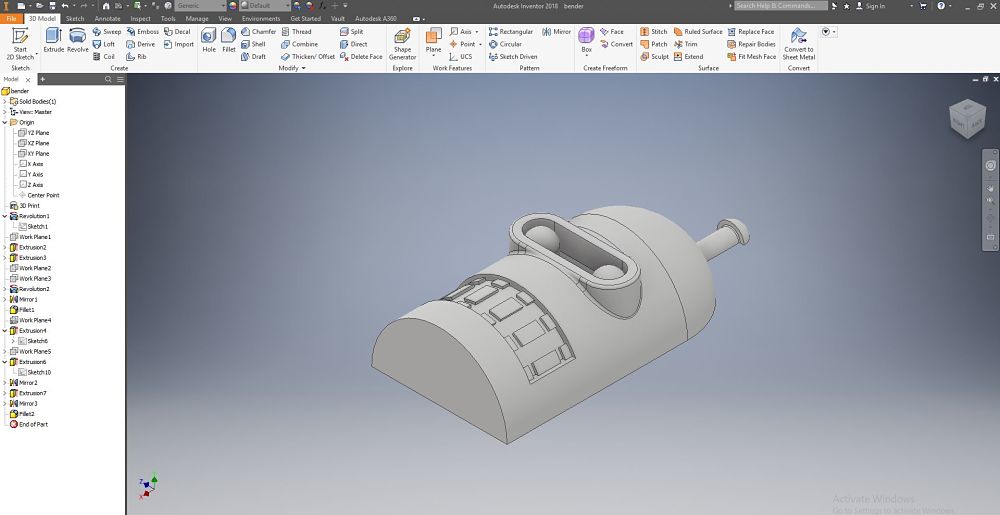
For this week, I made a replicated the head of Bender, from Futurama series by Matt Groening, because it is necessarily made a 3d design with some curves. I use inventor software to make the half of the head of Bender with some special’s designs tools like revolution, trim, cut and planes.
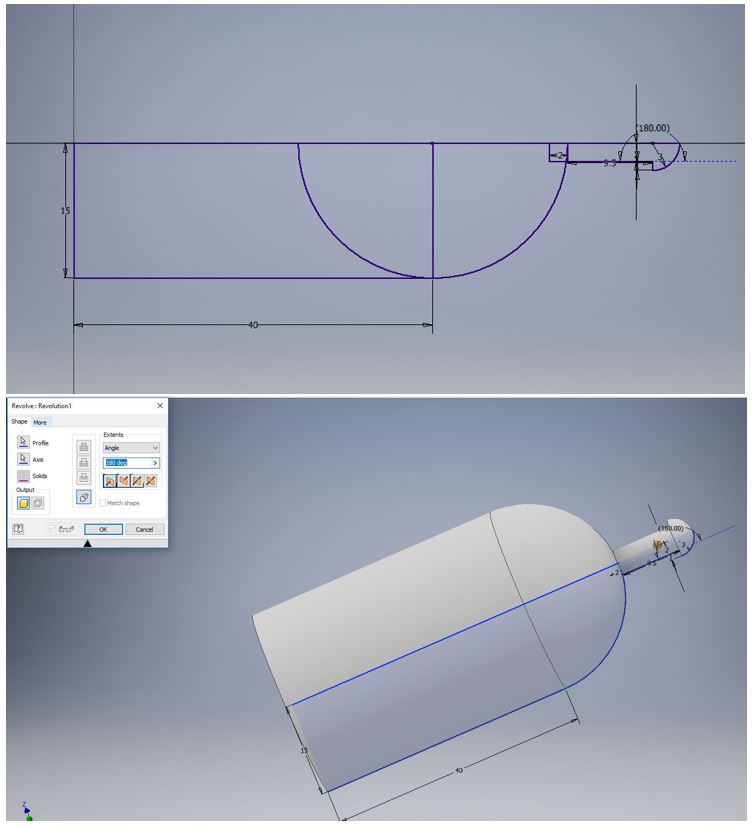
First of all, I draw 2d sketch of the head and the antenna and make a revolution of the sketch.
I use inventor software to make the half of the head of Bender with some special’s designs tools like revolution, trim, cut and planes.
First of all, I draw 2d sketch of the head and the antenna and make a revolution of the sketch.
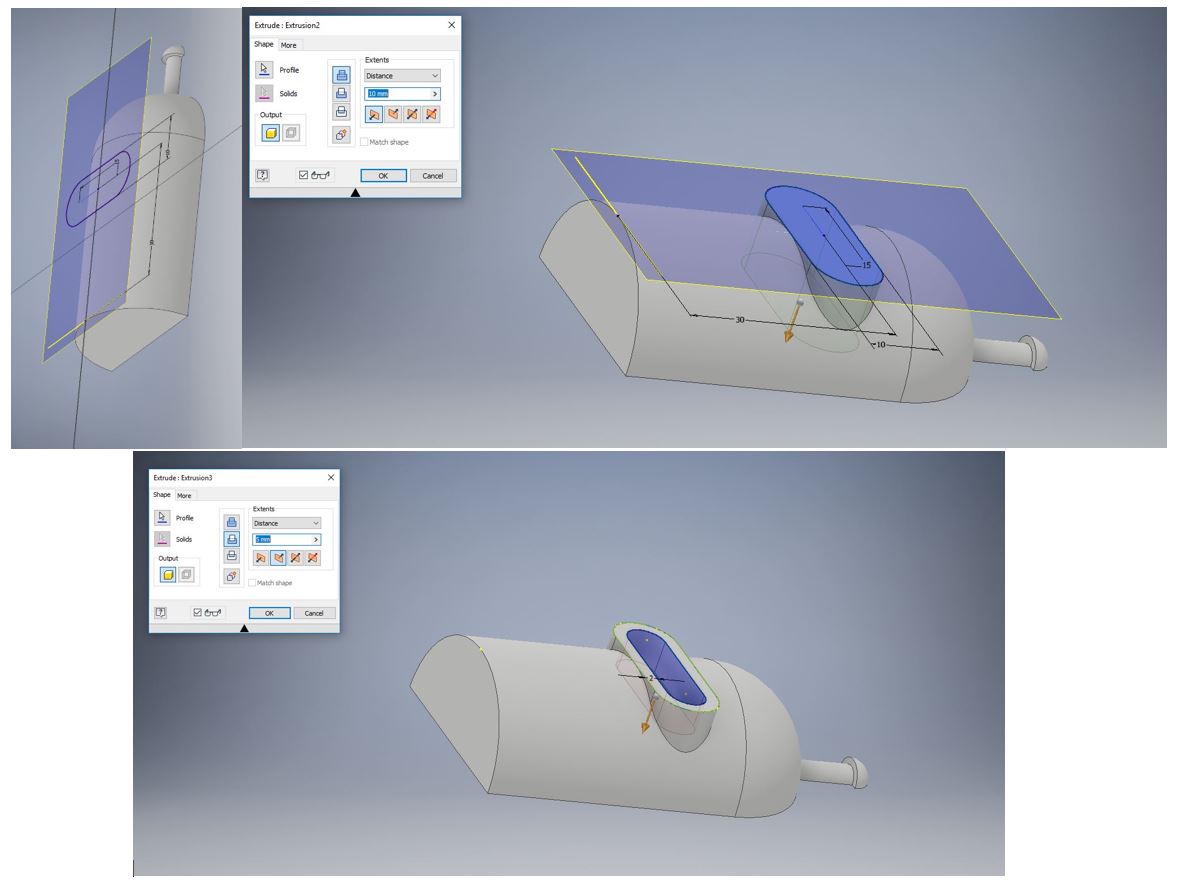
 For the following steps, it is very important to use different planes in our design, one of them will be tangent to the curvature and parallel to the lower face to be able to draw the eyes.
 Once the plane is created, an internal extrusion of the eye cavity is made.
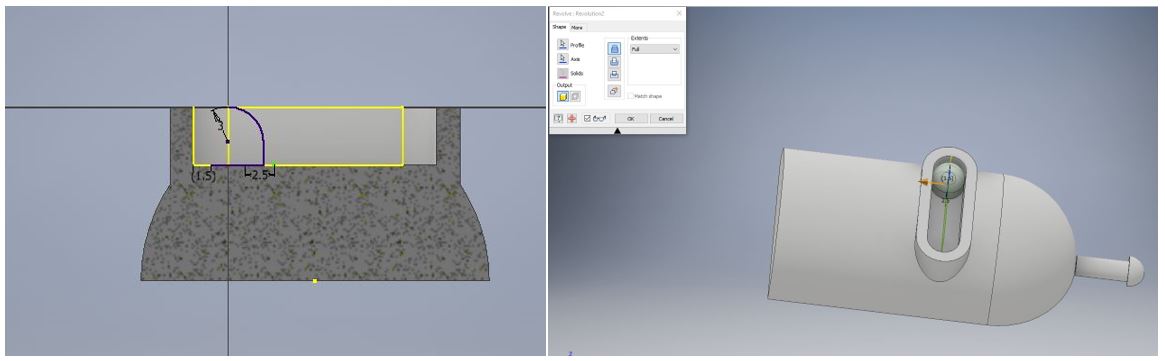
 To draw the eyes, a 2d drawing is made with another plane and then a revolution. The mirror tool is used for the other eye.
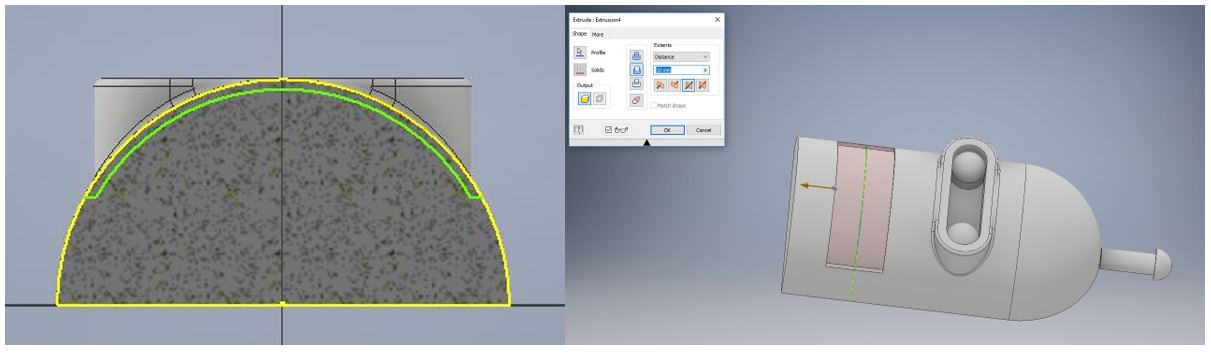
 To draw the mouth, first make a cut using another additional plane and make a small cut.
 Adding some details in the mouth, we have the final design.
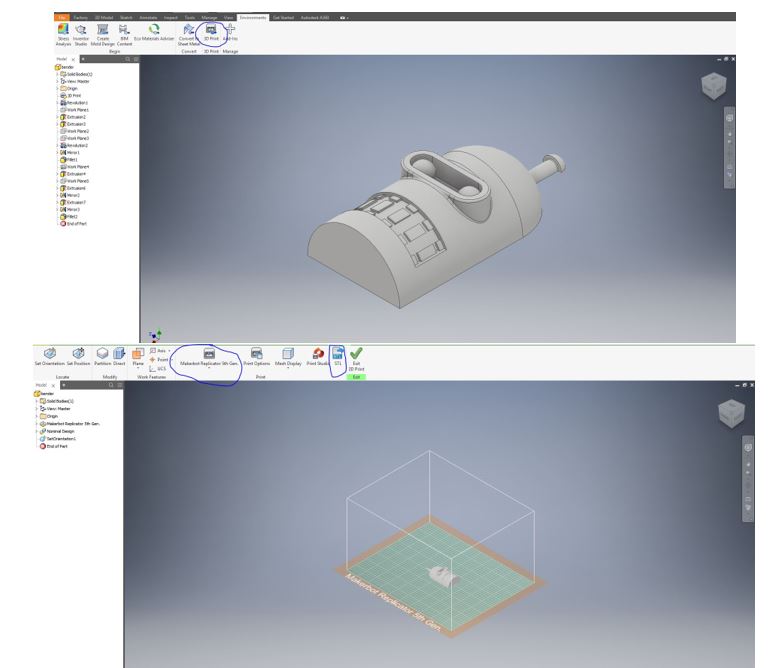
 After the design, now it is necesary export the design to .stl file, because the software read .stl files. Th nex picture we can see the process of export .stl files.
3D Machining
Material
To create the positive of the mold, a block of blue machinable wax with the dimensions of 77 mm x 160 mm will be use.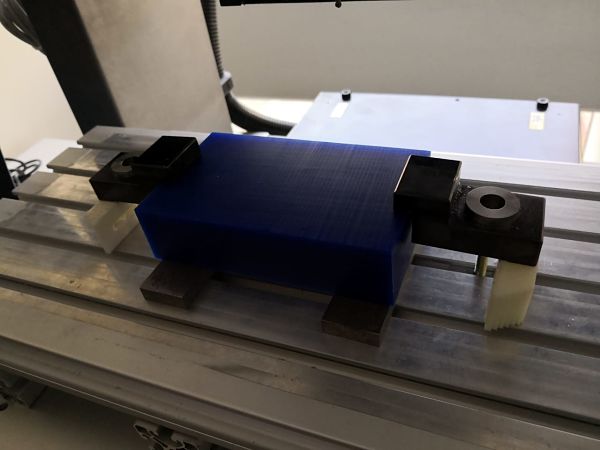 This material is not a hazardous substance or mixture, you can read more about safety data sheet here
Machining
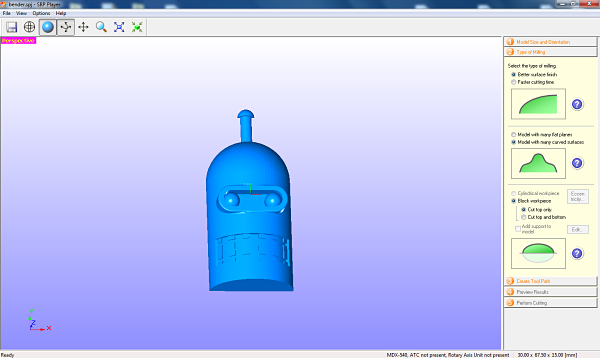
We use the Roland mdx-540 machine with the SRP Player software to perform the positive machining of the mold. The first step is to indicate the measurements that our design will have, in my case is this size:| X | 30mm |
| Y | 67.5mm |
| Z | 15mm |
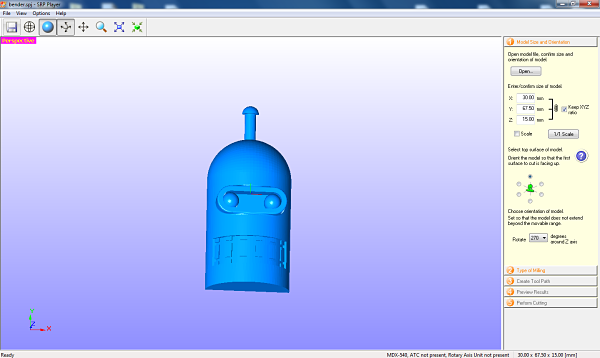 For type of milling we use better surface finish, model with many curved surfaces and cut only top.
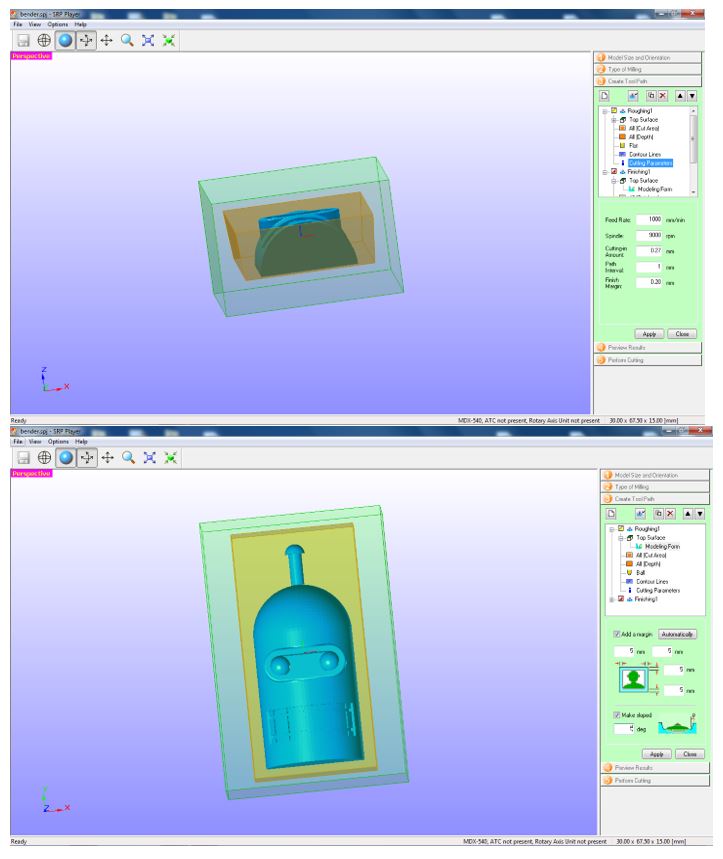
 Now we choose material (polycarbonate) and create the measure with a small offset of the real size, that is necessary for casting, for material is not lost or incessant elements are manufactured
| X | 55mm |
| Y | 82mm |
| Z | 36mm |
For roushing we use these parameters
| Margin | 5mm in all faces |
| Tool | 4mm flat endmill |
| Feed rate | 1000mm |
| Spindle | 9000 RPM |
| Cutting-in amount | 0.27mm |
| Path interval | 1 mm |
| Finish margin | 0.2 mm |
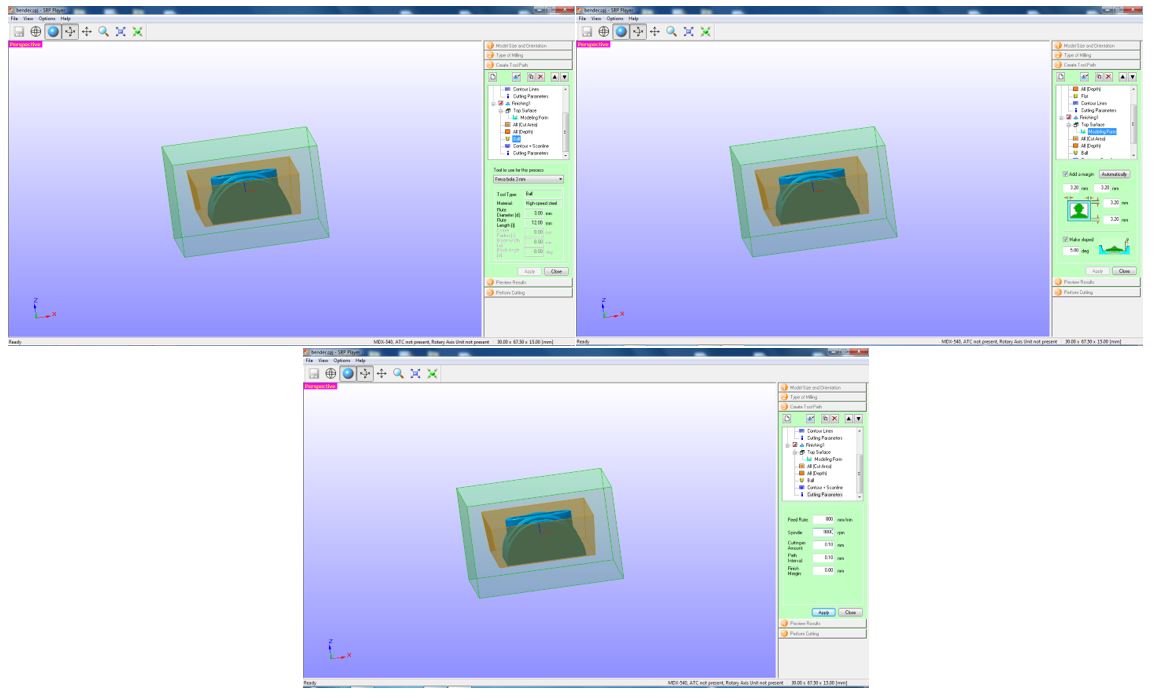
 For the finishing we use these parameters:
| Margin | 3.2mm in all faces |
| Tool | 3mm ball endmill |
| Feed rate | 800mm |
| Spindle | 9000 RPM |
| Cutting-in amount | 0.1 mm |
| Path interval | 0.1 mm |
| Finish margin | 0 mm |
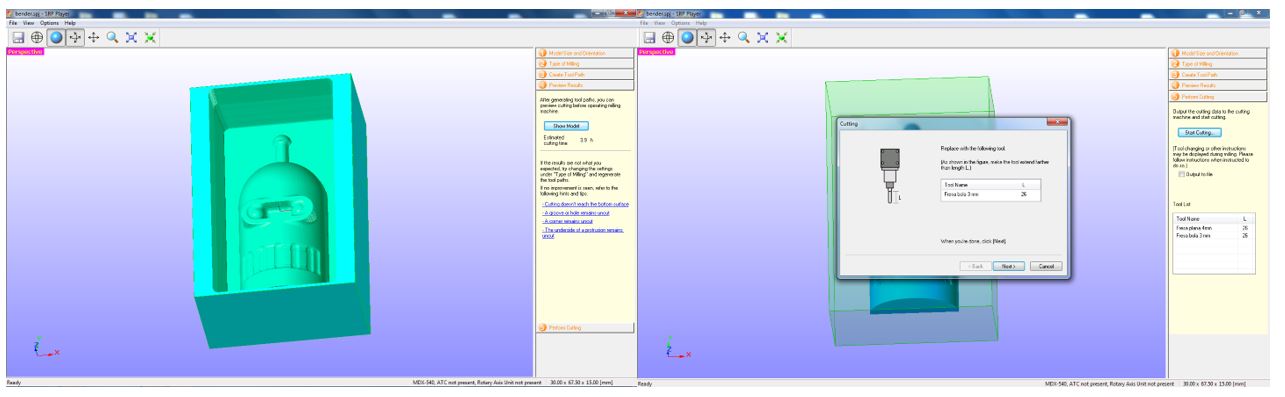
 In the preview we can see that the estimated cutting time will be of 3,9 hours. Do not forget change of endmill in the process
 Like the fabrication of all boards, we define zero position, but in this case will be in the middle of the wax, because the center o the software is in the middle of the design
 During the cutting process, we use a vacuum cleaner to remove all unnecessary material
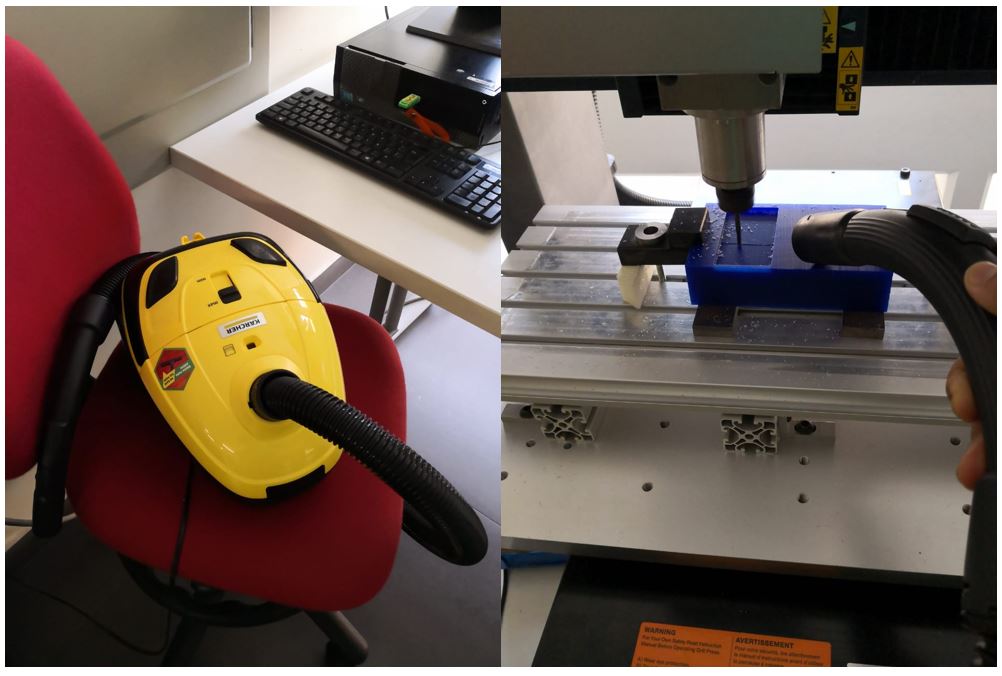 We can appreciate a small video of the design cutting process.
Before clicking start cutting, we can select in the software that we export the cutting file. The first will be the roushing cut and the second file will be responsible for giving shape and details to our design.
In summary, once the stock and design have been defined, a roushing cut of the entire model is made. We must clean the impurities every so often to avoid damage. Once the main cut is made, the tool is changed and the design cut is made.
The parameters are described before each photo of the process.
Moulding
After the machinig, it is time to create the moulding, in my case I use 3 materials, all of them are foodfriendly, that means we can also make food.Materials
The main material that I used in the laboratory is silicone rubber, it is very important to know the safety and hygiene precautions of this type of products, as seen in the picture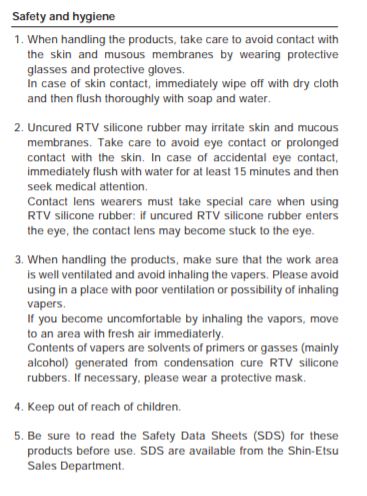 You can find more information about the safety data sheet here
The silicone rubbers from the laboratory are the following:
You can find more information about the safety data sheet here
The silicone rubbers from the laboratory are the following:
| Name | Picture |
| Silicon Rubber RTV | 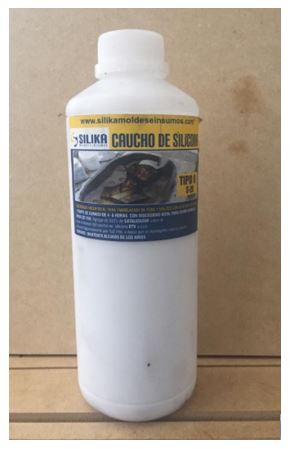 |
| Silicon Rubber Platinum L-20 | 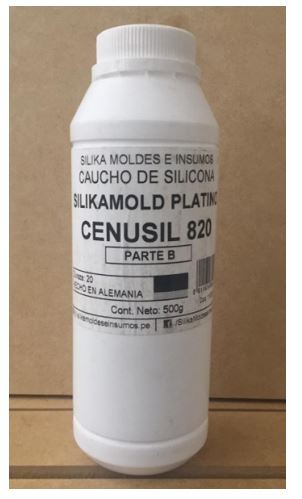 |
| Silicon bi-component Platinum Gel 1510 | 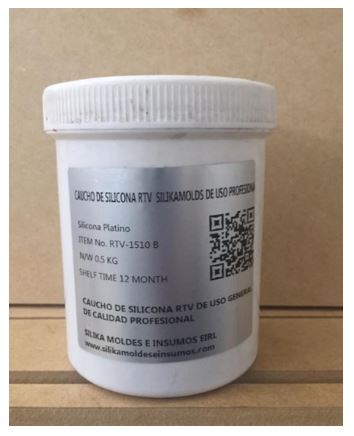 |
 For this case, 100 g of silicone rubber and 10 drops of catalyst are used to make the mixture, then stir the mixture well until it has a uniform product, after that it is poured into the positive of the mold and stirred slightly to eliminate all types of bubbles
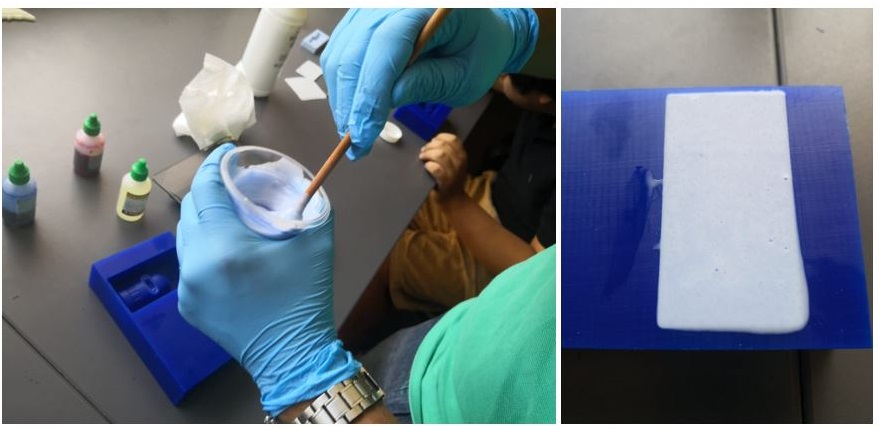 An easy and conventional way to avoid bubbles is to give small blows to the mold to eliminate any type of resistance. The other option is to perform a vacuum at the time of pouring the silicone from the mold, but at the time of performing the work we did not have the vacuum pump within reach.
It is recommended to pour the contents of the mold first into the deeper areas of the mold to avoid the generation of excess bubbles. The process is similar for all materials, in case the catalyst is not used, the mixture is half of compound A and half of compound B. Here is the result of the moulding.

Casting
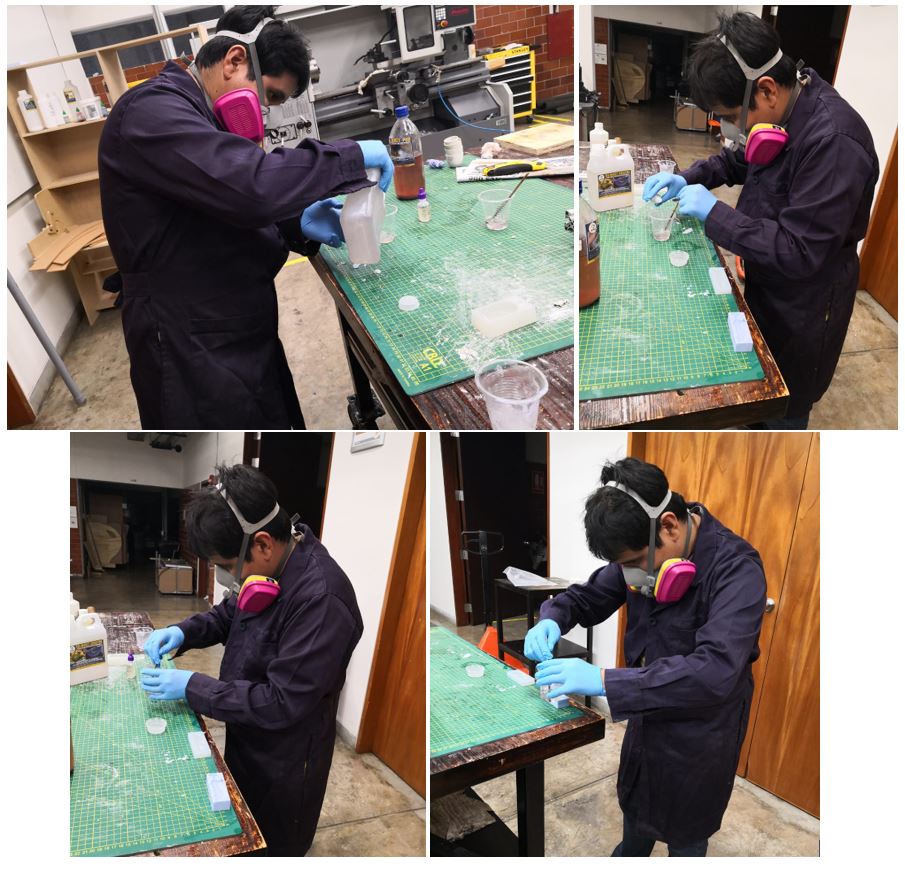
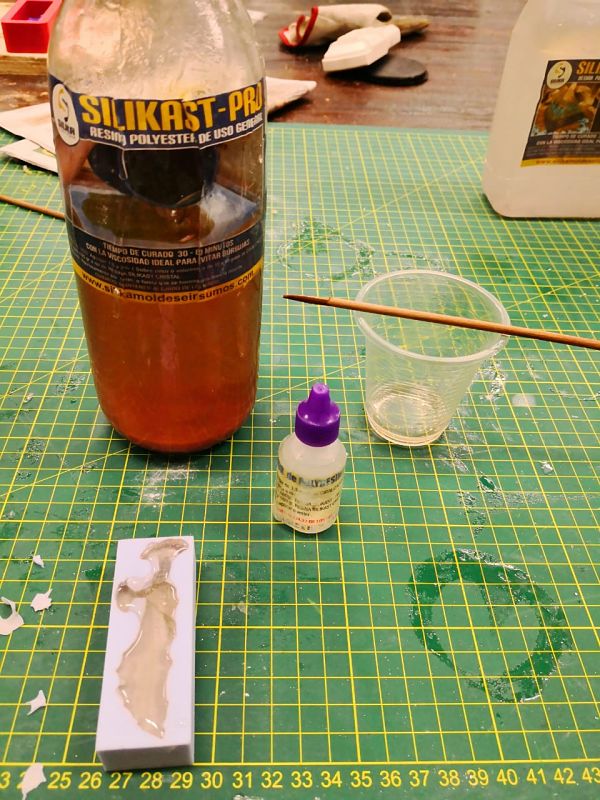
For the casting process, I use a crystal resin polyester with UV protection with a catalyst.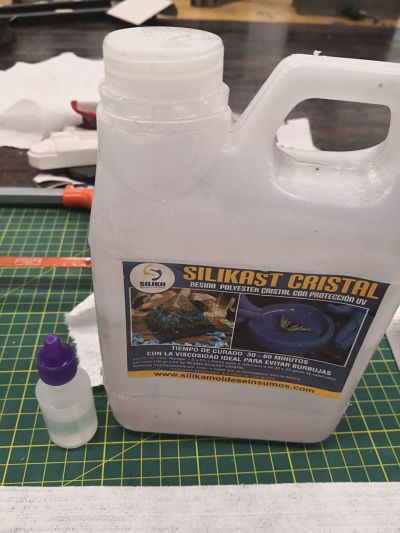 From the safety data sheet, I read Avoid inhaling vapours. Wear protective equipment. Gloves ‐ Goggles ‐ Boots. Wear self‐ contained breathing apparatus. It is Flammable and the mixture of product vapour and air could be explosive. You can read more here.
Using the necessary protections to avoid intoxications, we proceed to make the mixture of the resin with the catalyst with the proportion of 5 drops every 100g.
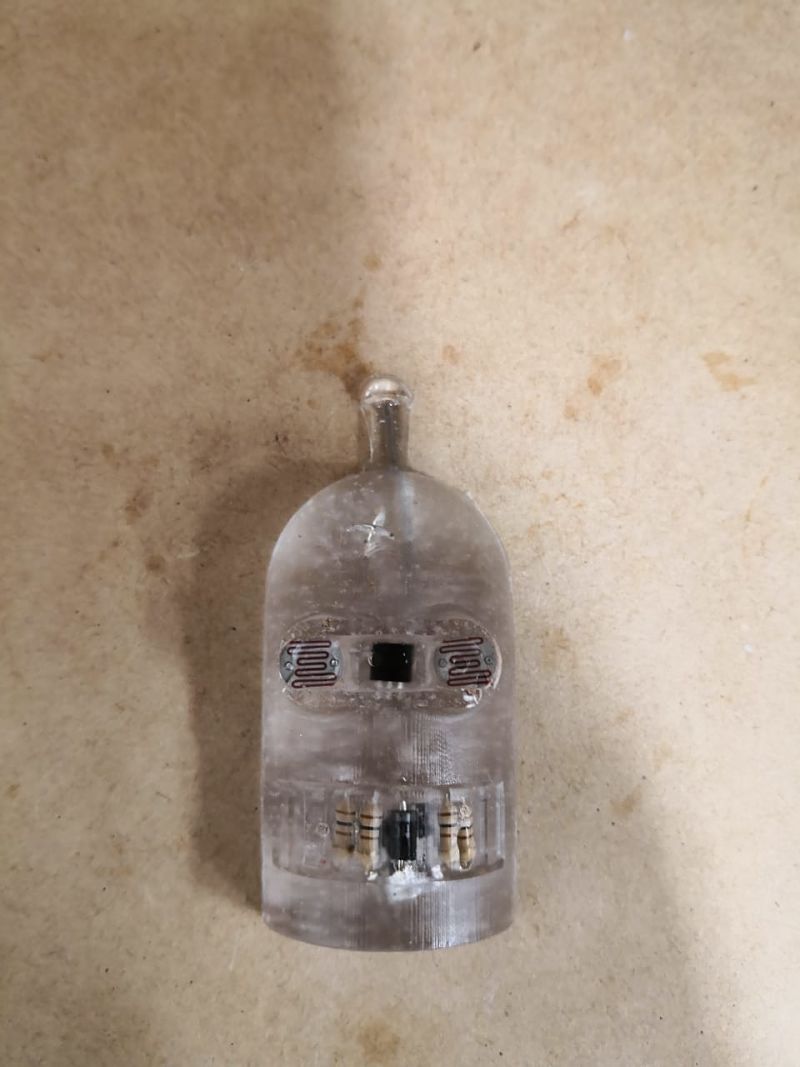
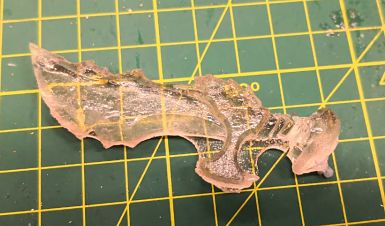
 In the negative of the mold I put some electronic components so that it has a better appearance, the result being the following.
 I also made mixtures with other resins and using metal and wood shavings.
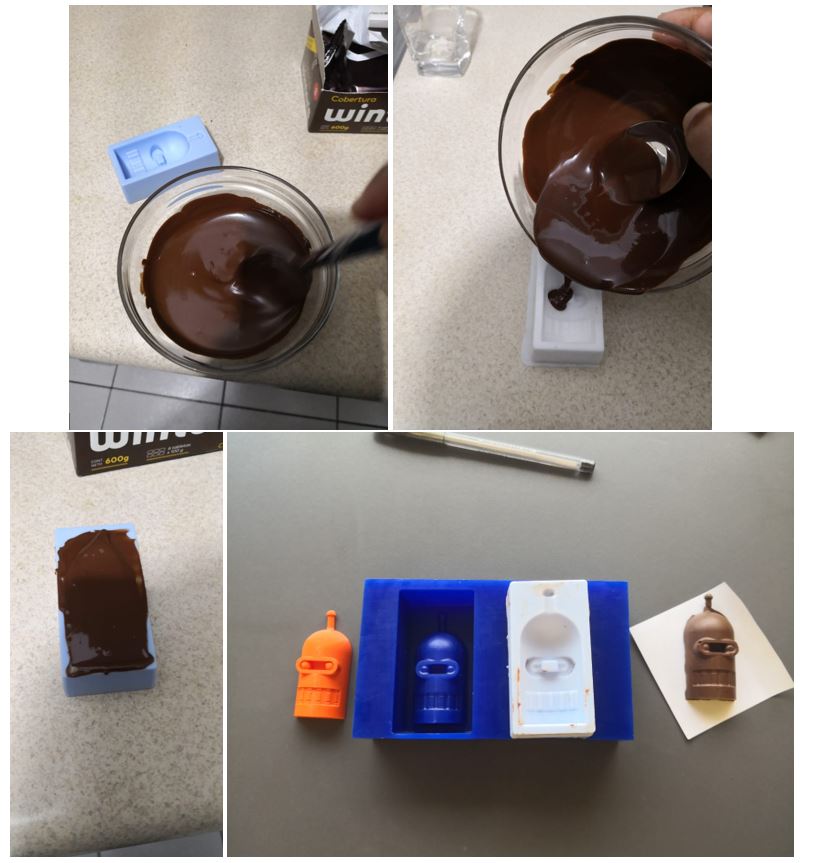
With other molds I perform the casting with chocolate, as shown in the picture.
I also made mixtures with other resins and using metal and wood shavings.
With other molds I perform the casting with chocolate, as shown in the picture.
Consideration
In the molds and resins used, almost all of them came with fixed indications: for every 2 drops of compound A one drop of compound B must be thrown, that means that it goes in a 2 to 1 ratio.
To avoid the formation of bubbles, although it is true that we can use a vacuum pump, the method used is quite rustic: give small blows to the mold so that all the bubbles rise and do not distort our mold.
It is recommended to allow the resins to cure for approximately 12 hours, since the process is long and expels a lot of heat.
It is also not advisable to help healing, that means that we should avoid leaving our work in the open.
We must never forget to use the necessary protection elements because the odors emitted by the resin can be carcinogenic. Always wear gloves, masks and lenses.
Hero shot
And Here are all my moulding and casting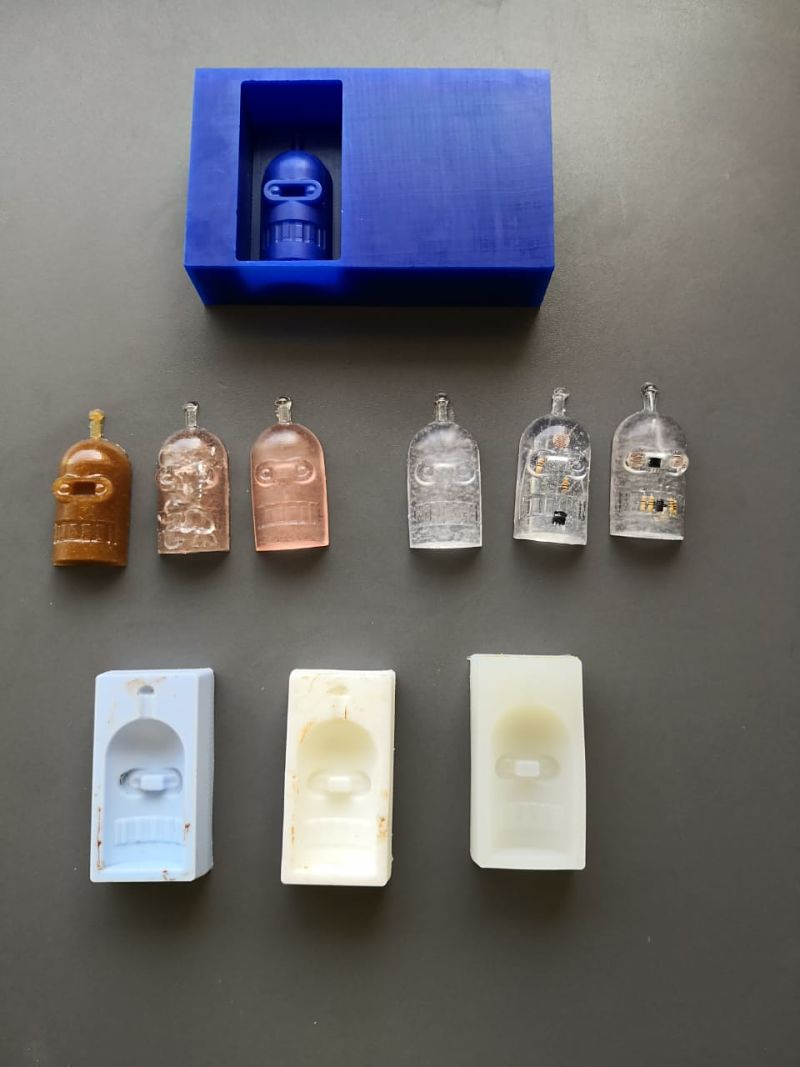 Sorry, I ate the chocolate, it was delicious!
Group assignment
For the group assignment, we have made several tests with different types of resin, in my case I made polyester resin.The difference of the previous processes, the design, a box was printed and the resin of the negative of the mold was emptied inside, as seen in the picture.
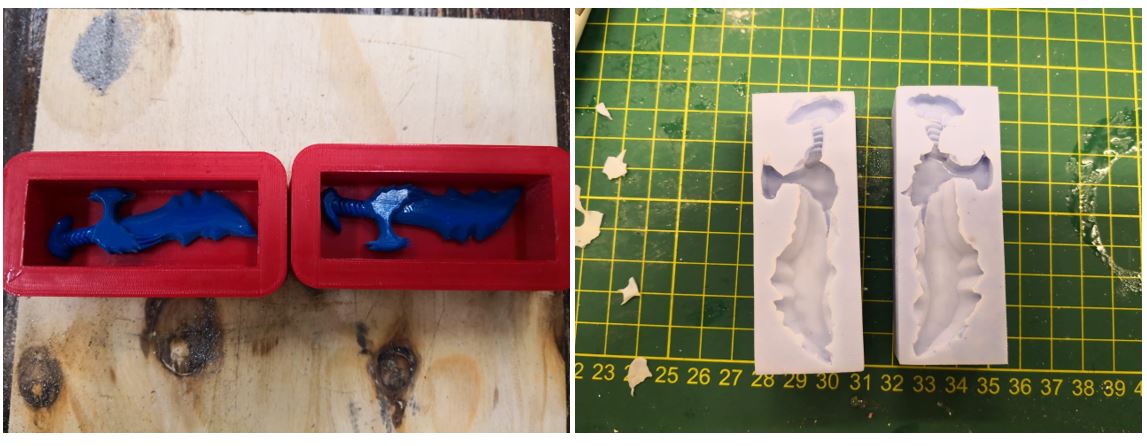 The same steps are carried out and we have the following:
 The result.
 To see all the documentation of the group work, you can visit the CIT page.
Problems and solutions
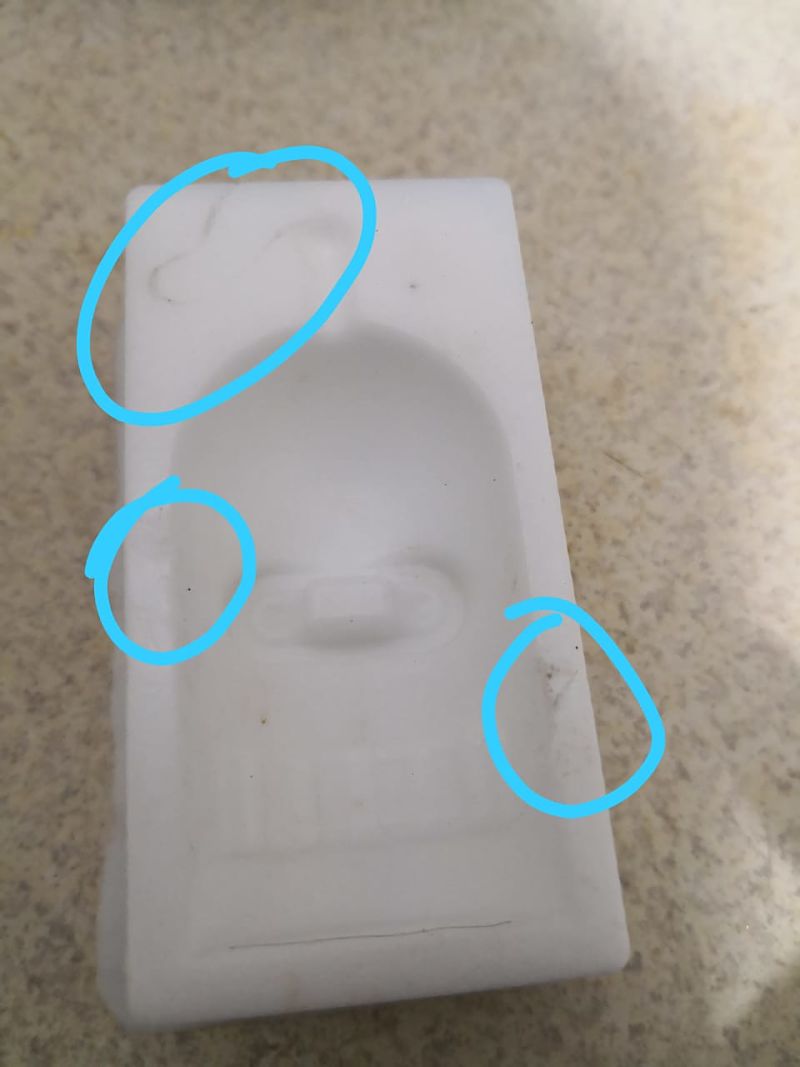
It is very important to keep in mind that we can not delay a lot of time mixing the materials of casting and molding, but these materials harden and we will not be able to work.Another important factor is to have patience so that the molds are dry enough to be able to remove them and avoid what you see in the picture.
 With this week you can see the importance of being able to make several copies of designs made in a design software without having to wait long in print.
Download files
You can download files Here:Desing
Bender (Inventor 2018)
Roughing
Roughing (Modela MDX-540)
Finishin
Finishing (Modela MDX-540)
STL file
Bender STL