10 - Input Devices
Individual Assignment
Piezo sensor
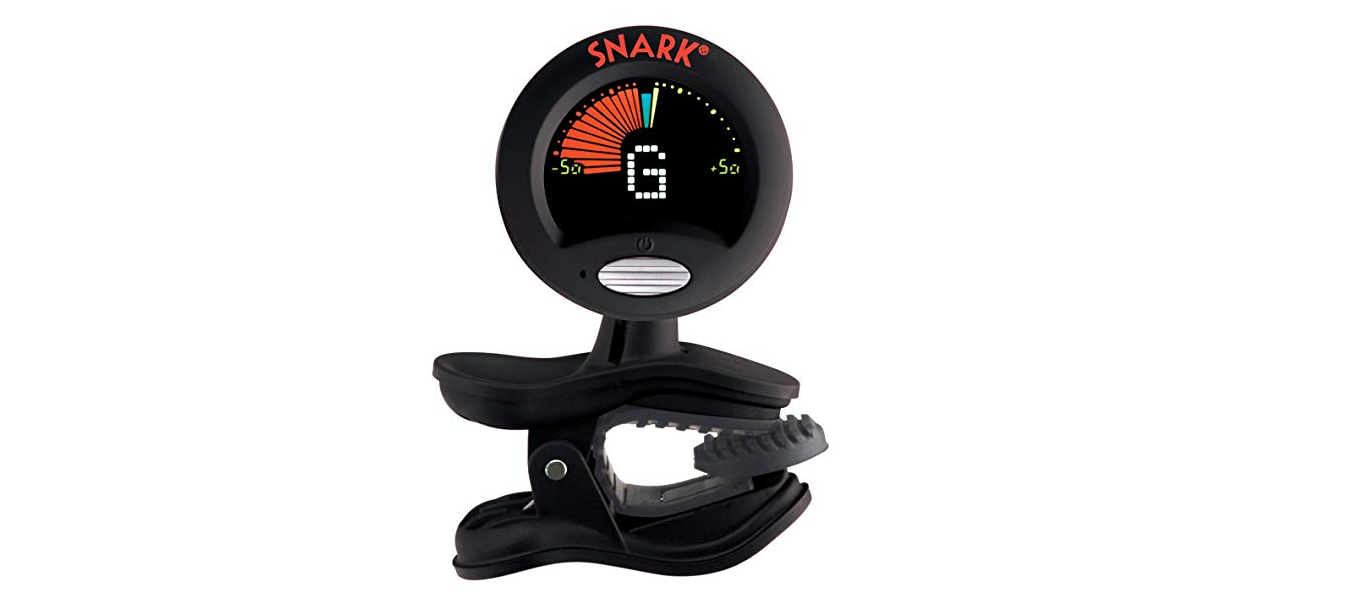
The inputs week was the perfect week to start with my final project electronics, so I decided to start building the self tunner tool for my Ukulele. My initial idea was to integrate the same sensor that a normal Clip-on guitar tunner has inside the instrument. A clip-on tunner is a little device that you can clamp in the headstock of the guitar and it detects the vibration on the neck. The frequency of the vibration is the sound frequency, so, by sensing the vibration, you can know wich note is playing.
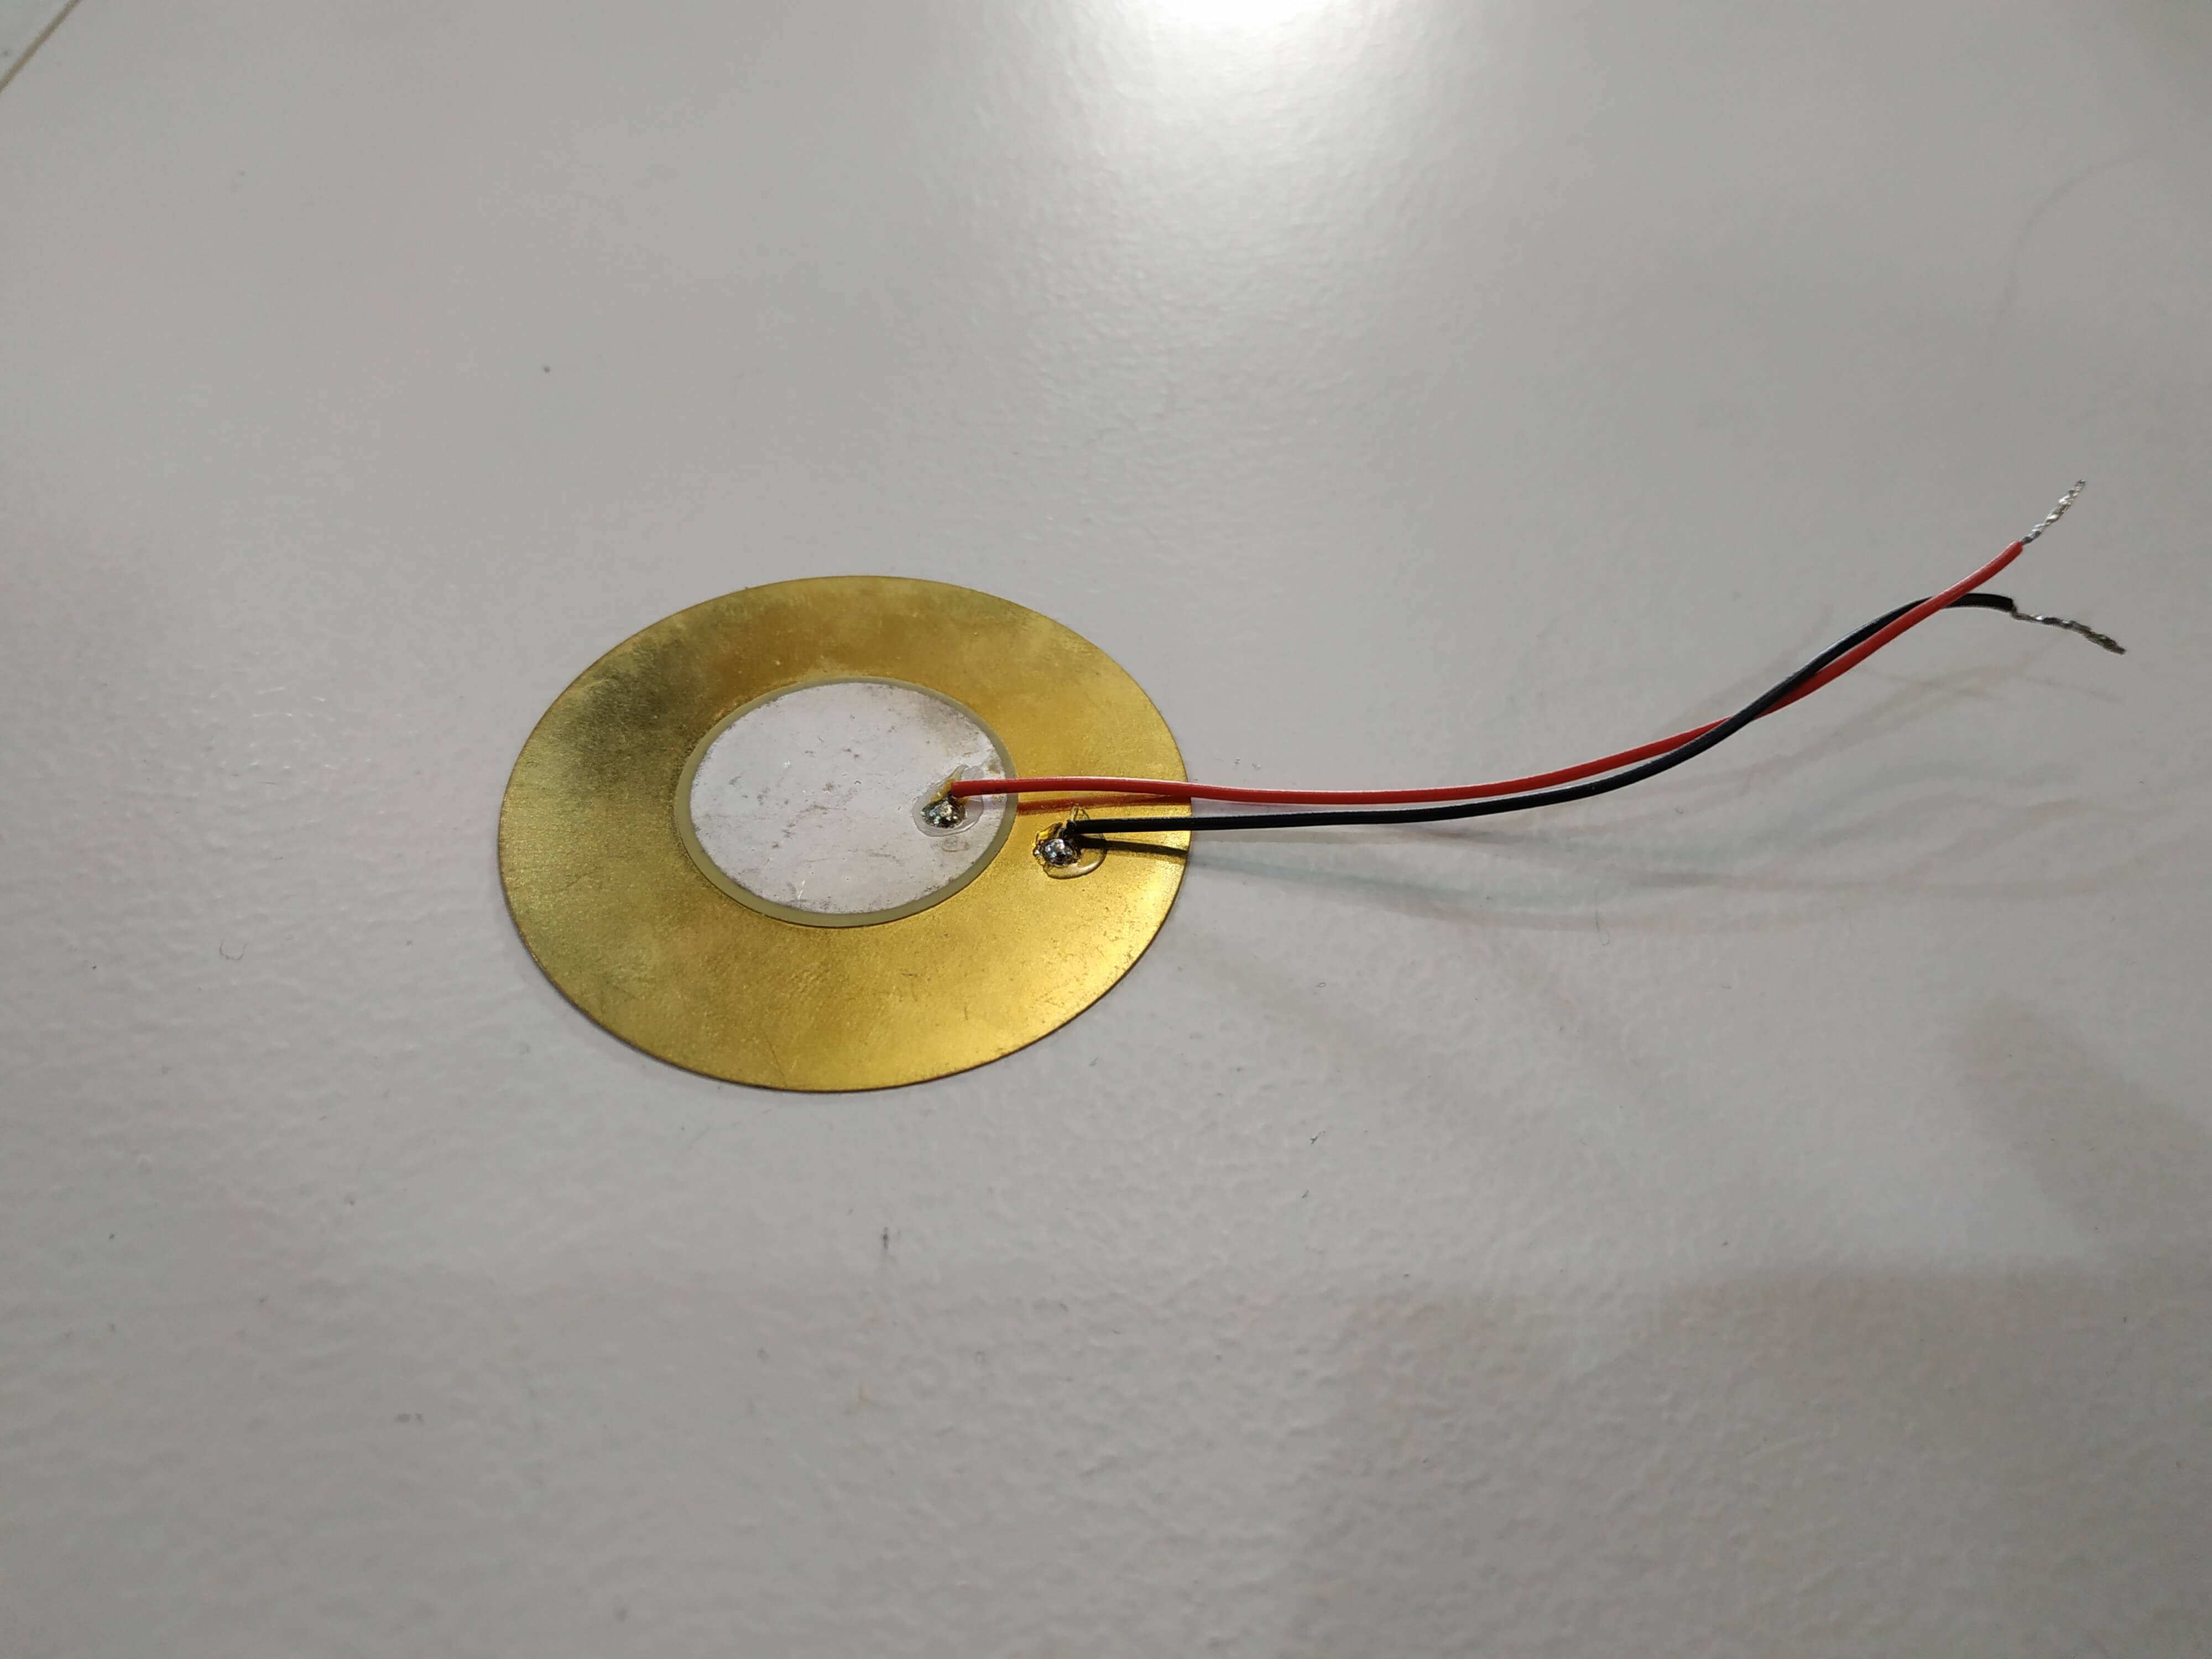
After some reserch and talking with my instructors in Barcelona, I decided to go for a piezo sensor to sense vibration. A piezoelectric sensor trasforms vibration, force or pression into small voltages and we can then process this voltages with a microcontroller like the Attiny and get the frequency of the vibration. It is made of two electrodes with some piezoelectric material between them. When a force is applied, the piezo creates a voltage between the two electrodes. This voltages can be very small with the simple vibration of the string, so maybe I need an amplifier to make it bigger.
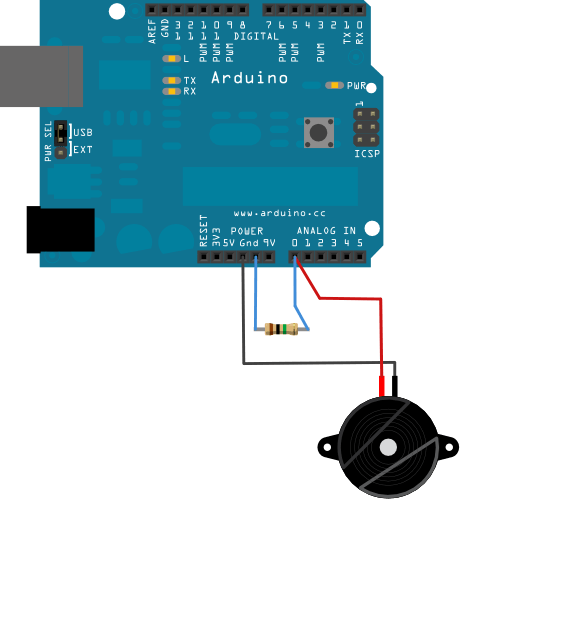
Before milling a board with the piezo sensor I decided to try it with an Arduino Uno and a breadboard just to test it and see the results. The first thing I did was trying an Arduino example, it was a simple program that detects when you knock arround the sensor. I find this example in the oficial Arduino website here. This was the circuit:
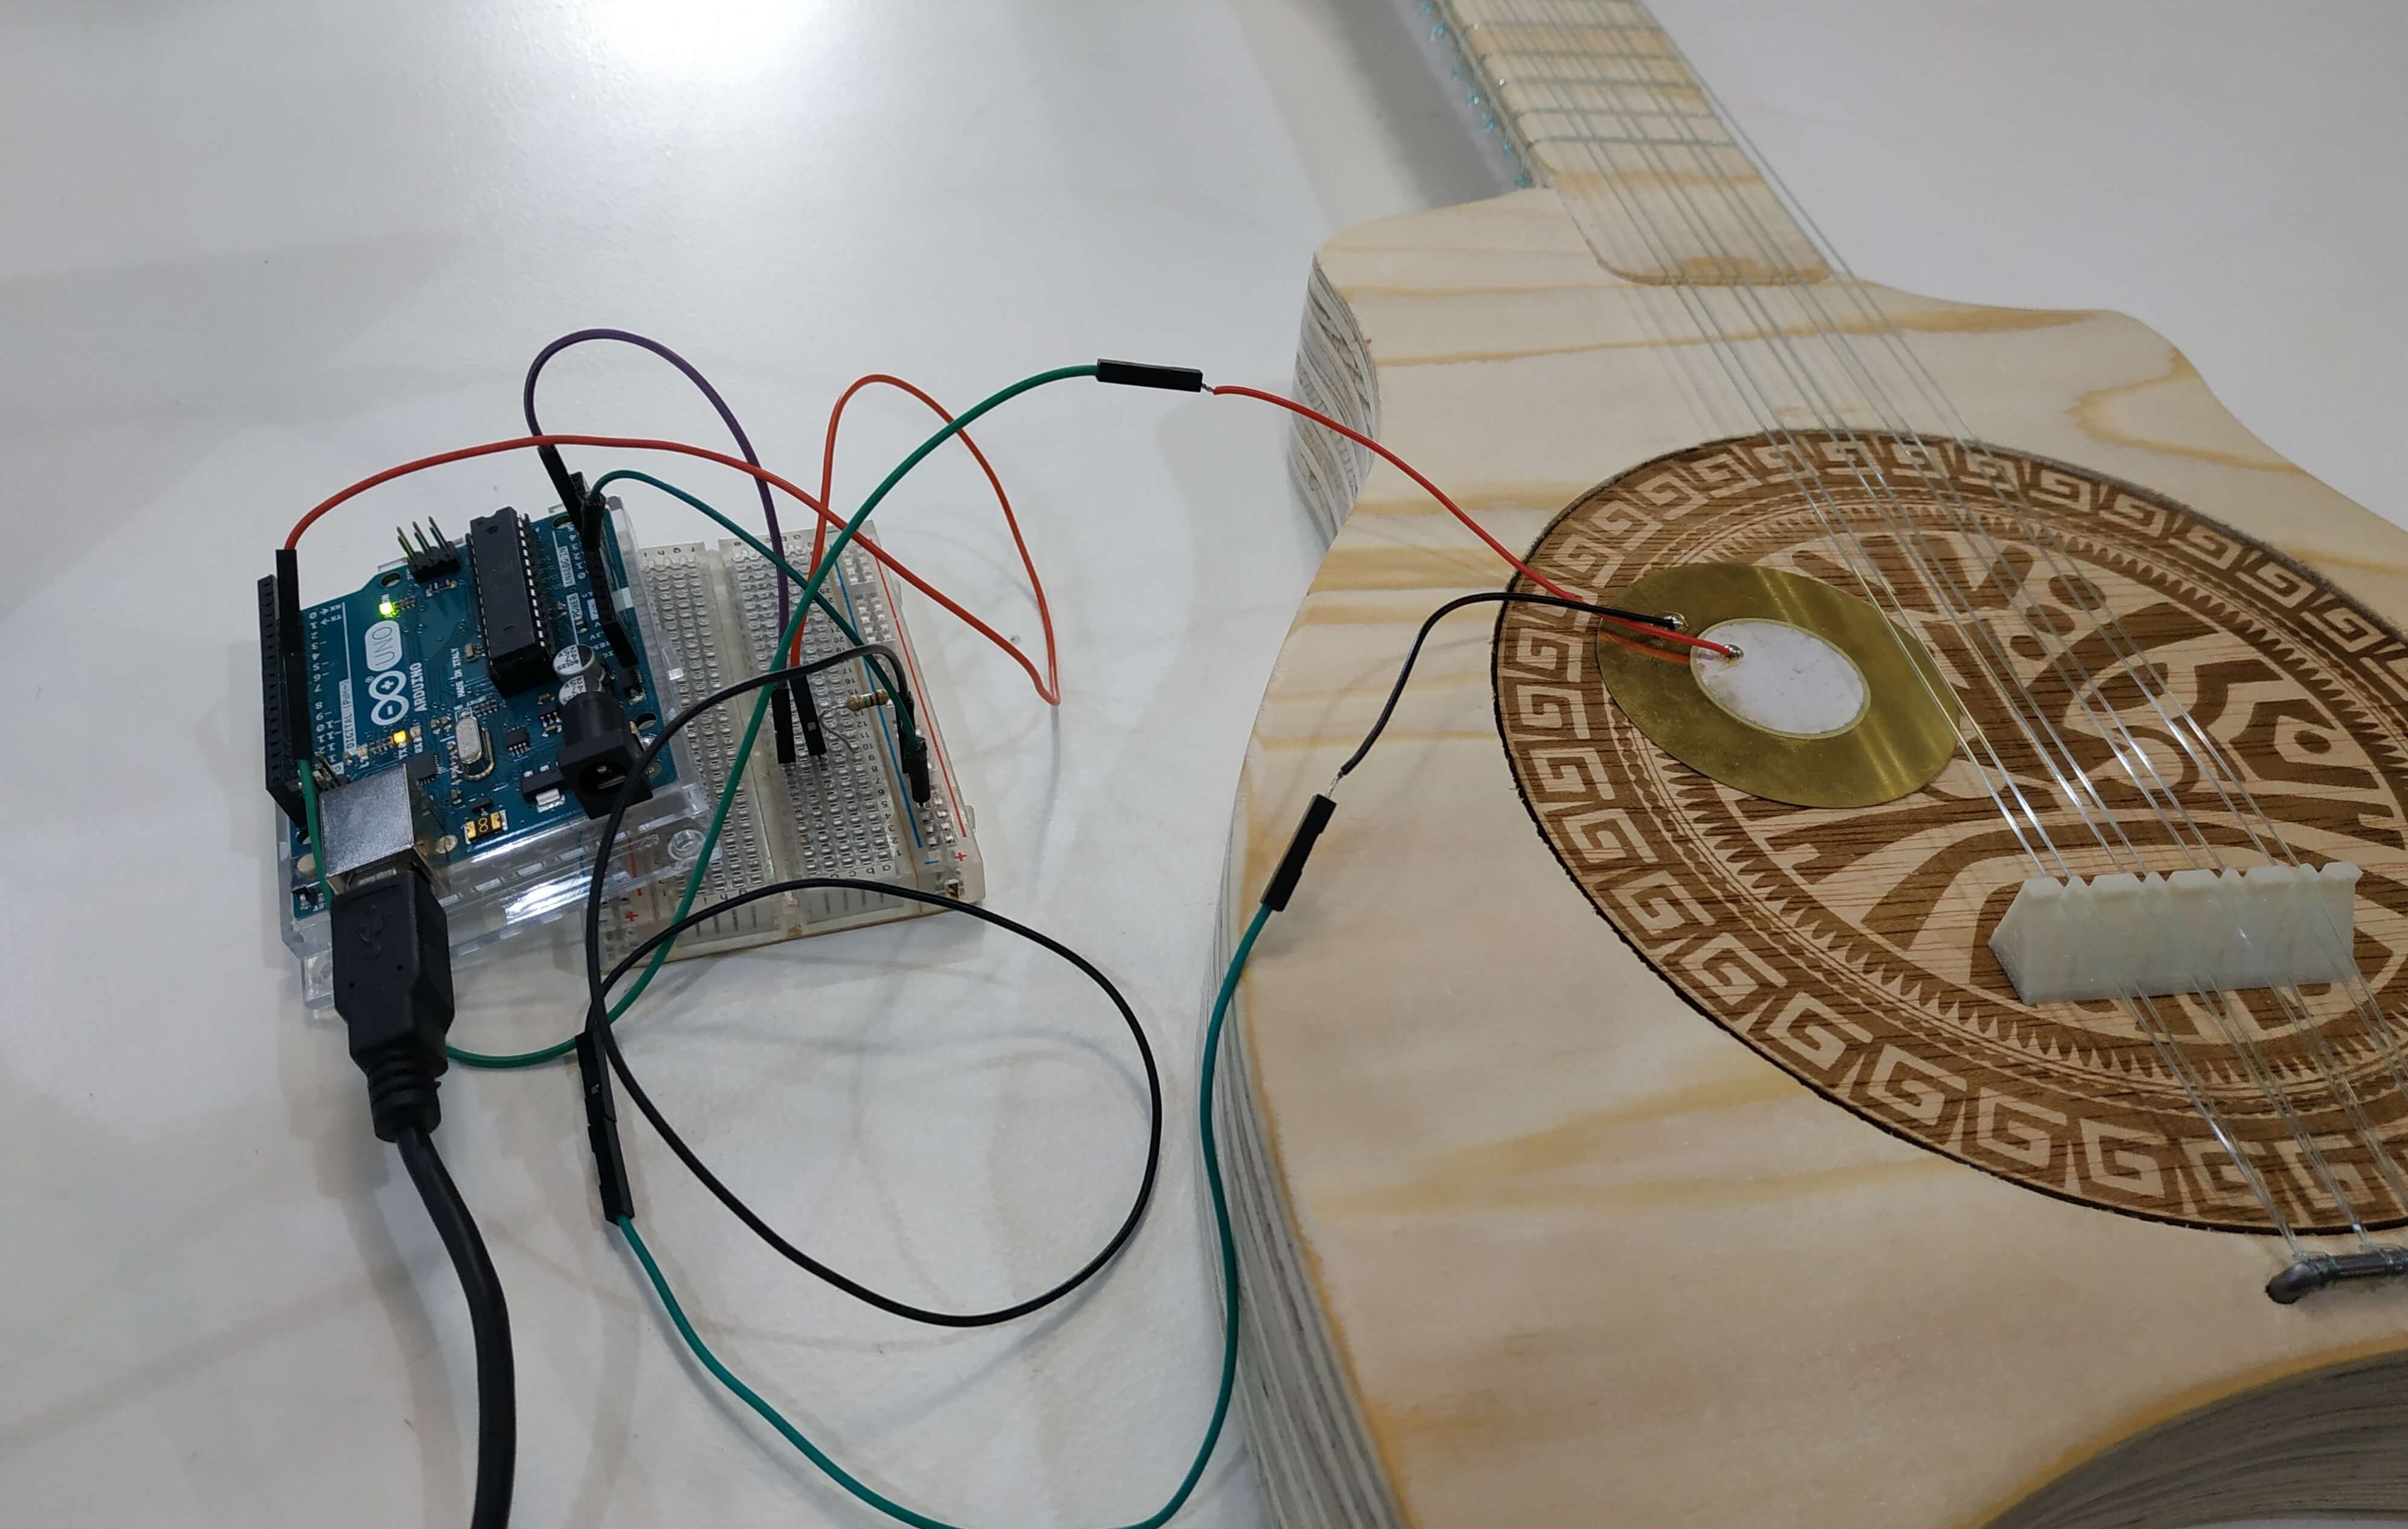
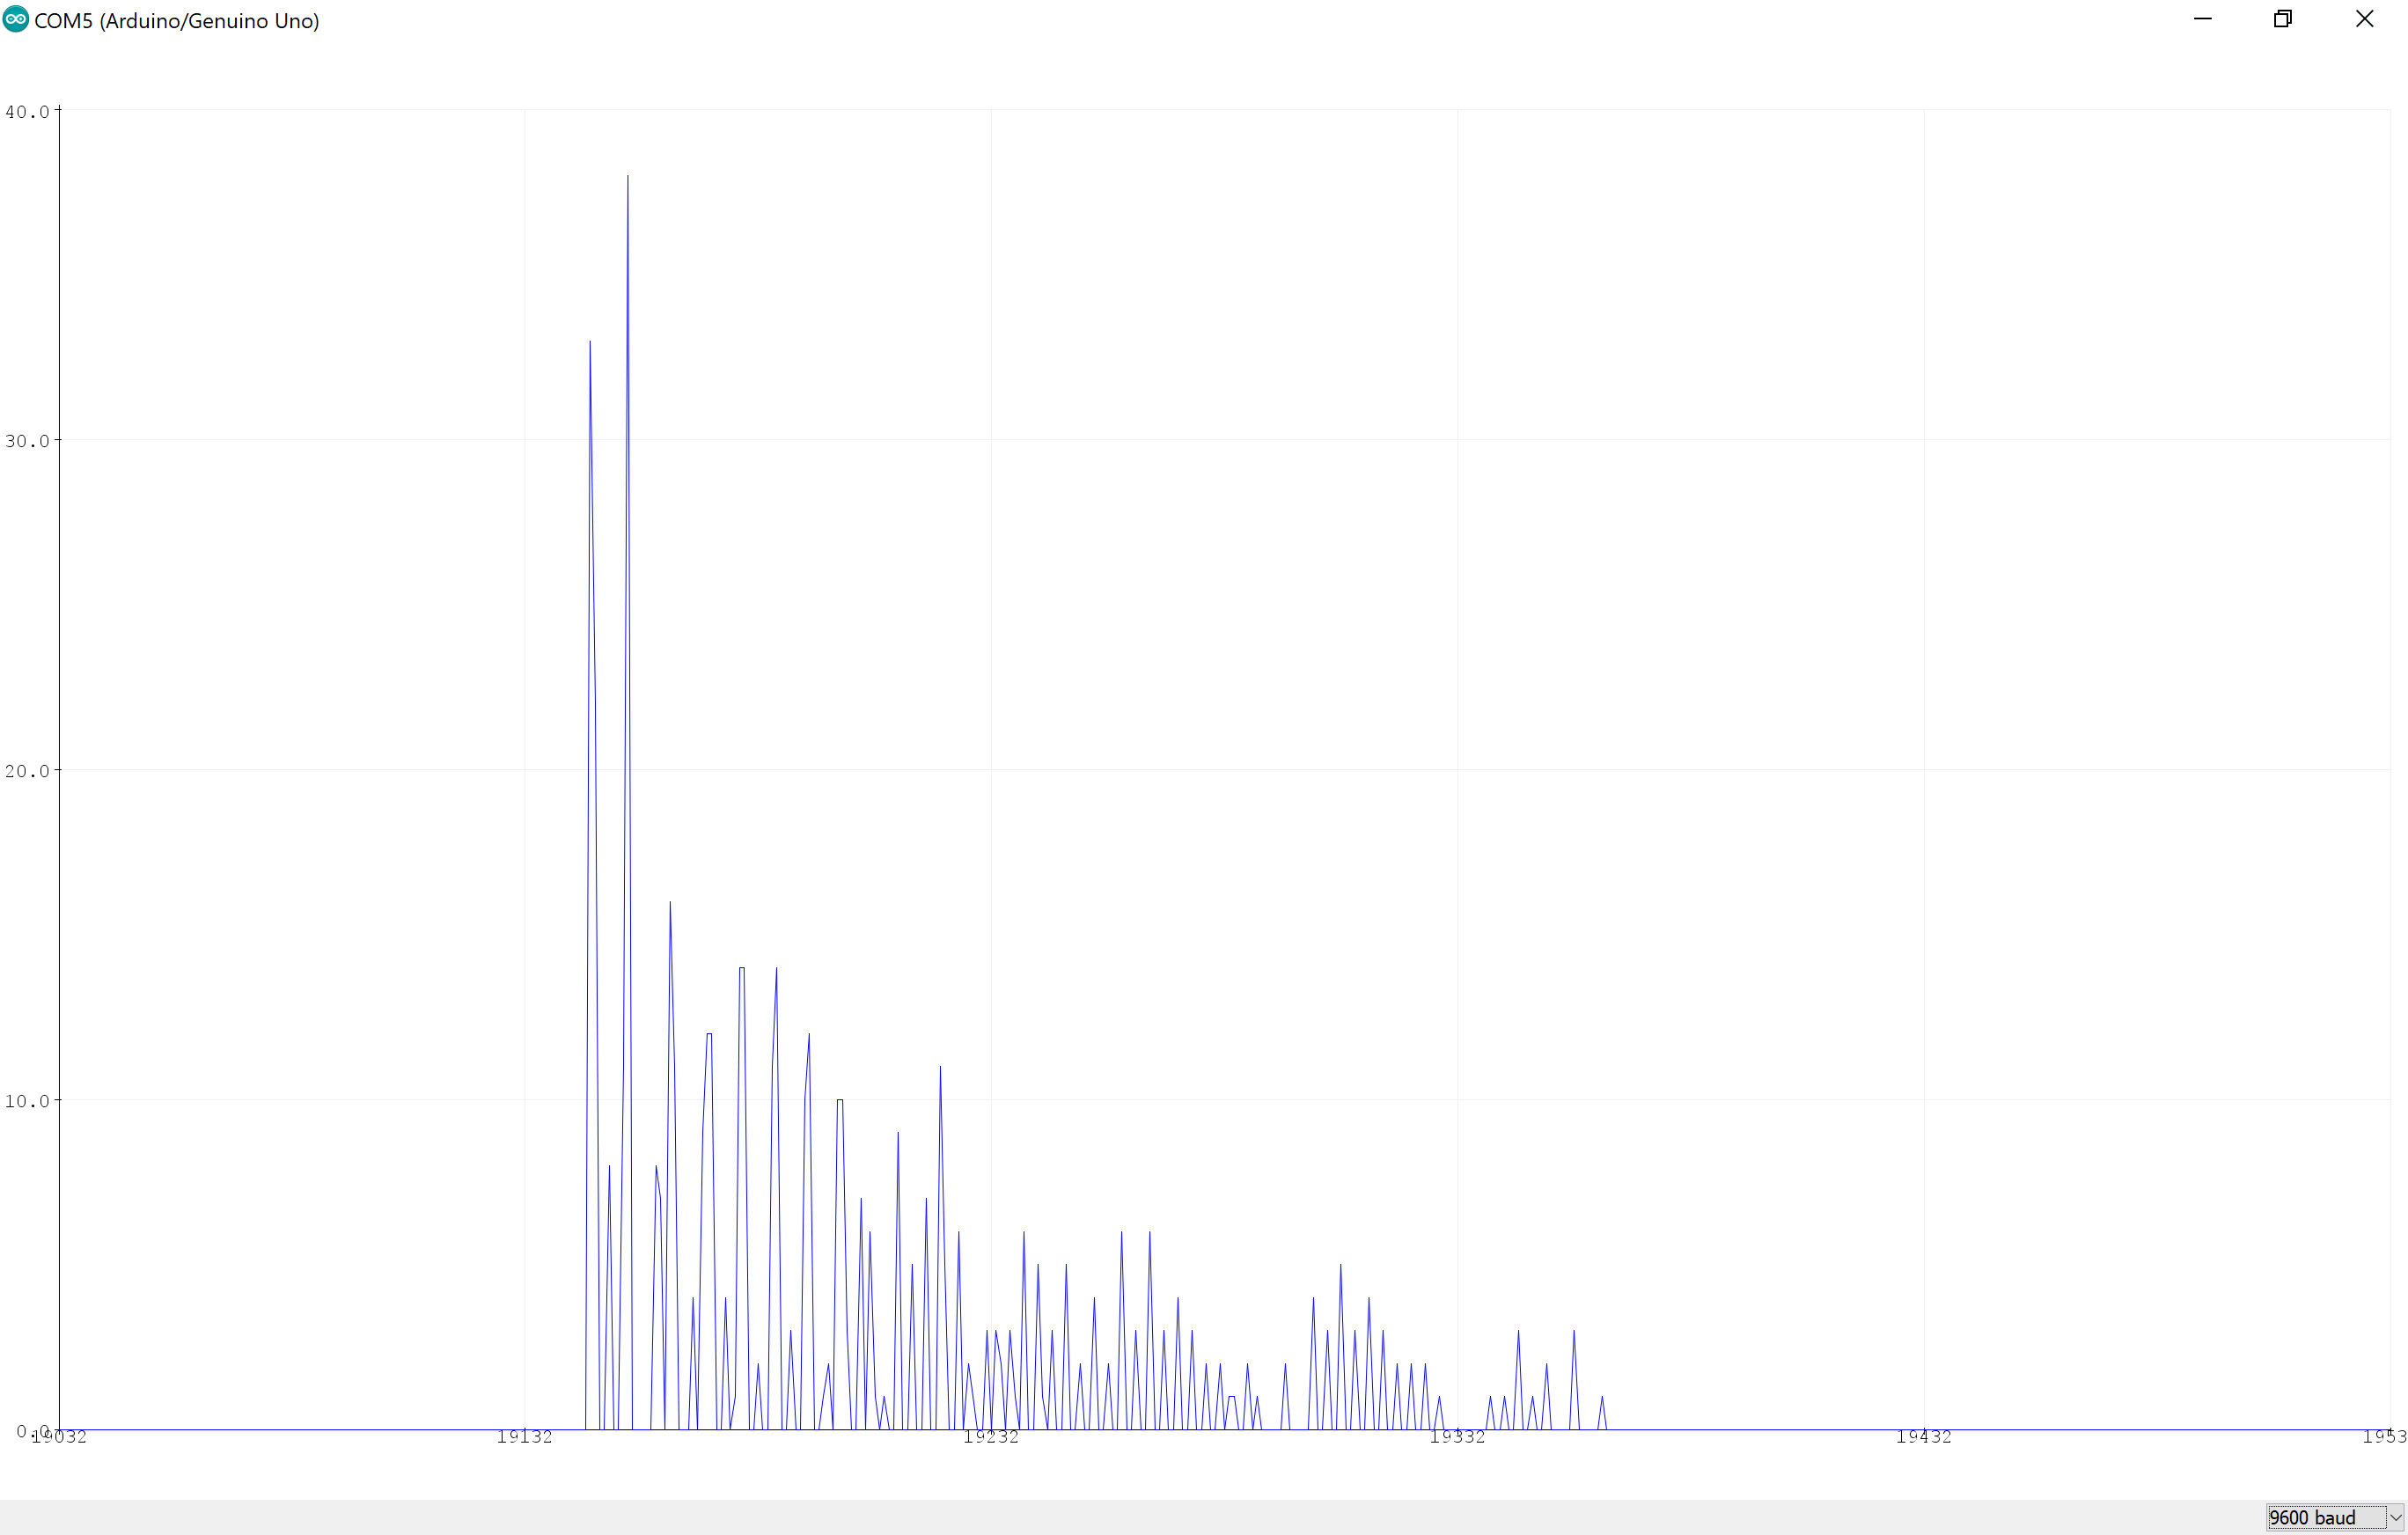
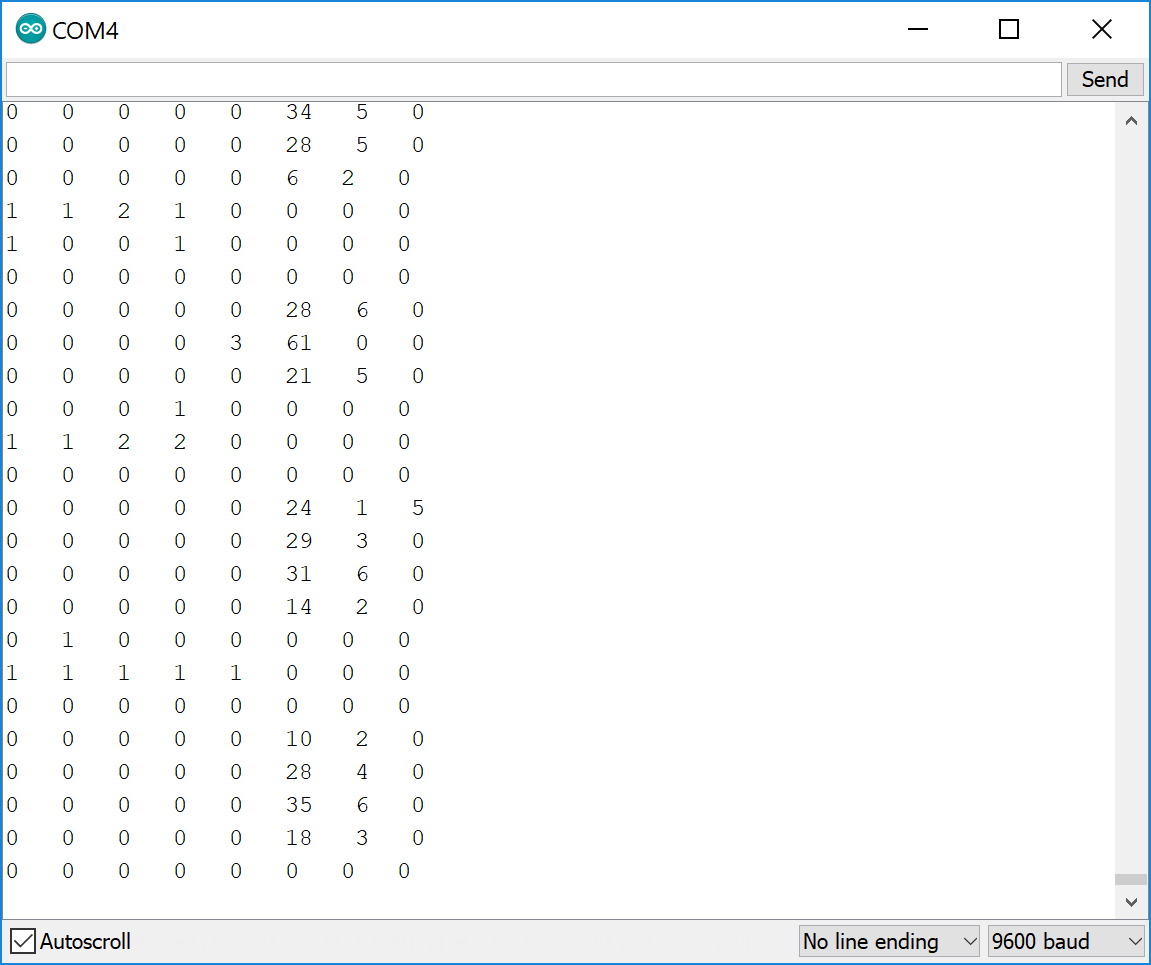
It worked fine, so I decided to test it with the Ukulele I did for the Make something big assignment. I changed to code just to plot the value of the sensor and then I placed the sensor on top of the ukulele to see the result. This week I discovered the Arduino serial plotter, and it was a really helpfull tool to see what was really happening with the sensor. In the image we can see that the vibration of the string is sensed ok and that there is a pattern. From there we should be able to get the frequency.
int sensorReading = 0;      // variable to store the value read from the sensor pin

void setup() {
  Serial.begin(9600);       // use the serial port
}

void loop() {
  // read the sensor and store it in the variable sensorReading:
  sensorReading = analogRead(knockSensor);
  Serial.println(sensorReading);
}
Processing the values was much more complicated. I did some reserch and using the Fast Fourier Transform (FFT) can be a way to get the frequencies, but I am only interested in the main frequency and not the harmonics. Also the FFT libraries for Arduino are really heavy and the Attiny microcontrollers could not support them. The solution was to try to detect the frequency with more simple maths. During this week the osciloscope was broken, it would have been really usefull, but I will wait to get it repaired.
I realized that this could be an entire final project, so I decided to try some more simple things and come back here if I have time.
Capacitive sensor
After spending some days with the piezo sensor I decided to try something different. I grabed Neil's example to build a touchpad using capacitos sensors. To start with it I decided to follow Matt Blackshaw work.
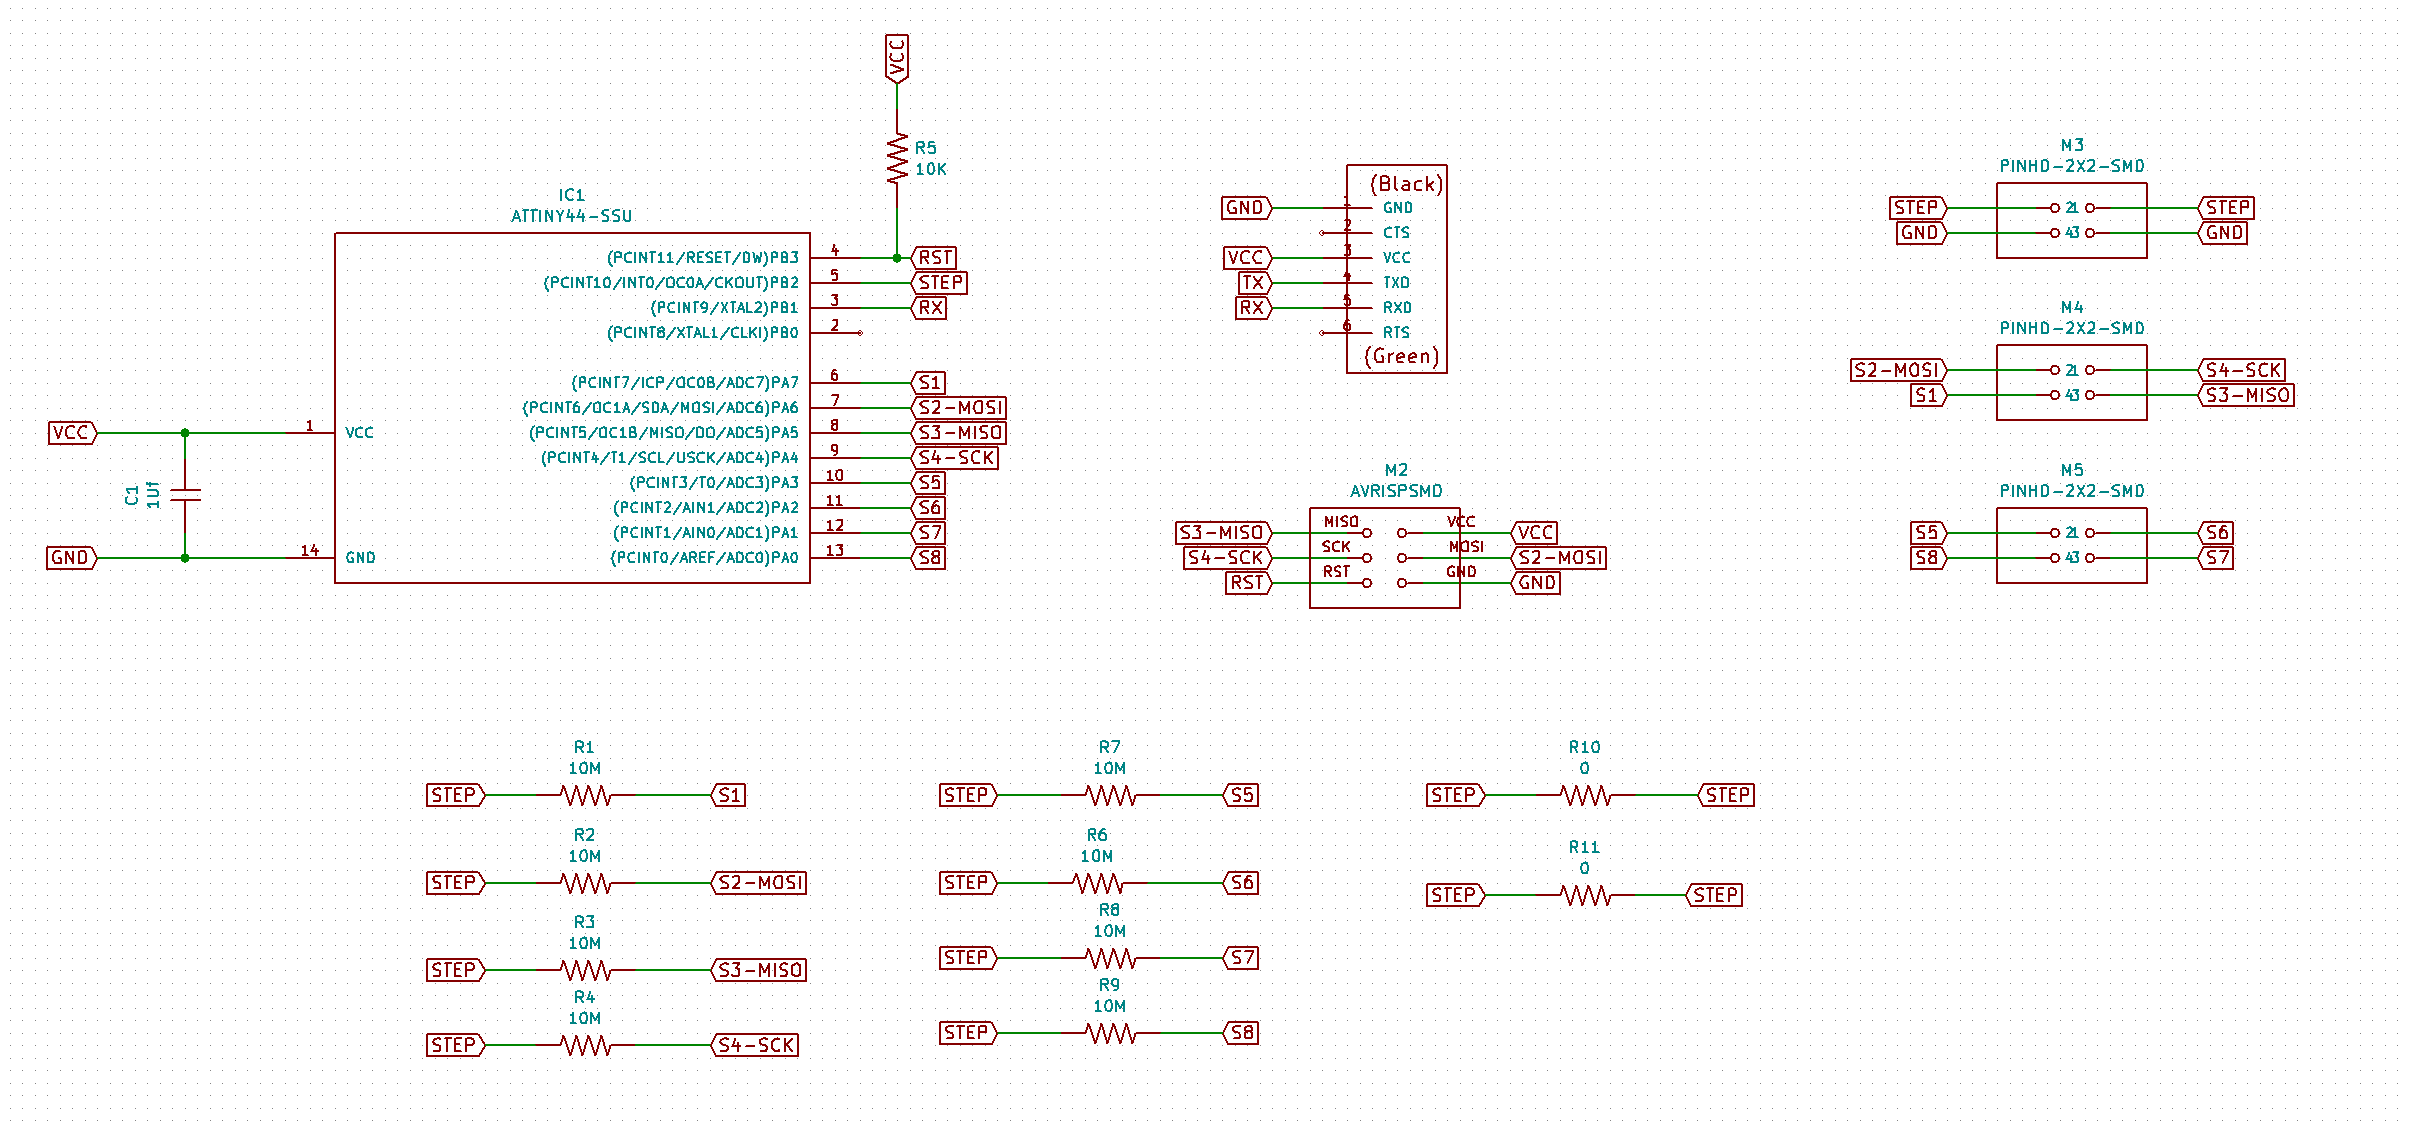
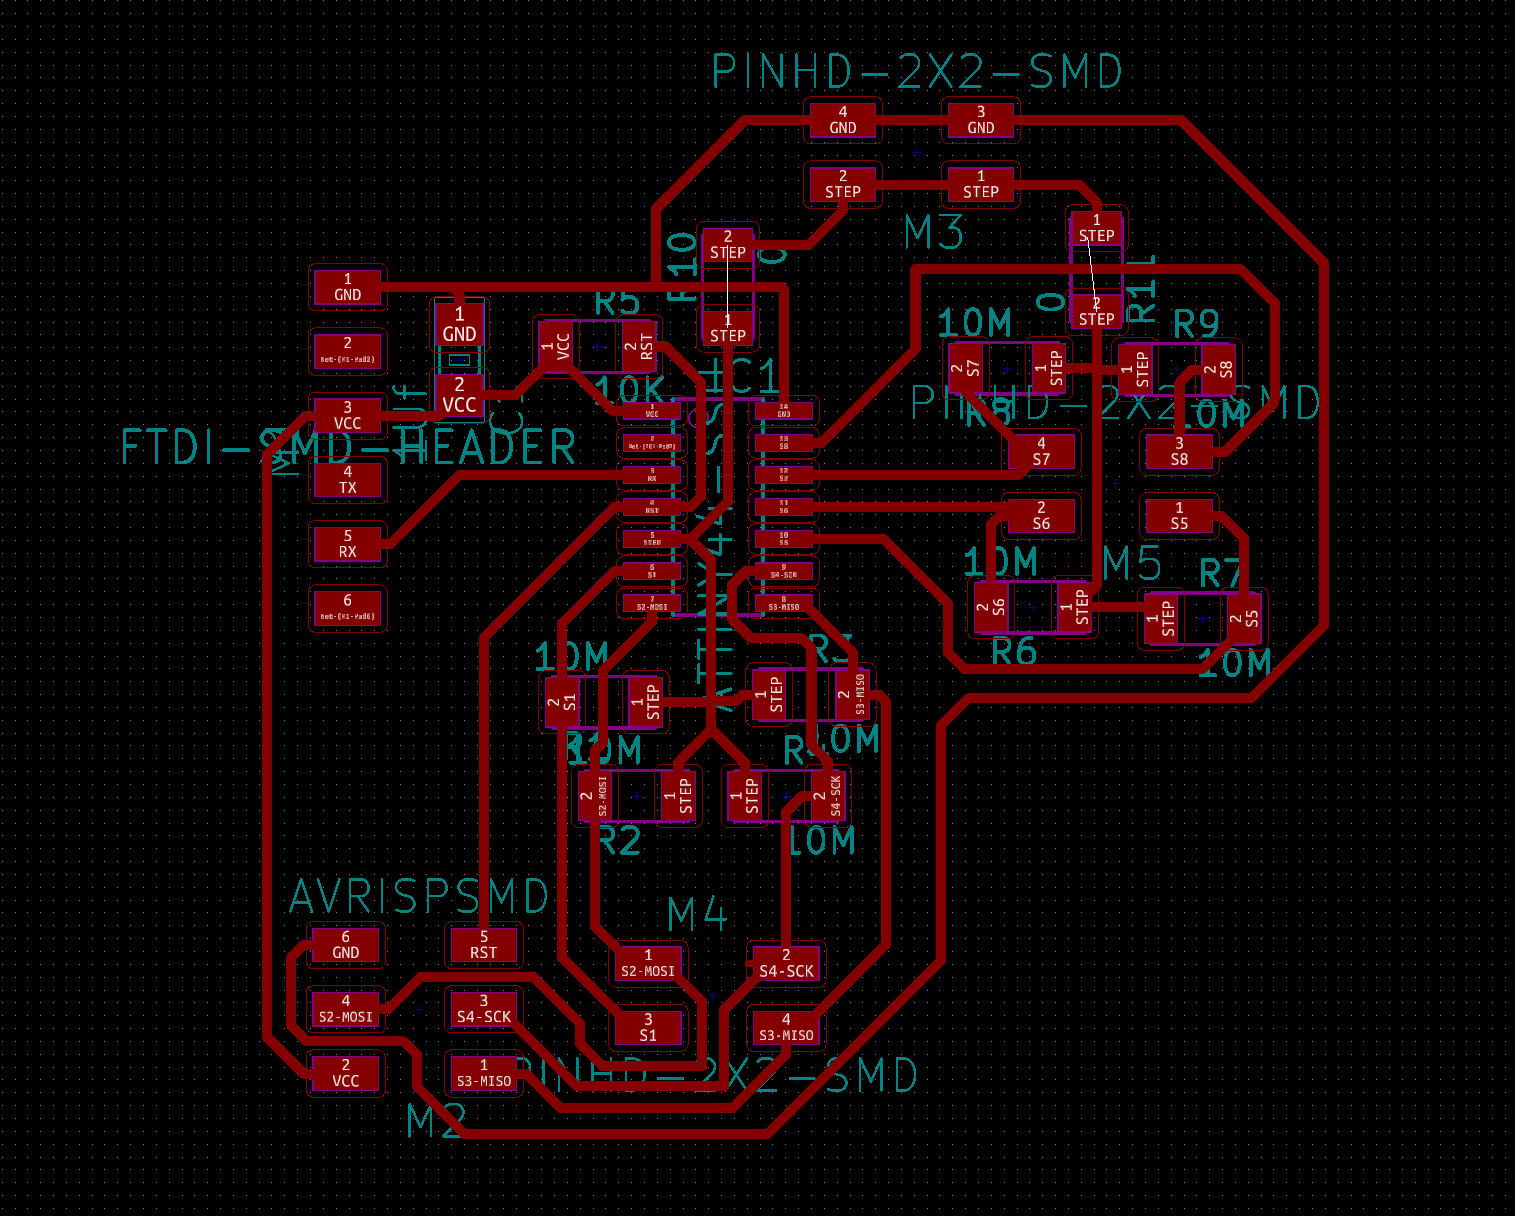
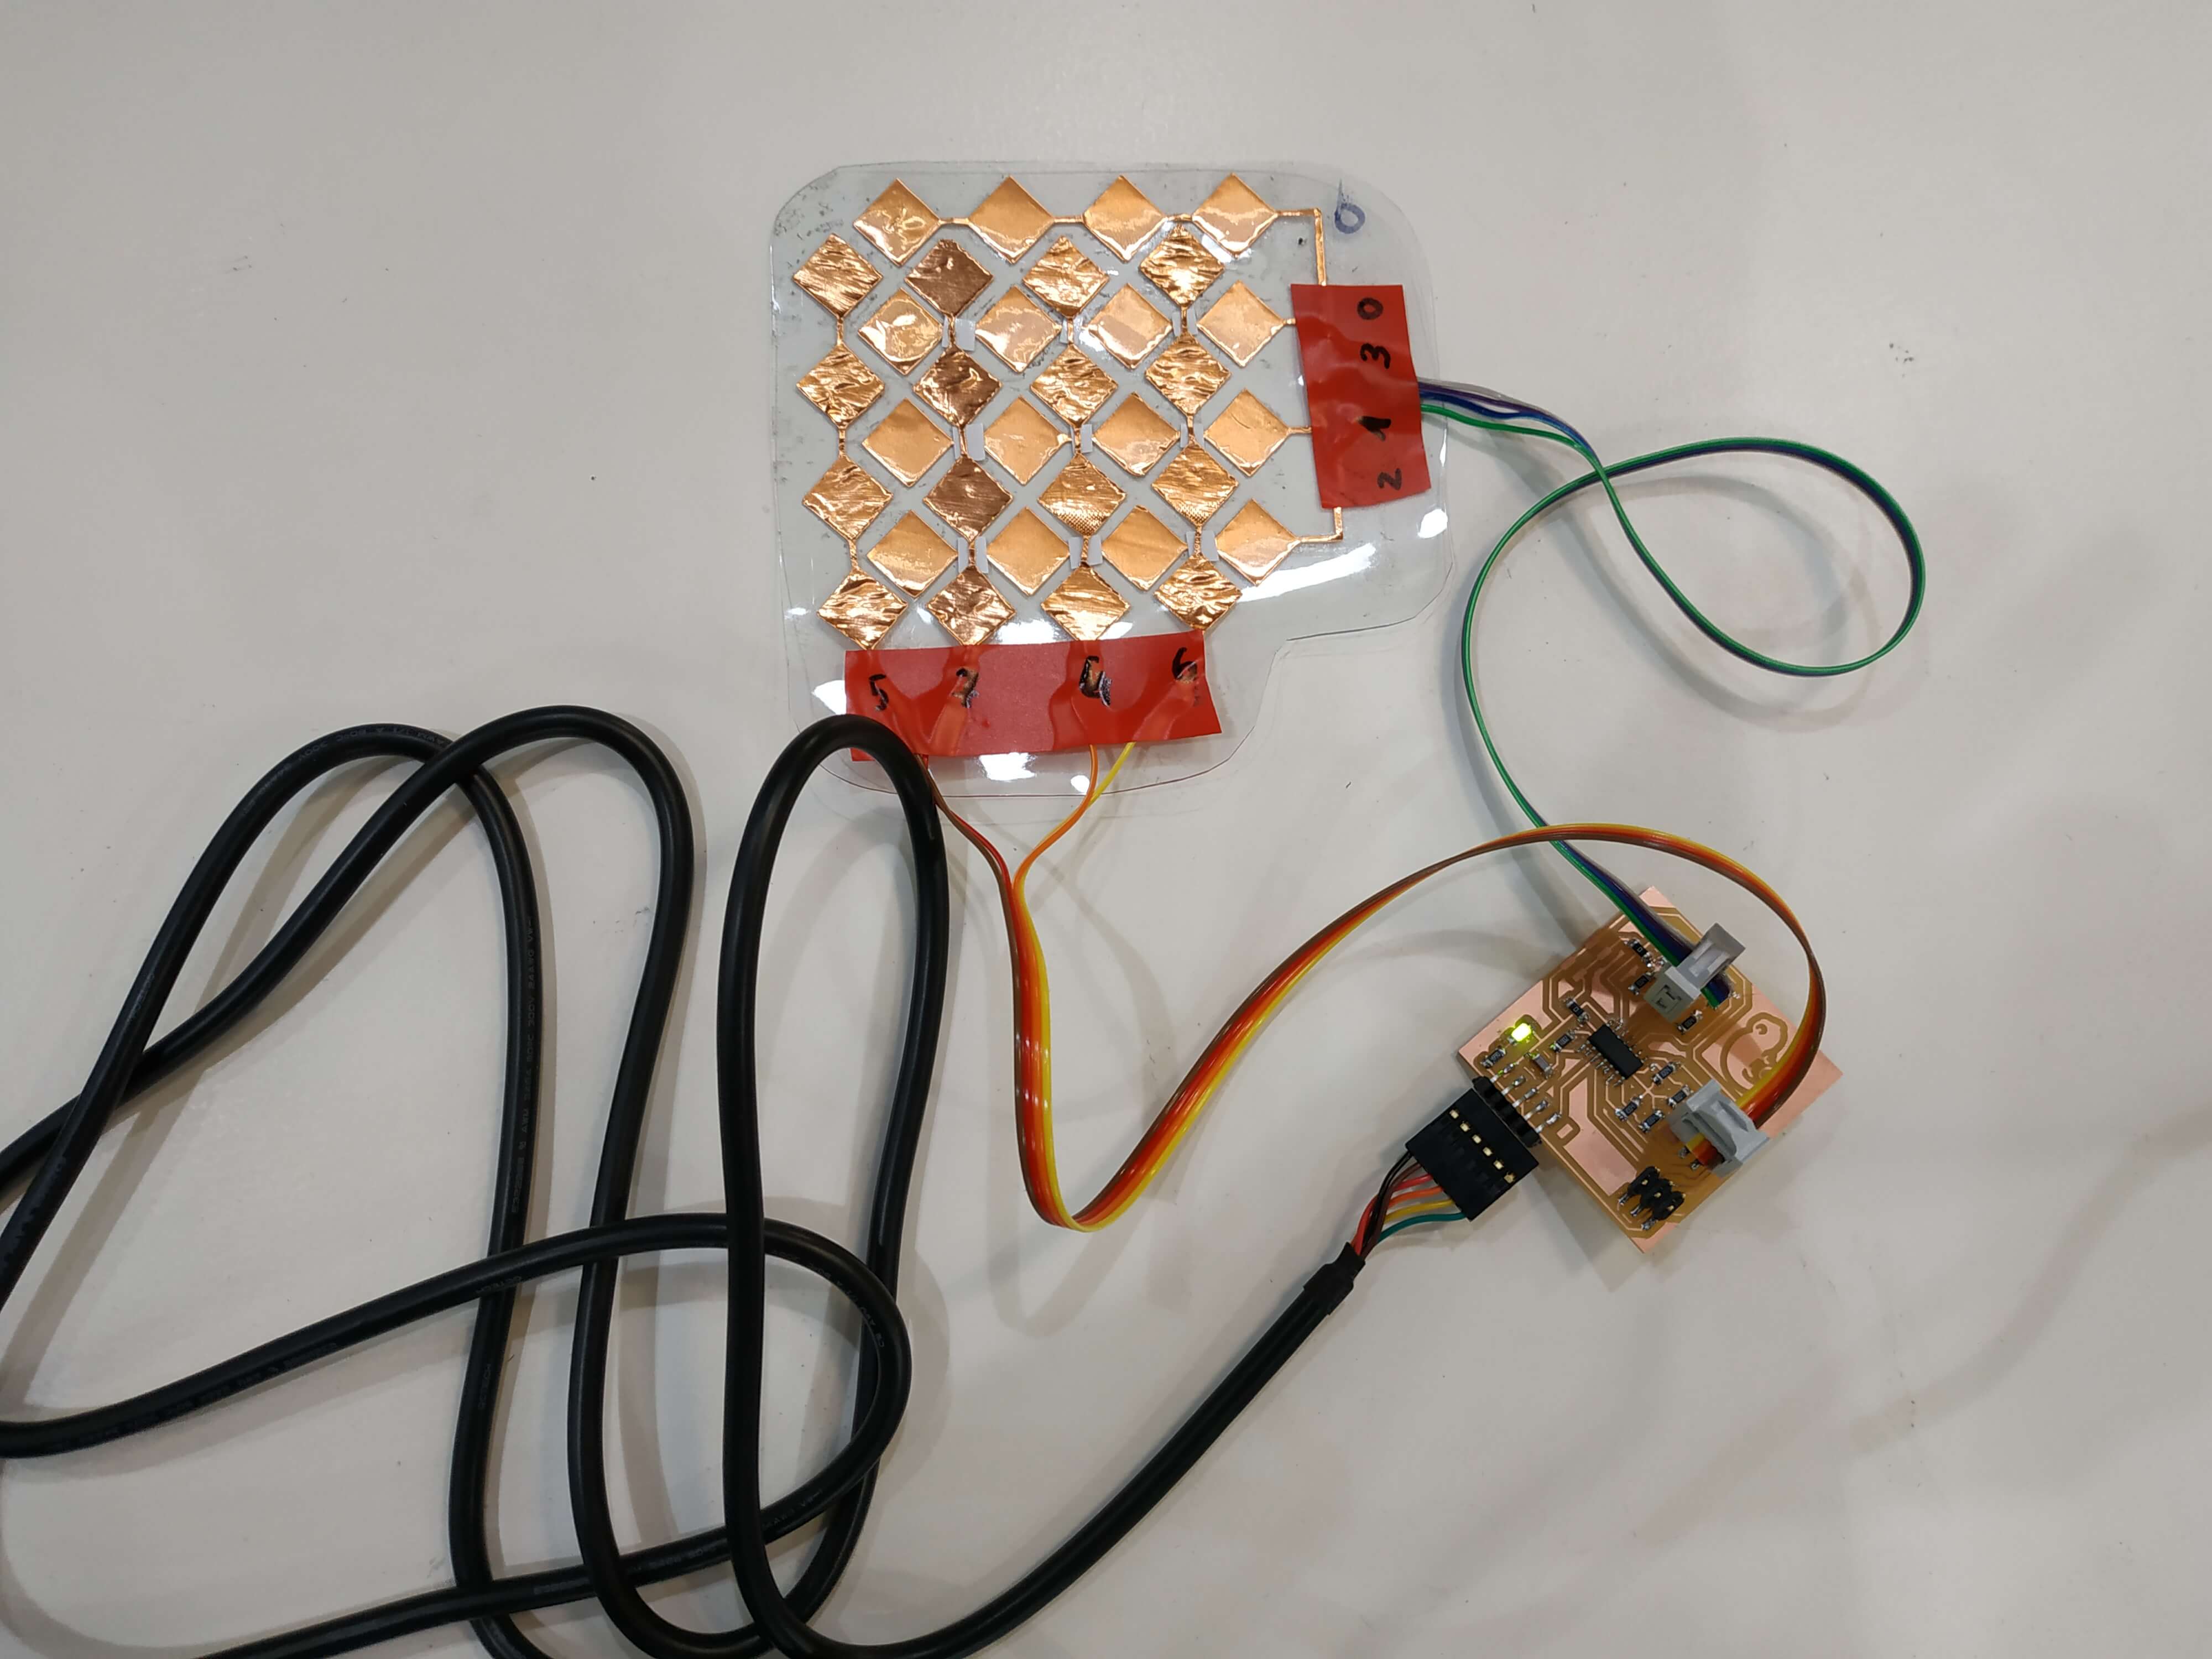
The idea of this project is to use some vynil cutted copper as a capacitive sensor connecting it to an input pin that reads the voltage and to an output pin that sets a base voltage to it. It is very important to connect also a high resistor to regulate the voltage btween it as you will touch it. When you press the copper you create a little voltage between them if the output pin is setted to be LOW, or you absorbe some voltage if it is setted to HIGH. Really simple but effective. I redesigned the full board using KiCad to solve some connections problems he faced.
As I needed to vynil cut some copper for the touchpad I decided to try to vynil cut the hole circuit. I did it sticking the copper paper to a flexible plastic and then removing the part that I didn't wanted. It was a great technic, it works greate and I document it in Week 03 documentation, but I had some problems after... Trying to program the board as I had to connect and disconect the ISP connector several times and the paths were thin it jump of the plastic and borke.
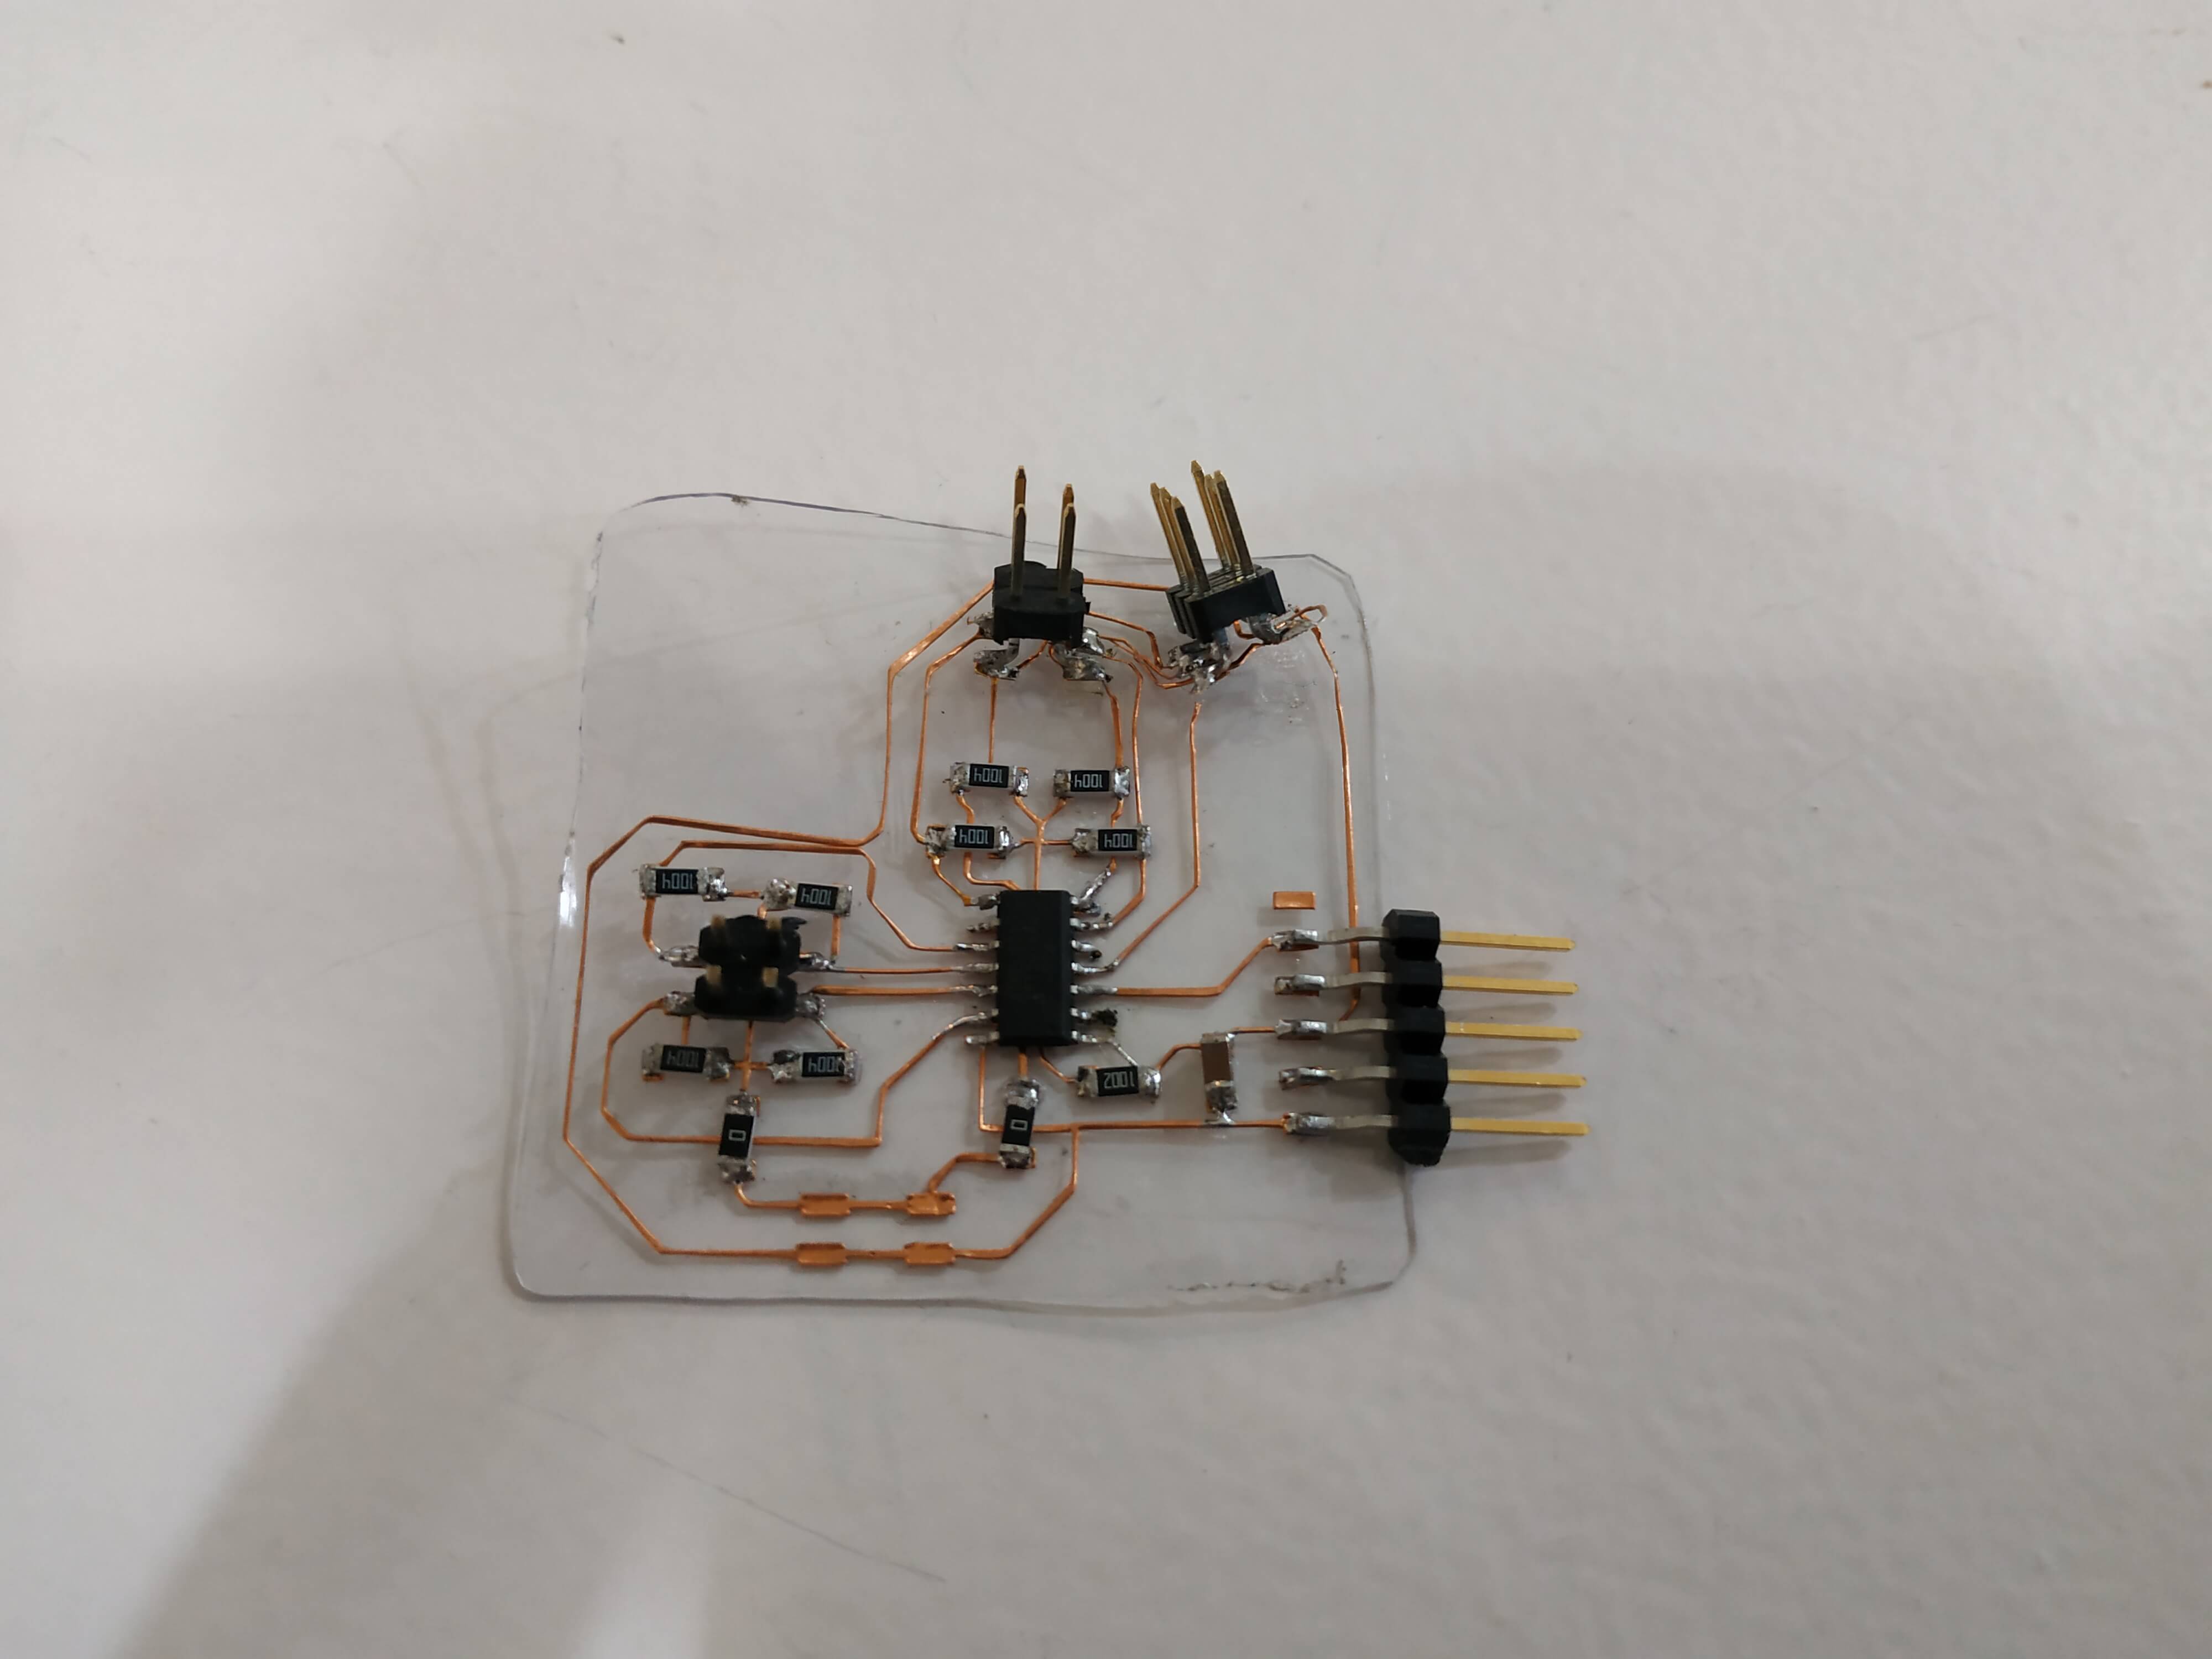
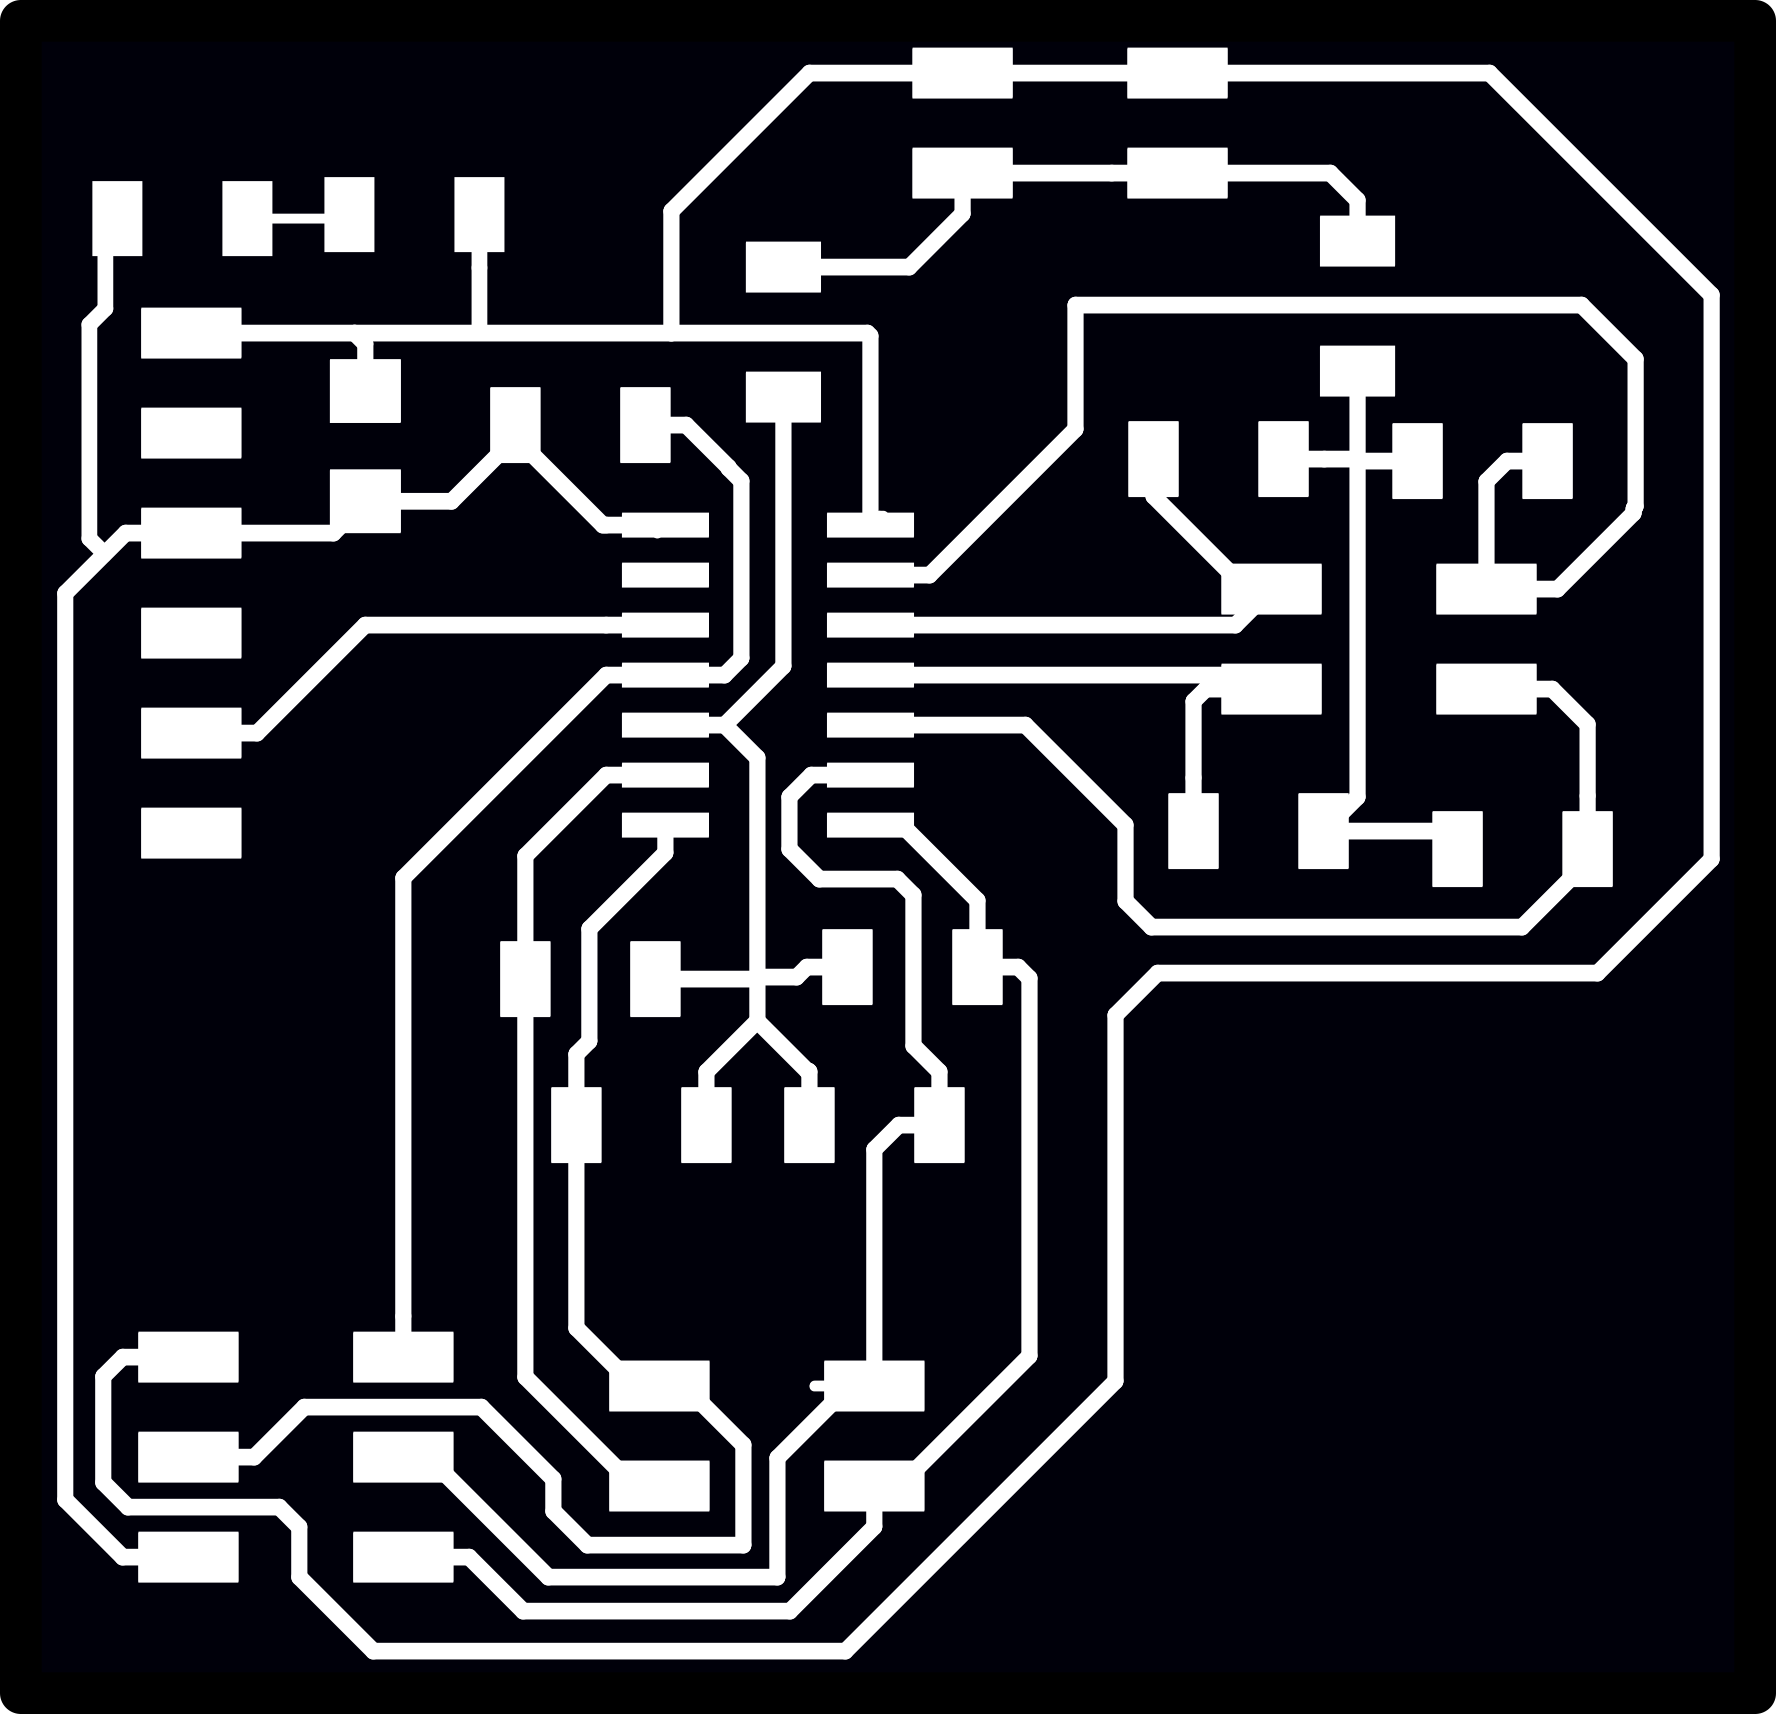
Then I decided to mill a normal board. Also, I used his touchpad design, but finally I would not use the full matrix, I was interested only in sensing different values.
To program the board I used the Arduino IDE. There is an especific library for capacitive sensors, but it was to big for the Attiny 44 so I decided to program it the easy way, just cheching the inputs. This is the code and the result:
#include

SoftwareSerial mySerial(1, 9);

void setup() {
  mySerial.begin(9600);
  pinMode(8,OUTPUT);
  pinMode(0,INPUT);
  pinMode(1,INPUT);
  pinMode(2,INPUT);
  pinMode(3,INPUT);
  pinMode(4,INPUT);
  pinMode(5,INPUT);
  pinMode(6,INPUT);
  pinMode(7,INPUT);

}

void loop() {
  digitalWrite(8,LOW);
  int val0=analogRead(0);
  int val1=analogRead(1);
  int val2=analogRead(2);
  int val3=analogRead(3);
  int val4=analogRead(4);
  int val5=analogRead(5);
  int val6=analogRead(6);
  int val7=analogRead(7);
  mySerial.print(val0);
  mySerial.print("   ");
  mySerial.print(val1);
  mySerial.print("   ");
  mySerial.print(val2);
  mySerial.print("   ");
  mySerial.print(val3);
  mySerial.print("   ");
  mySerial.print(val4);
  mySerial.print("   ");
  mySerial.print(val5);
  mySerial.print("   ");
  mySerial.print(val6);
  mySerial.print("   ");
  mySerial.println(val7);
  delay(100);

} 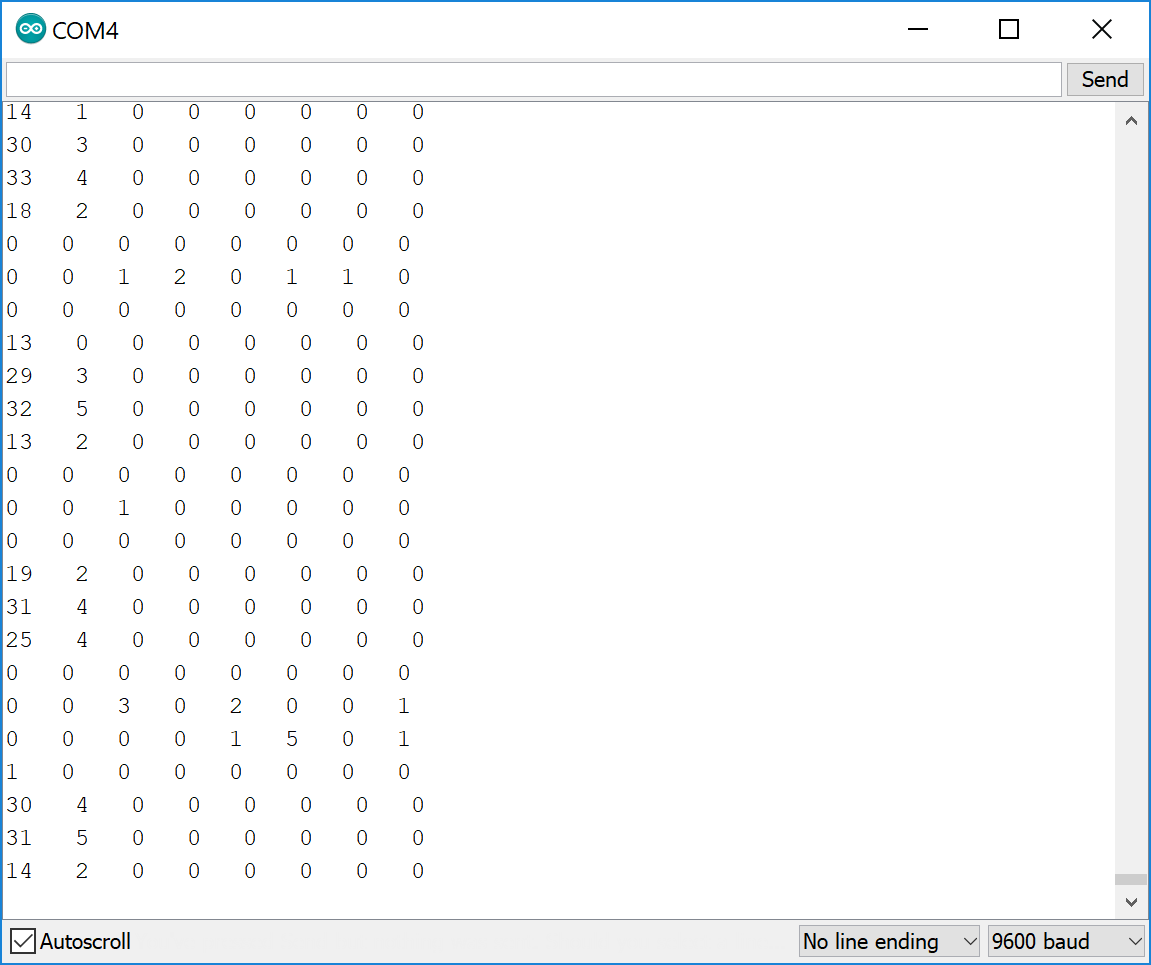


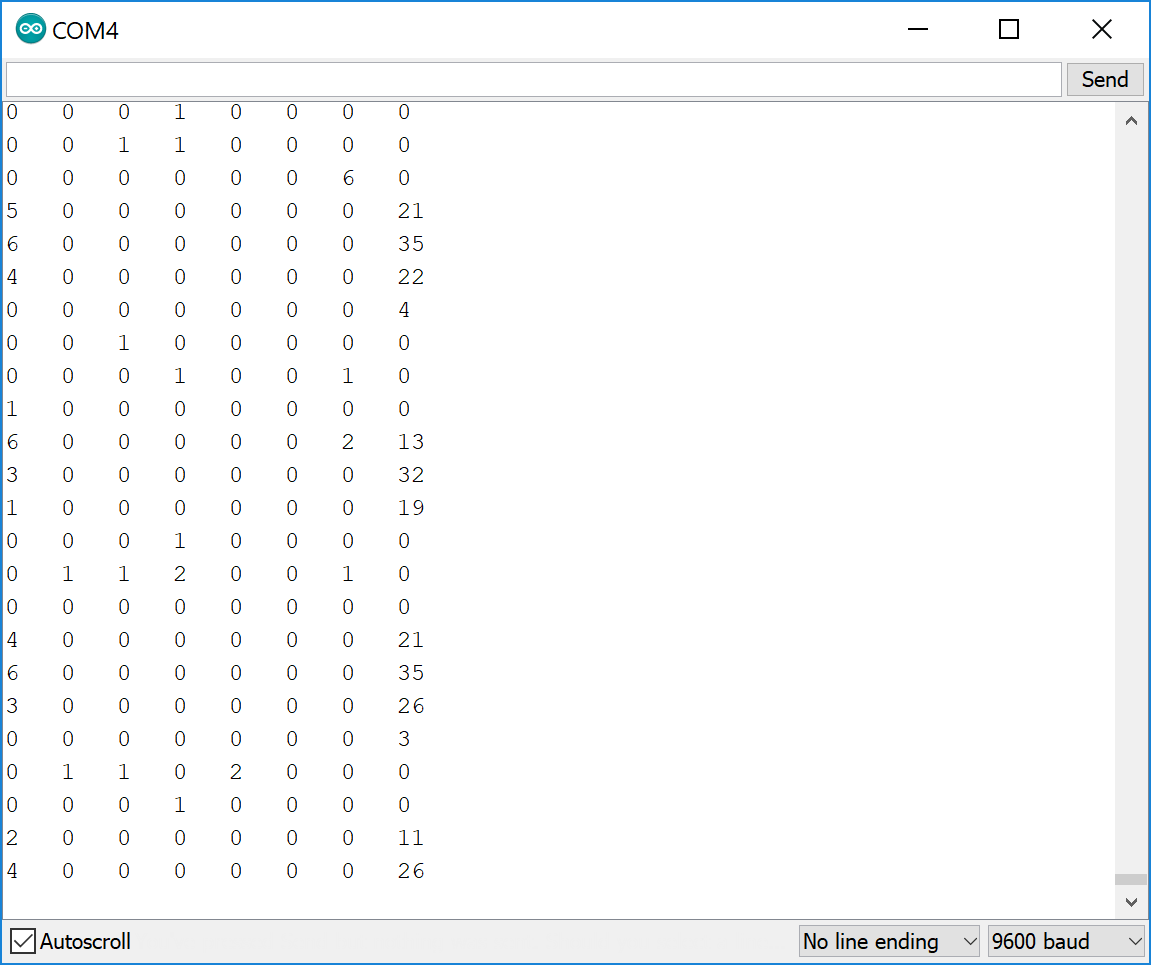
When you touch the sensor, the value of the input increases. There was some noise, so I need some trshold to detect if it is really touched or not, but it is clear that the sensor is working.
This exercice give me a new idea for the final project, so maybe I can use some capacitive sensors with my Ukulele... I will think about it and try to make something cool with it!
Conclusions
There are input sensors everywhere, and learning more about them, new options and how they work was really nice. I am sure that I will use it in the future and for my final project.