3 - Compunter-controlled Cutting
Group Assignment
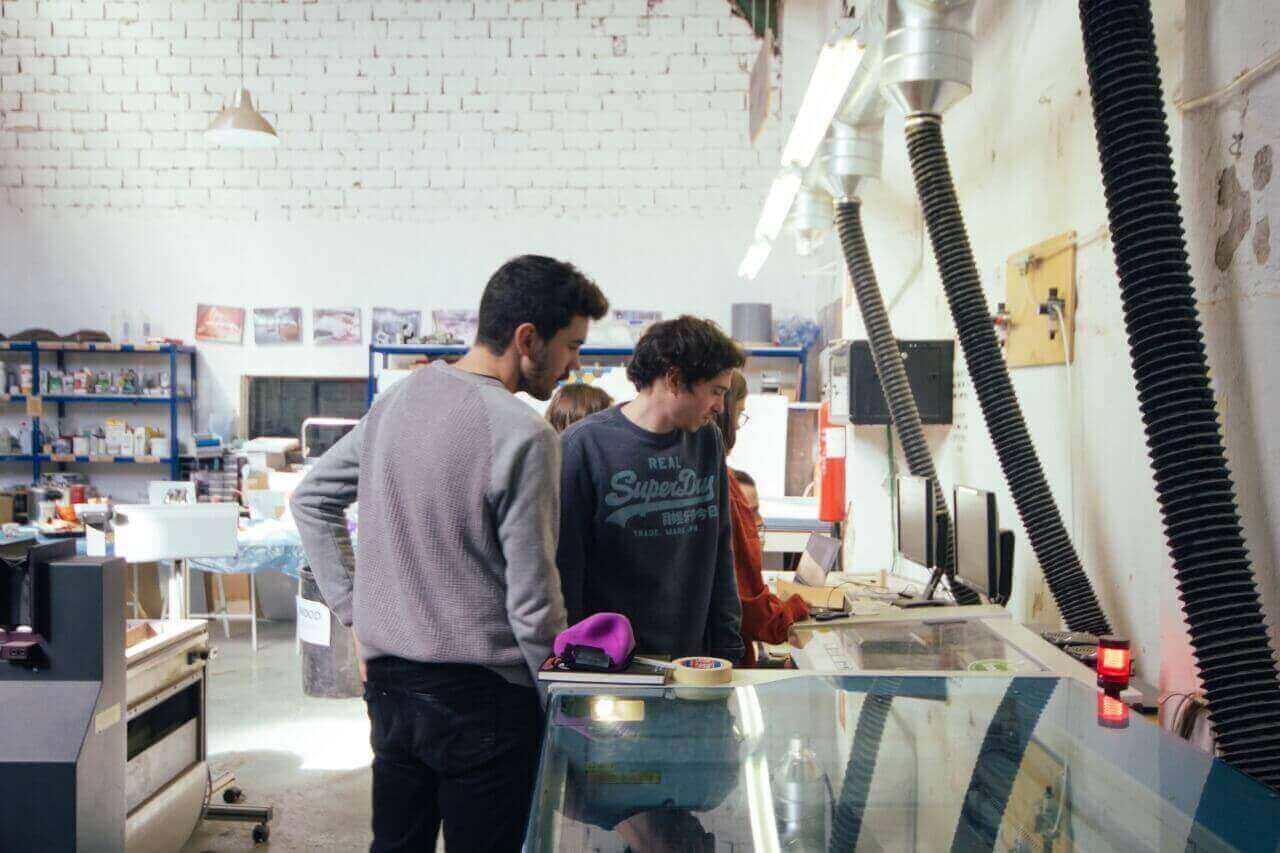
This week we had a group assignment where we had to characterize our laser cutter machines and make test part(s) that vary cutting settings and dimensions.
Participants
Josep Marti, Felipe Santos, Alberto Lopez, Diar Amin, Gustavo Abreu, Eva Blsakova and Juan Carlos Rincón.
Machine description
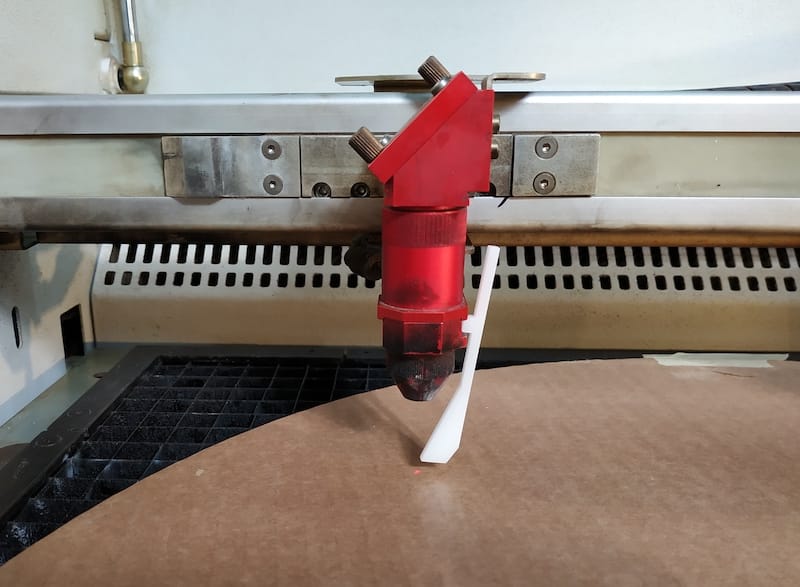
Out of the 3 machines Fab Lab Barcelona have, we choose to use the Trotec Speedy400. It is a 1000x610mm 100W machine.
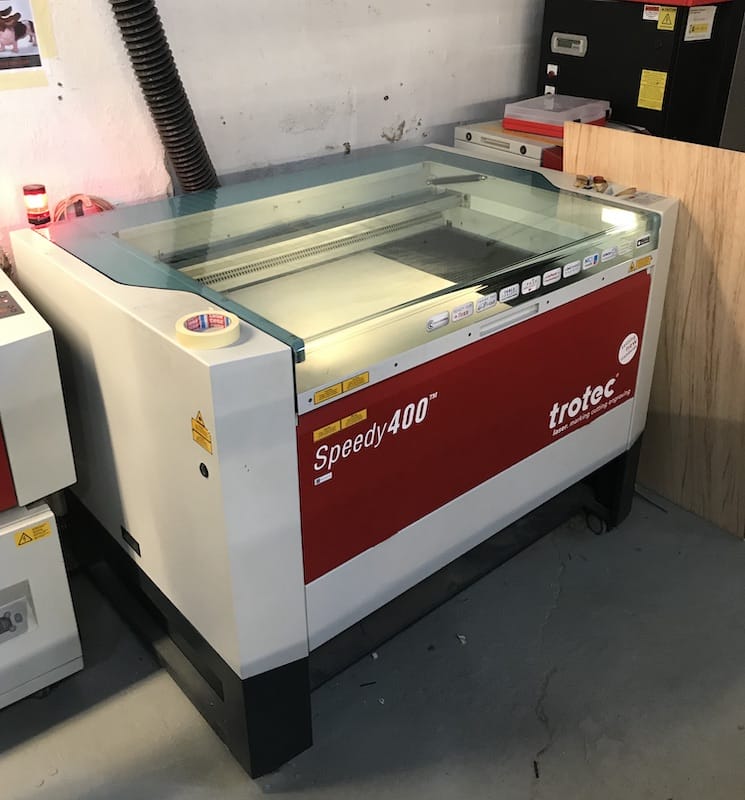
The jobs are run from a computer next to it, through Rhinoceros, print driver and controller.
The software is basically used for importing files and assigning colors and layers. This step is important, especially if you are going to work with more than one work operation.
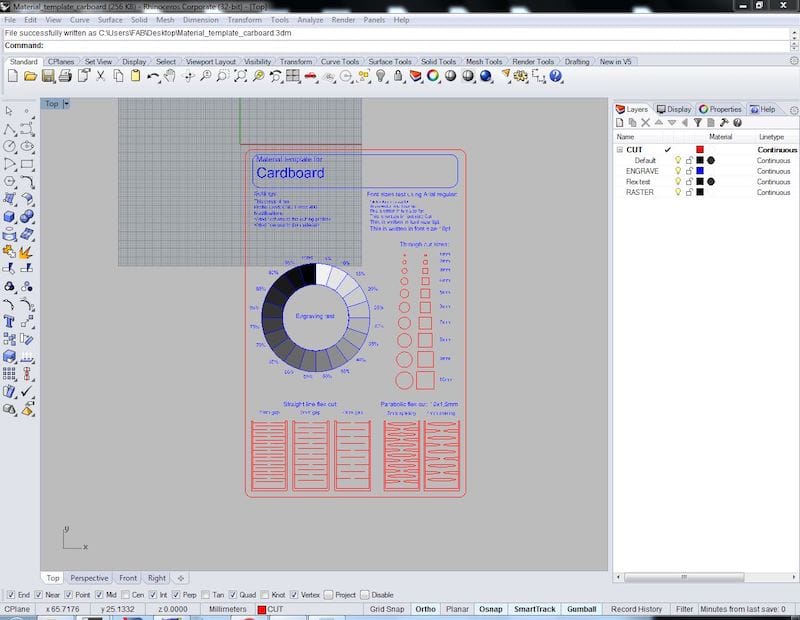
After setting the layers and sending the print command, the job goes to the controller.

Add the material.
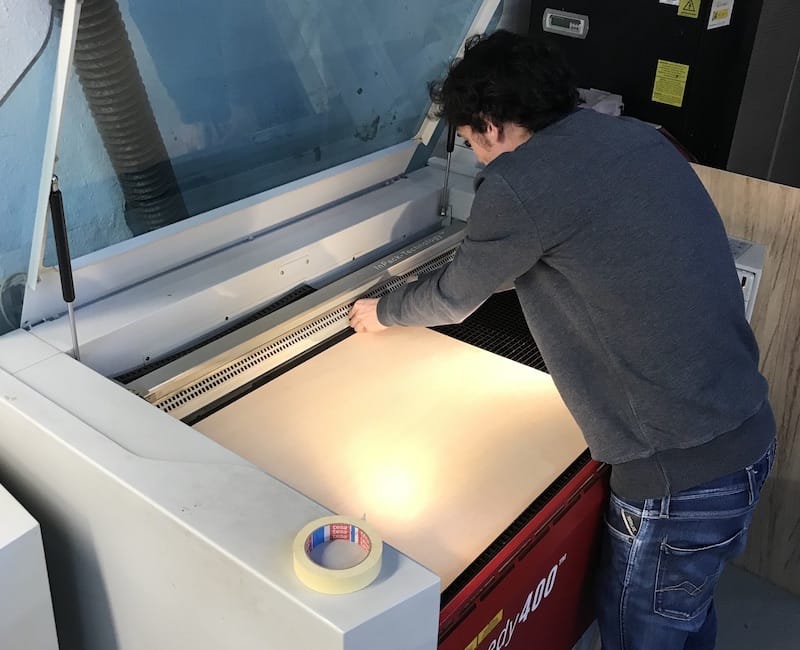
Focus the machine.
Then were done Tests.
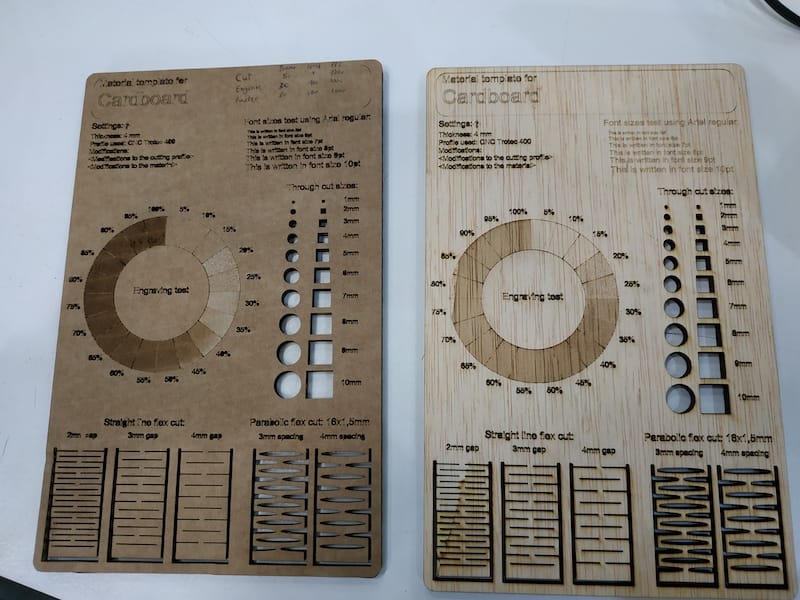
We used cardboard and plywood for our tests.
Settings used:
Cut:
4mm Cardboard: 50 Power, 1 Speed, 1000 PPI
4mm Plywood: 75 Power, 0,8 Speed, 1000 PPI
Engrave:
4mm Cardboard: 30 Power, 100 Speed, 1000 PPI
4mm Plywood: 60 Power, 100 Speed, 1000 PPI
Raster:
4mm Cardboard: 80 Power, 100 Speed, 1000 PPI
4mm Plywood: 60 Power, 100 Speed, 1000 PPI
After getting the right settings for the materials, we went to test the press kits
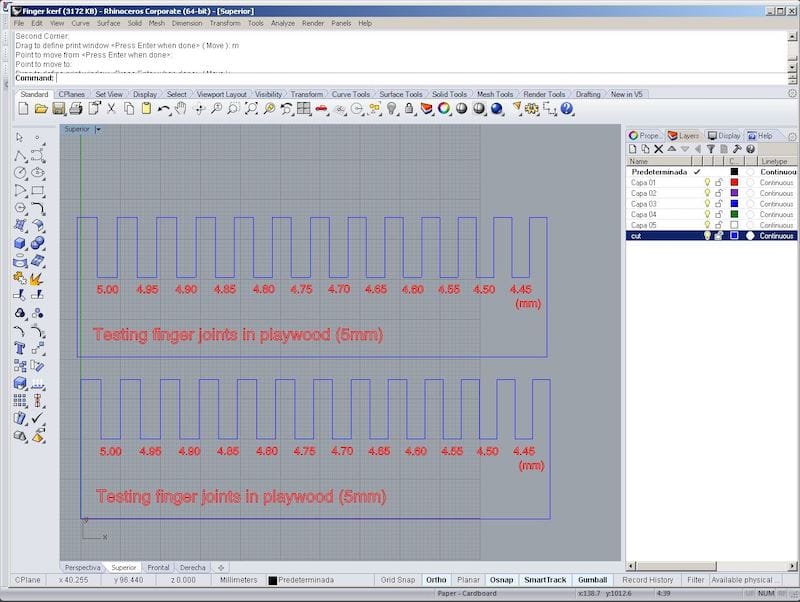
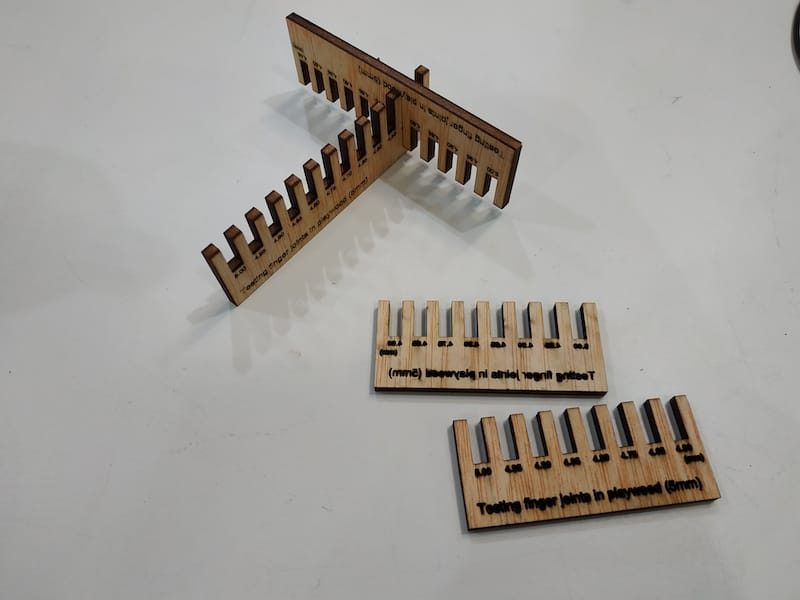
The best results were 3.85mm and 3.35mm gaps for plywood and cardboard respectively. This big difference between the two comes from two reasons:
- The cardboard had a bigger kerf. Maybe just because the material burns more easily. But we believe it may come from laser being over powered
- Cardboard squeezes way more than plywood. Fitting in tighter gaps.
Individual Assignment
After having the machines characterized and knowing how to use them, I start working with my own projects. For this week I decided to create a nice sticker for my computer with the vinyl cutter first, then start laser cutting a press kit and finally cut my bottle holder from last week. So lets start!
Vinyl Cutter
It was the first time for me using a vinyl cutter, and I found it to be a really interesting machine. It is very usefull with al types of papers and thin materials, and the best of it is that you can use it to cut materials that cannot be cutted in the laser becouse they are imflamable or toxic to burn. The only bad think is the thickness of the material, it has to be a really thin material to be able to cut it.
Here in the FabLab Barcelona we have two vinyl cutters, the Roland CAMM-1 and the Silhouette Cameo 3. Both cutters work really well, but the Roland has more power and it's bigger, so it is better for bigger cuts and figures. On the other hand, the Silhouette is easier to use, with a more intuitive software, and offers a really good resolution for small cuts. For this reason I decided to work with the Silhouette as I need to do really small cuts for my design.
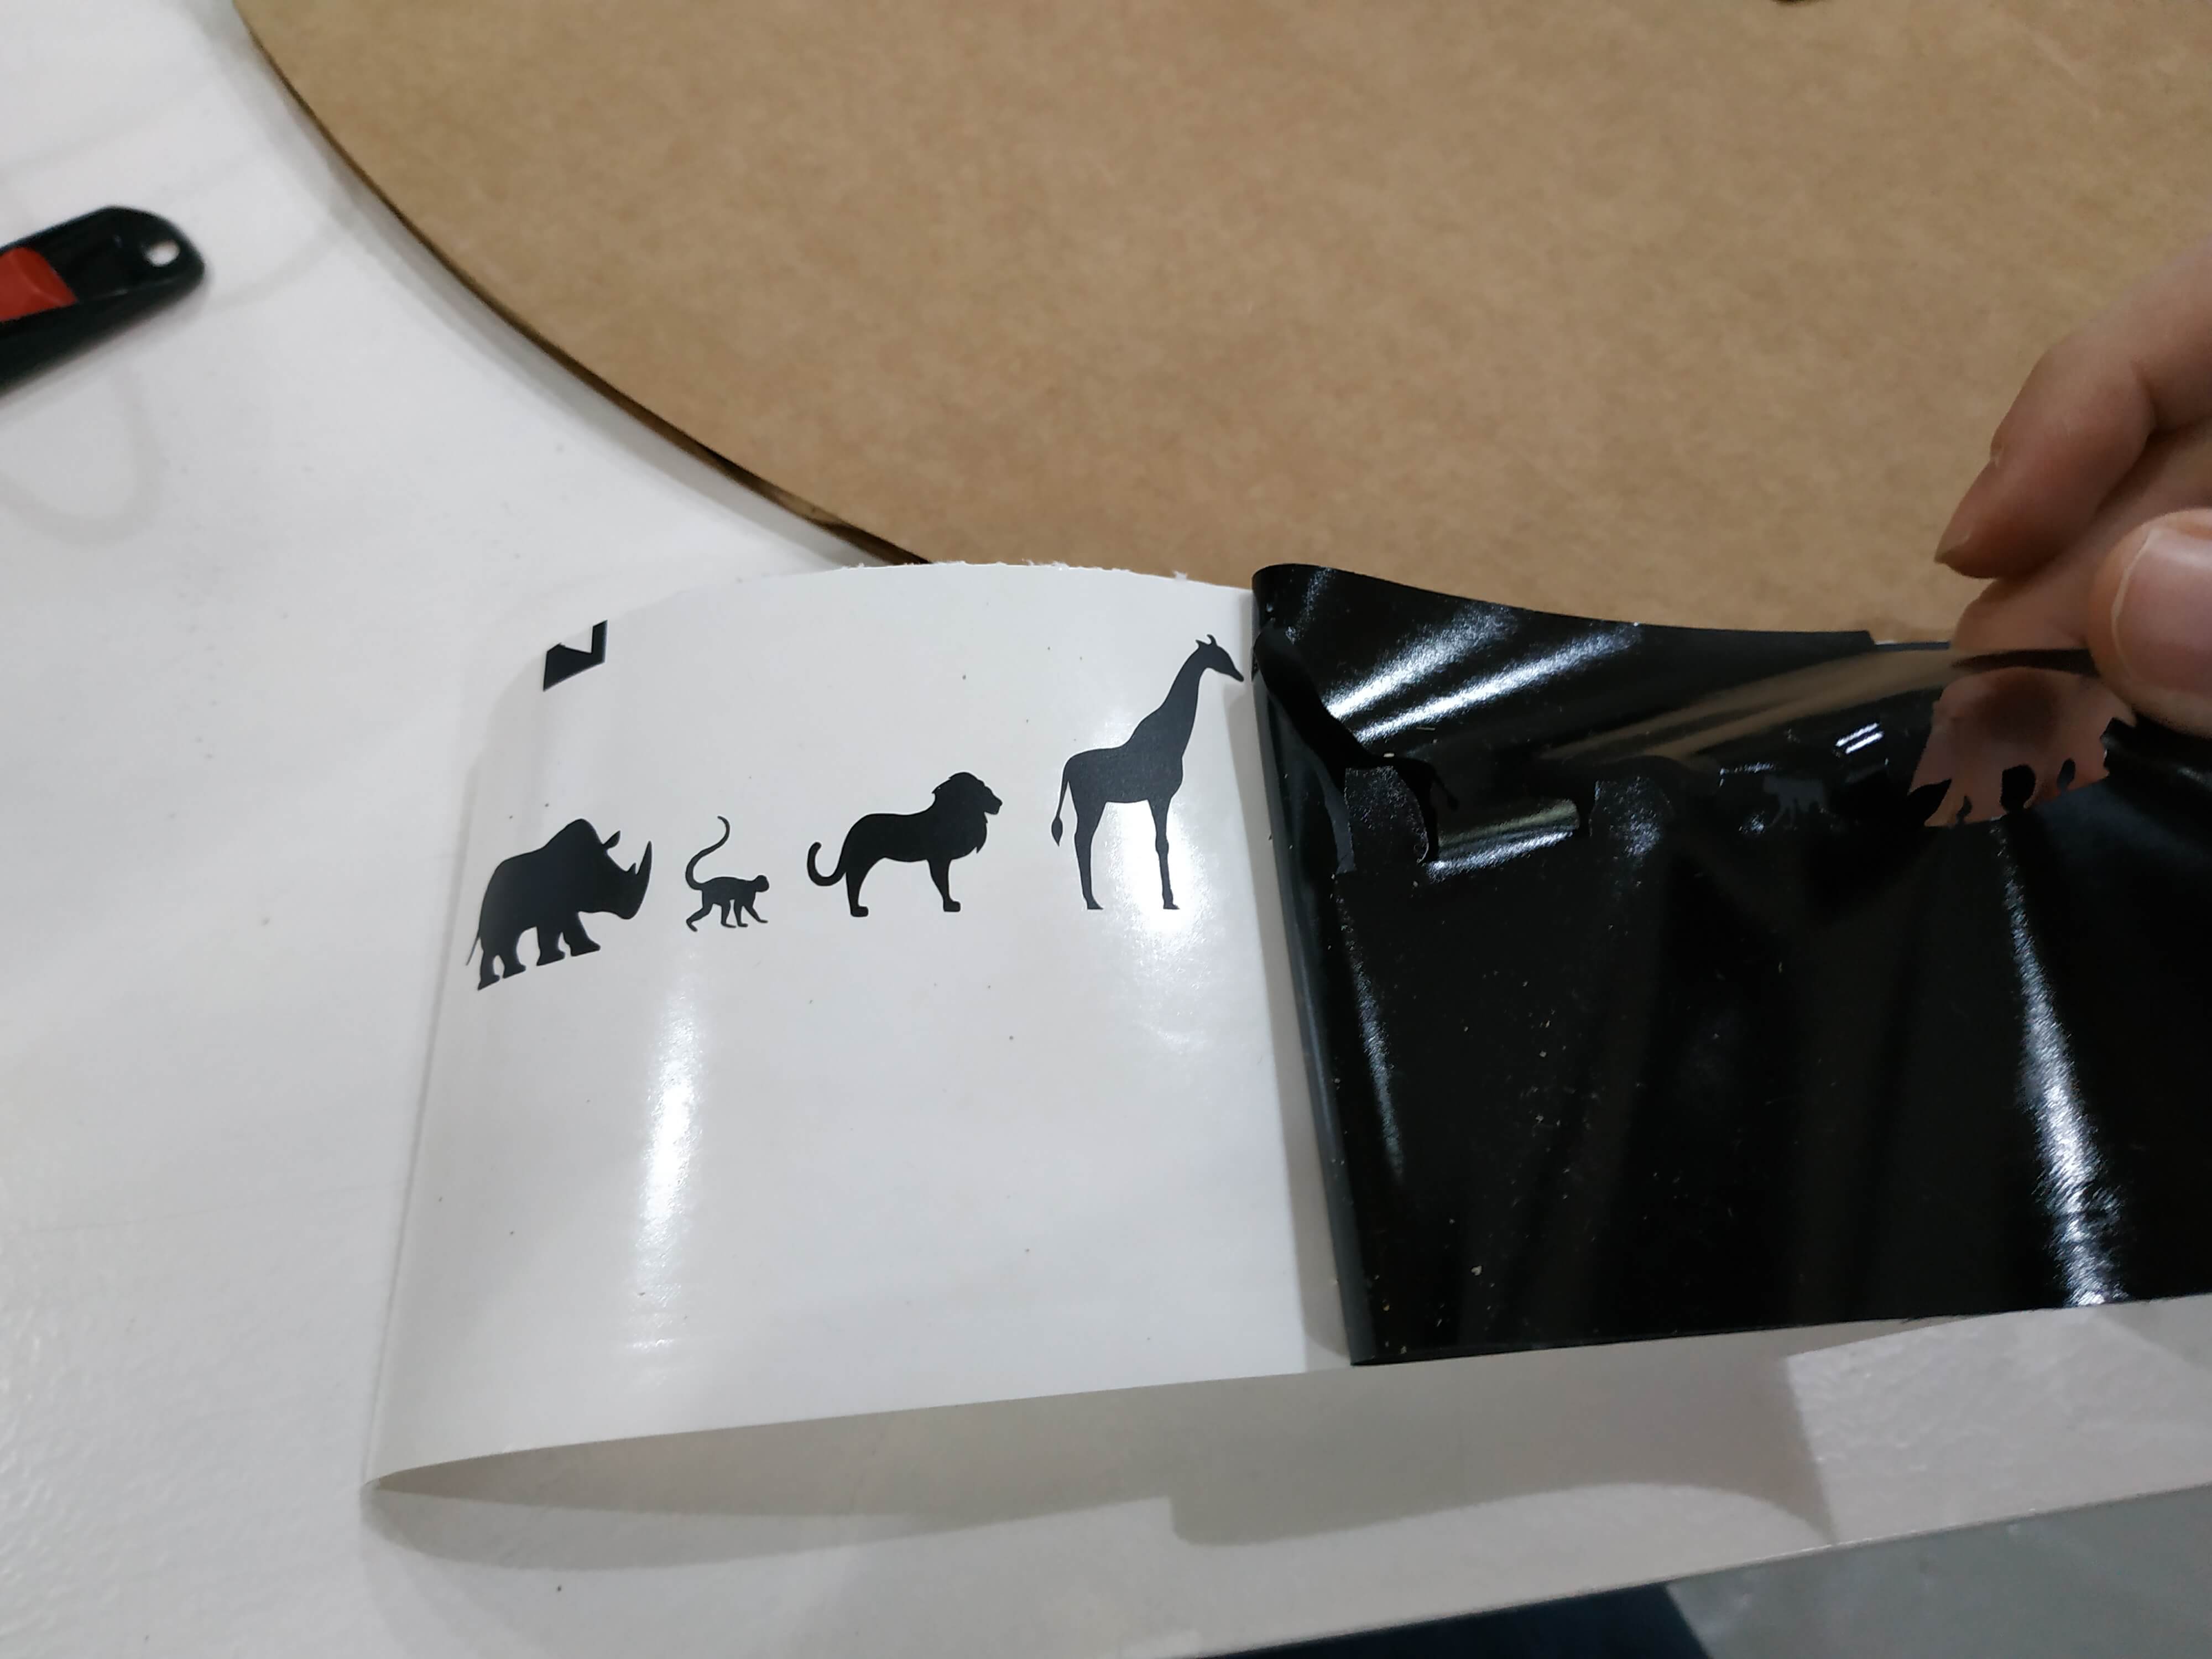
The first thing you want to cut with a vinyl cutter is a sticker, so I decided to cut one for my laptop (I know is the most mainstream thing in the world, but it's cool!). After trying some designs I decided to go for cutting some little stickers with animal shapes and stick them together.

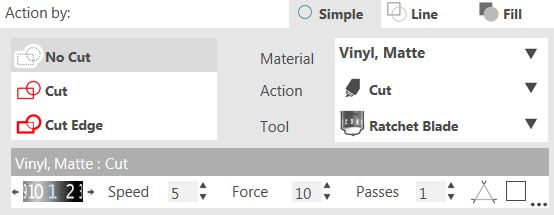
The first step is getting the design, I did it in Inkscape and Adobe Illustrator. Then you have to cut it, so you must adjust the parameters and start cutting. Note that the parameters that you can change are:
- Speed: It is important to configure it looking at the material and the design. If it is a complicated design is better to set a low speed to not peel the paper by error.
- Force: It depends on the material and it's hardness, if you set a too high force it will stick out the vinyl and mess up your design.
- Passes: In most of the cases with one pass it will work fine, but sometimes it could help to ensure that the cut is done.
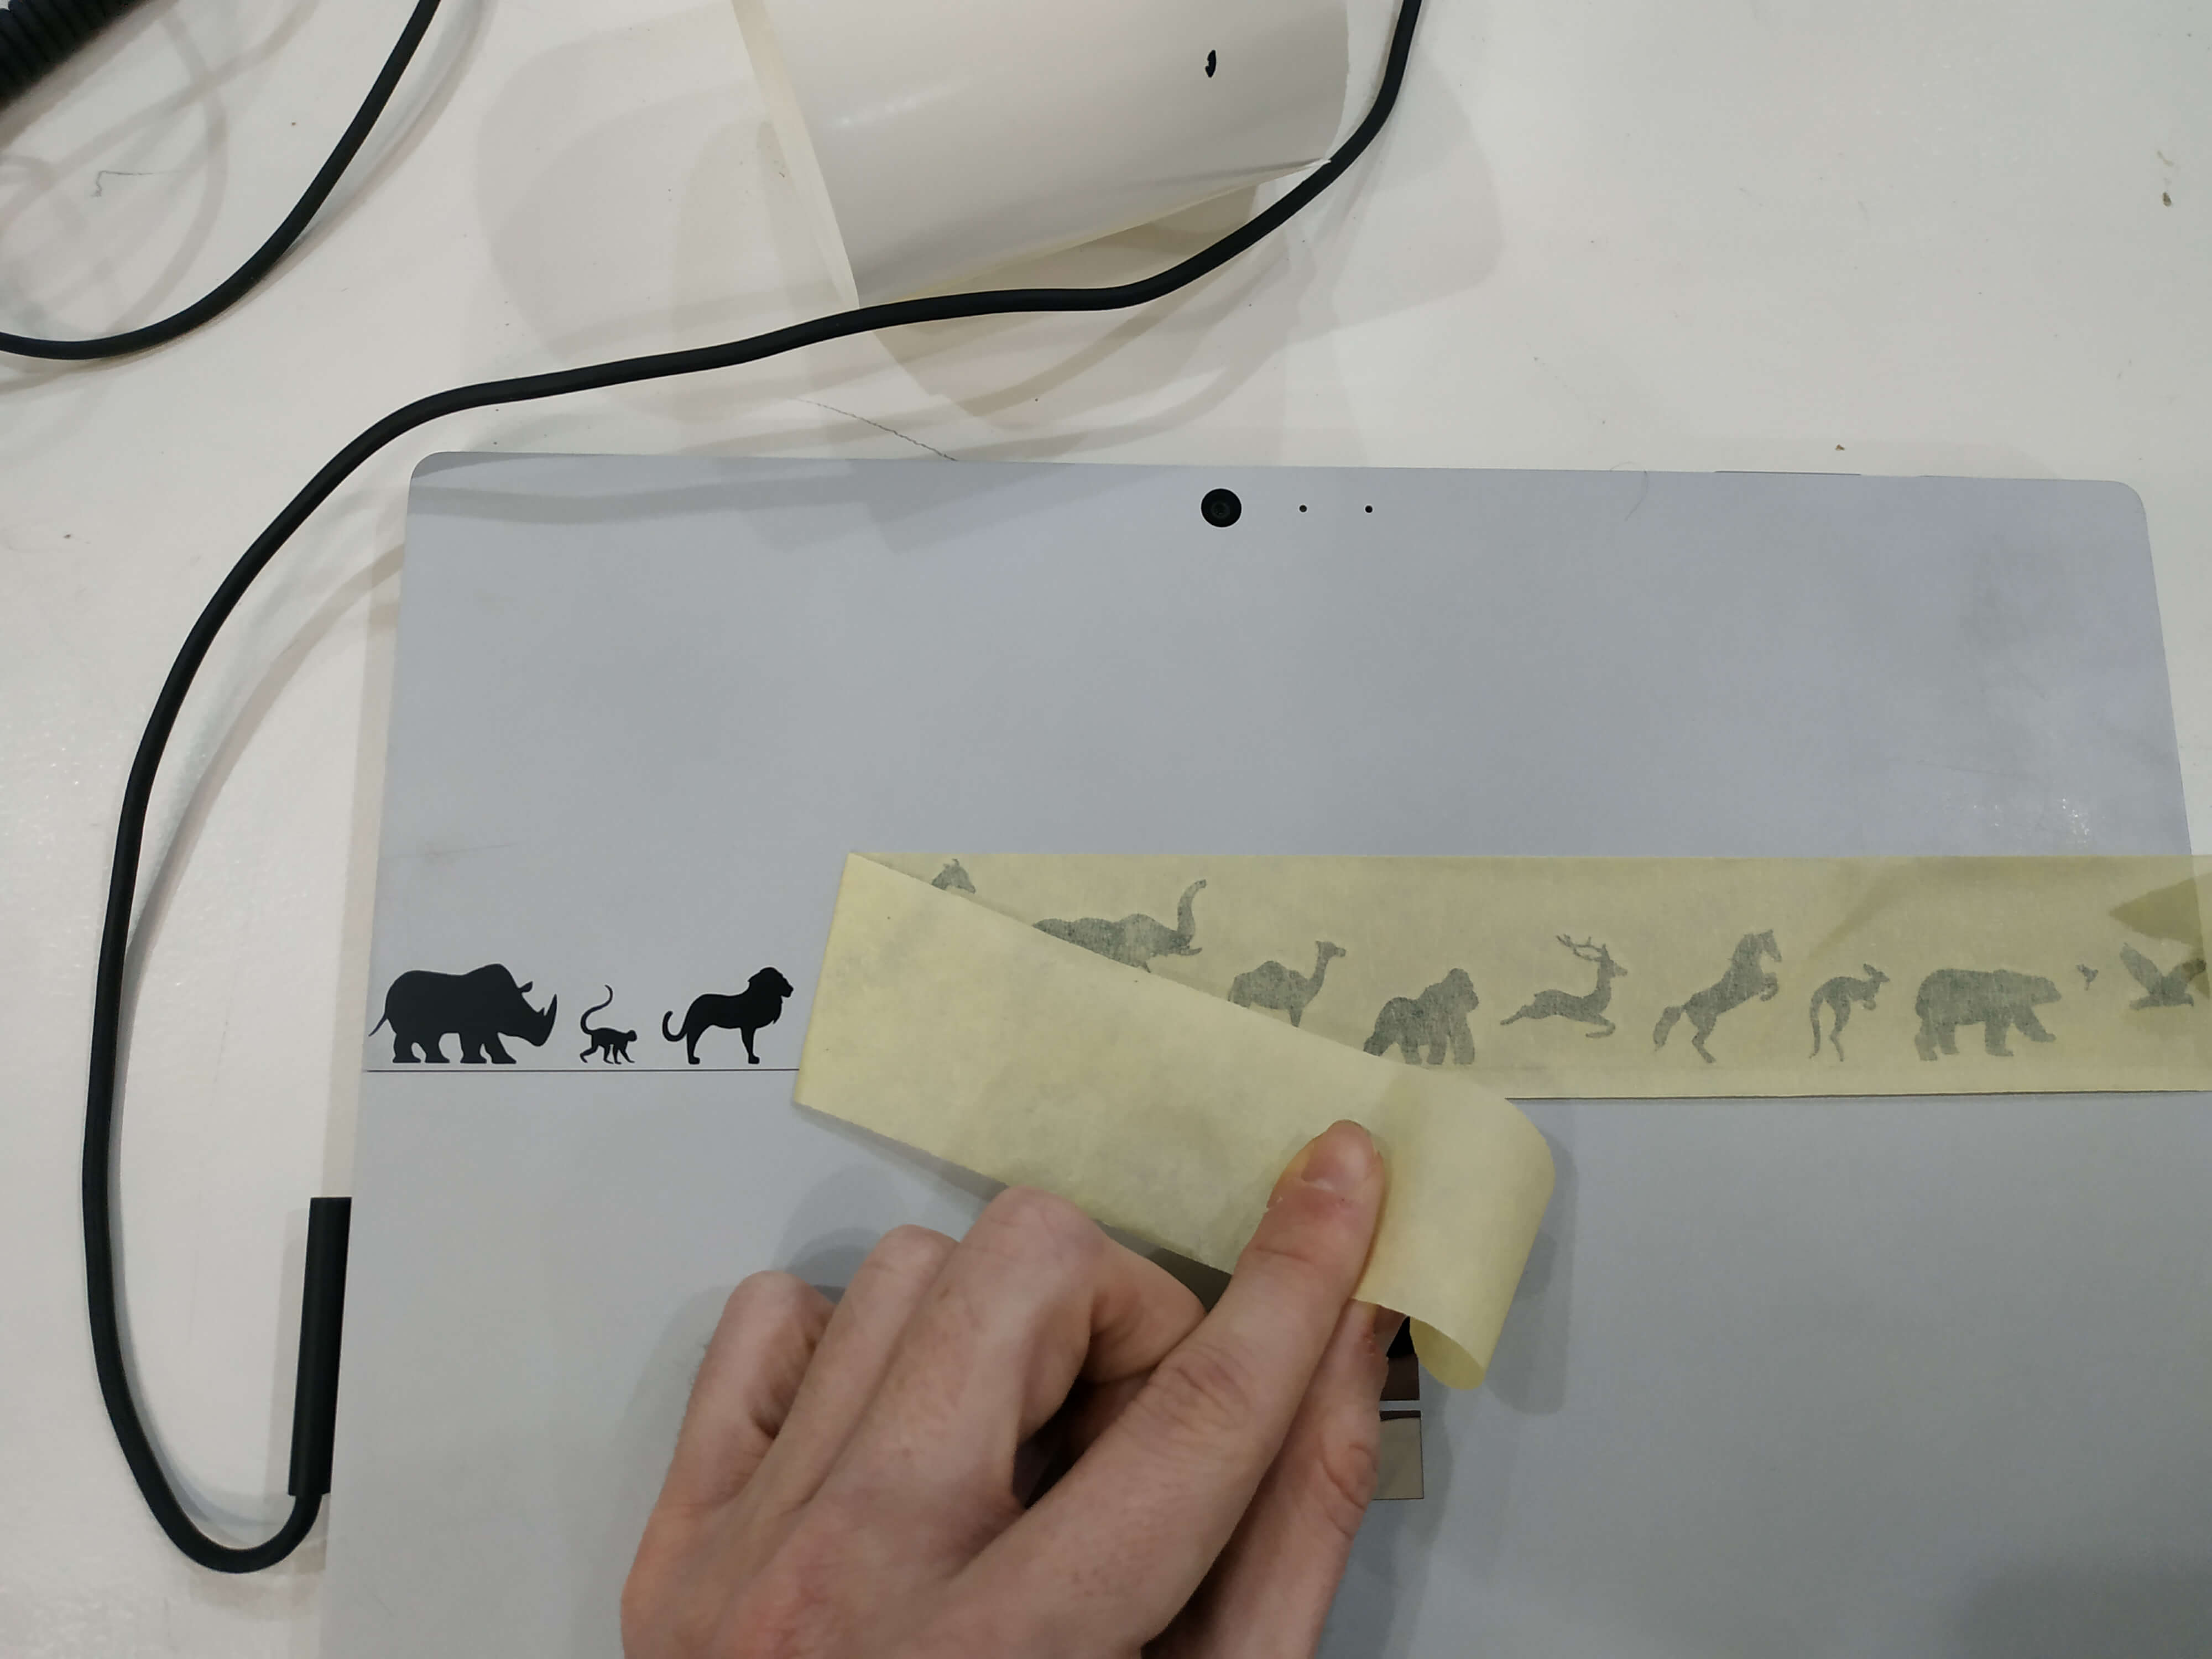
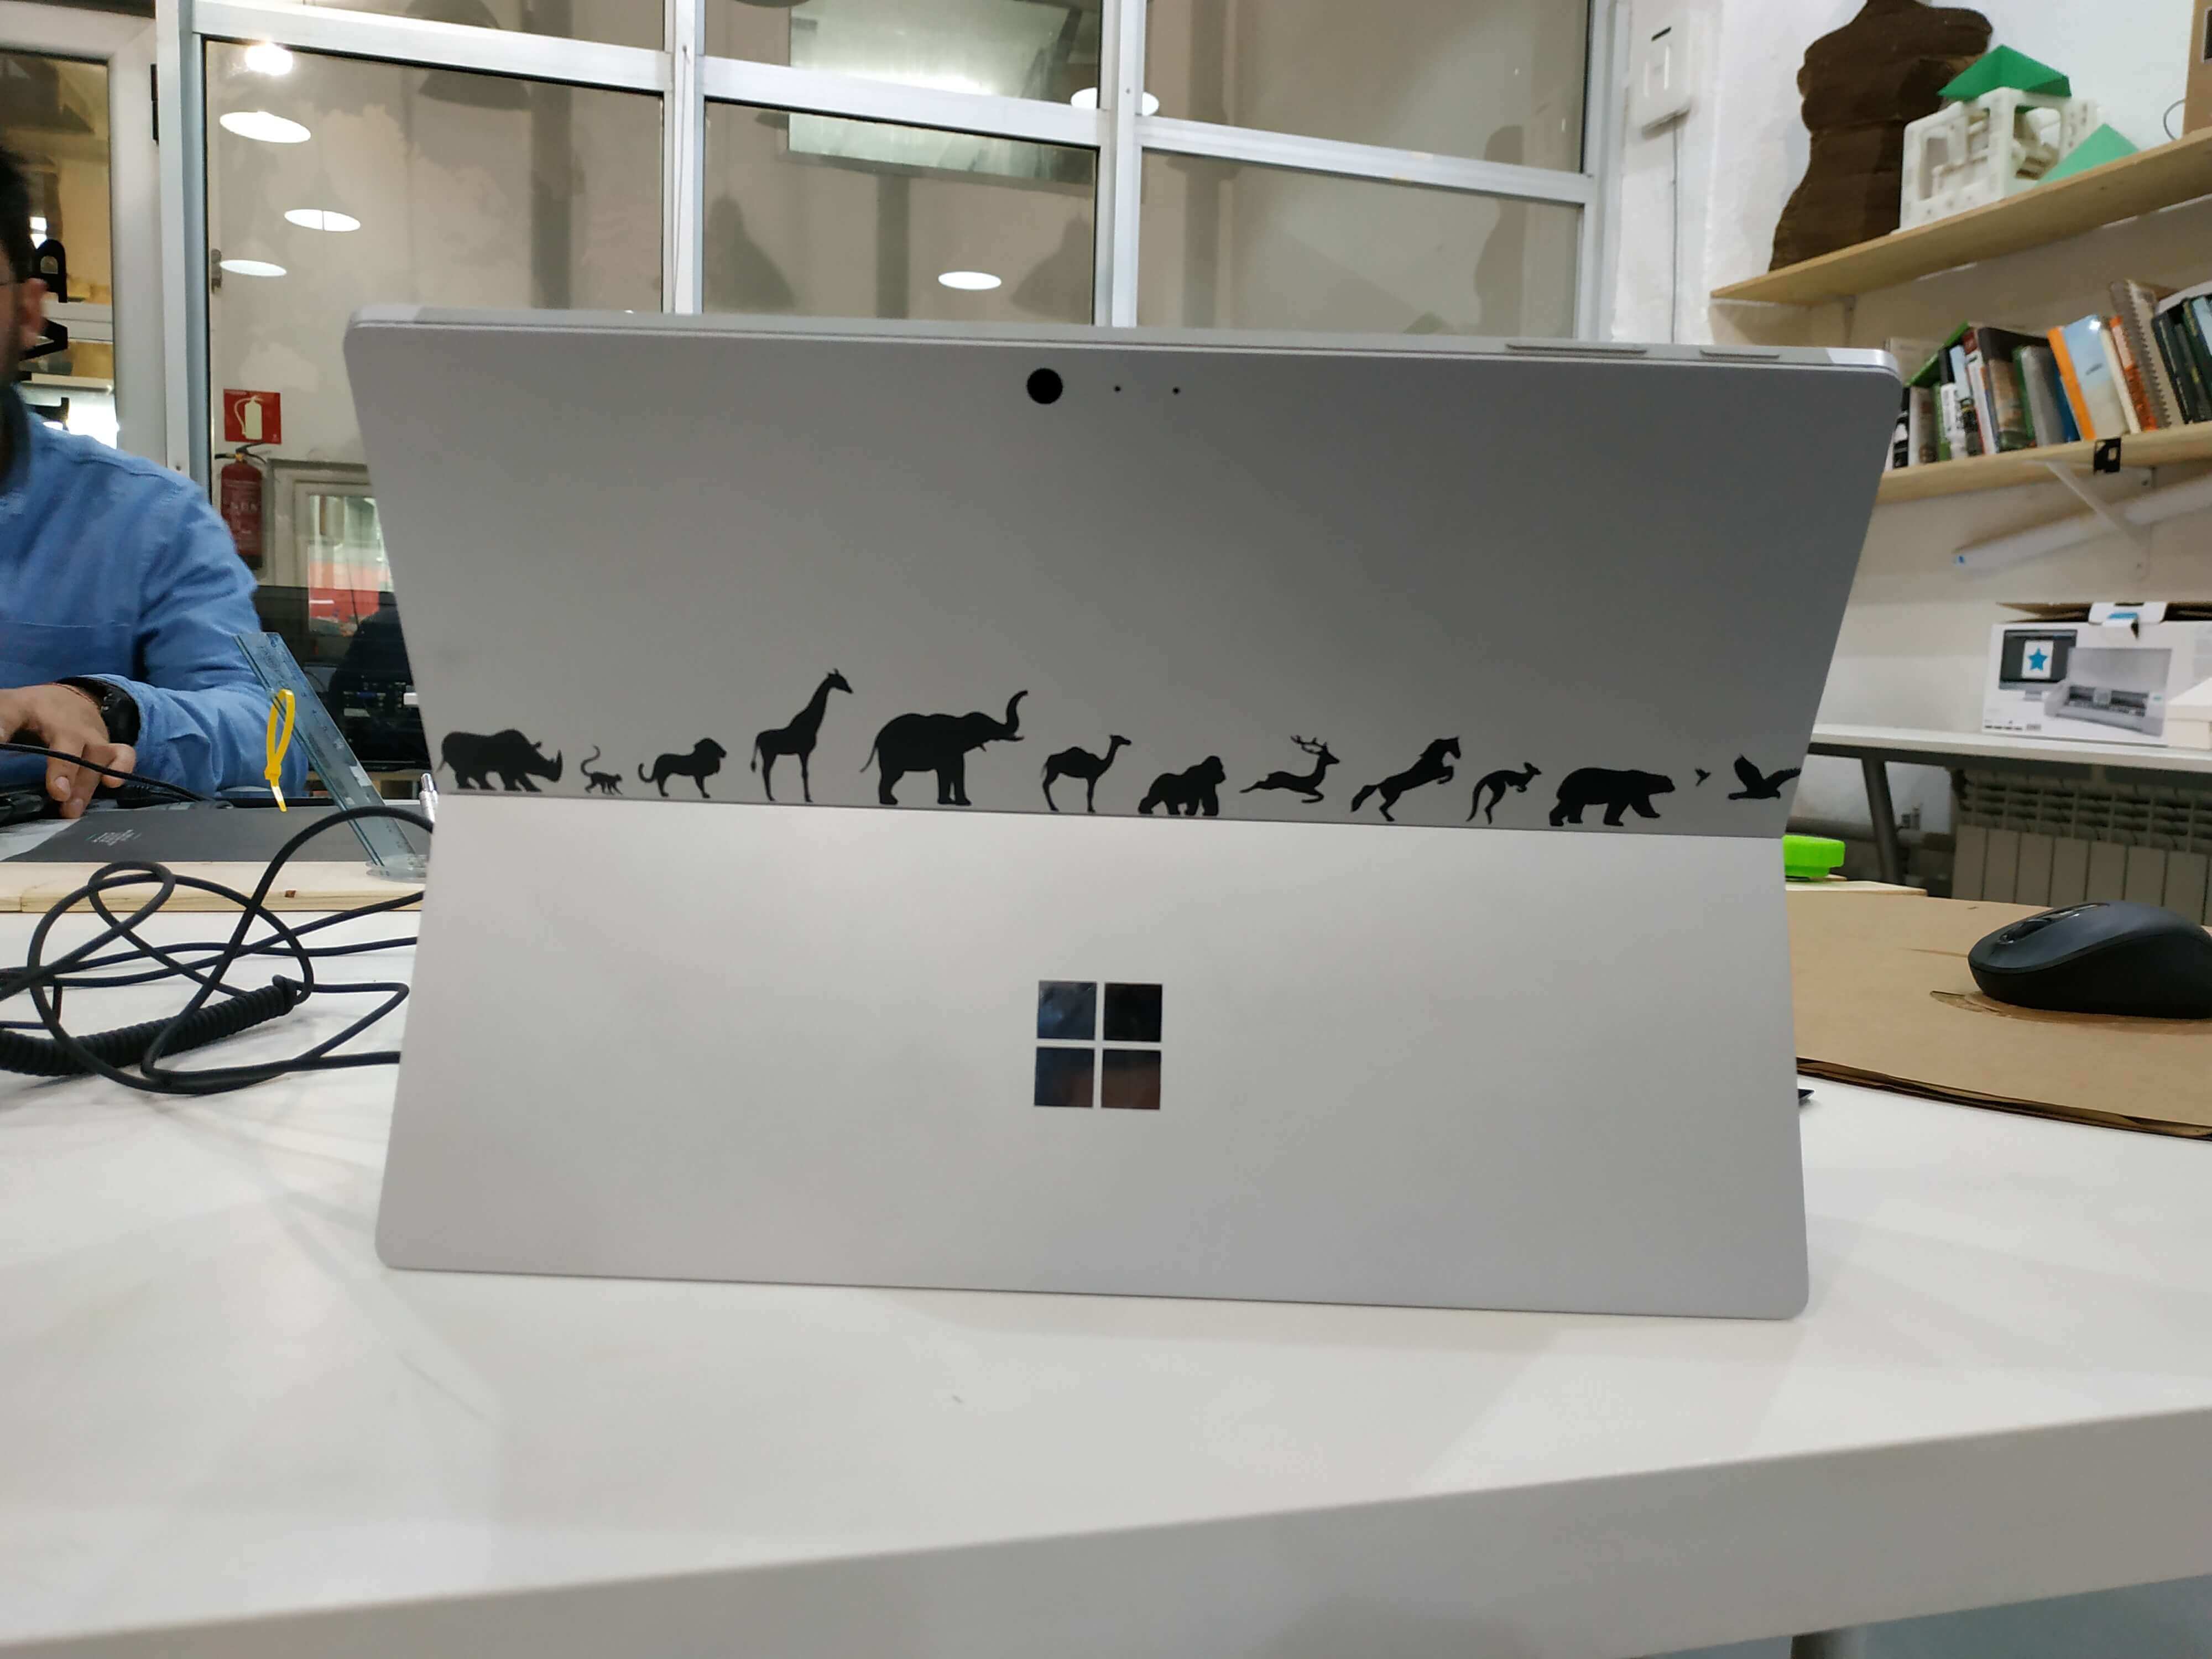
Once it was cut, I needed to pass the sticker from the vinyl paper to the laptop, so I used some paper tape to pass it like you can see in the image. The result was amazing! After the showing my work on the weekly review with Neil, I learned that it would have been better to pass the hole design first and then remove the spare parts instead of using paper tape.
Attention: The only problem I had was the file format. I had to try with all types of formats to read them with the machine, and finally found that the best one of our machines was DXF 2004.
PCB making with the vinyl cutter
During the Inputs week I decided to try to vinyl cut a PCB again after the failure of Week 04. This time I suceed with it, so here I will show how I did it with more detail.
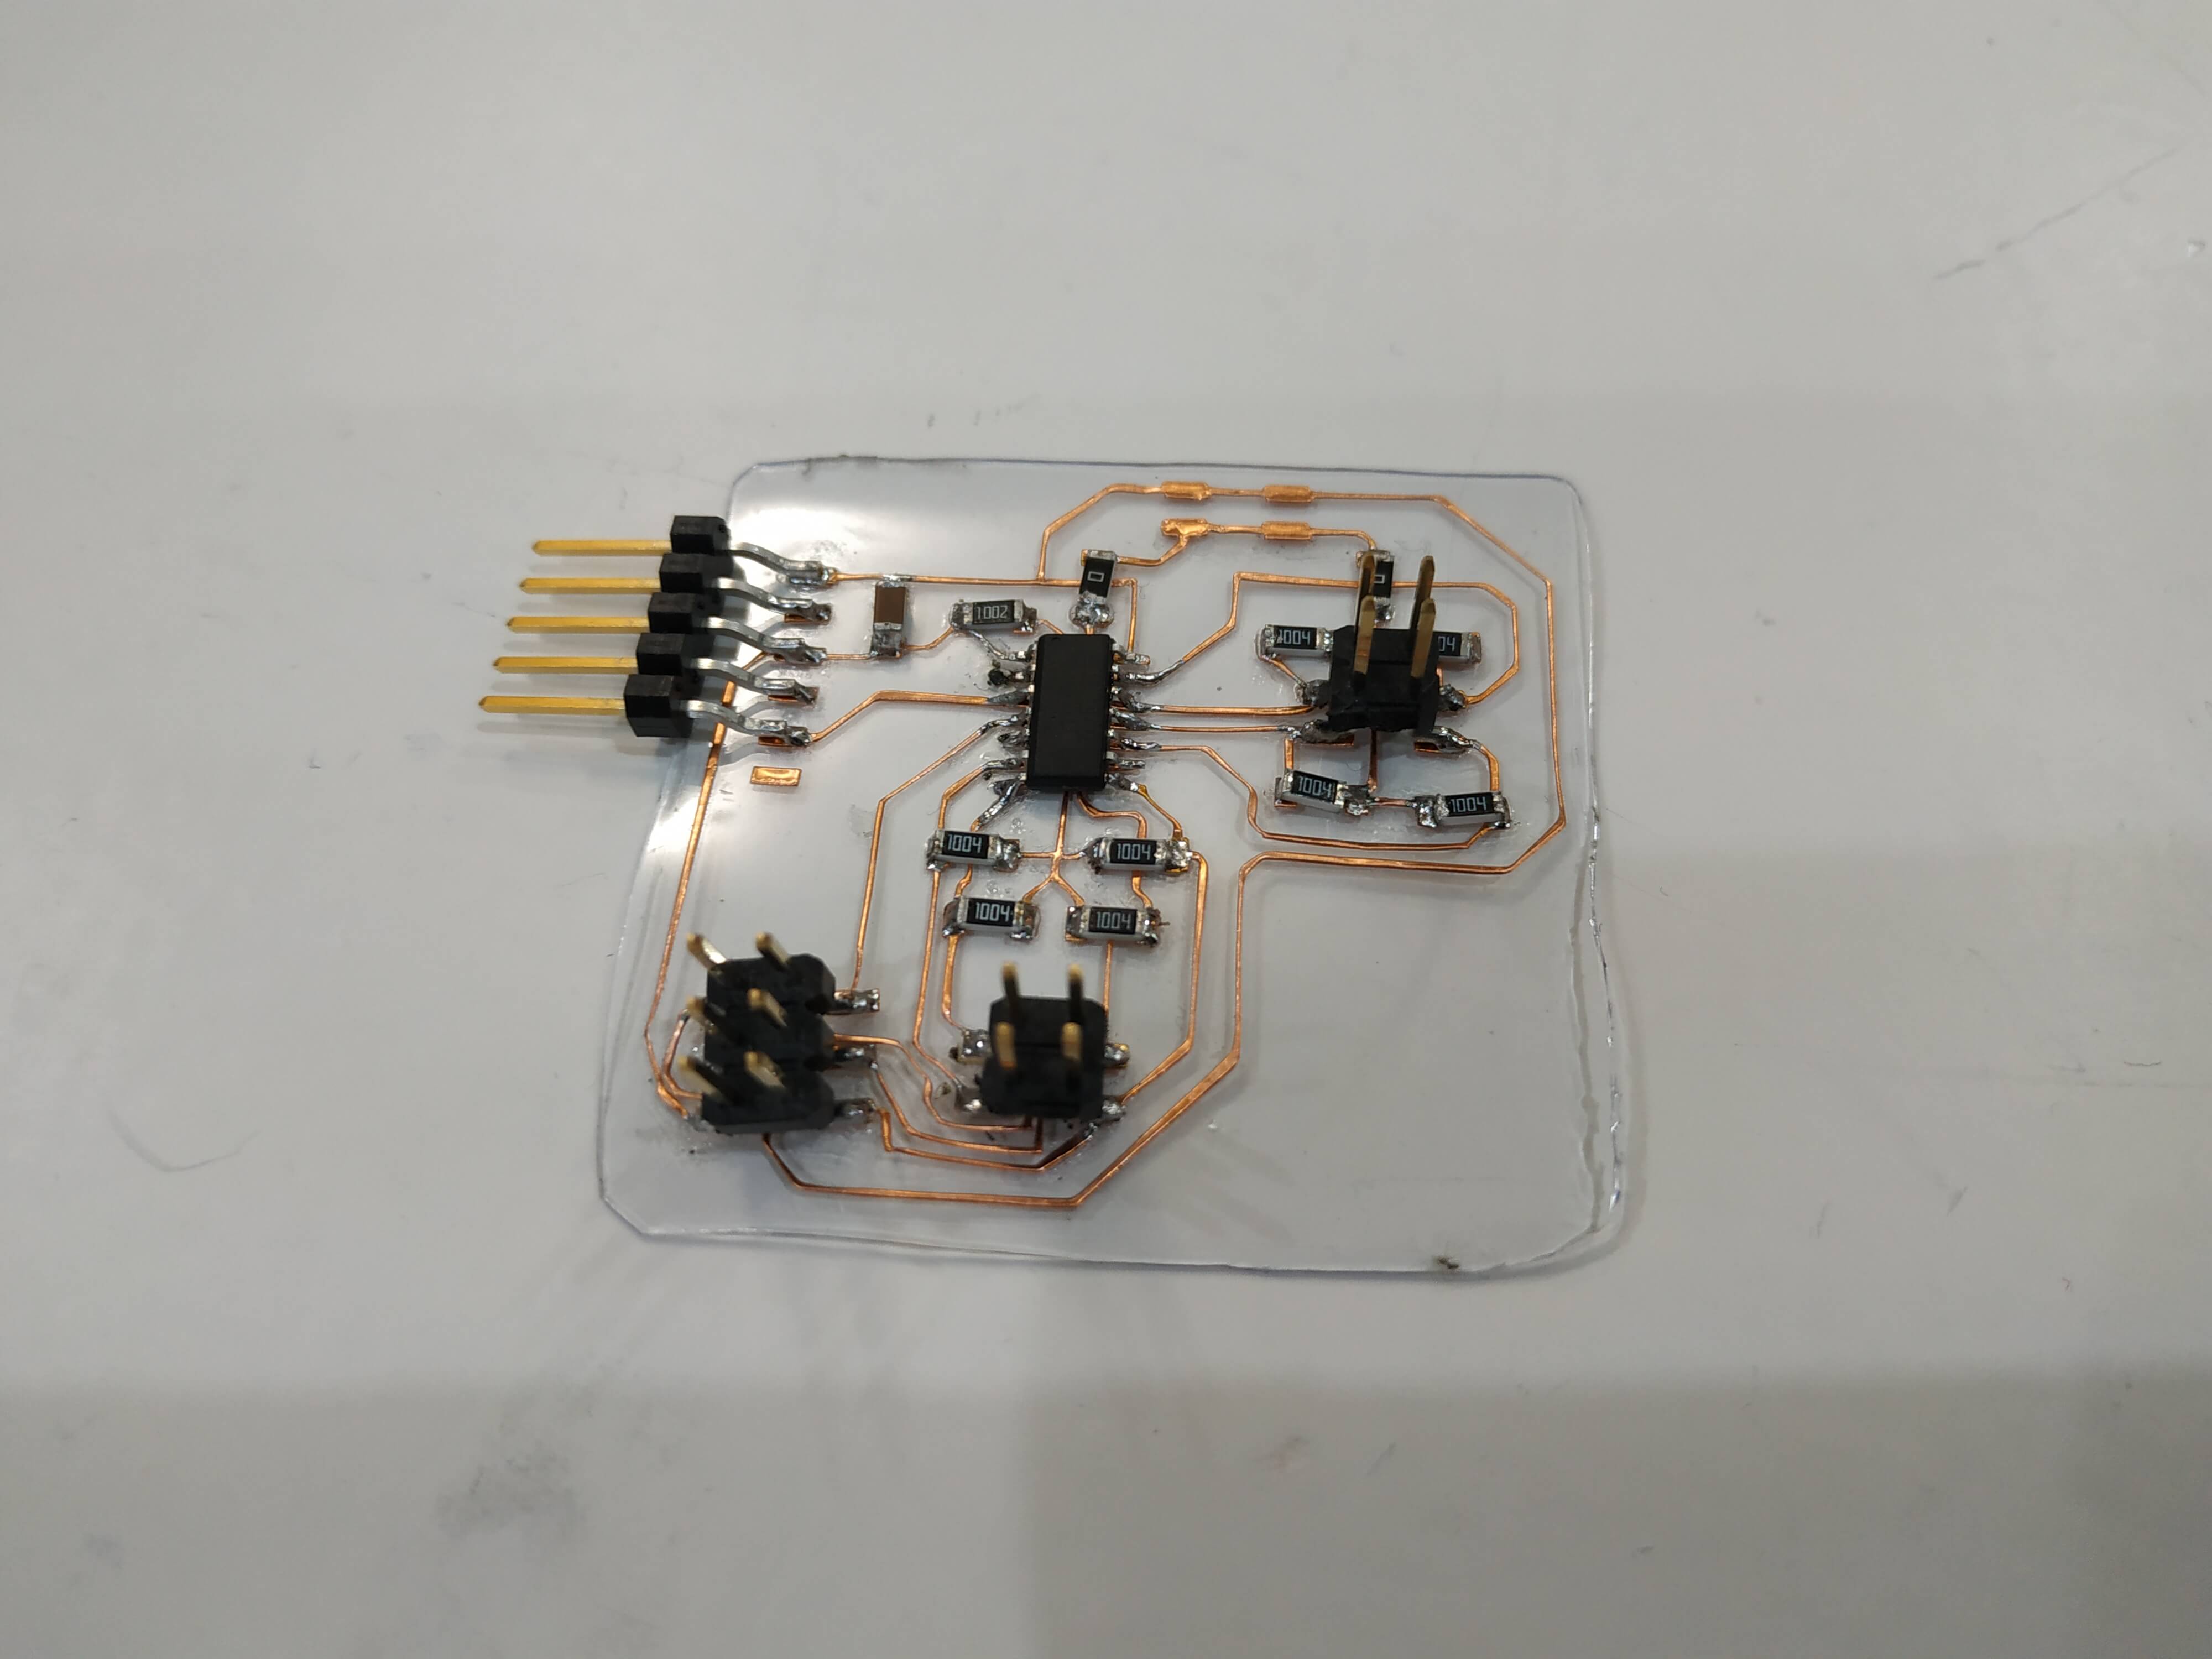
The problem I detected was that the vinyl cooper was really easy to peel of the paper, so I stick the cooper first to a piece of flexible plastic. This helps to get the cooper sticked and to make it much more easy to cut. SOme tests are needed, but the trick is to speed it down to esure that it cuts fine. The result was really good! Here it is a photo with a circuit soldered on it.
Laser Cutter
It was also the first time I used a laser cutter machine, and I totally fell in love with it. I had so many struggles in the past trying to cut small wood pieces for fun and making my designs, and the laser machine was the solutions to all my problems.
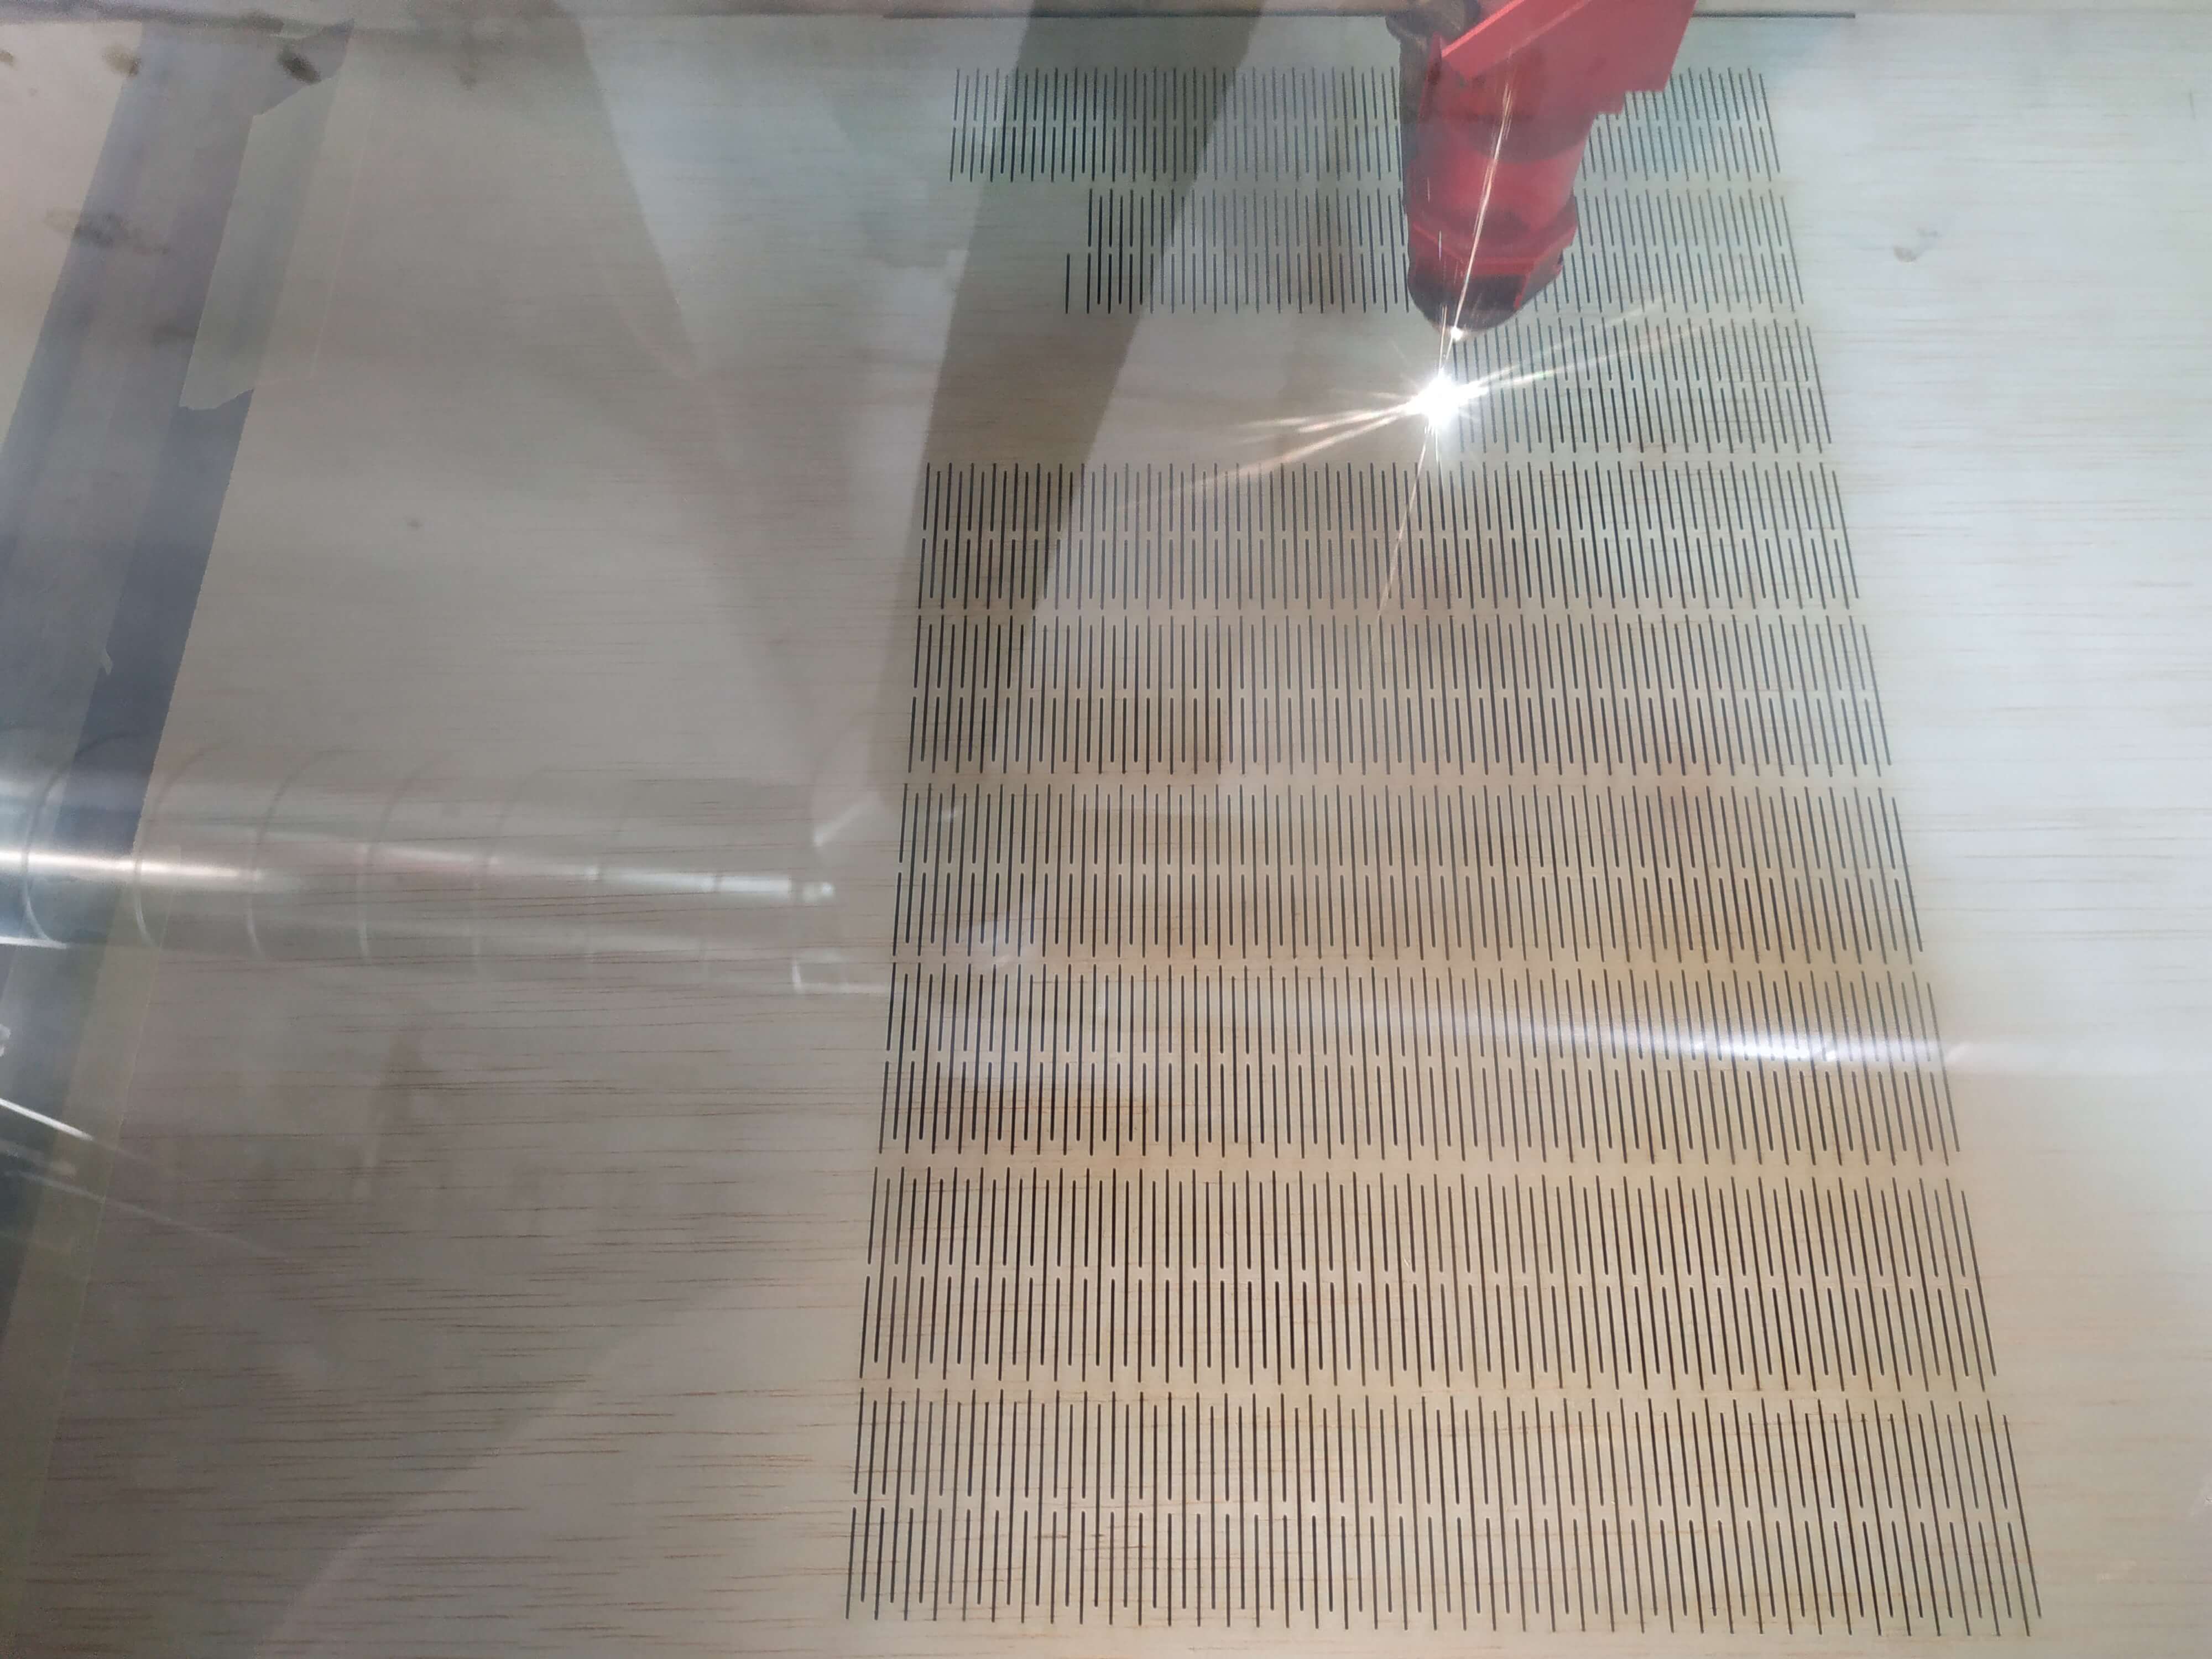
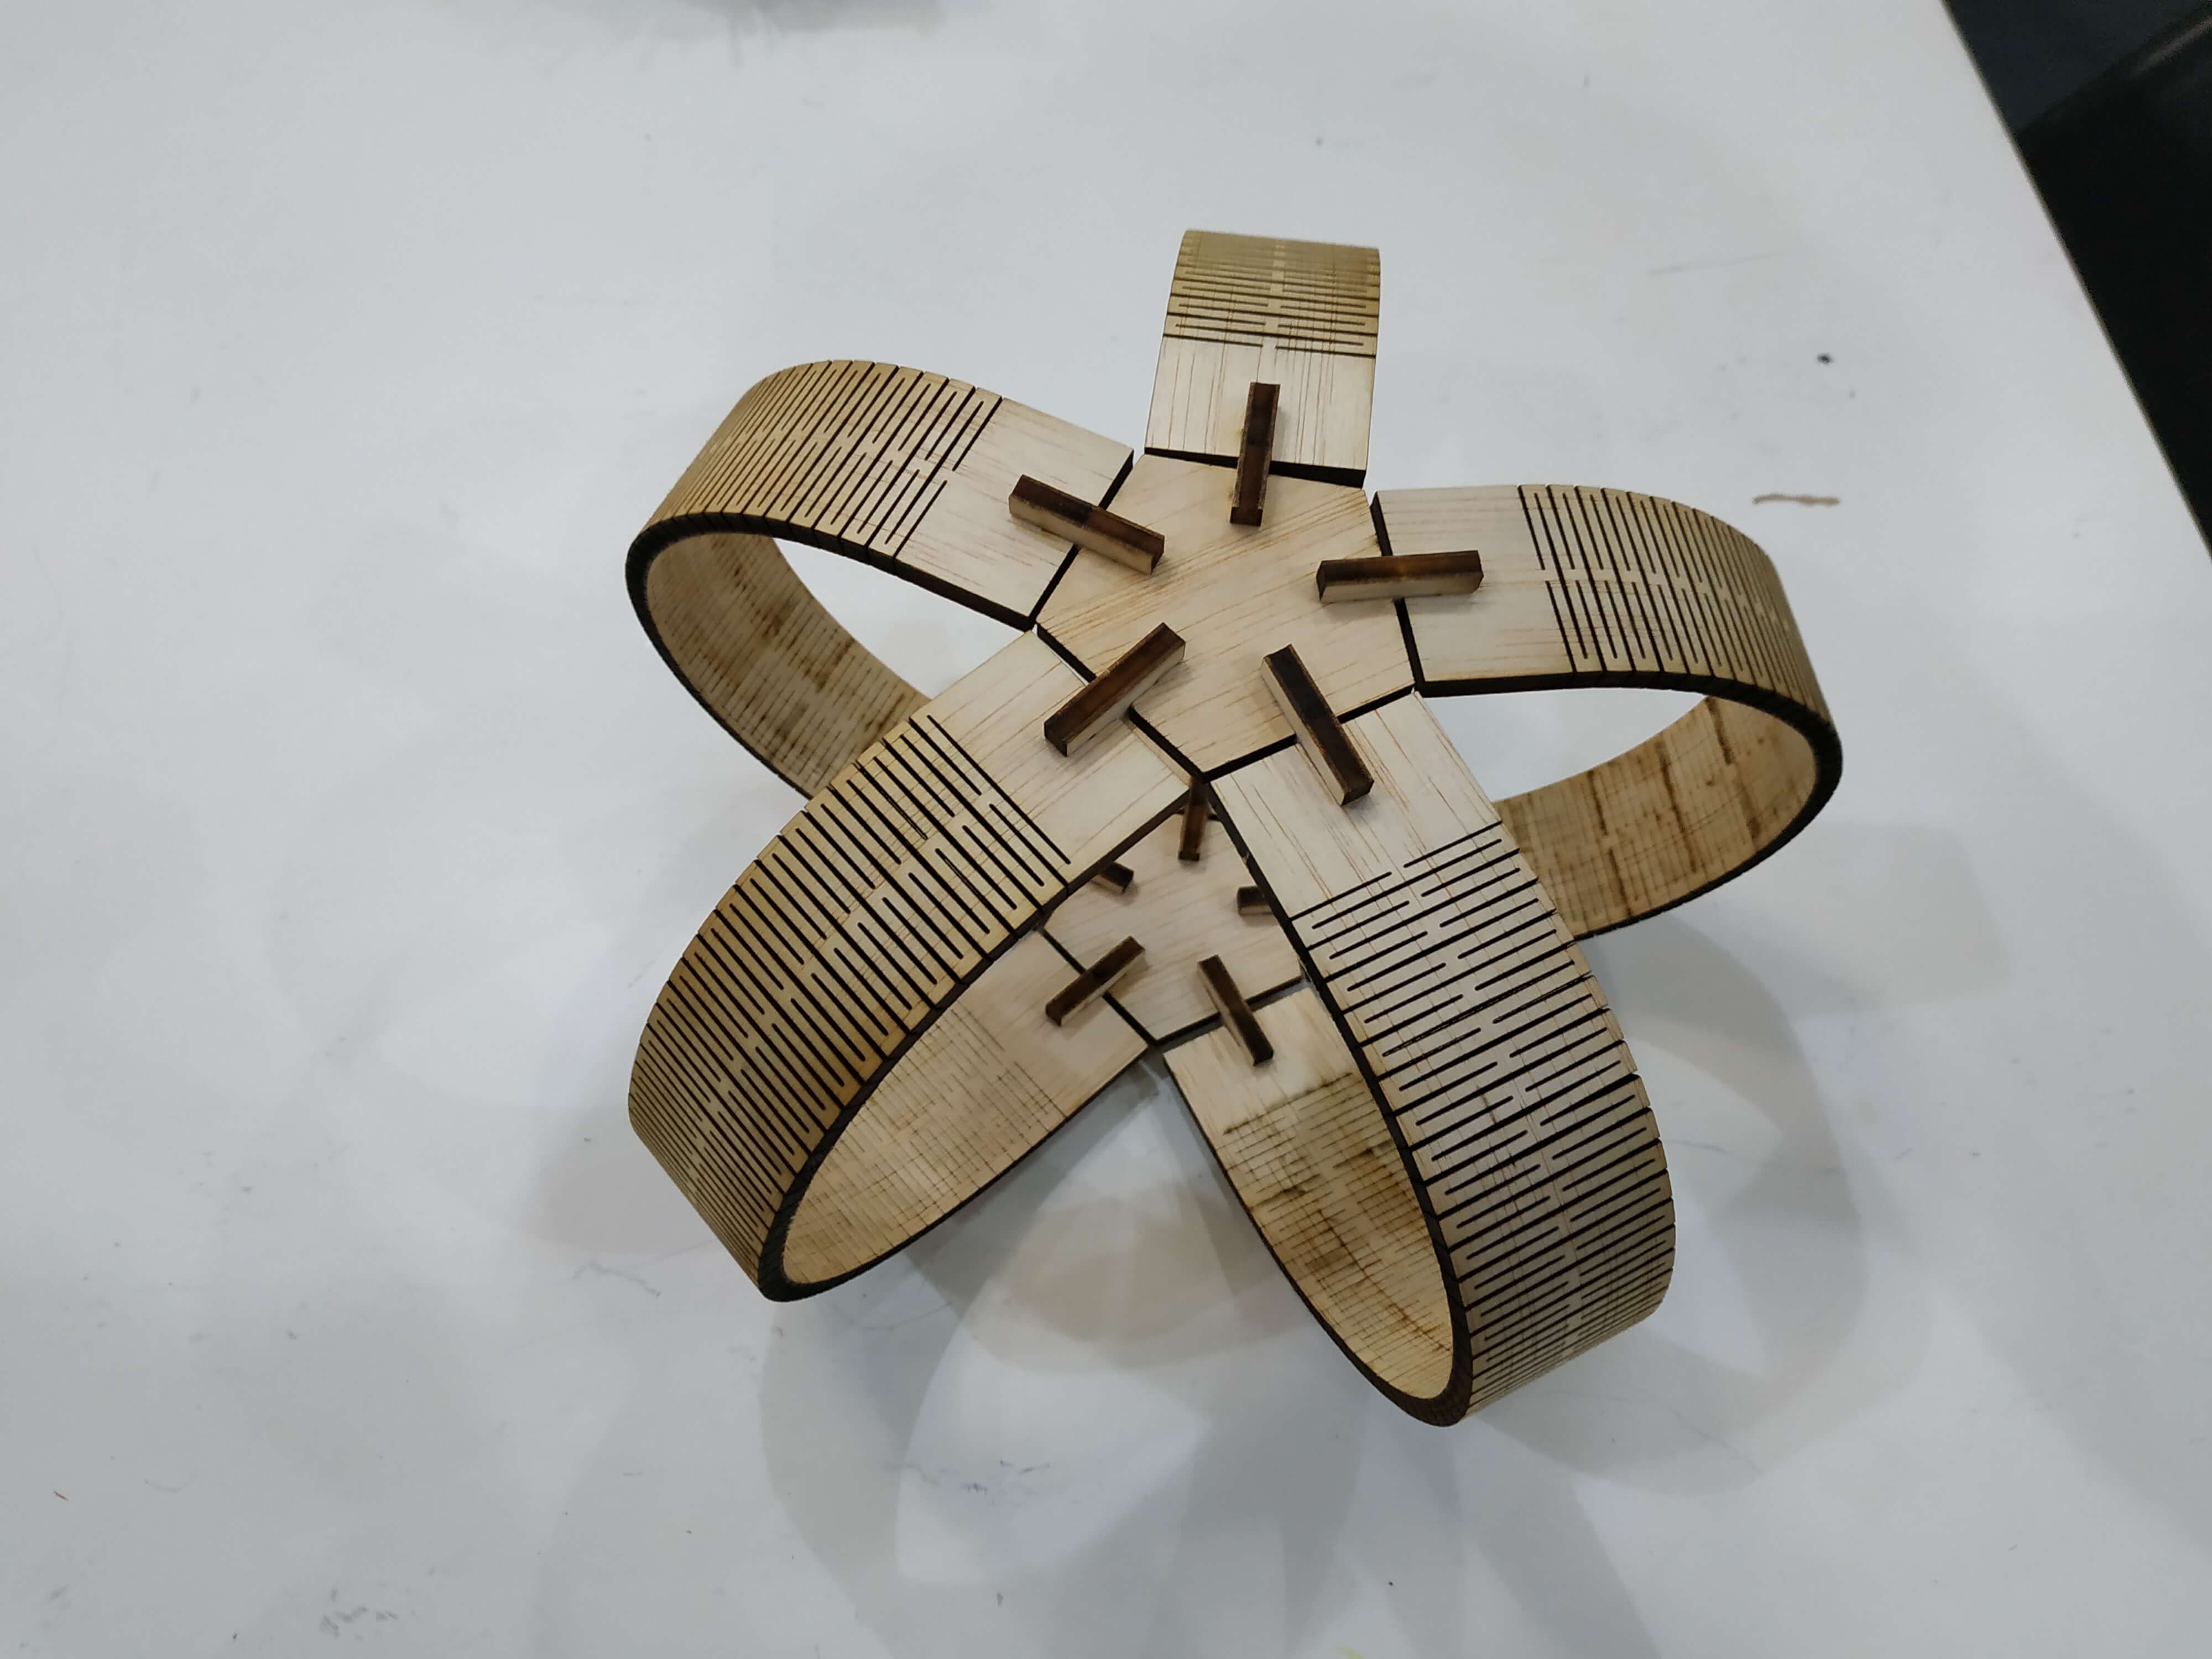
In the lab we have 3 machines, but I keep using the Trotec 400 where we did the tests. I fell in love with living hinges, so I decided to do a press kit with them. My idea was to create a bouncing ball, so I designed some living hinge strips and a piece to join them together.
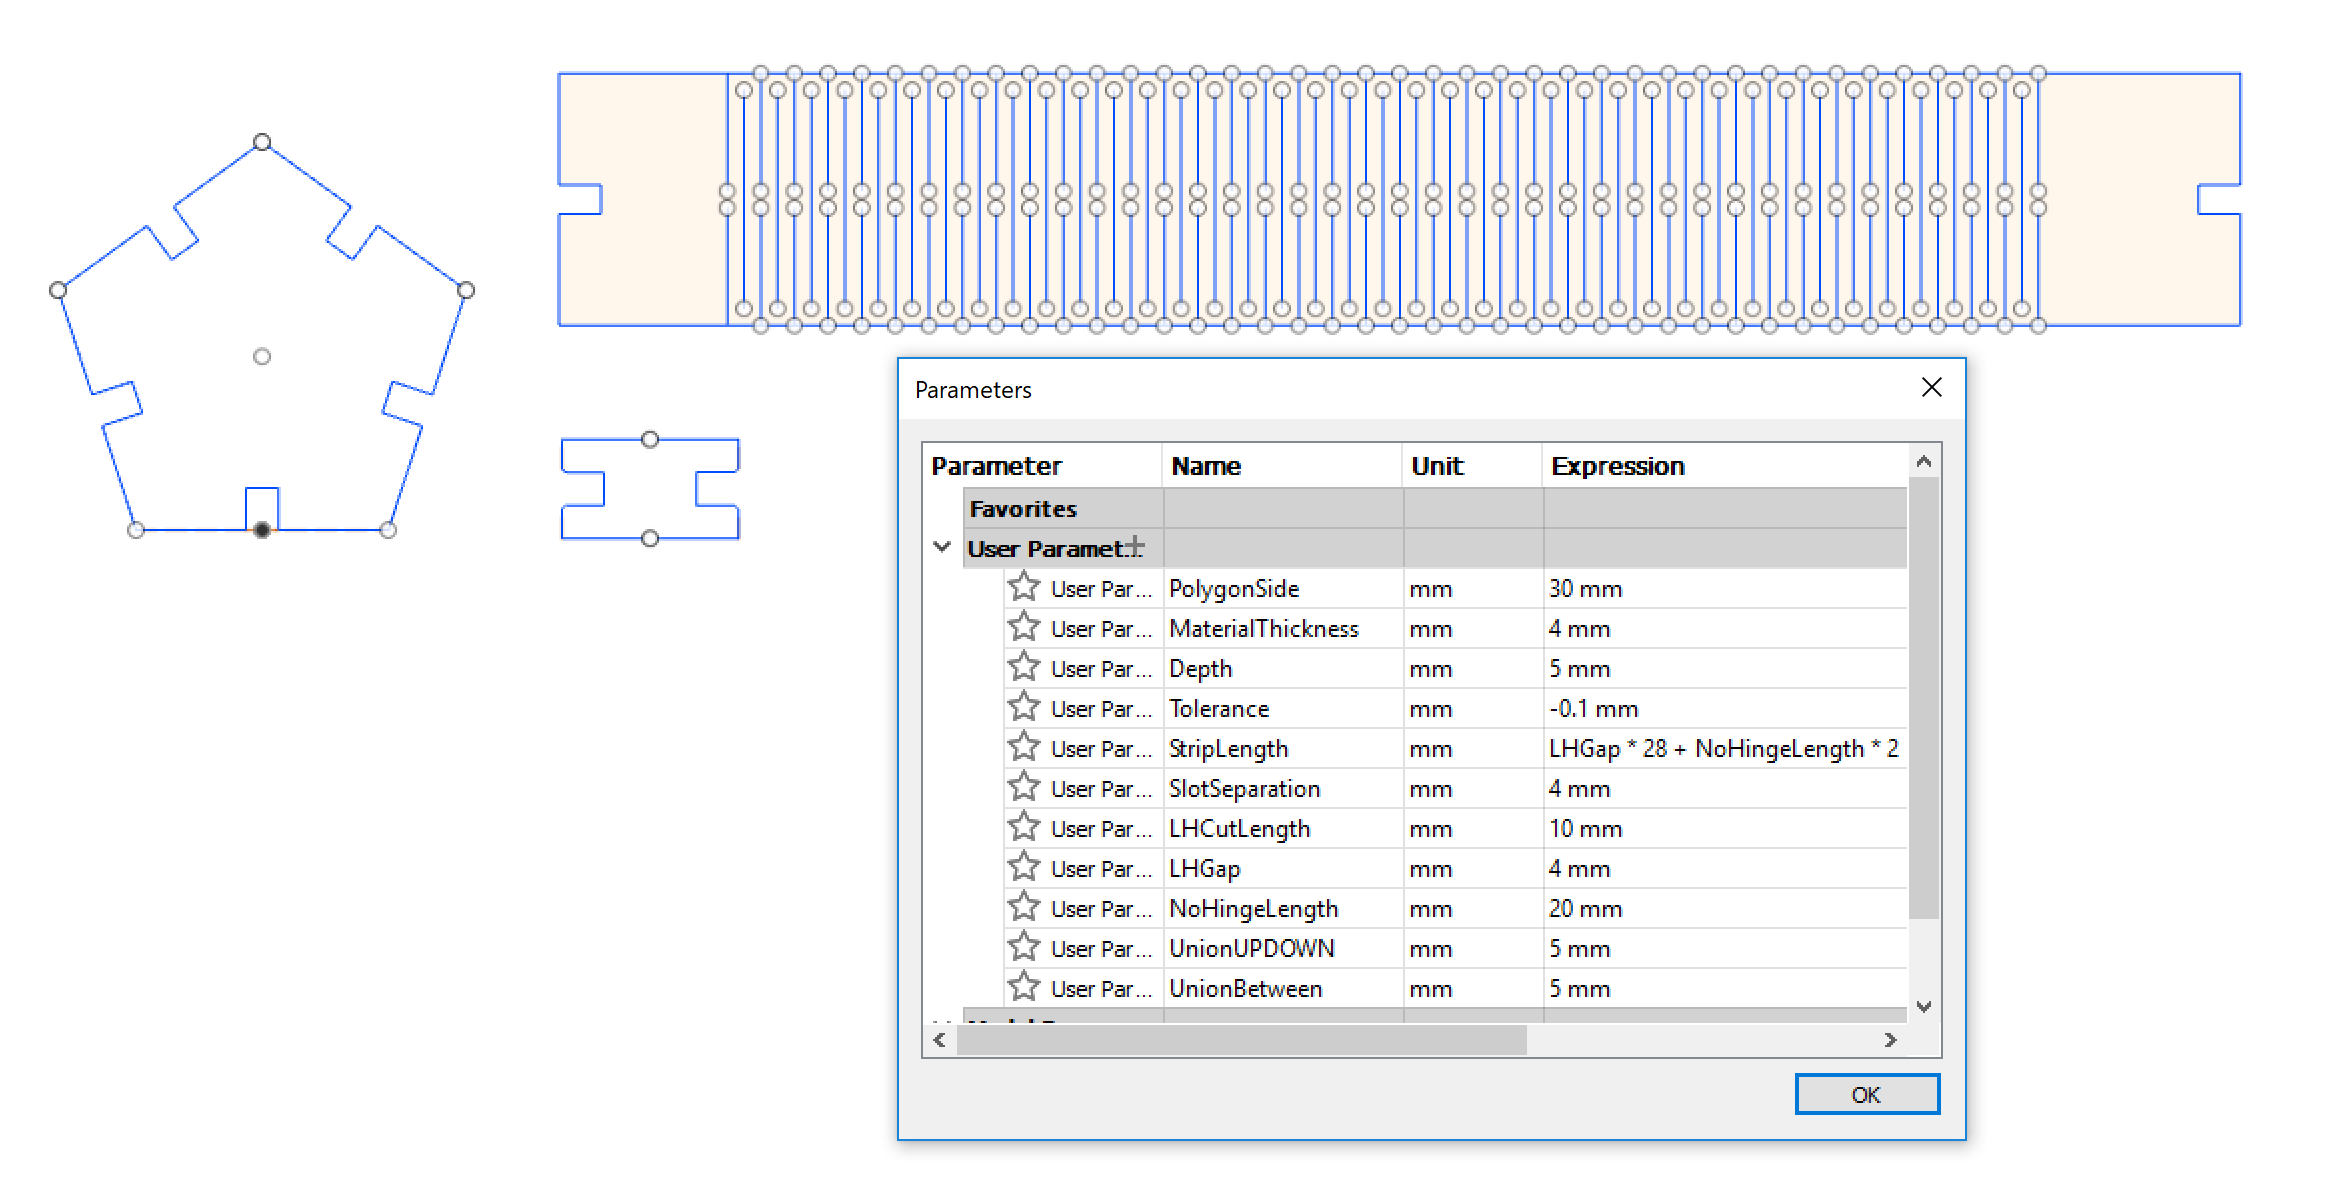
To make the design I used Fusion 360. It is very important to do a Parametric Design, because you do not know the exact tolerance and changing it with only one number is really useful. A parametric design is a design based on the defenition of the parameters. Then it is all mathematical, so if you wanted to change your design is as simple as changing those numbers. It is really usefull to adjust tolerances, but you have to be really carefull. I did all the design paramaetric, so all the dimesnions where parameters, but I did a mistake, and I regret it afterwards... I did some simetry with fusion and the mesurments weren't saved, so I had to sand some joints. Also be carefull, because if there are a lot of parameters fusion can show some errors and collapse.
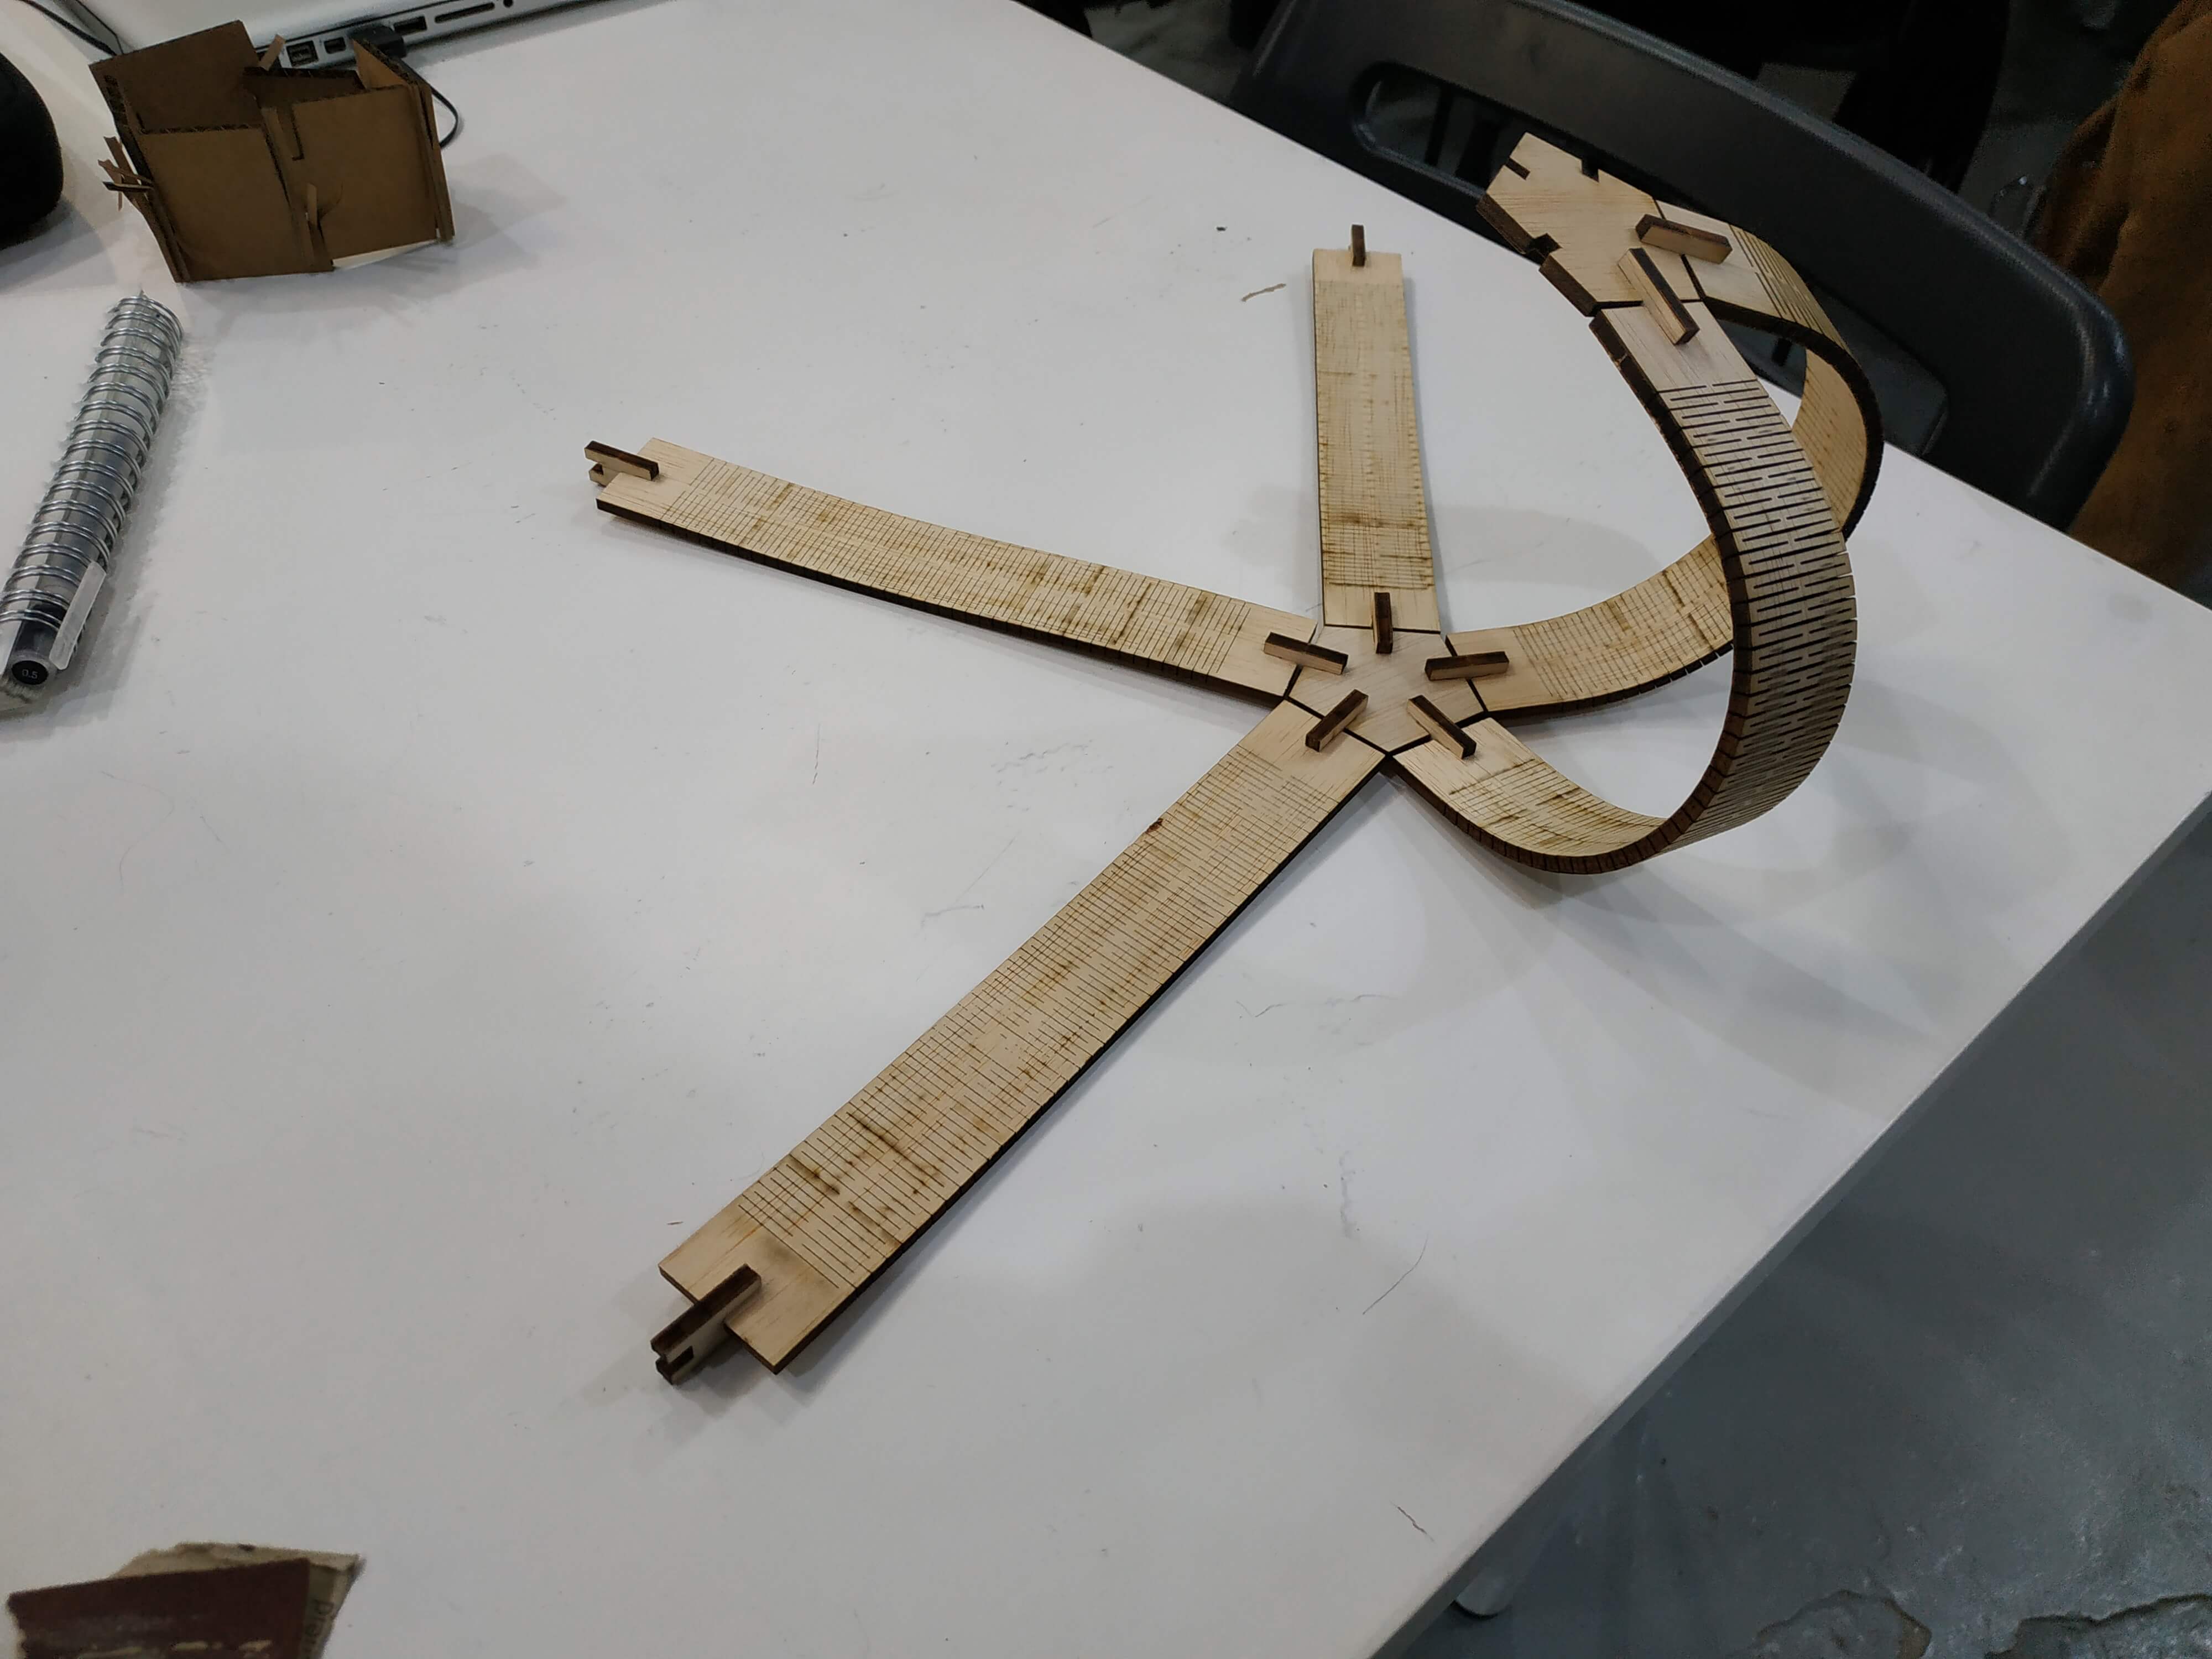
The design was made of 3 pieces, a living hinge strip, the base and a joint between them. The idea is that the strips join one base per each side creating a wood ball, and thanks to it flexibility it can bounce in one direction.
With the full design, I to test the laser cutter with my piece of wood to see which are the best parameters of my design. I did also a Kerf Test to know the exact tolerance. Finally the settings I used were 75 power, 0.8 speed and 1000 PPI and 80 power for the living hinge cuts to ensure the cut. The result was really good besides of the little sand I needed to make in a side of the strips. This is the finall result:
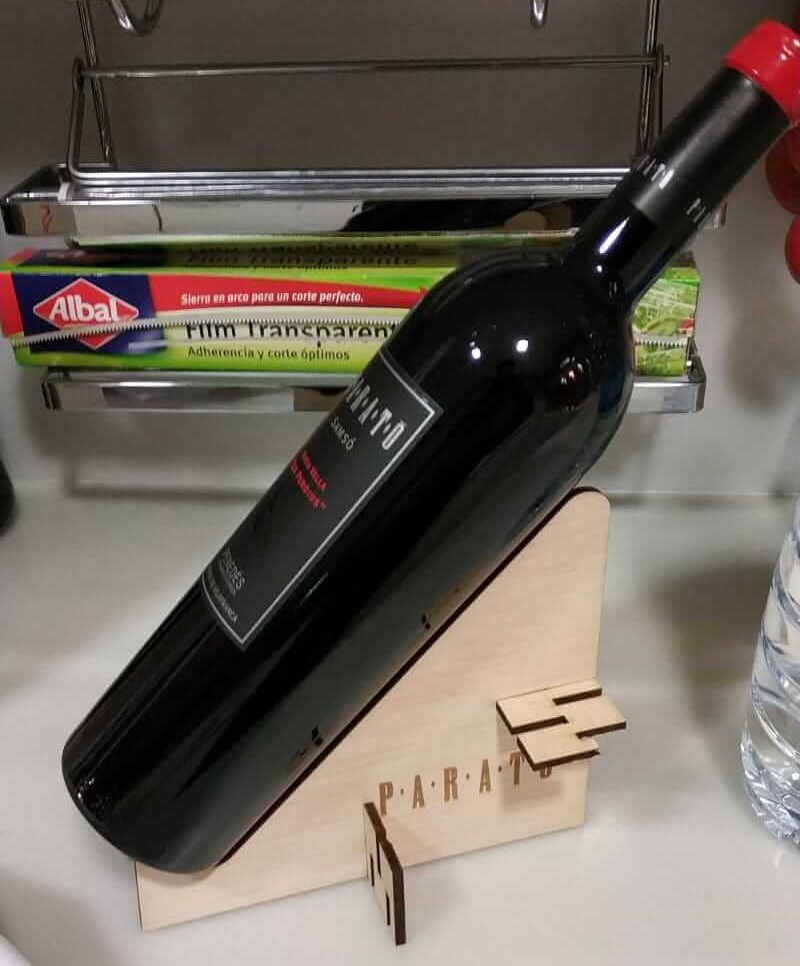
After the press kit, I decided to try to cut the bottle holder I designed last week. The only thing I had to adjust were the tolerances for the kerf of the machine and the result was amazing! It was make of two pieces of wood and 2 pieces to join them. The join piceces had different gaps to fit in different positions, so it can be considered as a press kit too.
Conclusions
This week was really fun, it was my first time using a laser cutting machine or a vinyl cutter, and I totally fell in love with them. I will use them a lot during FabAcademy and I would like to try new materials and projects with them.